JUNE 24, 2018
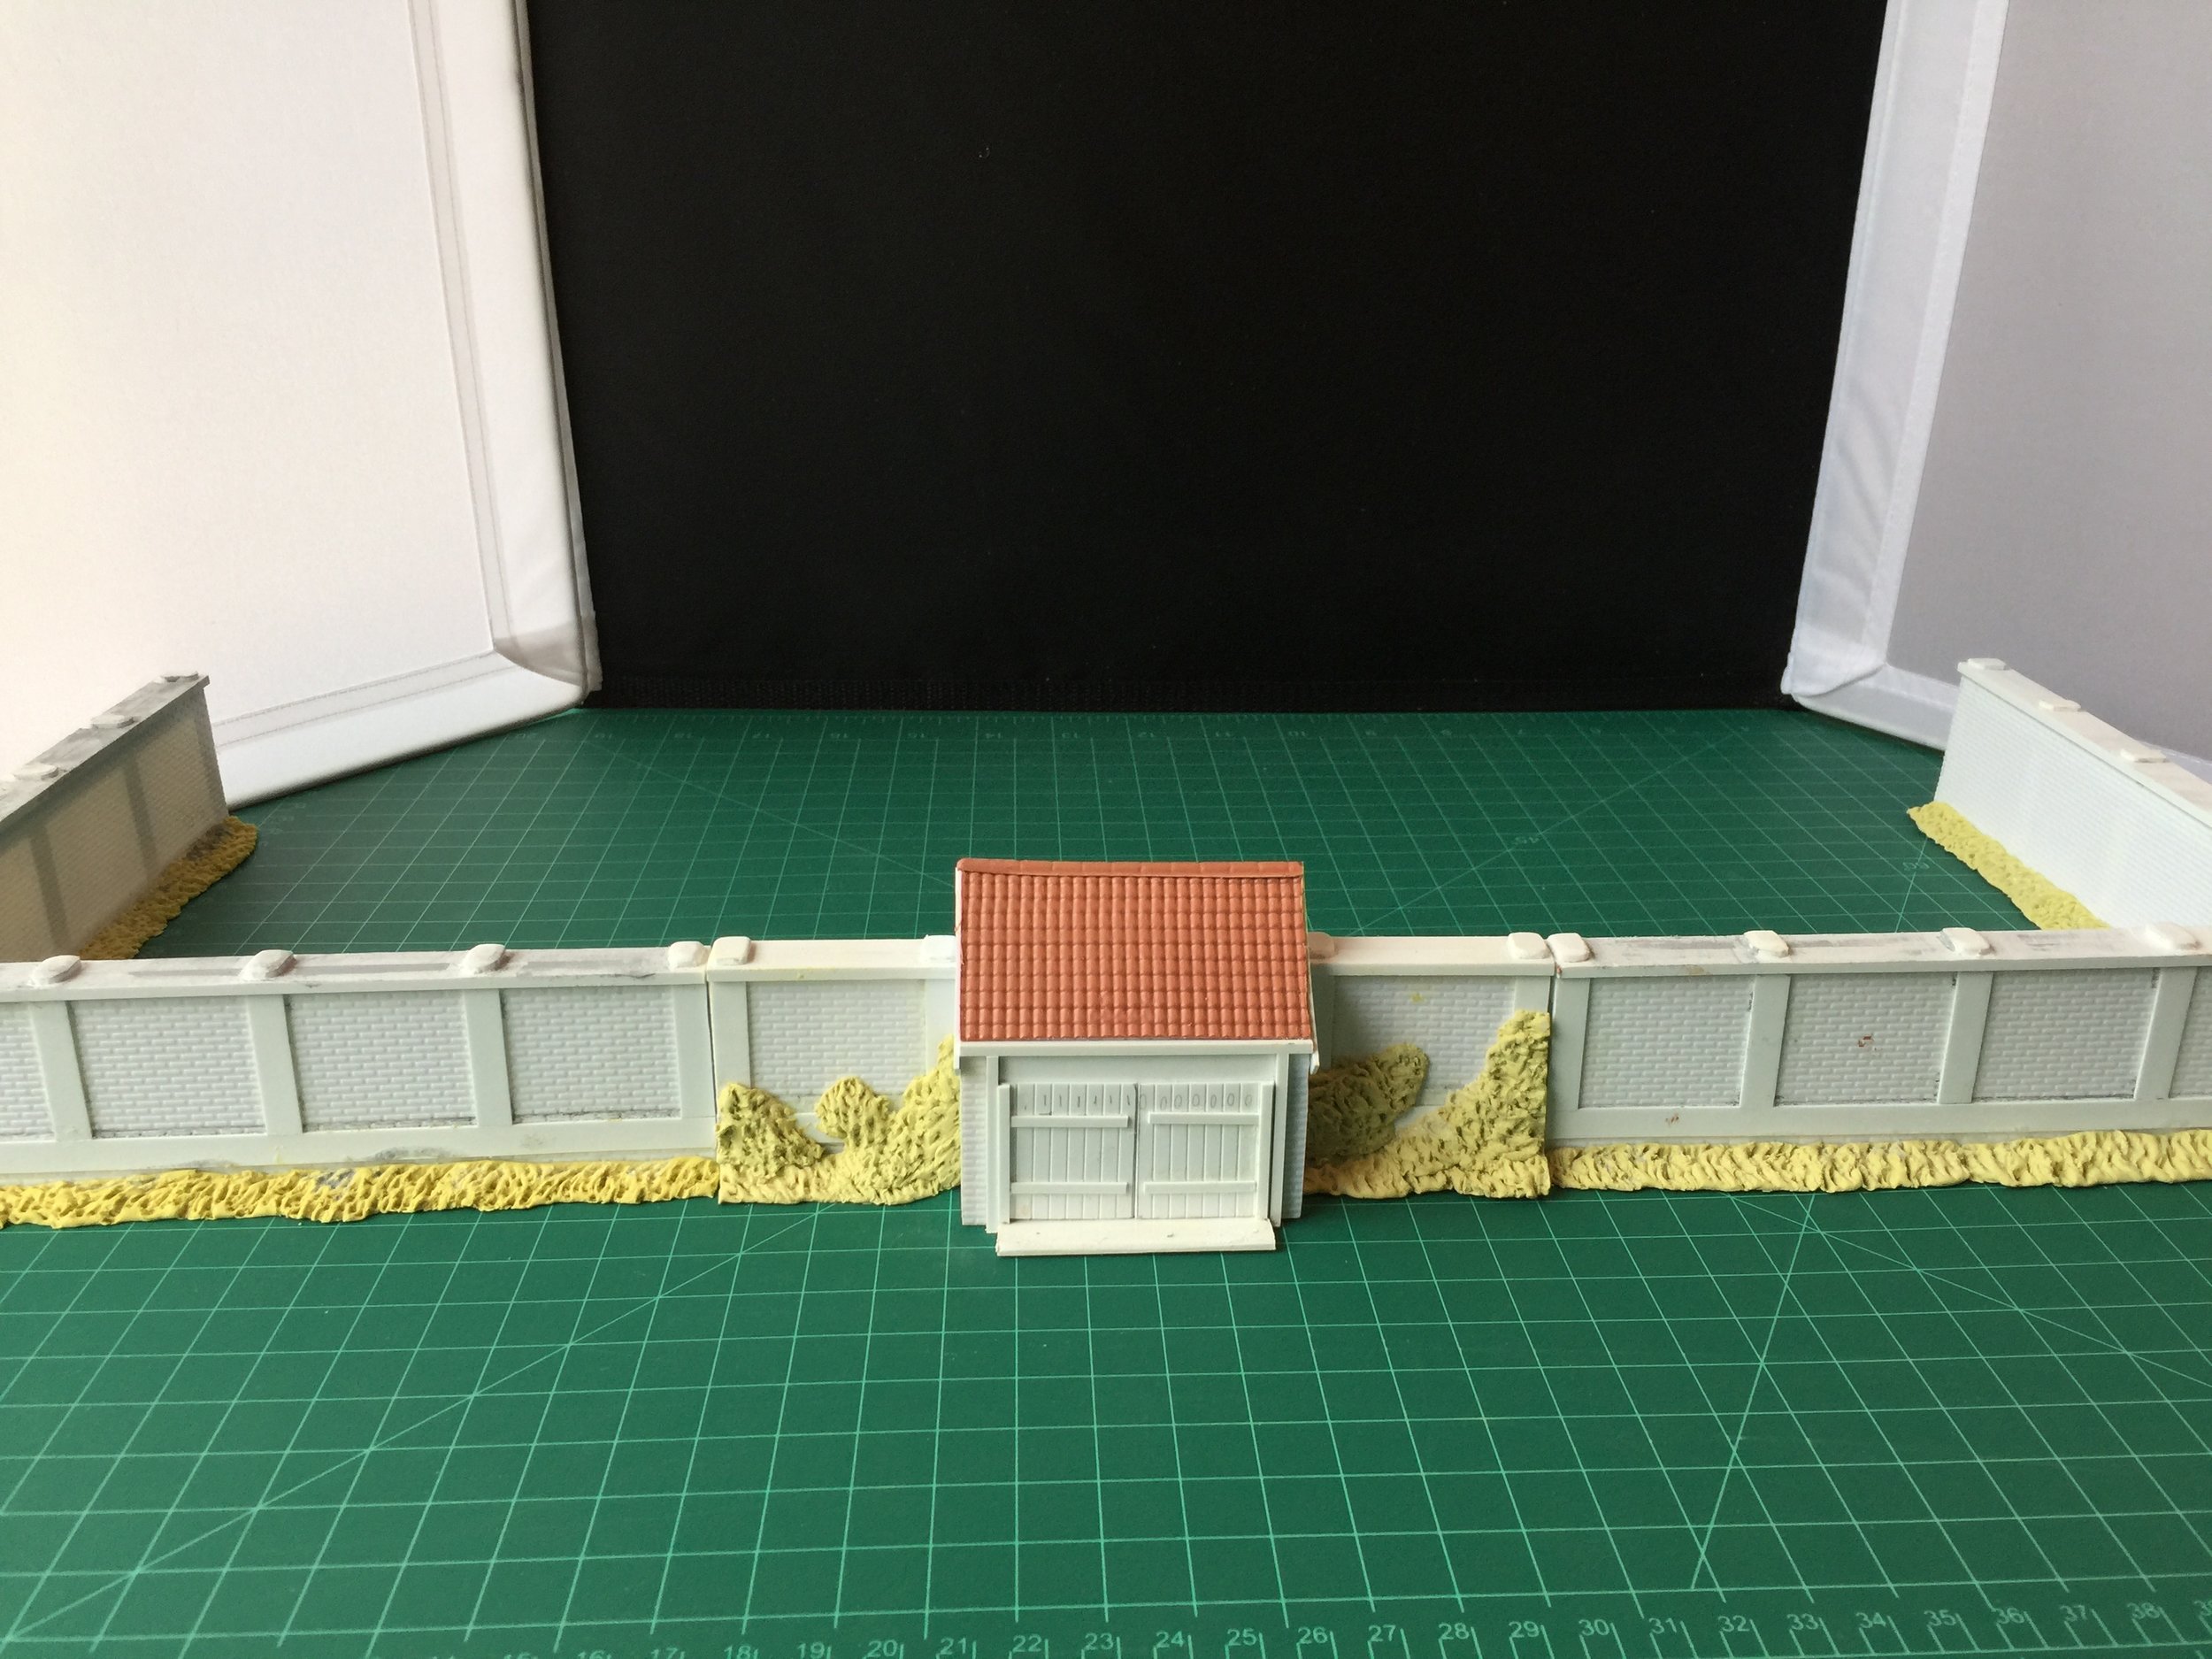
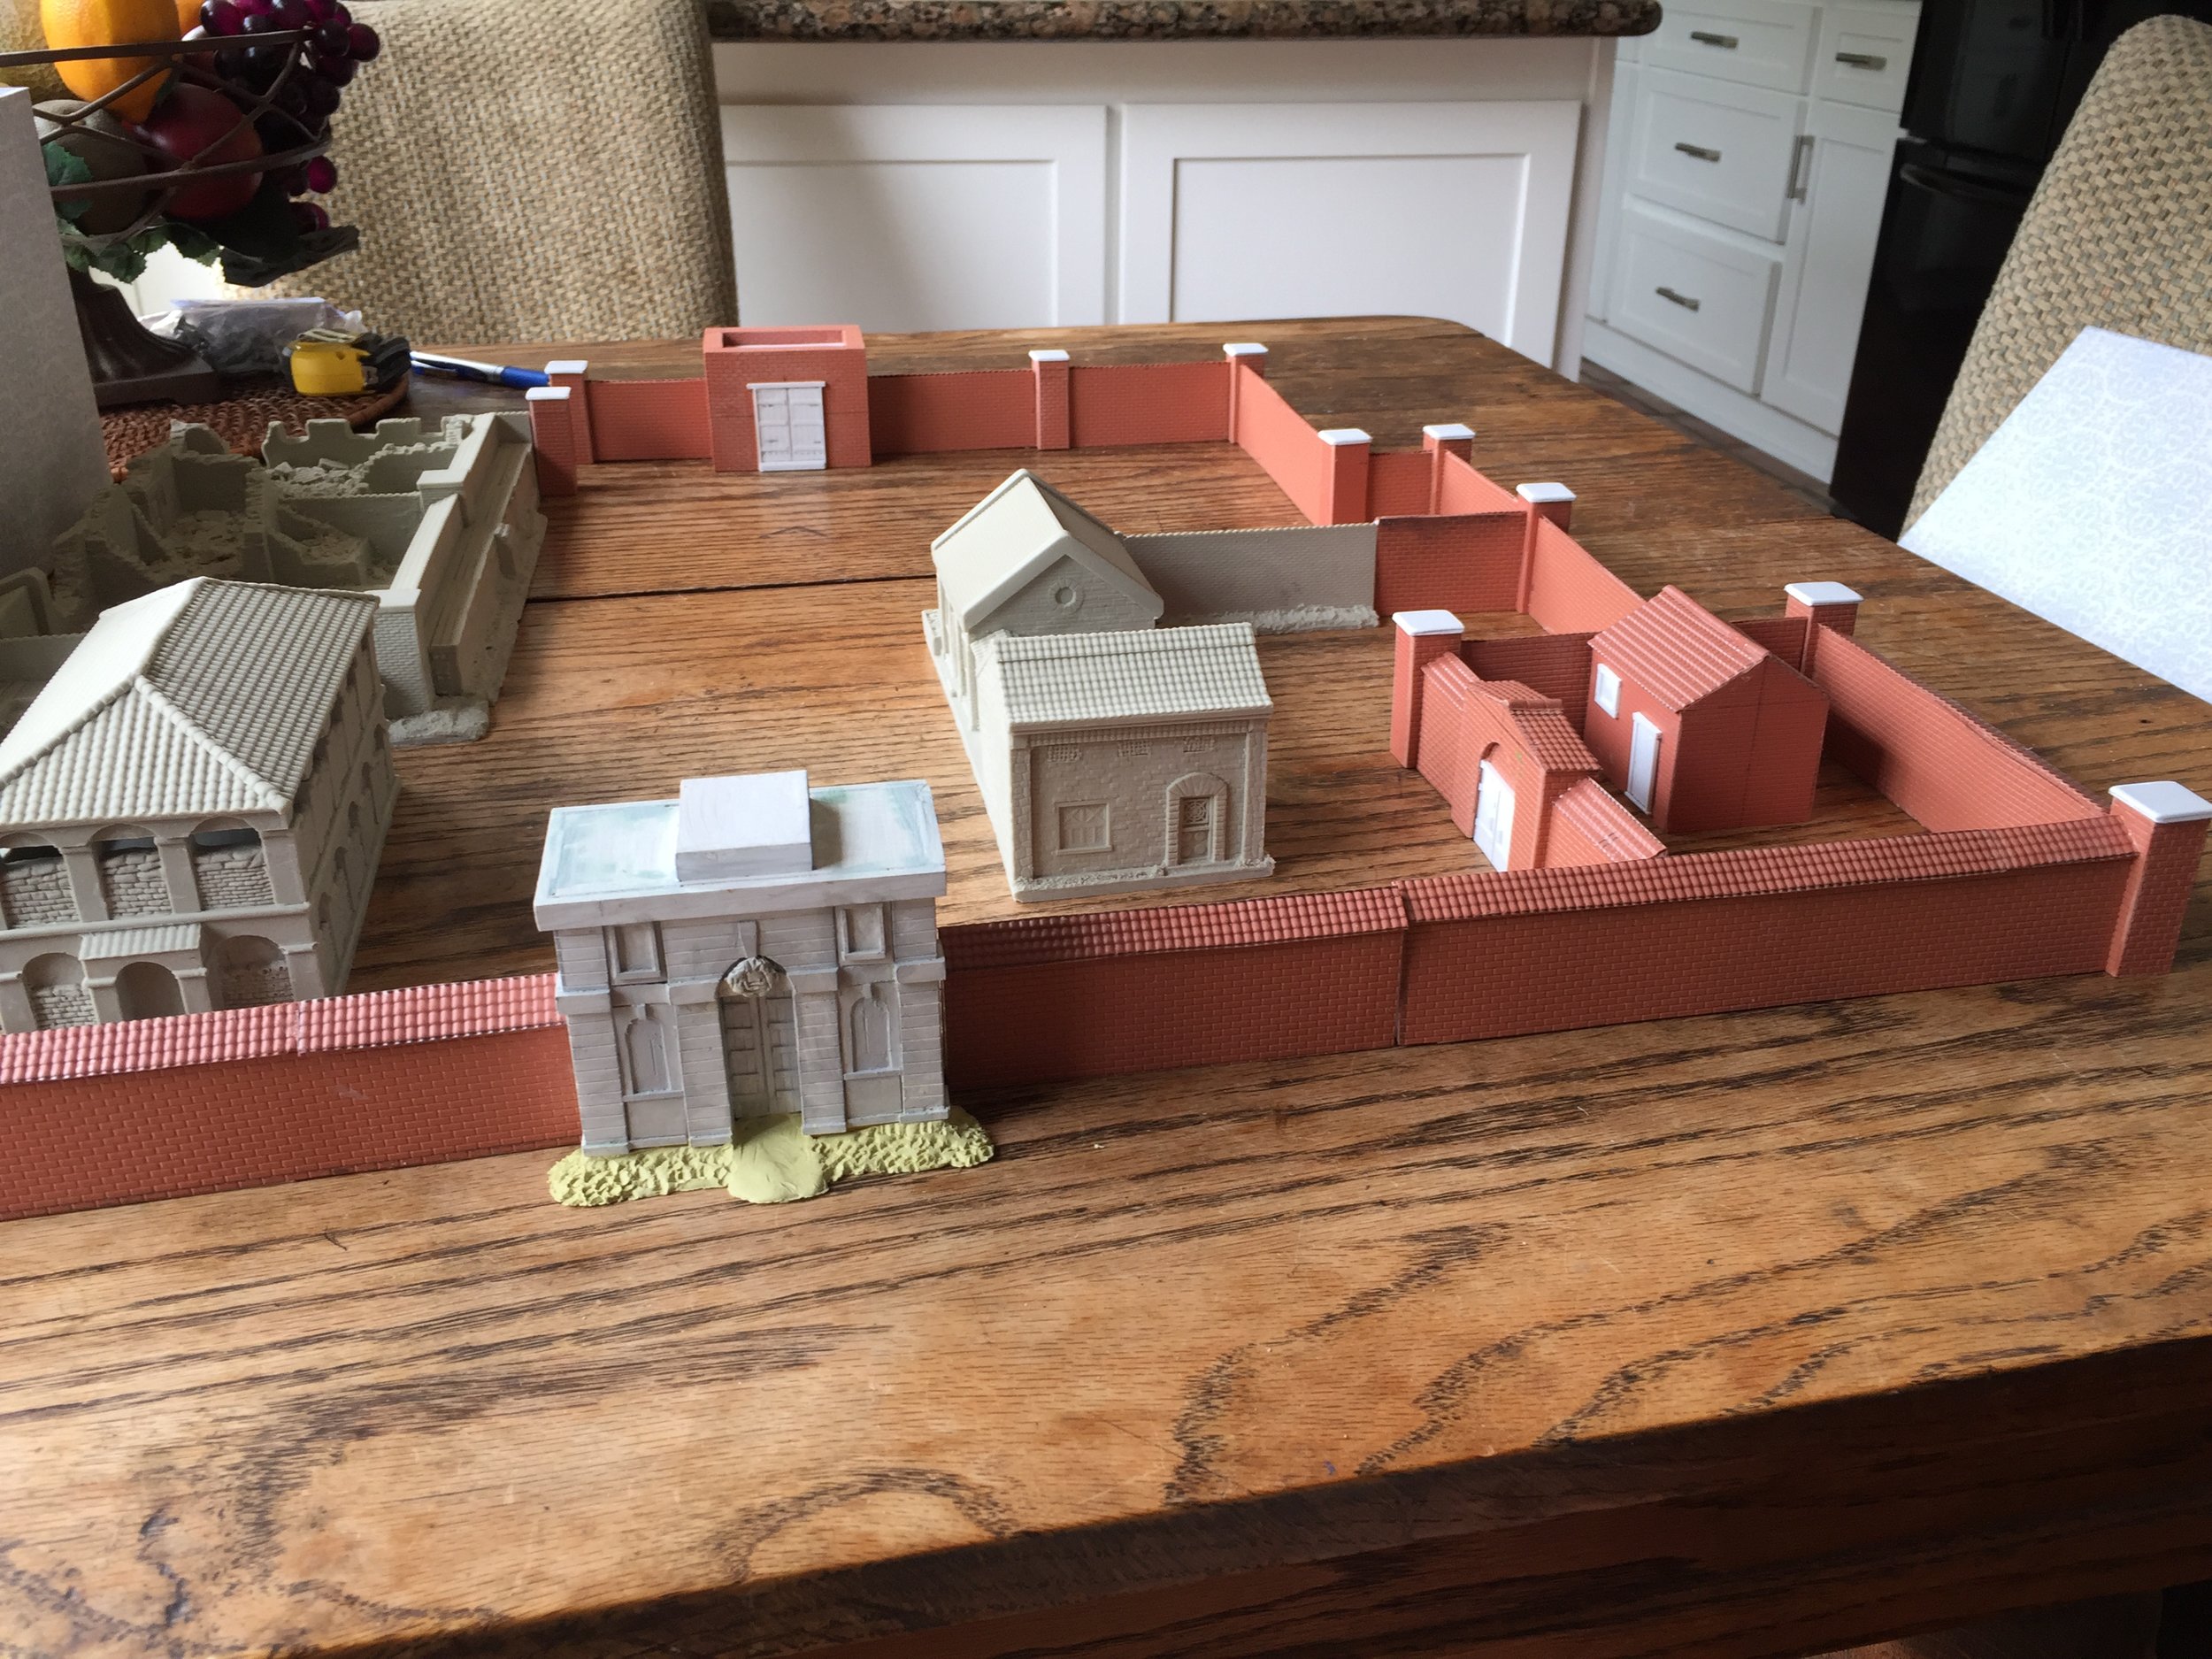
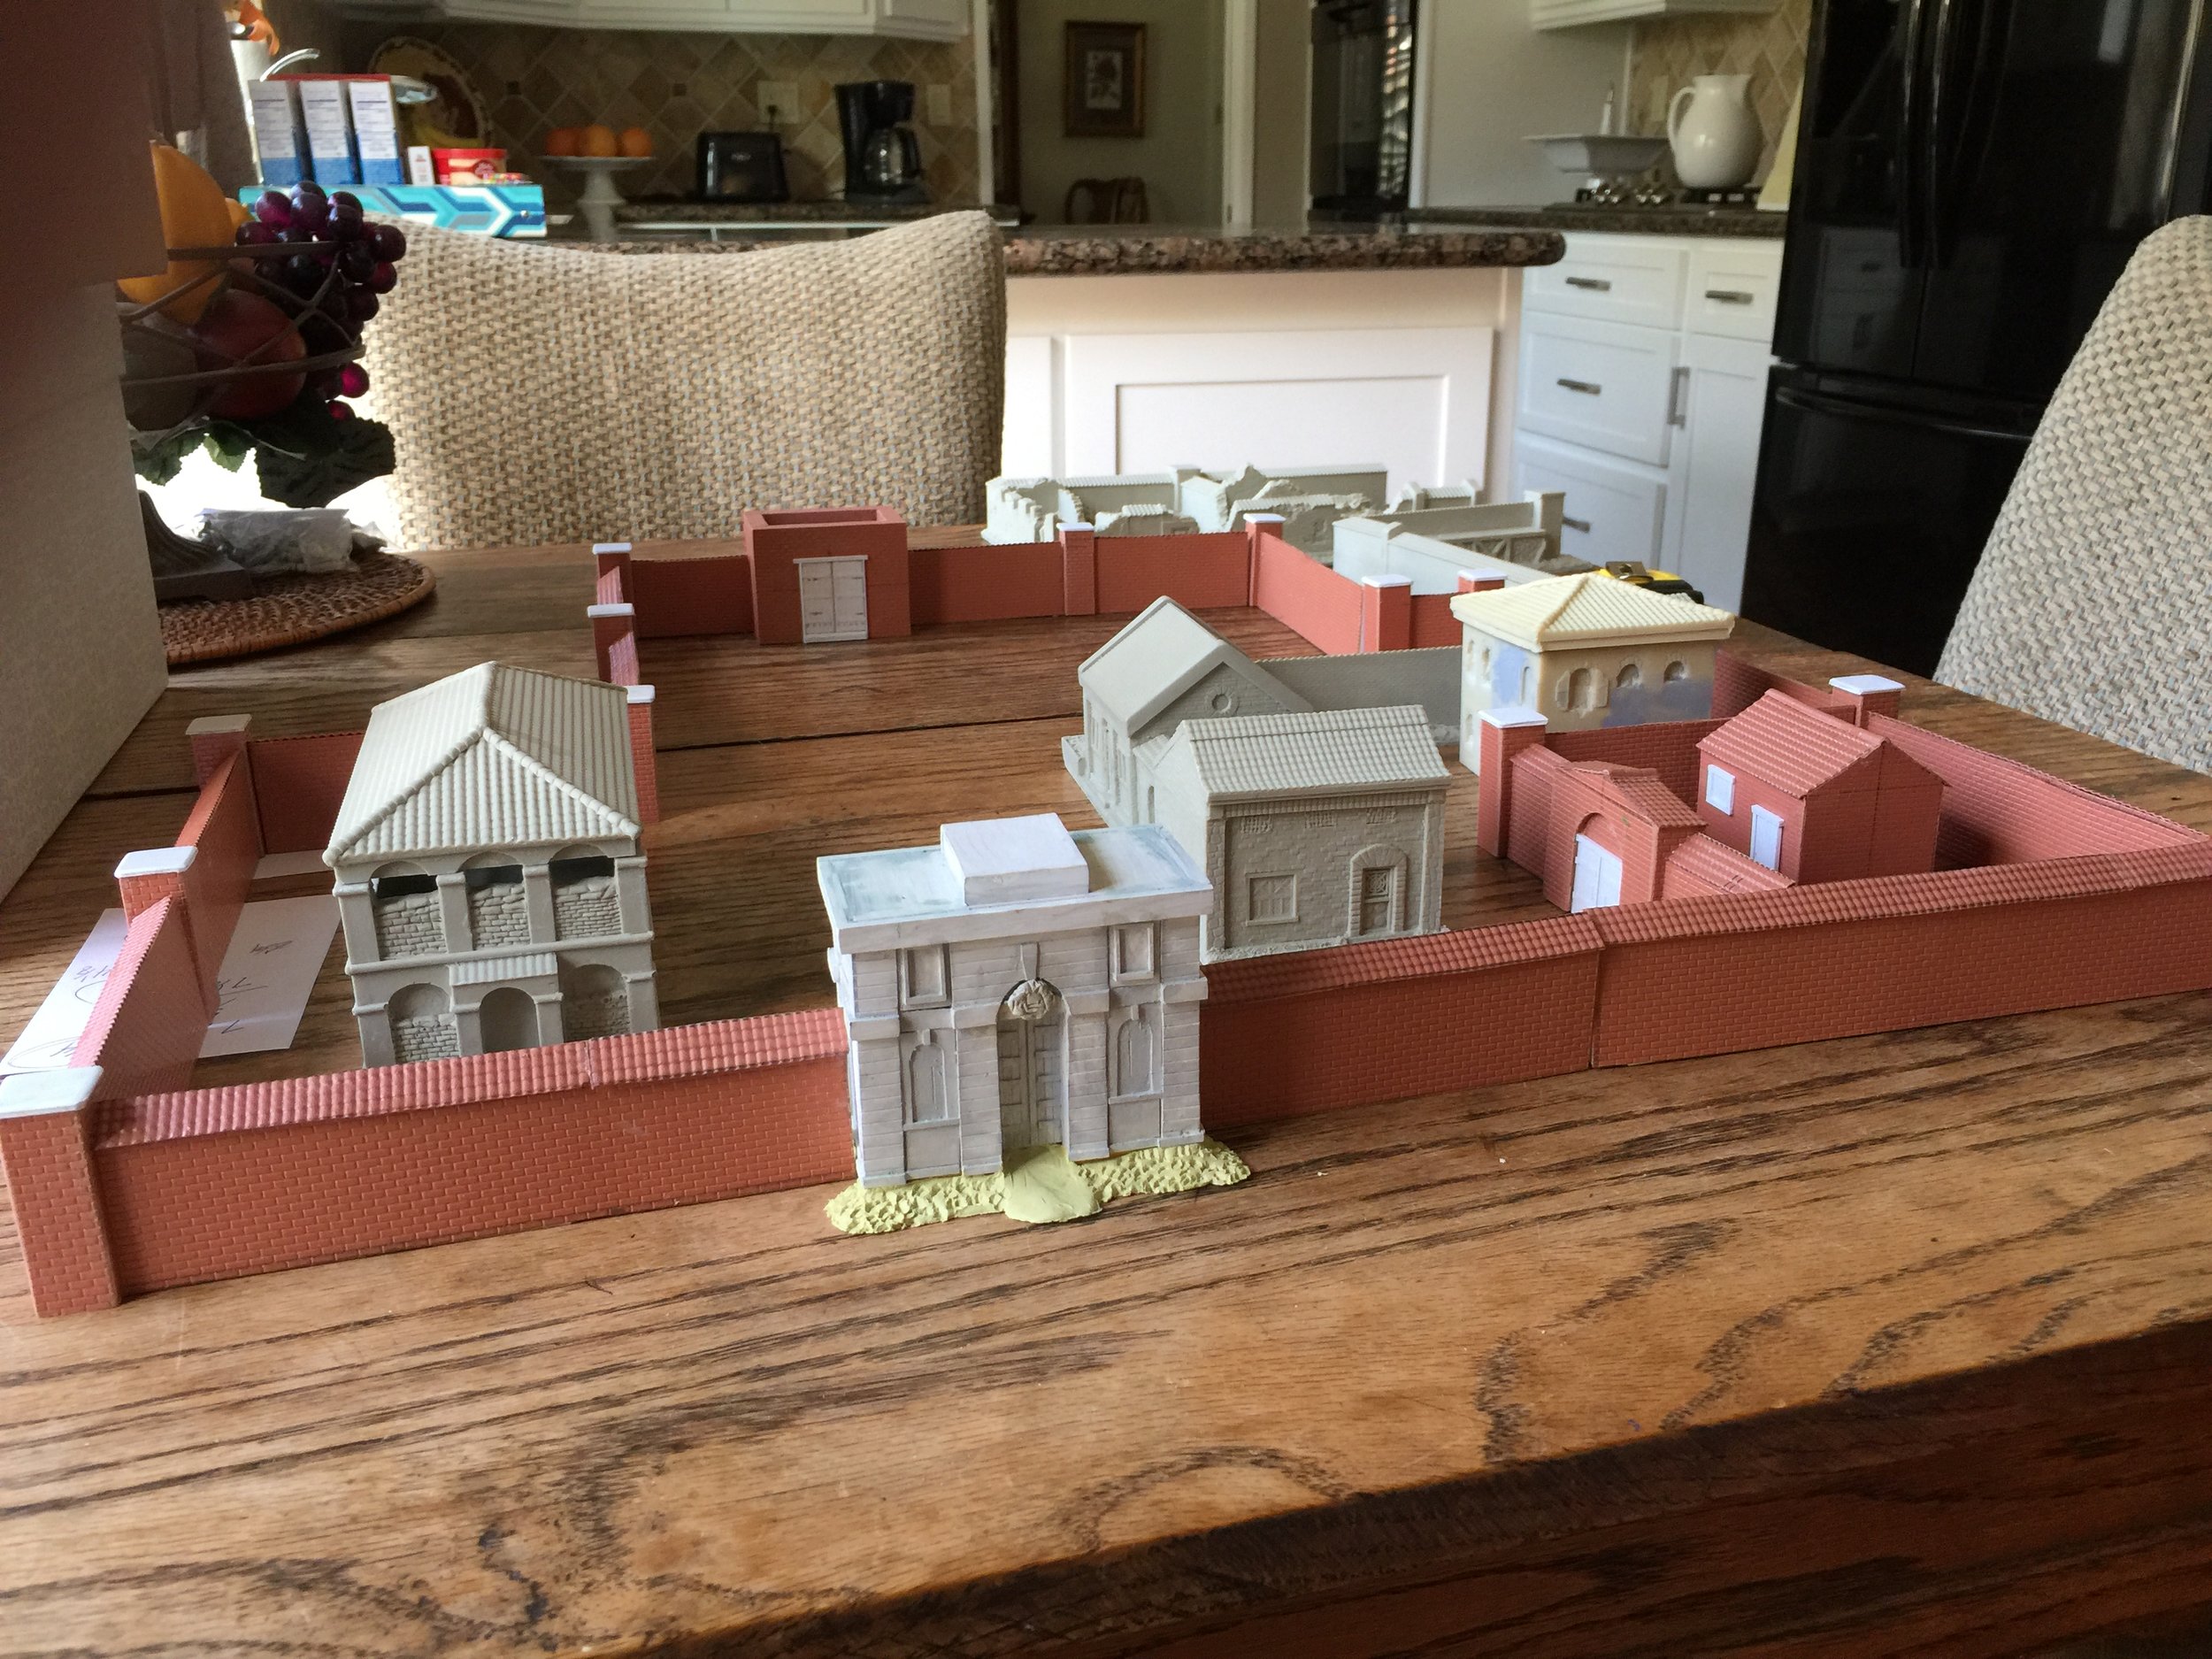
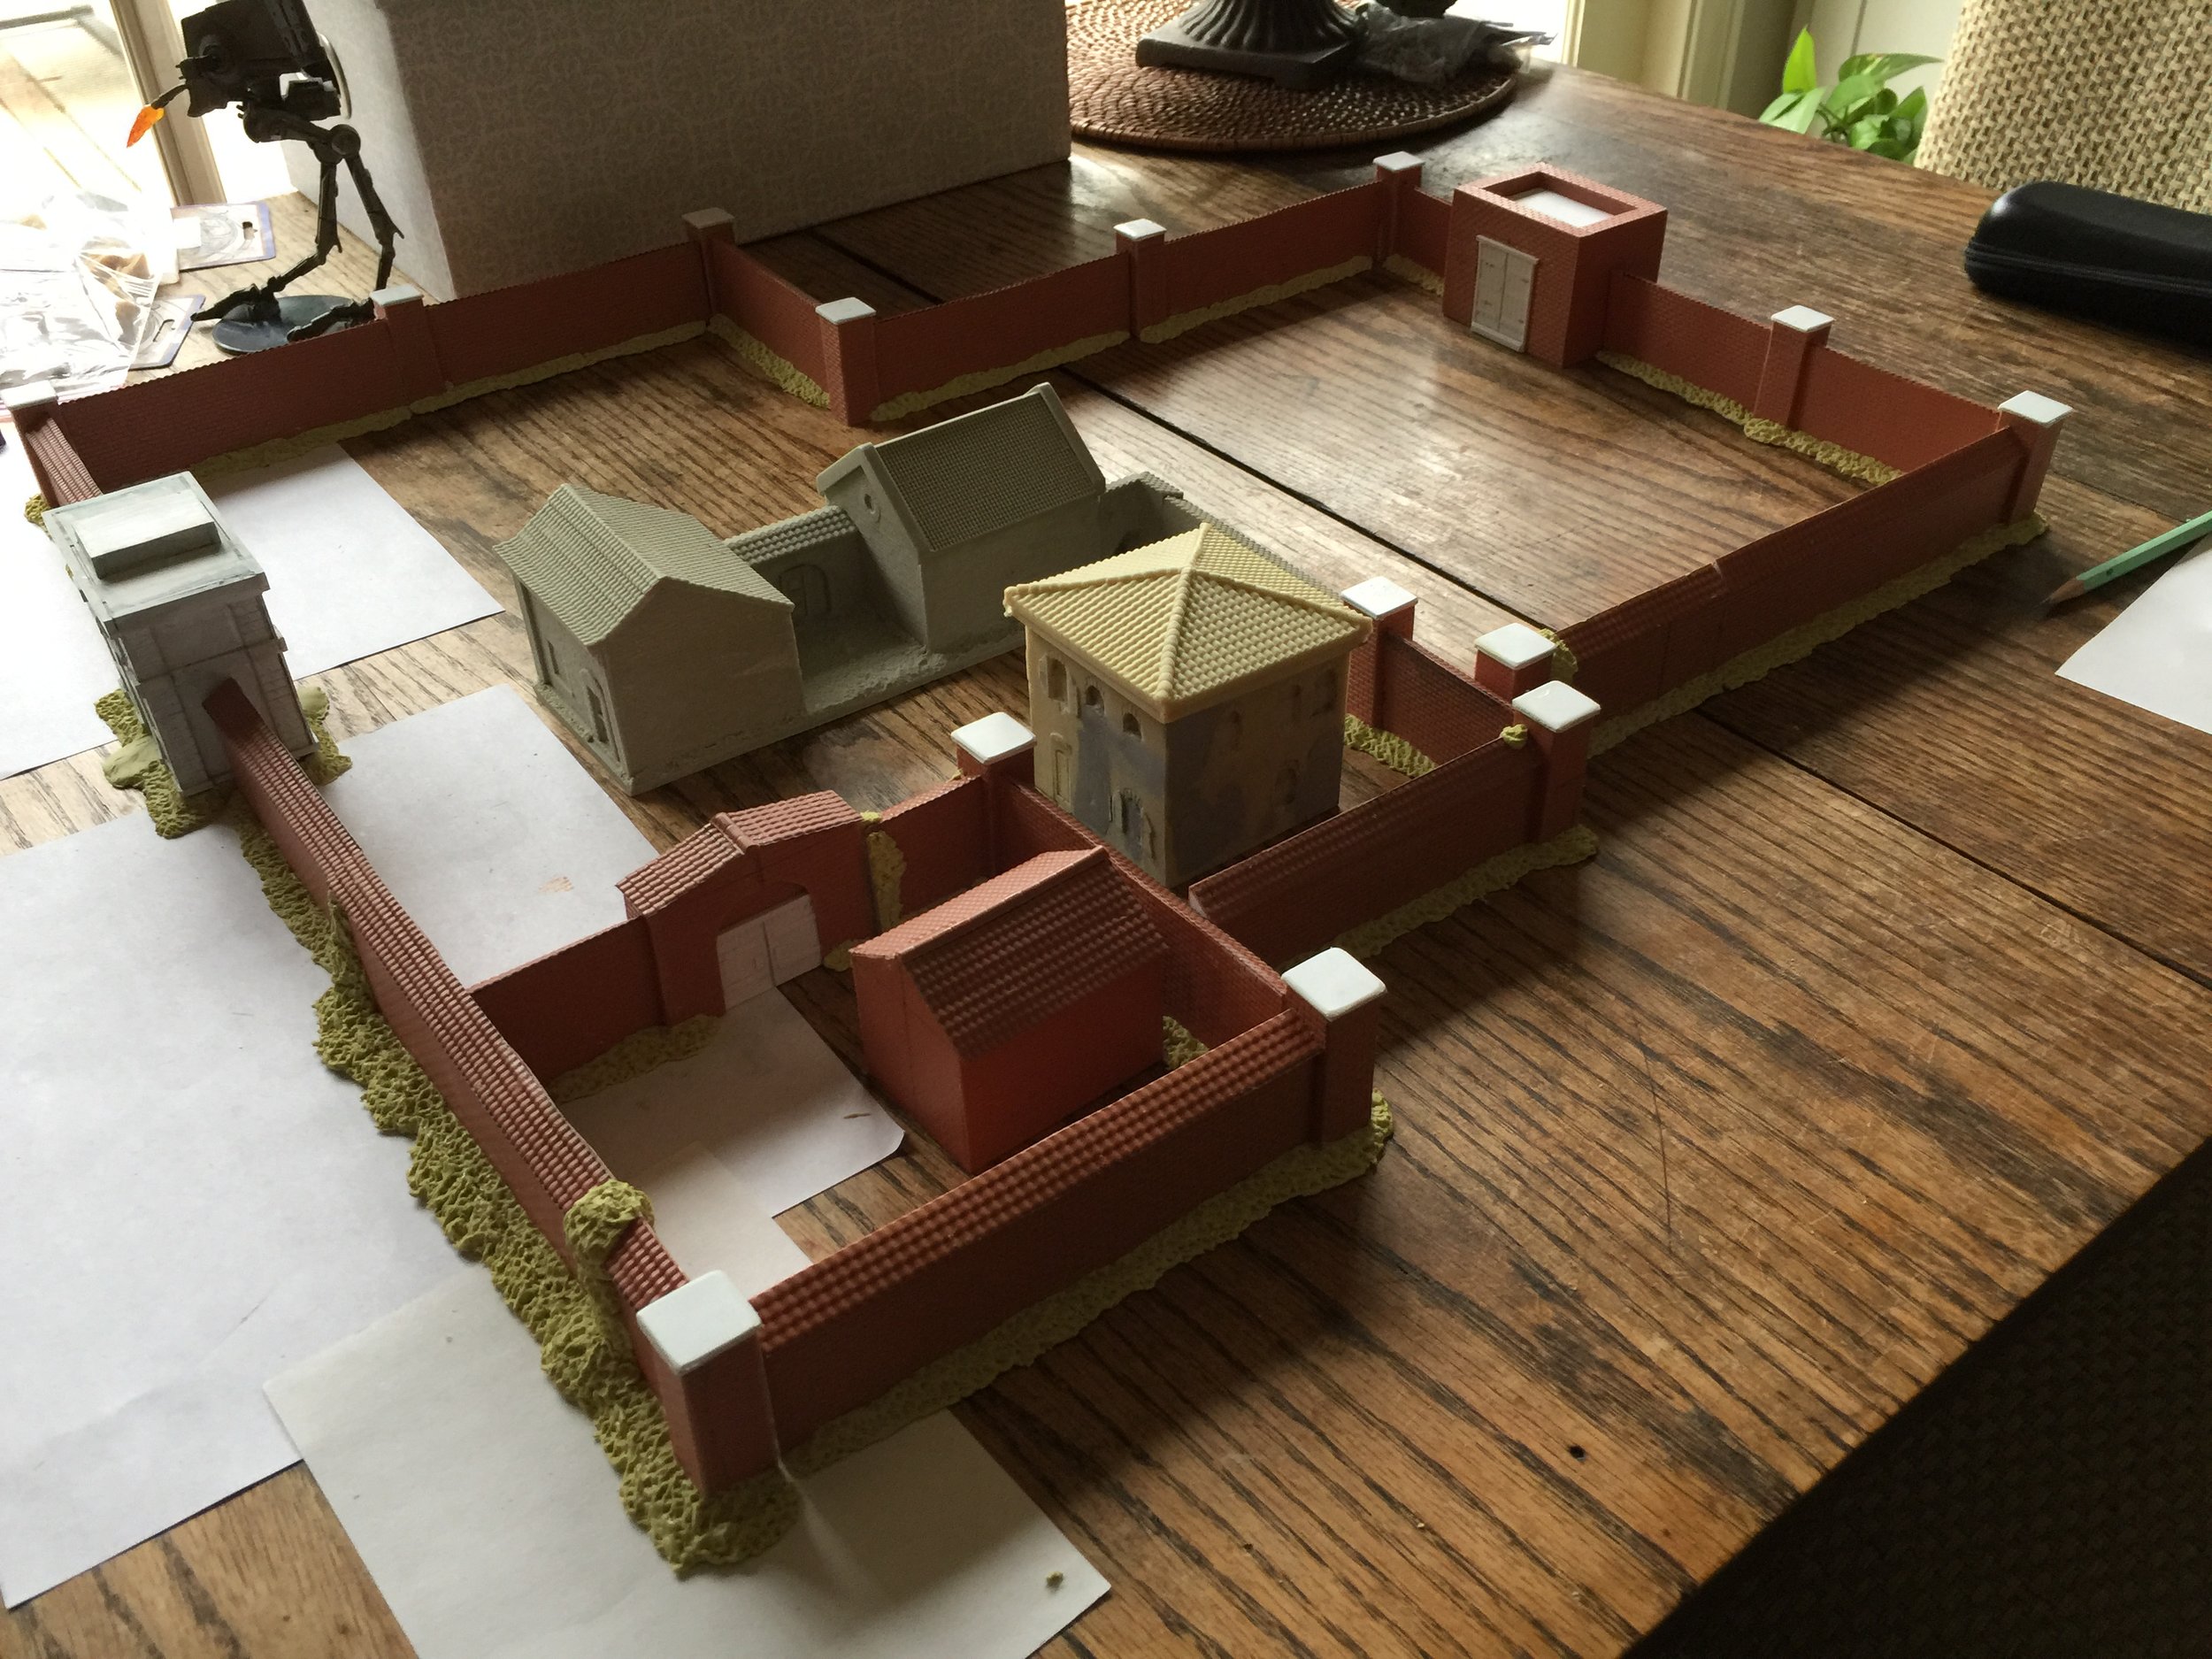
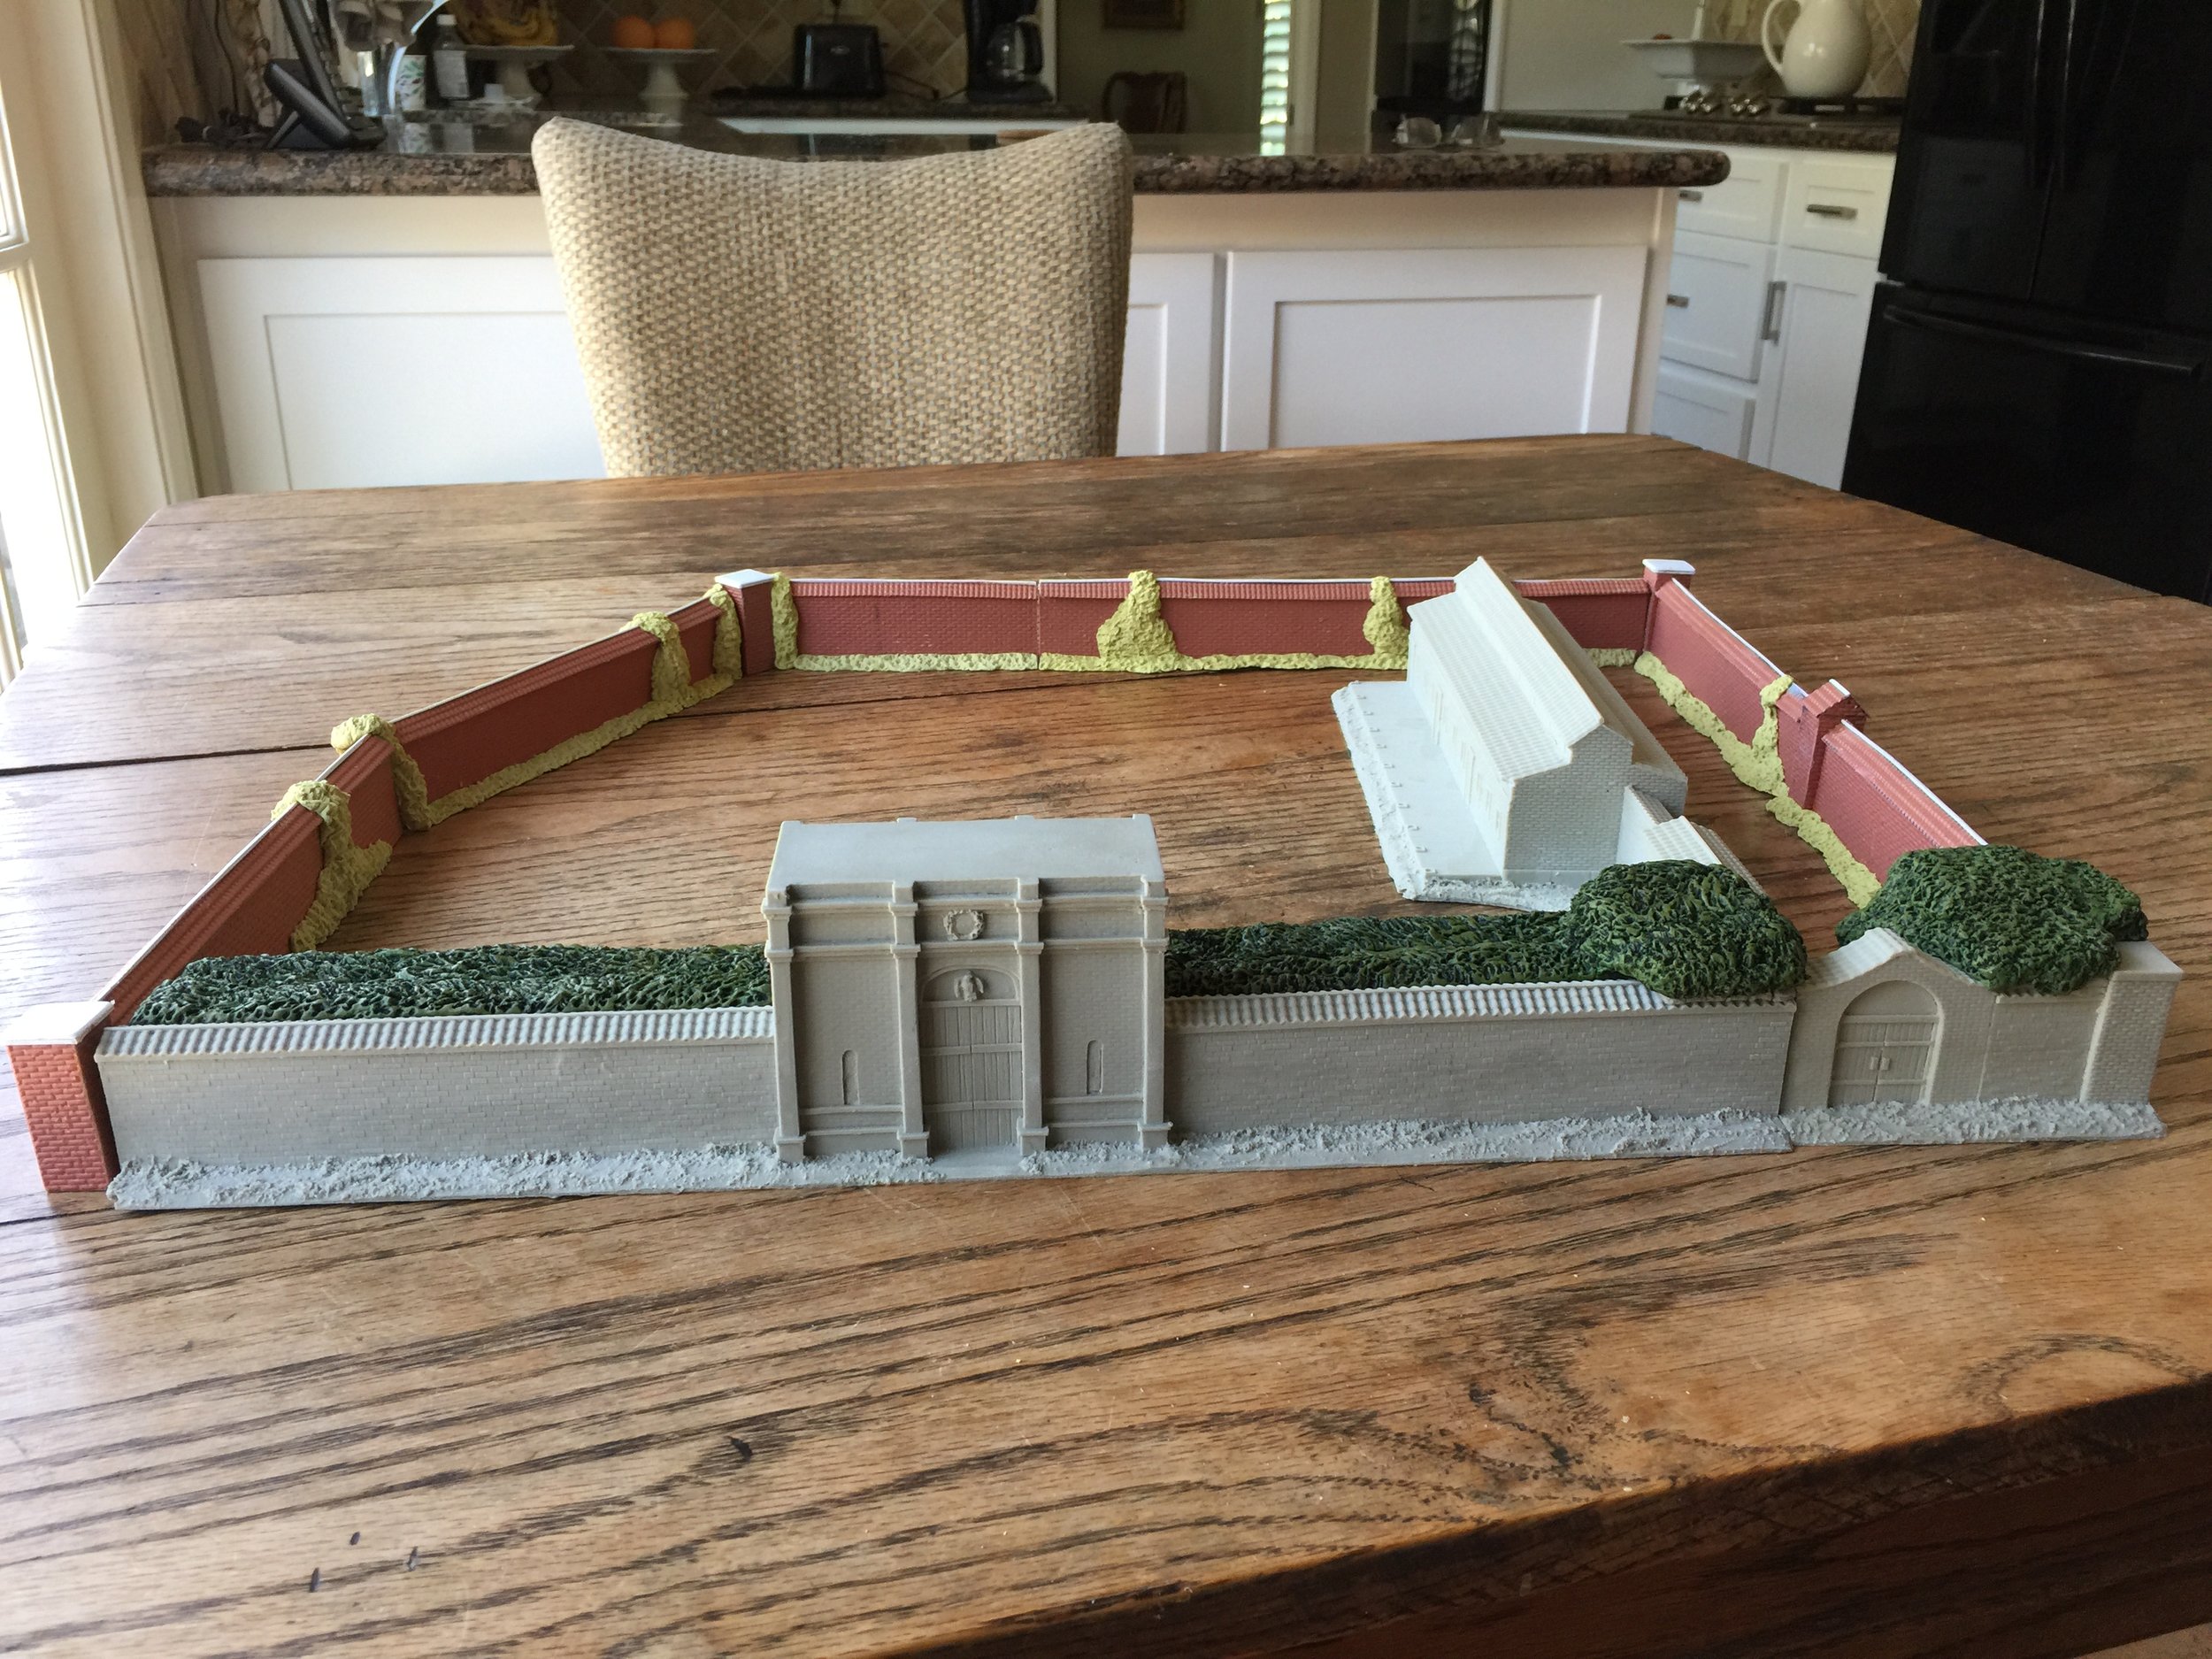
I’ve completed the last of the pre-siege British legation walls… the last of the five legation pre-siege wall projects. By the close of the weekend I hope to have the Milliput bases on the pre-siege British legation walls. I’m a little tired of buildings at this point so once the Milliput bases are complete, I think I’ll start painting some figures for the project. I wrote the previous sentences a couple days ago… Friday. Late Saturday afternoon I was getting ready to put the Milliput base on the last three sections of wall and discovered the walls were no longer lining up. They lined up on Friday, but not on Saturday afternoon. I had to do some major rethinking. Could I work with the walls I had or did I have to make a couple replacements? I pulled one wall out and modified it, and fortunately that modification allowed the walls to come together once again. The British legation’s walls have so many turns that building it is like punching a pillow… push in one spot and you push out another without completely realizing what you have done. Anyway, it looks good now. The last two pictures show the walls with the final changes. I need these pictures to help me remember how the damn thing goes together when I actually use it on the layout.
JUNE 17, 2018
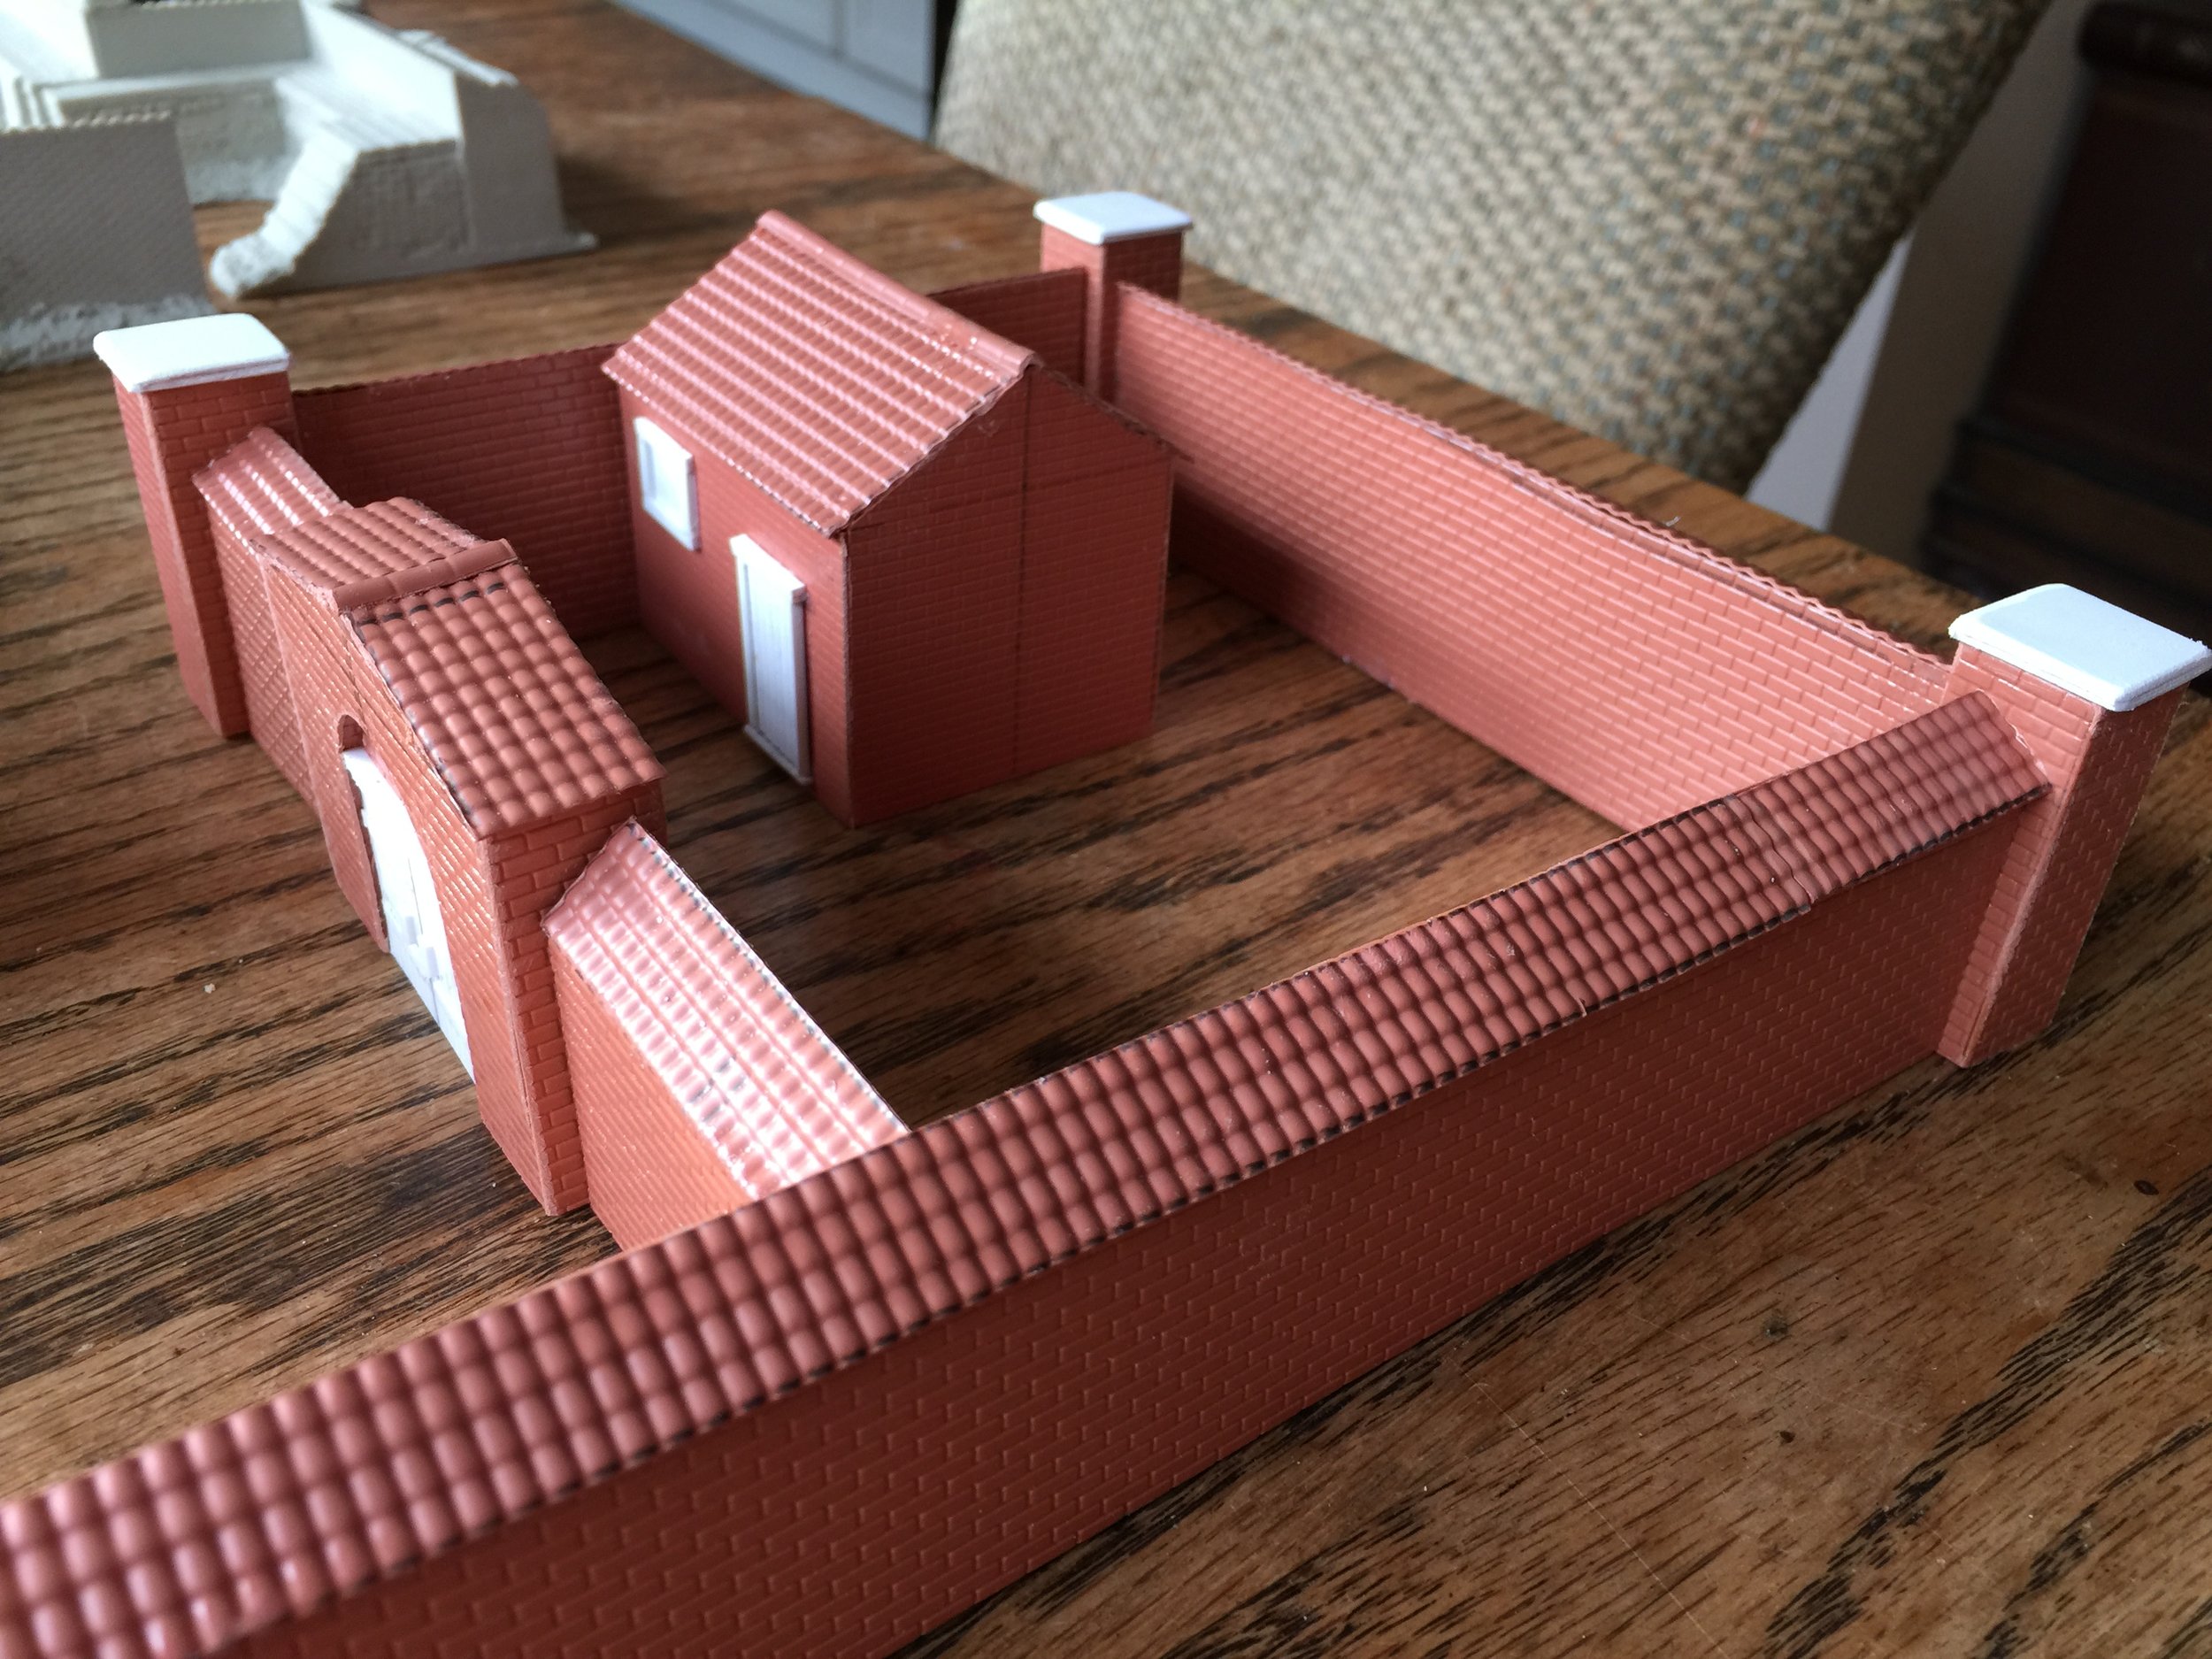
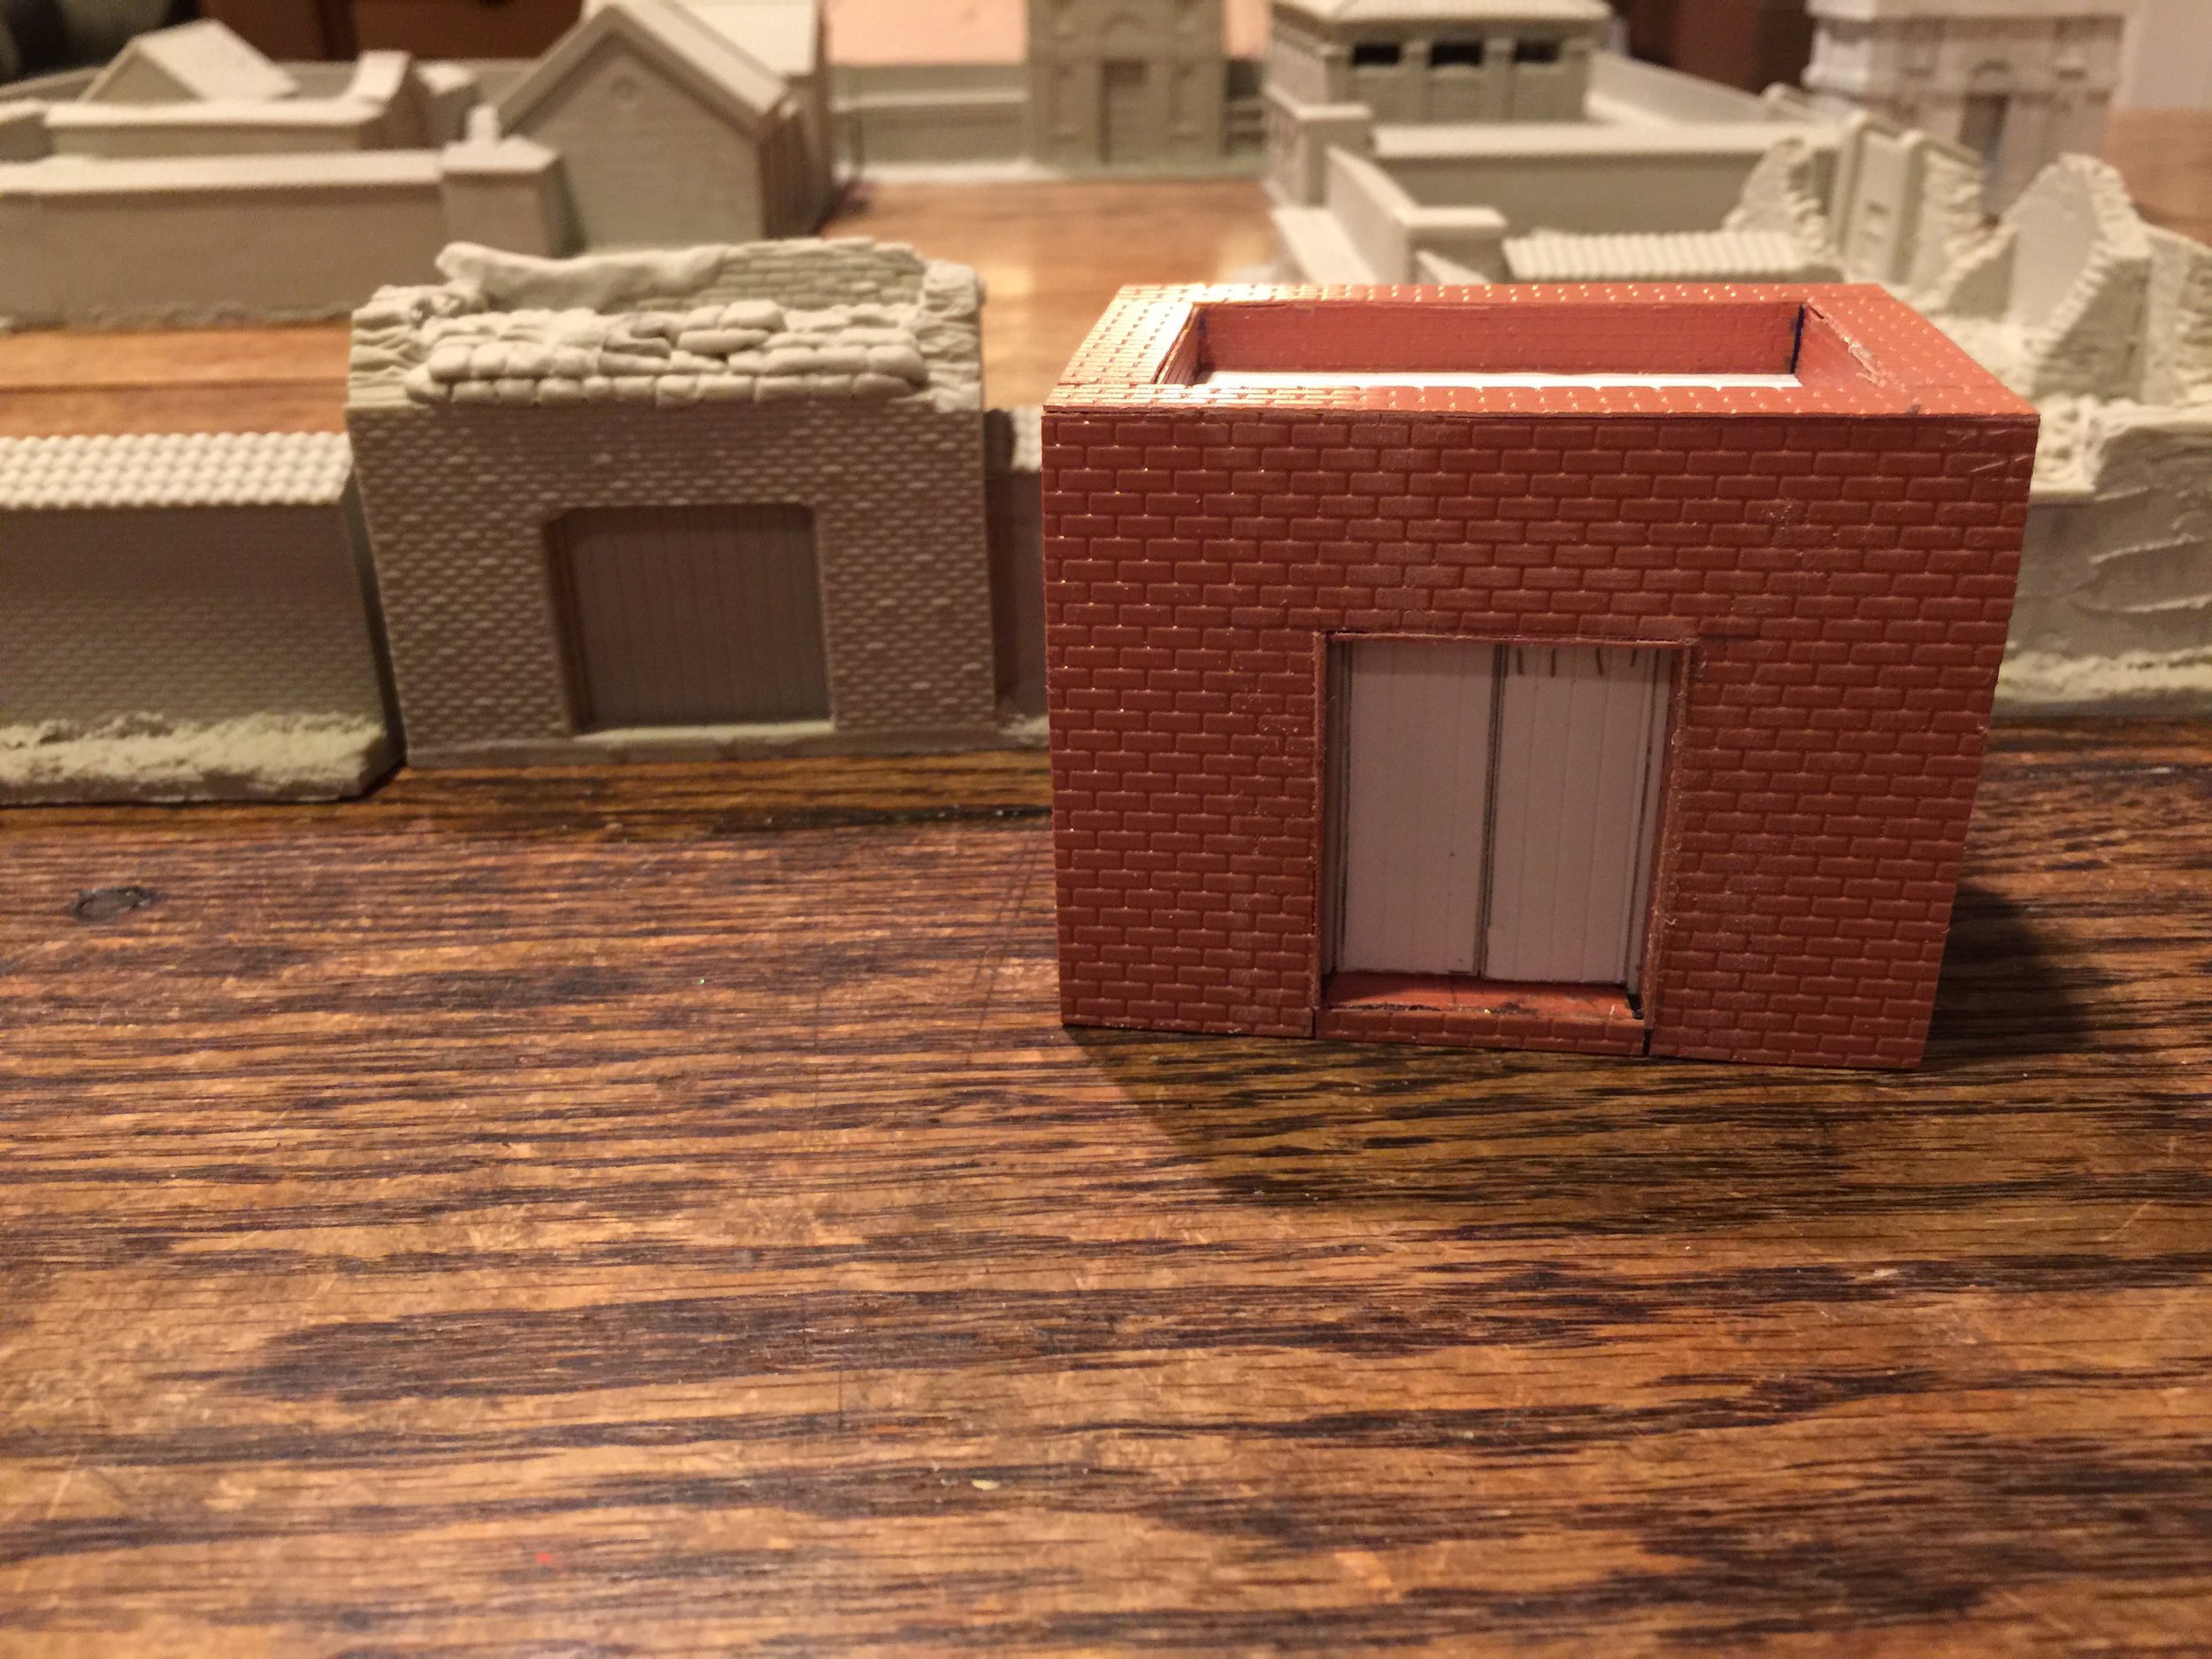
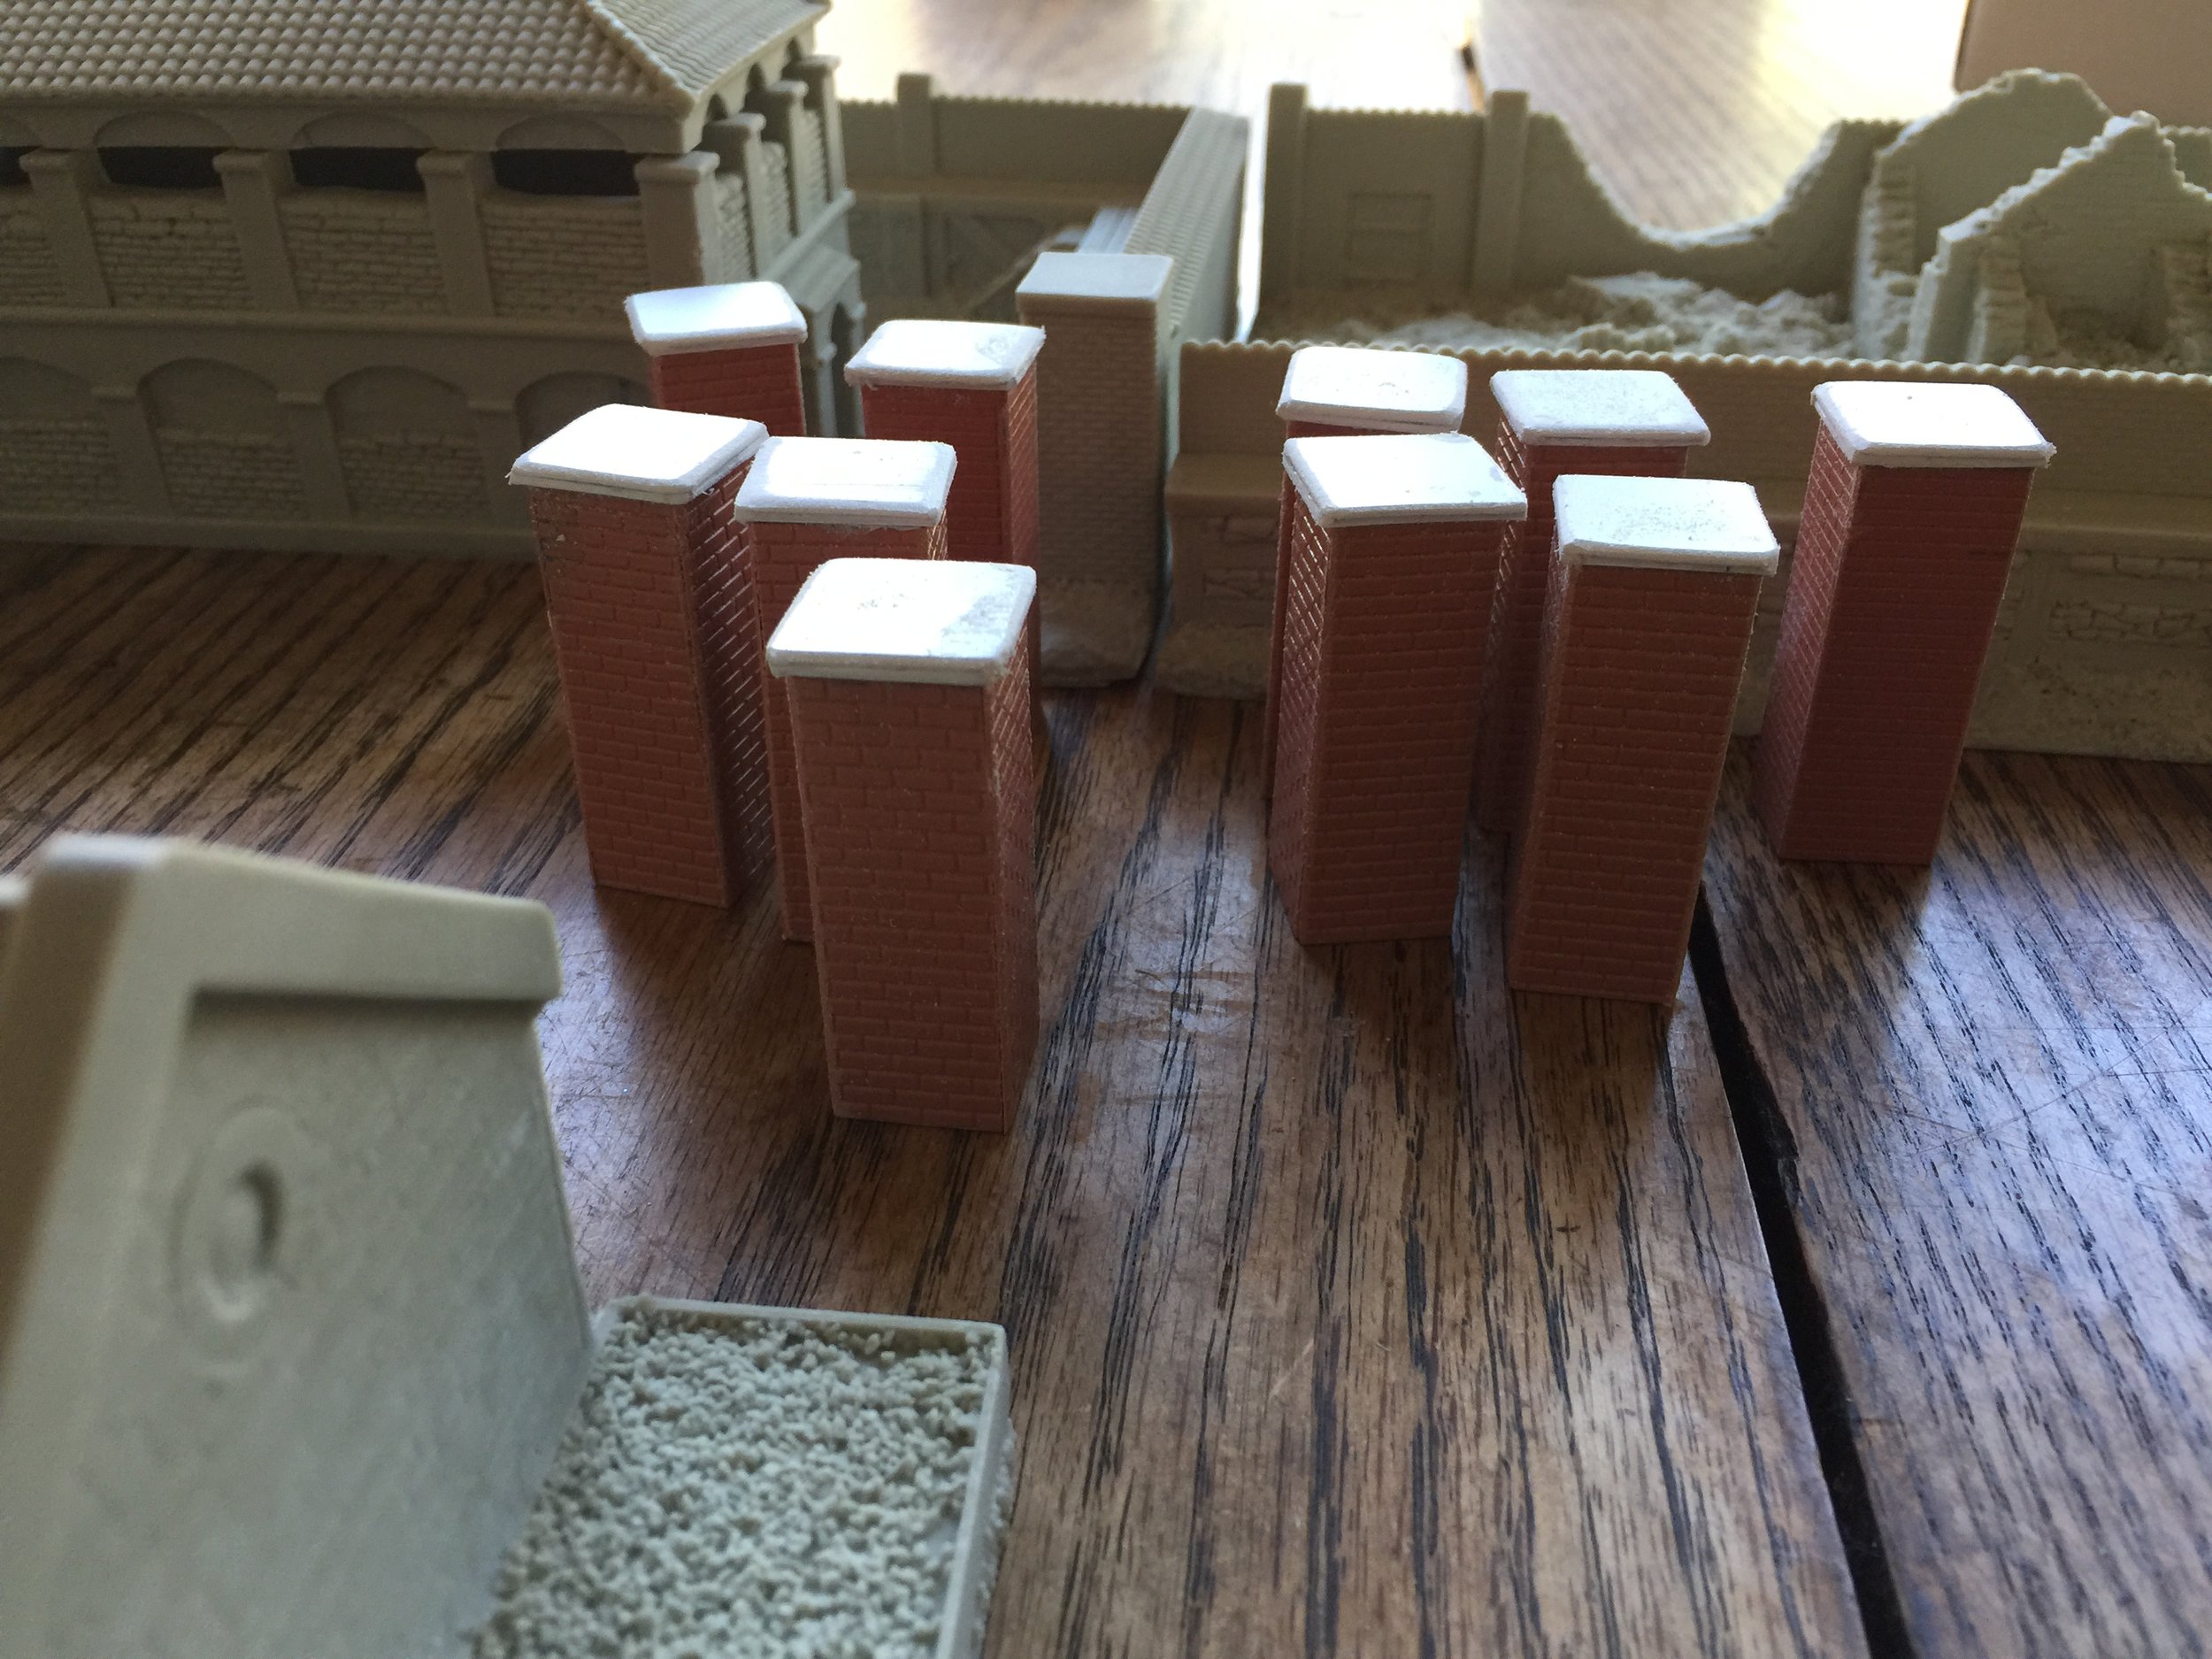
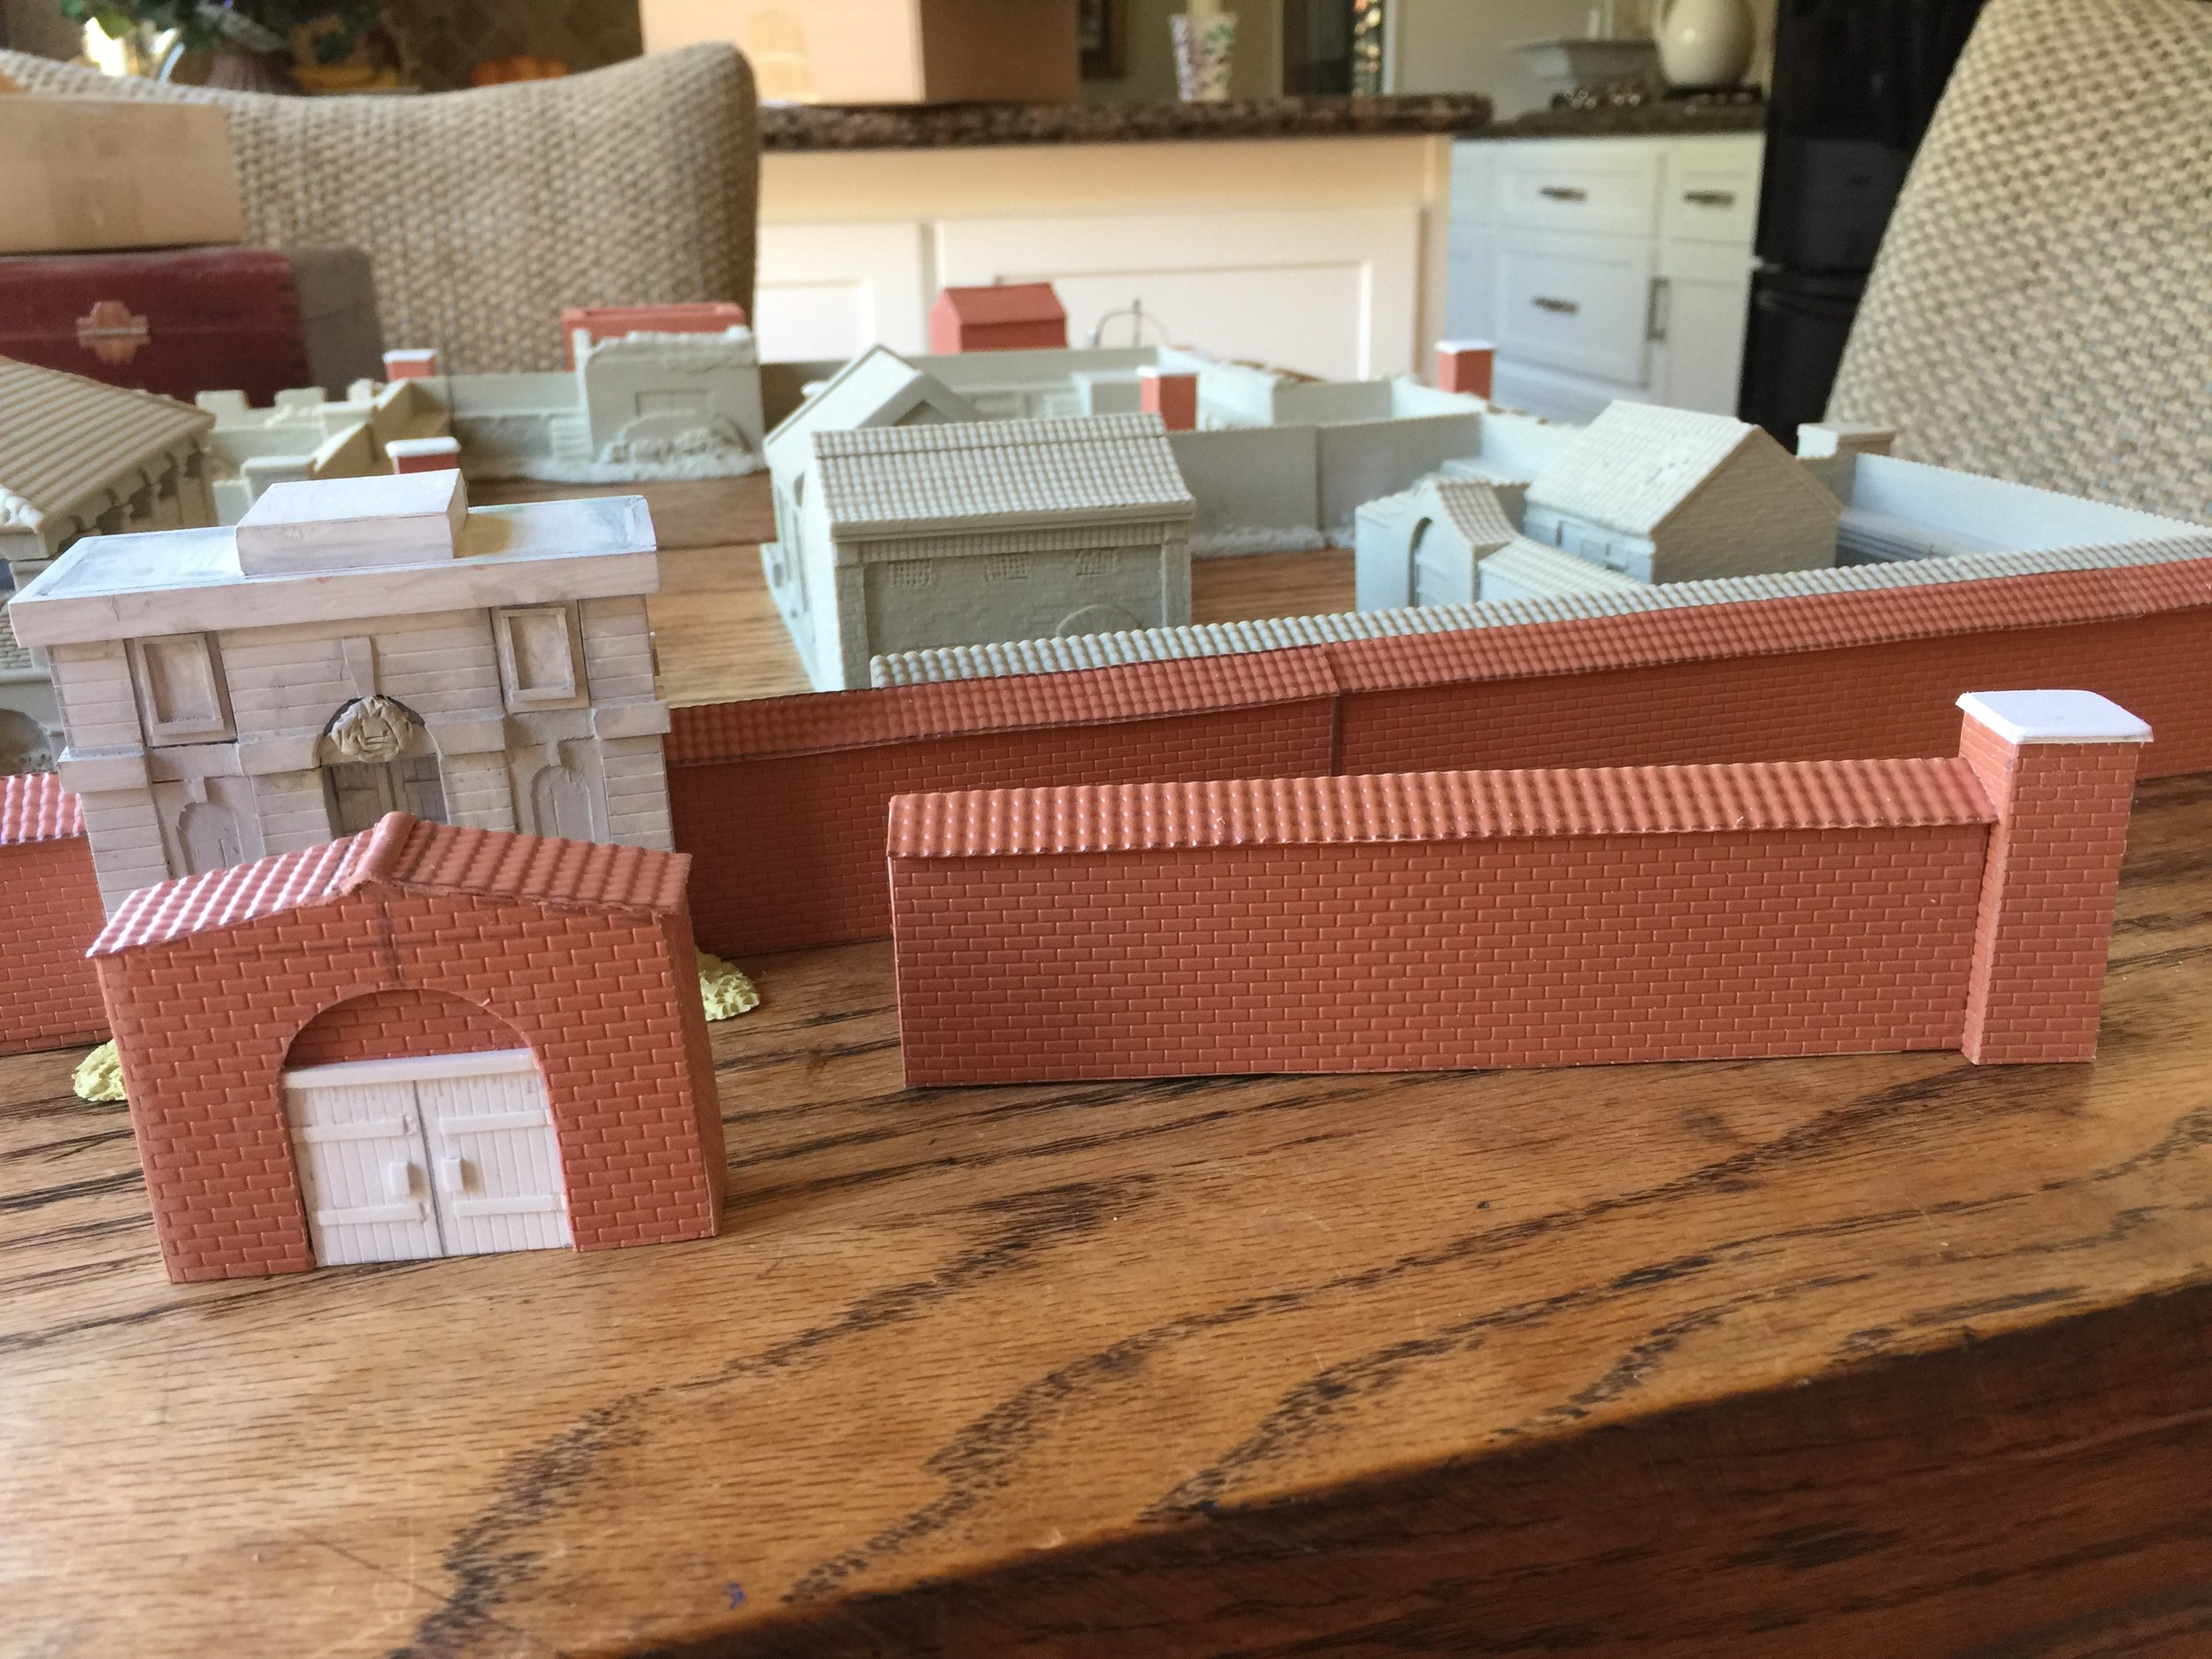
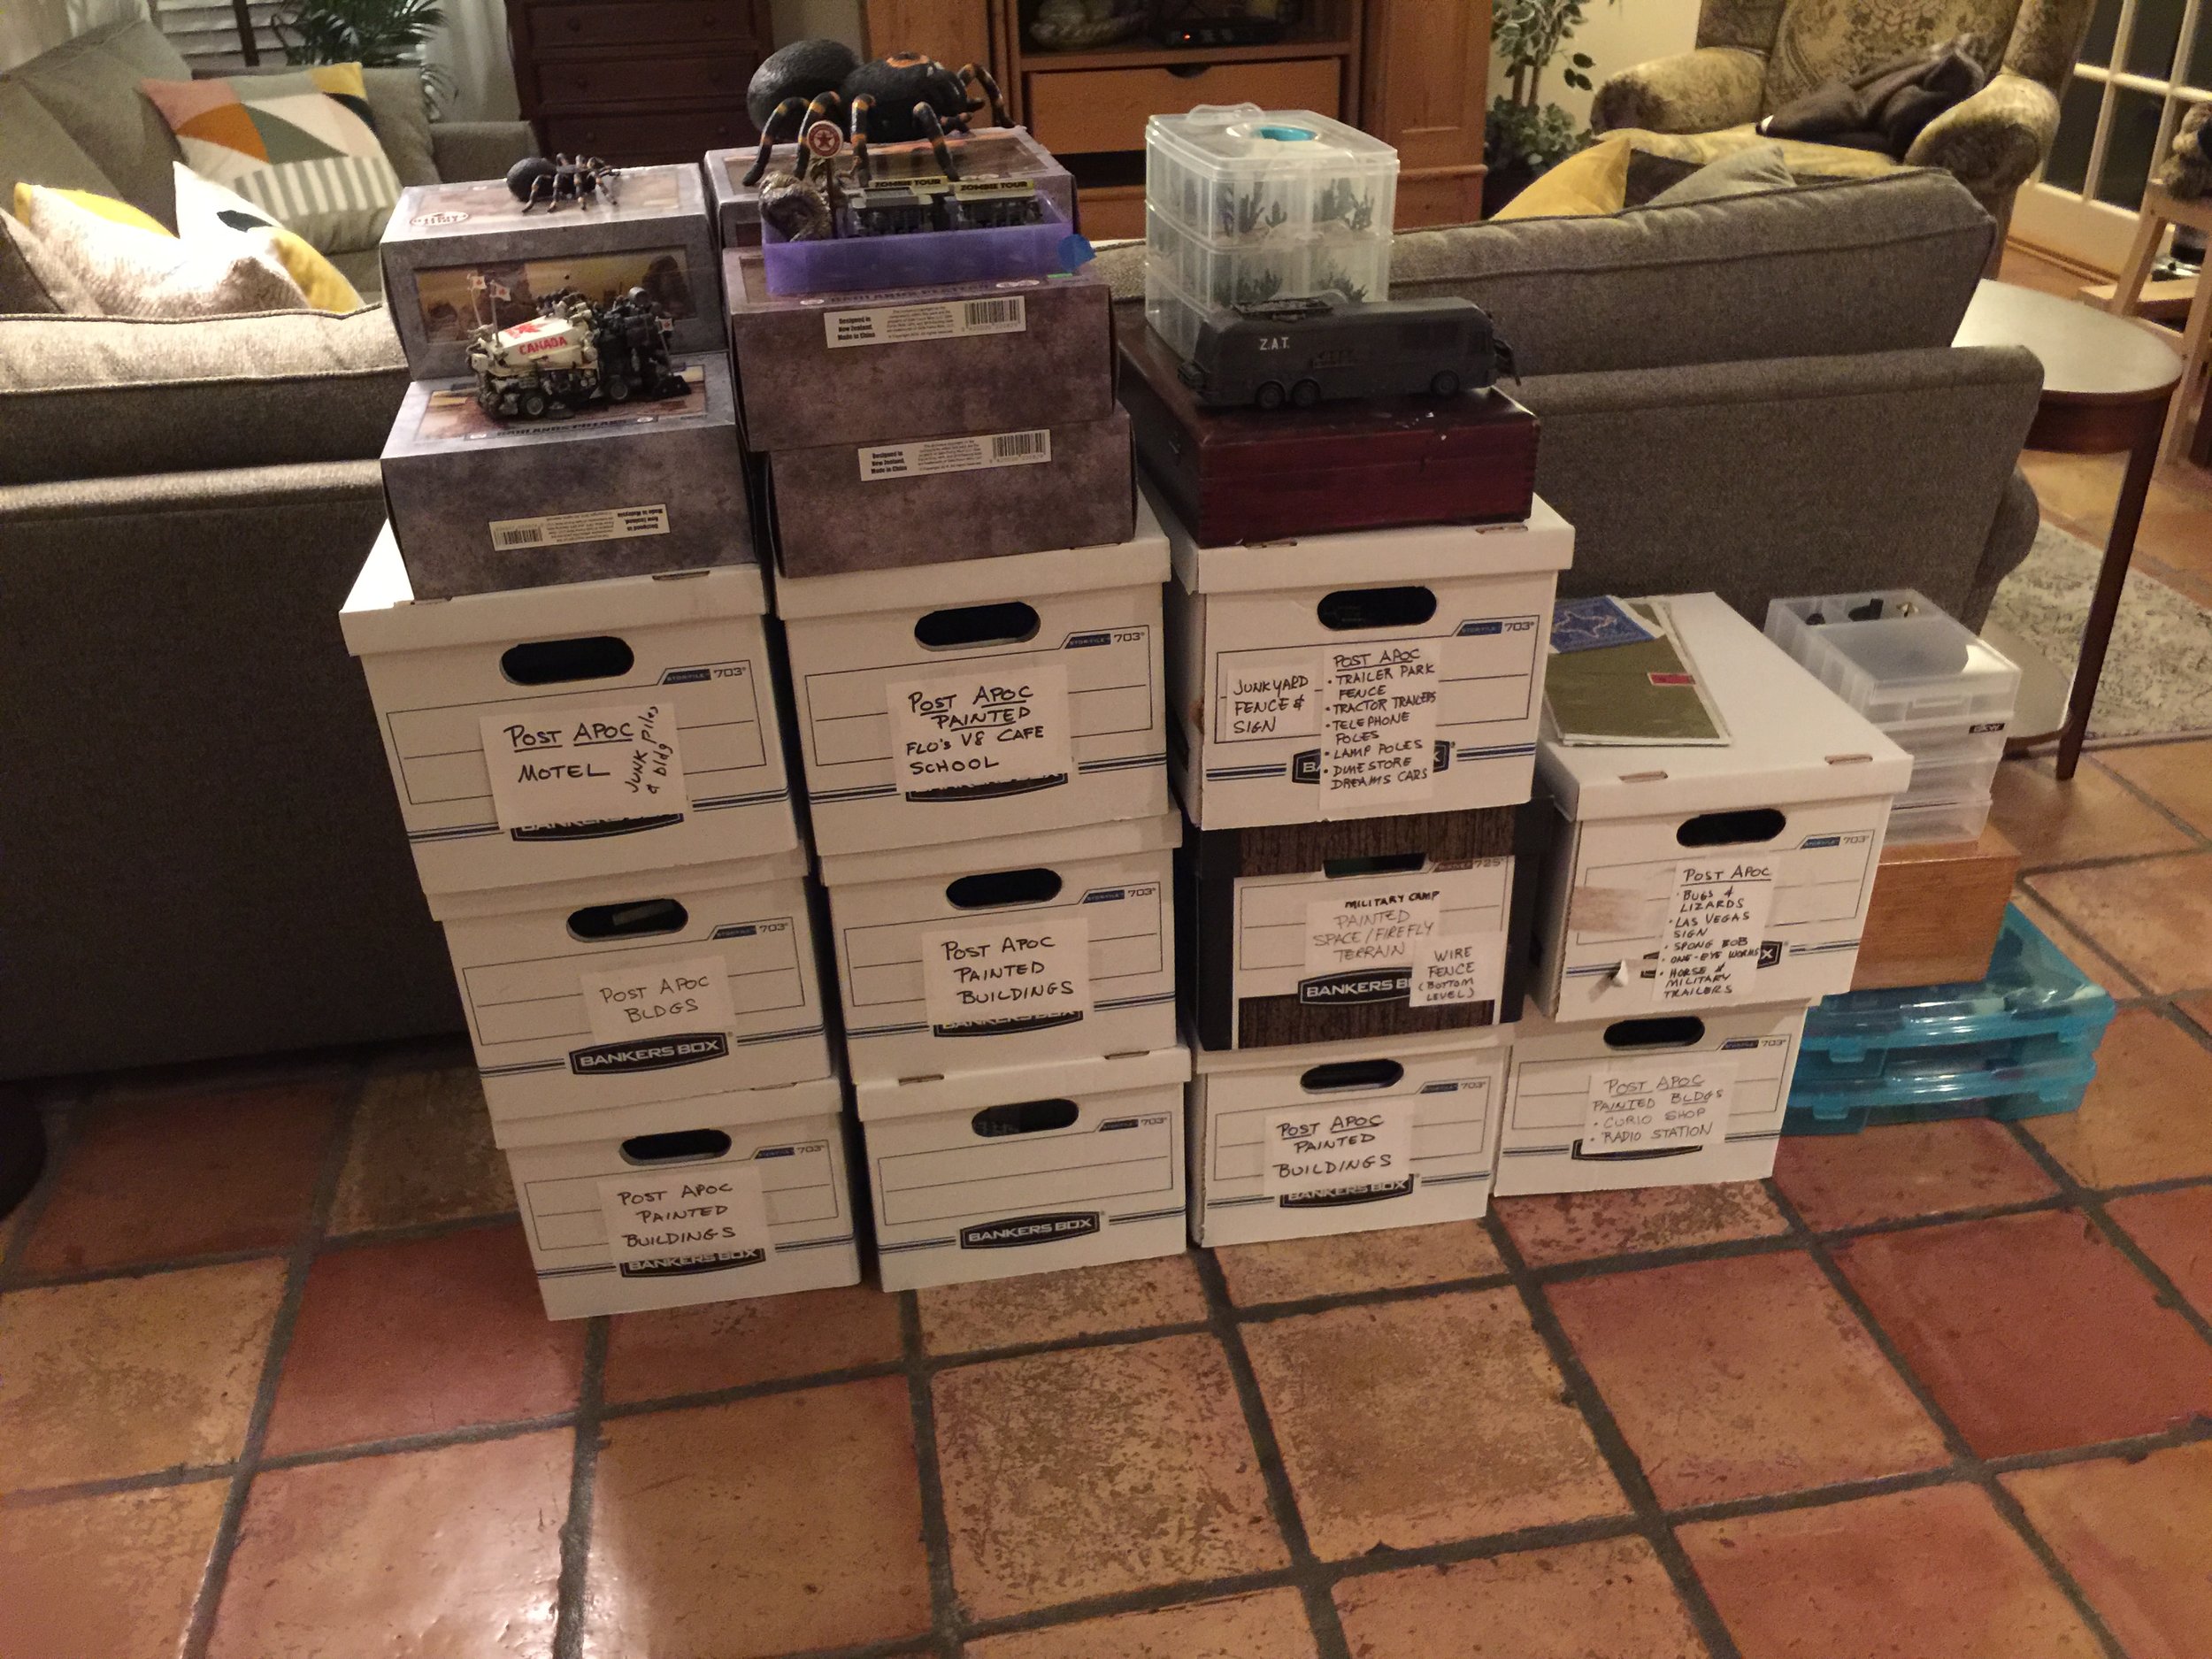
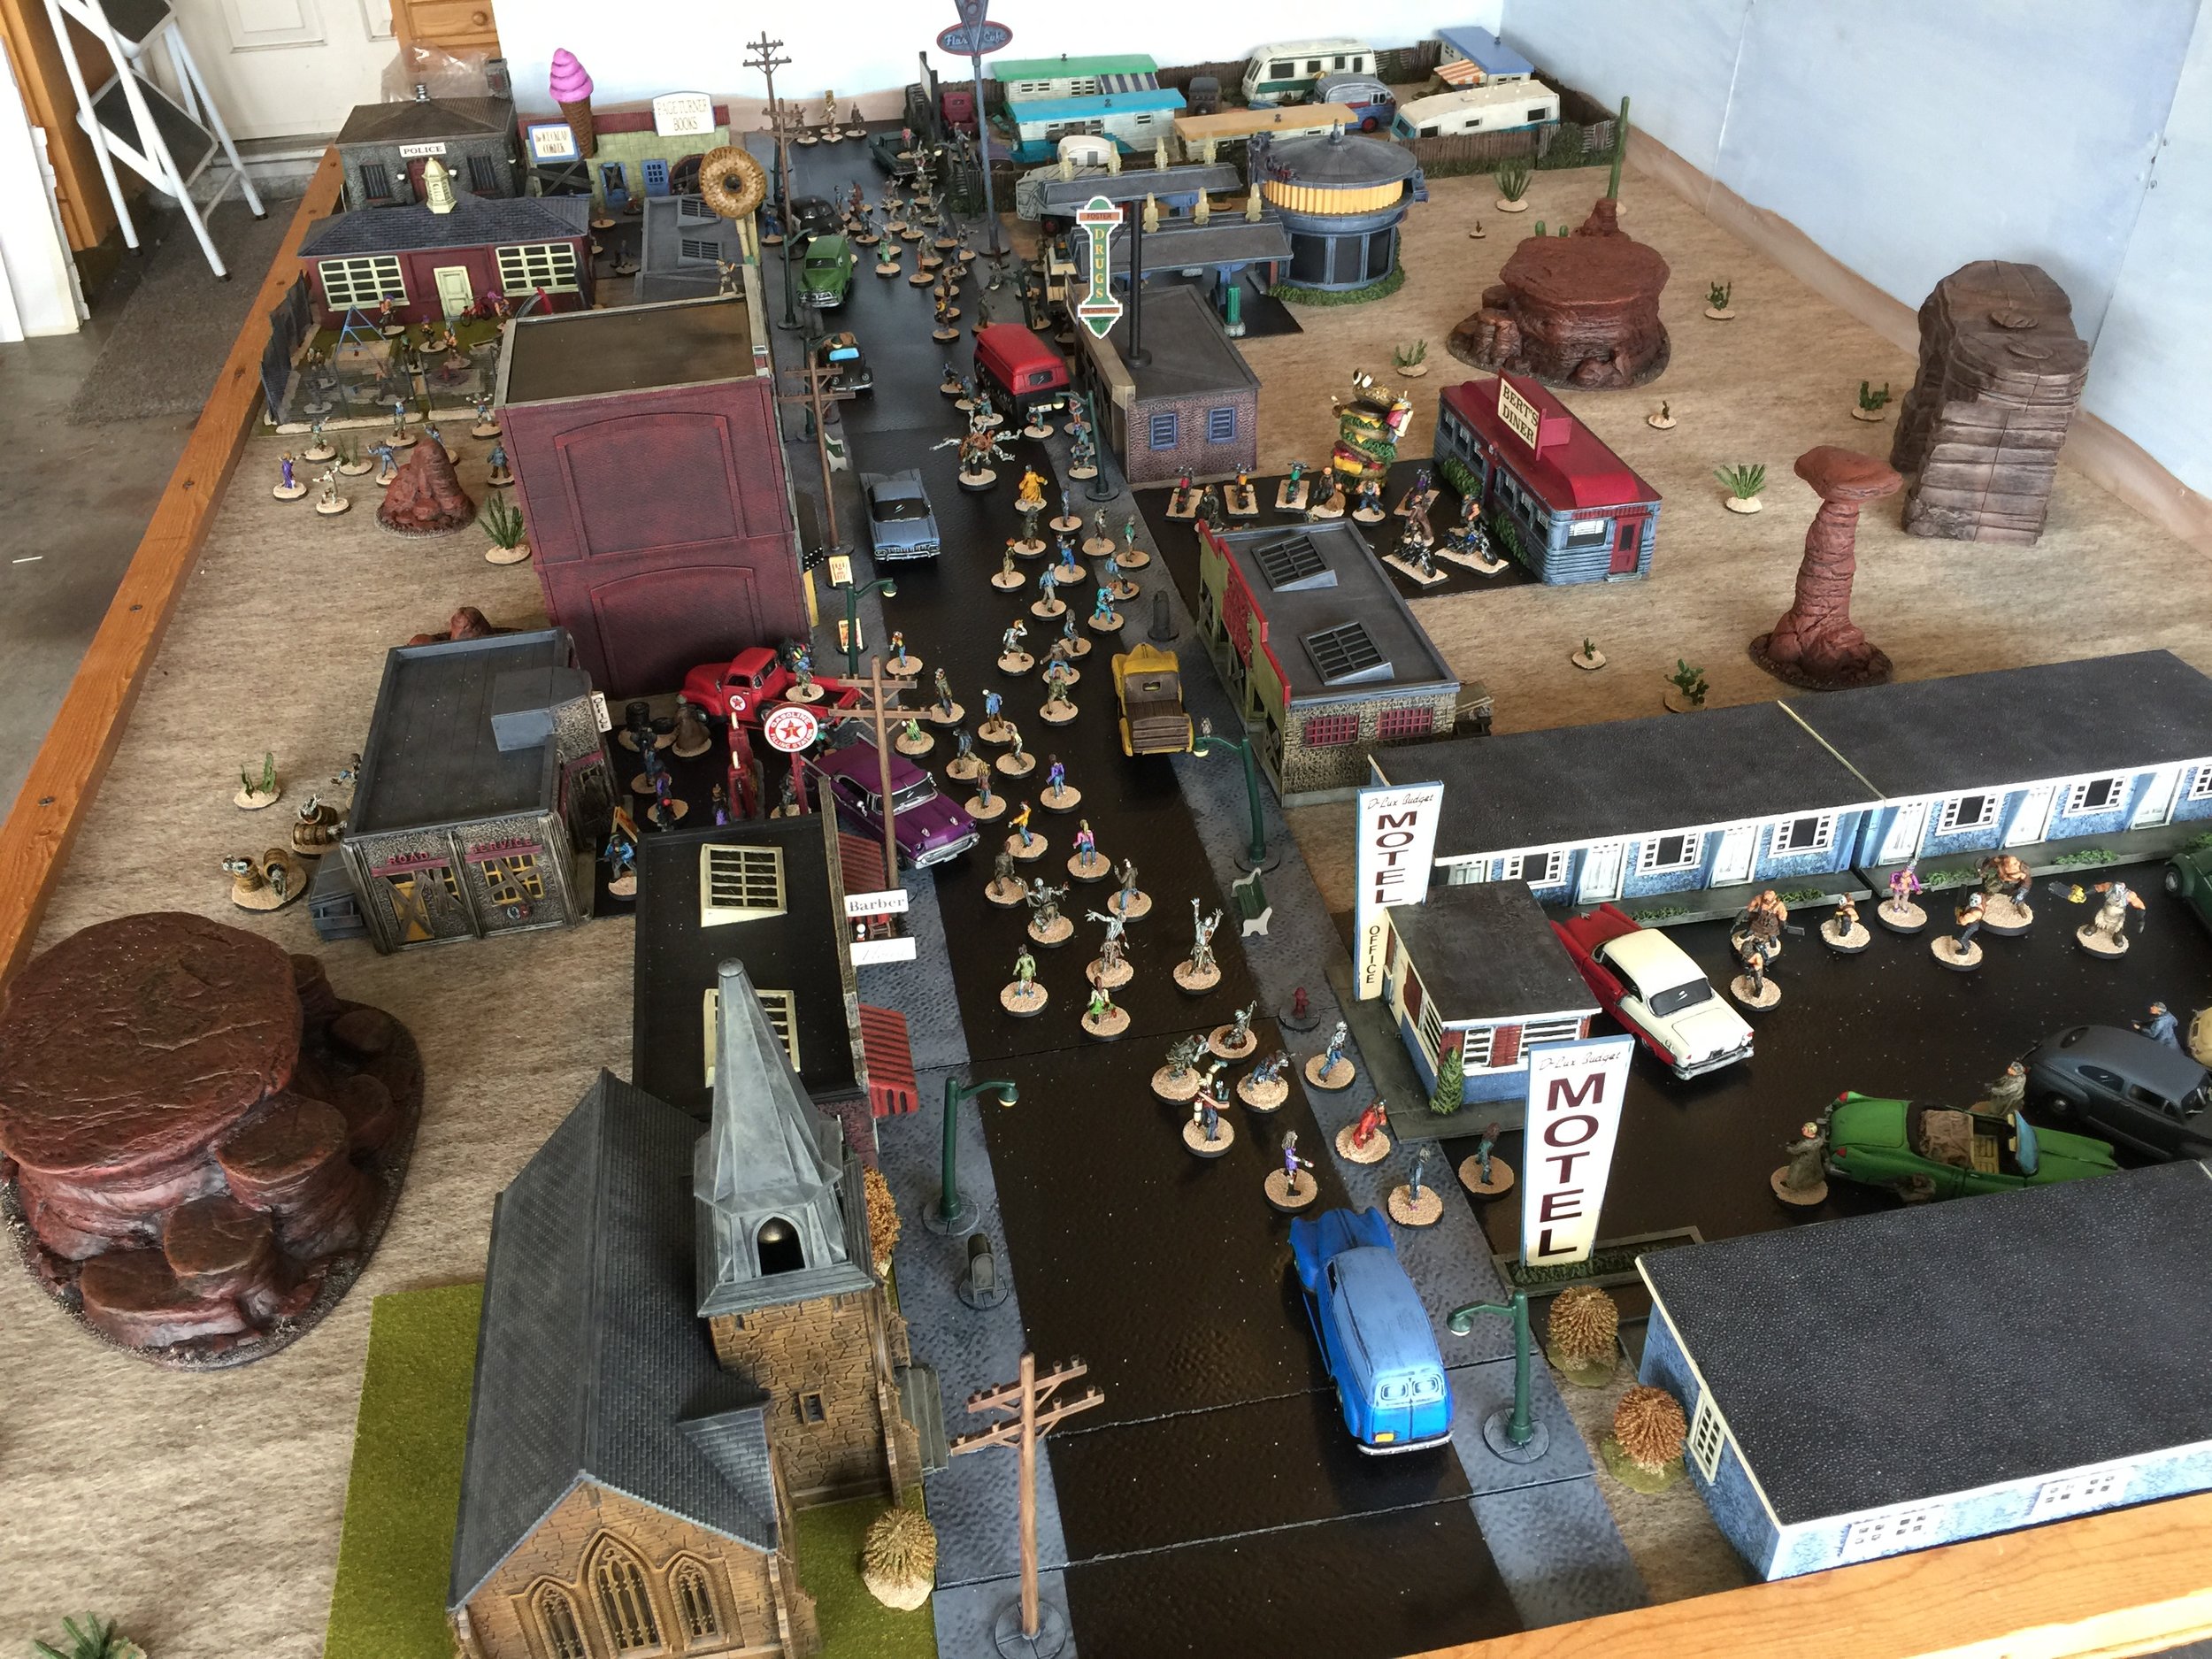
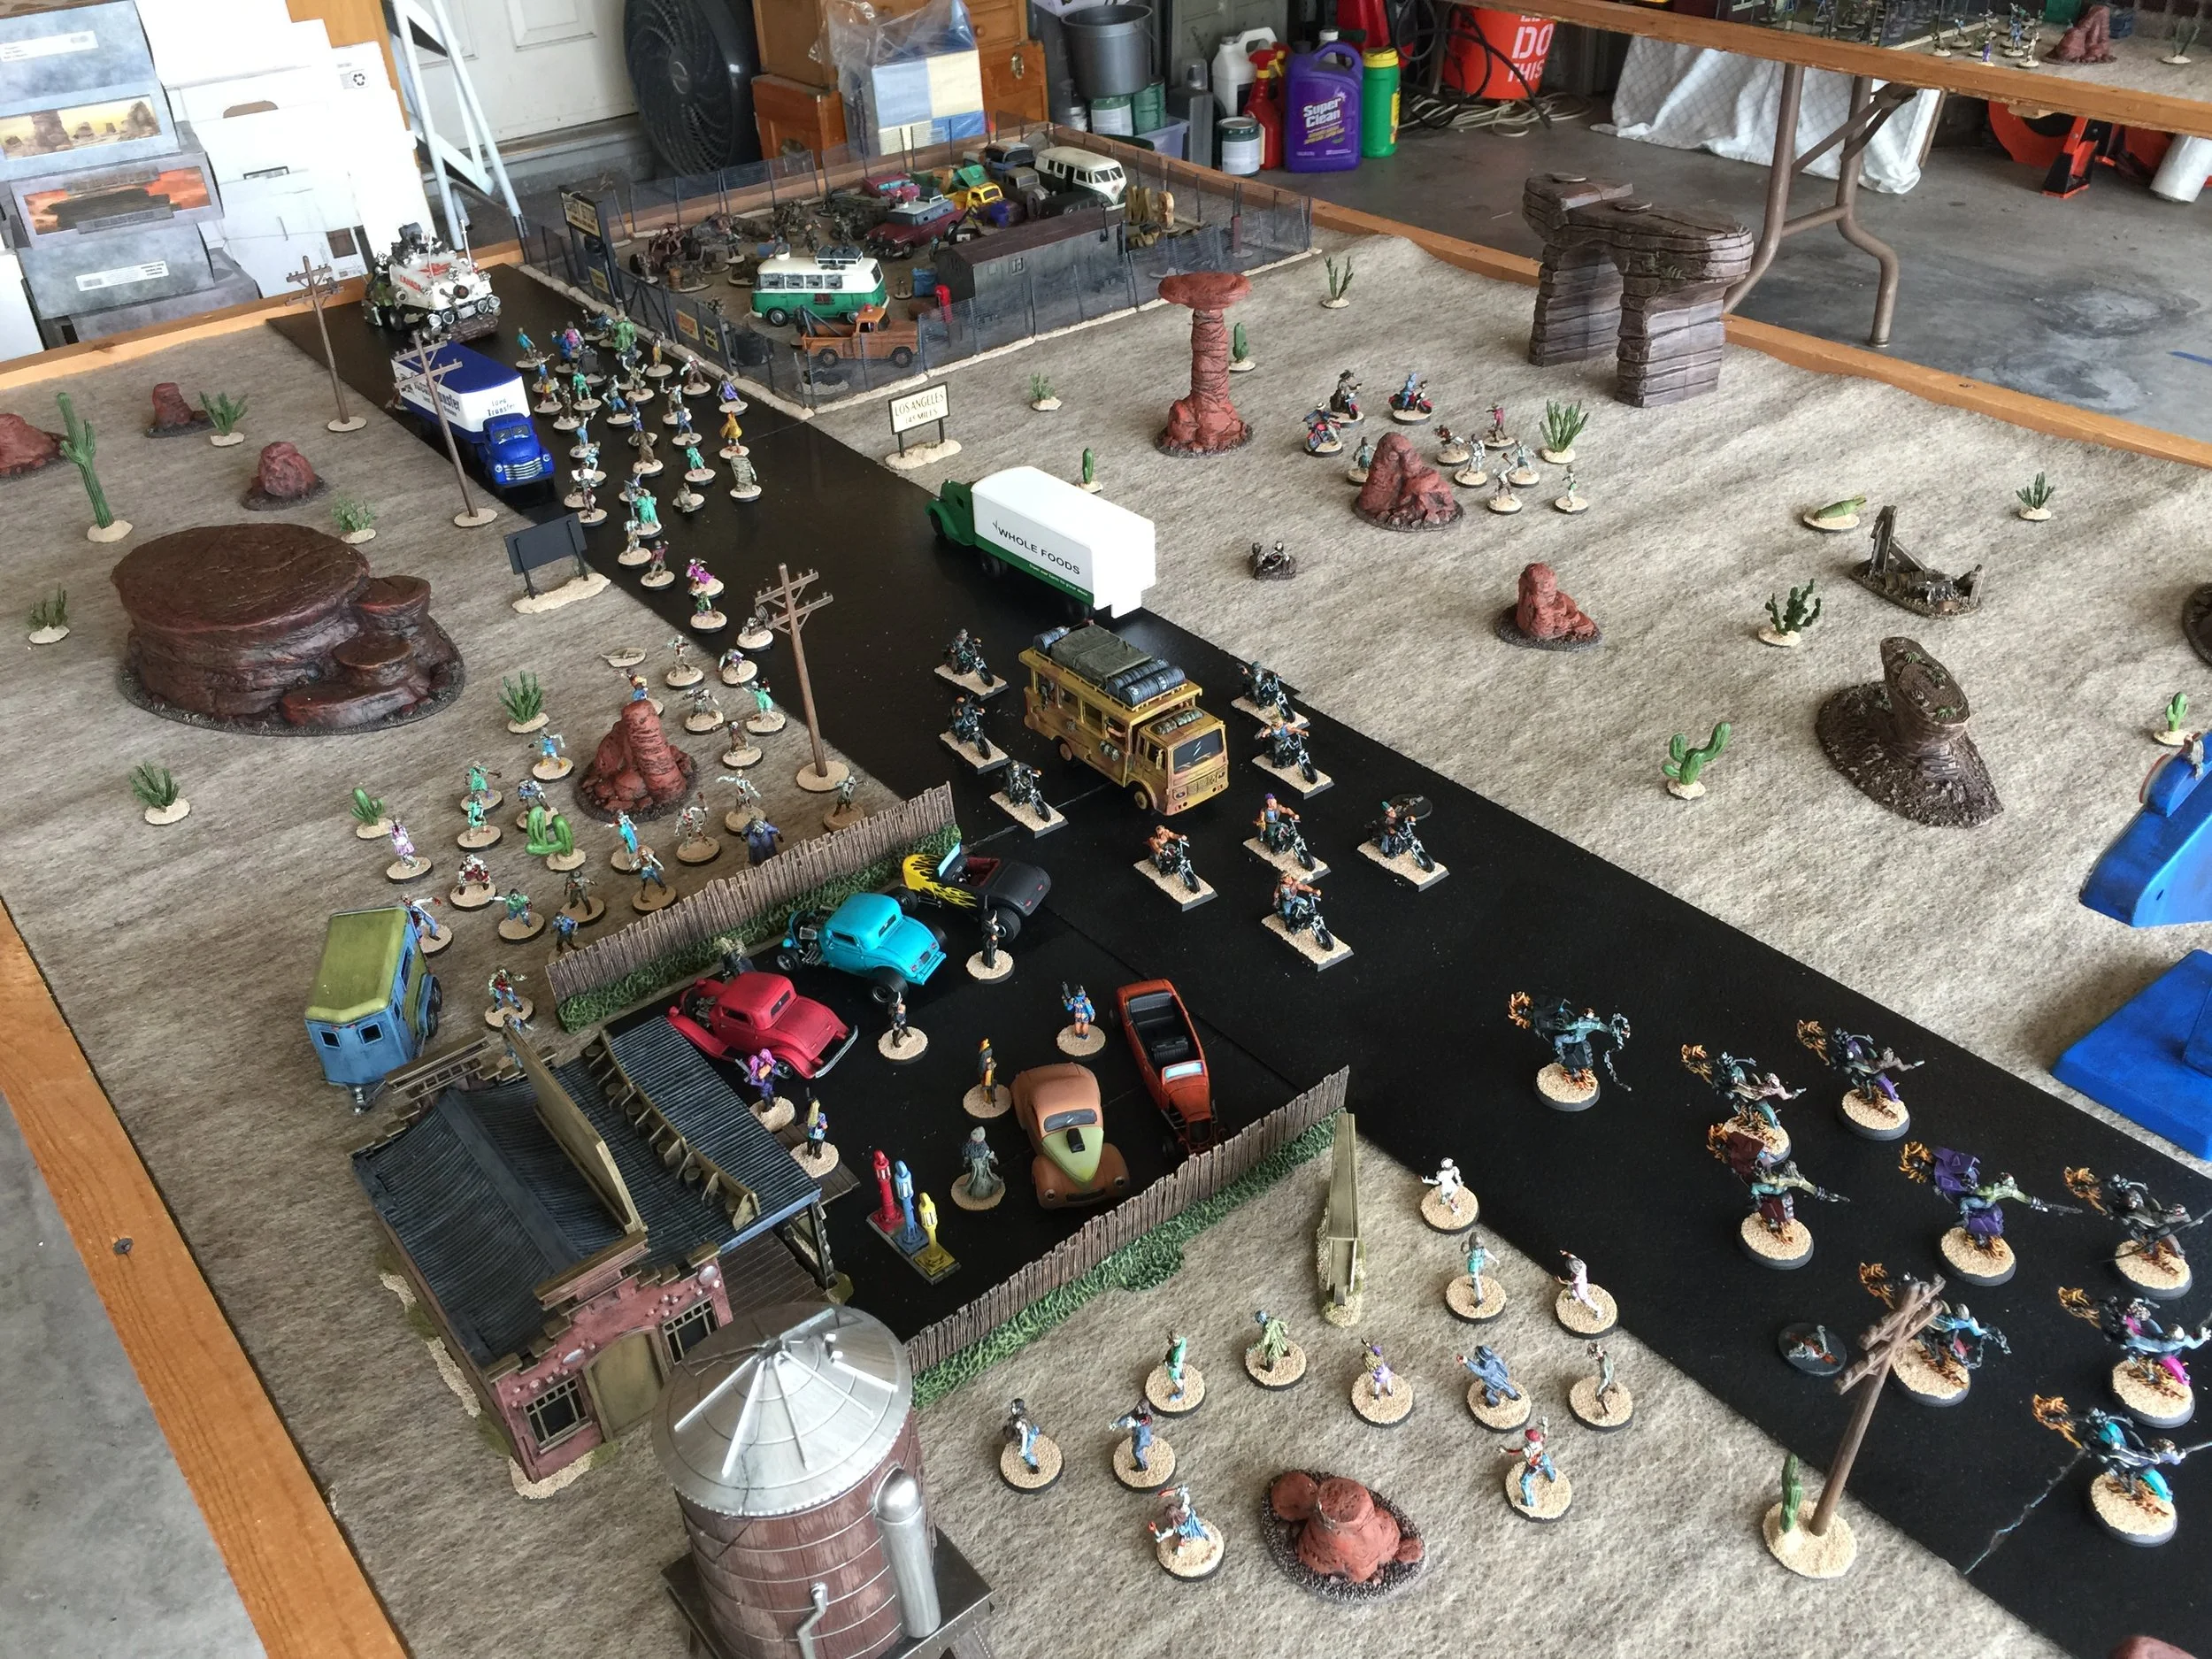
The habit I have developed in the process of scratch building the pre-siege legation walls is to build the structures cast as part of the original resin walls before building the walls themselves. In the case of the British legation I began by building the legation’s entrance. Once I knew that I could scratch build a structure that complex I moved to the construction of the other legations: first the French legation, second the Russian legation, third the Japanese legation and fourth the US legation. With those completed I returned to working on the British legation. Thus far I have completed (in addition to the legation’s entrance) the small peaked roof building located in the small interior courtyard, the rear gatehouse, ten wall posts, the gate to the small courtyard and several pre-siege wall sections. My Weekly Workbench efforts ended this week on Wednesday because Thursday is my birthday, and I’ll be spending it with family and friends. Friday through Sunday will be devoted to the photographing of my complete Post-Apoc collections (Friday set-up, Saturday photographing, and Sunday put away).


JUNE 10, 2018
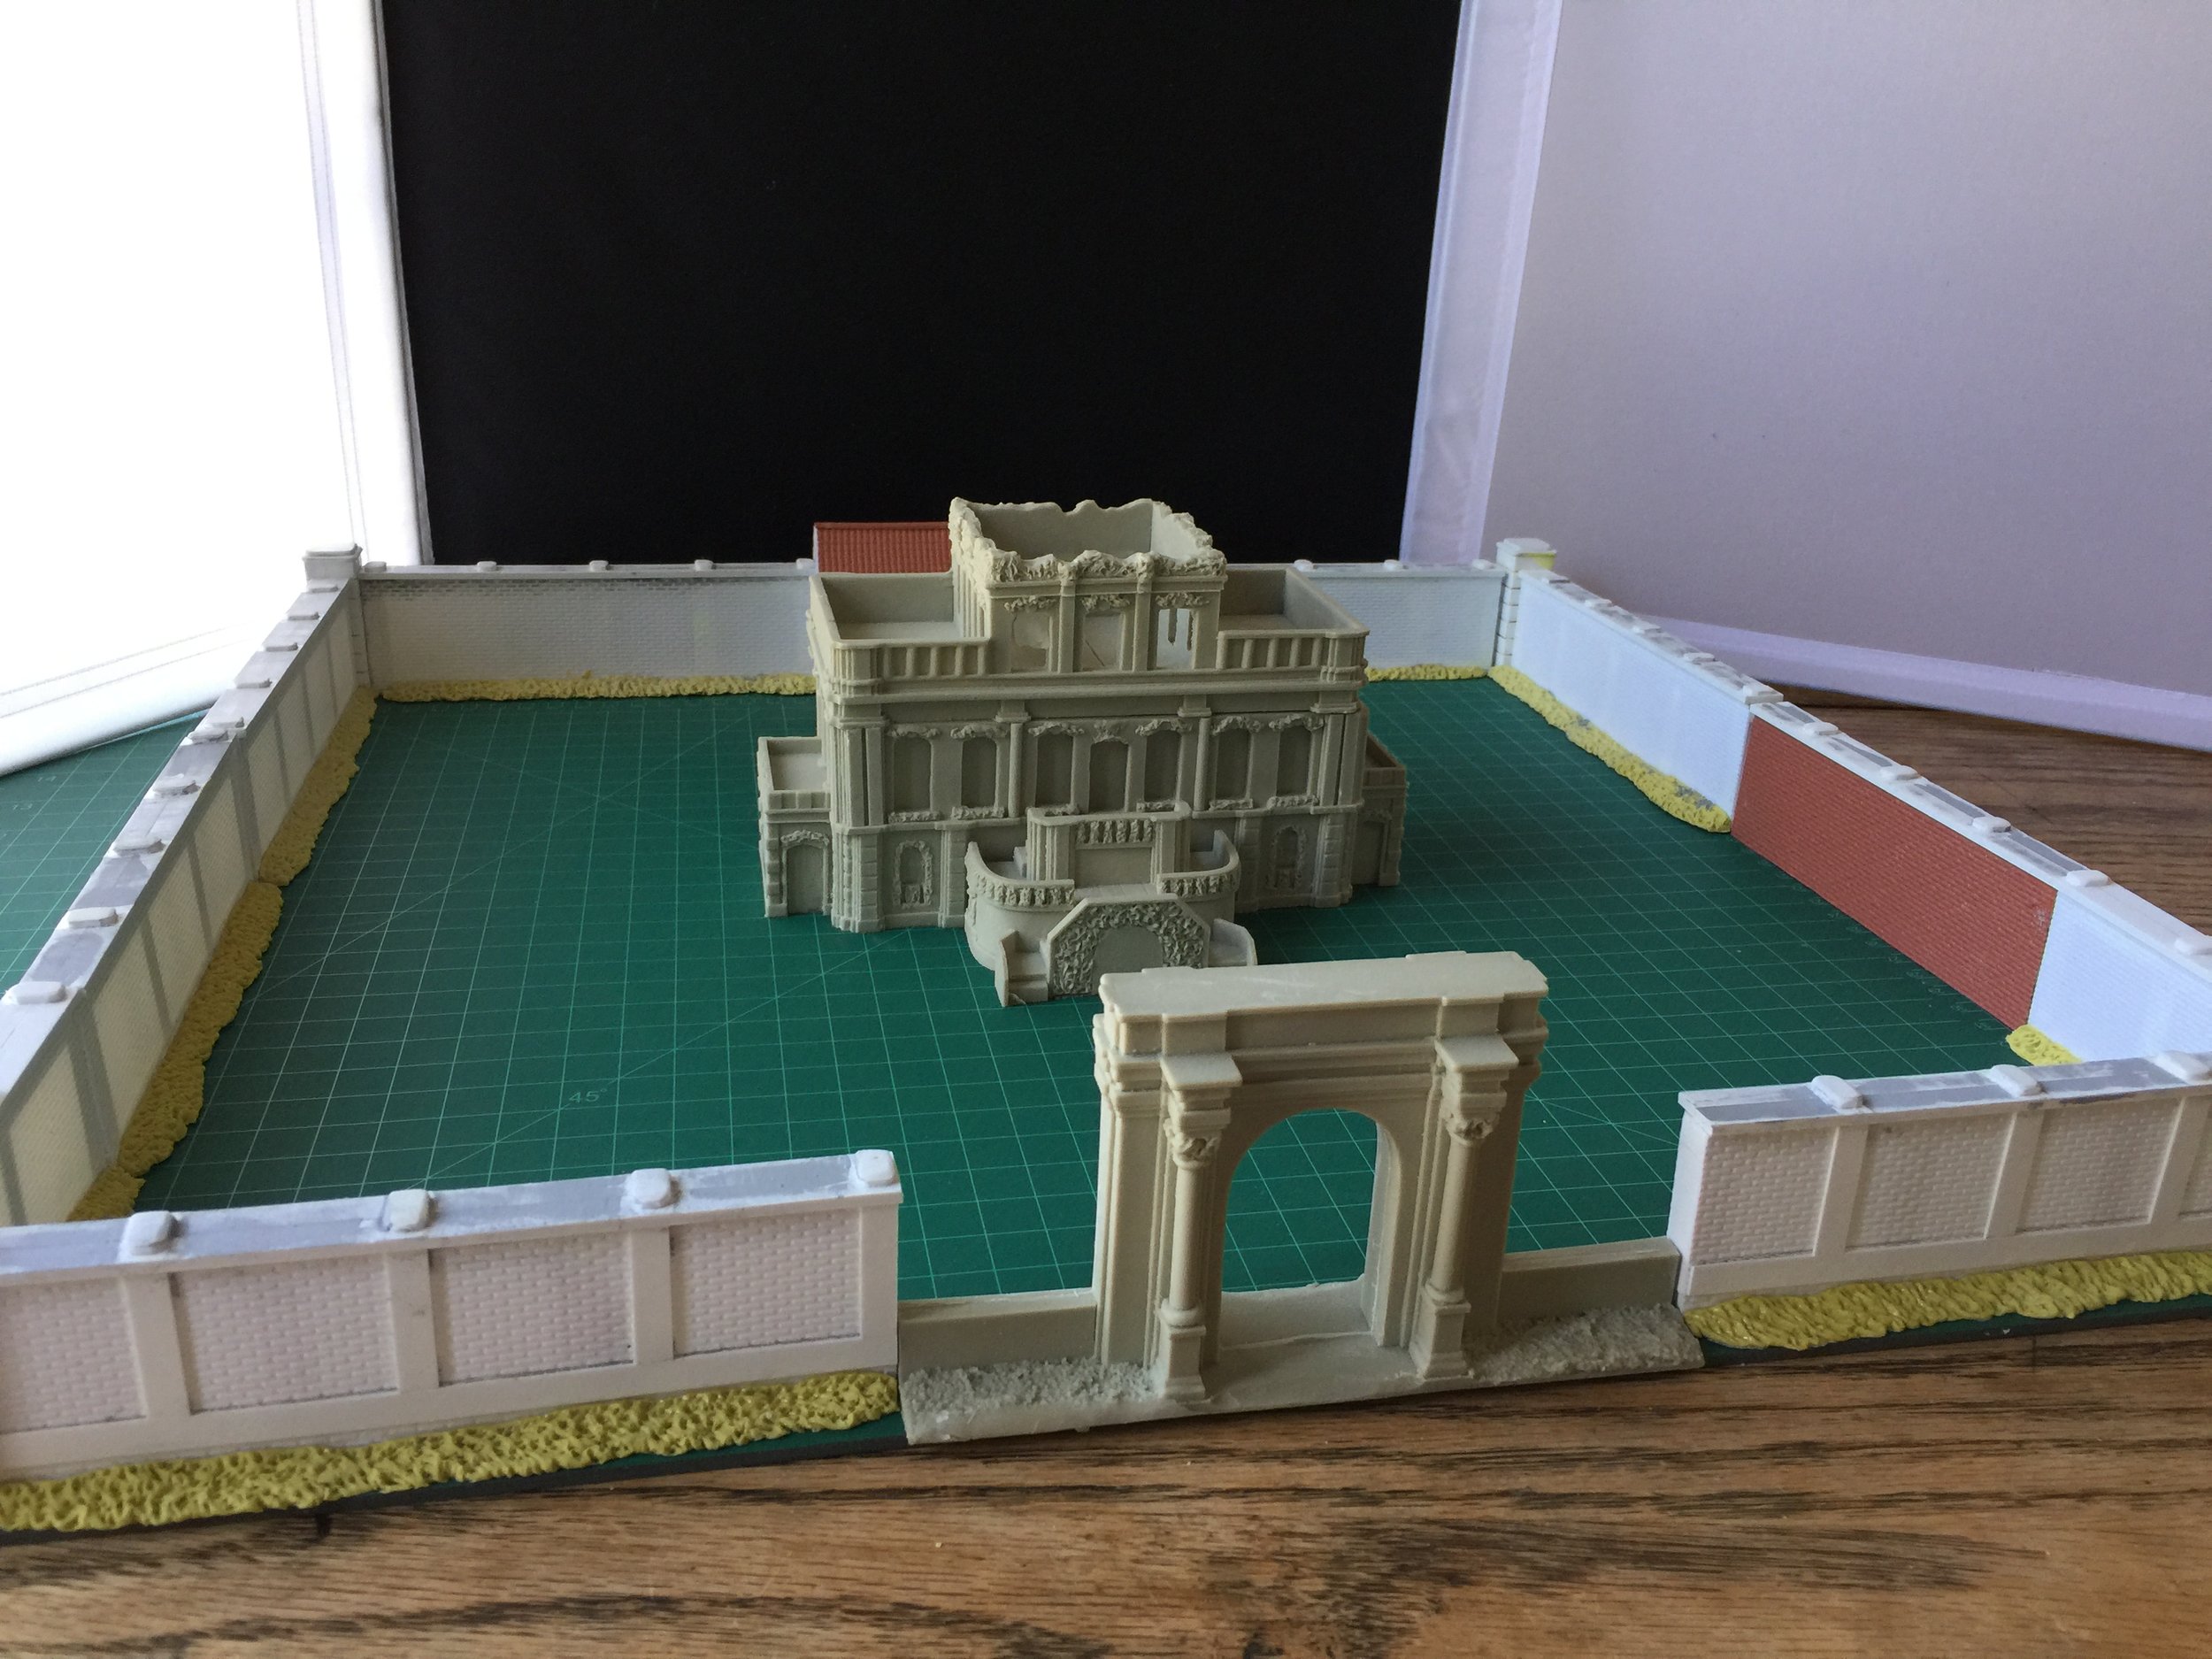
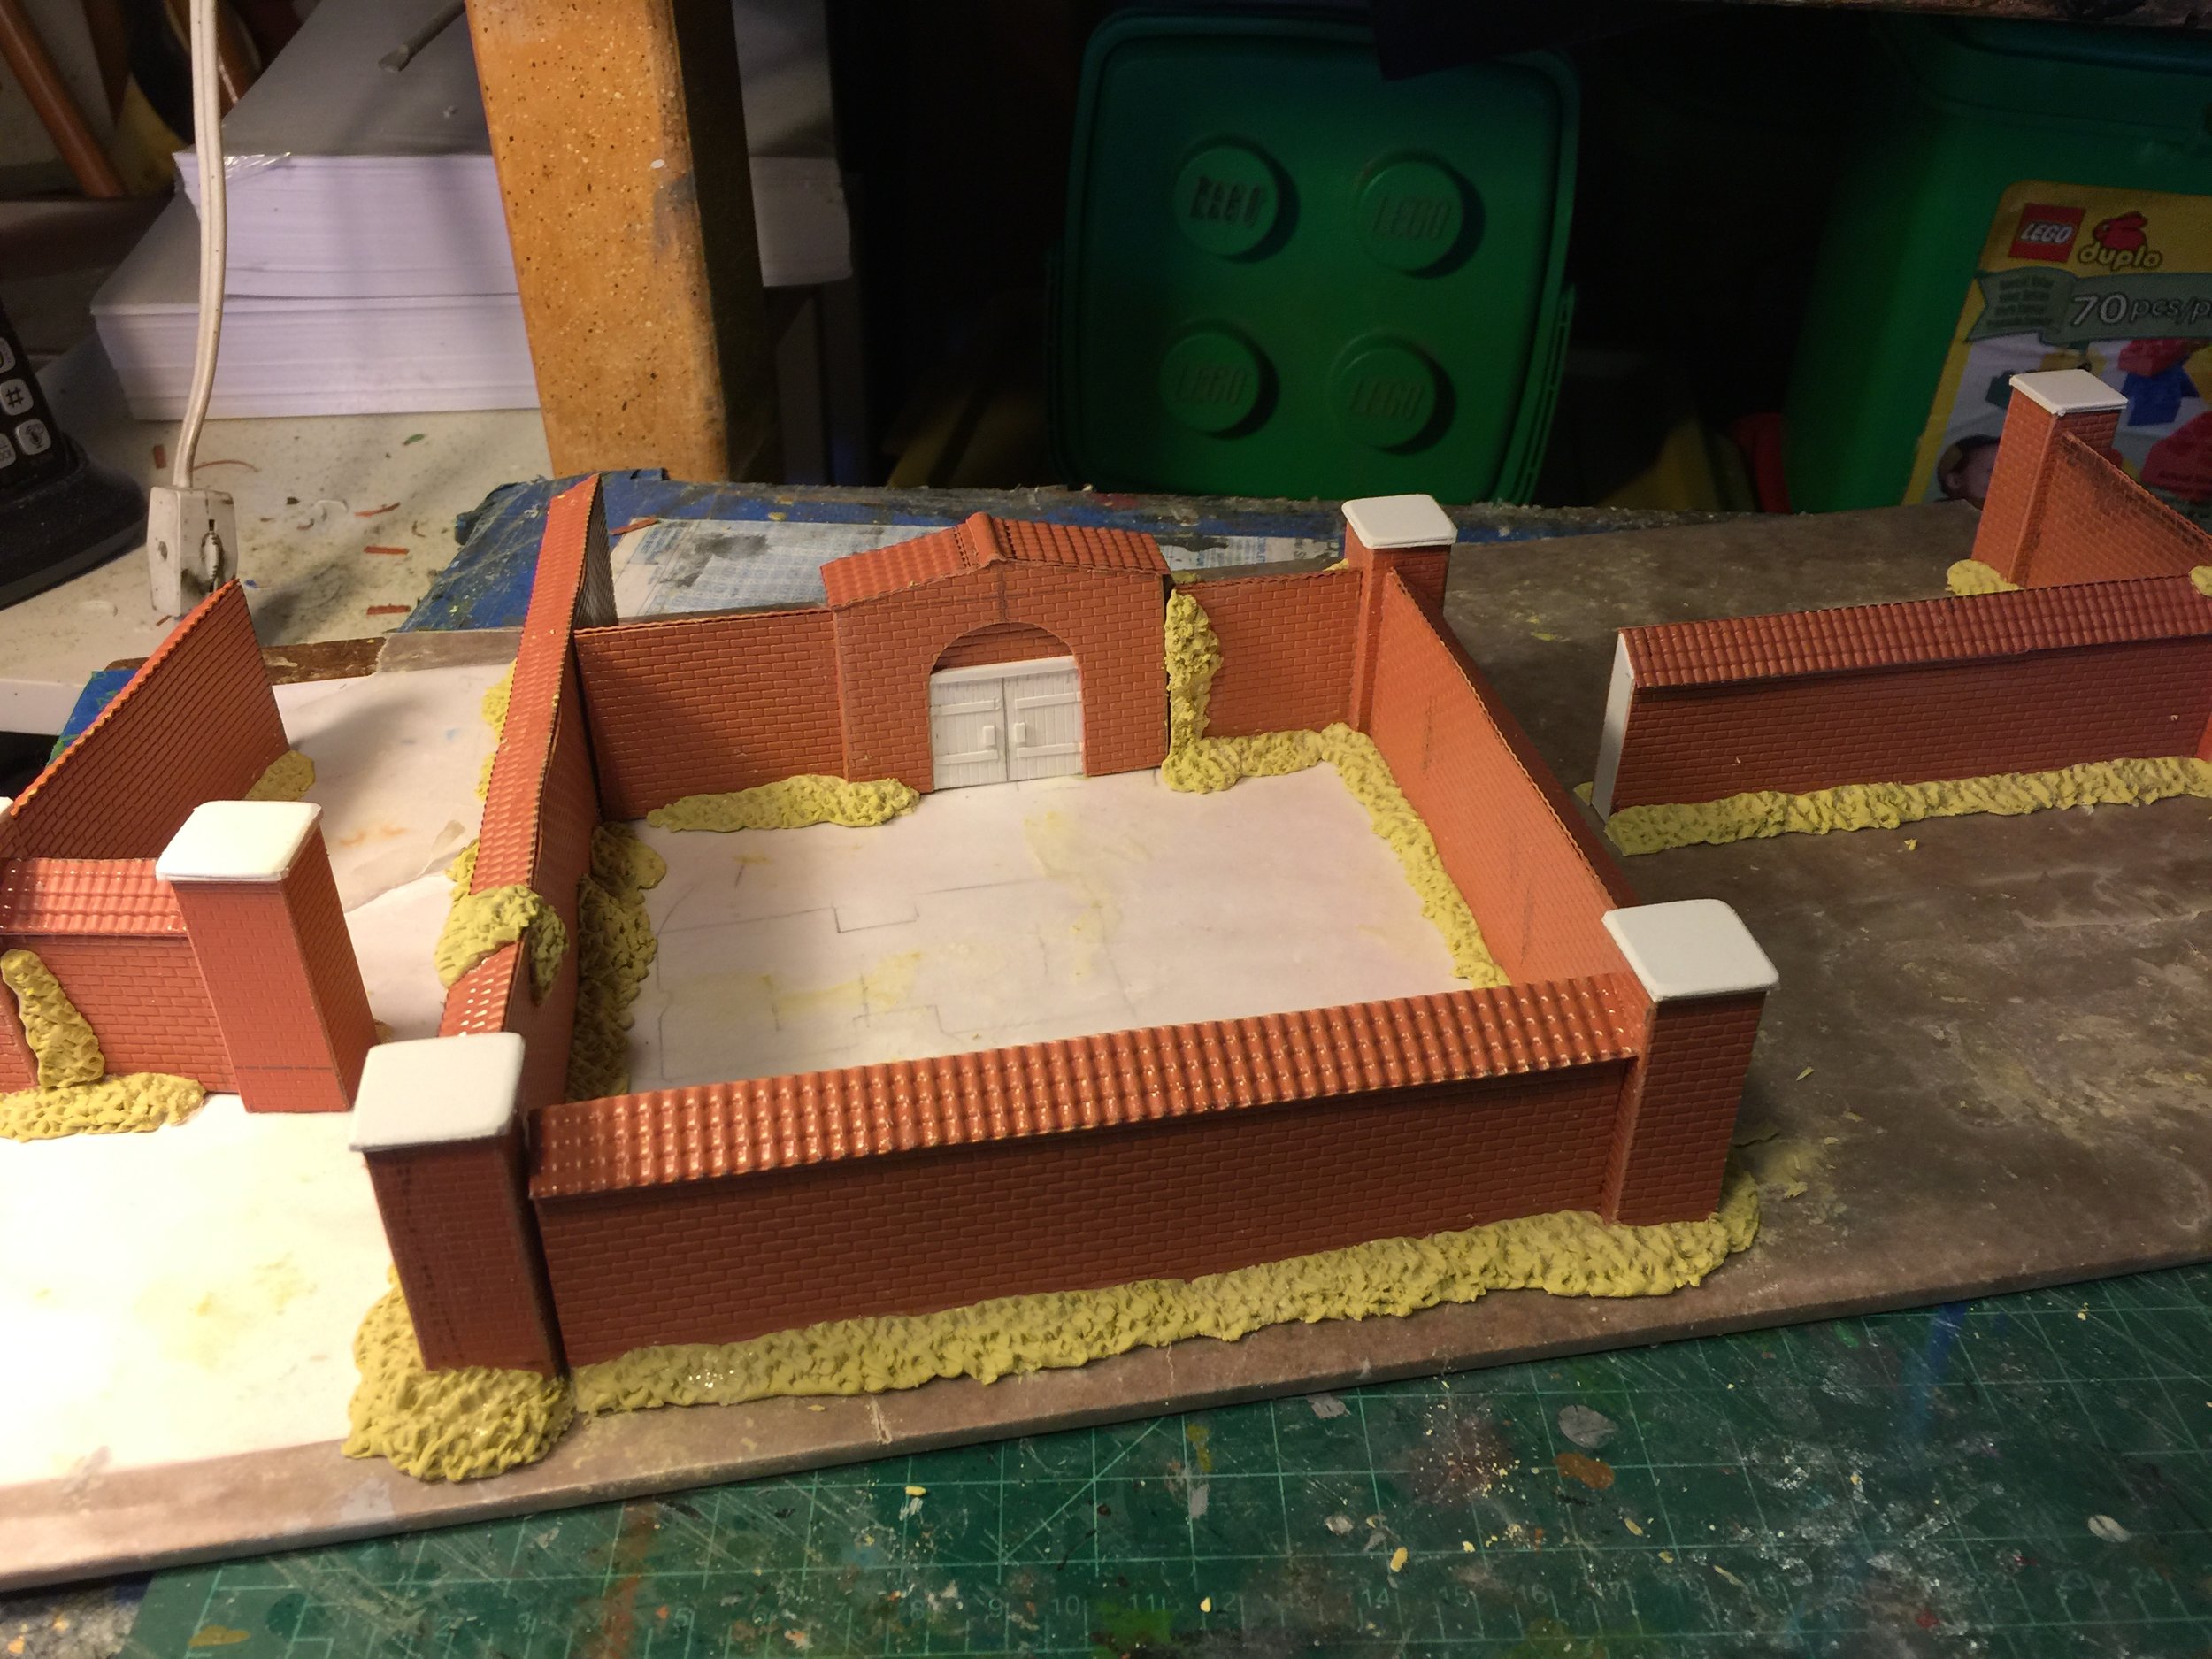
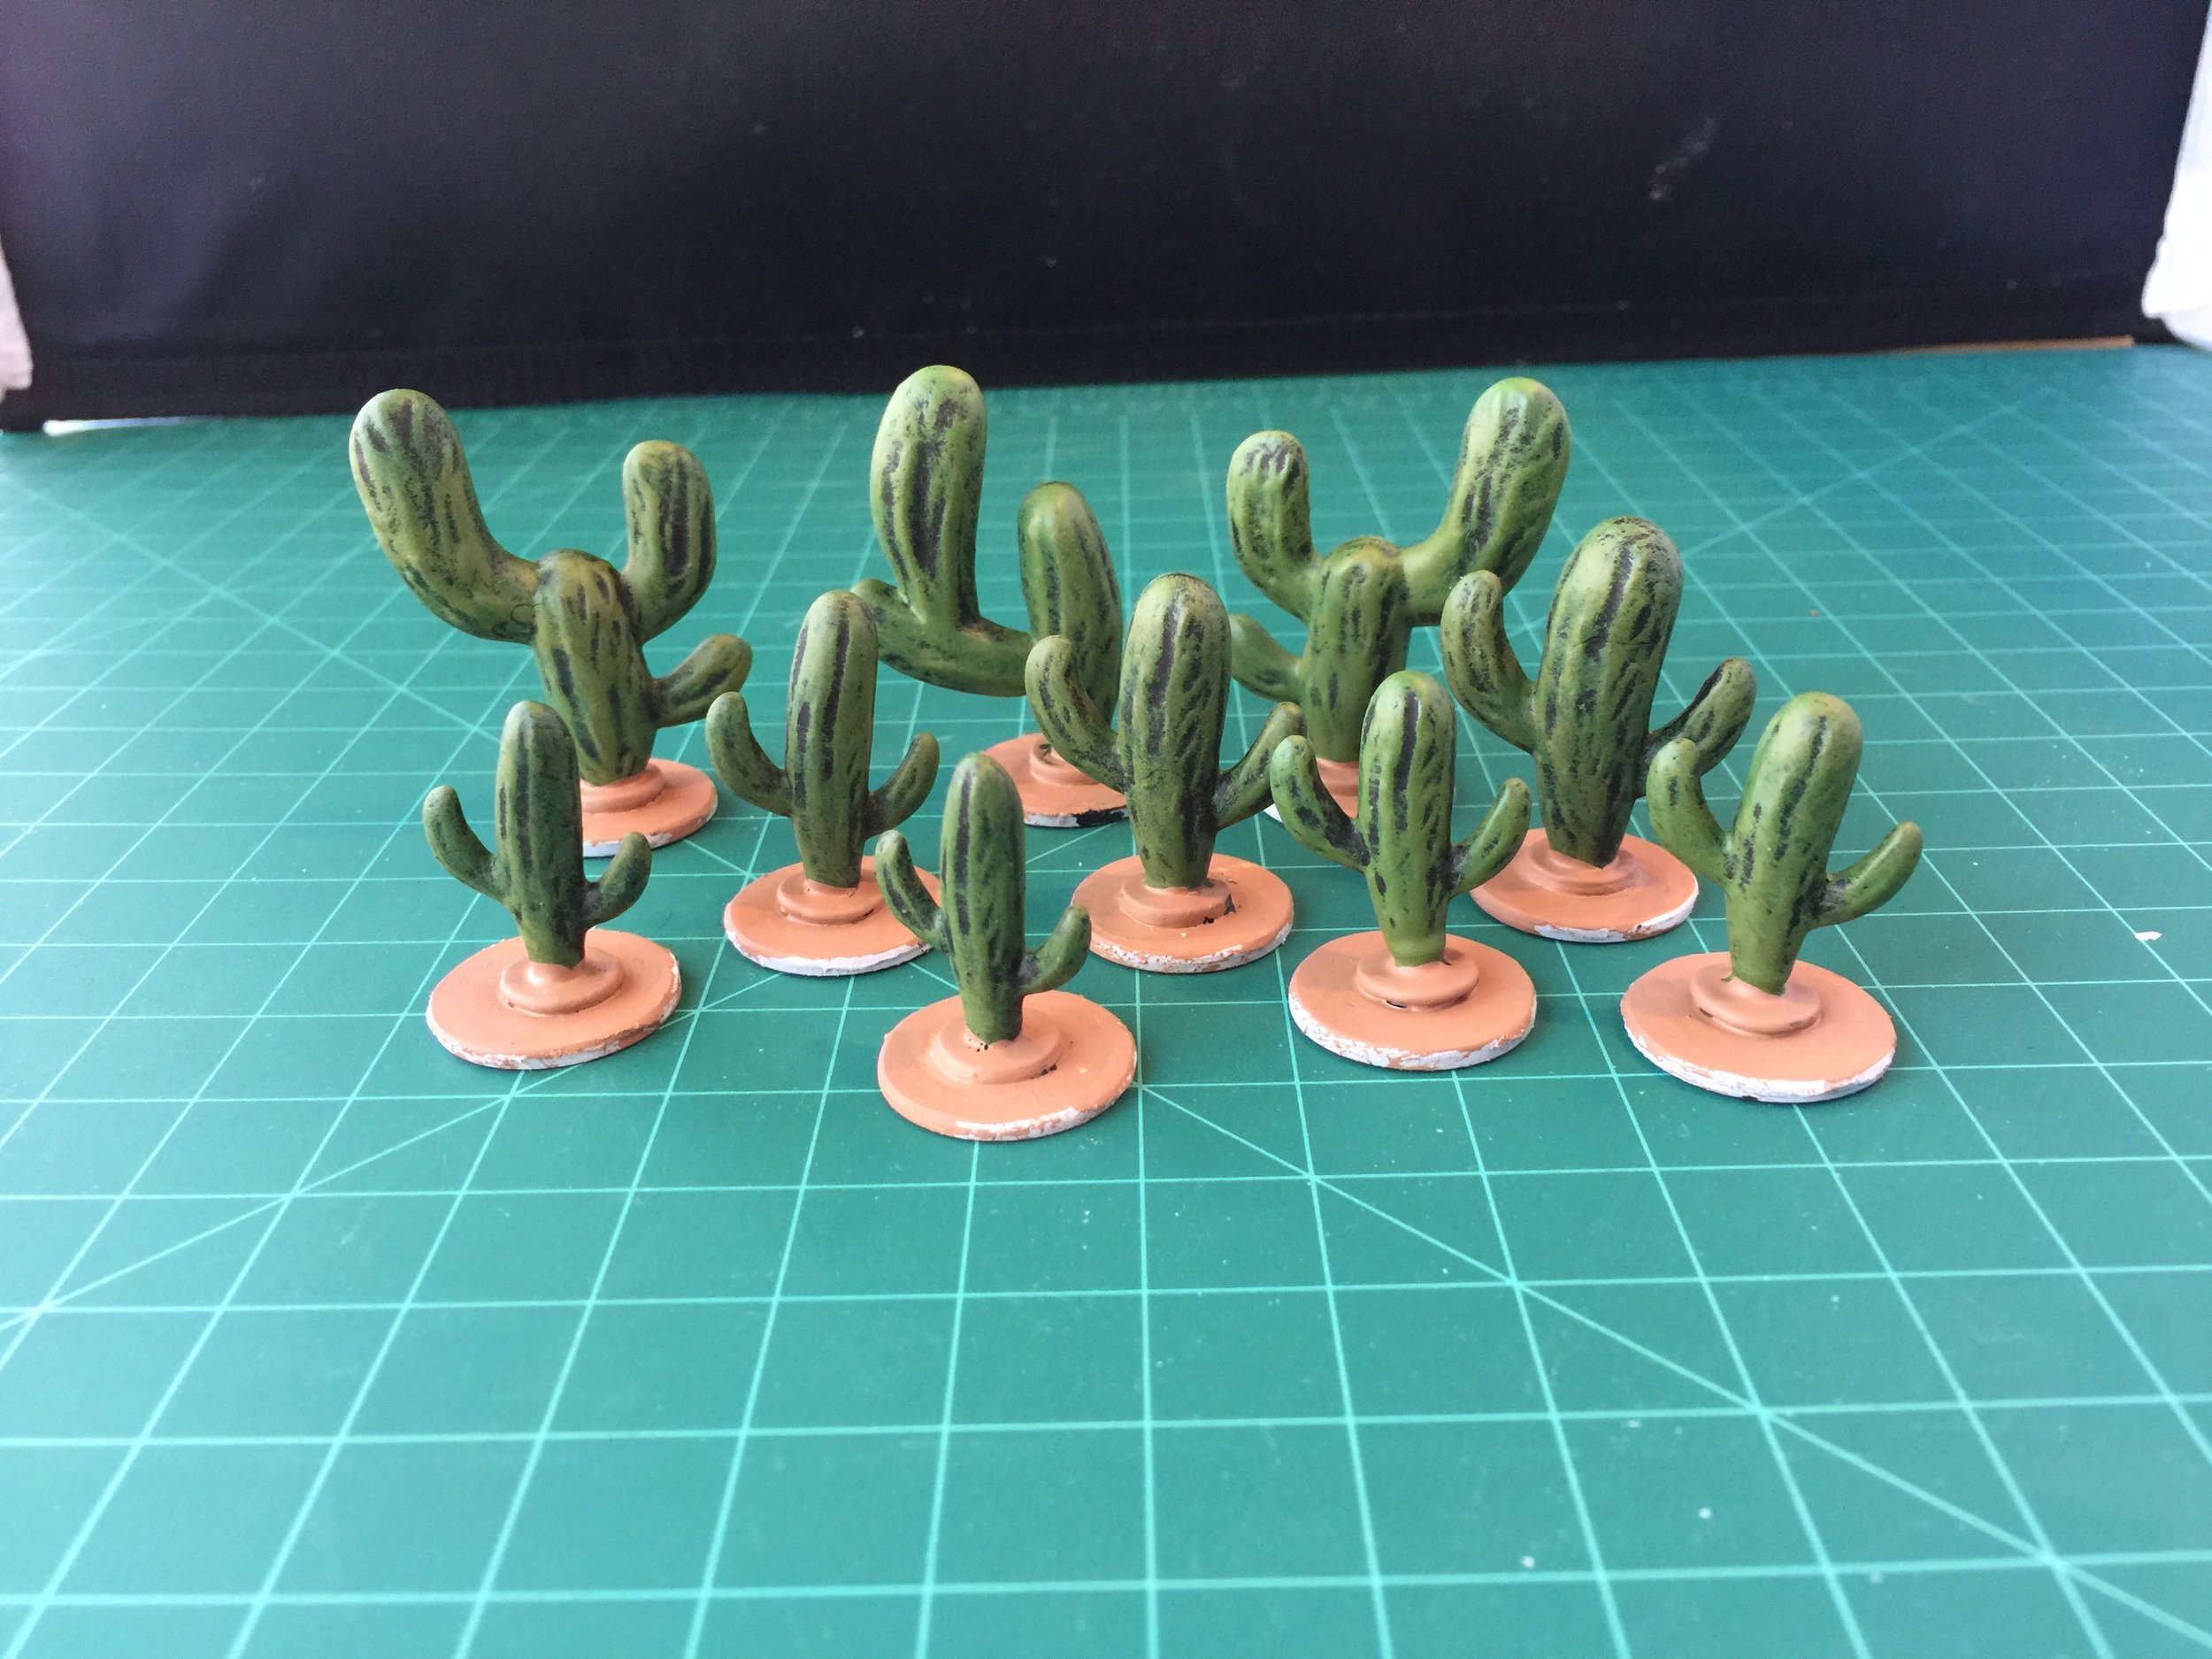
The Weekly Workbench had a single focus this week from Sunday through Friday. That focus was the construction of the pre-siege walls for the US legation compound. It is the second largest of the five legation compounds I am doing, and it held some special problems that slowed the work significantly. The first of those problems was that I had failed to see that I needed an additional small Lego-covered Milliput shrub cover for the right front corner of the legation wall which is the side of the wall that I am not building but rather using Milliput shrubs to hide the firing steps. I forgot to complete this cover-up when I did the original cover-up because in the case of the US legation the right front corner of that wall is not part of the wall; it is a separate small piece. Once that was done and painted, I began the actual construction of the pre-siege walls. The US legation walls presented a couple of special problems in that the top of those walls is tile and comes to a peak in the center. Bringing the tile peak together firmly wasn’t easy. Also the wall sections were often significantly longer than my sheets of Plastruct HO scale tile so I could not use a single strip of tile on each side of the wall top and the connecting points had to be hidden by Milliput climbing shrubs. The last big problem was that the US compound is not a simple rectangle. It has some odd angles to it, and those were very difficult to bring together and also had to have the connecting points hidden by Milliput shrubs. Nonetheless, I think it came out pretty good. On Saturday I found a baggie full of 10 plastic cactus at the swap meet. I brought them home, based them and painted them in preparation for this week’s photo session of the Post-Apoc collection this coming Saturday. All that remains to do with these last 10 cactus is to paint the base edges black, spray the cactus with Dullcote to fix the paint and add the ground cover to the bases… easy stuff.
JUNE 3, 2018
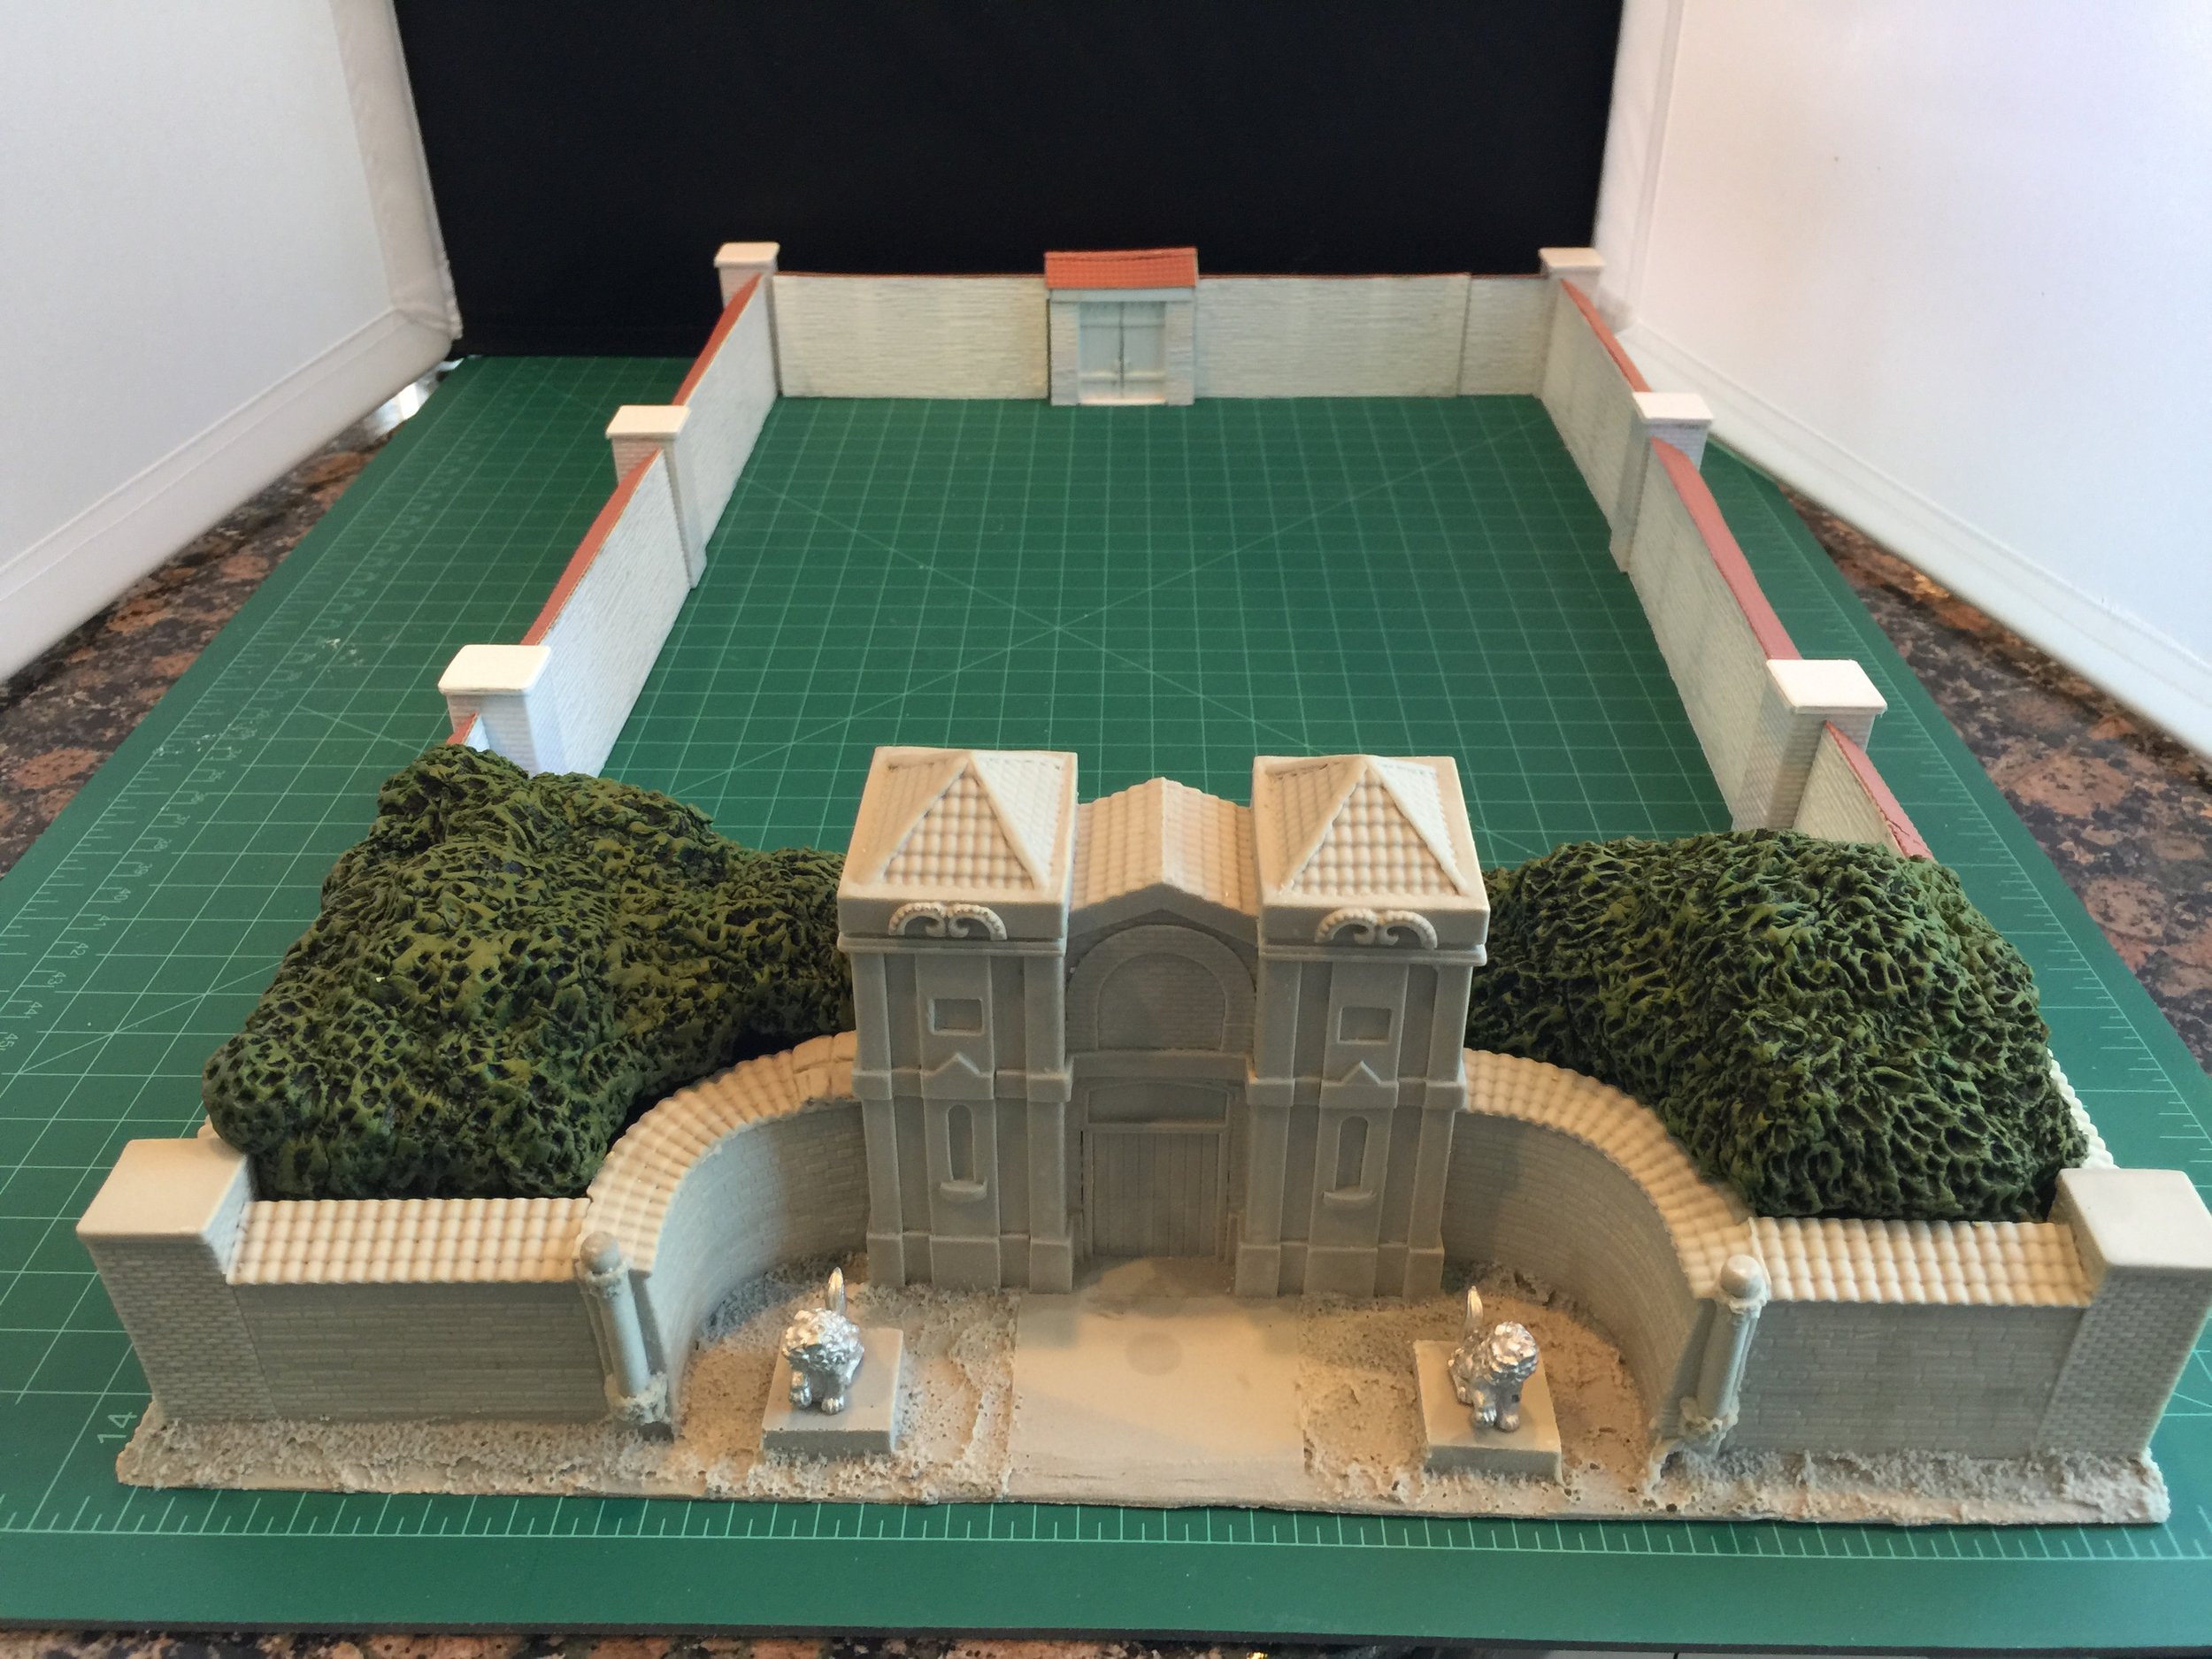
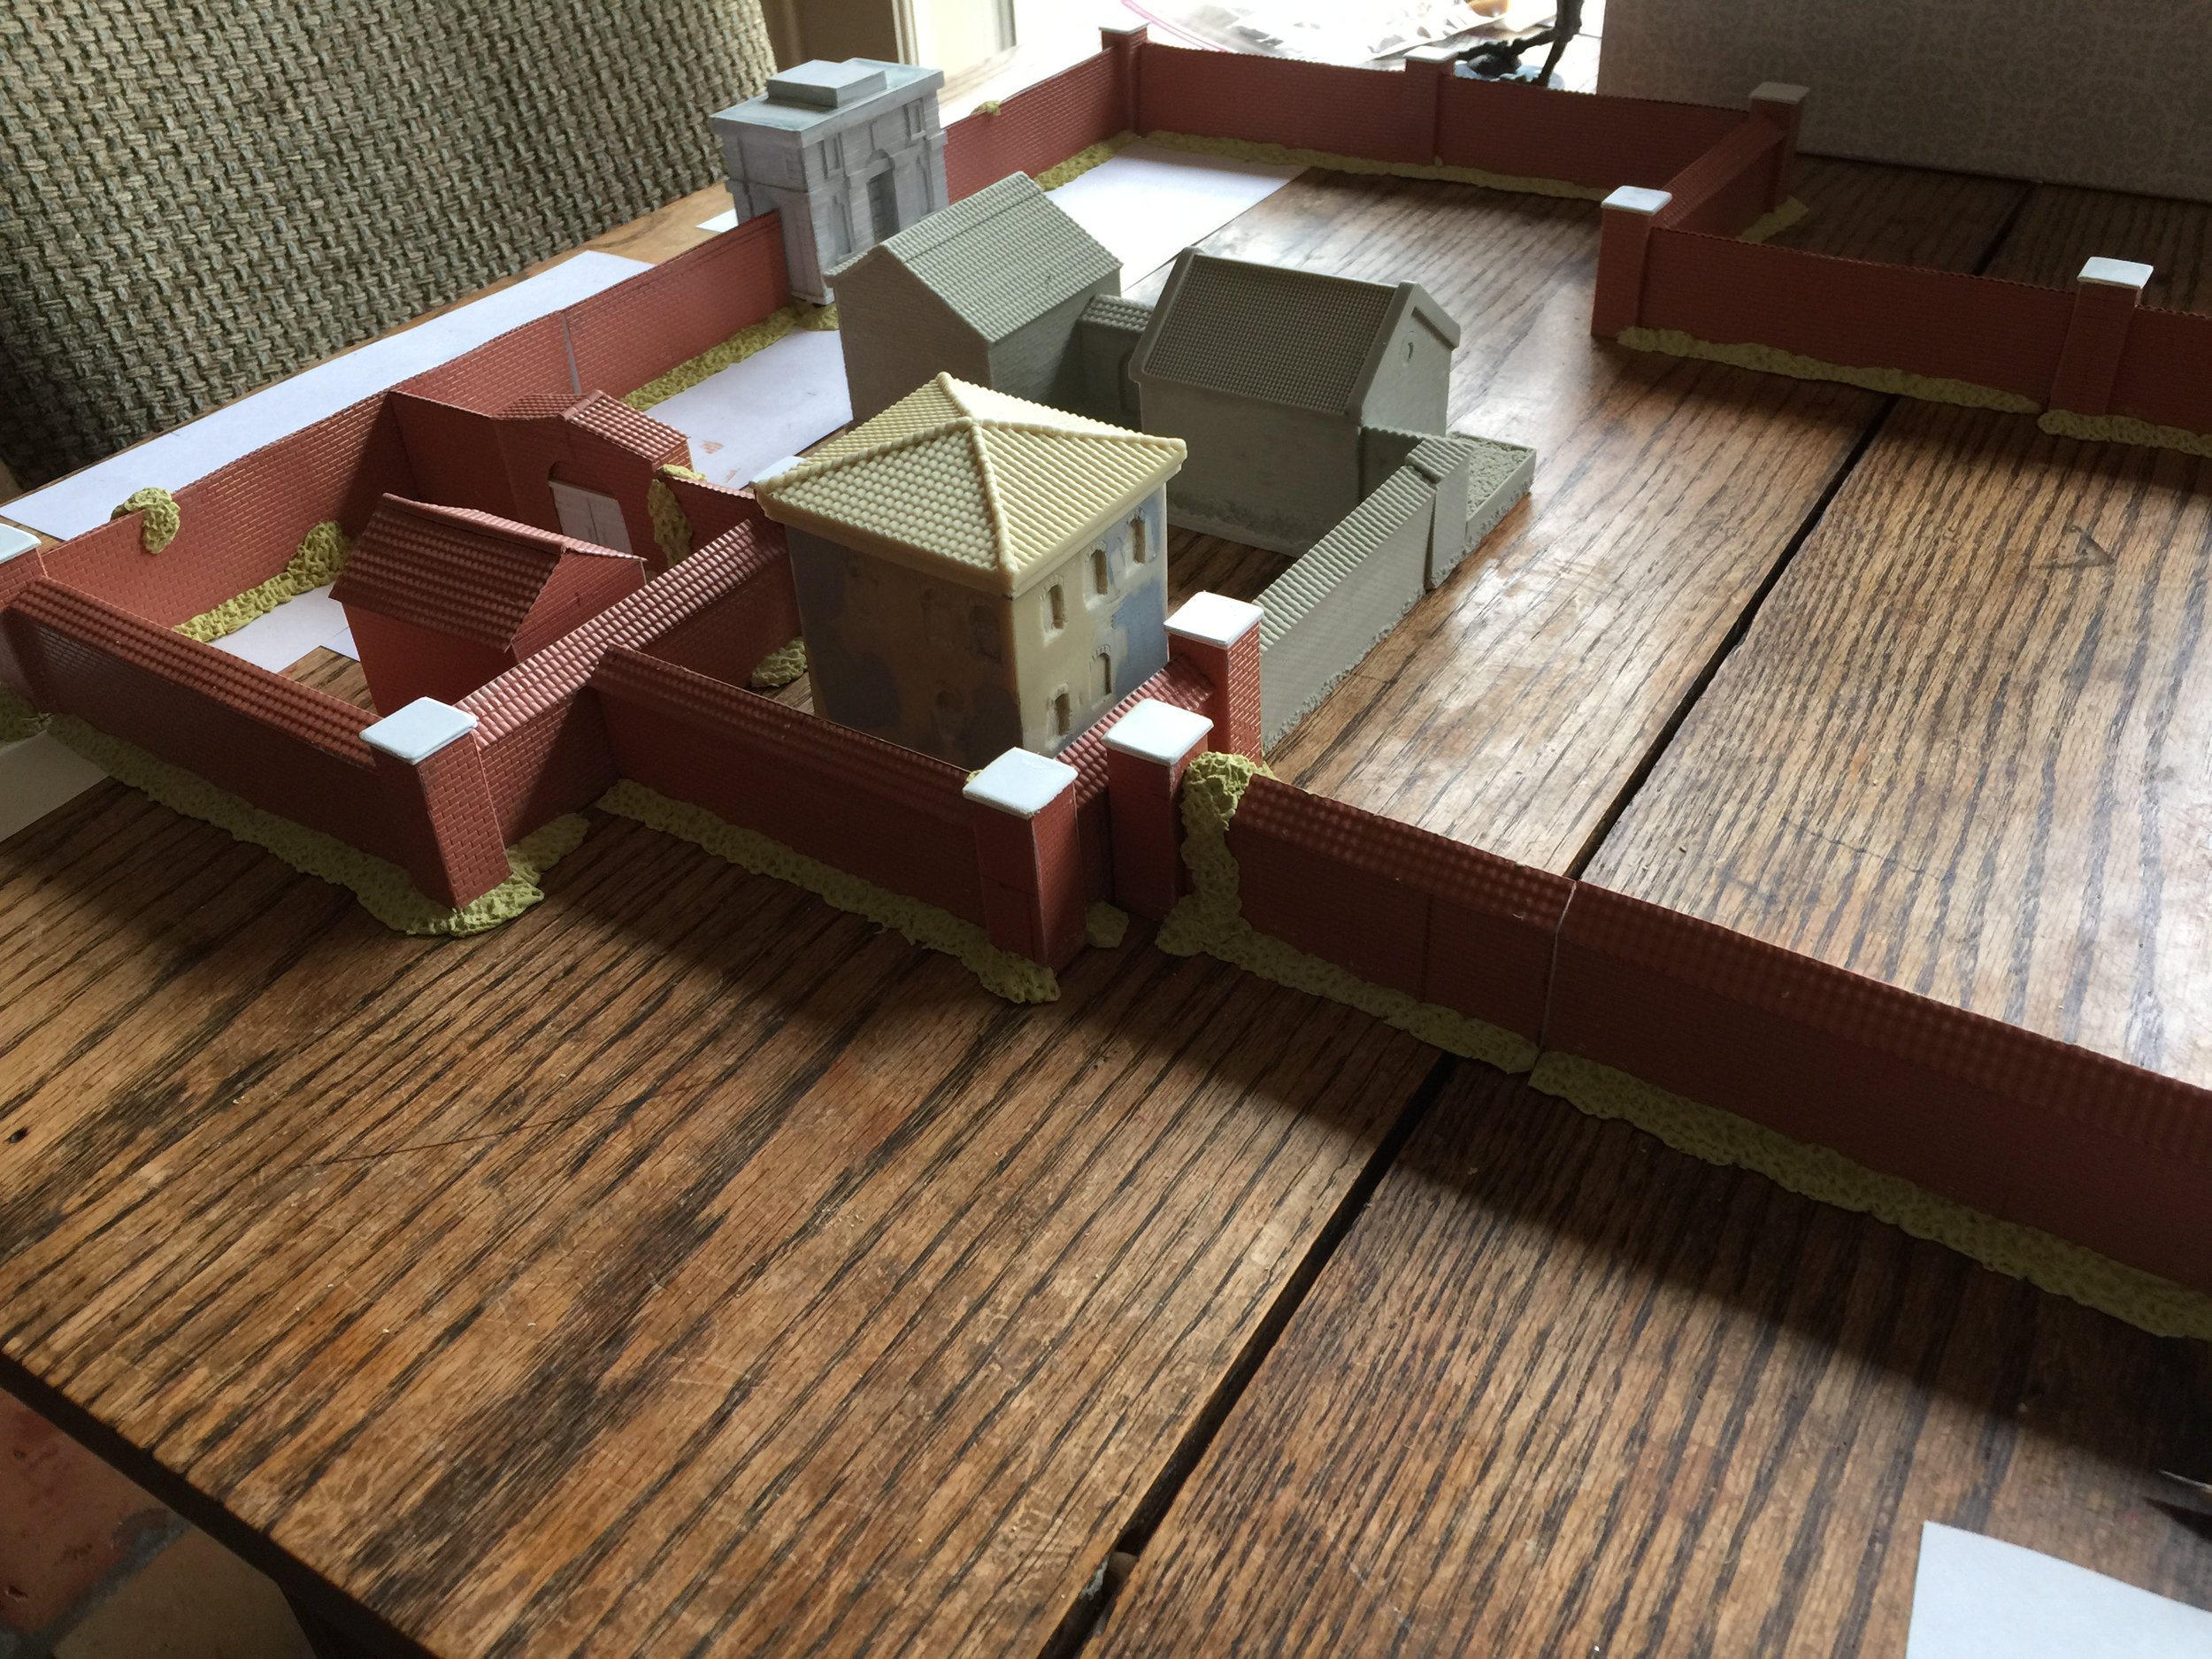
With the construction of the pre-siege walls for the French legation complete, I began work on the pre-siege walls for the Russian legation. Once again I started with the rear gatehouse. Like the French legation rear gatehouse, this was built around an inner core of Duplos and then covered with Evergreen, JTT, and Plastruct plastics. When the gatehouse was complete I turned my attention to the corner posts and the adjoining walls which are now done including the Milliput base on the right side center wall (the one done with red-brown plastic).
Next in line for its pre-siege walls is the Japanese legation, and once again I began with the rear gatehouse. Because this gatehouse is more gate than house, I built it around a core of Legos rather than the larger Duplos I used with French and Russian gatehouses. The Japanese legation walls are also different in that they are a combination of brick posts and a look that JTT plastic calls Random Course Stone for the walls. Fortunately I was able to get both types of plastic. The rear gatehouse is done in the HO scale Random Course Stone with Plastruct roof tiles and Evergreen V Groove plastic for the gate doors. I was able to complete the pre-siege walls and rear gatehouse for the Japanese legation on Friday and Saturday thus bringing the Weekly Workbench to a close. All that remains in terms of construction work on the Japanese legations pre-siege walls is adding their Milliput bases.