July 26, 2020
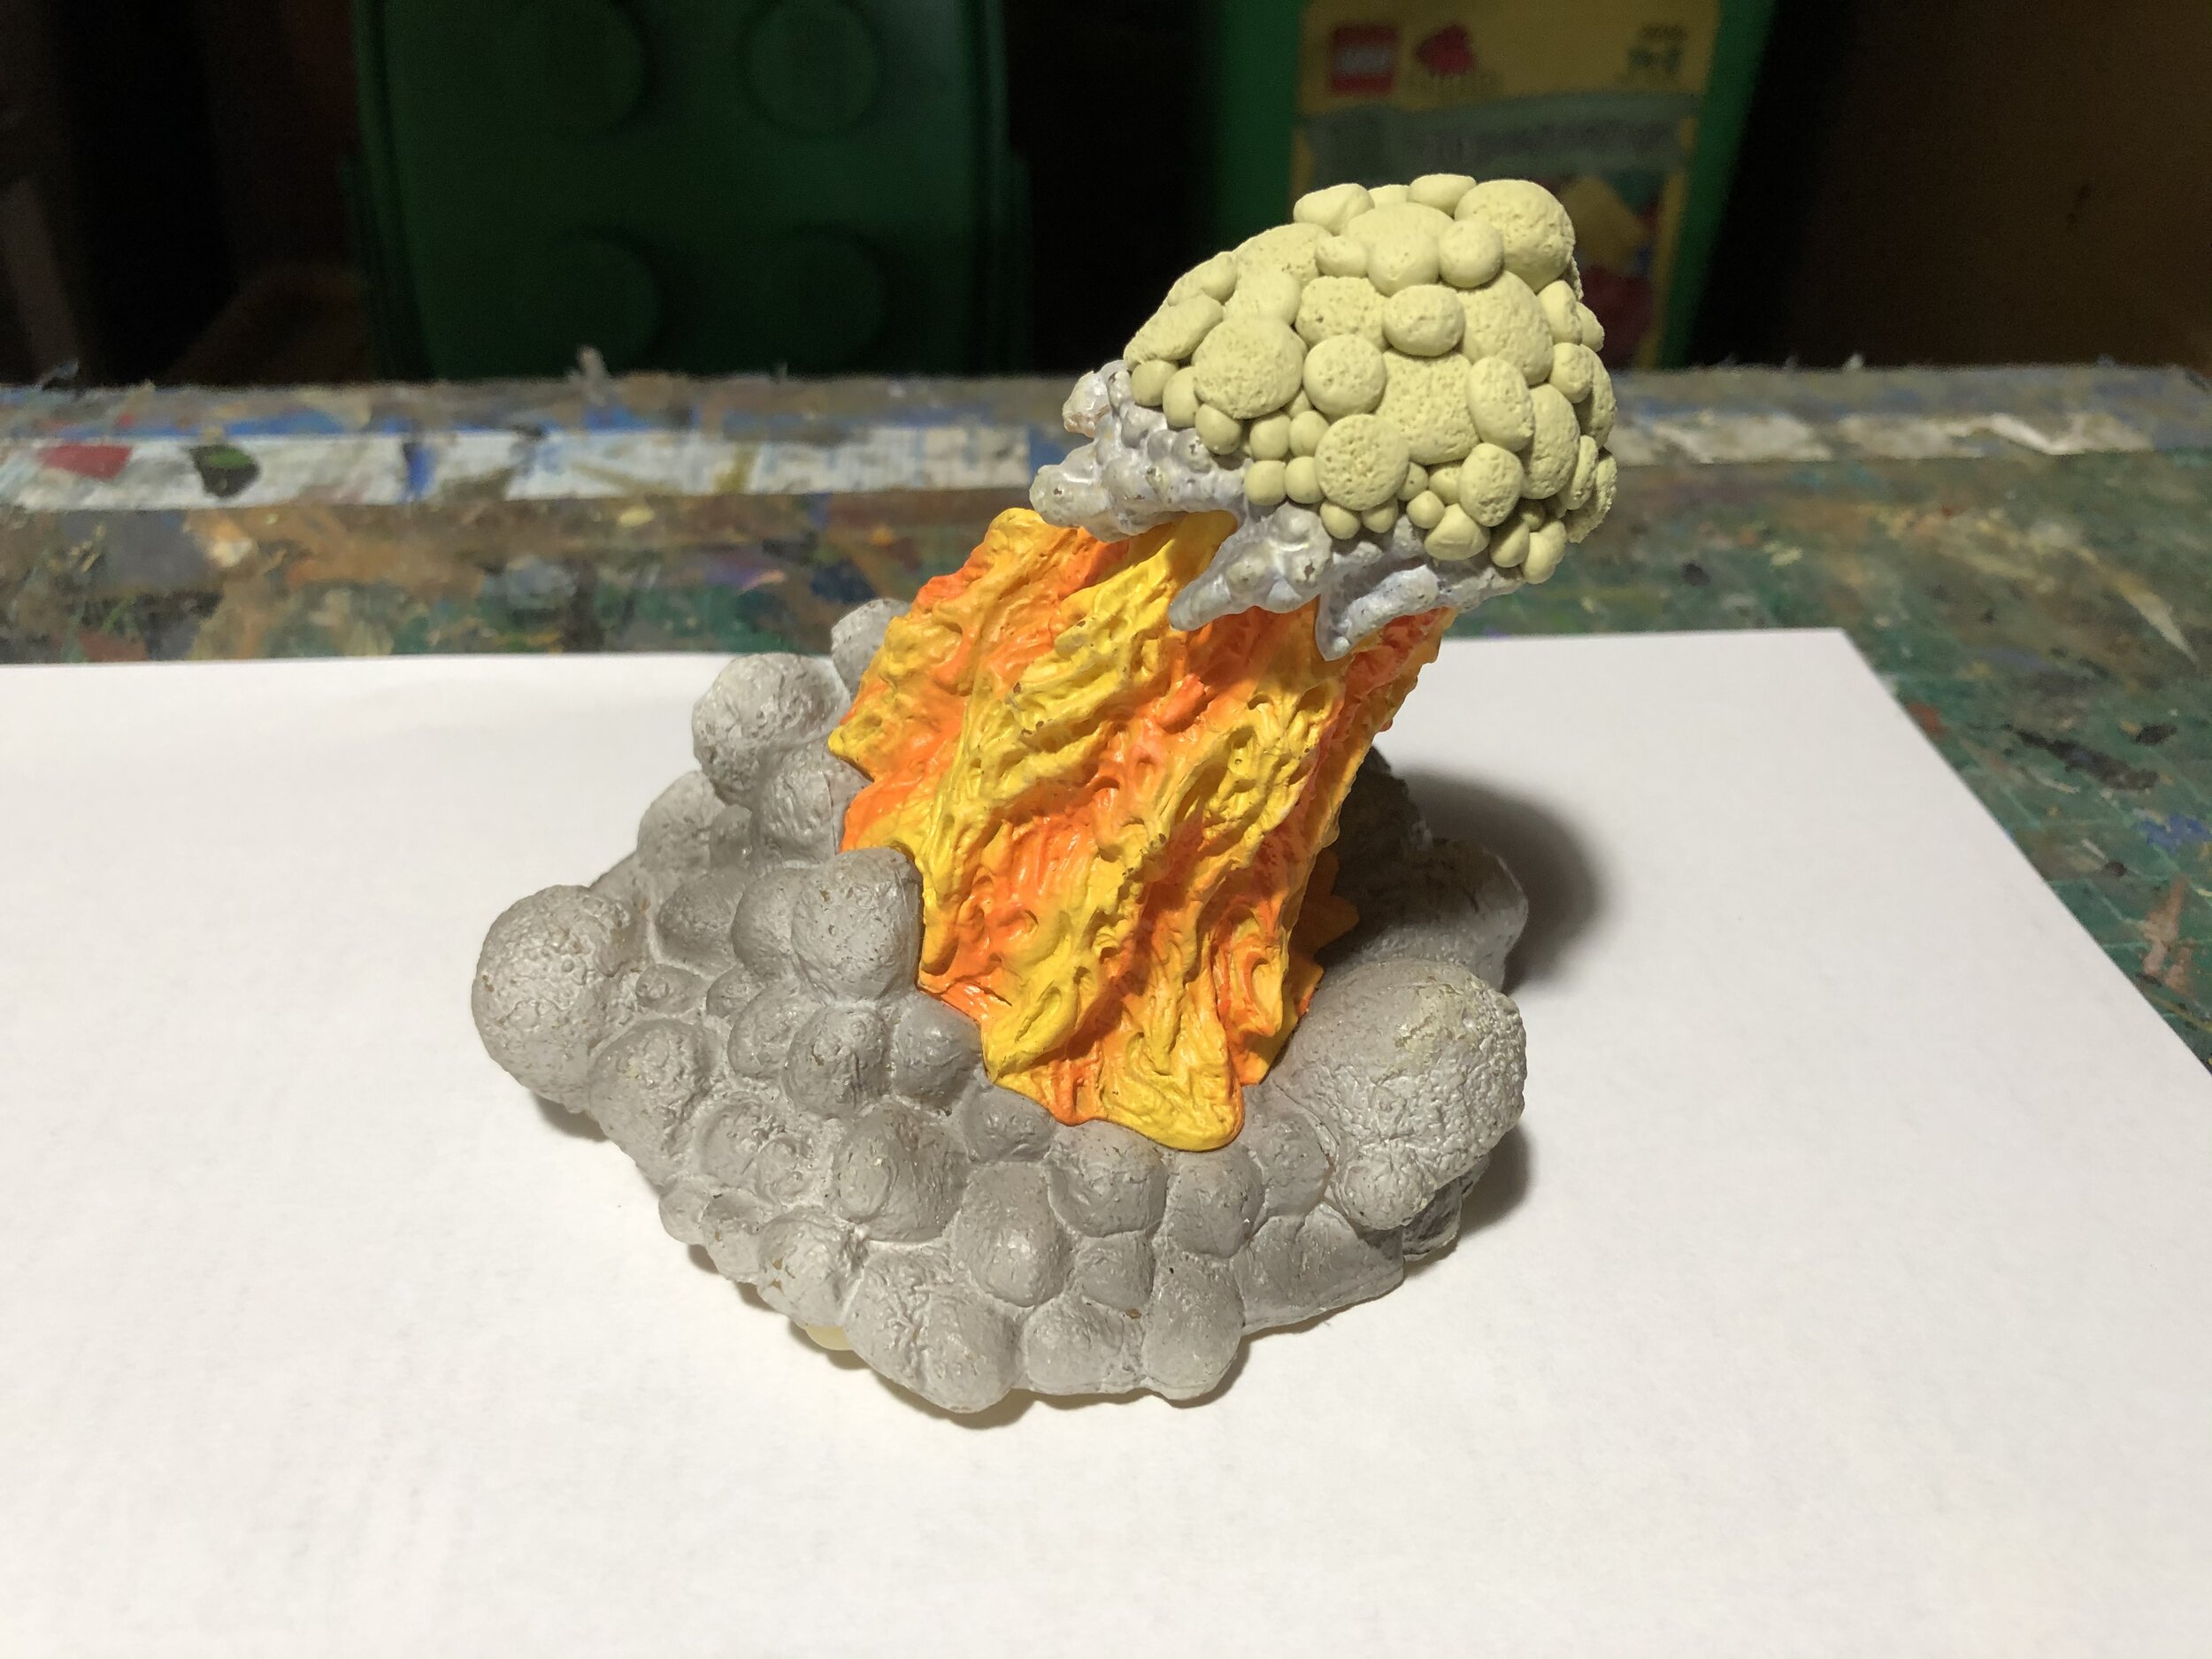
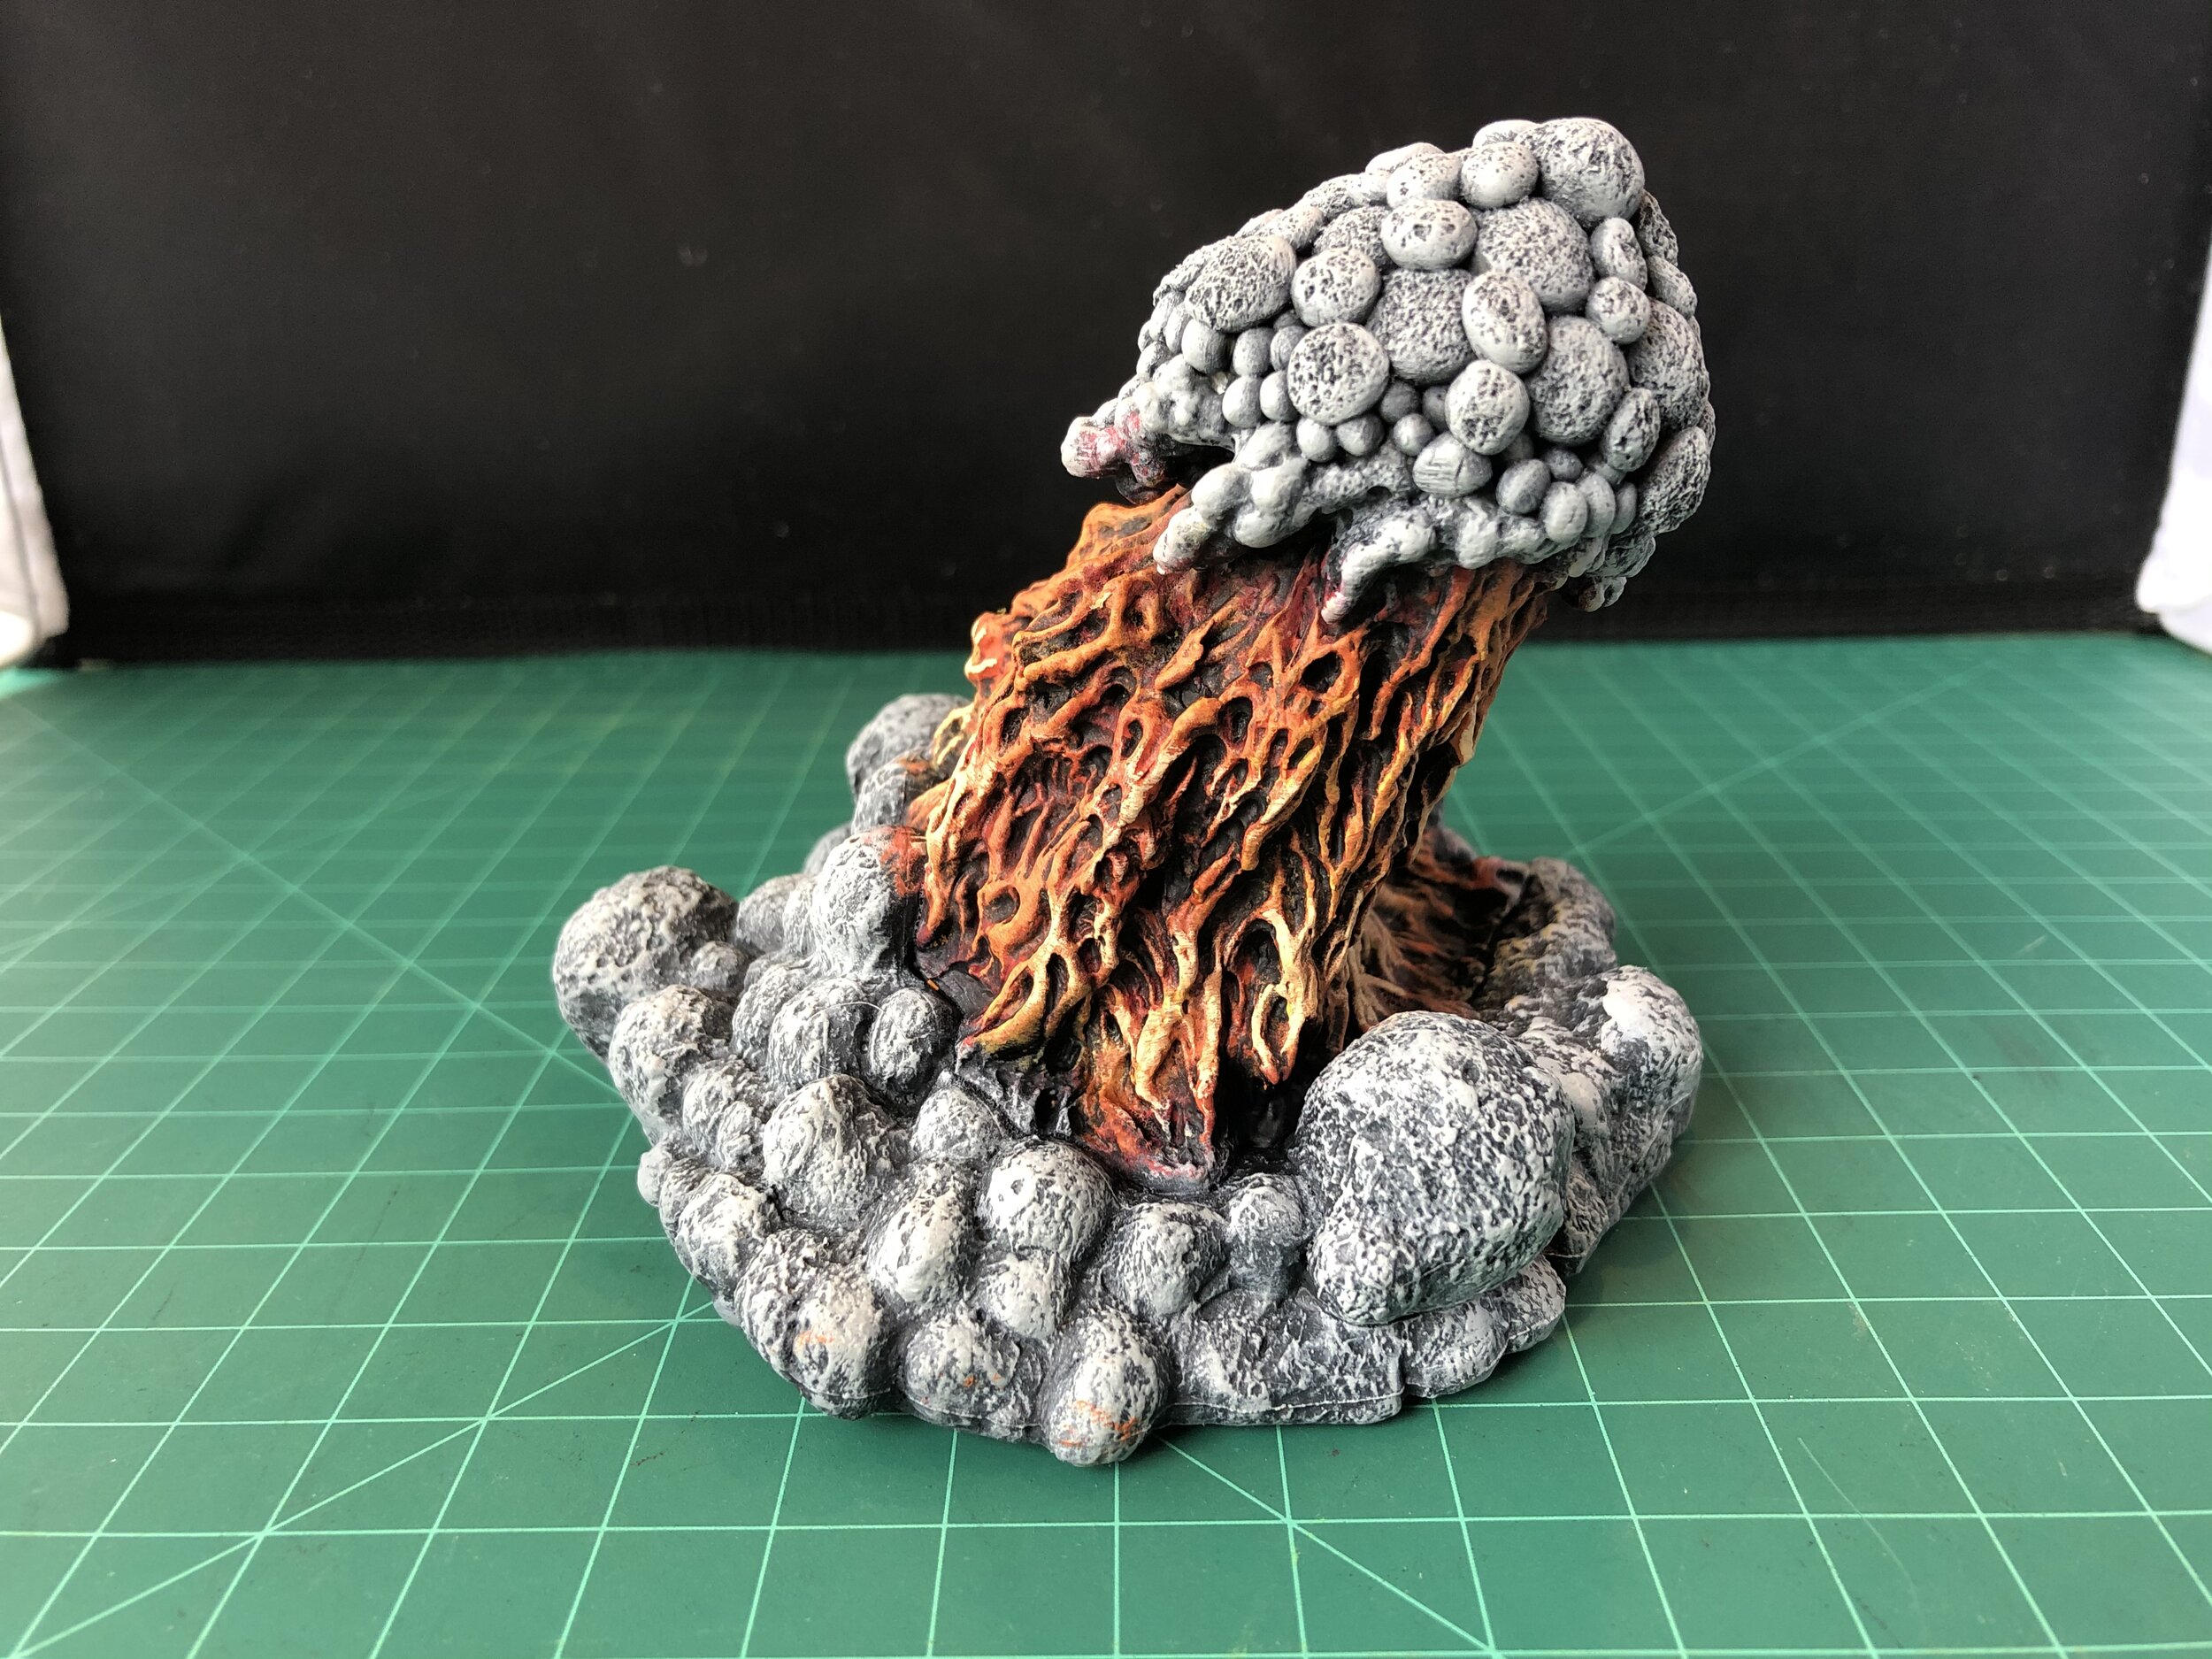
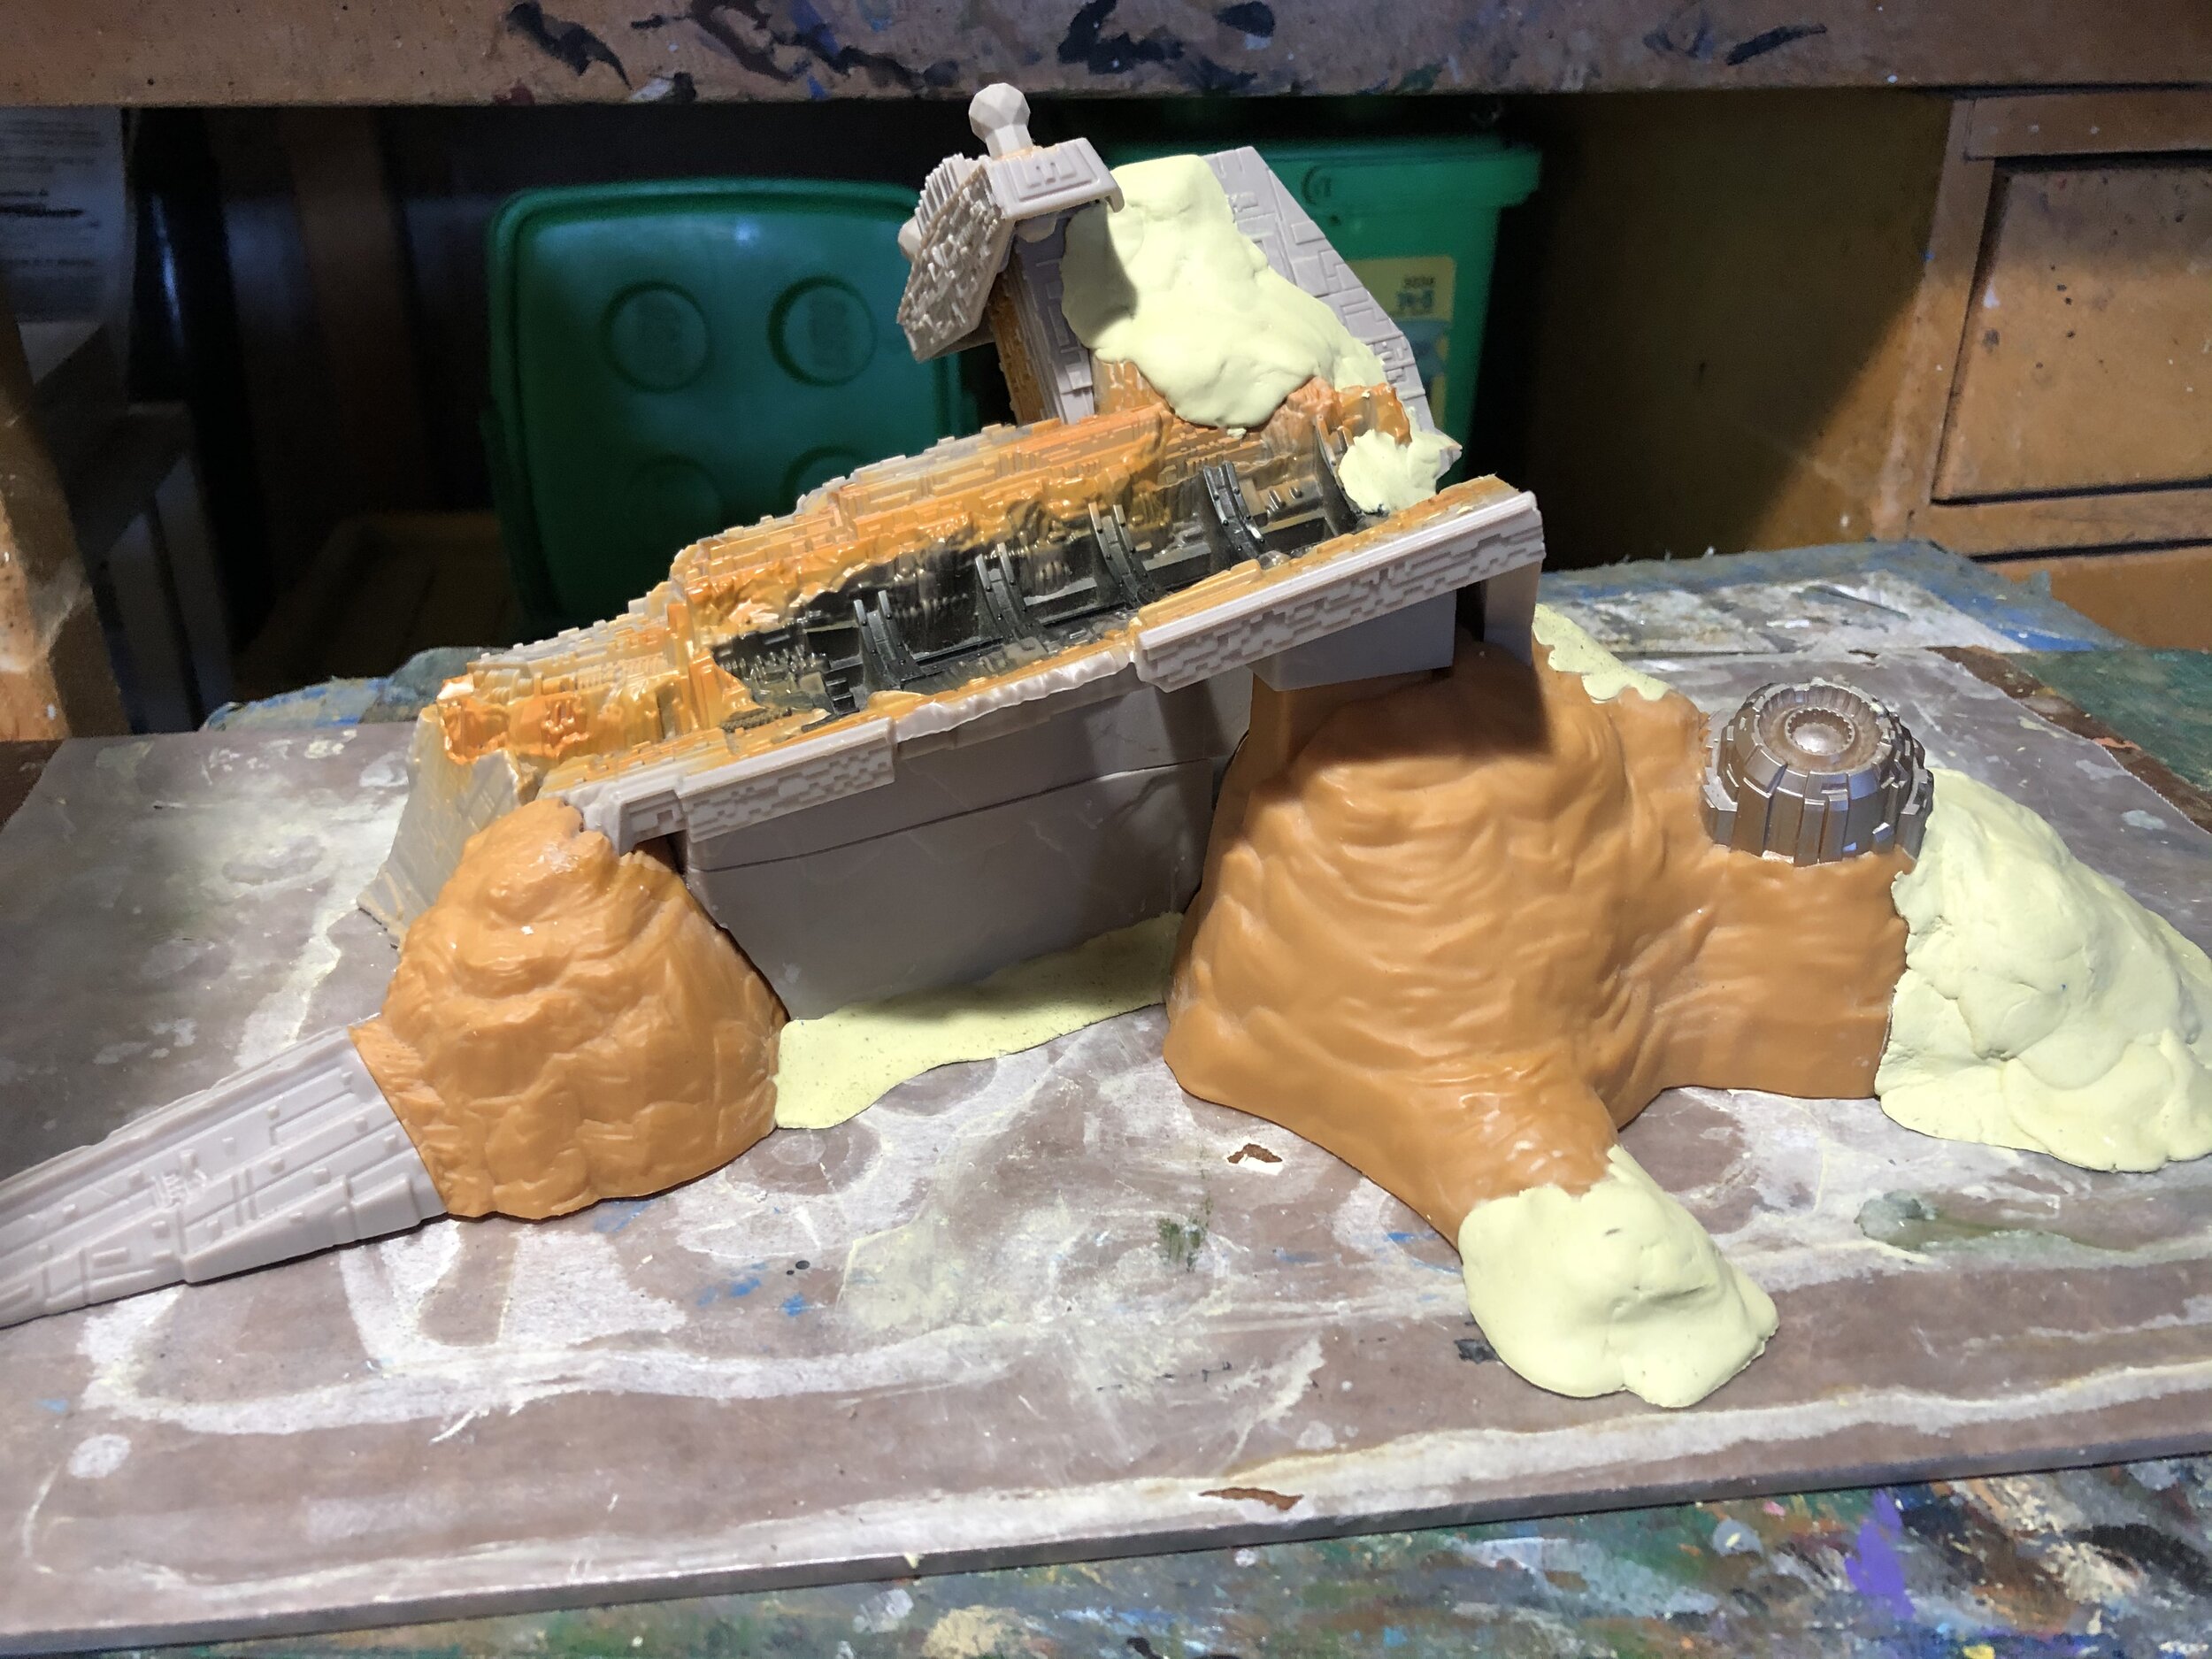
I have been engaged in painting miniatures for more than 40 years, but despite that I almost always have a moment of uncertainty each time I start a new project… especially if I am shifting from one scale to another. The week began with that uncertainty. I just didn’t feel comfortable about sitting down with my new project. Should I begin with terrain? I have some great buildings from GW and PrinTerrain… should I start there? If I begin with figures, which ones are the best to start with? Initially I avoided the subject all together, but with nothing to paint or build, I was at loose ends. I decided to modify and paint an explosion I had on my workbench… I bought it a couple years ago at the swap meet because it looked good and was cheap. I didn’t really have a plan for its use, but it got me back to work and that was what I needed. The top of the explosion was missing… have no idea what it was. So I decided to reproduce on the top something that looked like the bottom of the explosion. I did that with Milliput.
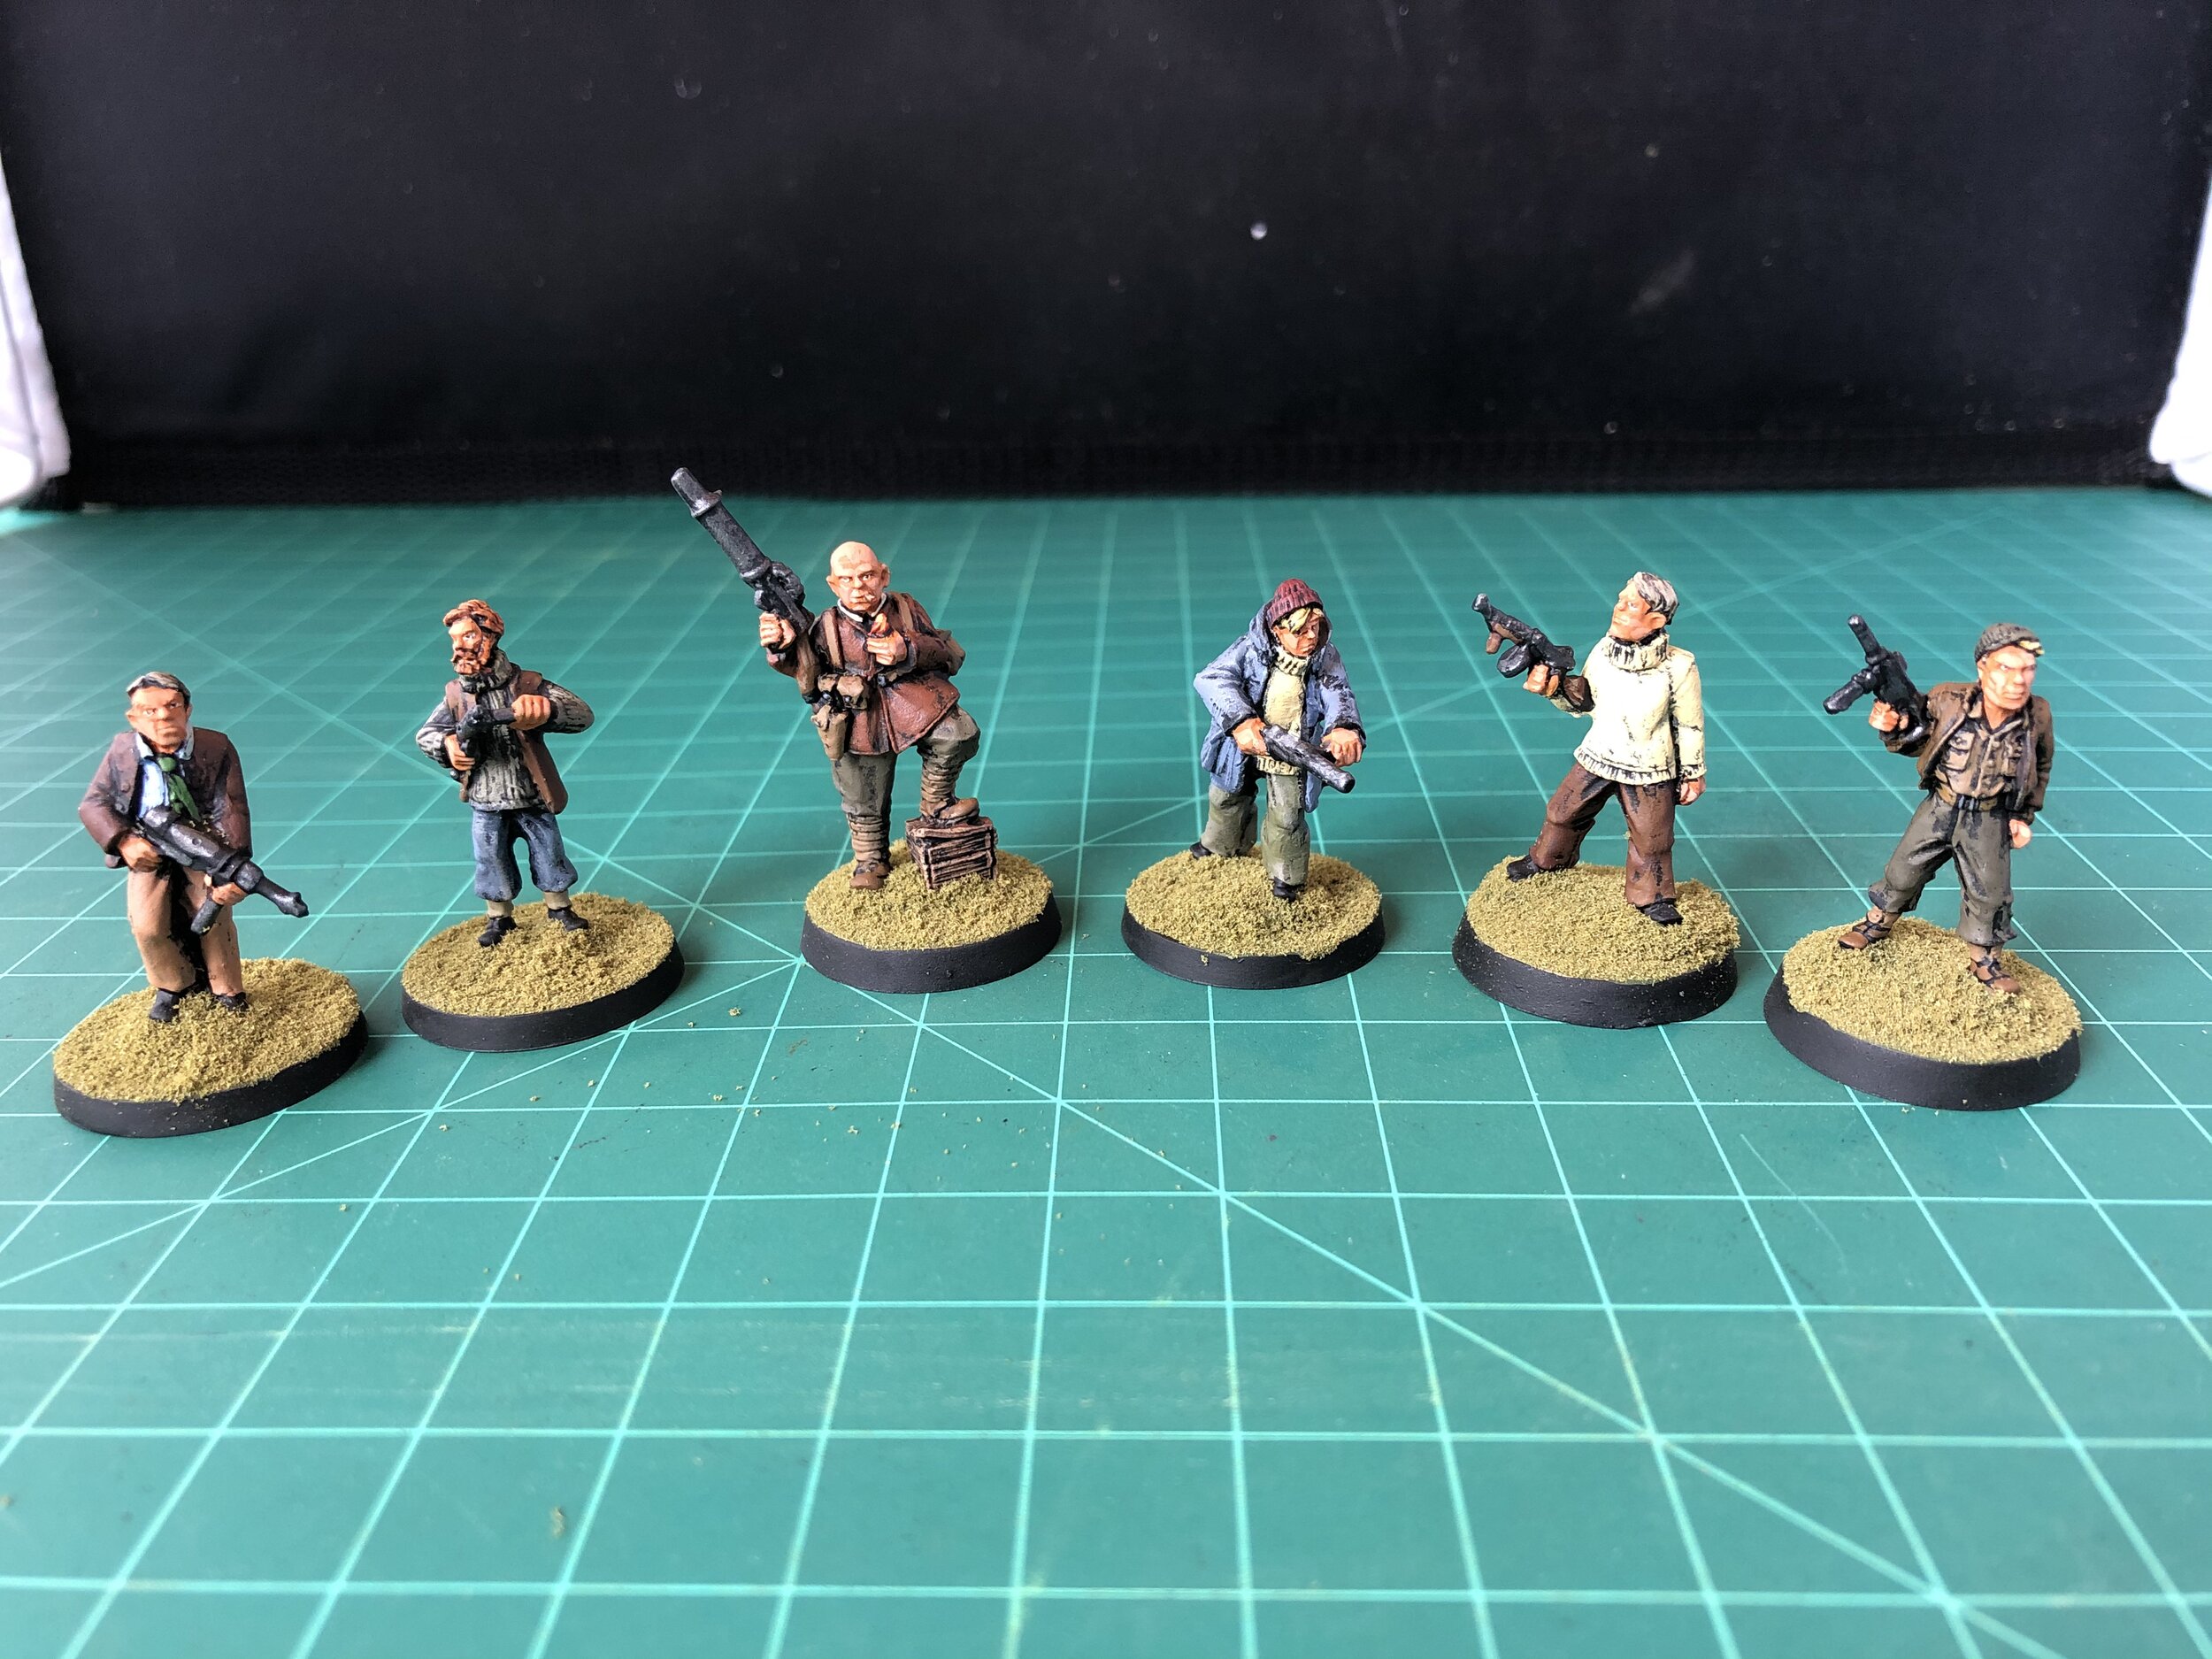
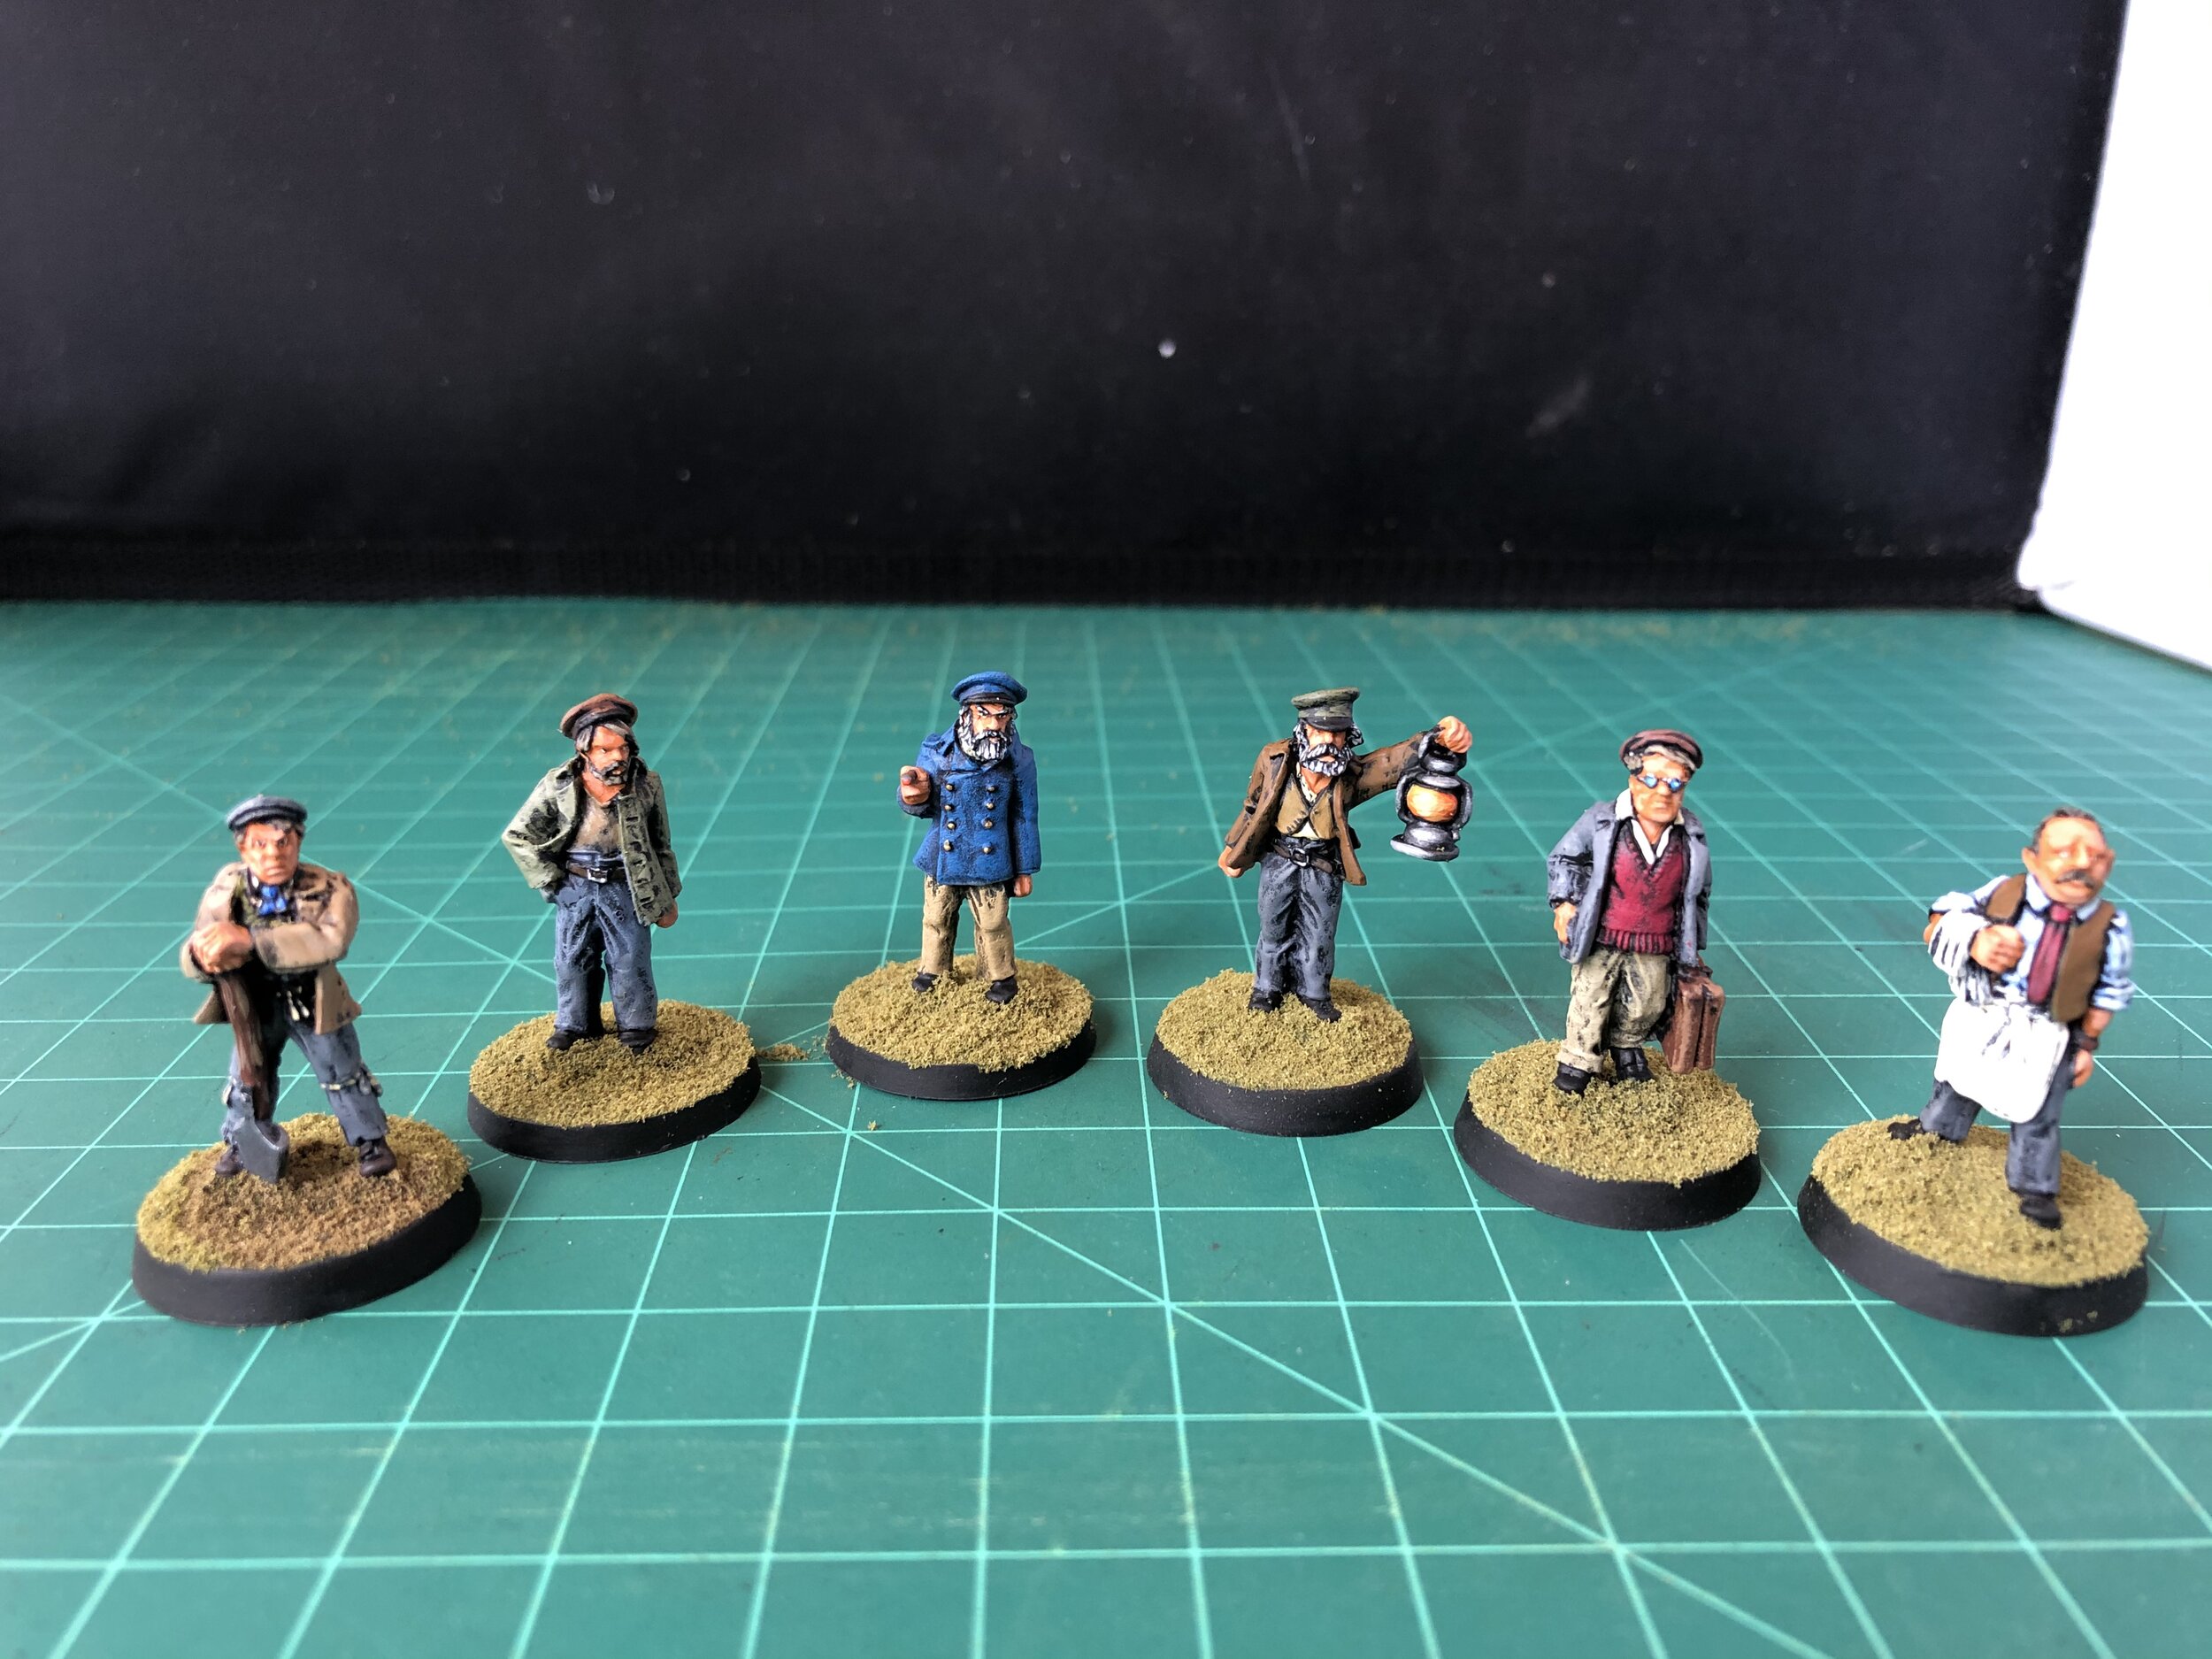
With the explosion done, I decided to man-up and start painting figures for my new project. This project is a 28mm Gordon Institute expedition to Loch Ness to establish two research stations. I was able to get 12 Artizan Designs’ figures painted representing Gordon Institute security and support staff. Fortunately, I have been planning this for more than a year because Artizan Designs’ single figures are currently out of production. Because of my advanced planning, I have the figures I need
July 19, 2020
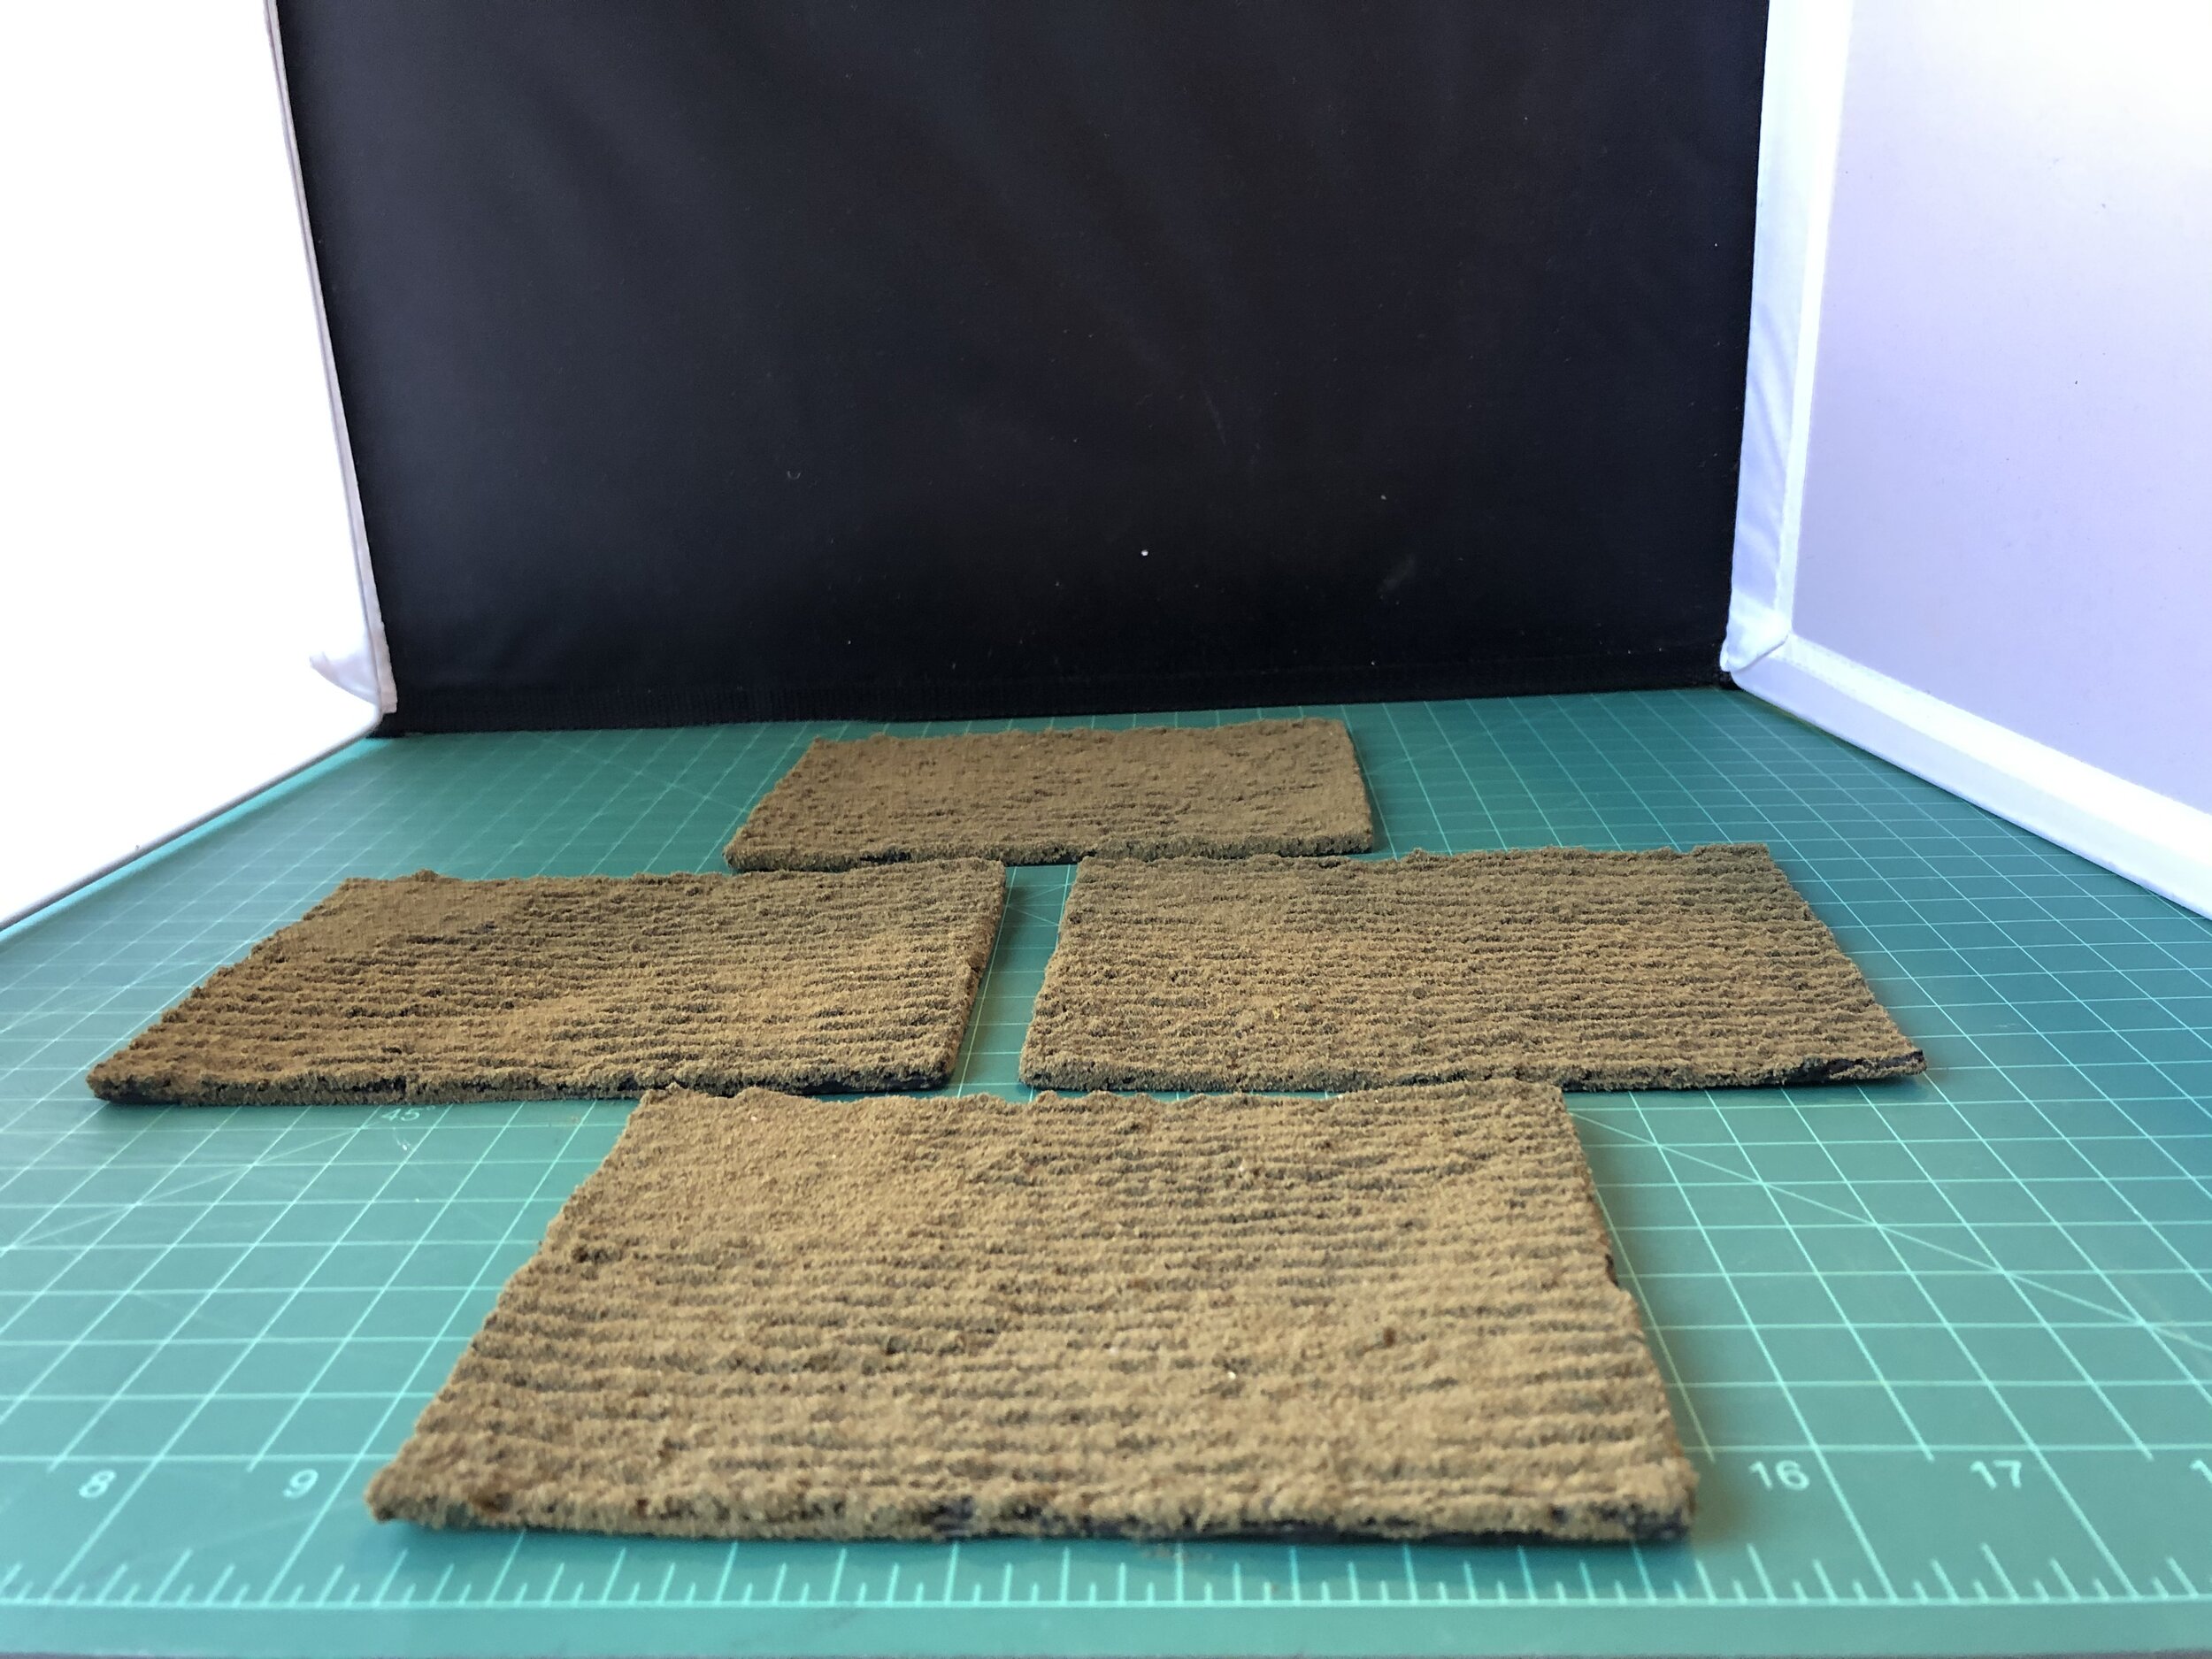
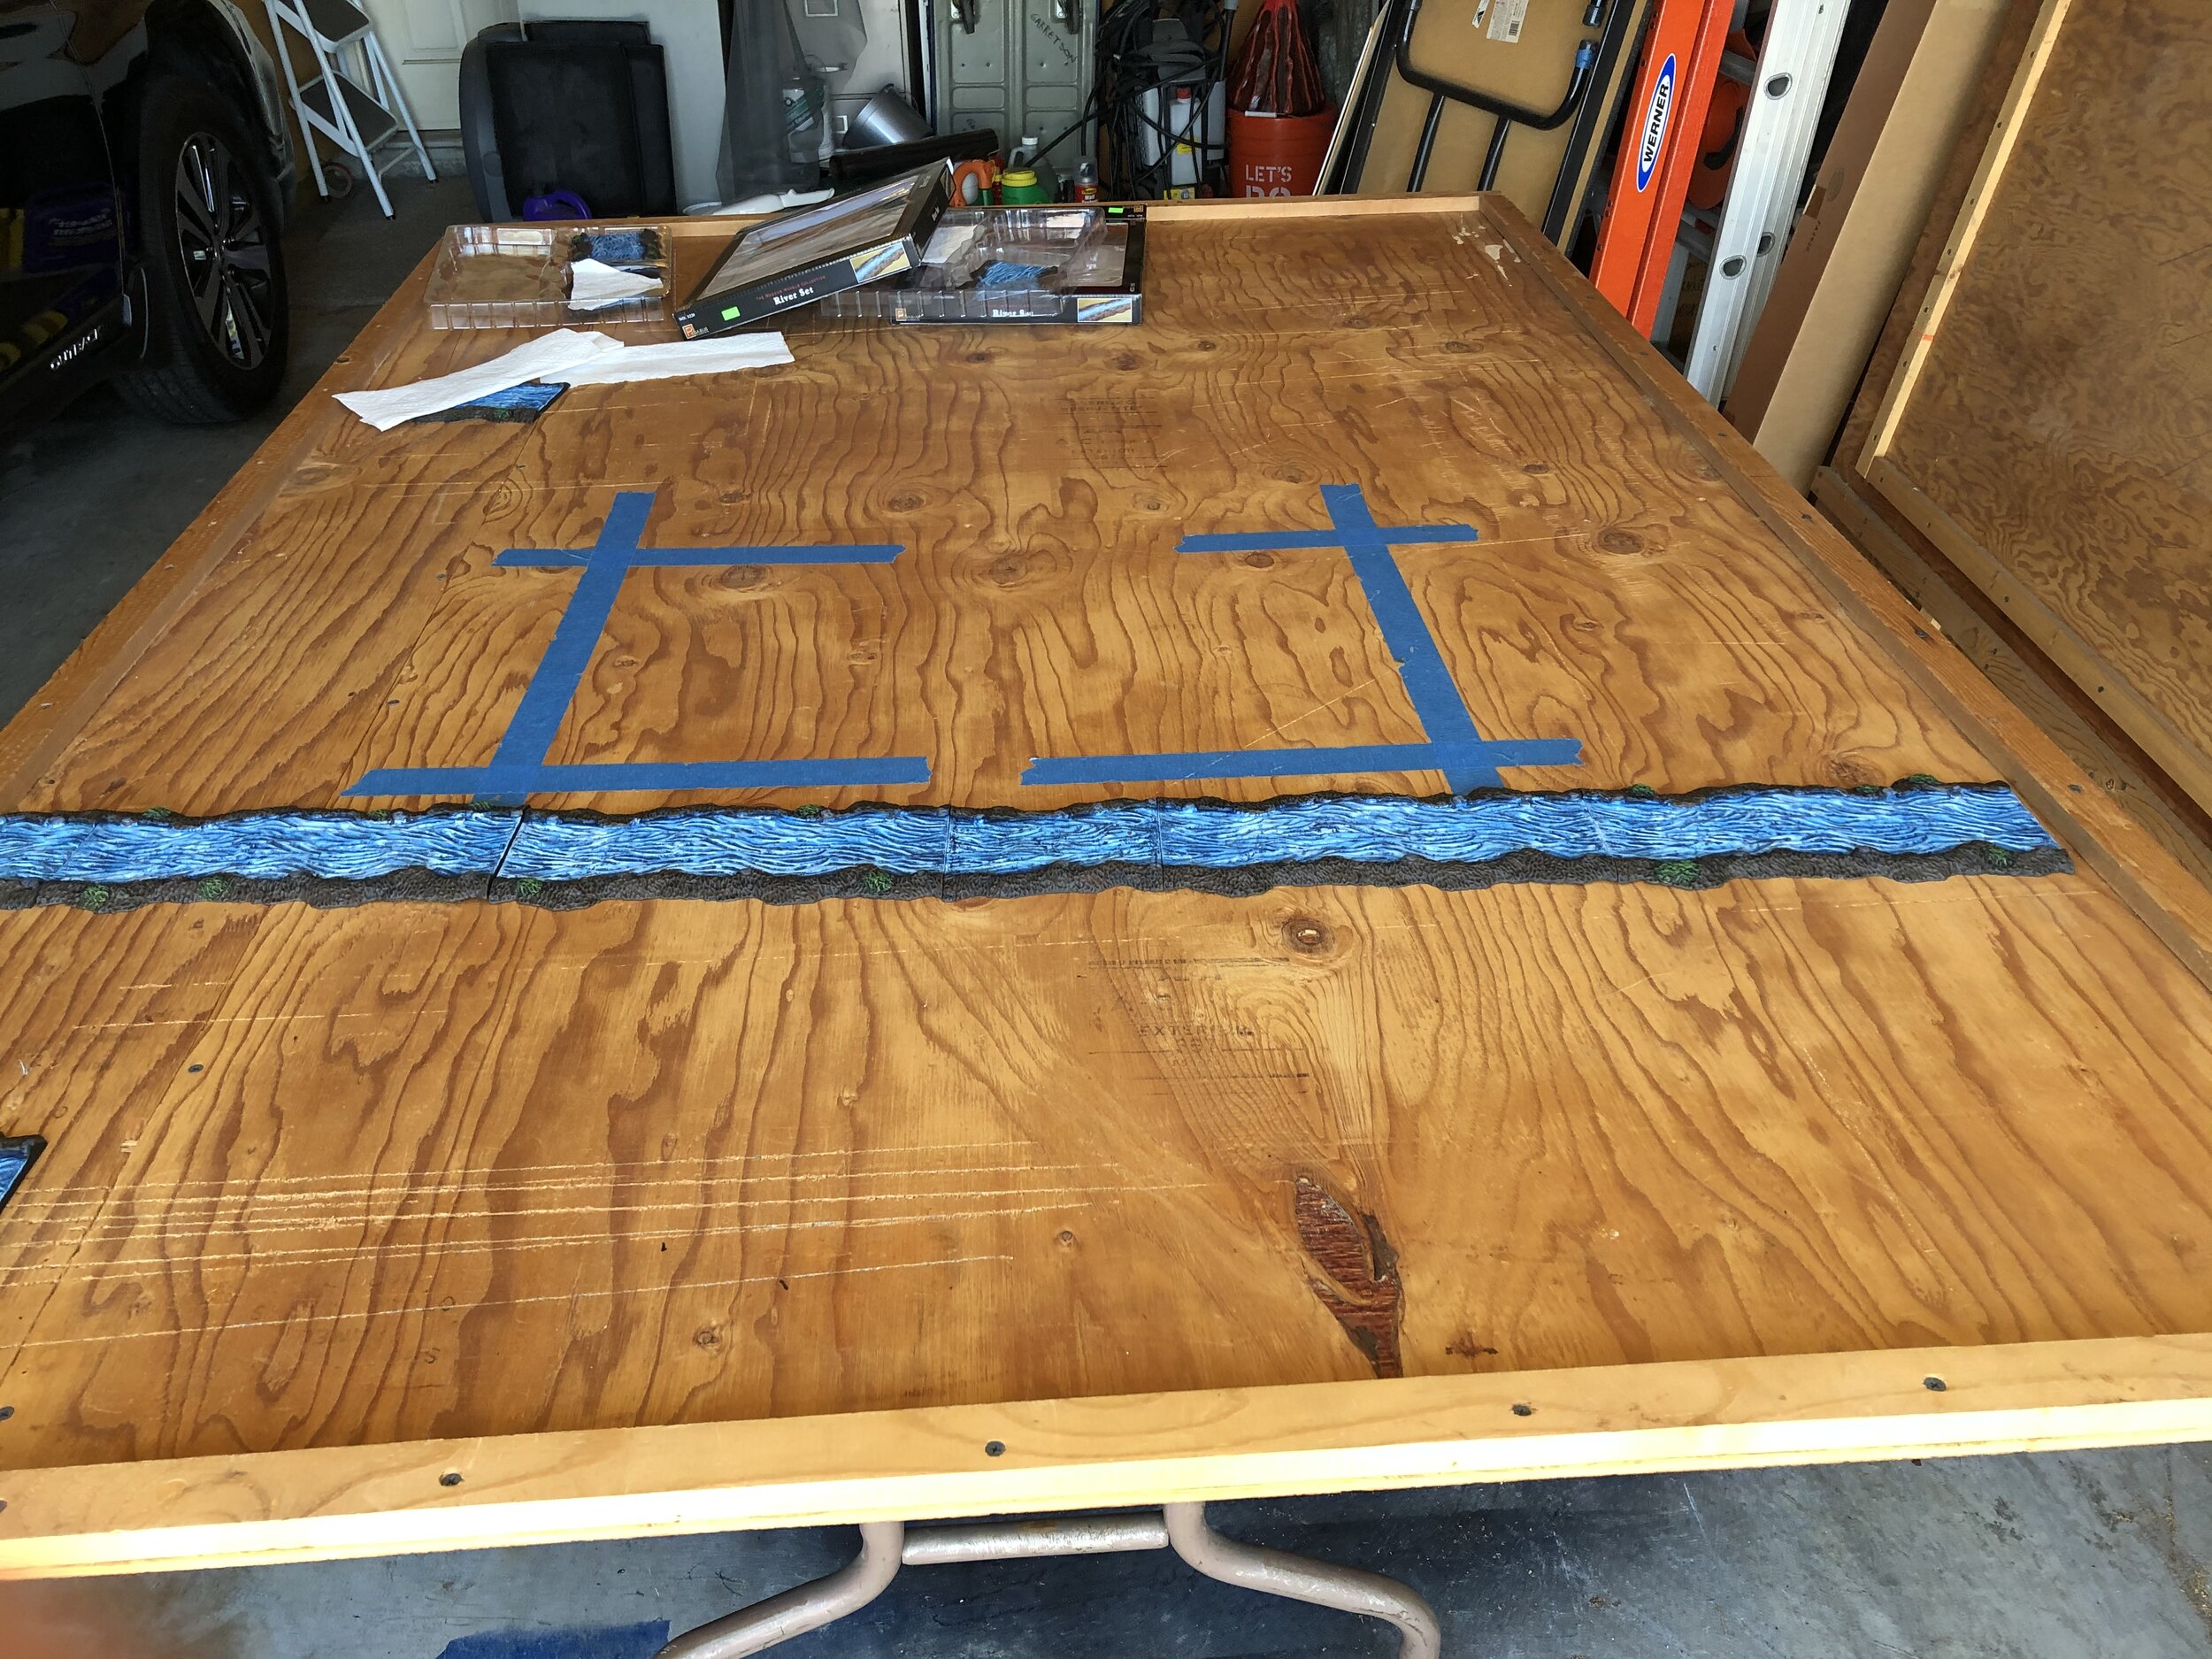
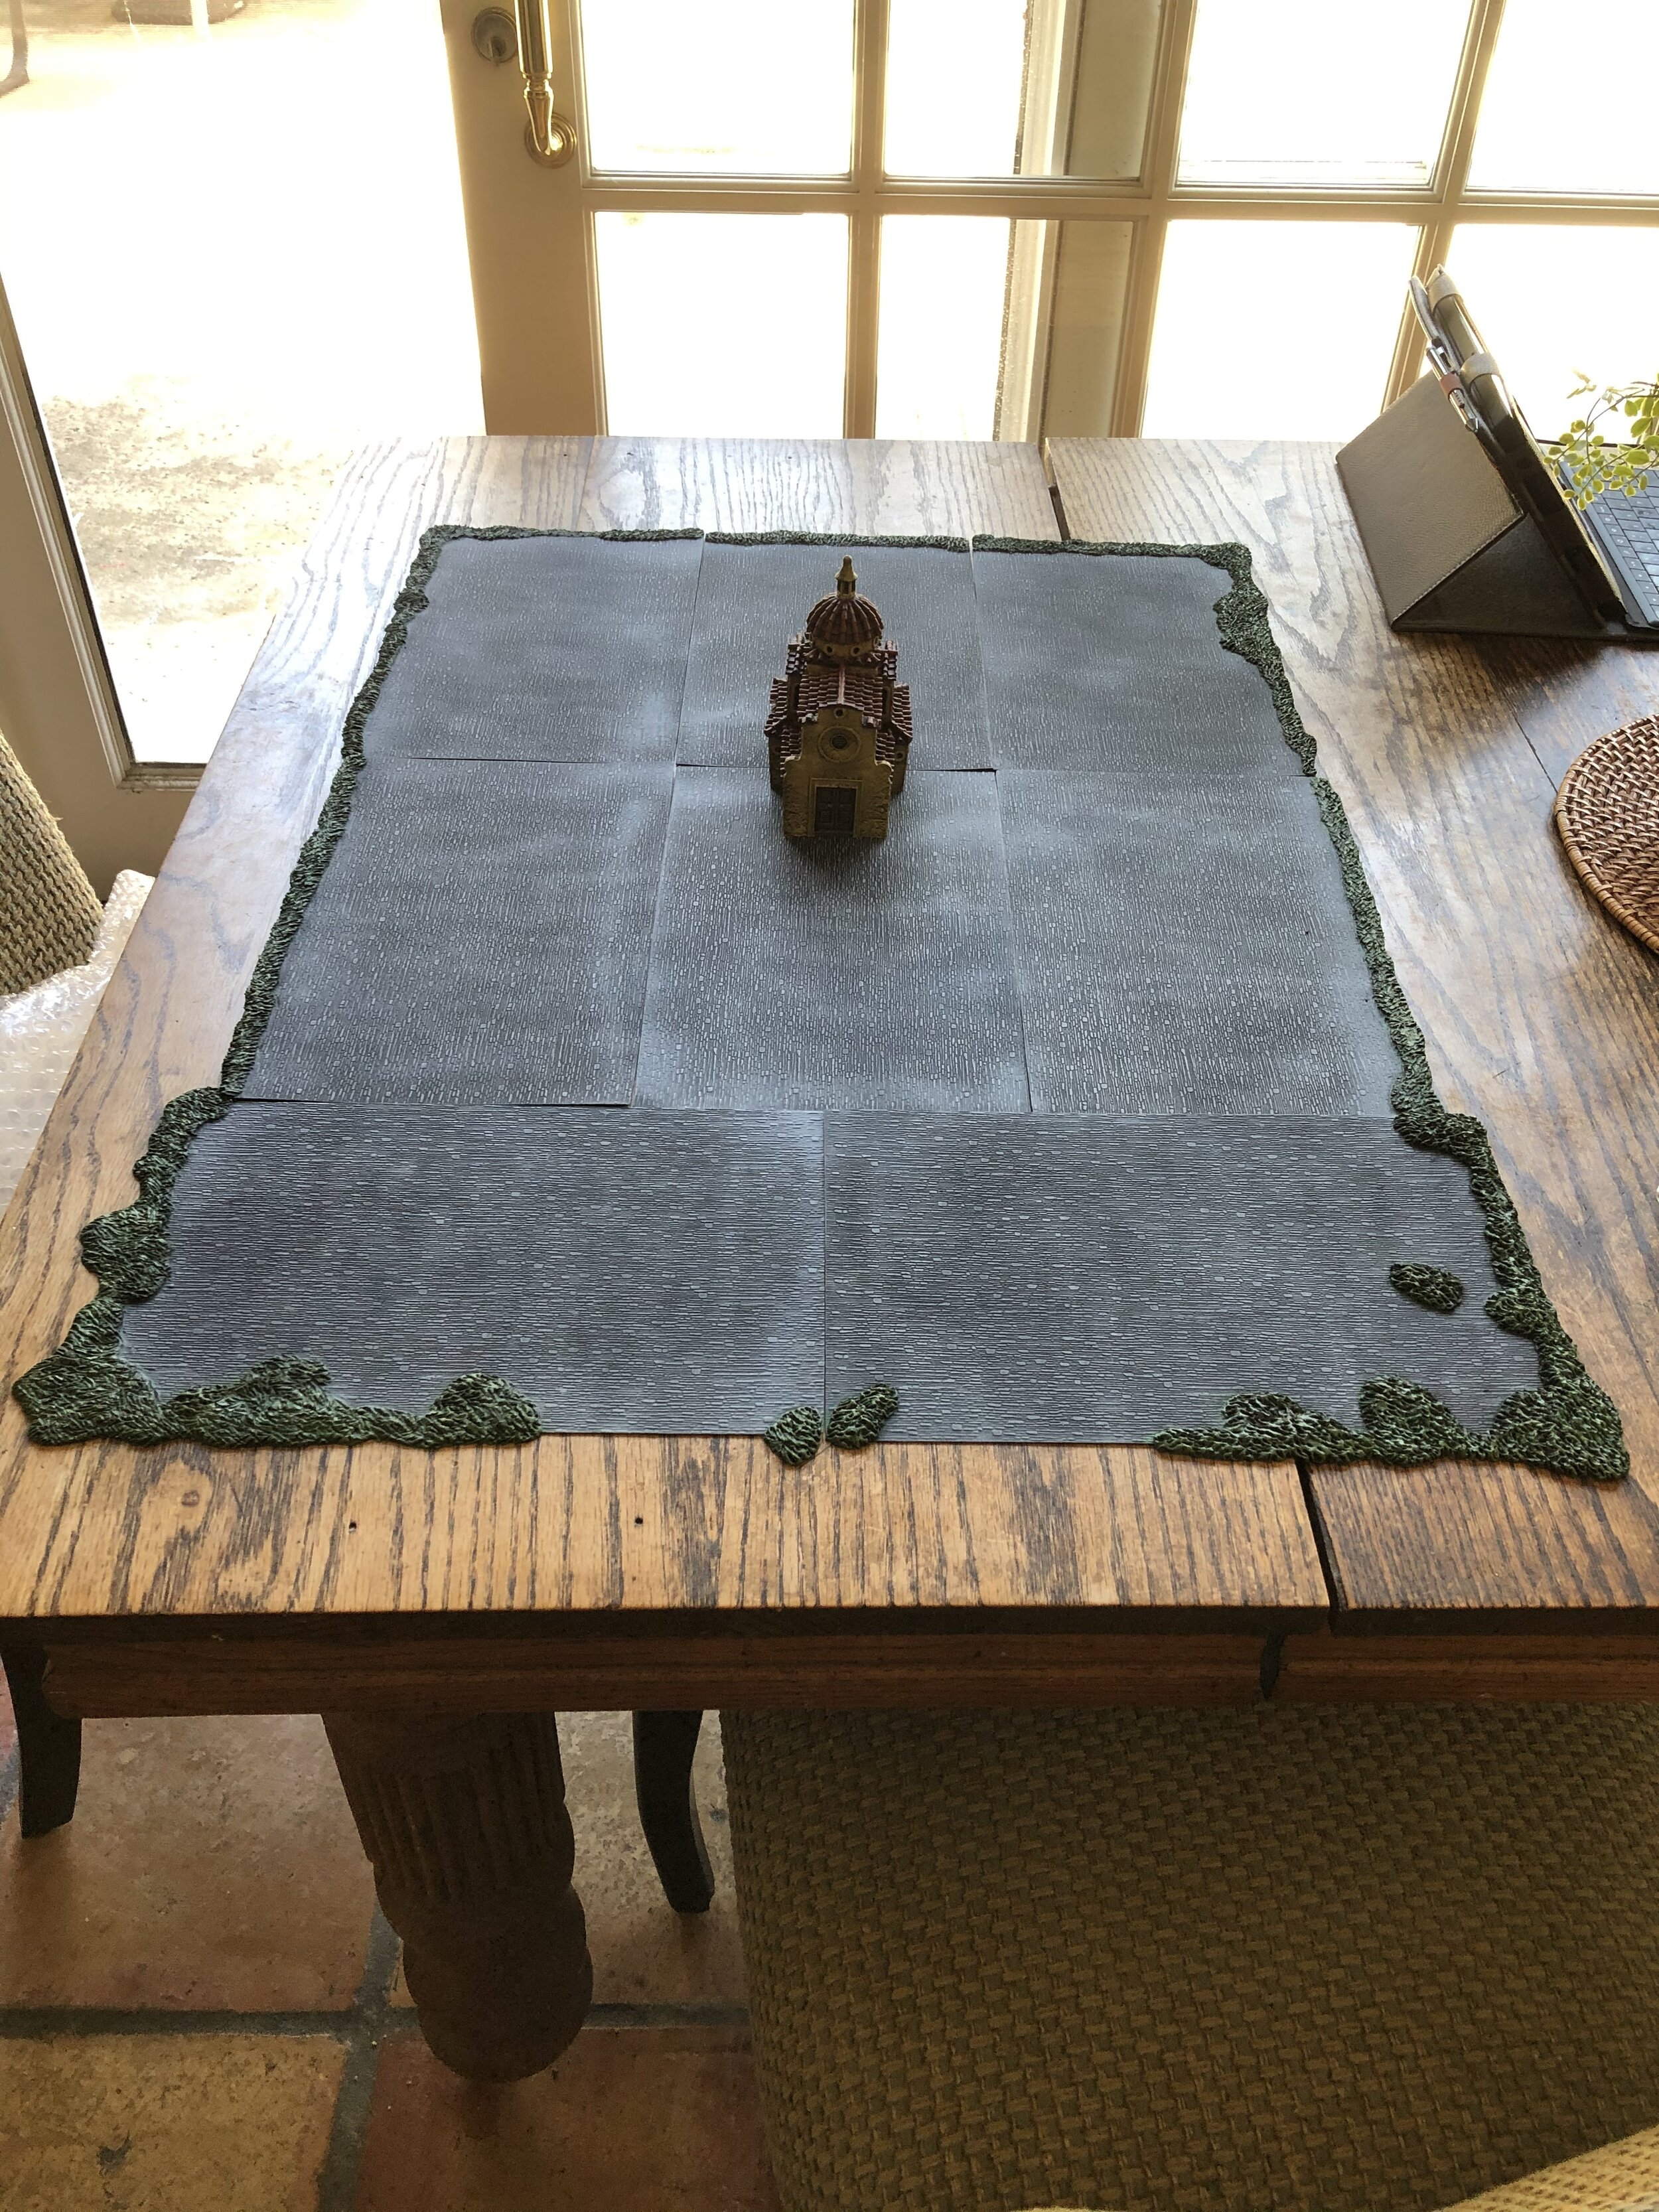
At the end of a big project like my Napoleonic Peninsular War collection the air kind of goes out of the energy balloon. At the start of the workbench week I painted four plowed Musket Miniatures fields. I then gave them a cover of Scenic Effects dirt. The next day I brought one of my layout tables out so that I could see how much needed to be cut off the Pegasus river I was going to use with that project. As it turned out, no cutting was needed. I also laid out 8 sheets of unused JTT plastic in order to get a sense of how much room my Spanish town would take up on one of the two tables I planned to use. As I suspected I will only be able to use two of my three Ian Weekley star forts, but that didn’t come as a big surprise and I don’t think it will have a negative look on the layout when it is photographed.
The next thing on the agenda was not work done on the workbench, but preparation done so that workbench work can continue. Because California is being hit hard by Covid, the governor announced on Monday that he was closing the state down once again. I realized that could cause some supply problems if I didn’t address them immediately. Testor’s Dullcote and Flat Black spray paint are hard to get all the time so I set out to stock up. I was able to get four cans of Dullcote and six of Flat Black. I feel more secure now.
On Tuesday I didn’t do much hobby work at all. The most important thing I did was find a YouTube tutorial on using and cleaning my Iwata airbrush. We set up a YouTube account so that I can watch on TV rather than my computer screen.
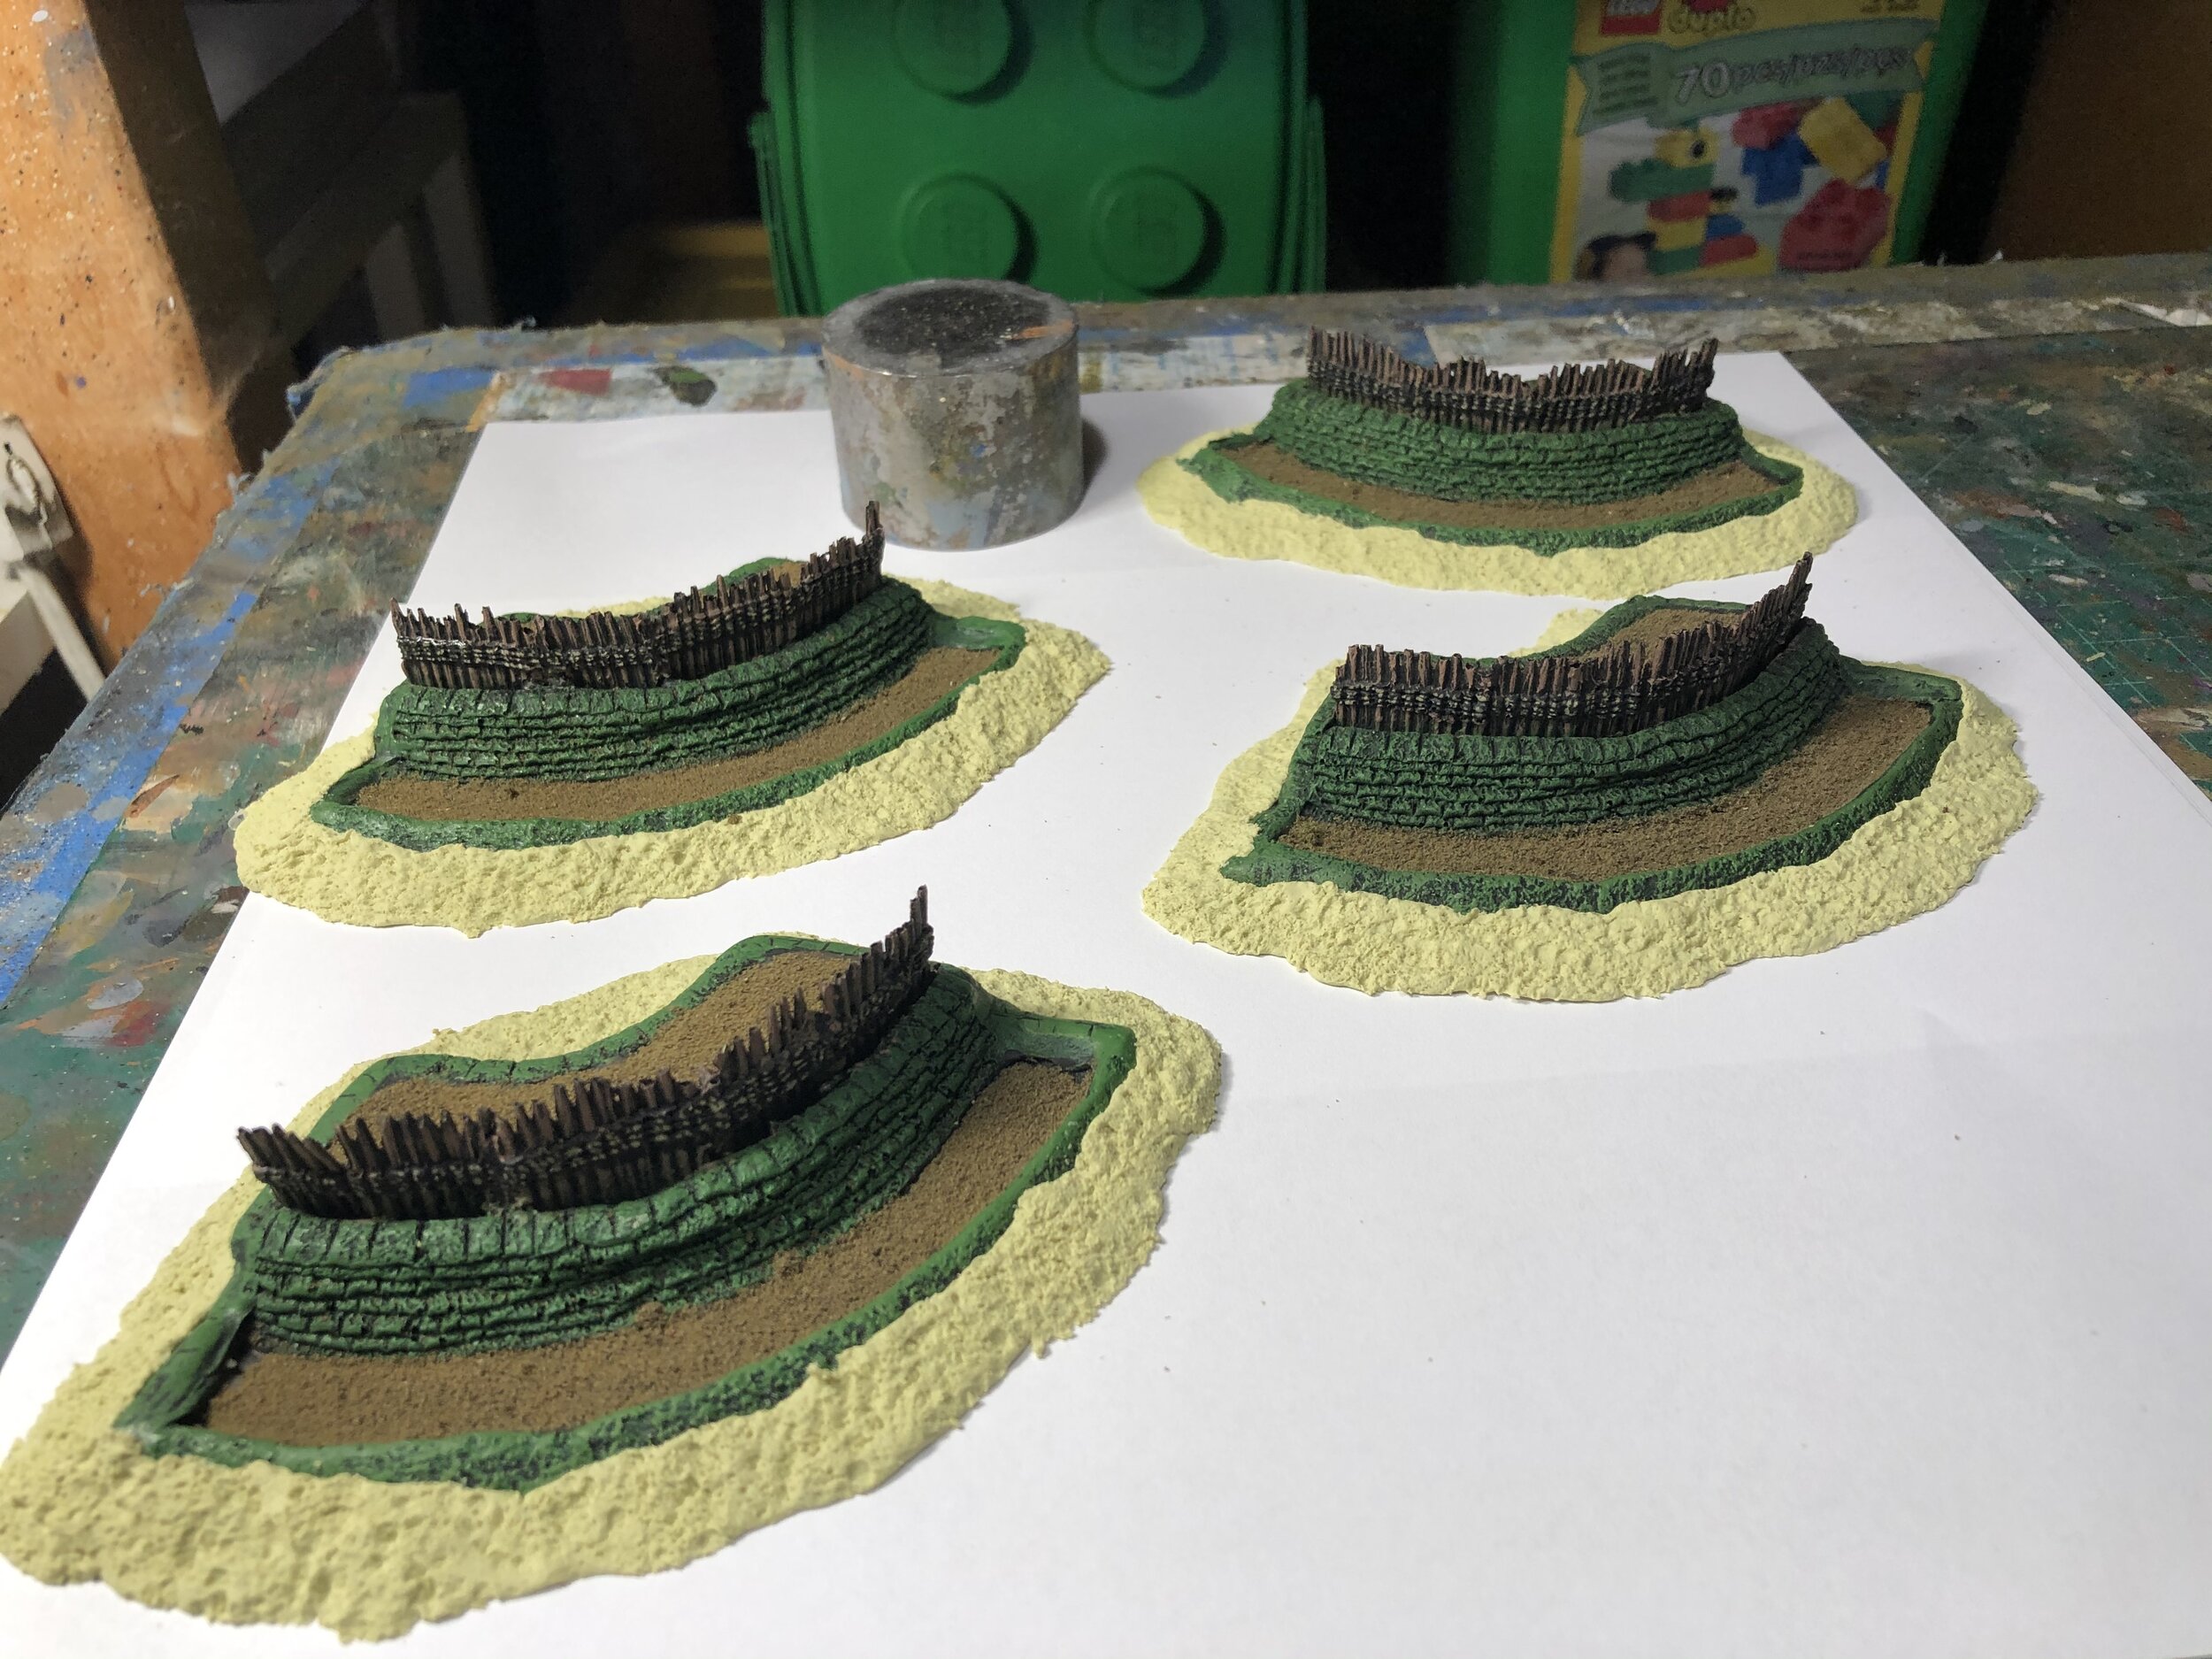
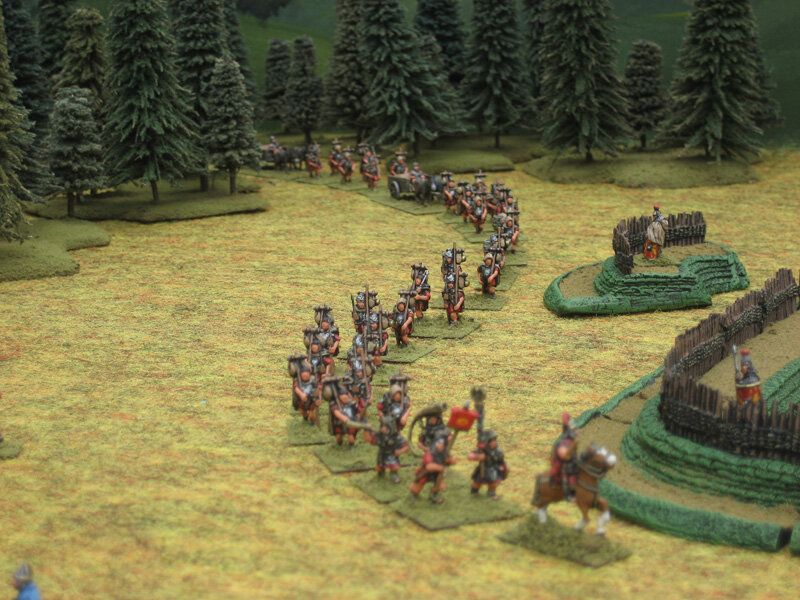
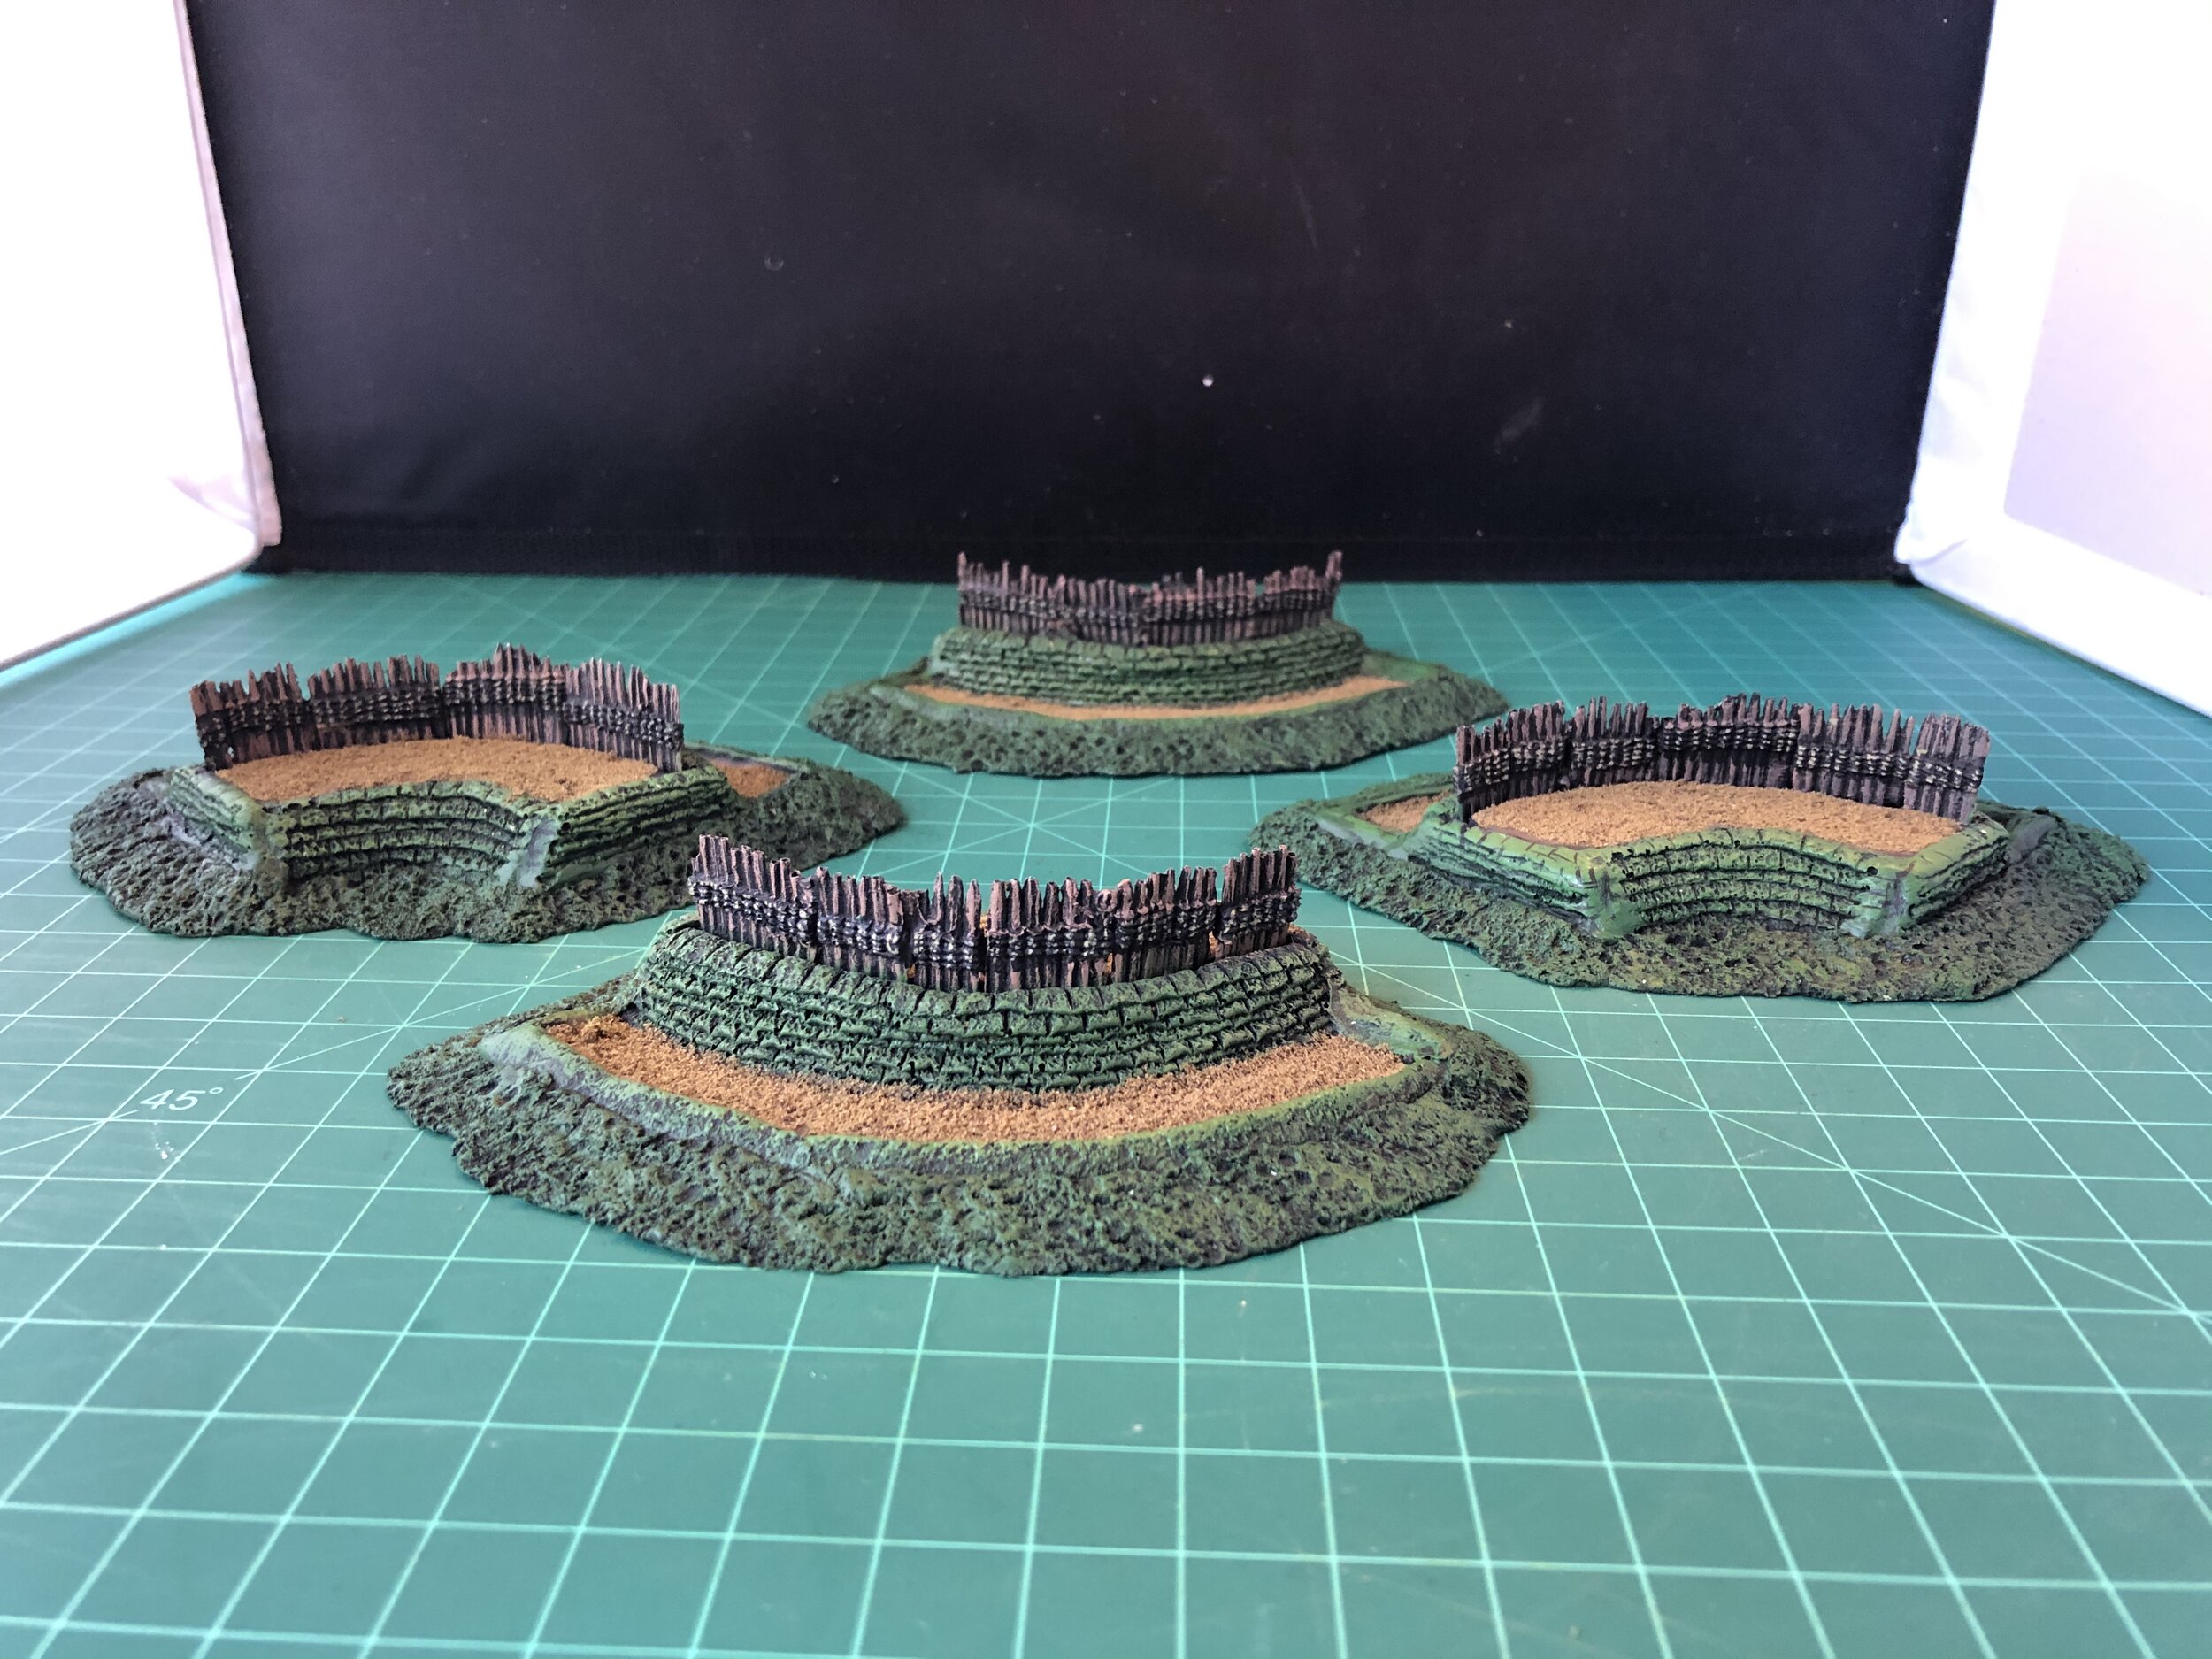
By mid-week I was looking for something to do at the workbench without starting a new, long-term project. I decided to do a modification of an element of a very old 15mm project. A quarter of a century ago I did a 15mm Imperial Rome collection that included a Roman marching fort. It’s a very nice fort but the manufacturer did not make the positions for each of the four fort entrances. These are entrenchments and stockade lines that allow direct entrance into the fort in case of attack. Because I consider them essential, I modified four extra fort corners to serve that purpose. For years I have been unhappy with those modifications because they looked too much like I had just put fort corners in front of the entrances… the sides needed to be more graduated. On Wednesday I used Milliput to give those entrance defenses a more graduated appearance.
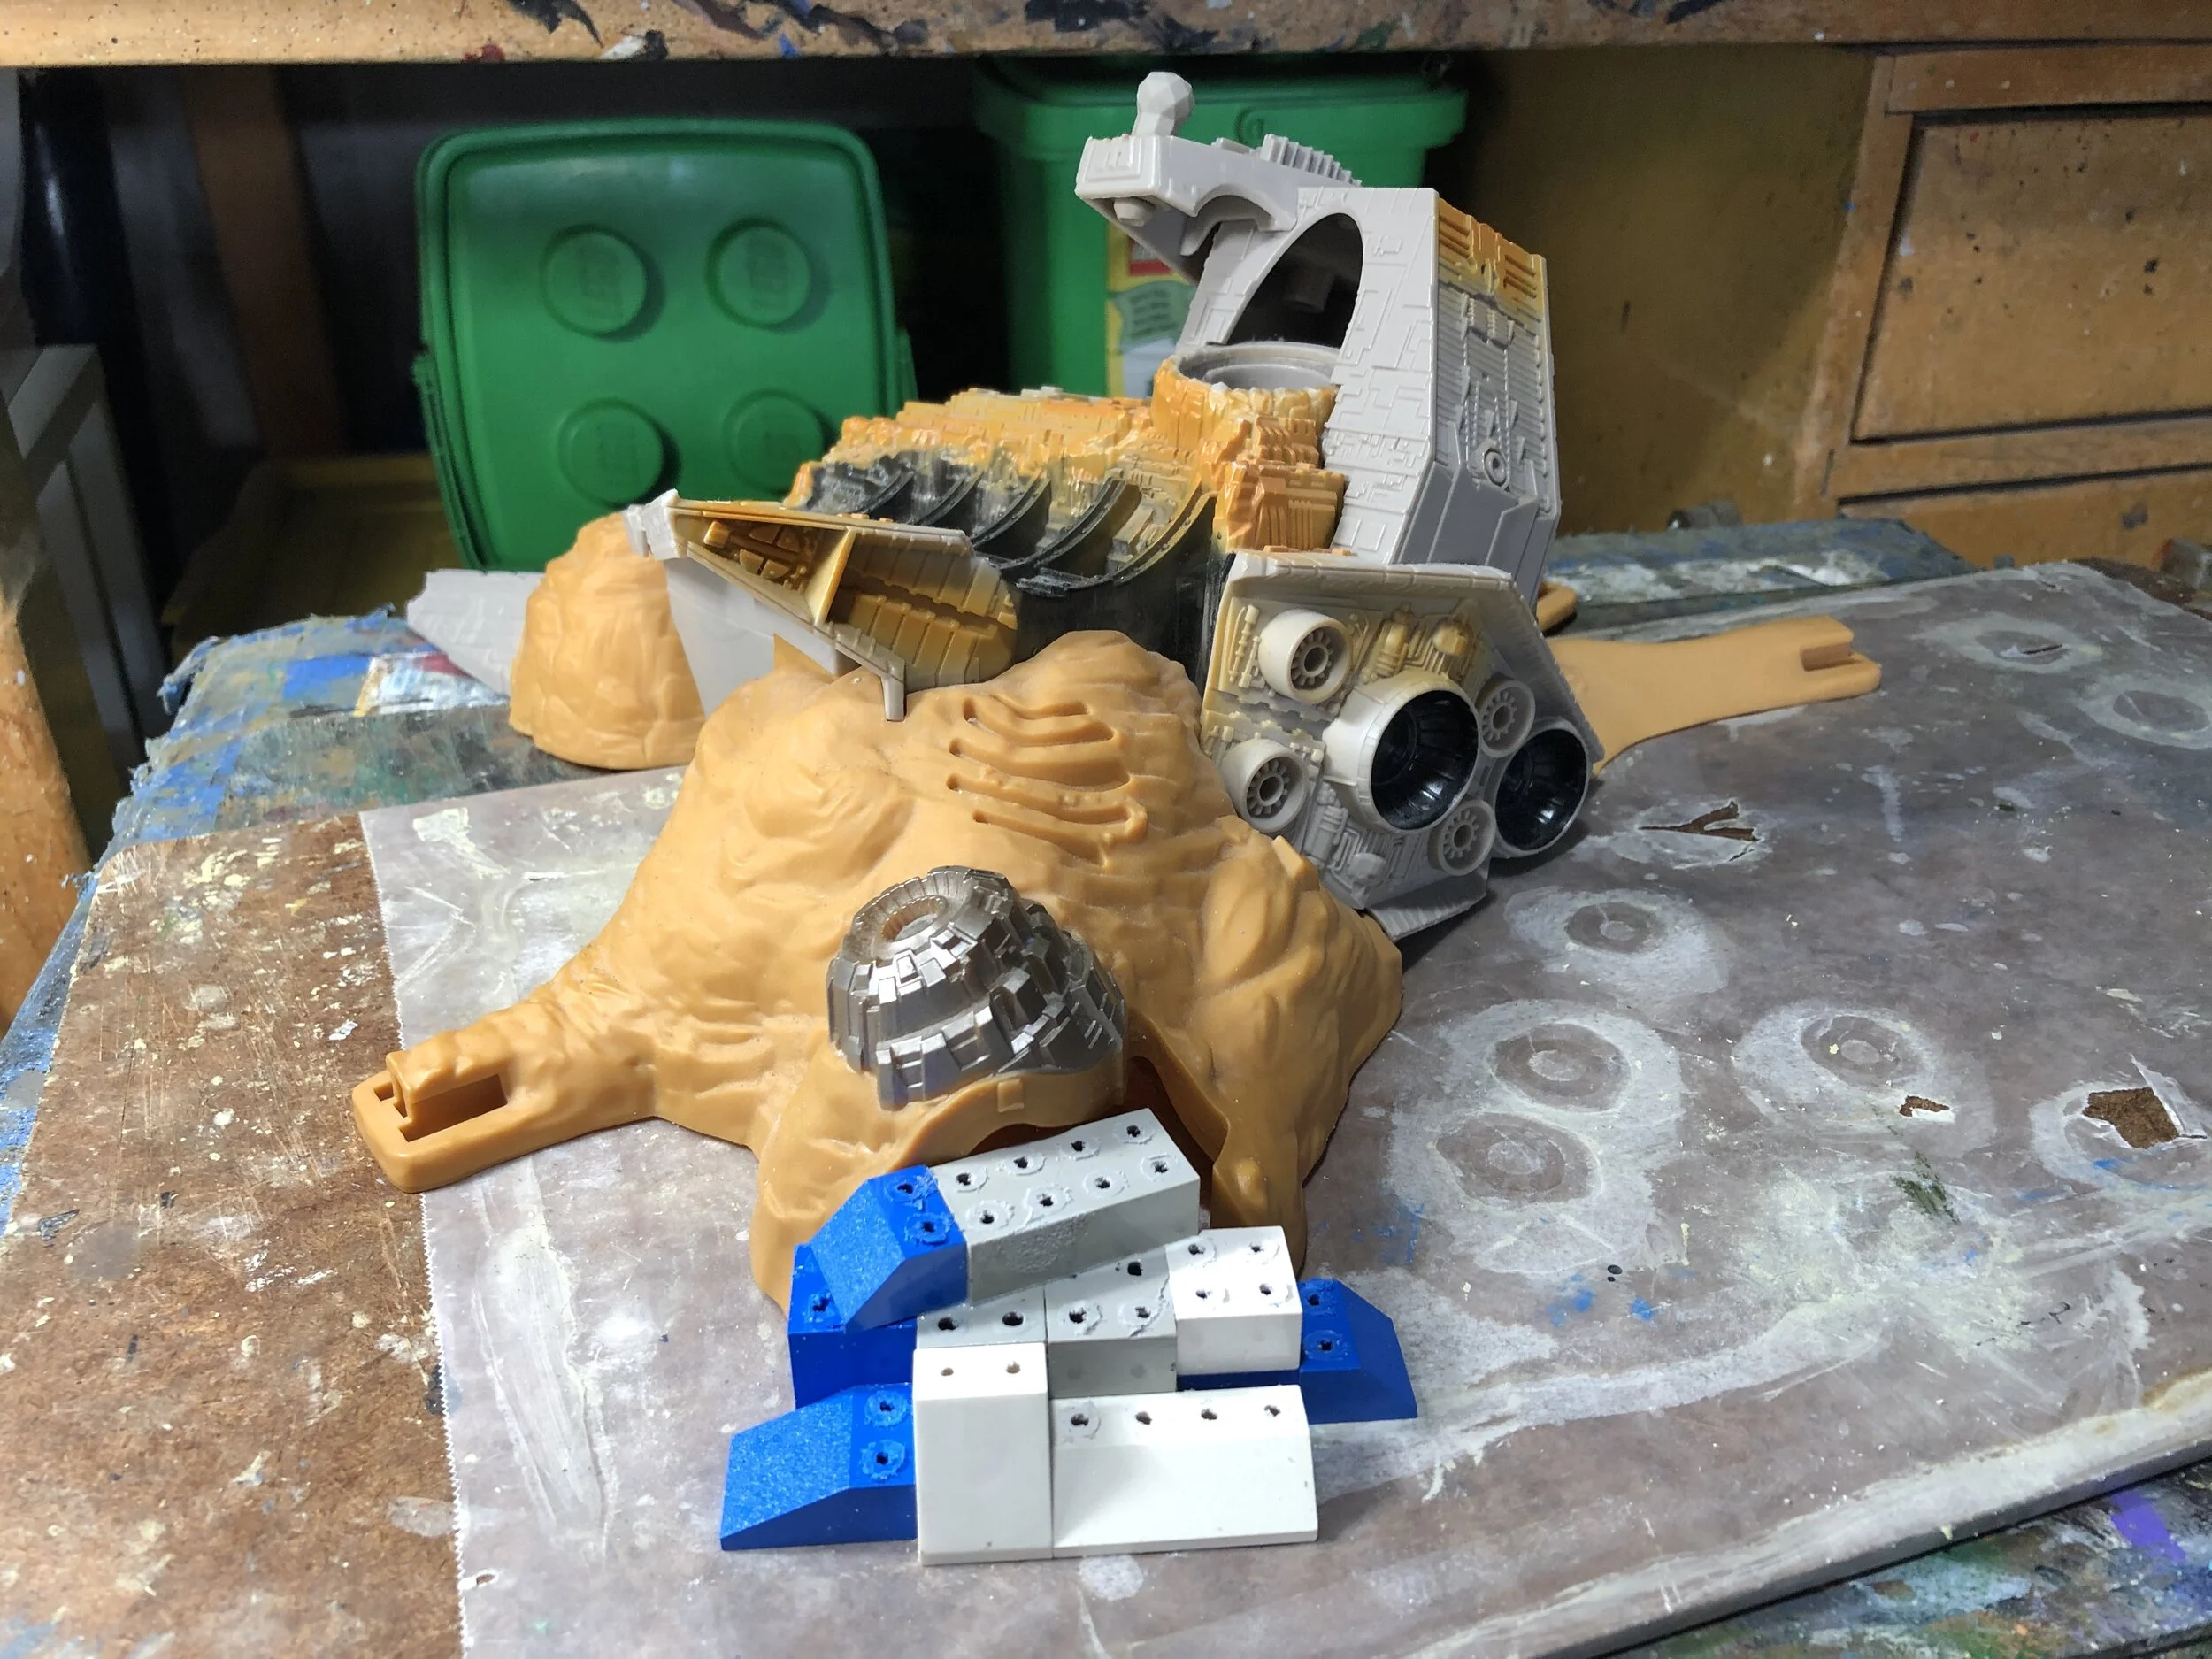
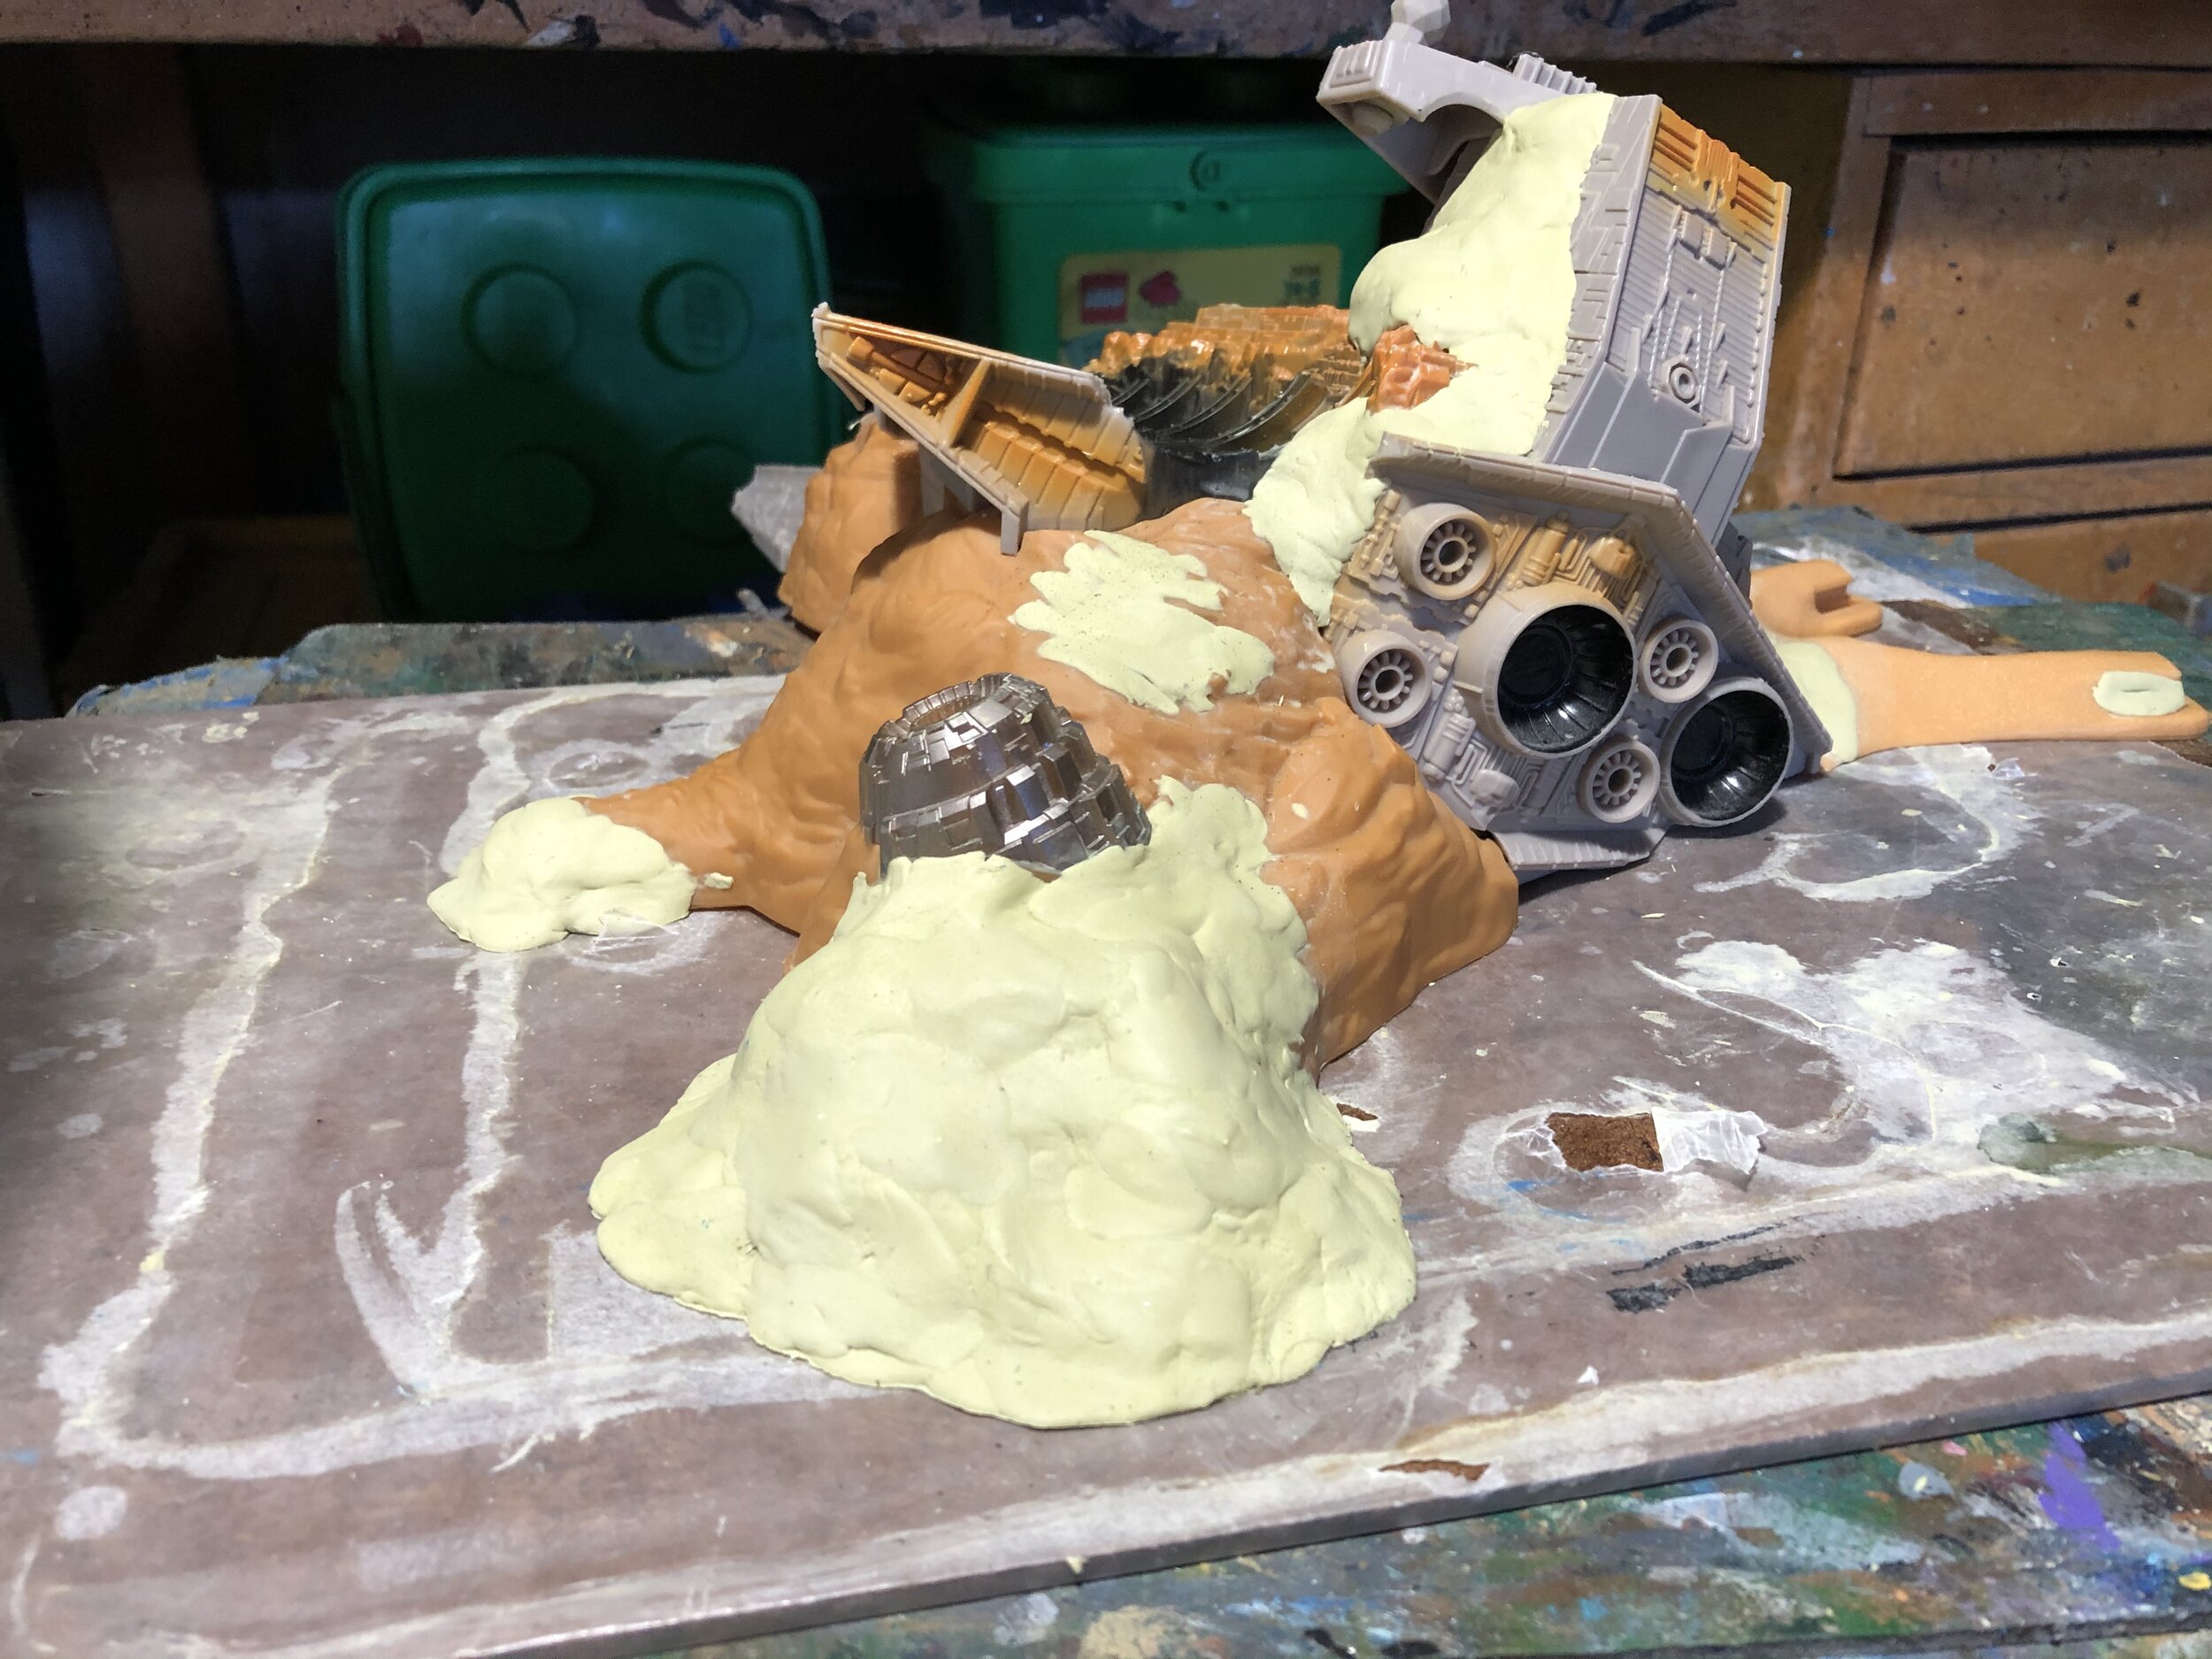
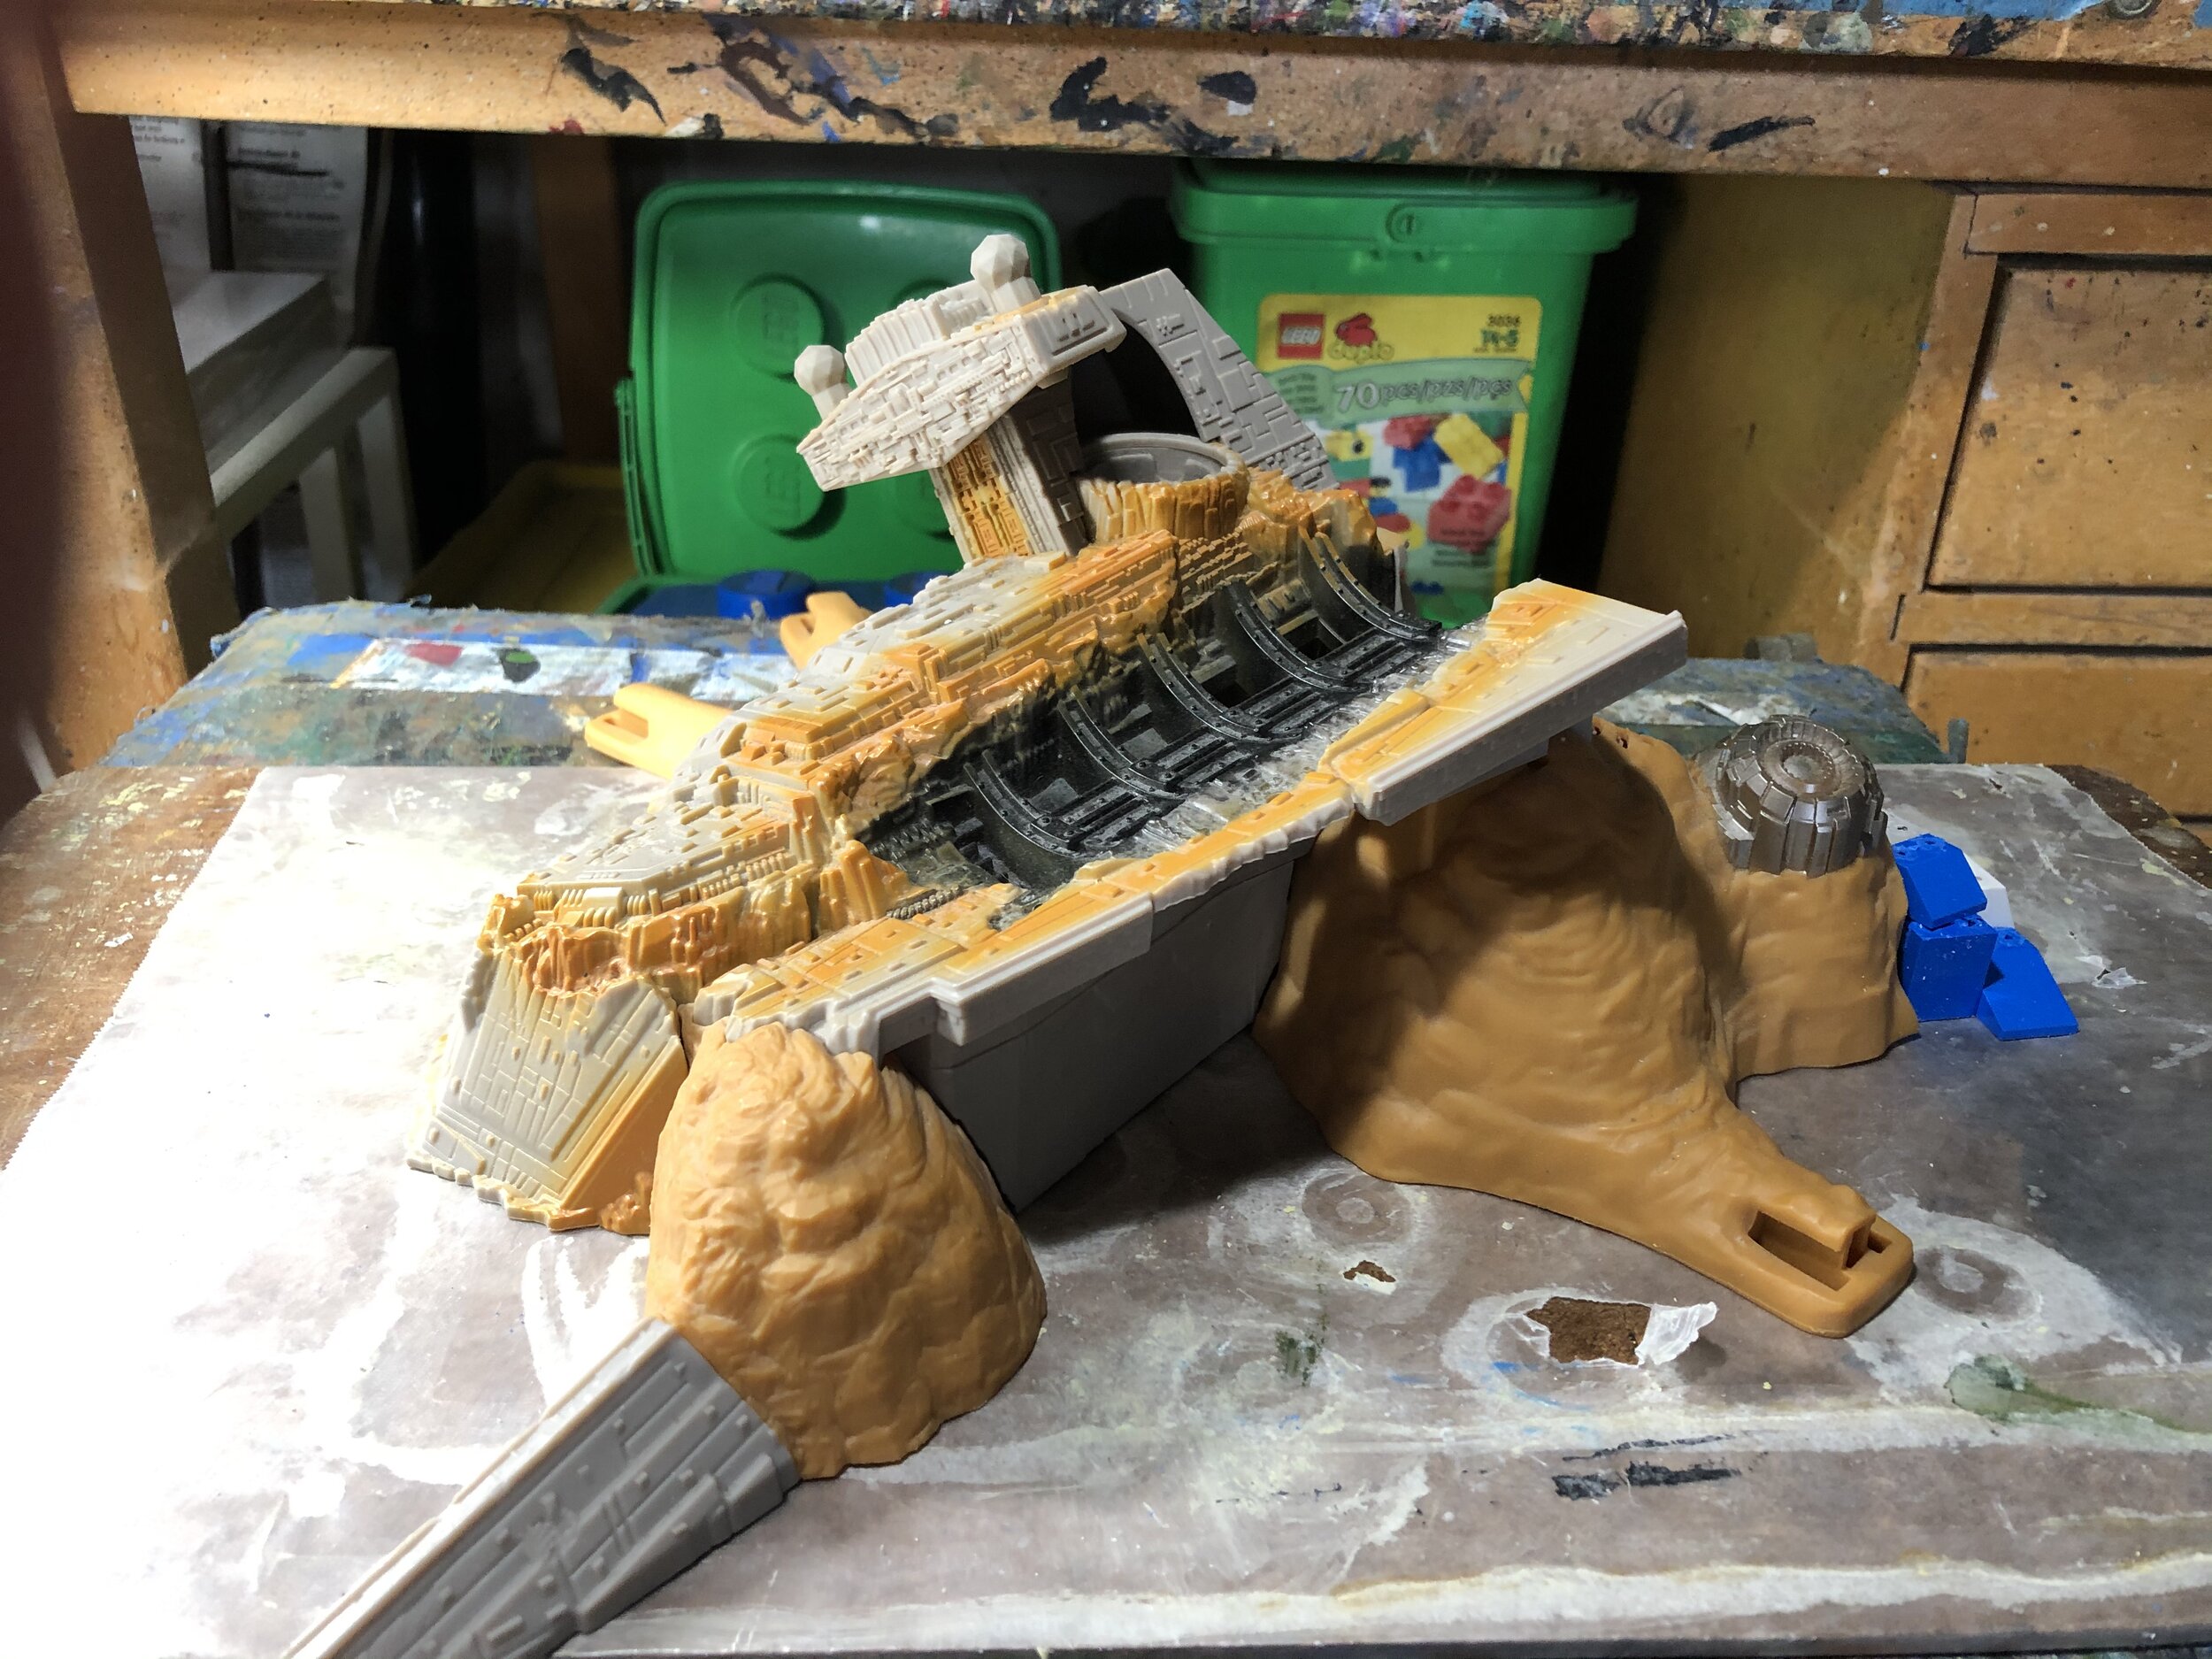
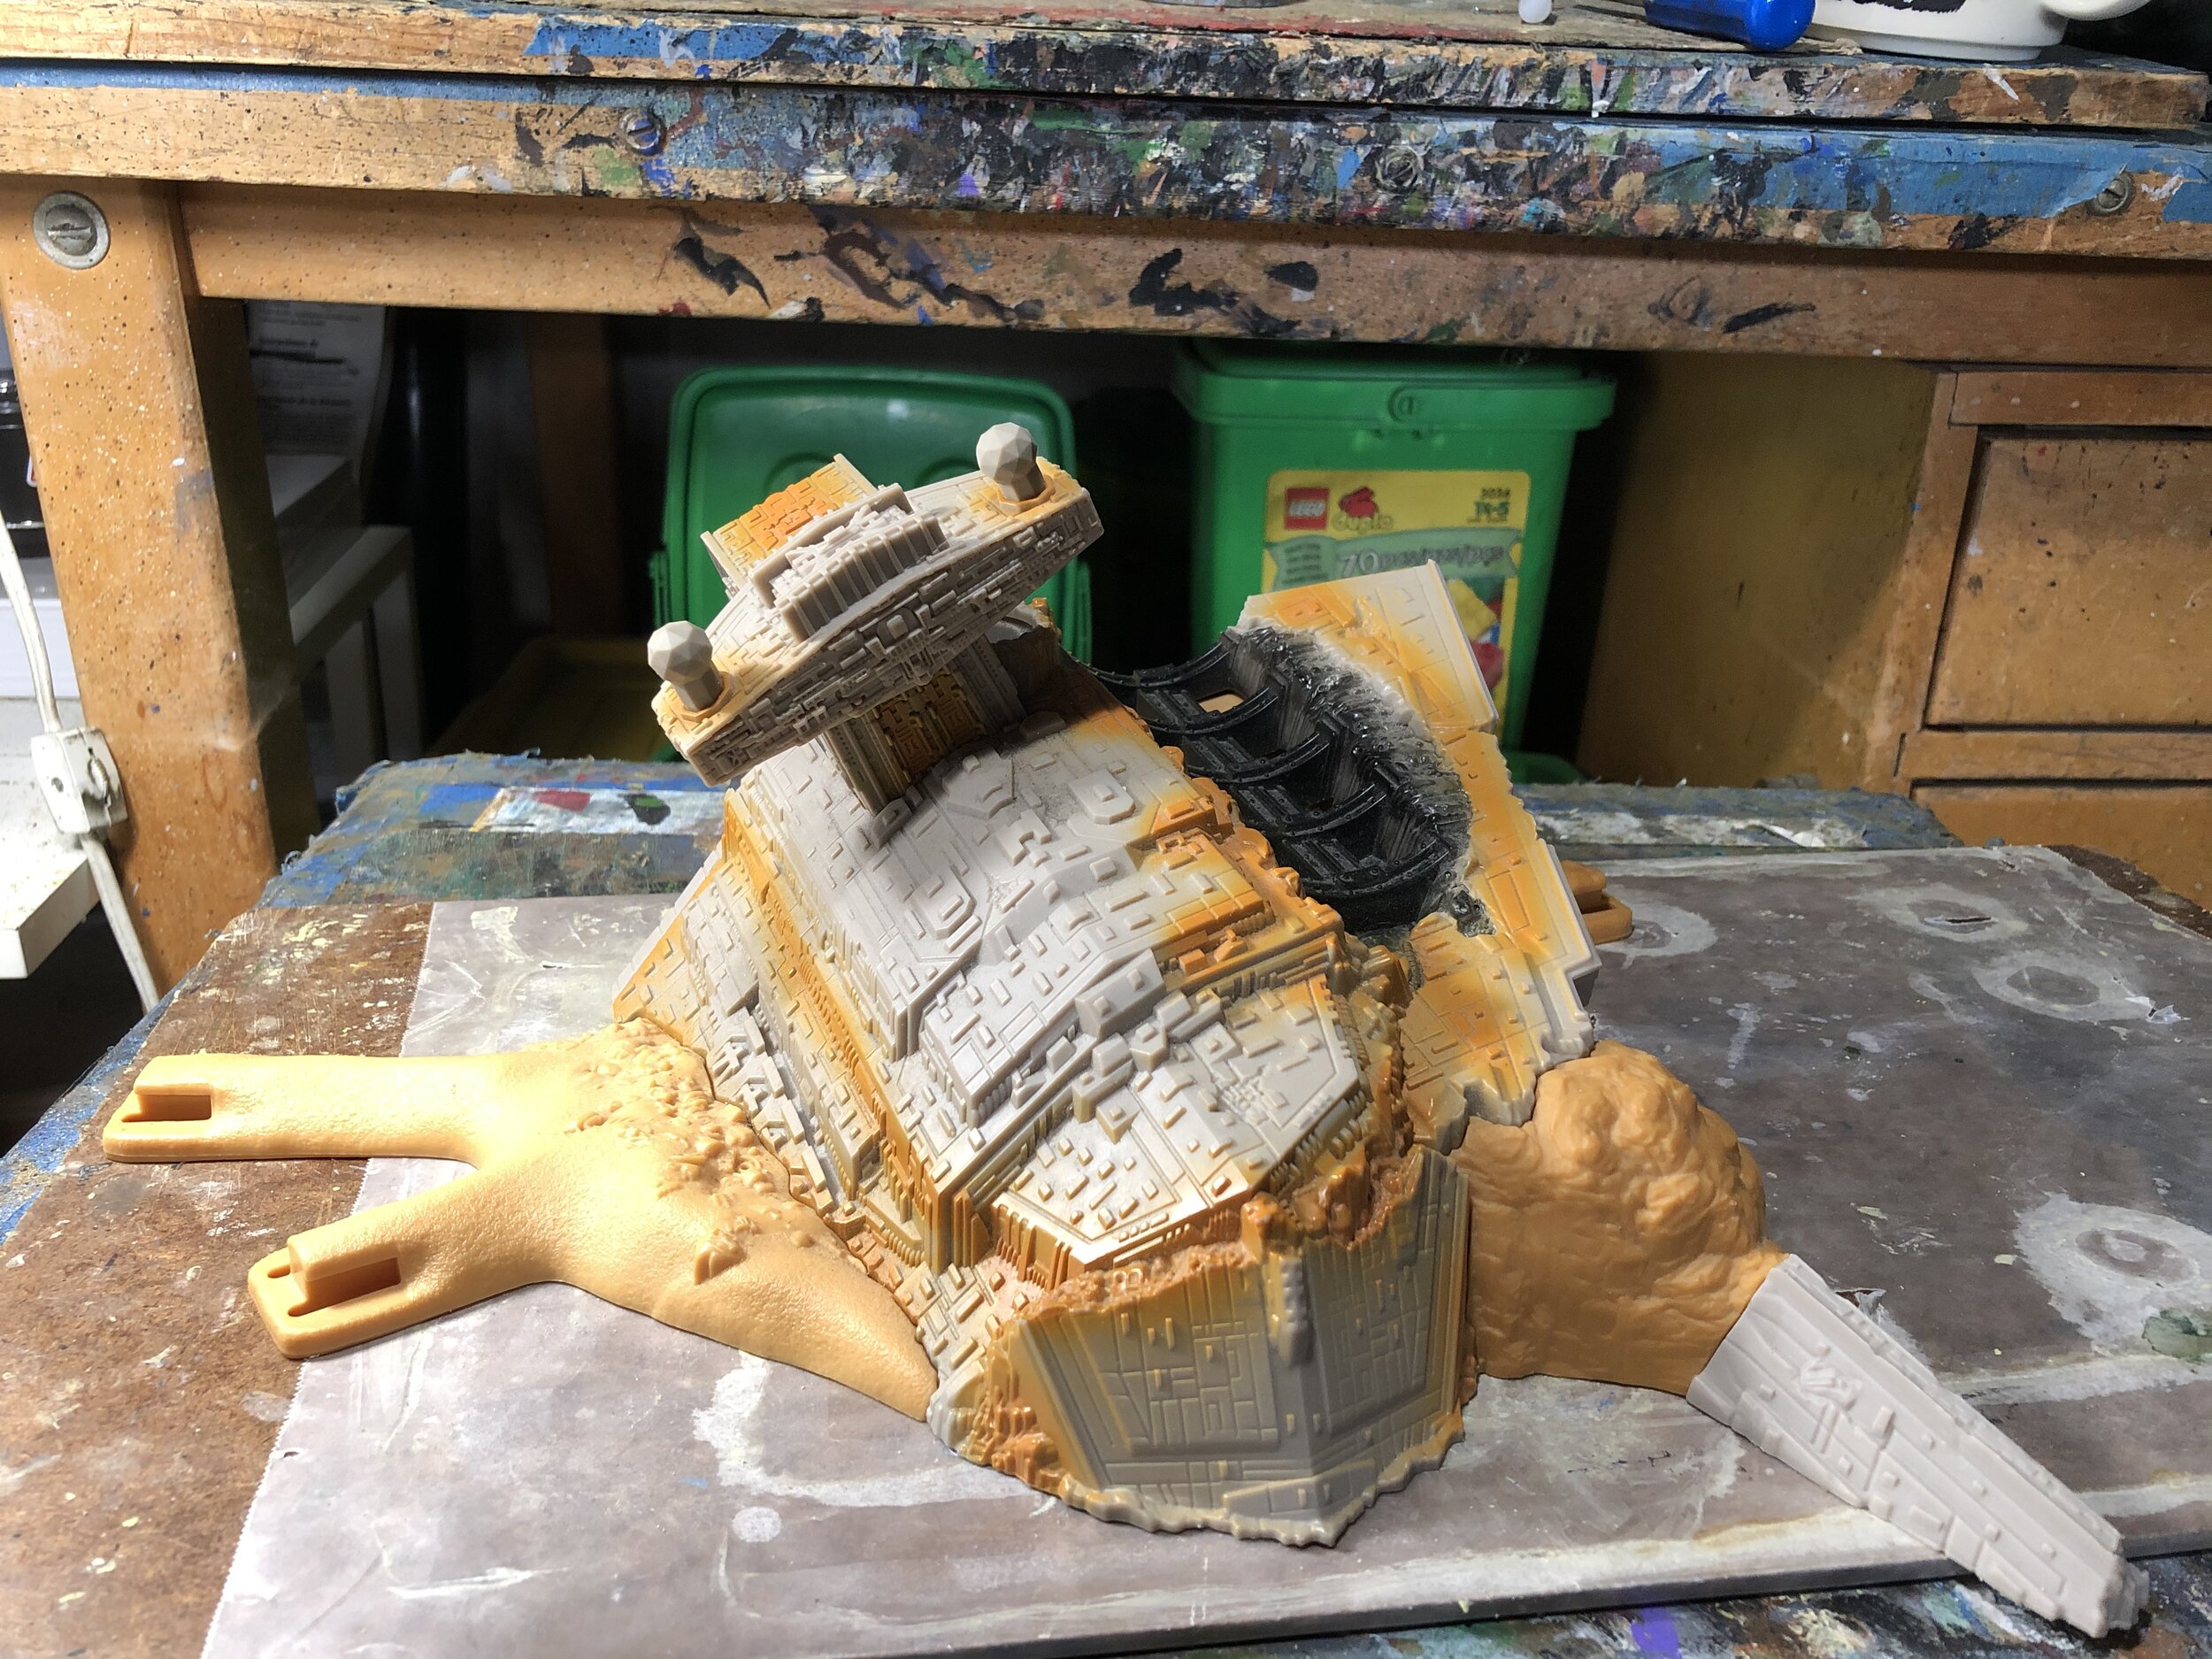
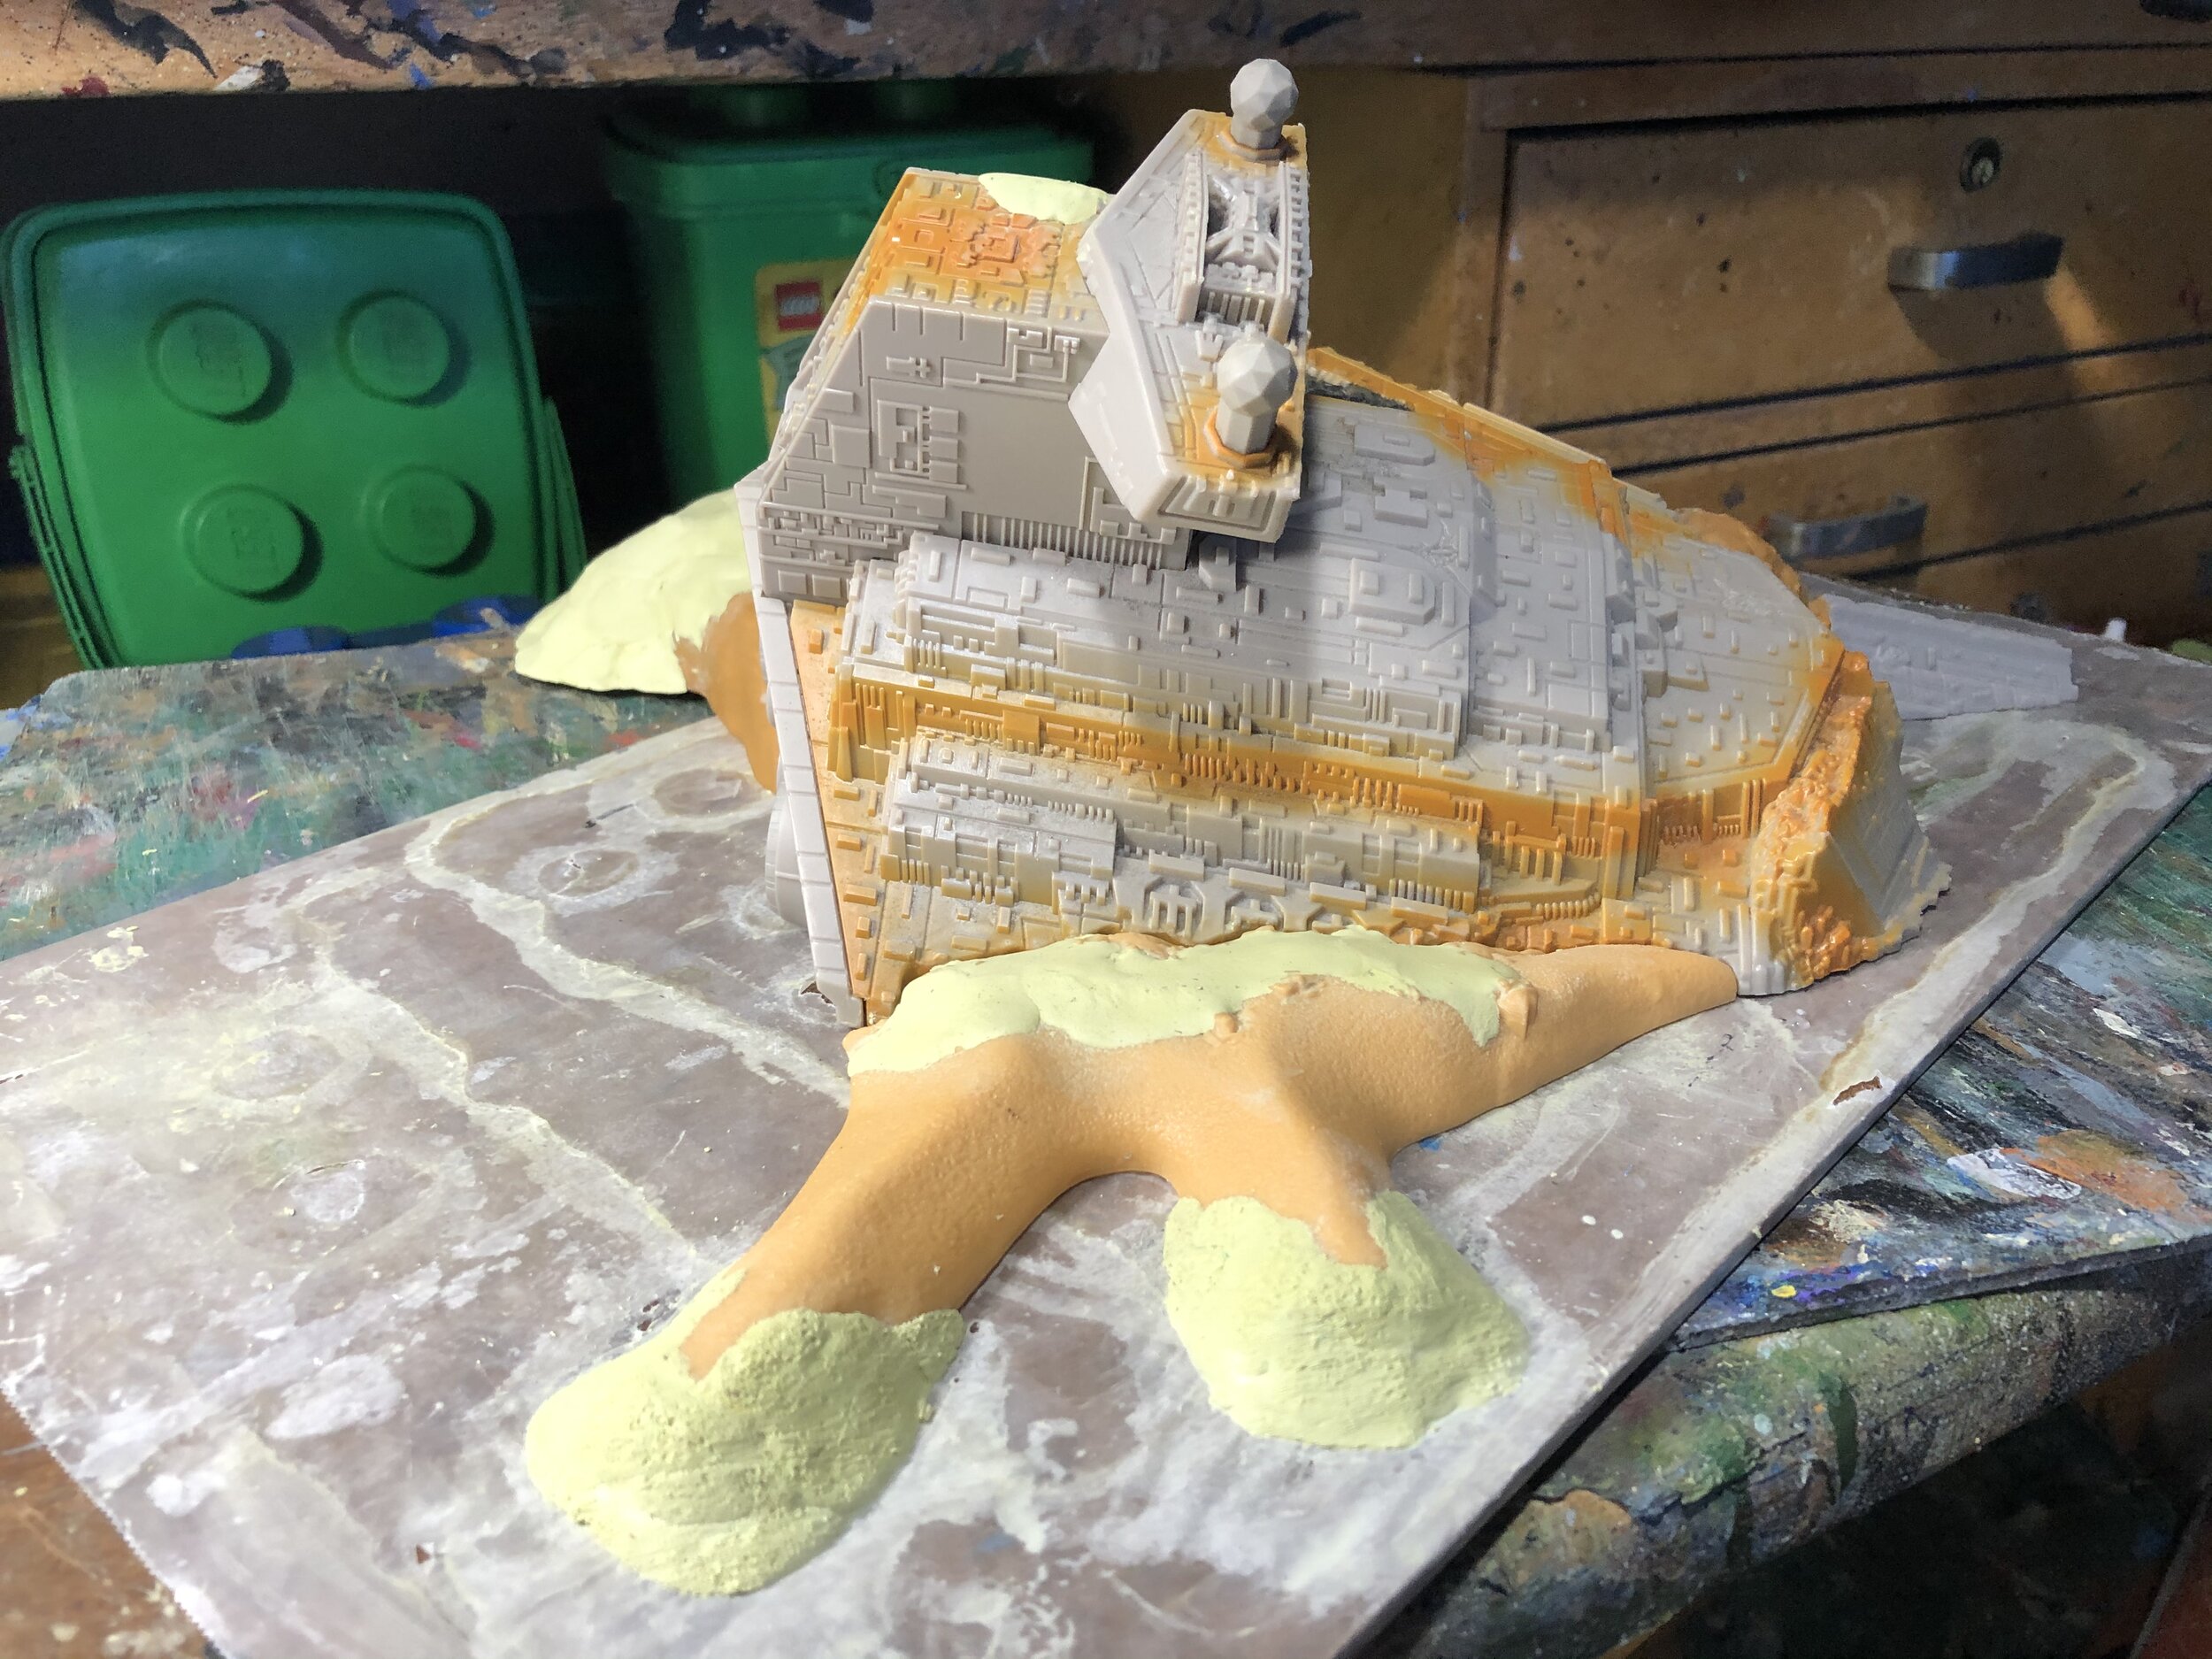
As the workbench week drew to a close, I needed a temporary project. I had watched a few YouTubes on how to maintain my Iwata neo airbrush. From Brookhurst Hobbies I’d purchased a quick release valve attachment that connects the airbrush to my compressor hose, and a friend had given me a restrictor for the neo which allows greater control of the paint flow through the neo airbrush. That was all great, but I needed an activity… I needed to build or paint. While doing a little workbench housekeeping I noticed that I had a Mattel Hot Wheels Star Wars crashed Imperial Star Destroyer that I had purchased at the swap meet and then set aside and forgotten. For use with 28mm figures, it is purely a piece of background terrain, but even so it is pretty big… about a foot long. When I bought it a lot of parts were missing, but they were not related to my needs beyond the fact that they left holes in the toy that needed to be filled. That became my end-of-the-week project.


July 12, 2020
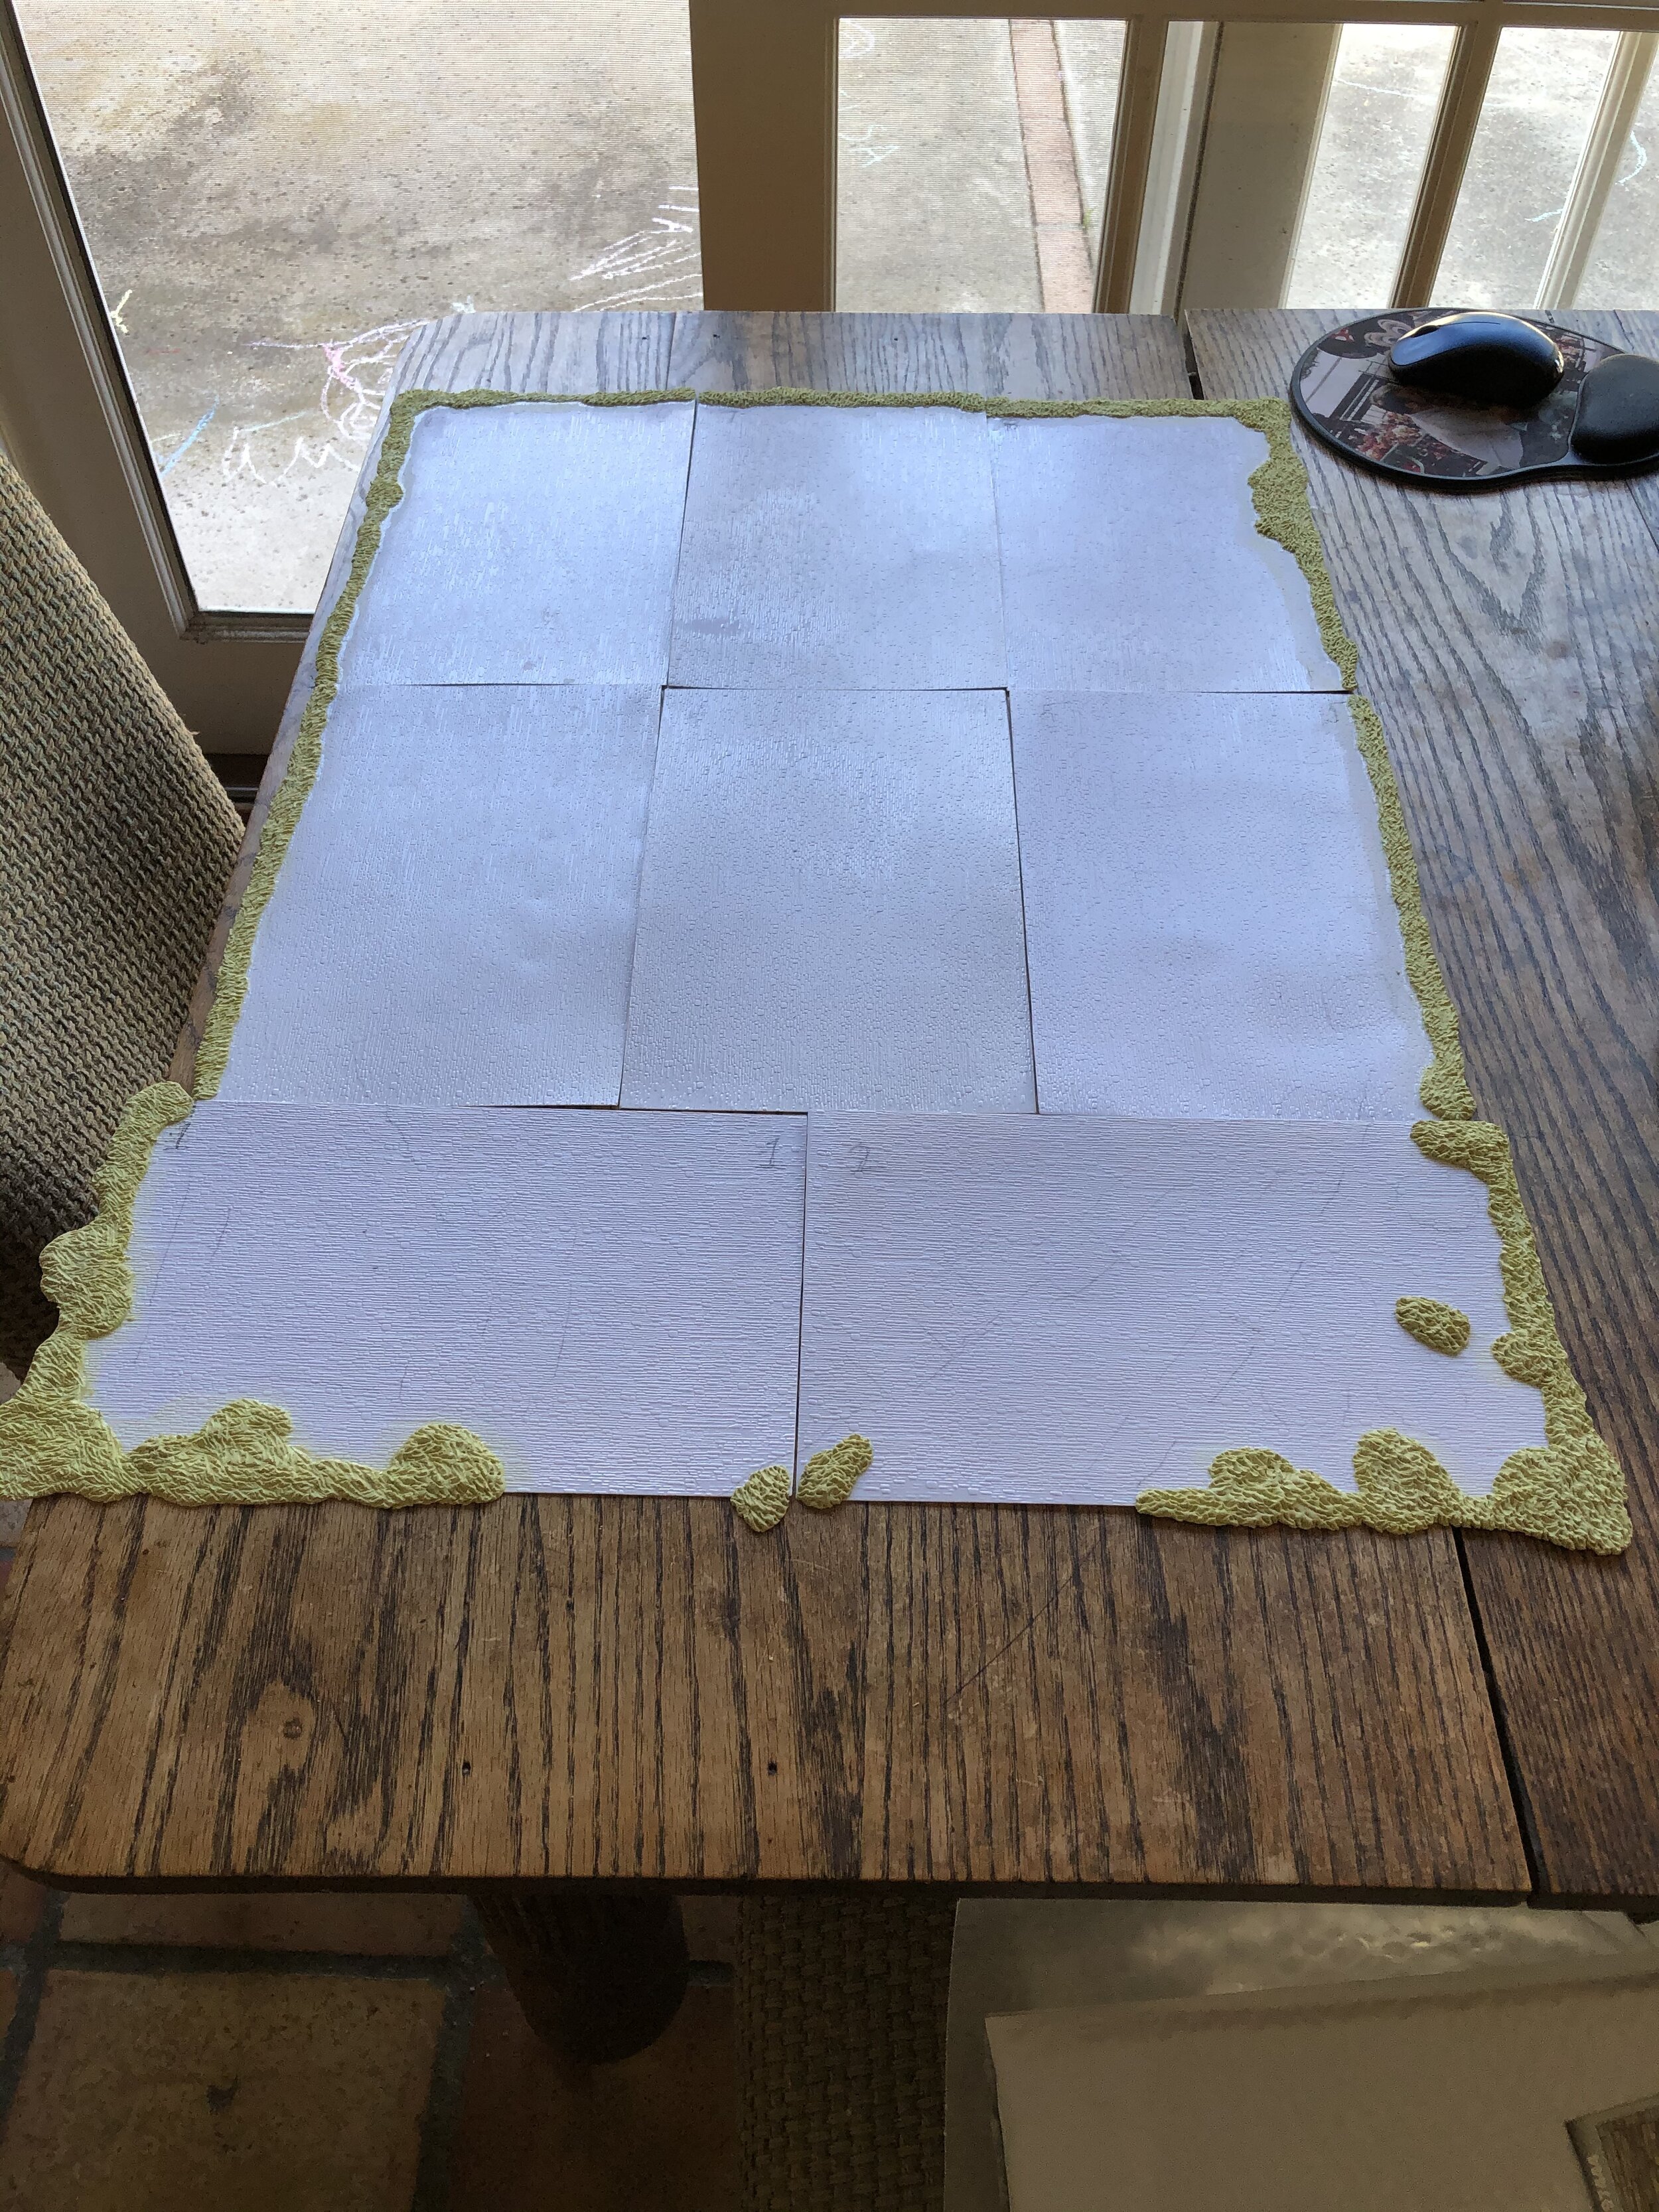
Most of this week was devoted to doing the cobblestone for my 15mm Spanish town. I used 8 sheets of JTT plastic’s HO scale random stone. I decided that I was not going to try to cut the individual plastic rectangles to follow the shape of the town… too risky. Instead I used the 8 rectangles as they came and added Milliput shrubs around the edges to soften the look. It’s not perfect, but it will serve my needs.
With the cobblestones done (arranged, Milliputed and painted), I still had a little workbench time left so I decided to do a few more terrain pieces… some flowers (by Wee Scapes), a wagon, and a hand cart. That brought me to the end of the week and very close to the end of this project. Next week I will do a practice layout of my river because I know it will need a little trimming. I also have 4 plowed fields (by Musket Miniatures) that need to have their Scenic Effects dirt coverings applied. With that my 15mm Napoleonic Peninsular War collection will be ready to photograph.

July 5, 2020
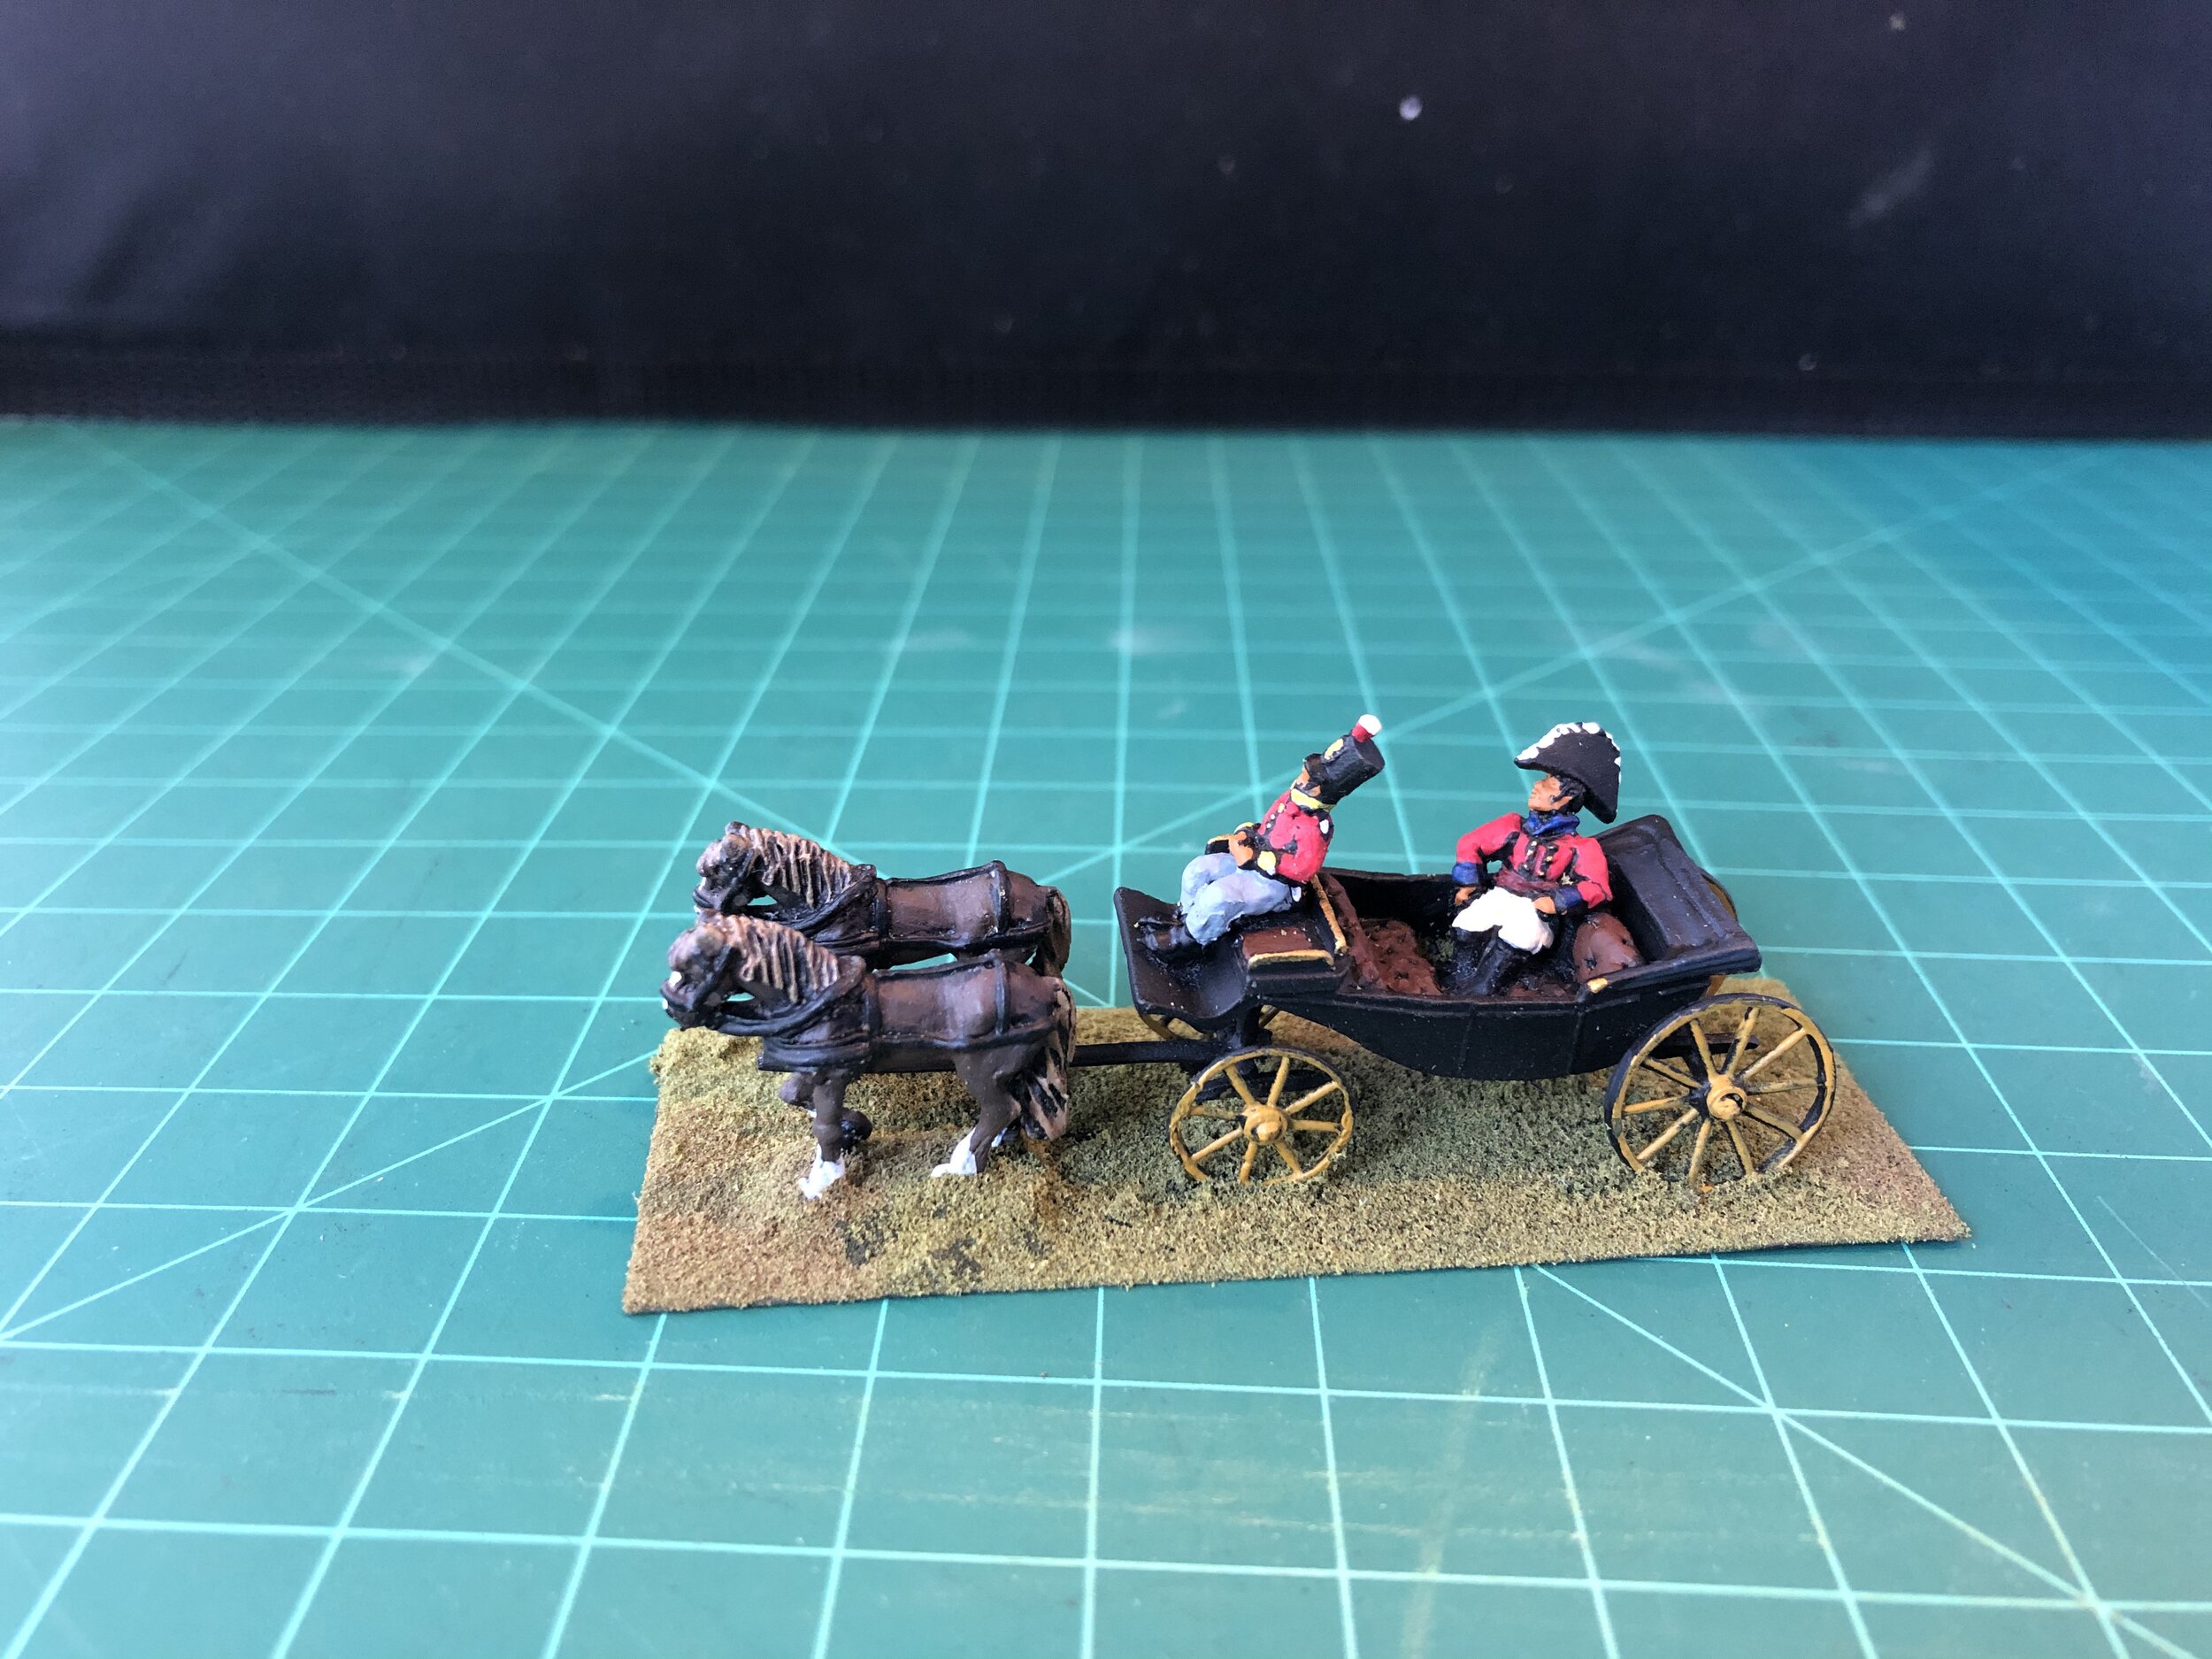
I began the workbench week with a return to some figures for my 15mm Peninsular War collection. Last week I thought I was done, but I remembered that I had a carriage that I was planning to use. The carriage is a very old Old Glory 15s Napoleonic piece. It had no driver (don’t know why) and the passenger was a French Marshall. I decided to modify two seated Blue Moon 15/18mm English Civil War figures. The carriage driver only required a new head from the British Napoleonic forces by Blue Moon. The passenger required cutting the seated figure in half and giving it the upper half of an Old Glory 15s mounted British general from their Napoleonic line of figures.
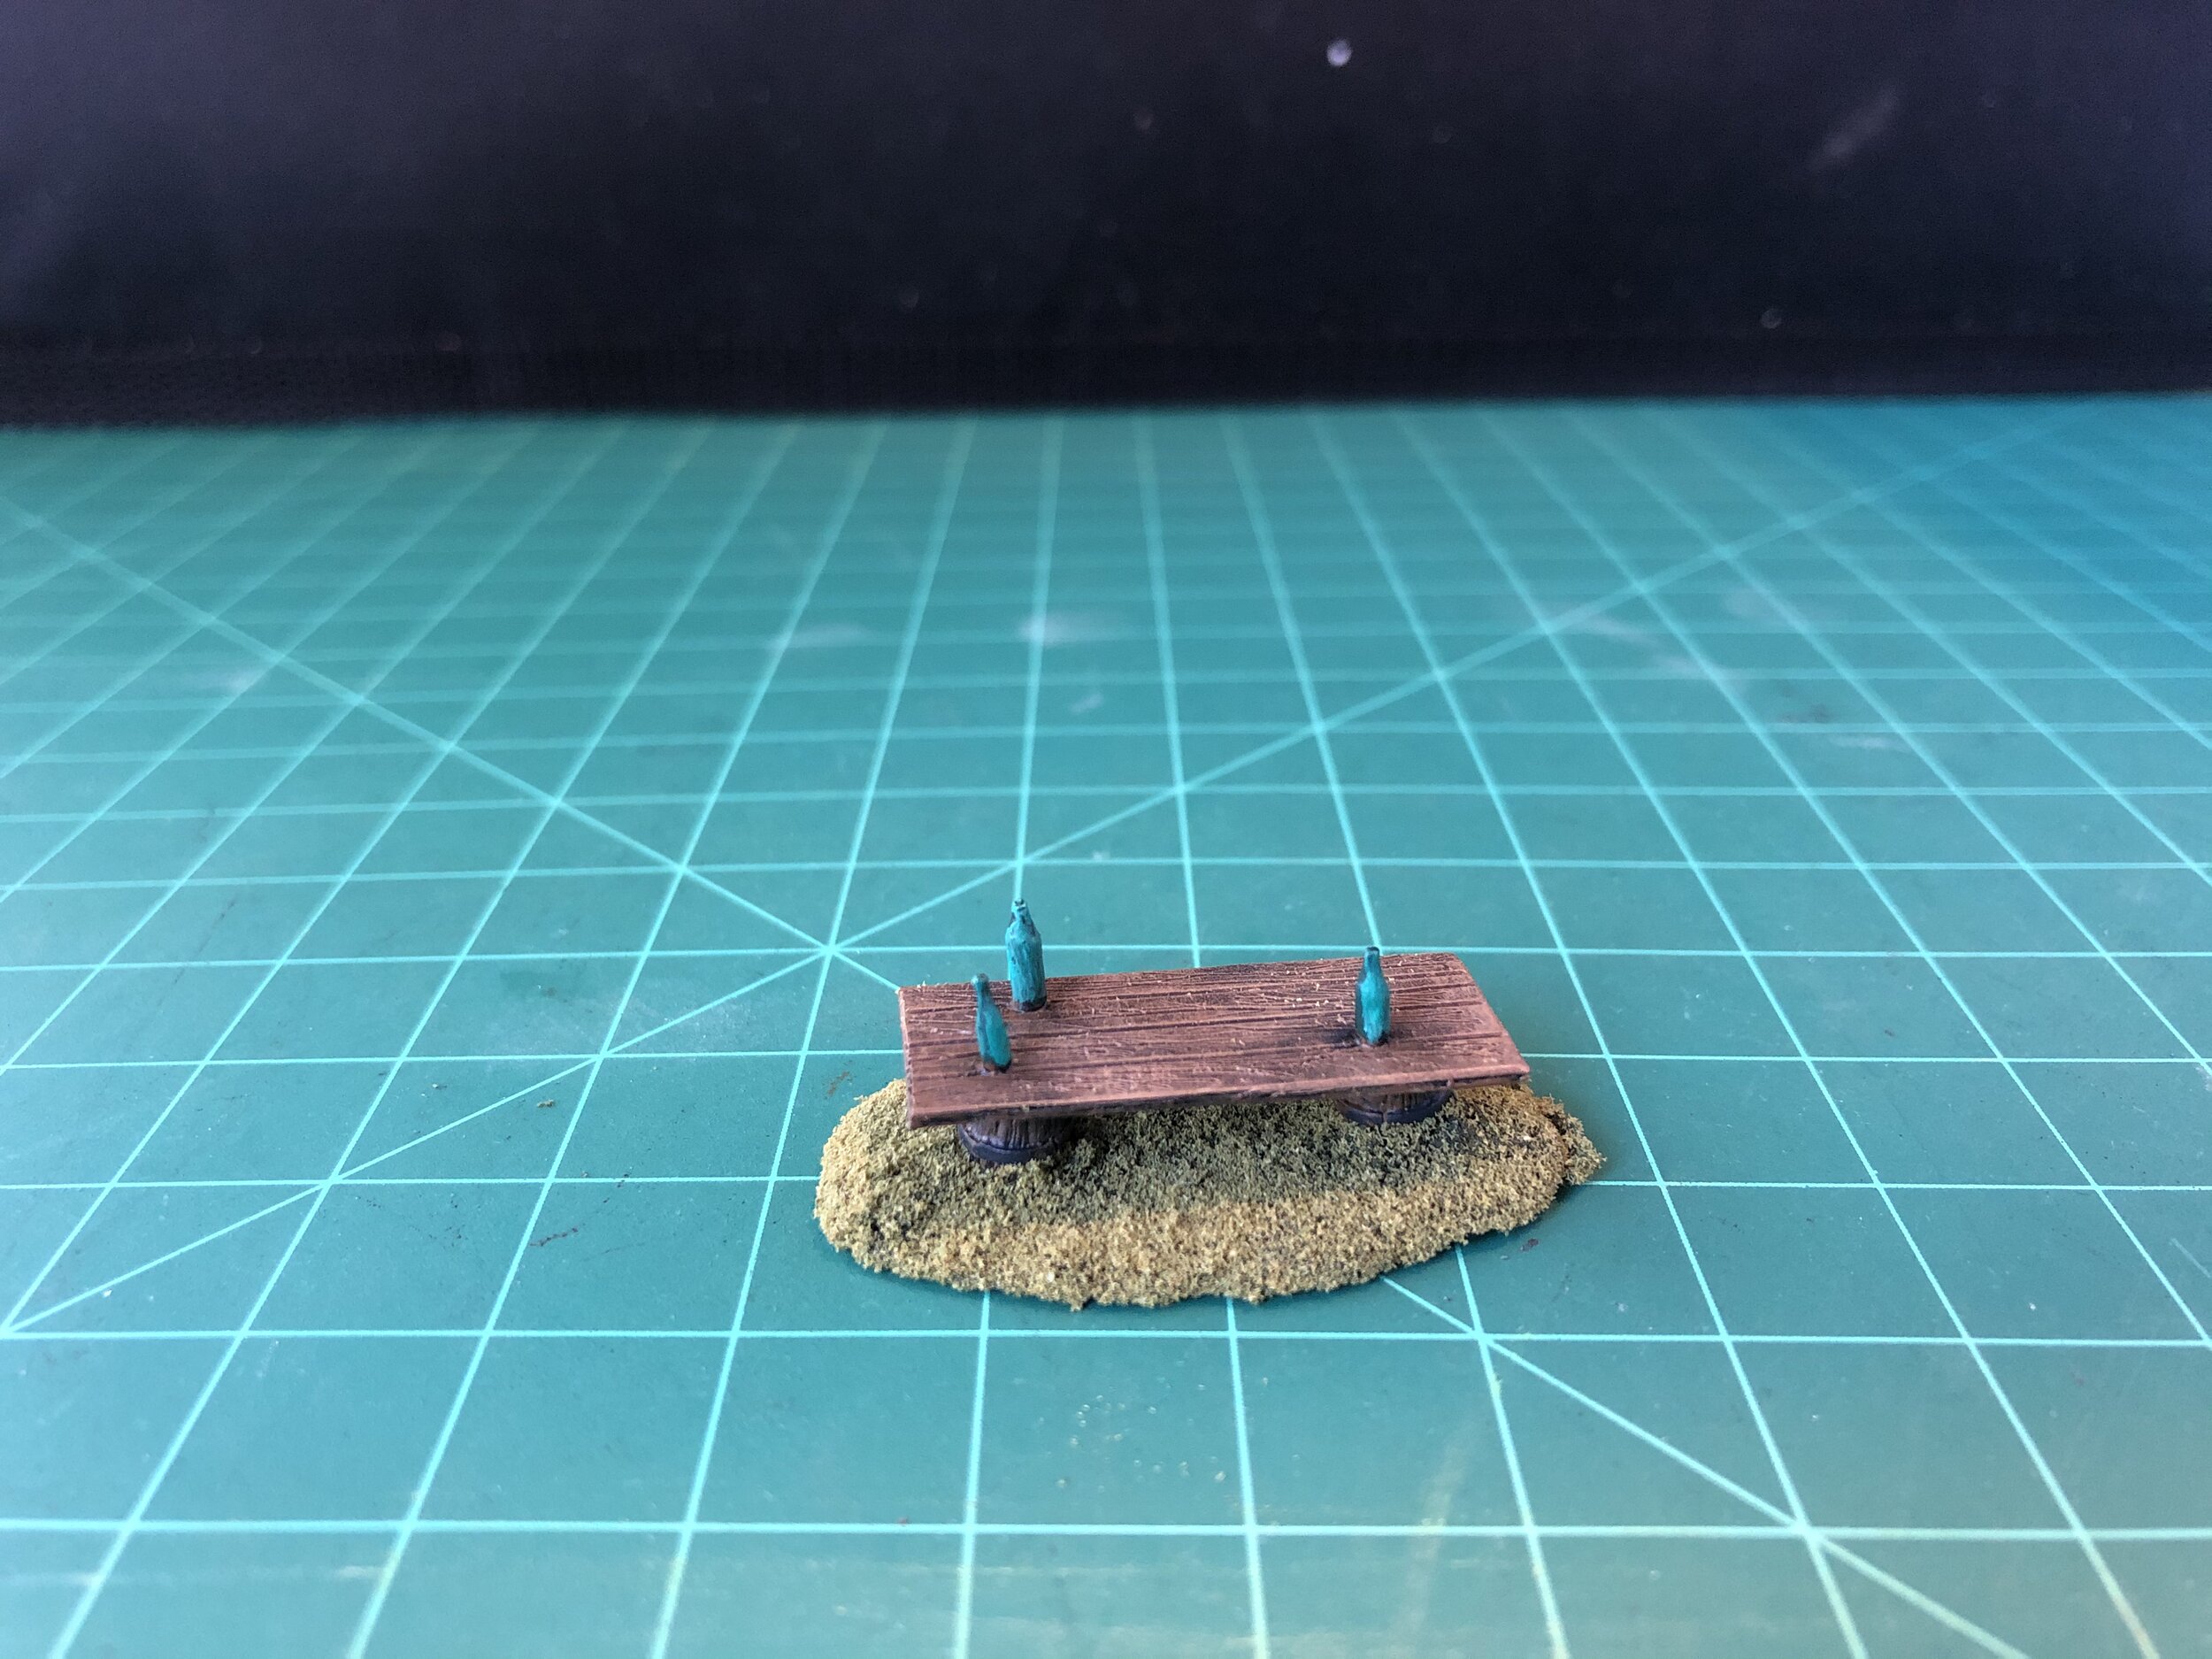
With that done I put together an outdoor table… planks set on barrels for the exterior of my winery.
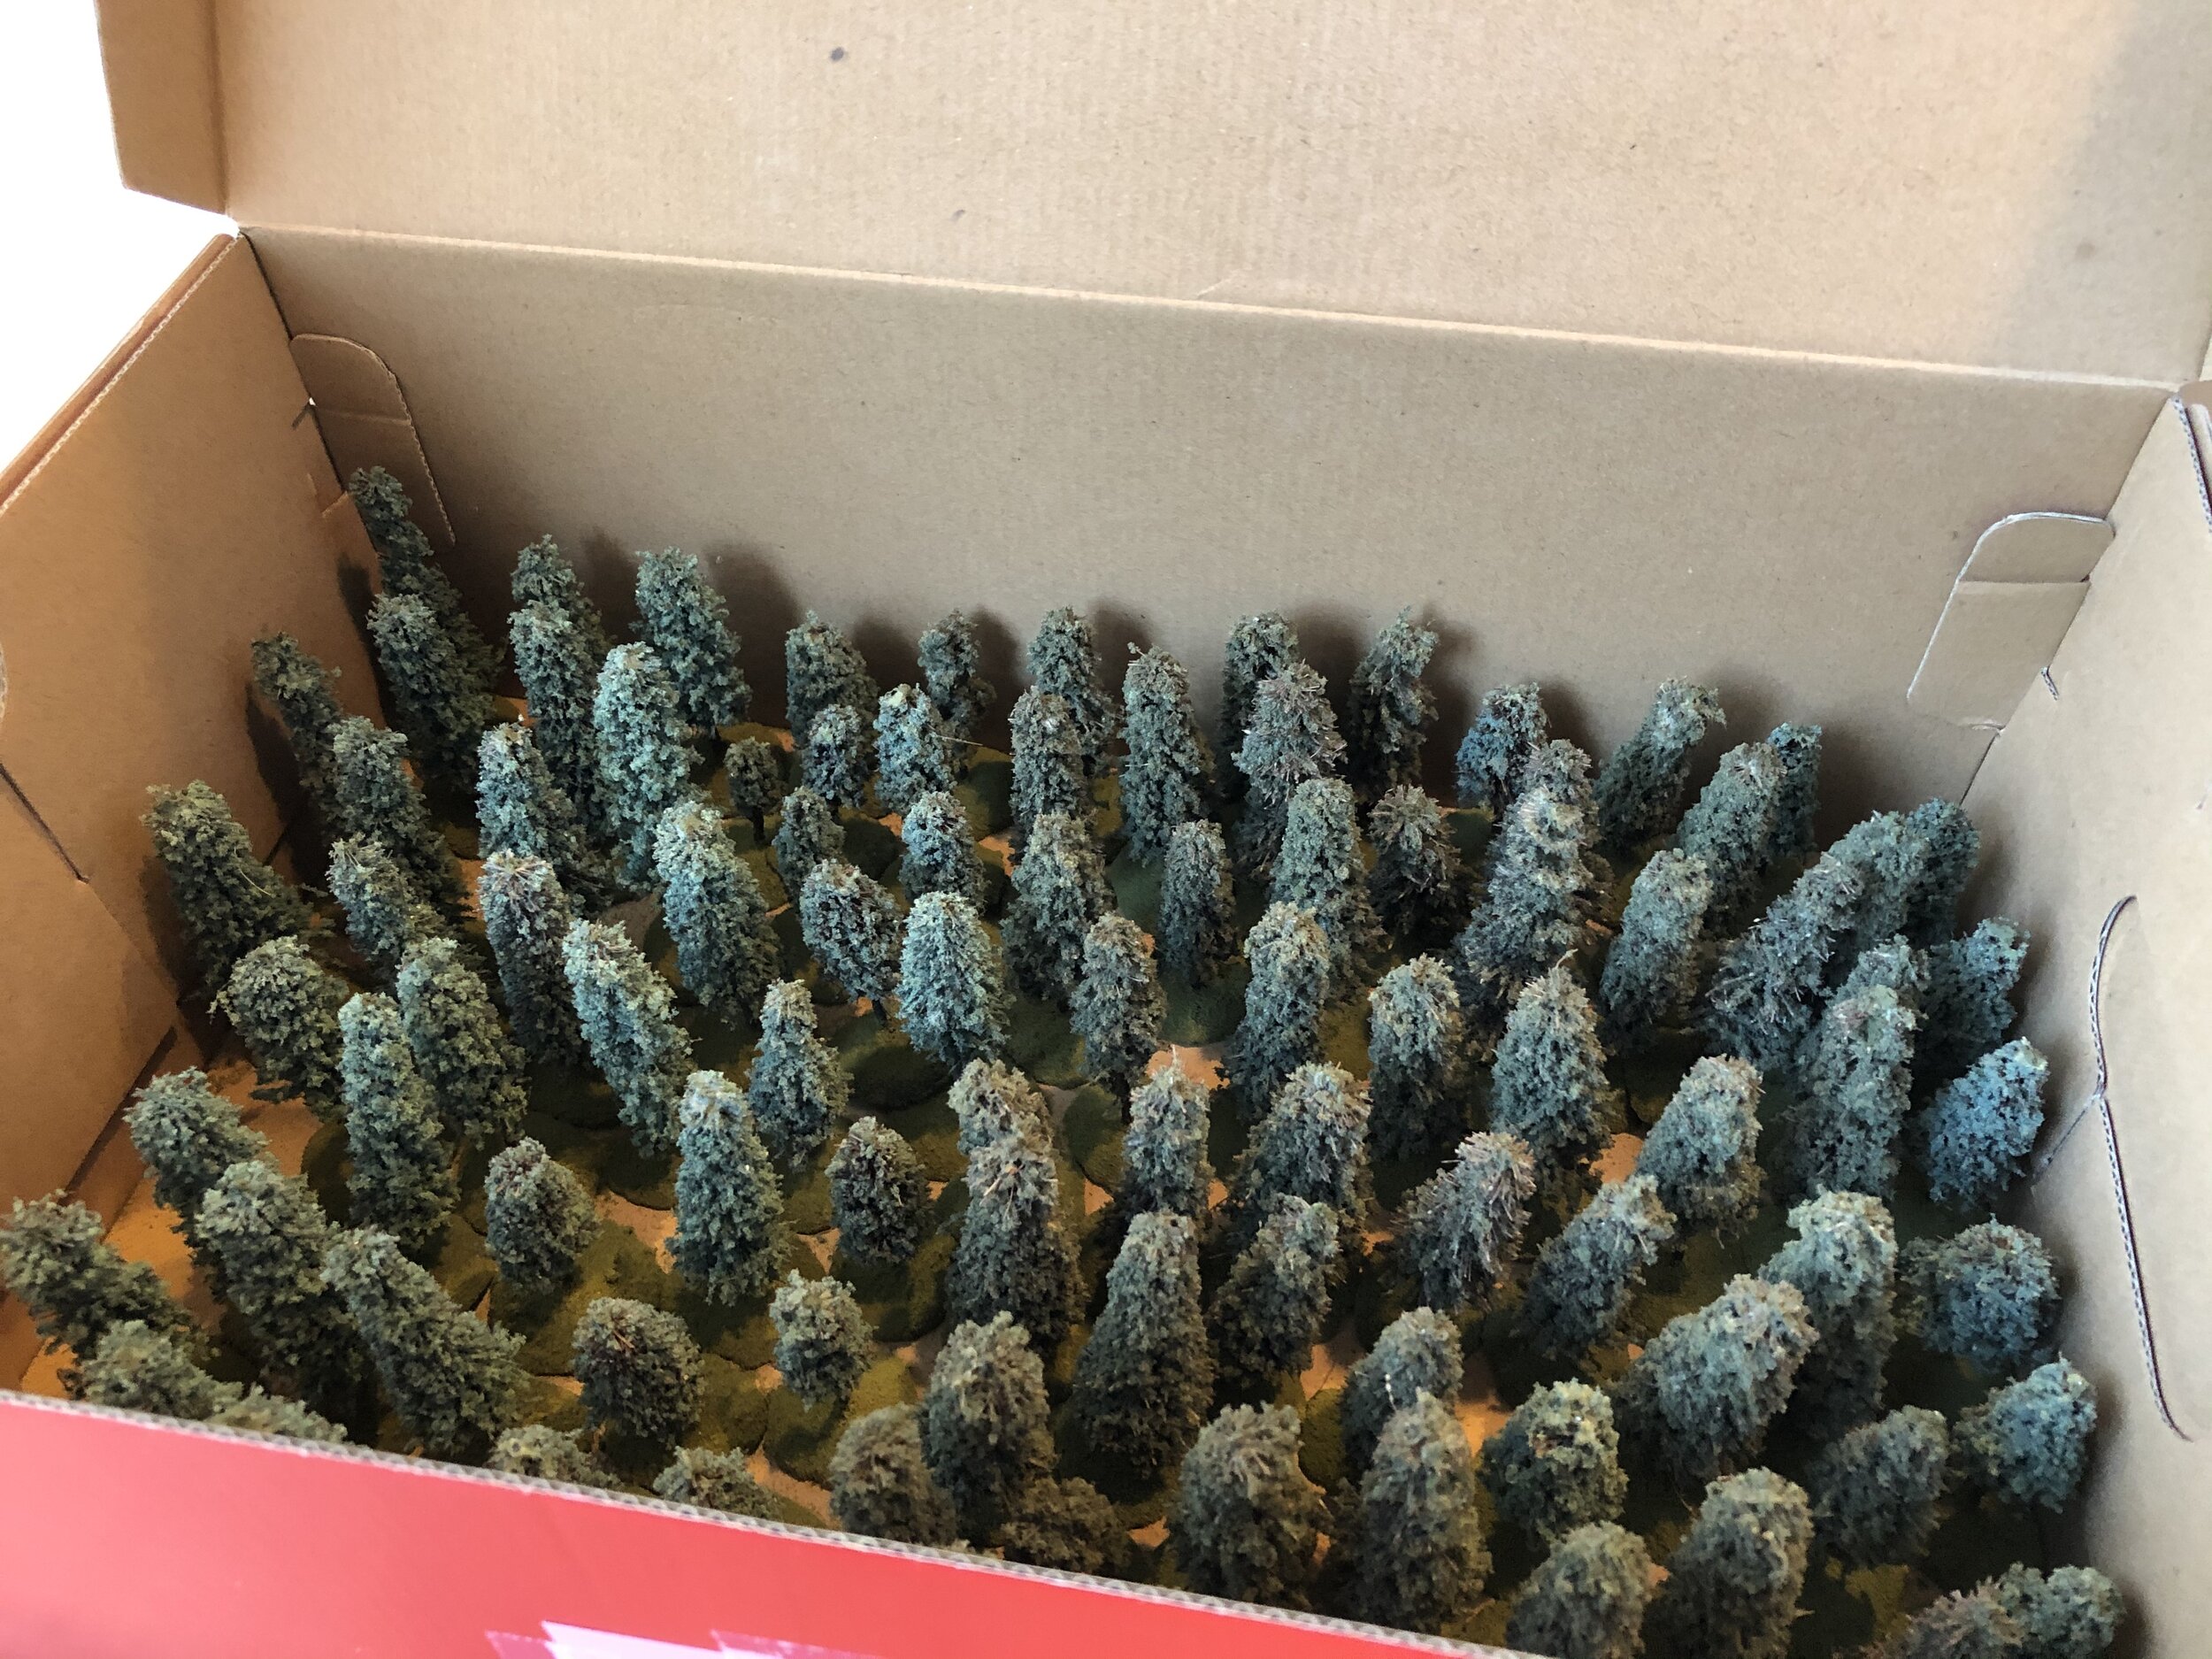
I then moved on to completing the basing of my Grand Central Gems trees. I now have about 75 of them based.
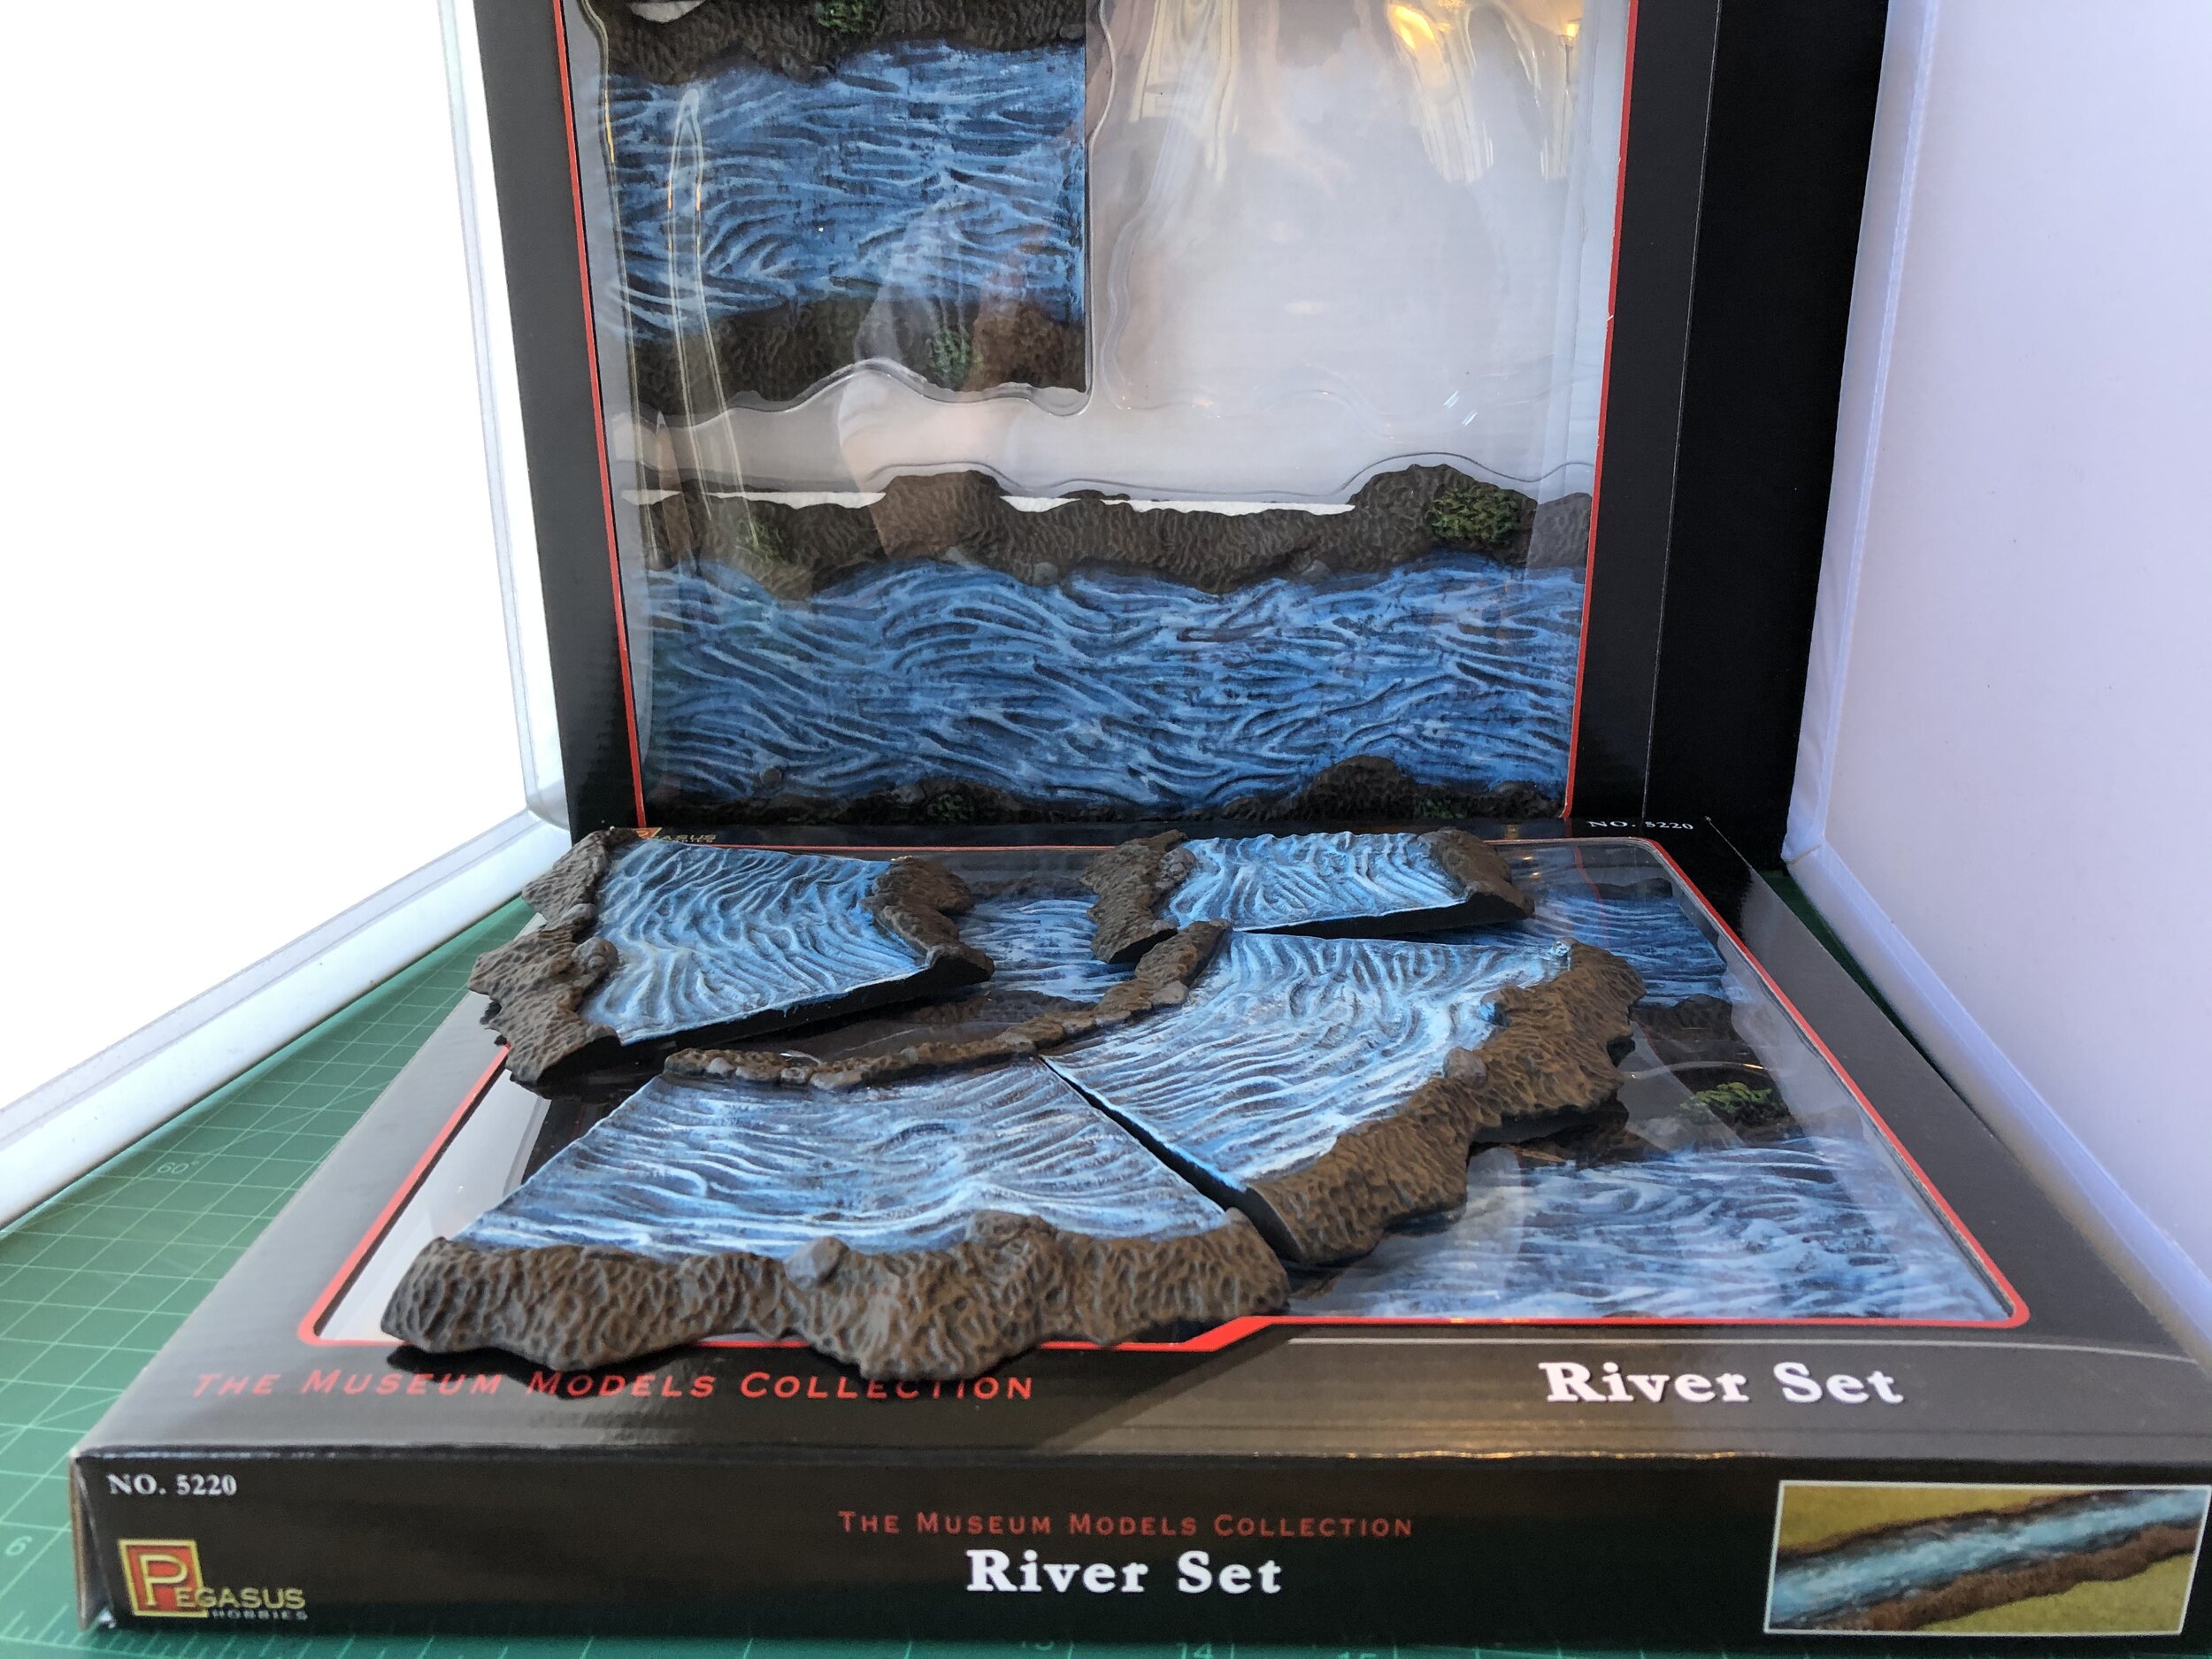
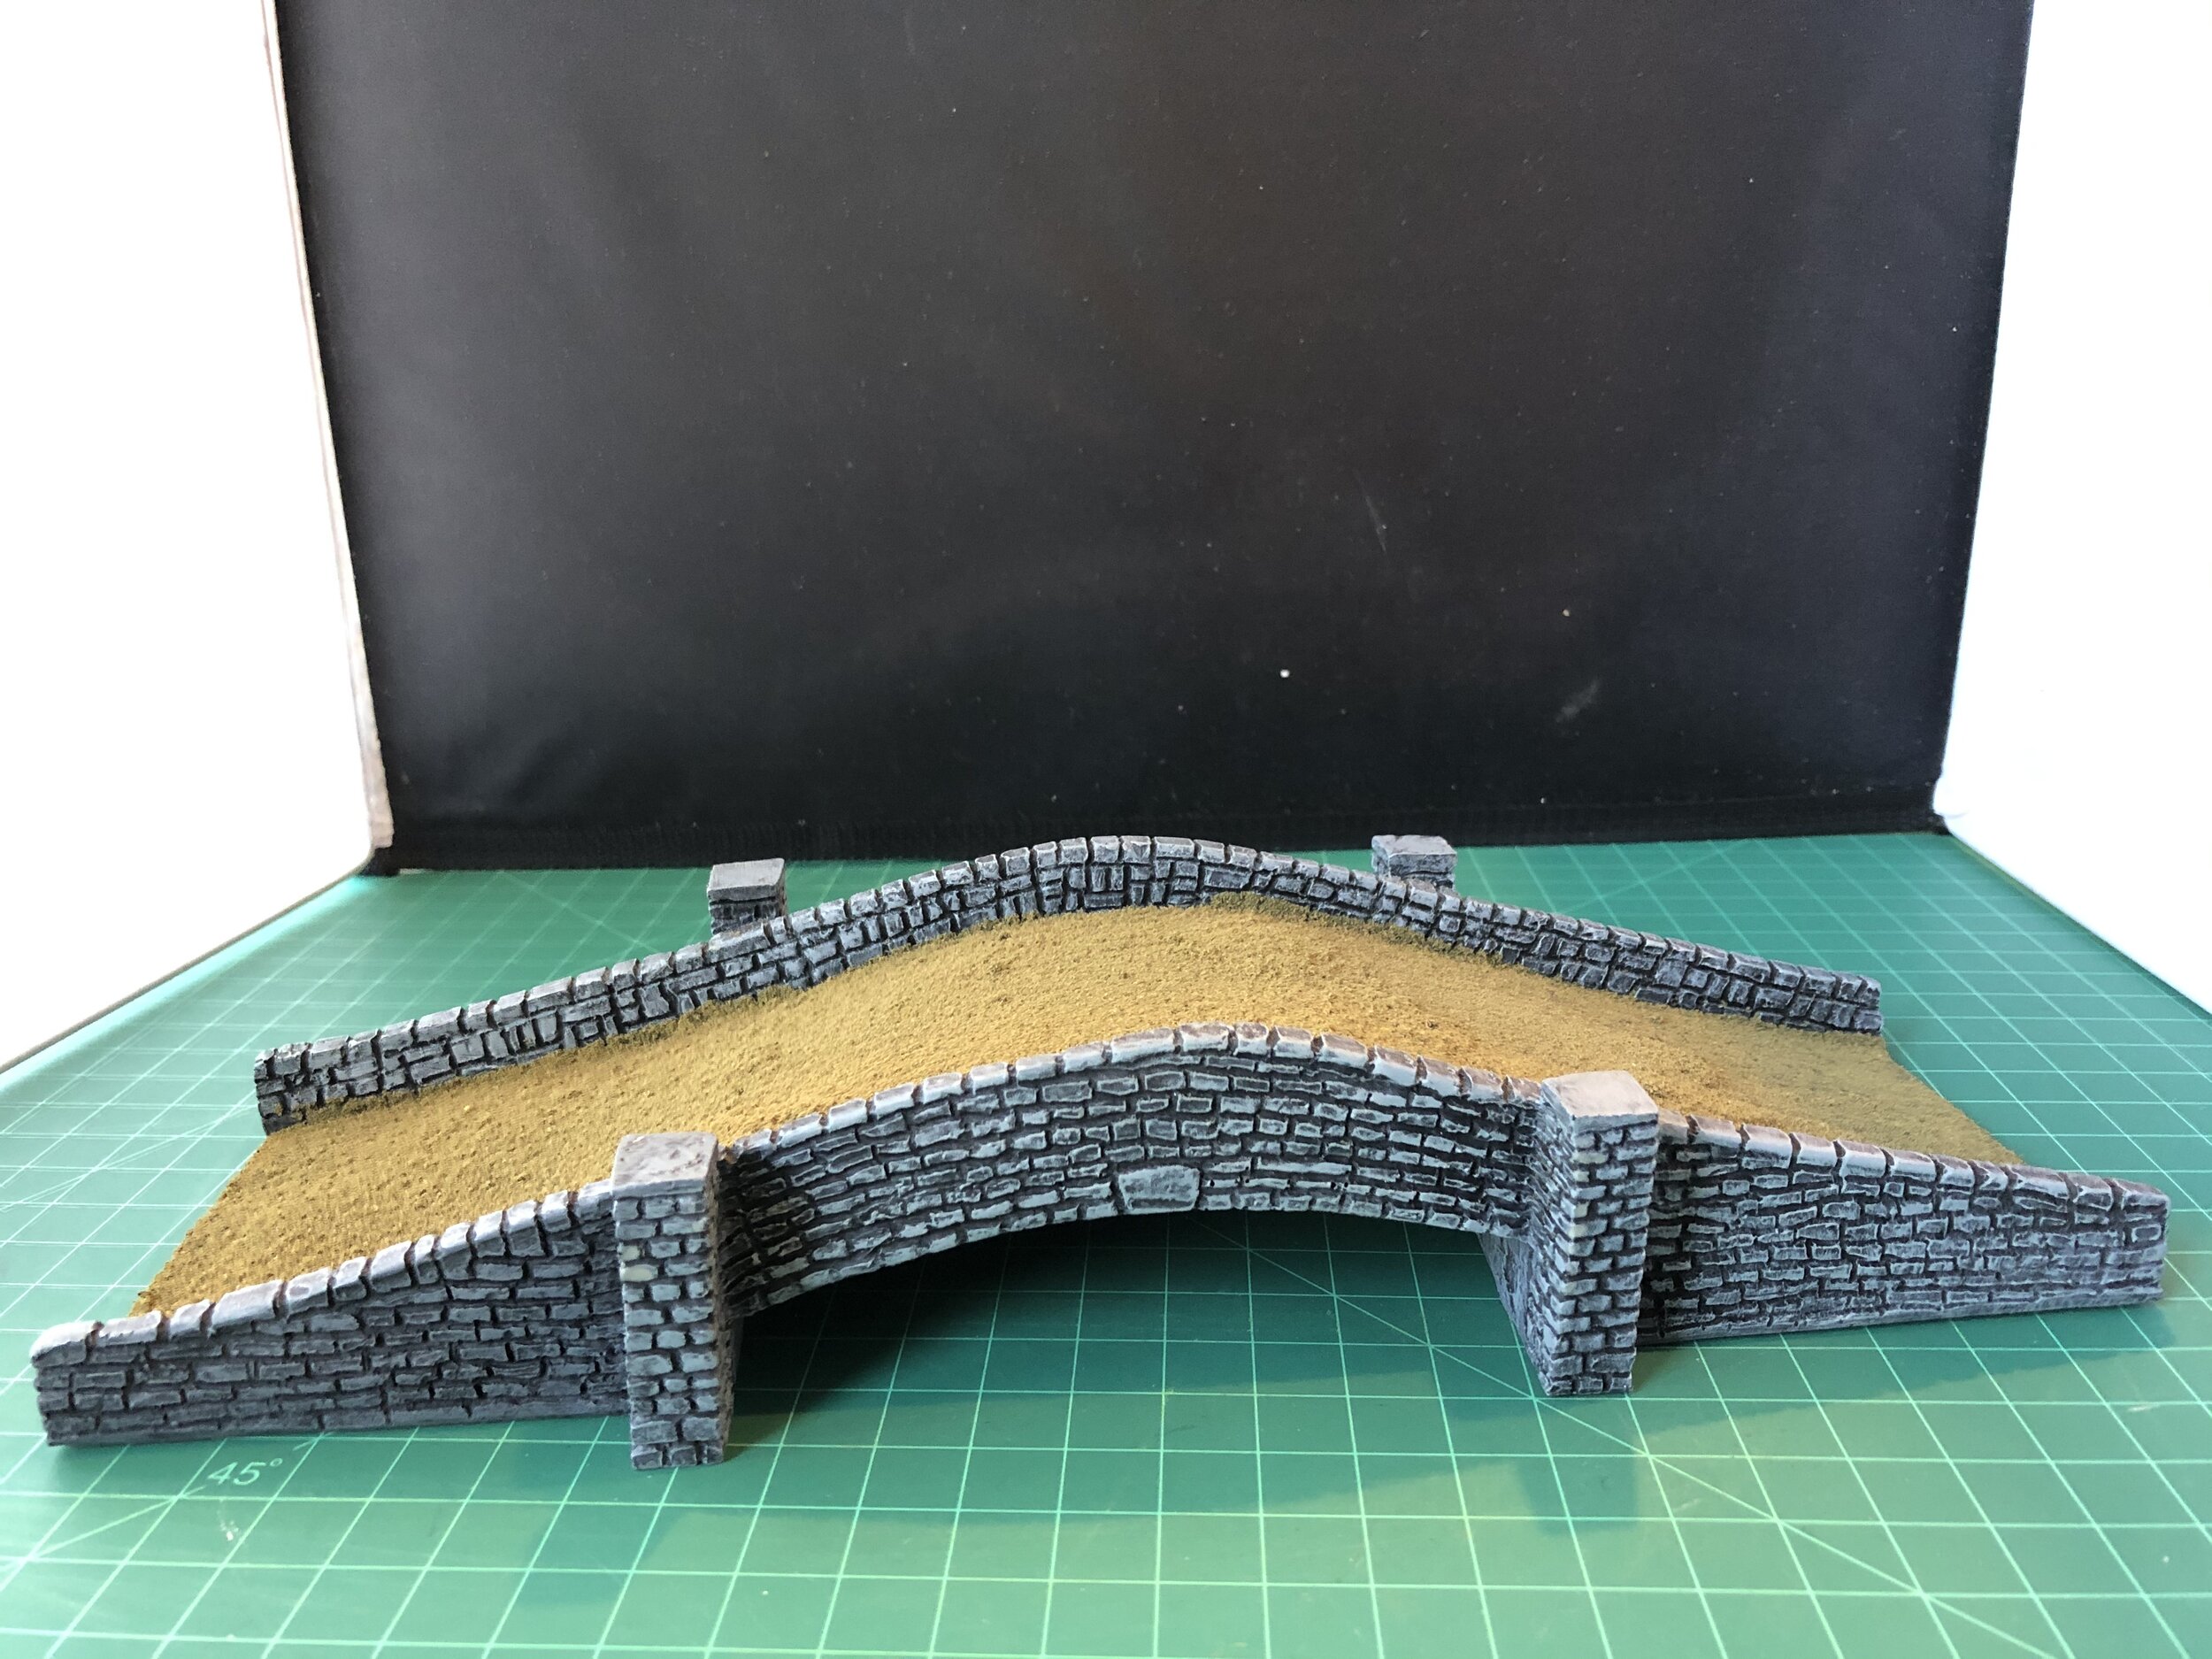
As the week drew to a close, I turned my attention to giving a new paint job to two boxes of the prepainted Pegasus river sets. I also painted a stone bridge to go over that river. In collecting items for this collection, I discovered it was difficult to find a 15mm stone bridge with an arch large enough to span the river. Fortunately I found one.
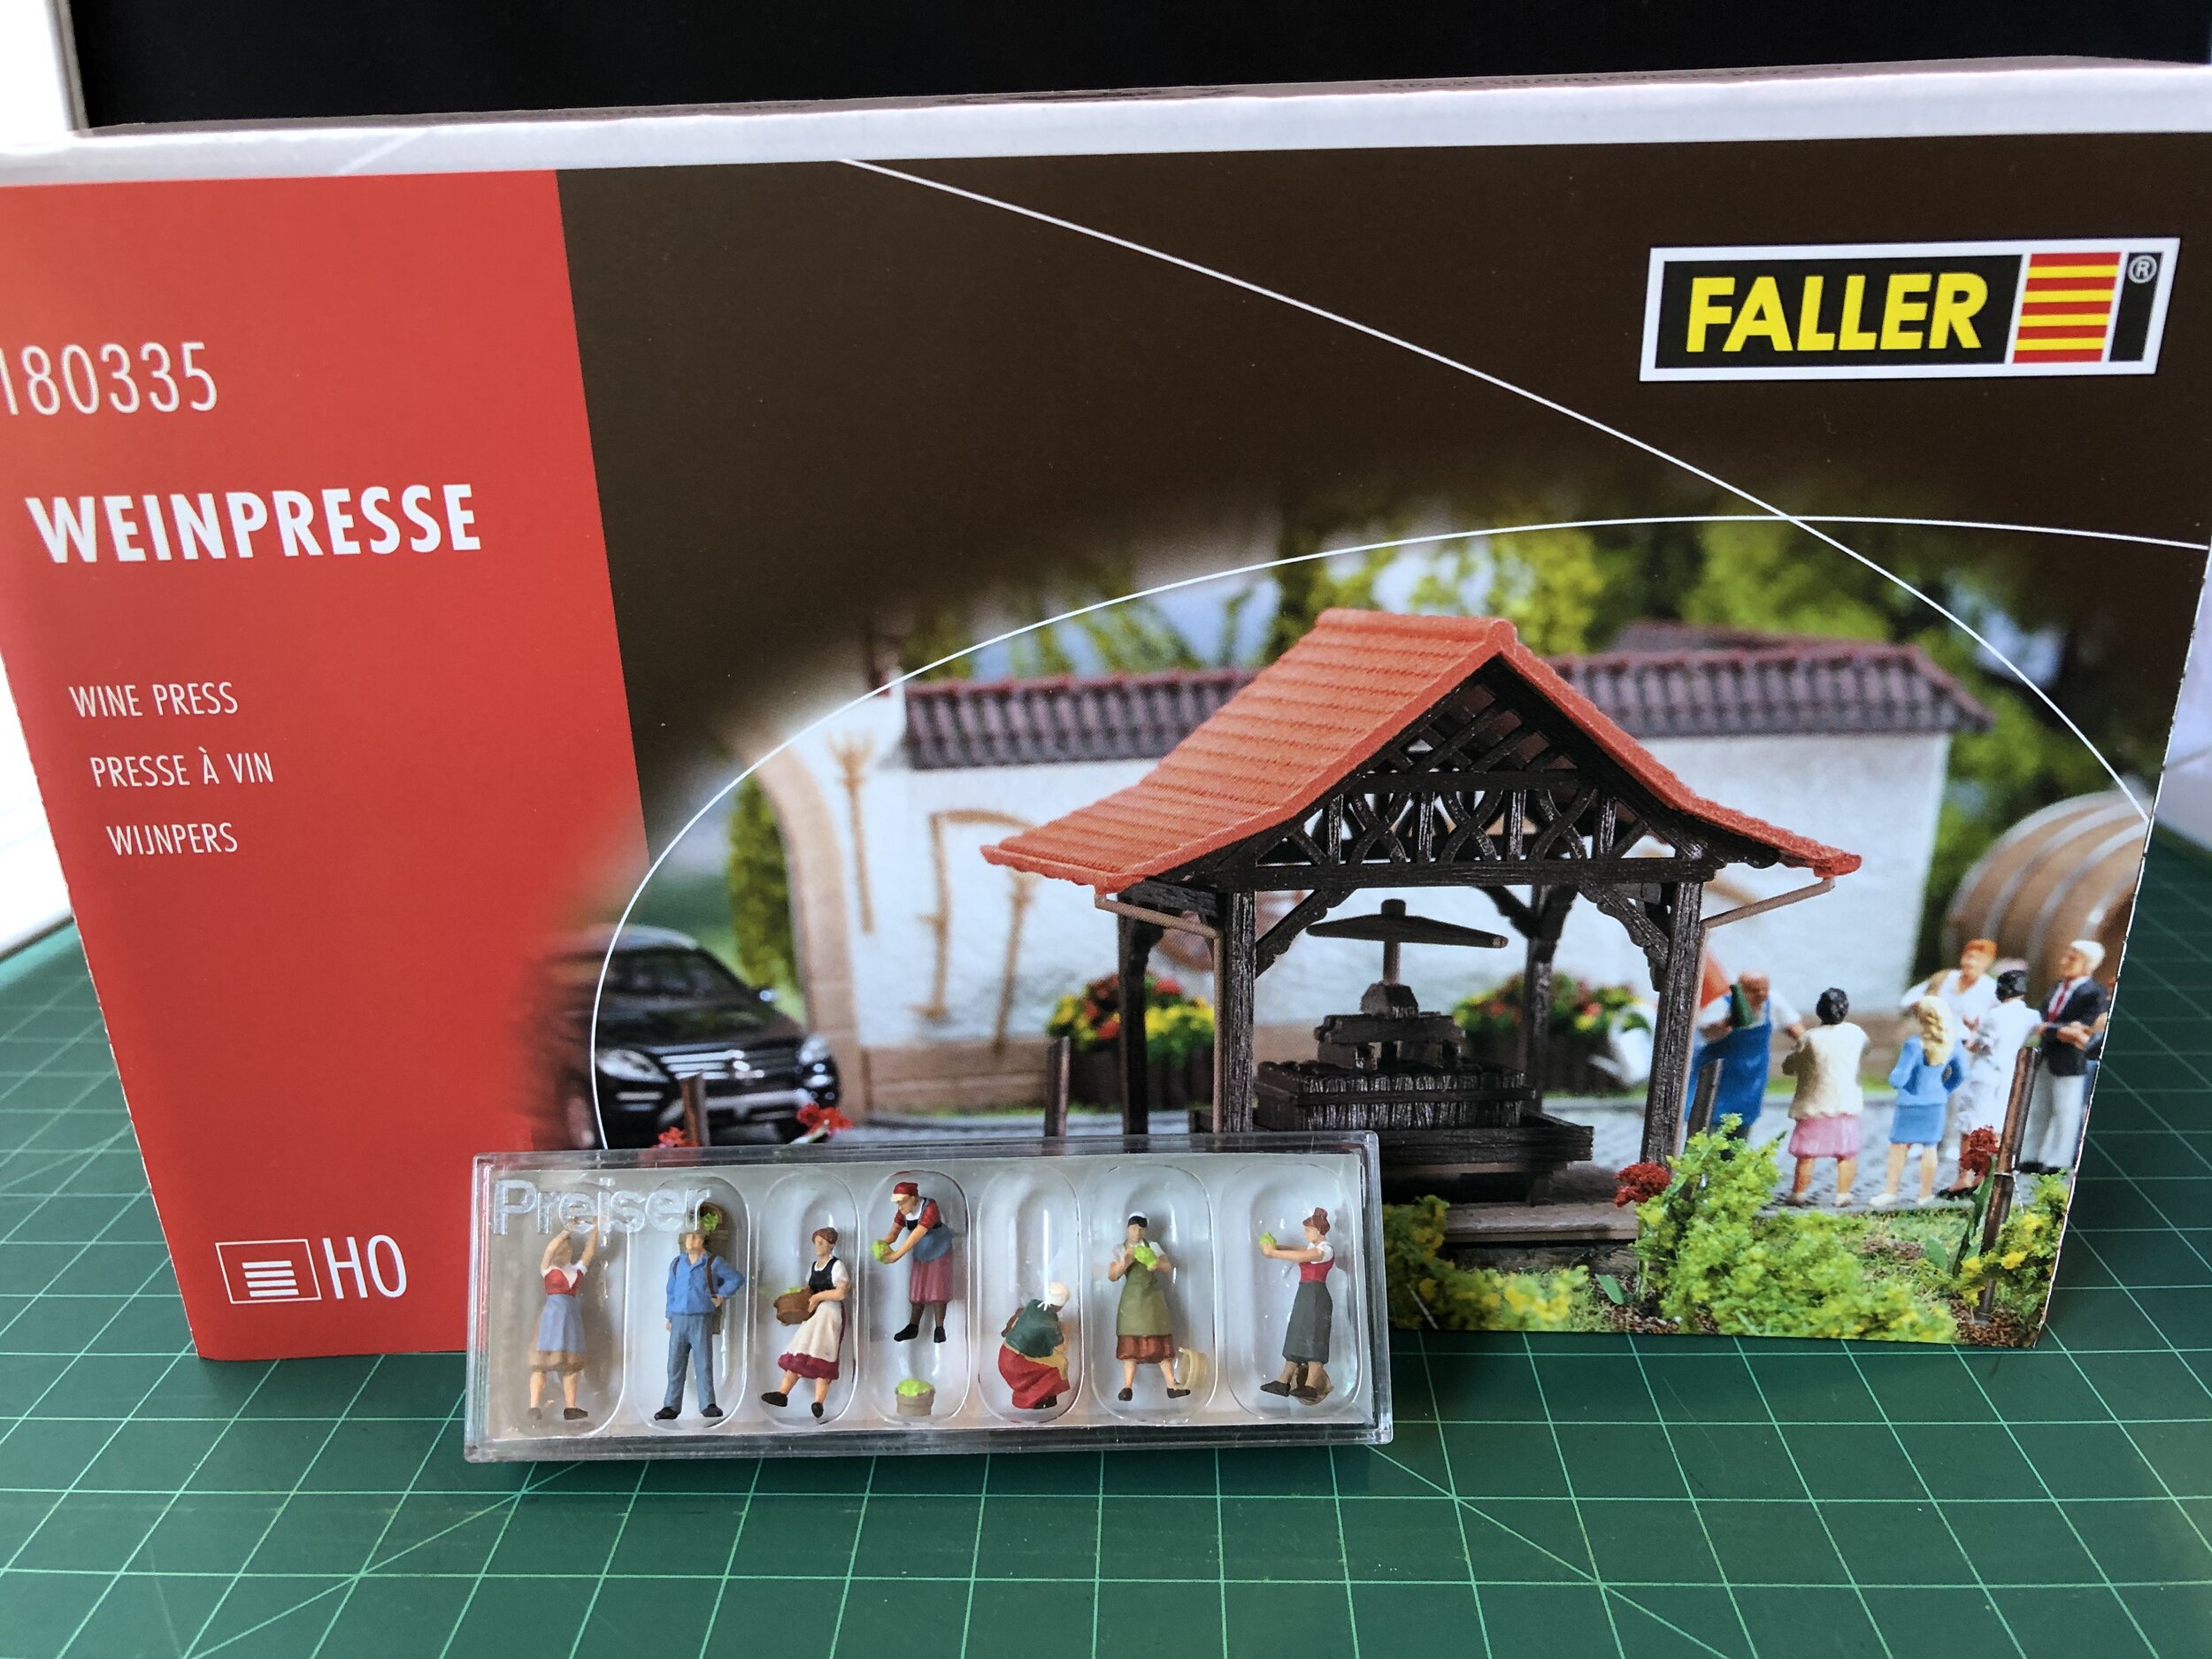
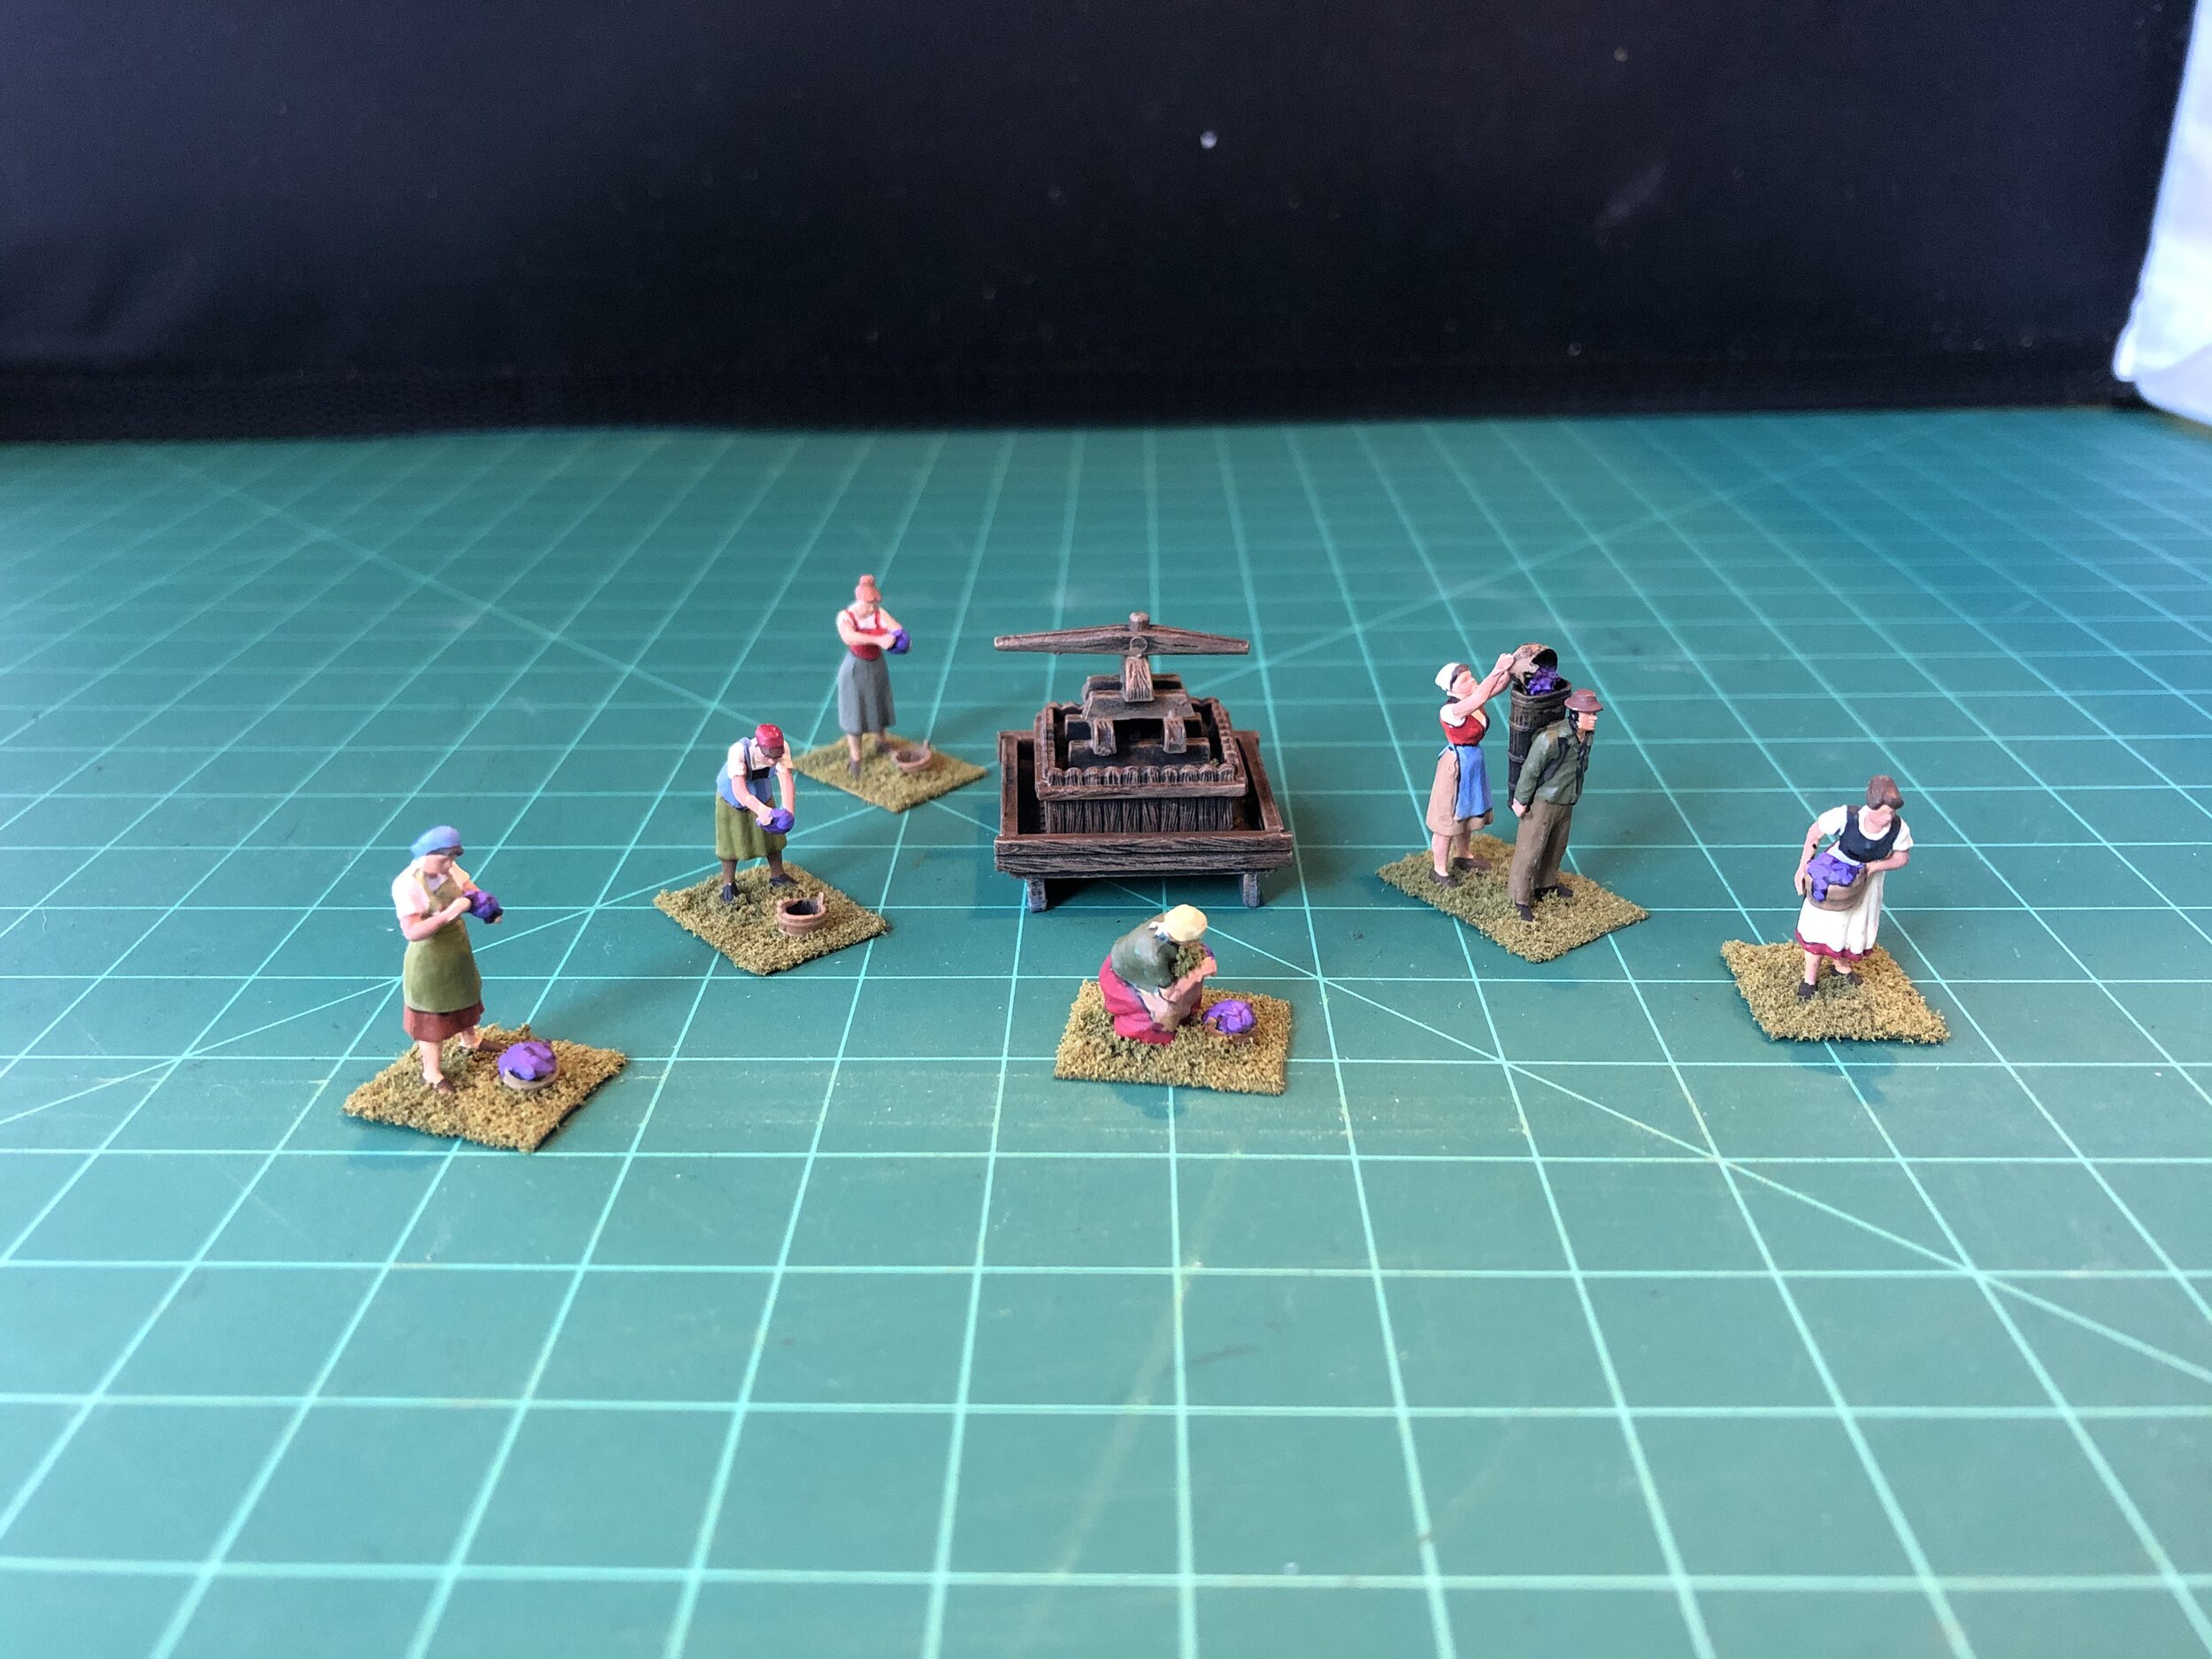
The previous week I discovered that Faller made an HO scale wine press, and I ordered it as well as a Preiser HO figure set of Grape Harvest (10608). Both of those arrived before the end of this week, and I began painting them immediately. Because my Spanish buildings are true 15s which means “small,” I will be using the wine press without its shelter… too big. Also the wine press is interesting enough that I would like it to be easily seen.