MAY 27, 2018
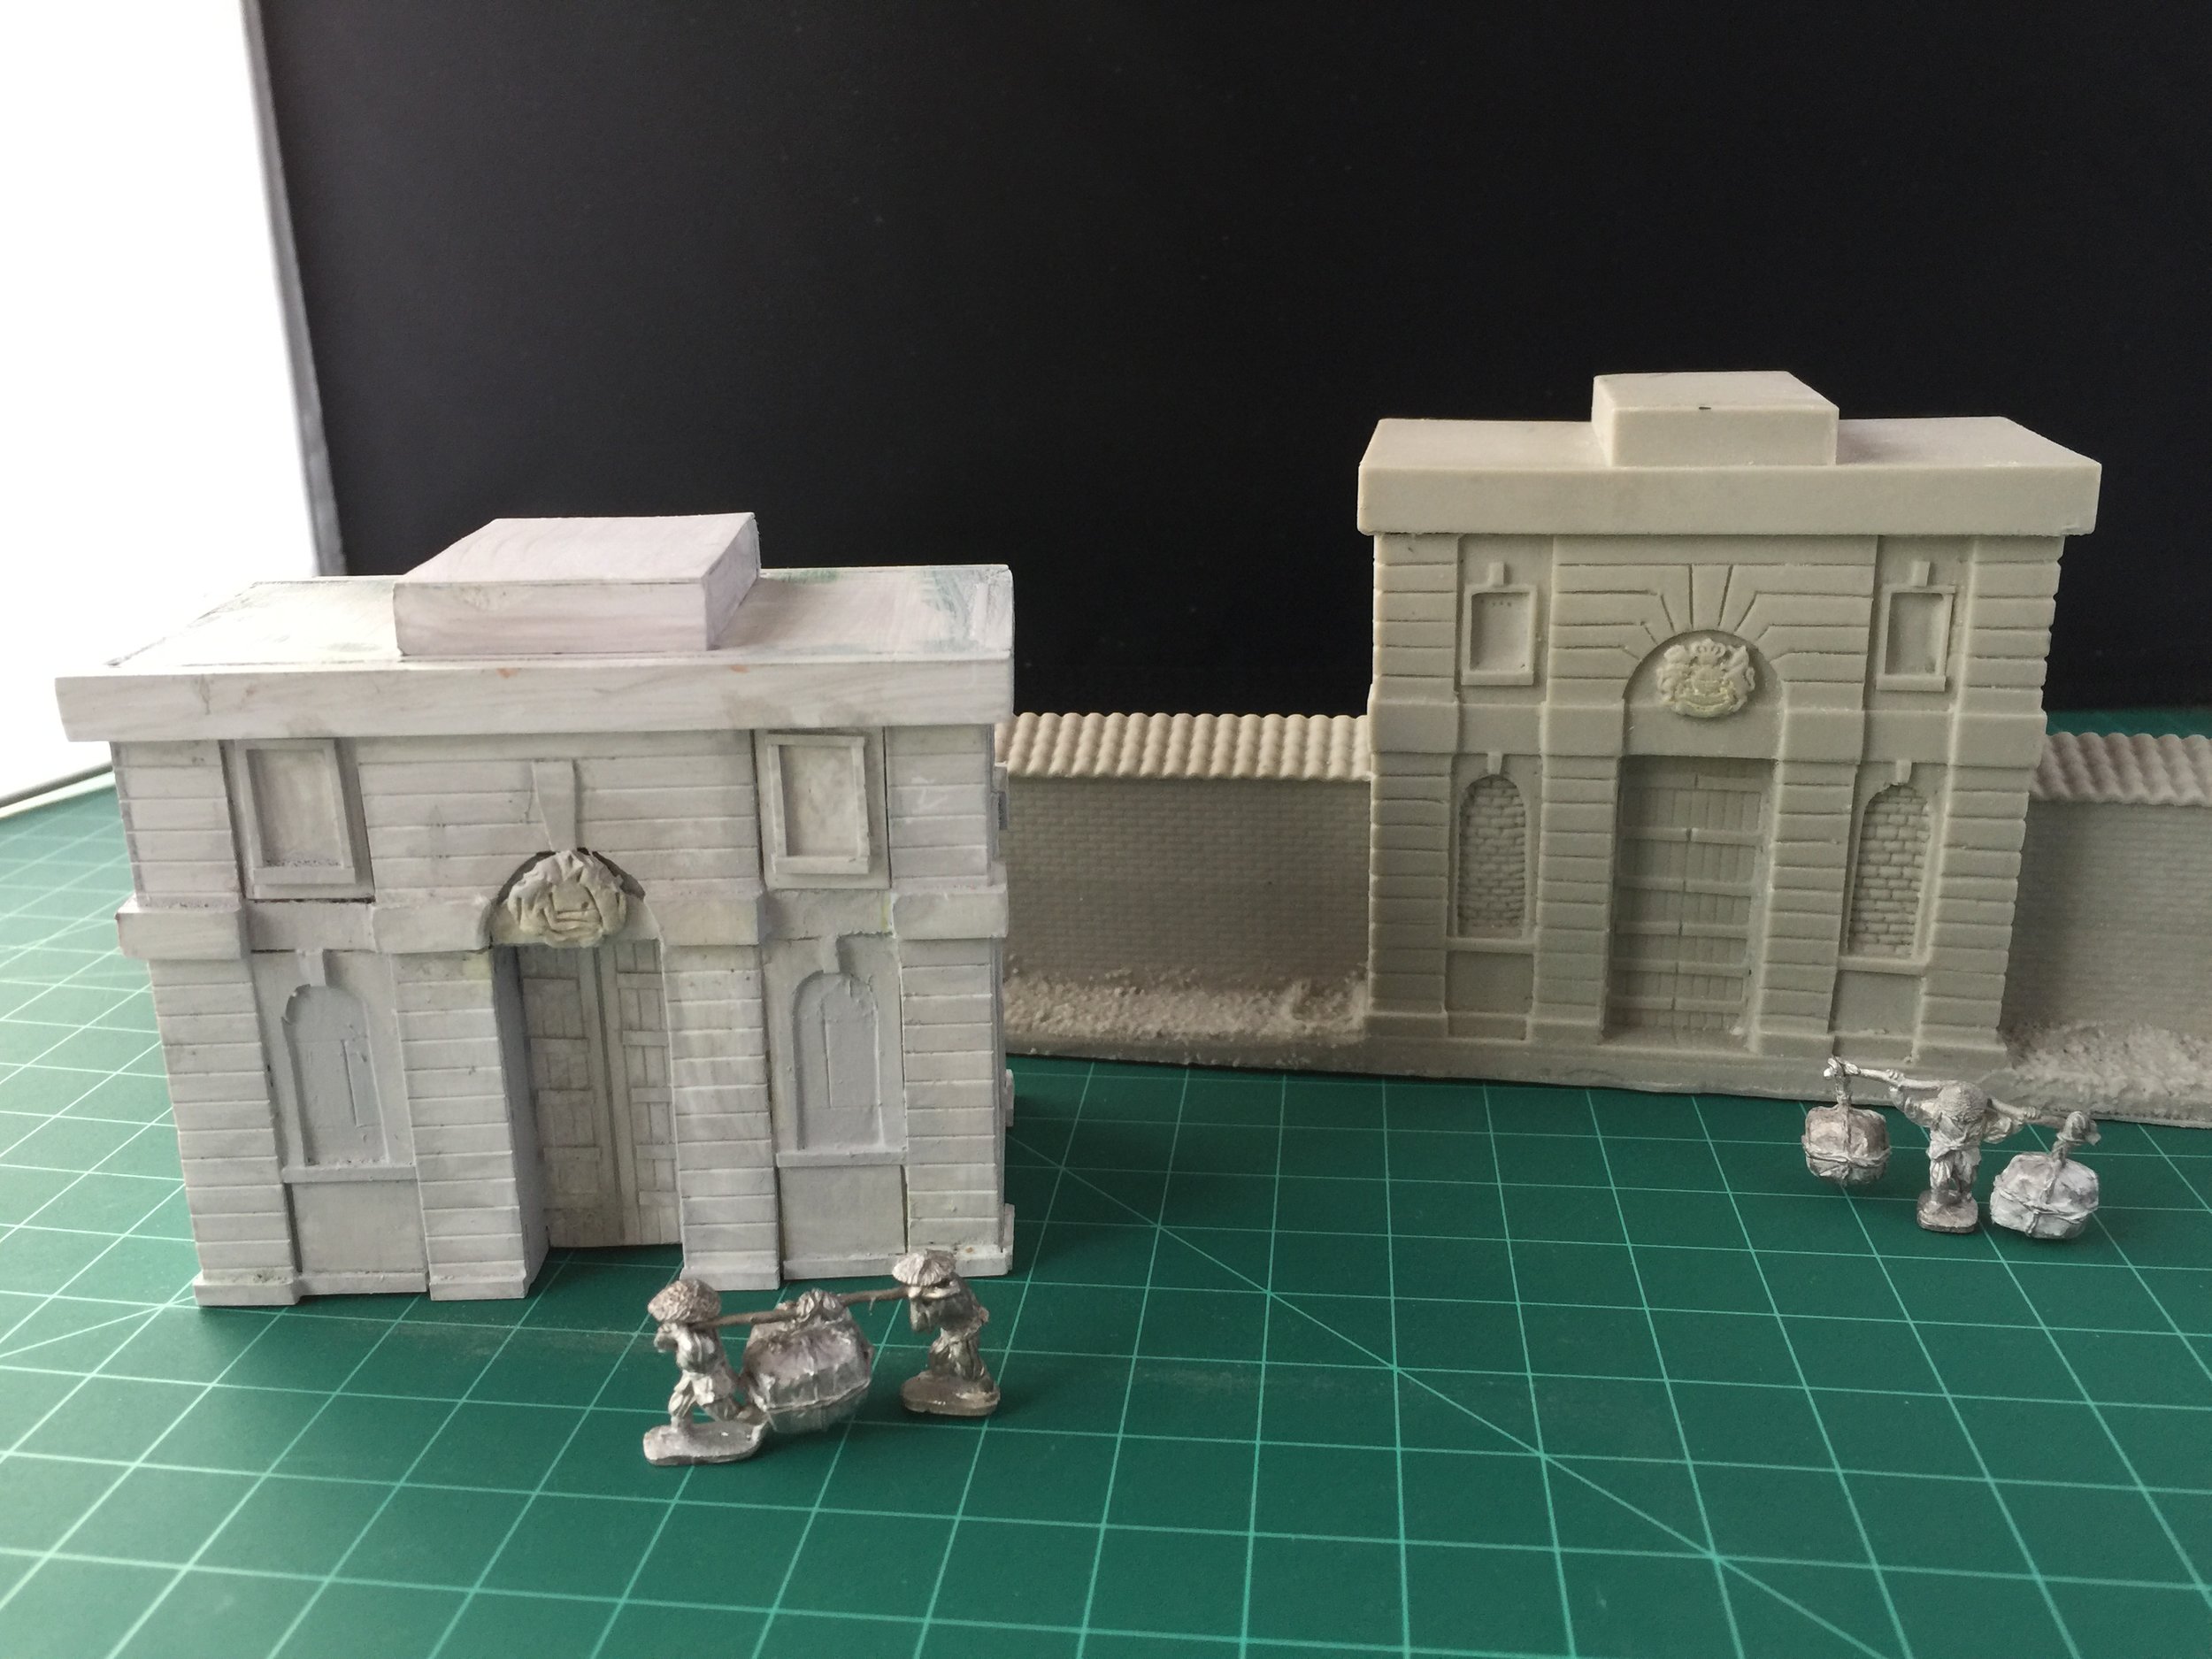
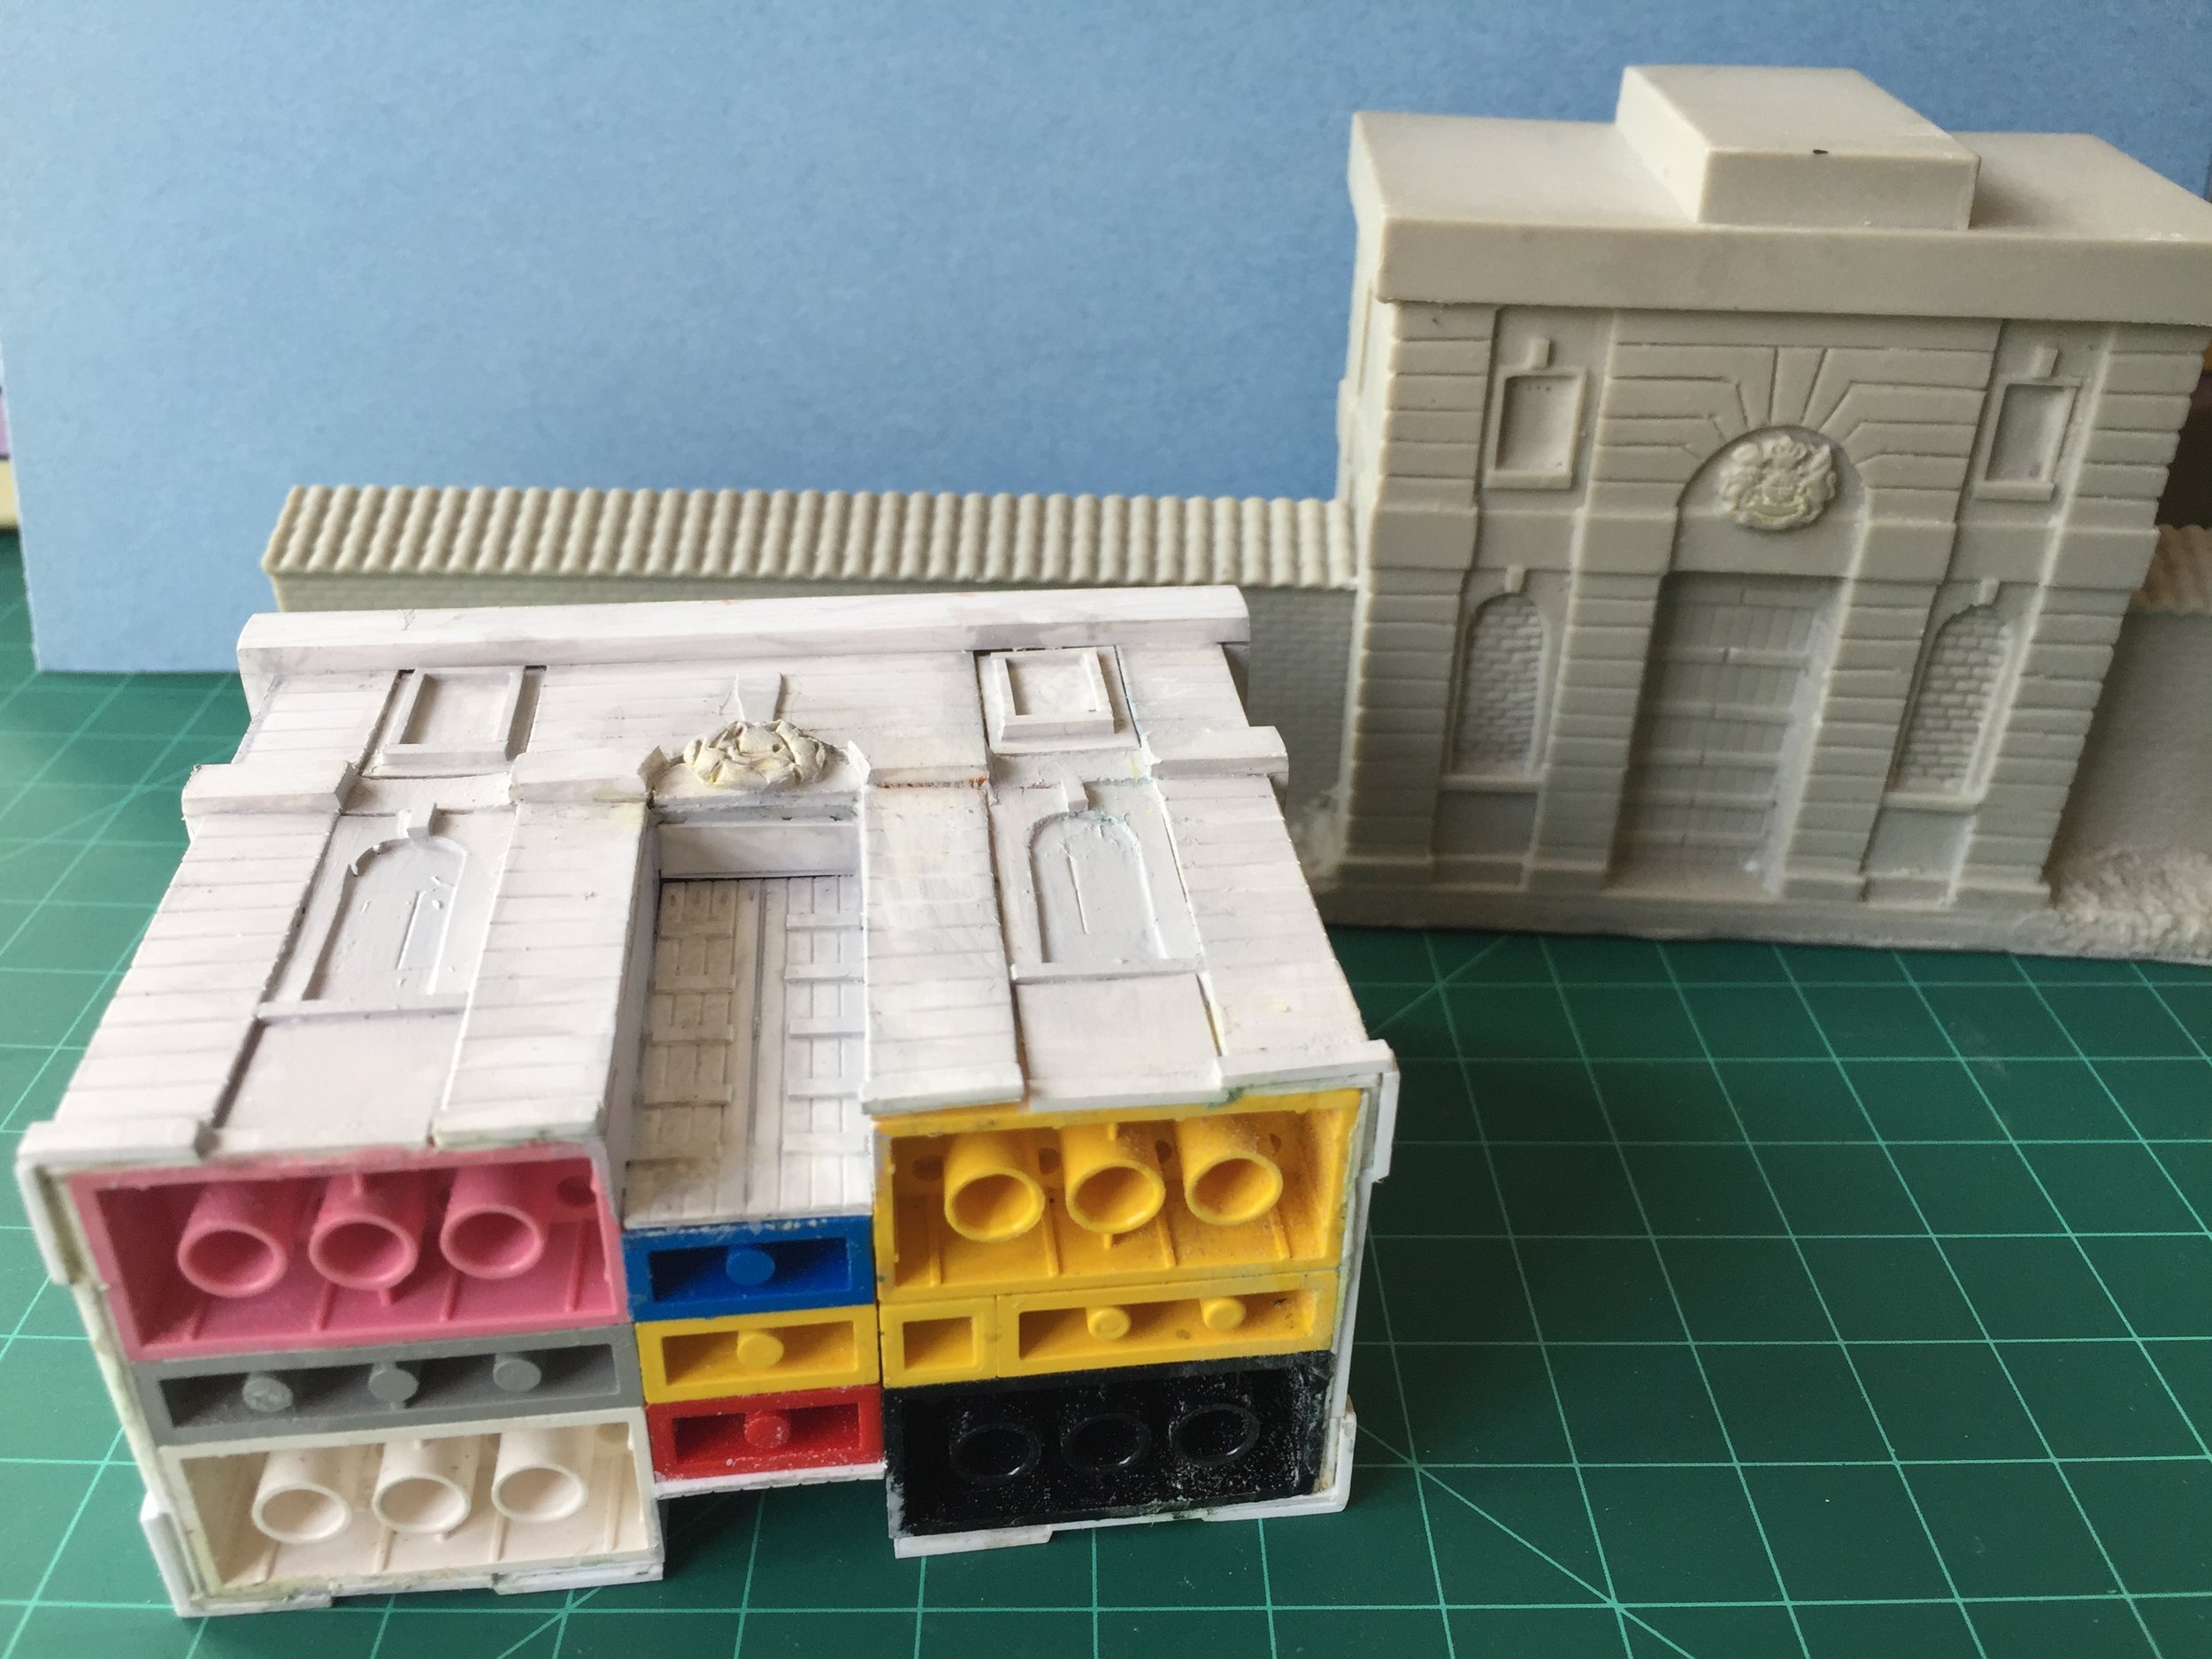
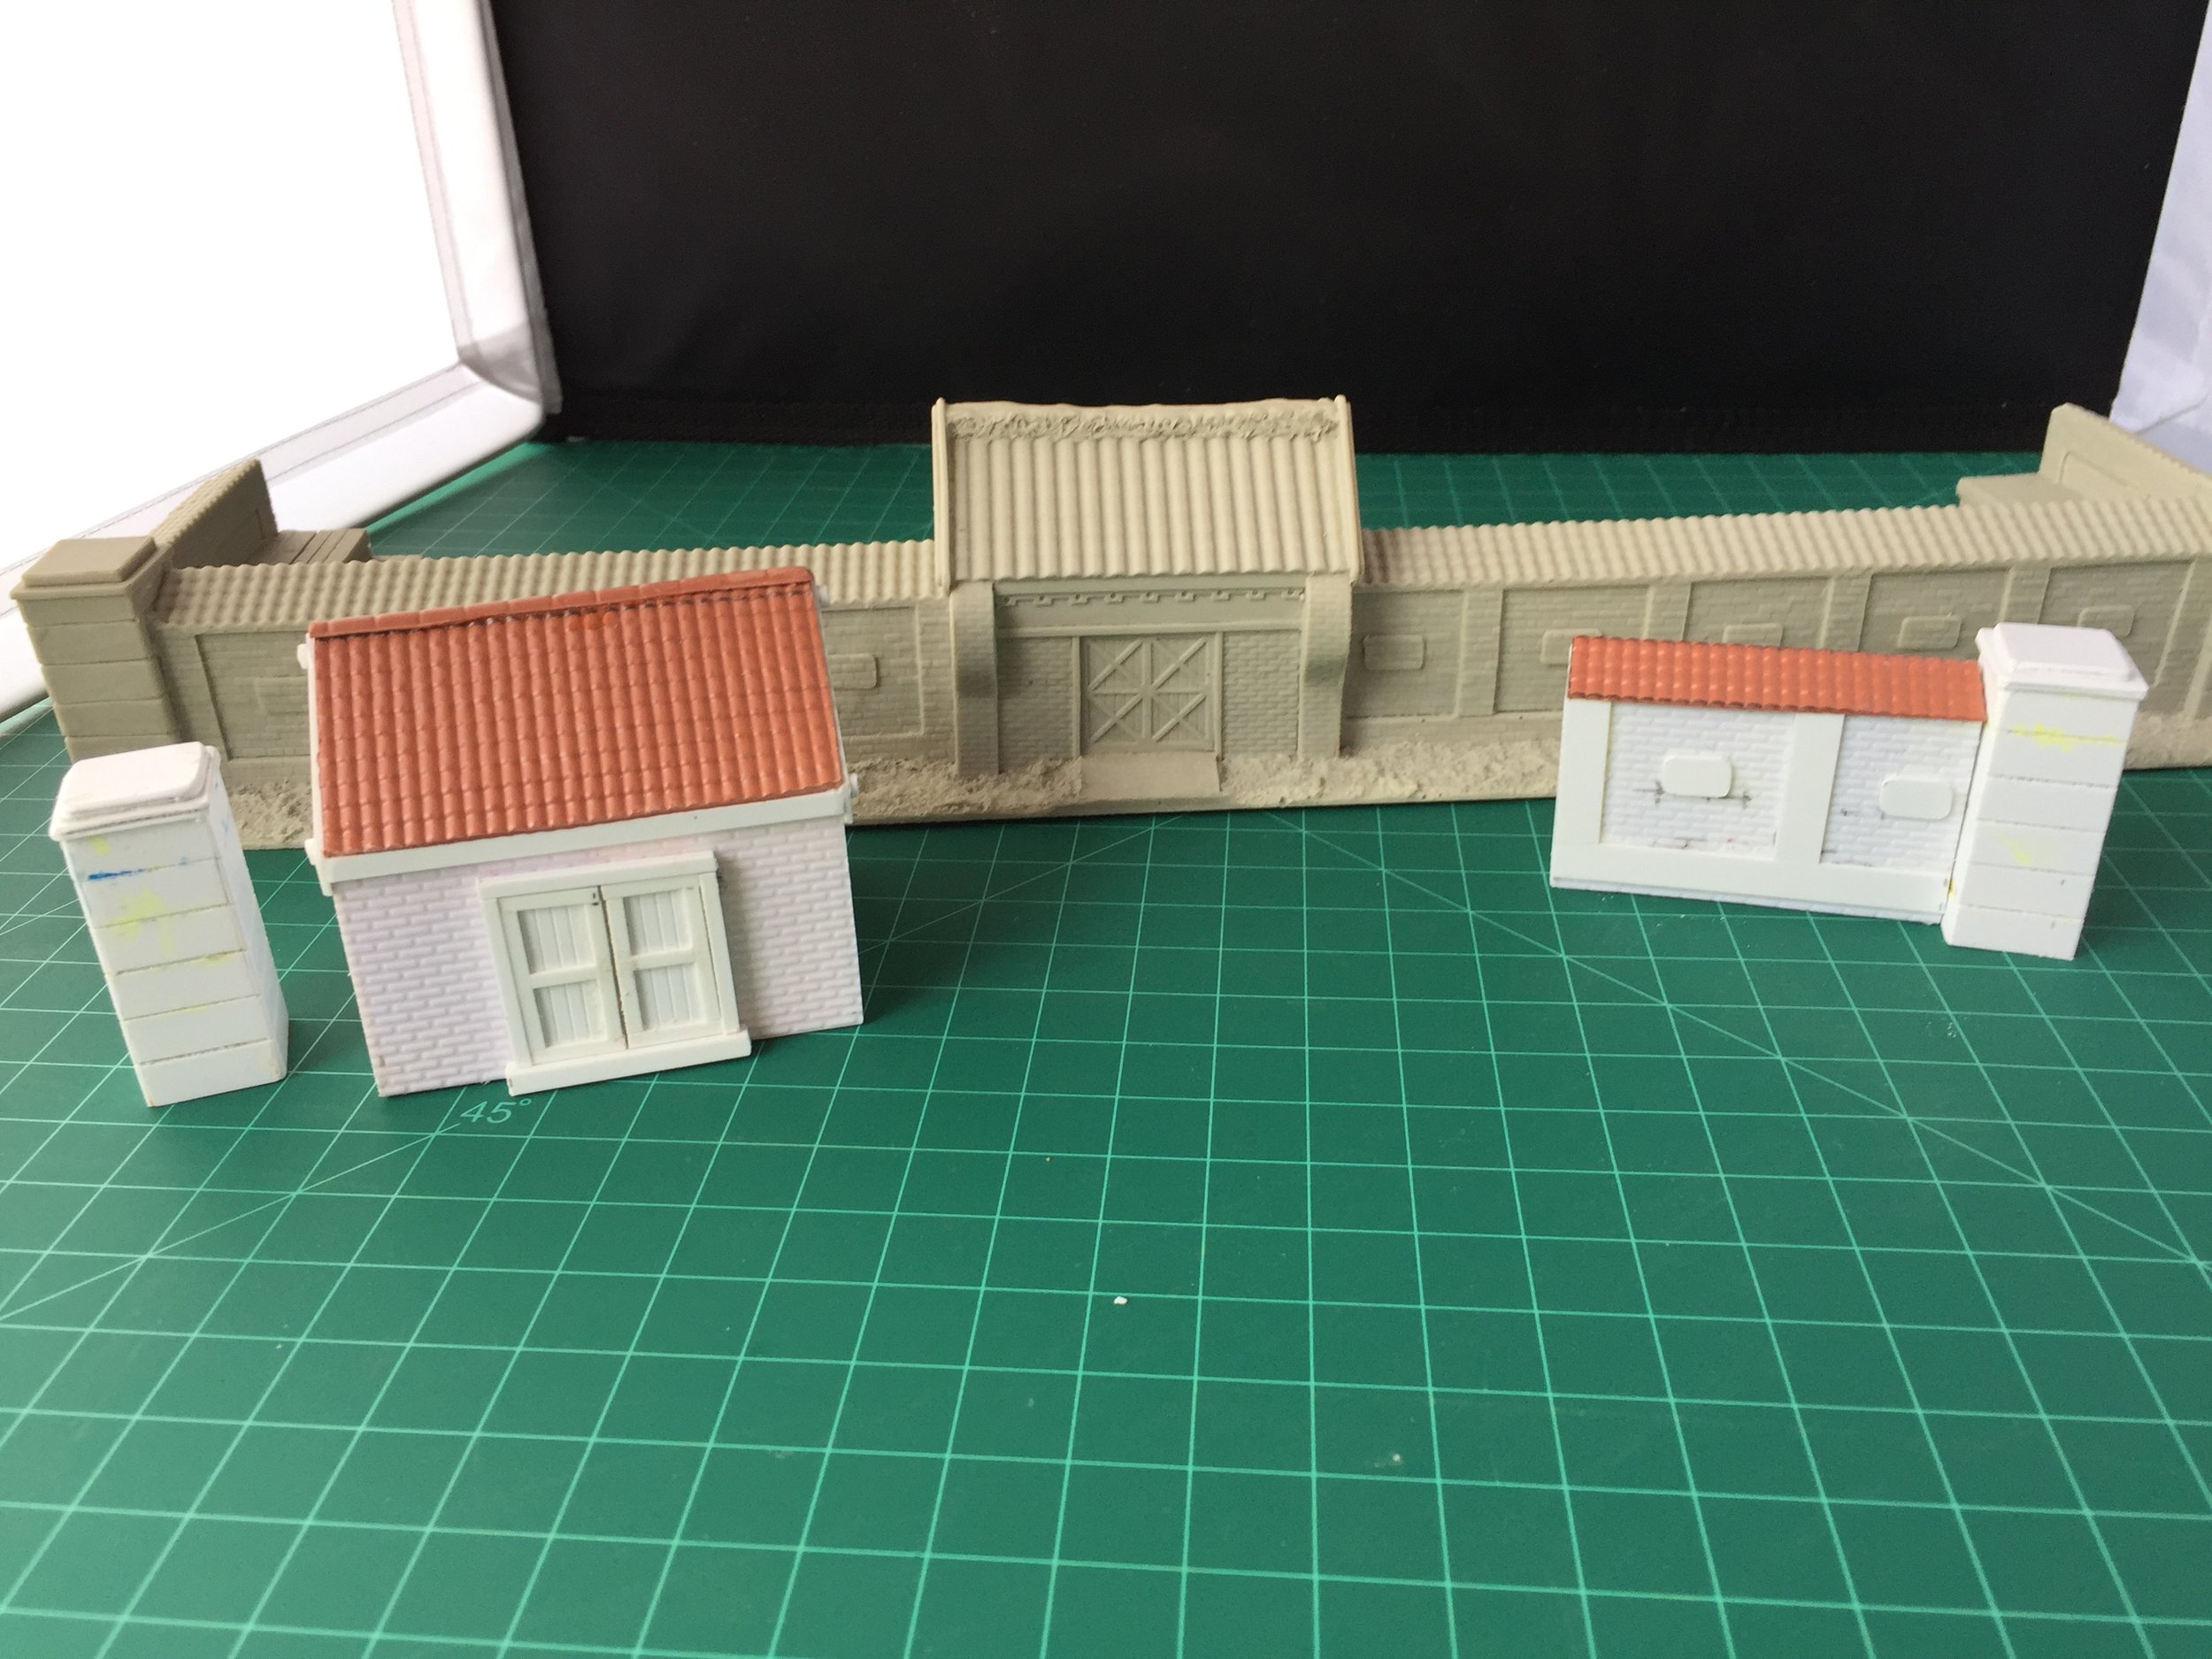
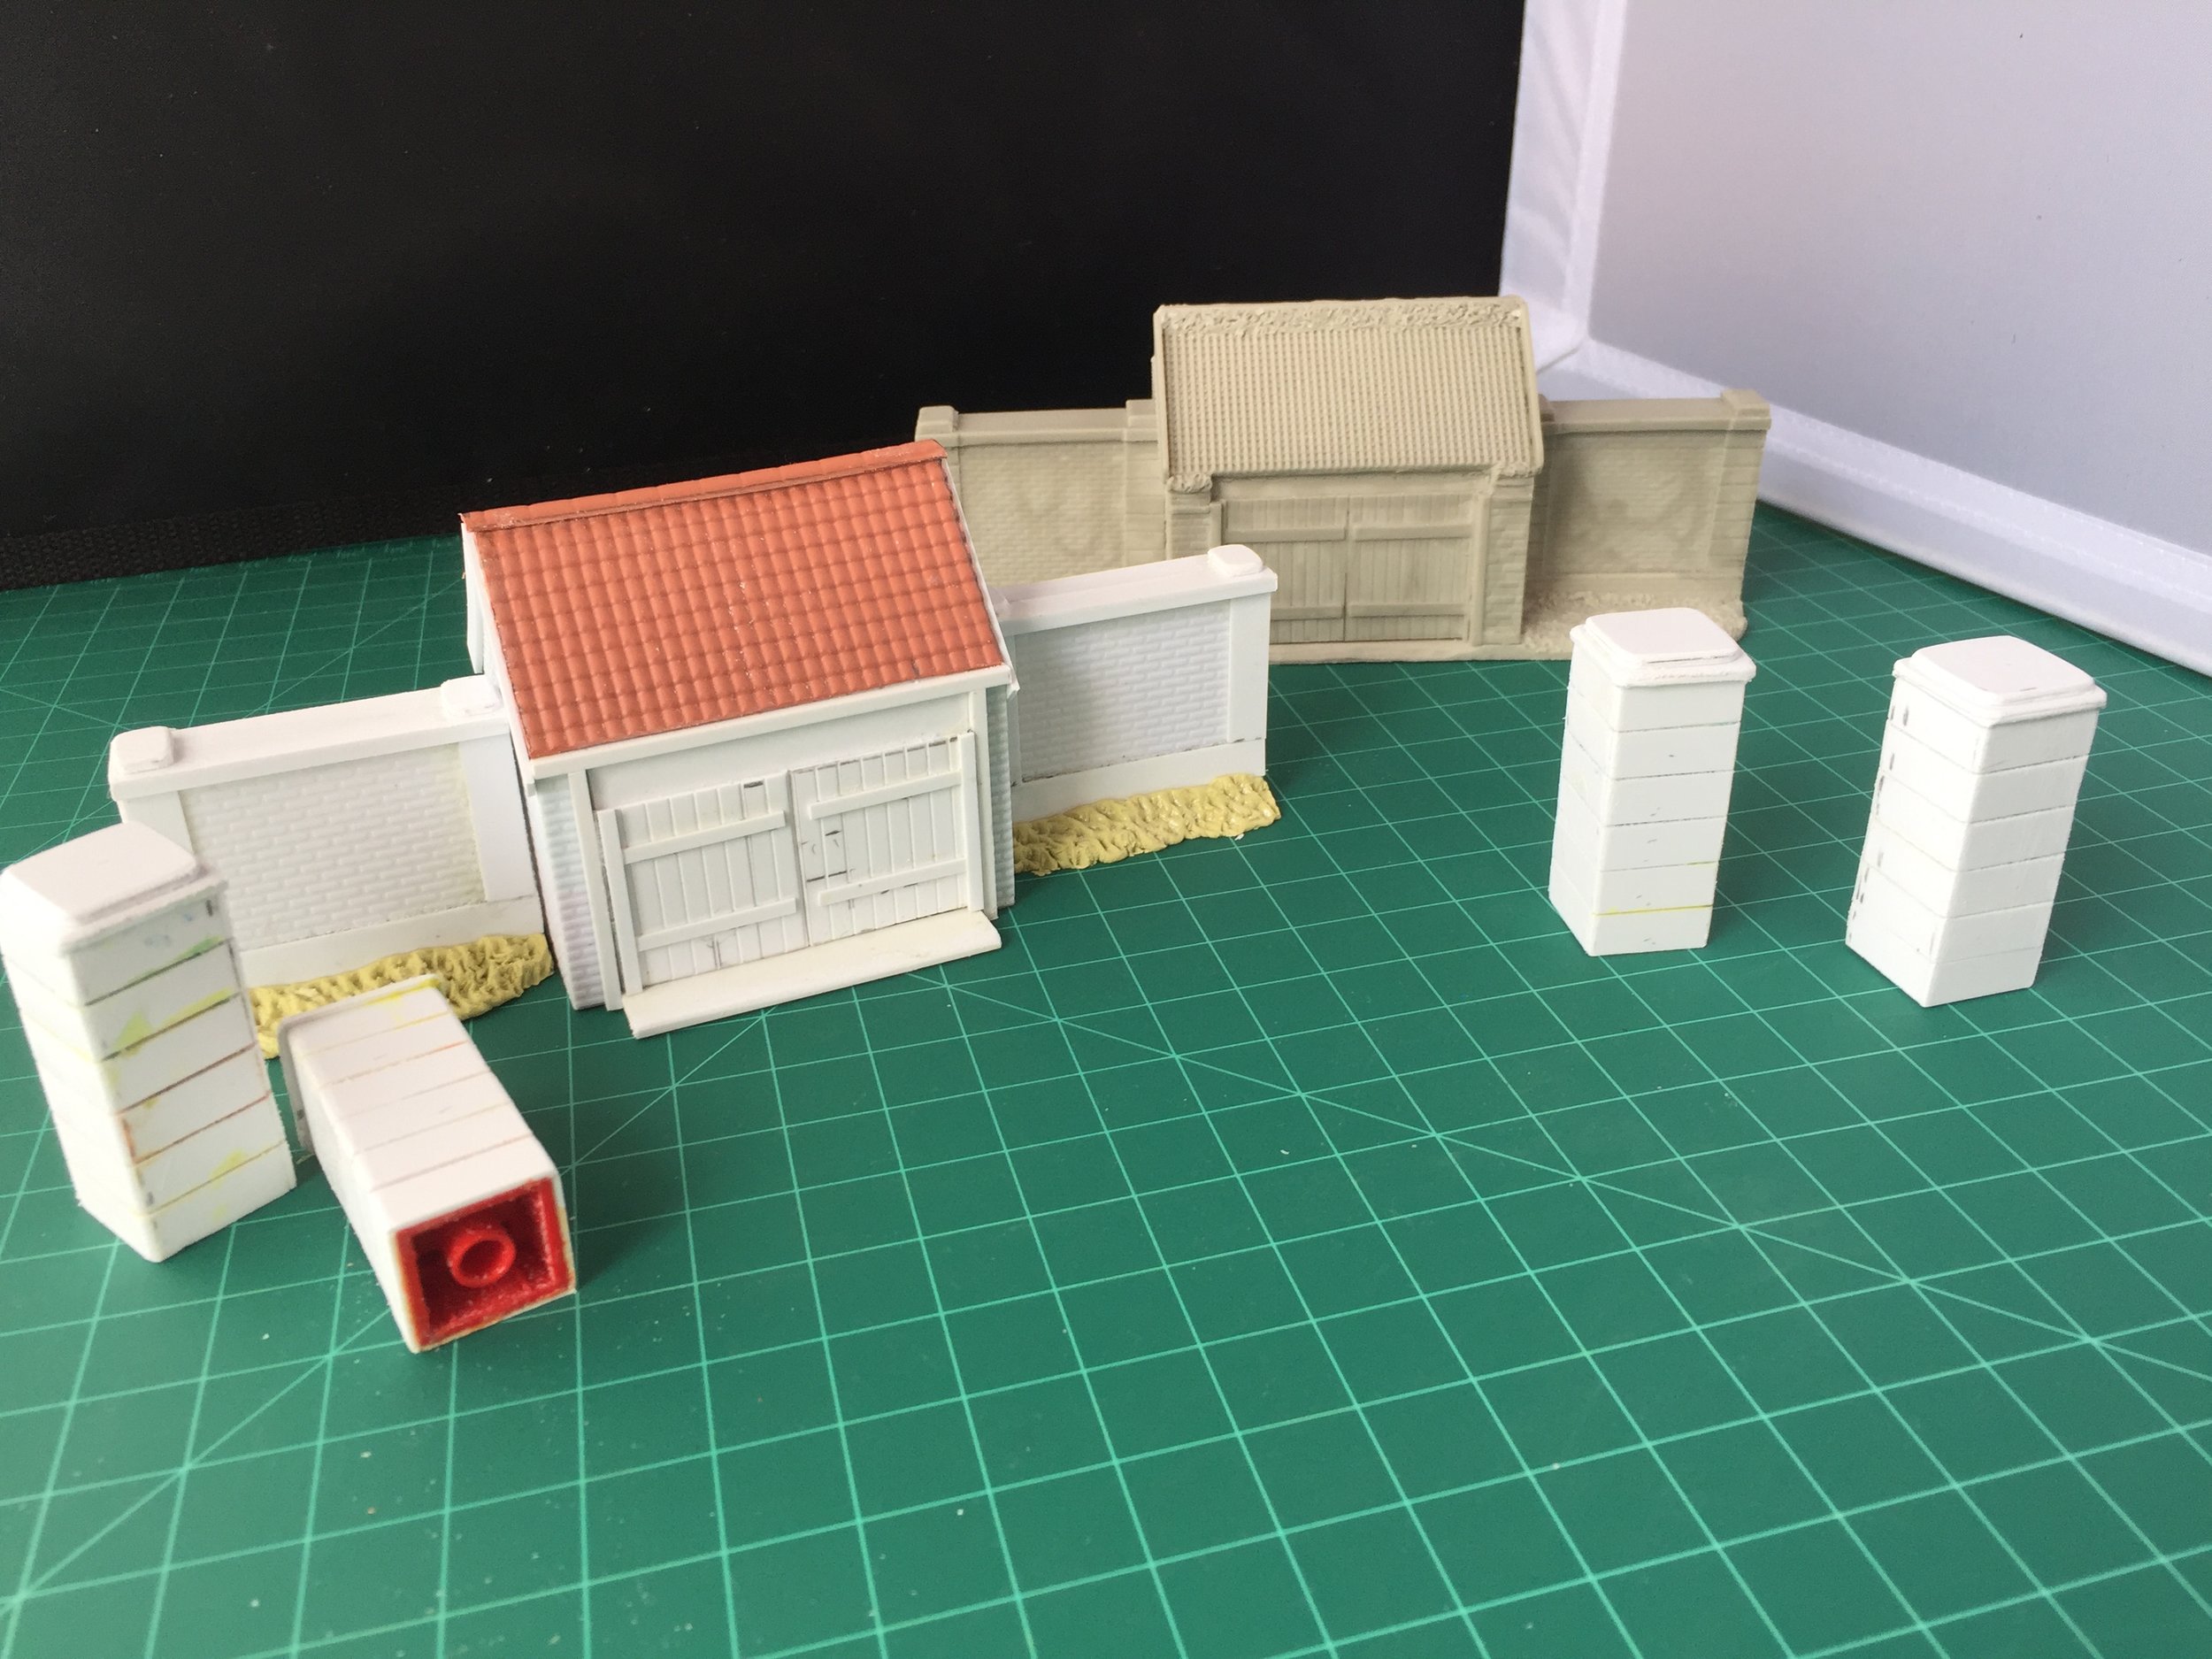
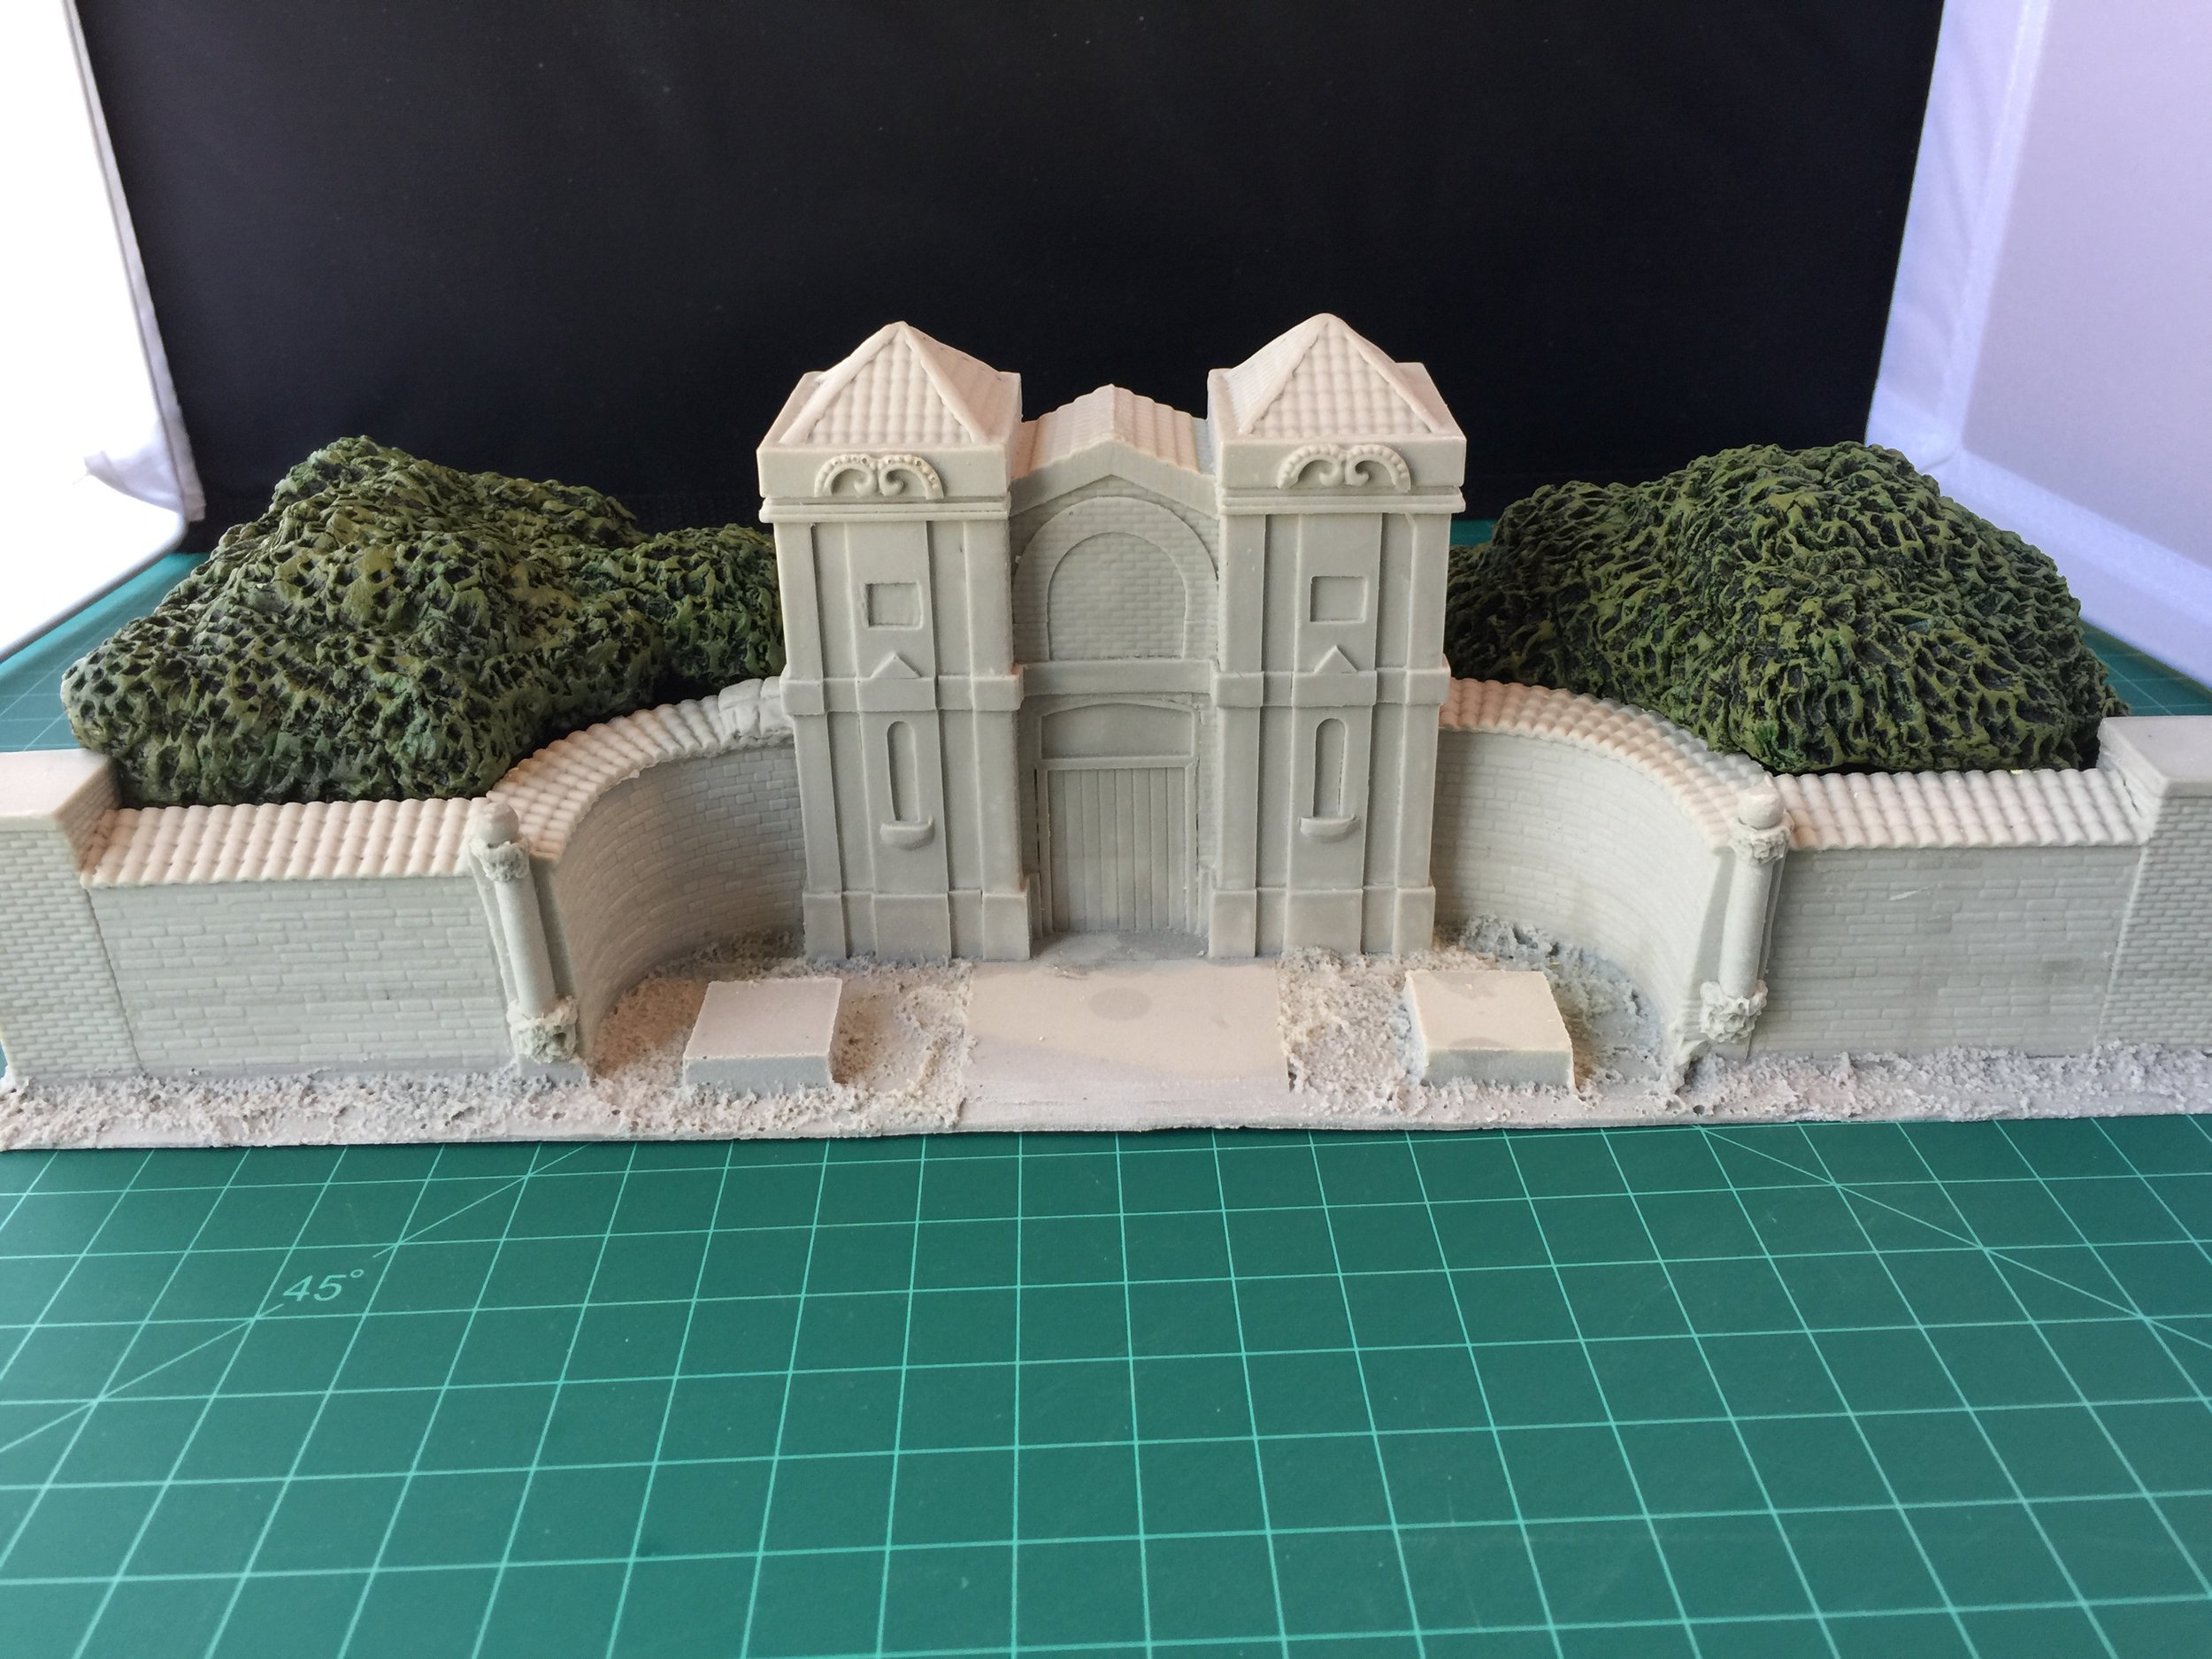
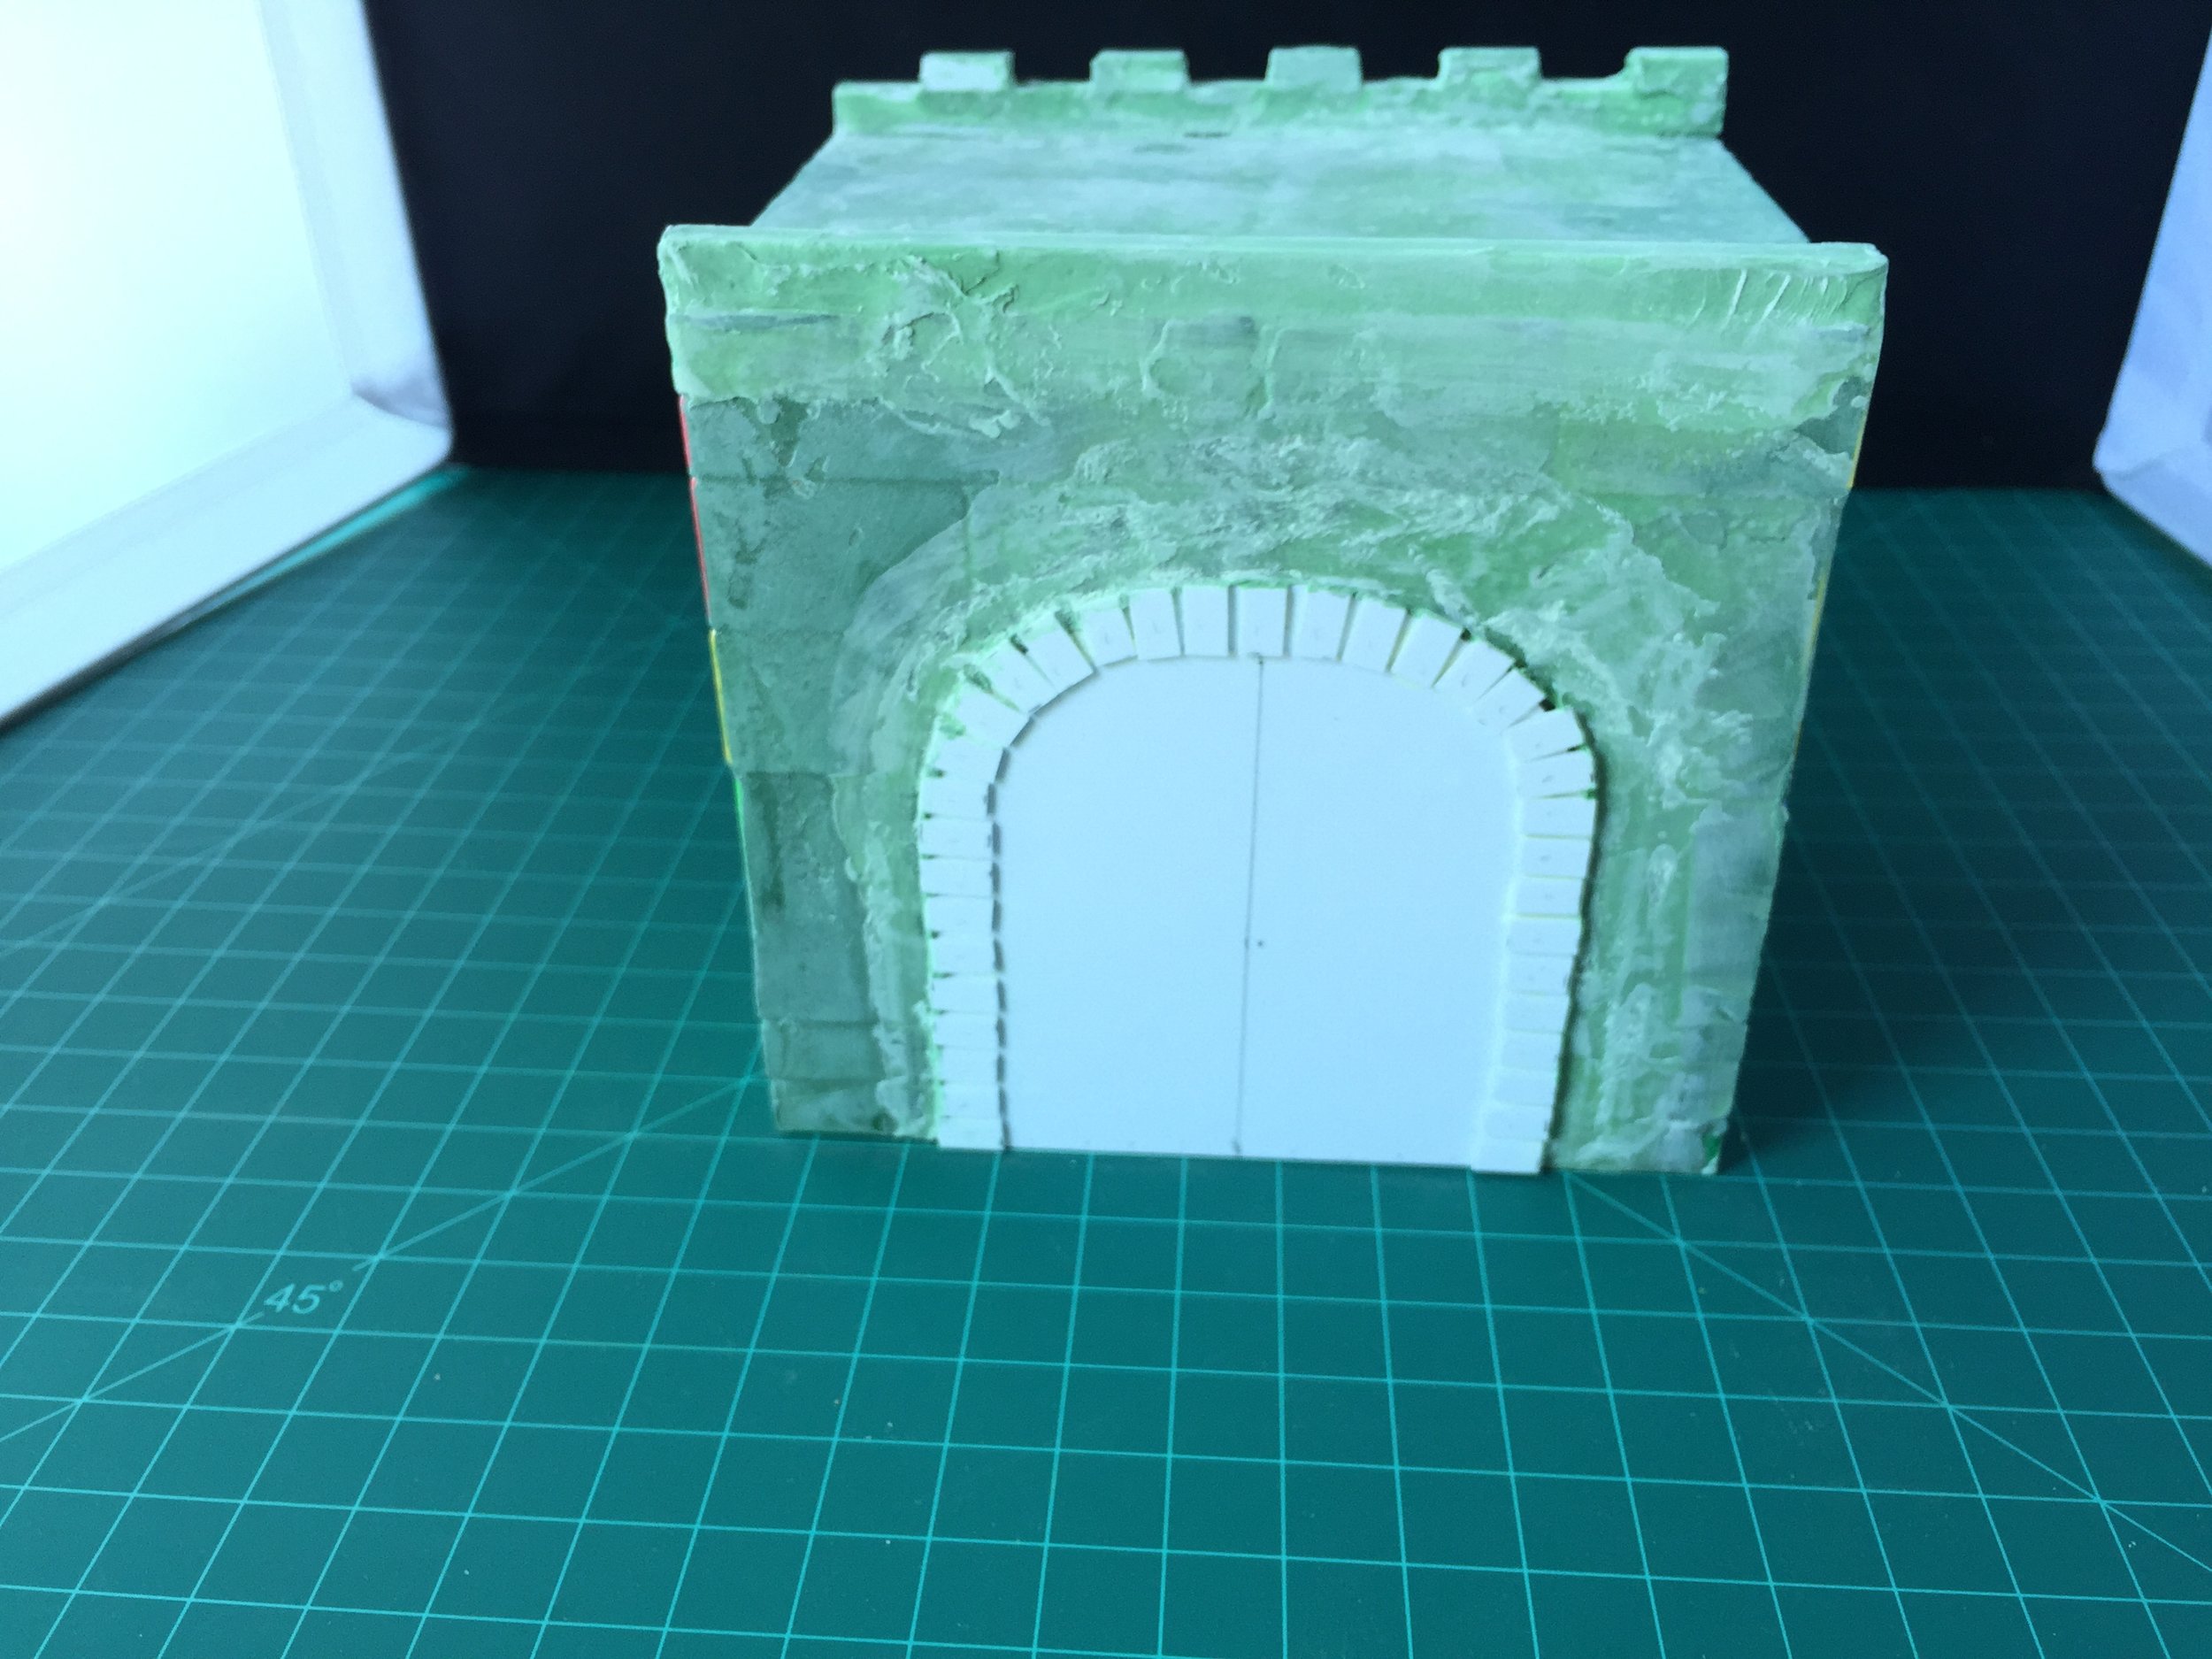
Began the week correcting an error I made when doing the Milliput shrub cover of the firing steps on the US legation. That error was that I failed to notice that I had not completely cover the sandbag defenses on the legation walls. Once the additional Milliput was added I added the necessary paint to complete the process. With that done I decided to add some Milliput shrubs to the base of the square Ian Weekley building that I may use as the Hotel de Peking. The addition of the Milliput shrubs softened the square look of the building. With those smaller tasks complete, I began work on the pre-siege walls for the legations. I’m starting with the French legation walls, and decided that I would start by building the rear gatehouse for that legation. In building that gatehouse, my aim was not to build the identical structure but rather on to build a structure that is close in size and look. It is built around a core of Duplos with some Legos used to support the roof. The brick outer covering is by JTT Plastic, the doors and trim are made from Evergreen Plastic and the tile roof is by Plastruct Plastic. Once the rear gatehouse was complete I built the corner posts for the rear wall. I’m not doing the front wall or its corner posts because they are attached to the entrance gate and I will use the original walls for that covered with Milliput shrubs to hide the firing steps. I made the rear corner posts from with Evergreen Plastic covering an inner core of square Legos. I took some time off from my wall building today to join my wife in a visit with our baby granddaughter… always fun. Once back at the workbench I took on my first section of the French legation wall. Though my wall sections will not be quite as detailed as the originals, I am copying the design and size of each of the sections in the original wall. I am building those wall sections (interior core and exterior) out of JTT Plastic (the brick), Evergreen Plastic (the trim and inner core), and Plastruct Plastic (the roof tile).
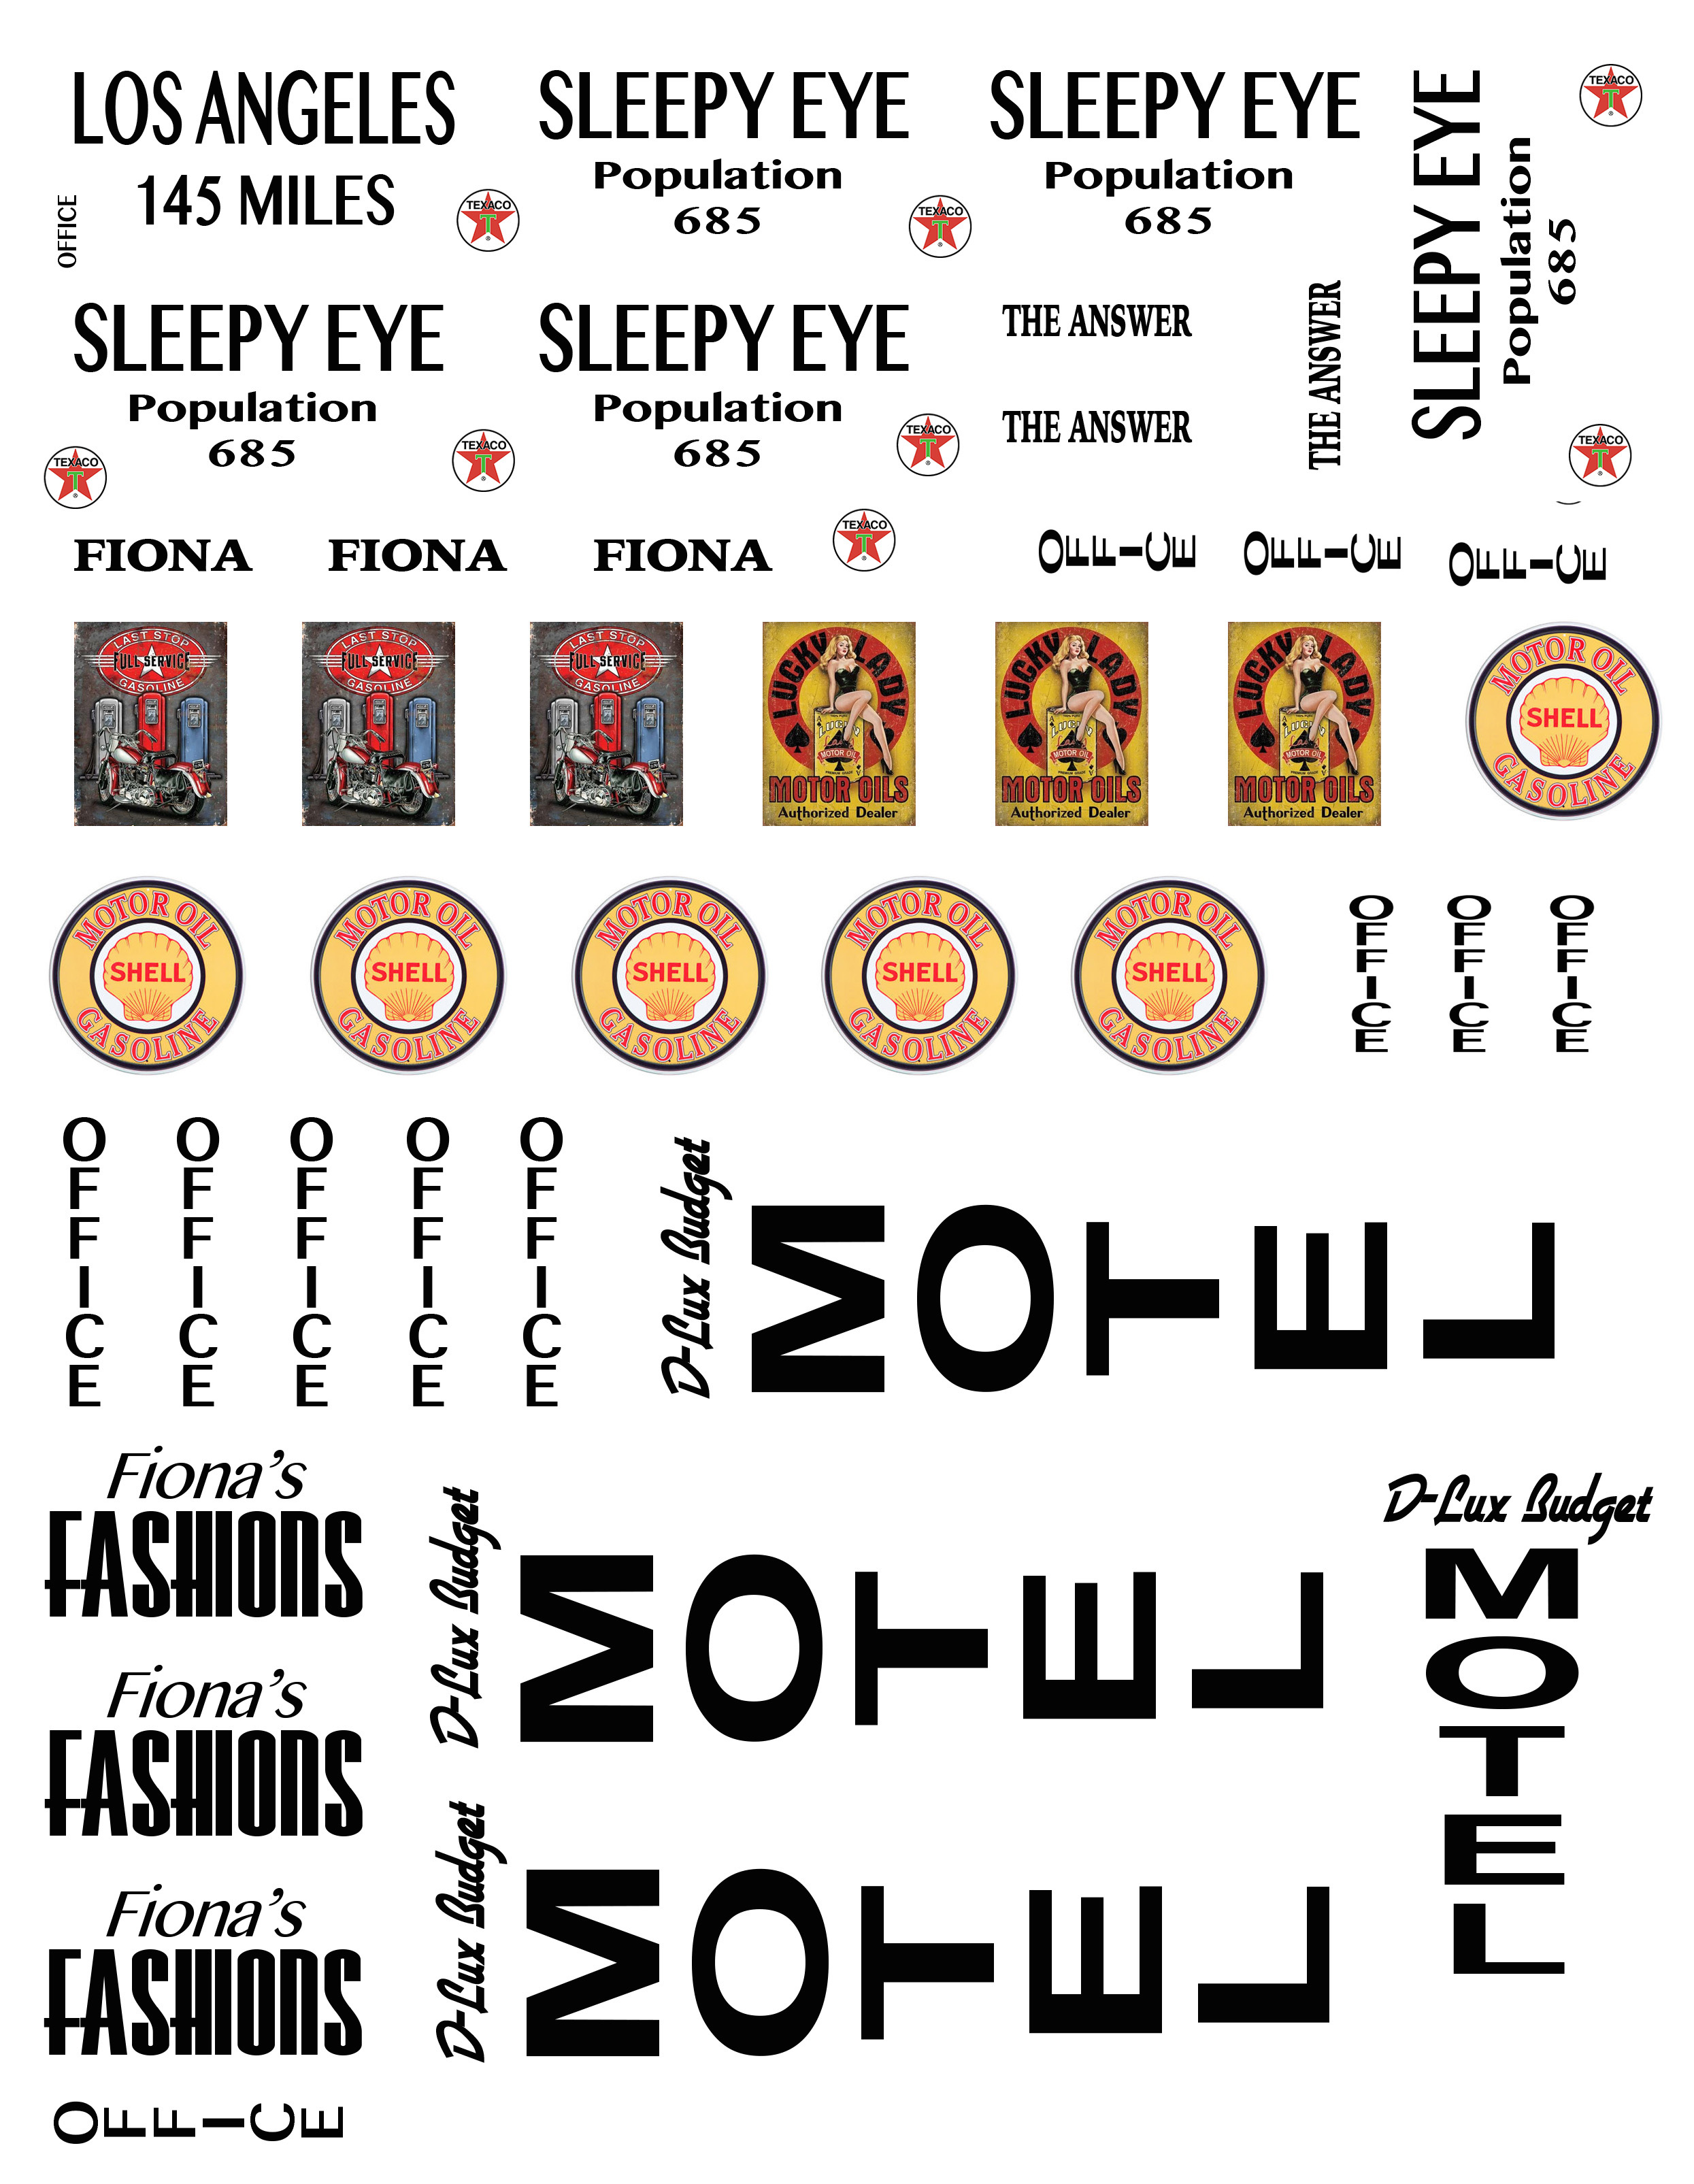
With work finished on the pre-siege scratch-built portion of the French legations walls it should be noted that I will be using the French legation walls attached to the legation’s entrance gate for both the pre-siege and siege look of the legation. In order to do this I have hidden the firing steps under removable Lego covered Milliput shrubs on the portion of the Blue Moon walls that I will use for both versions of the wall. All that now remains to be completed with regard to the scratch-built French legation wall is to put a Milliput groundcover base on each of the wall sections. I will probably hold off the painting of the legation until I complete all of the scratch building for my Boxer Rebellion project. On Thursday and Friday I was able to build the rear gatehouse for the Russian legation plus a couple of small wall sections and the four corner posts for the legation’s walls. When my wife and I went out to dinner on Friday night I believe that on Saturday my workbench time would be dedicated to the construction of more walls for the Russian legation, but that changed when we got home and I discovered that my daughter had emailed me the last of the Post Apoc decals. So upon my returned from my weekly Saturday morning visit to the swap meet I settled down to complete my Post Apoc decal work. It’s done so now all we have to do is find a time when we can do the photo shoot for the gallery… feels good.


MAY 20, 2018
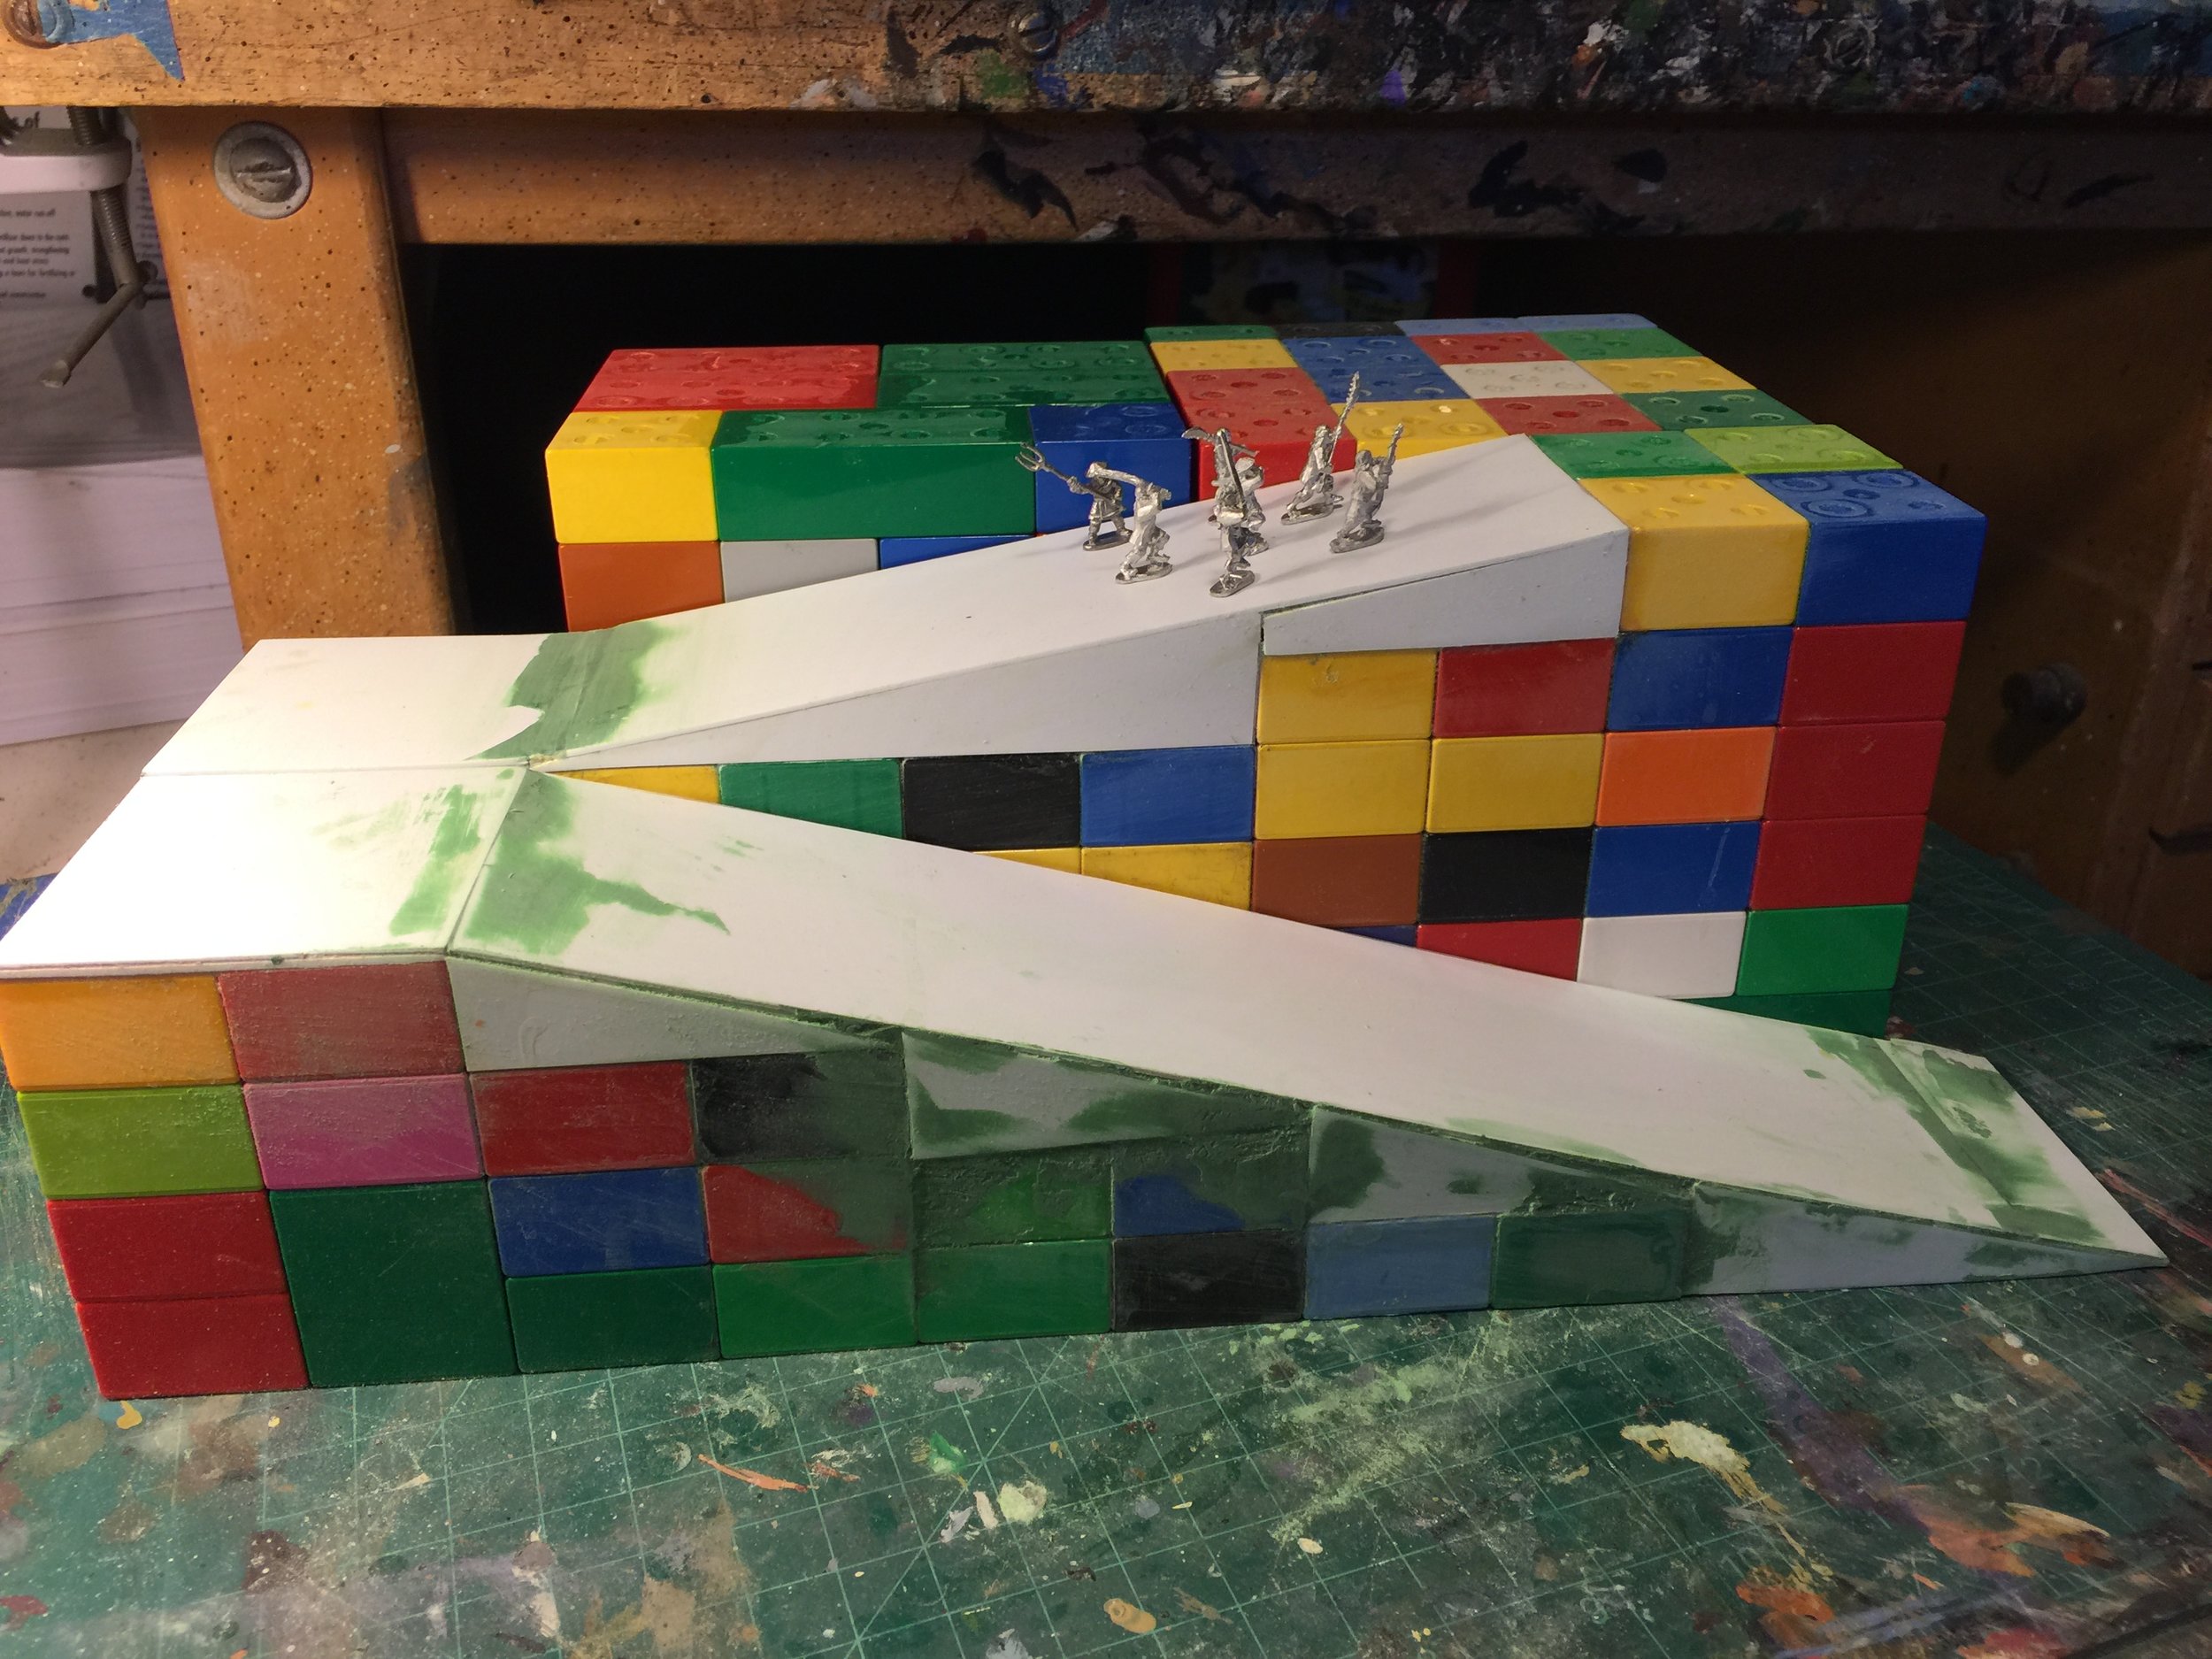
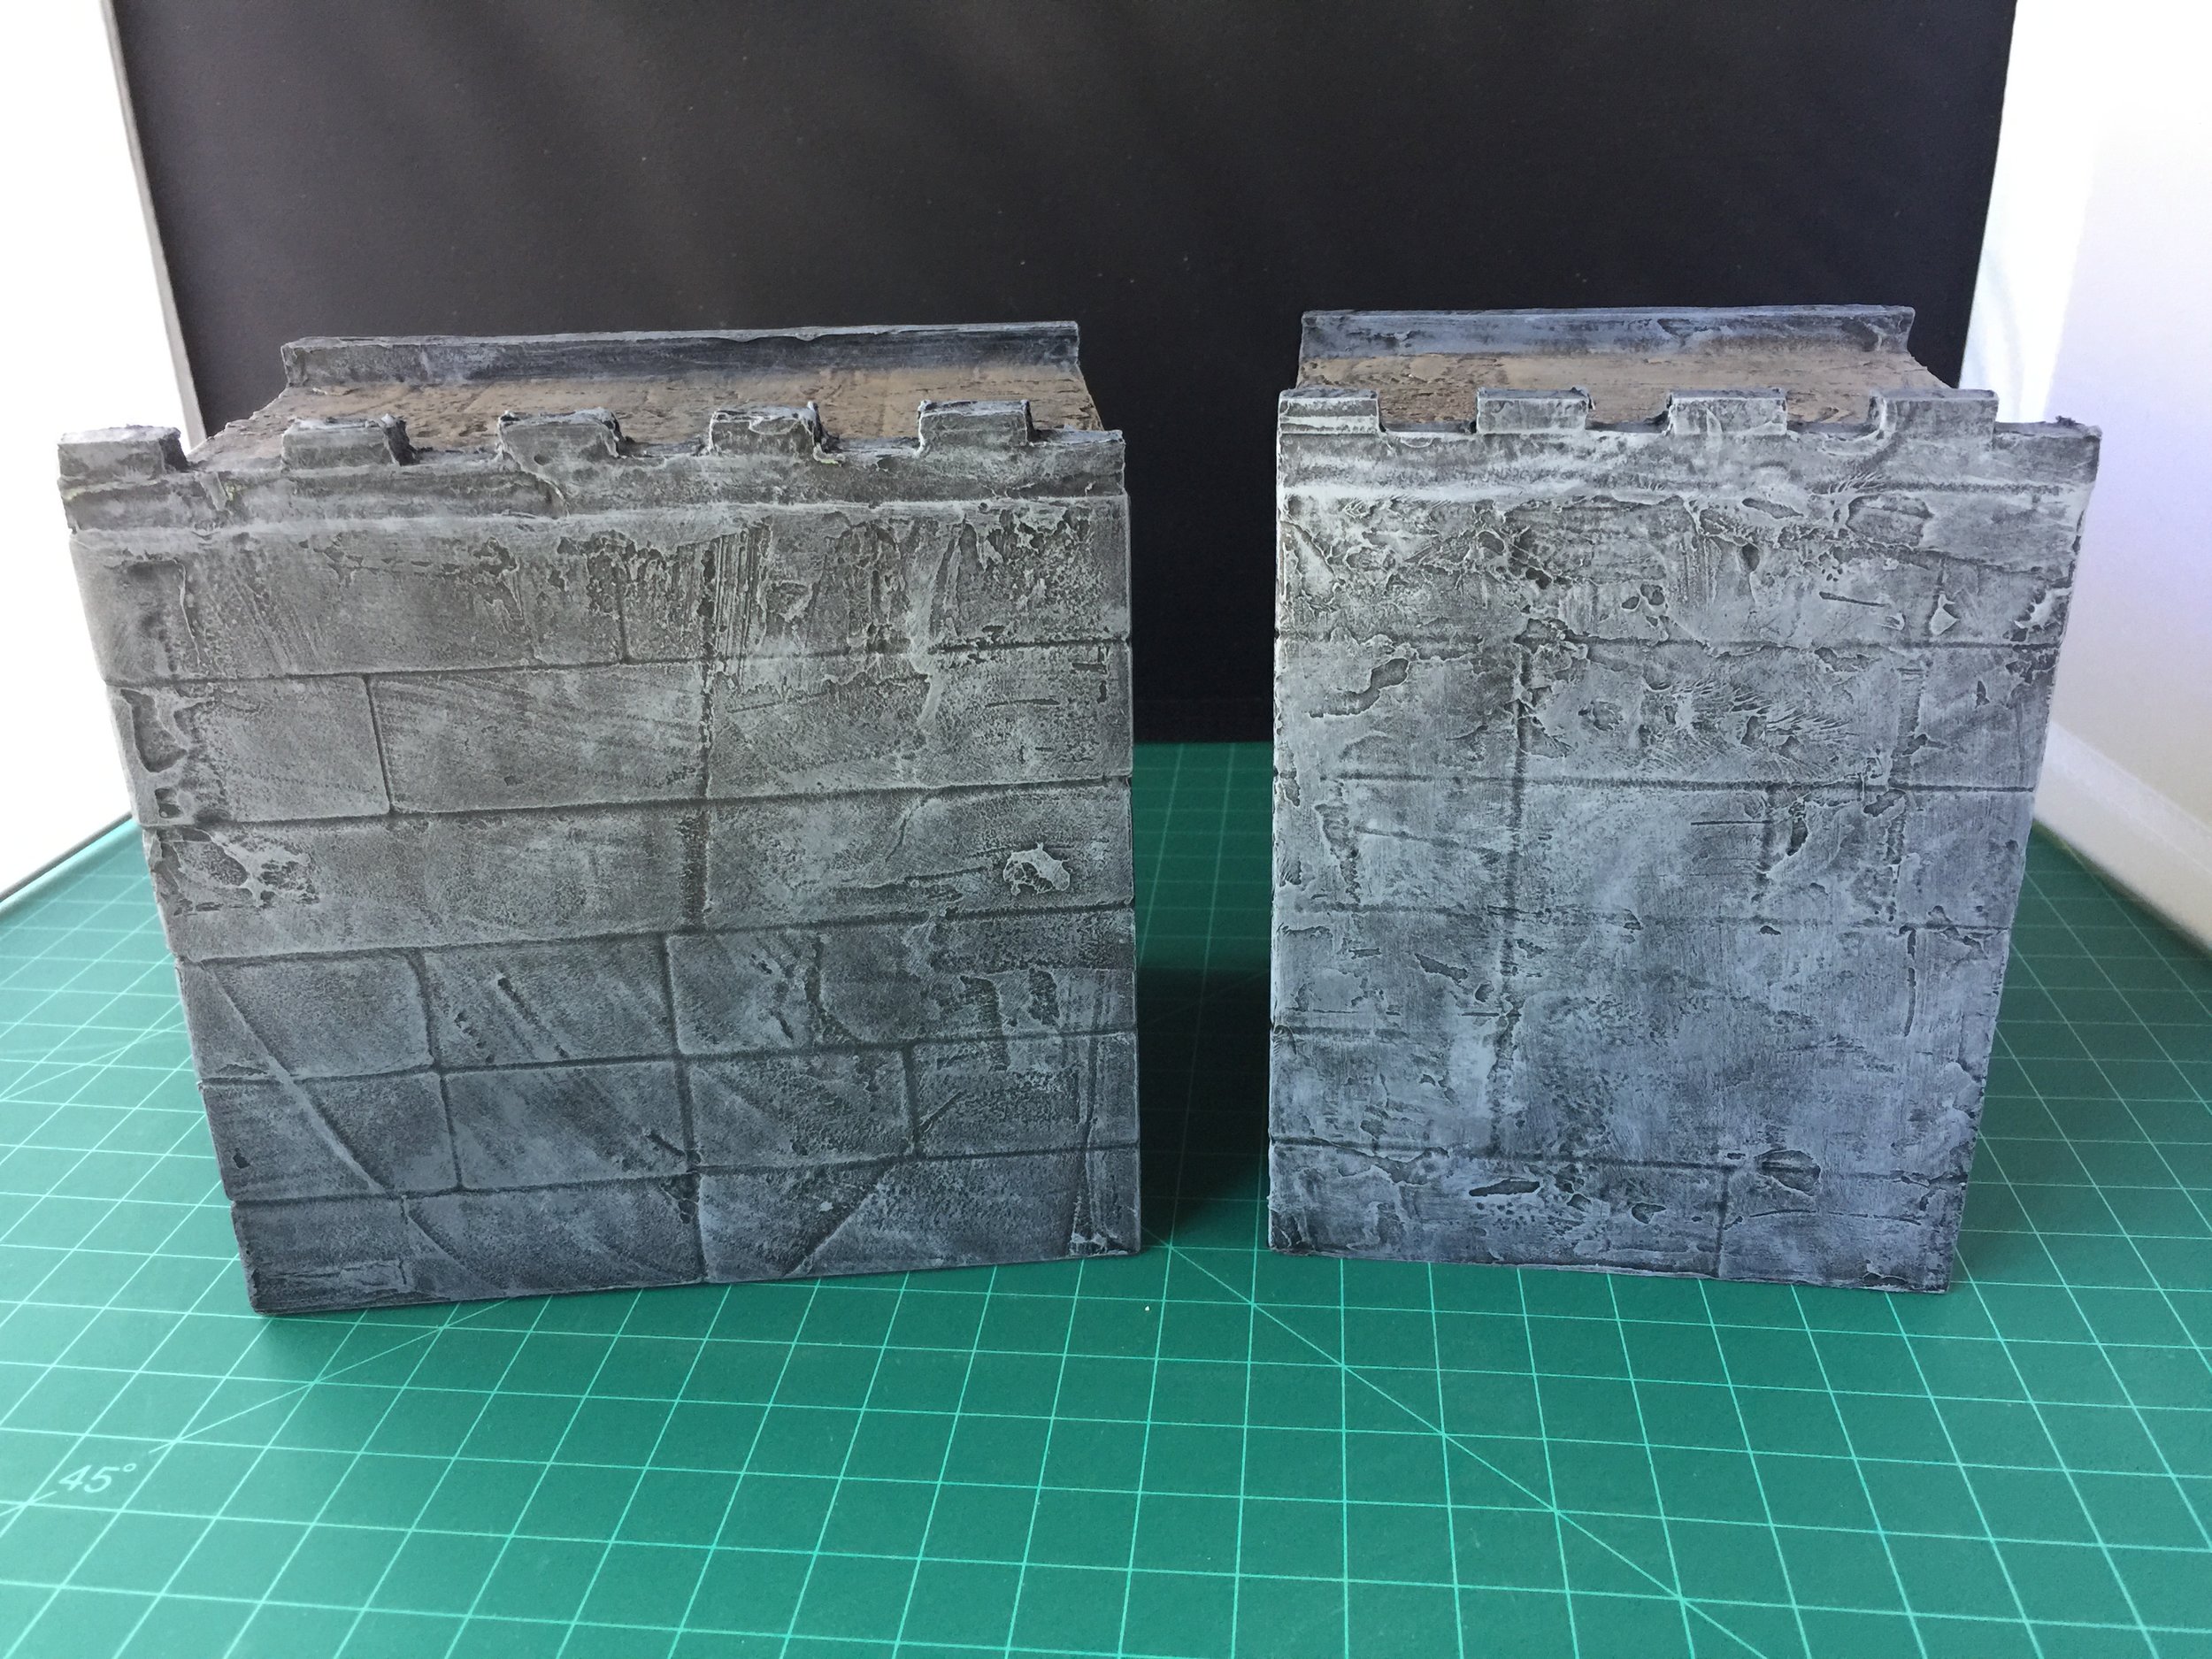
The Weekly Workbench began with a return to the Post Apoc collection. Over the weekend my daughter sent me the decals for all of the signs for that collection (I compose the signs and she designs them). Applying the decals took about a day and a half, but it looks to me to be time well spent. Once the decals were applied, I returned to the Boxer Rebellion and the painting of the remaining 9 Tartar Wall sections. For the purpose of the Weekly Workbench I’ve limited my wall photo to just two sections rather than piling up the whole stack. If you look closely at the wall section photo you will see that the two wall sections are not the same length. That is because I made one extra wall section about an inch shorter in length than the others just in case I misjudged the space available on my table.
After finishing the painting of all the Tartar Wall sections, I decided to take a shot at painting the Japanese legation building. I was surfing the web and found a later picture of the building in a significantly remodeled state. What attracted me most about that picture was that it was color, not colorized, so I decided to go with the color it offered even though it probably is different than the 1900 version. My plan in painting these is to keep it simple.
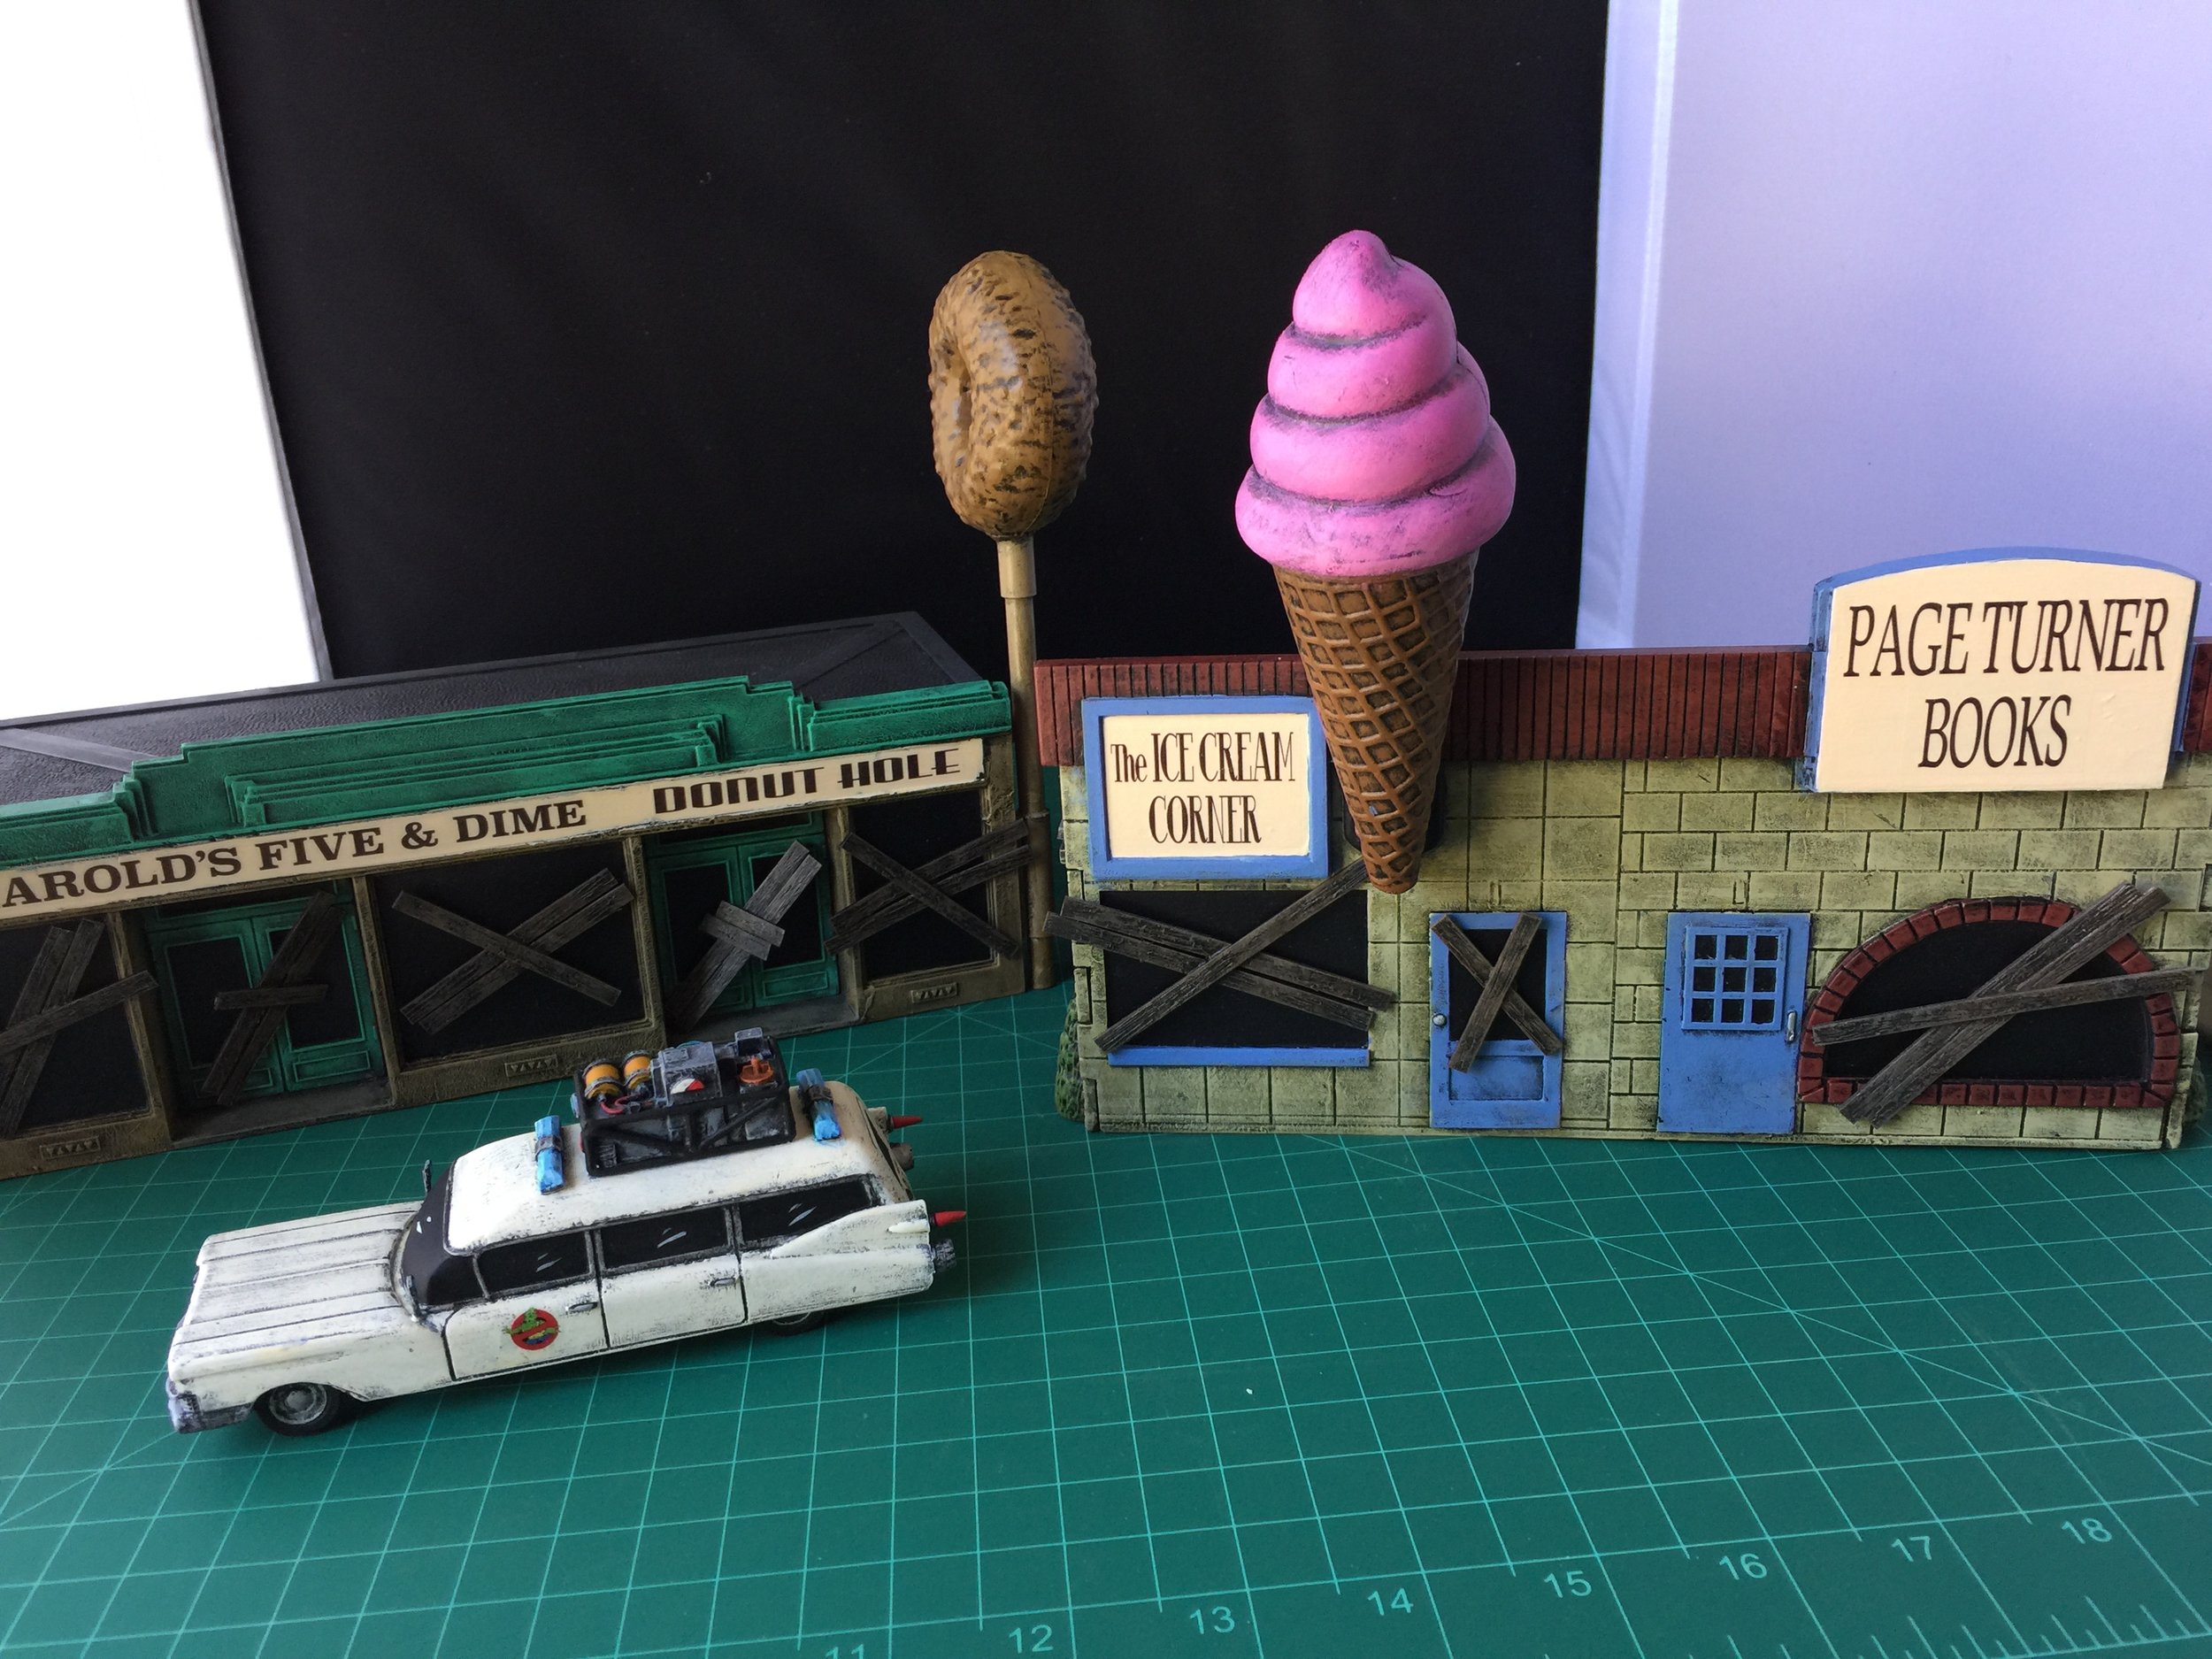
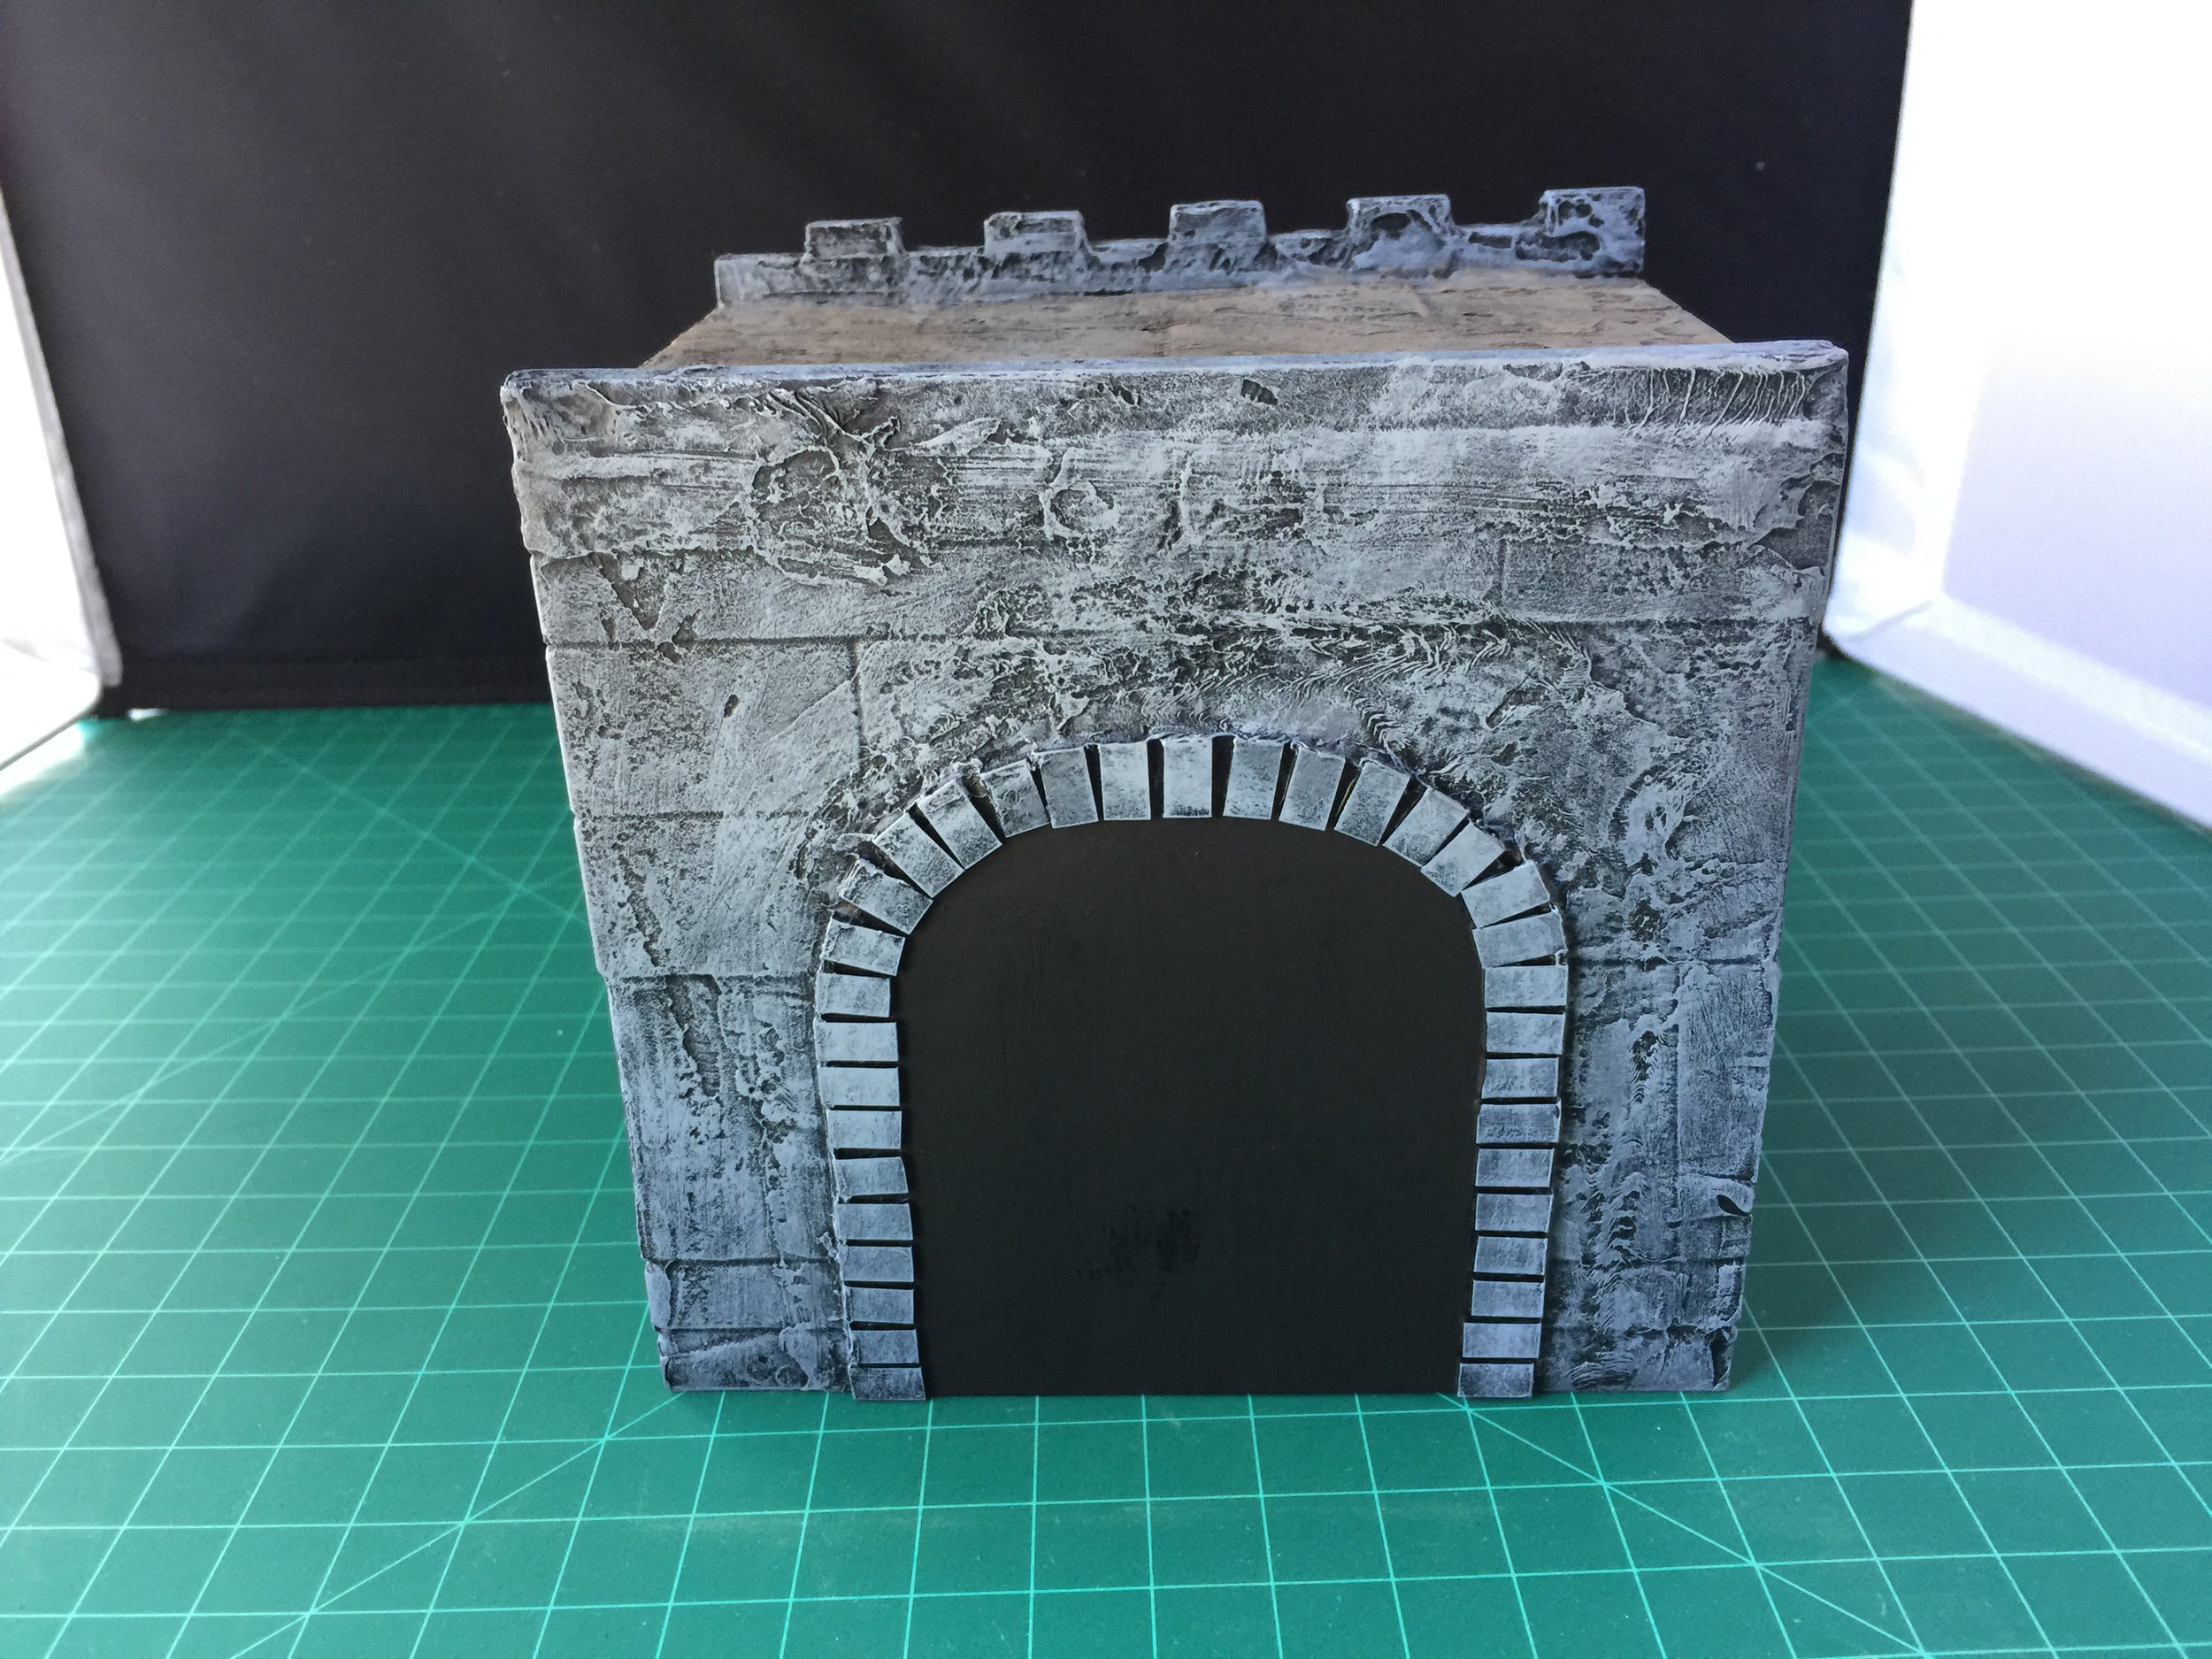
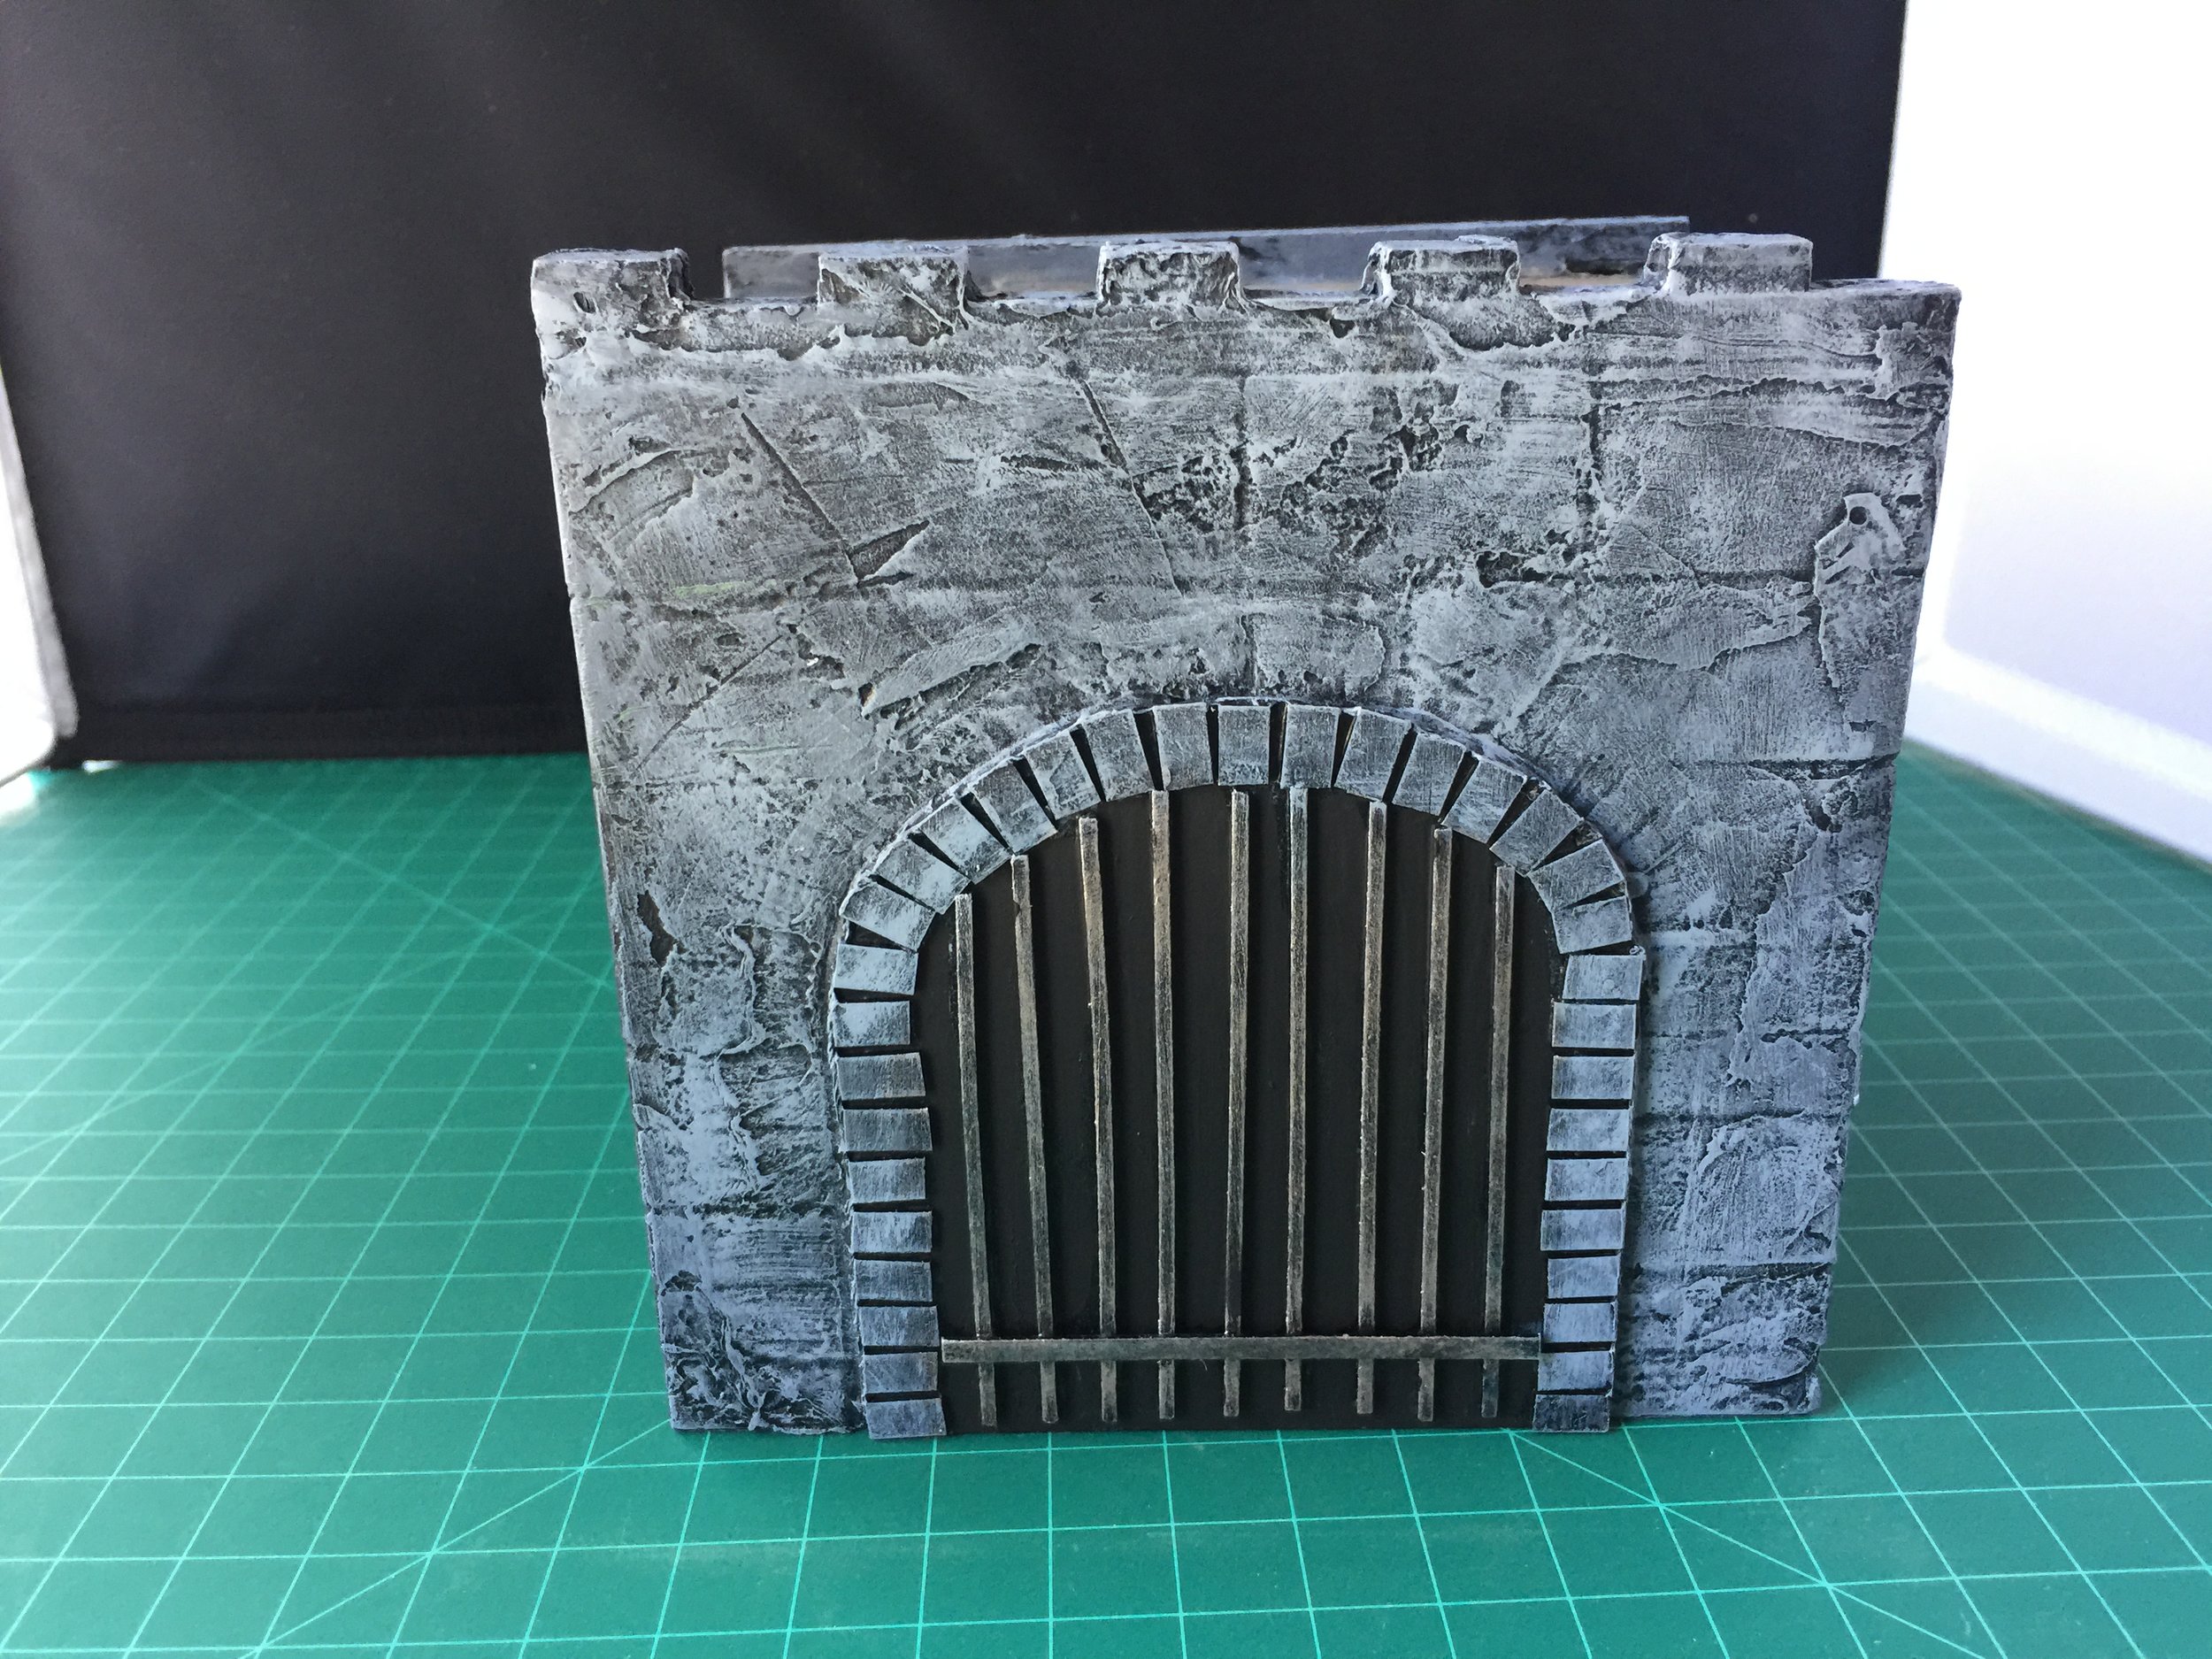
The next problem confronting the workbench has to do making it possible to use the Blue Moon legation gate entrances for both the pre siege and siege periods. For the British the gate had been bunkered up so I built a whole new gate entrance, but that was not the case for the others. The problem with them is that they are attached to wall sections that are cast with firing steps. For most of the firing step wall sections I will build new walls, but I don’t want to build new entrances for other legations so I need to hide the firing steps on the walls attached to the gate entrances. I did that using Legos to build an inner skeleton over which I put scored Milliput that I then painted as shrubs/trees. So far I have completed the shrub cover-up of the firing steps on the walls attached to the gate entrances for the Japanese and French legations. Only the US legation’s entrance walls remain to have their firing walls hidden. Fortunately the Russian legation’s entrance gate is cast separate from the legation’s walls and their firing steps.
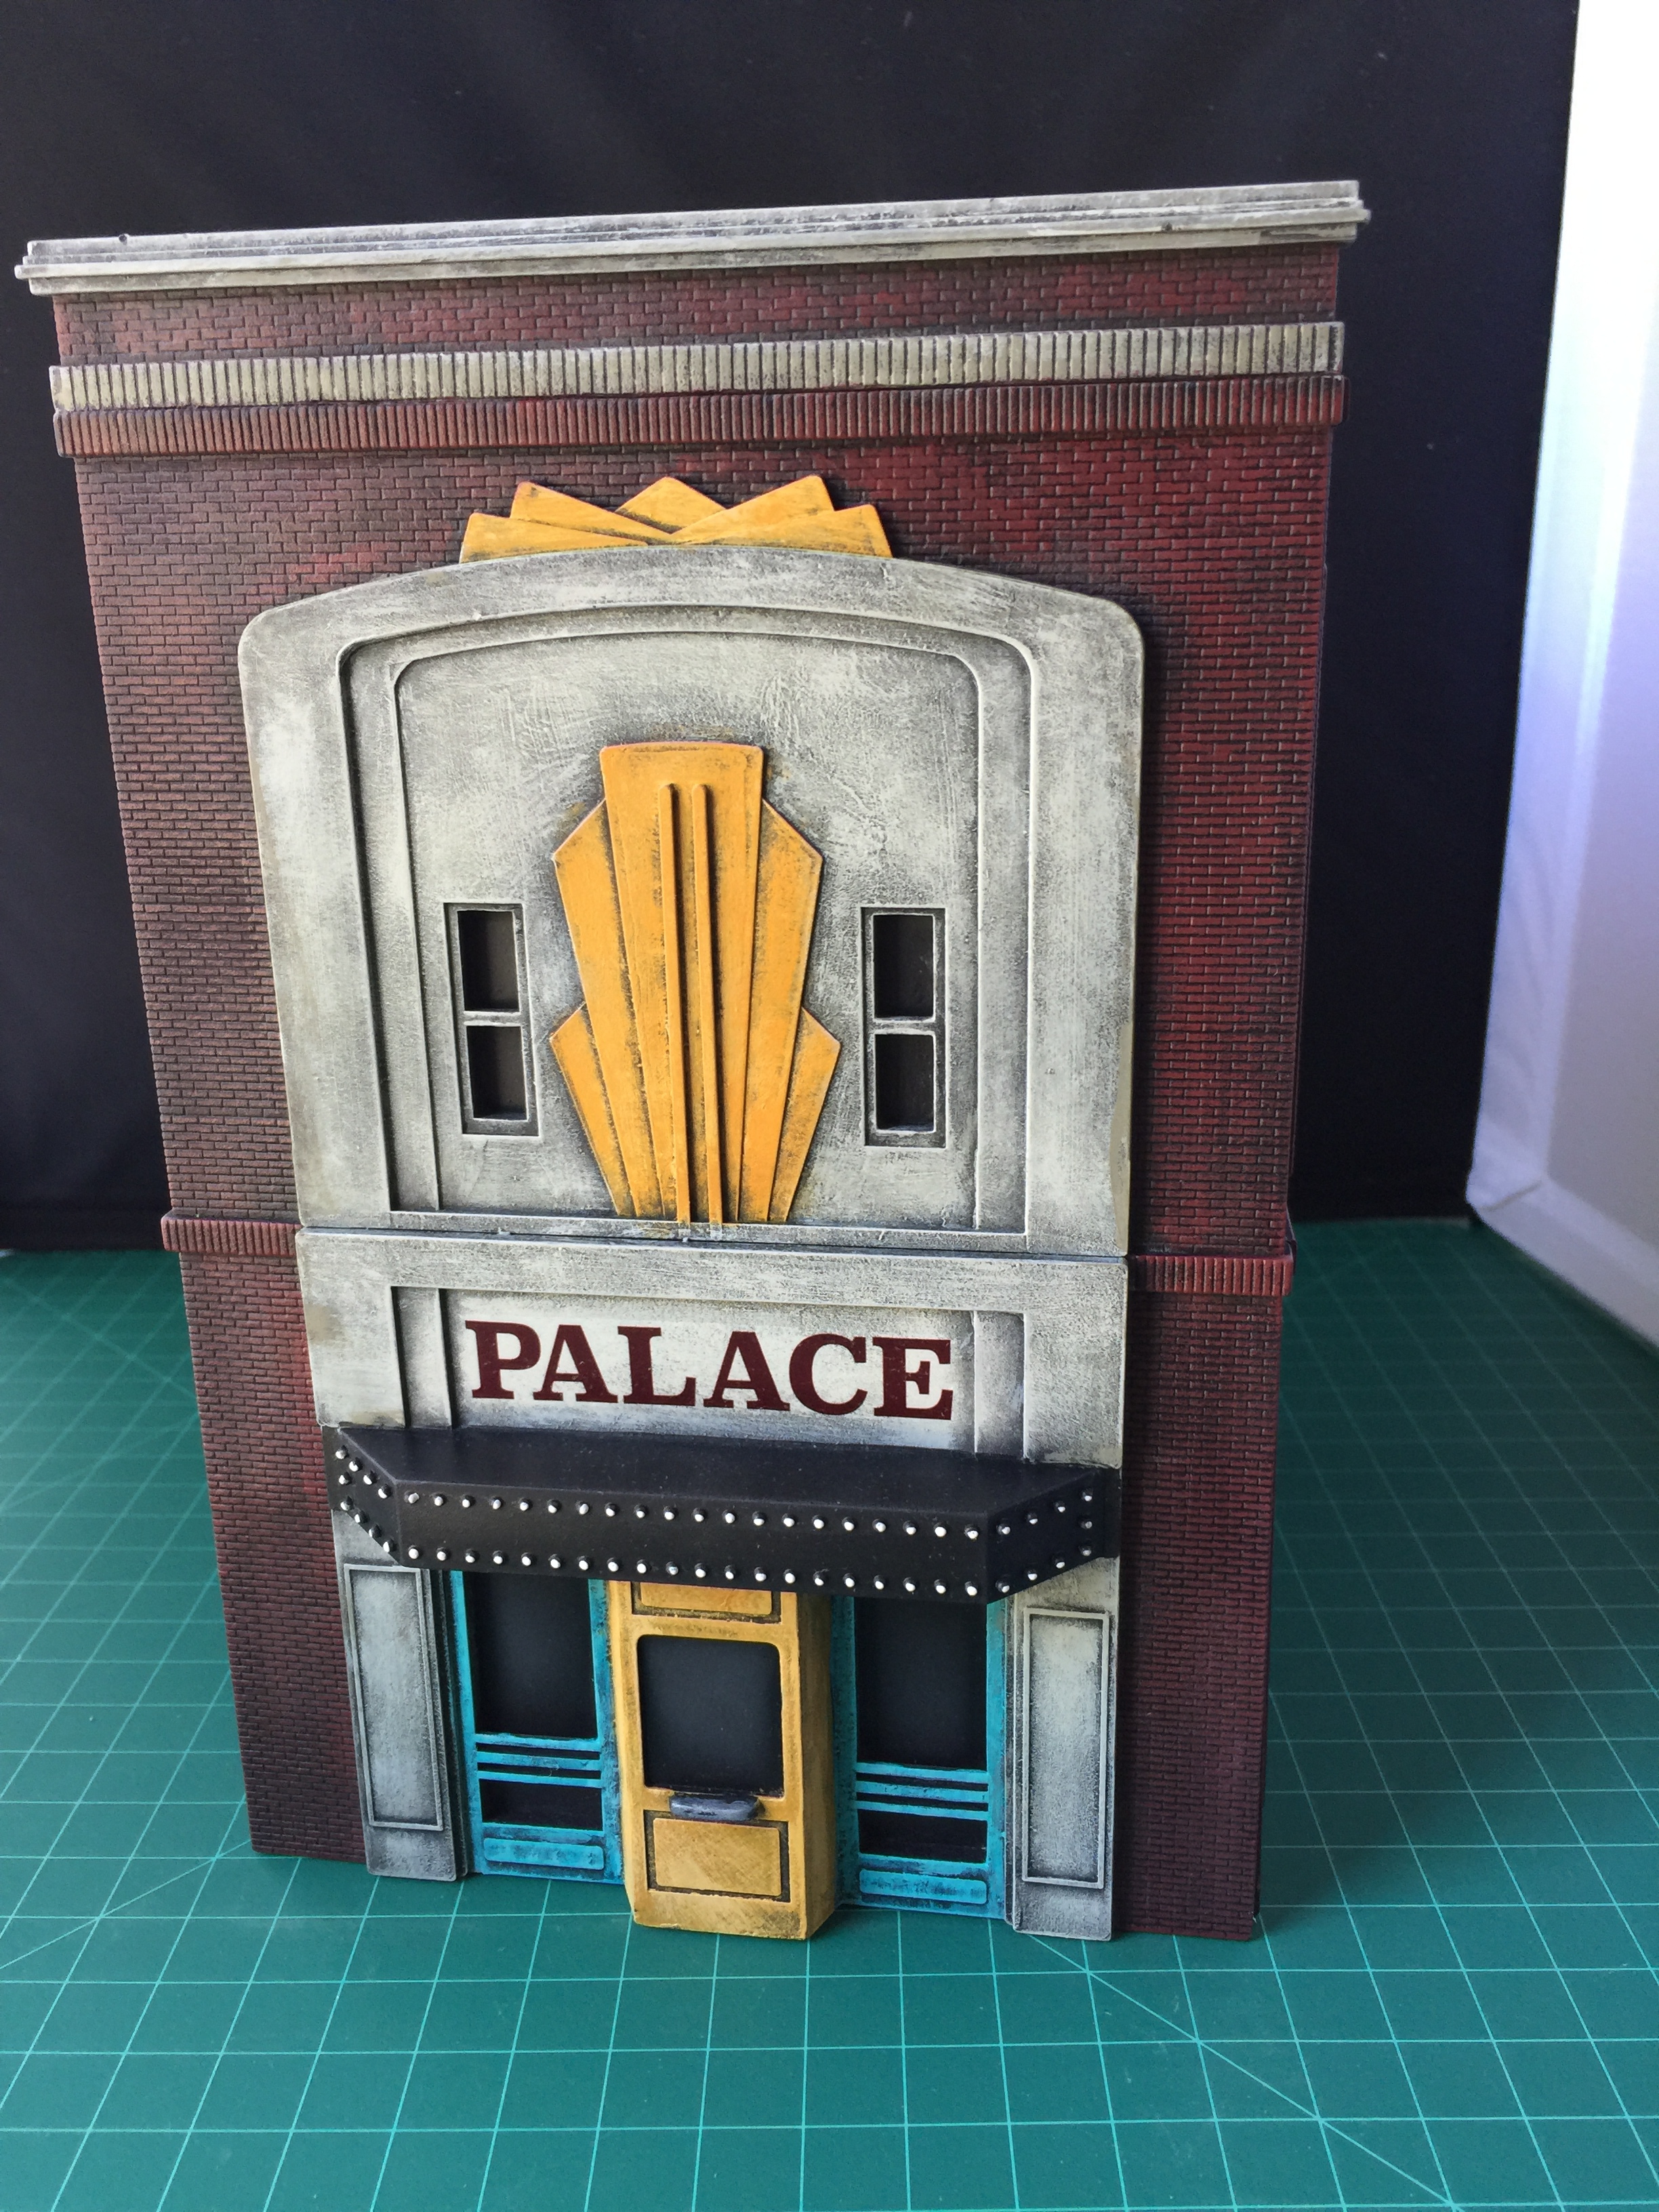
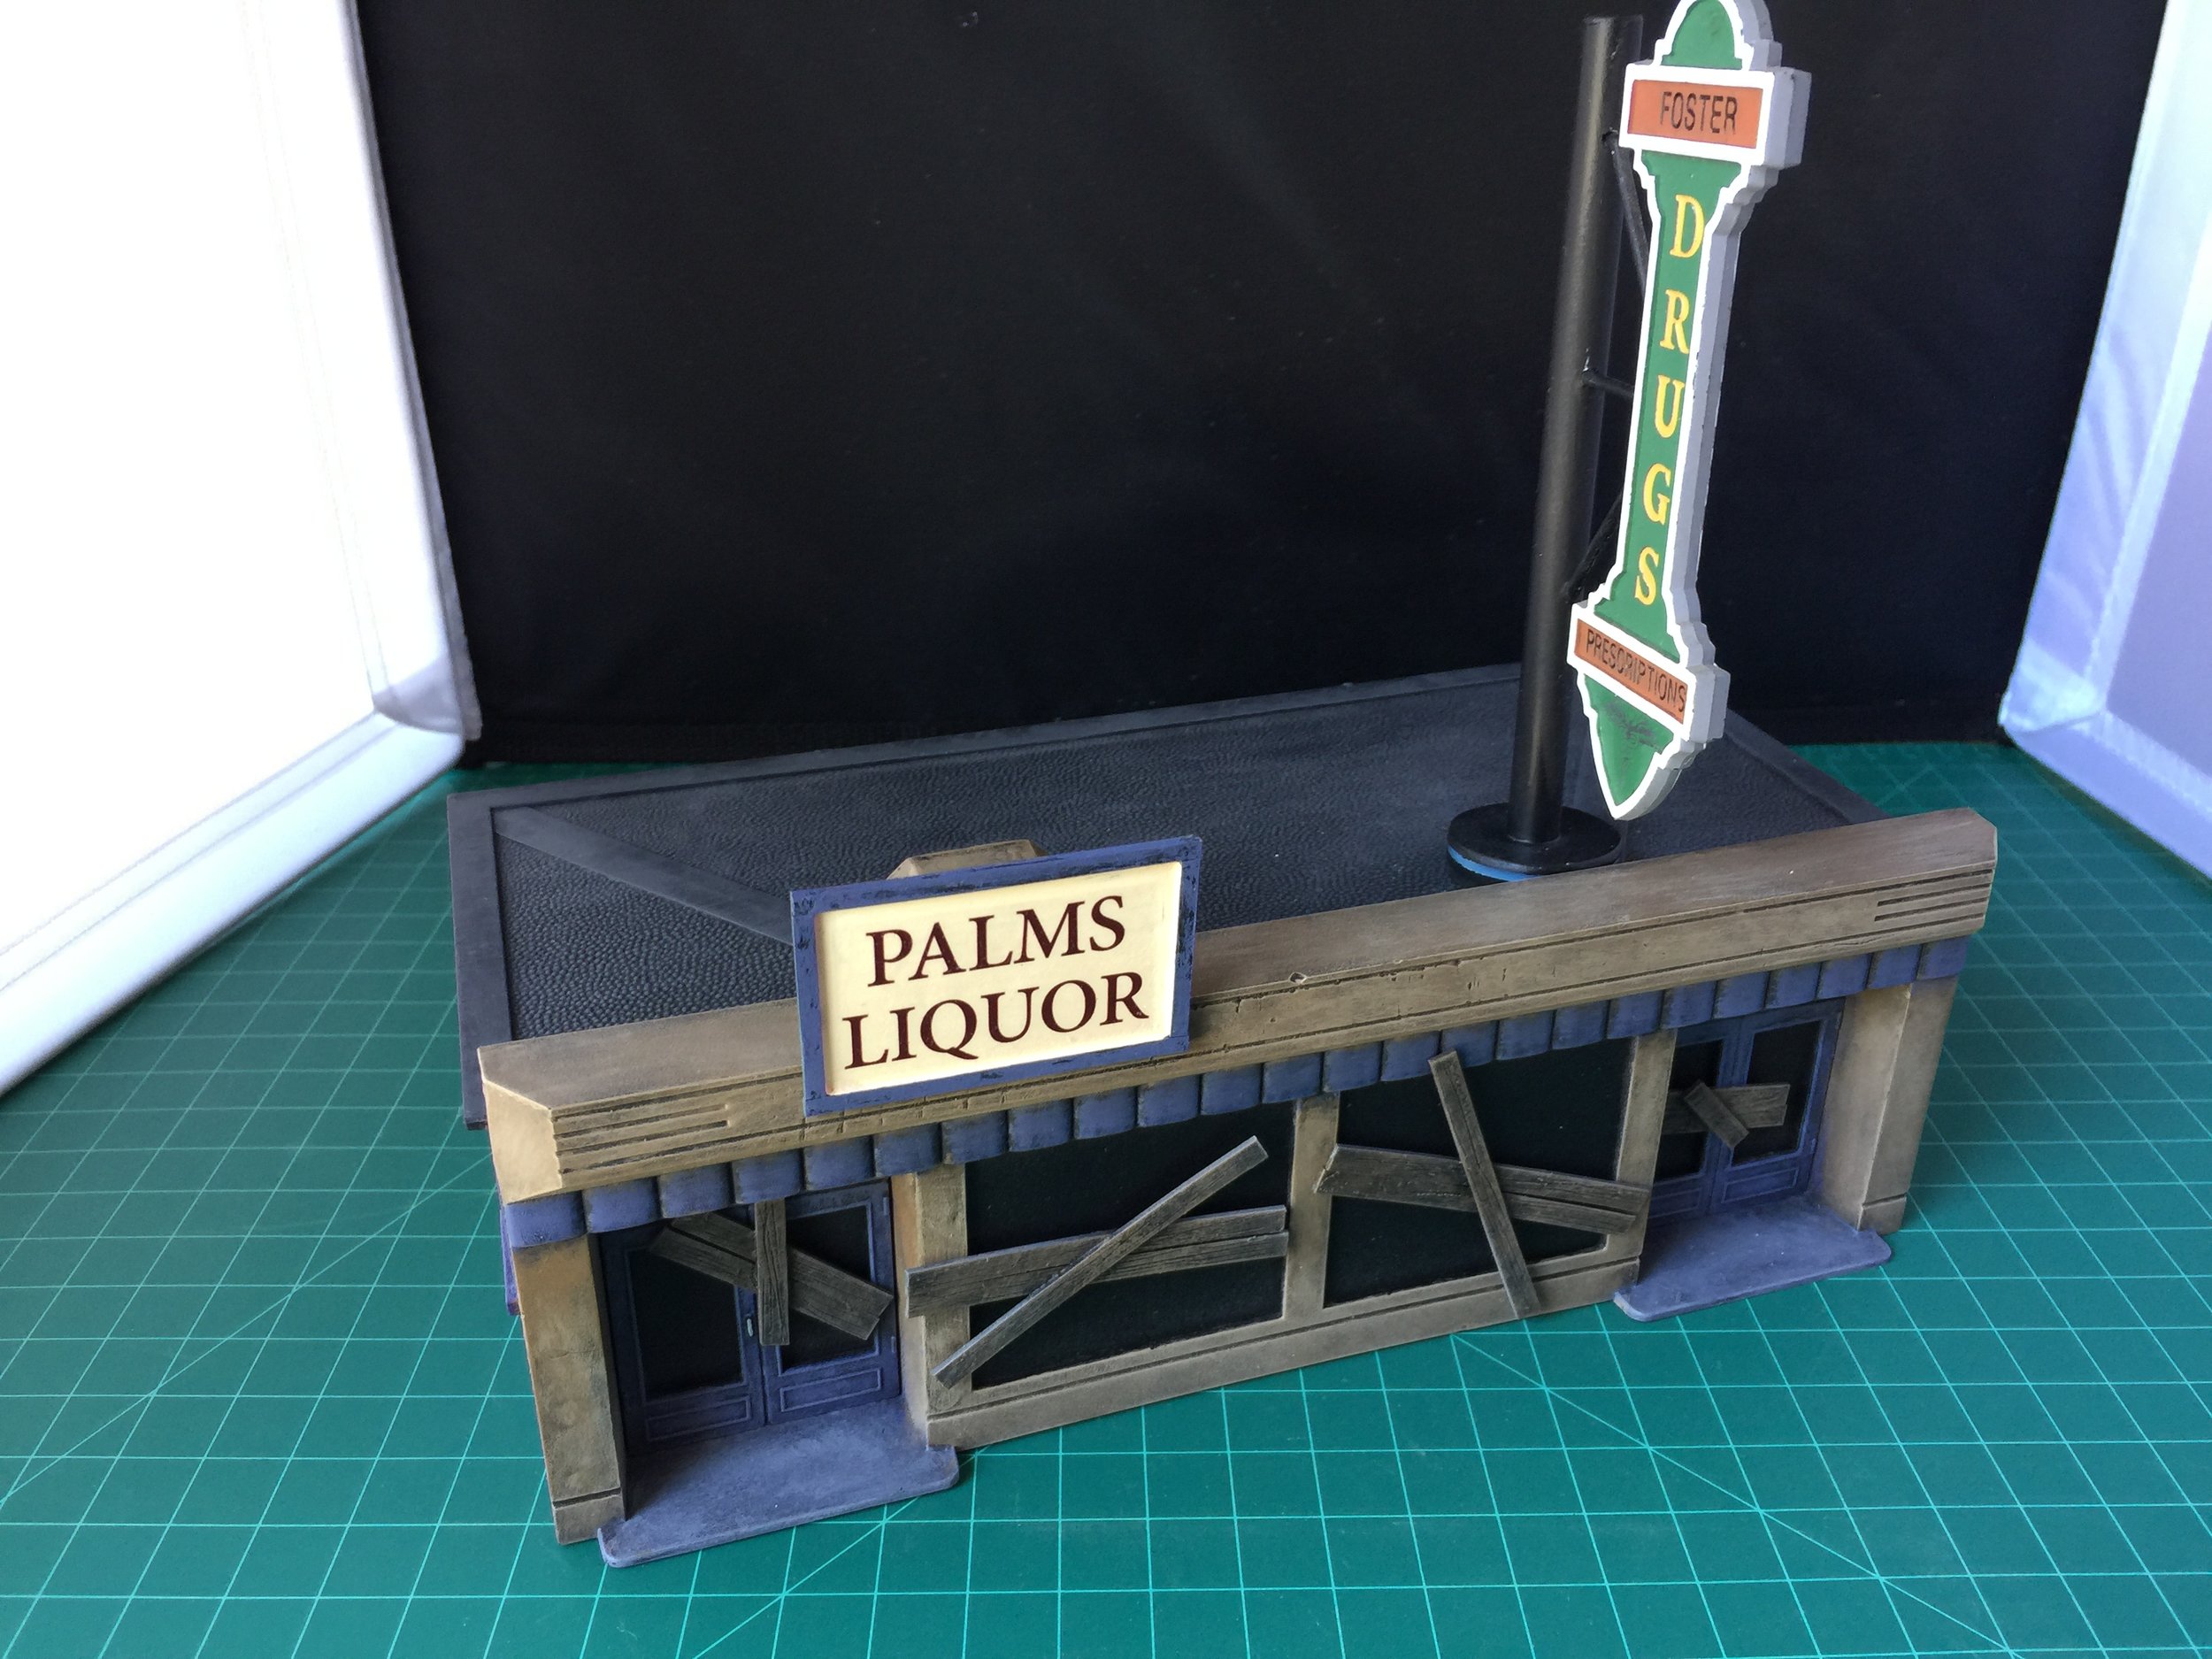
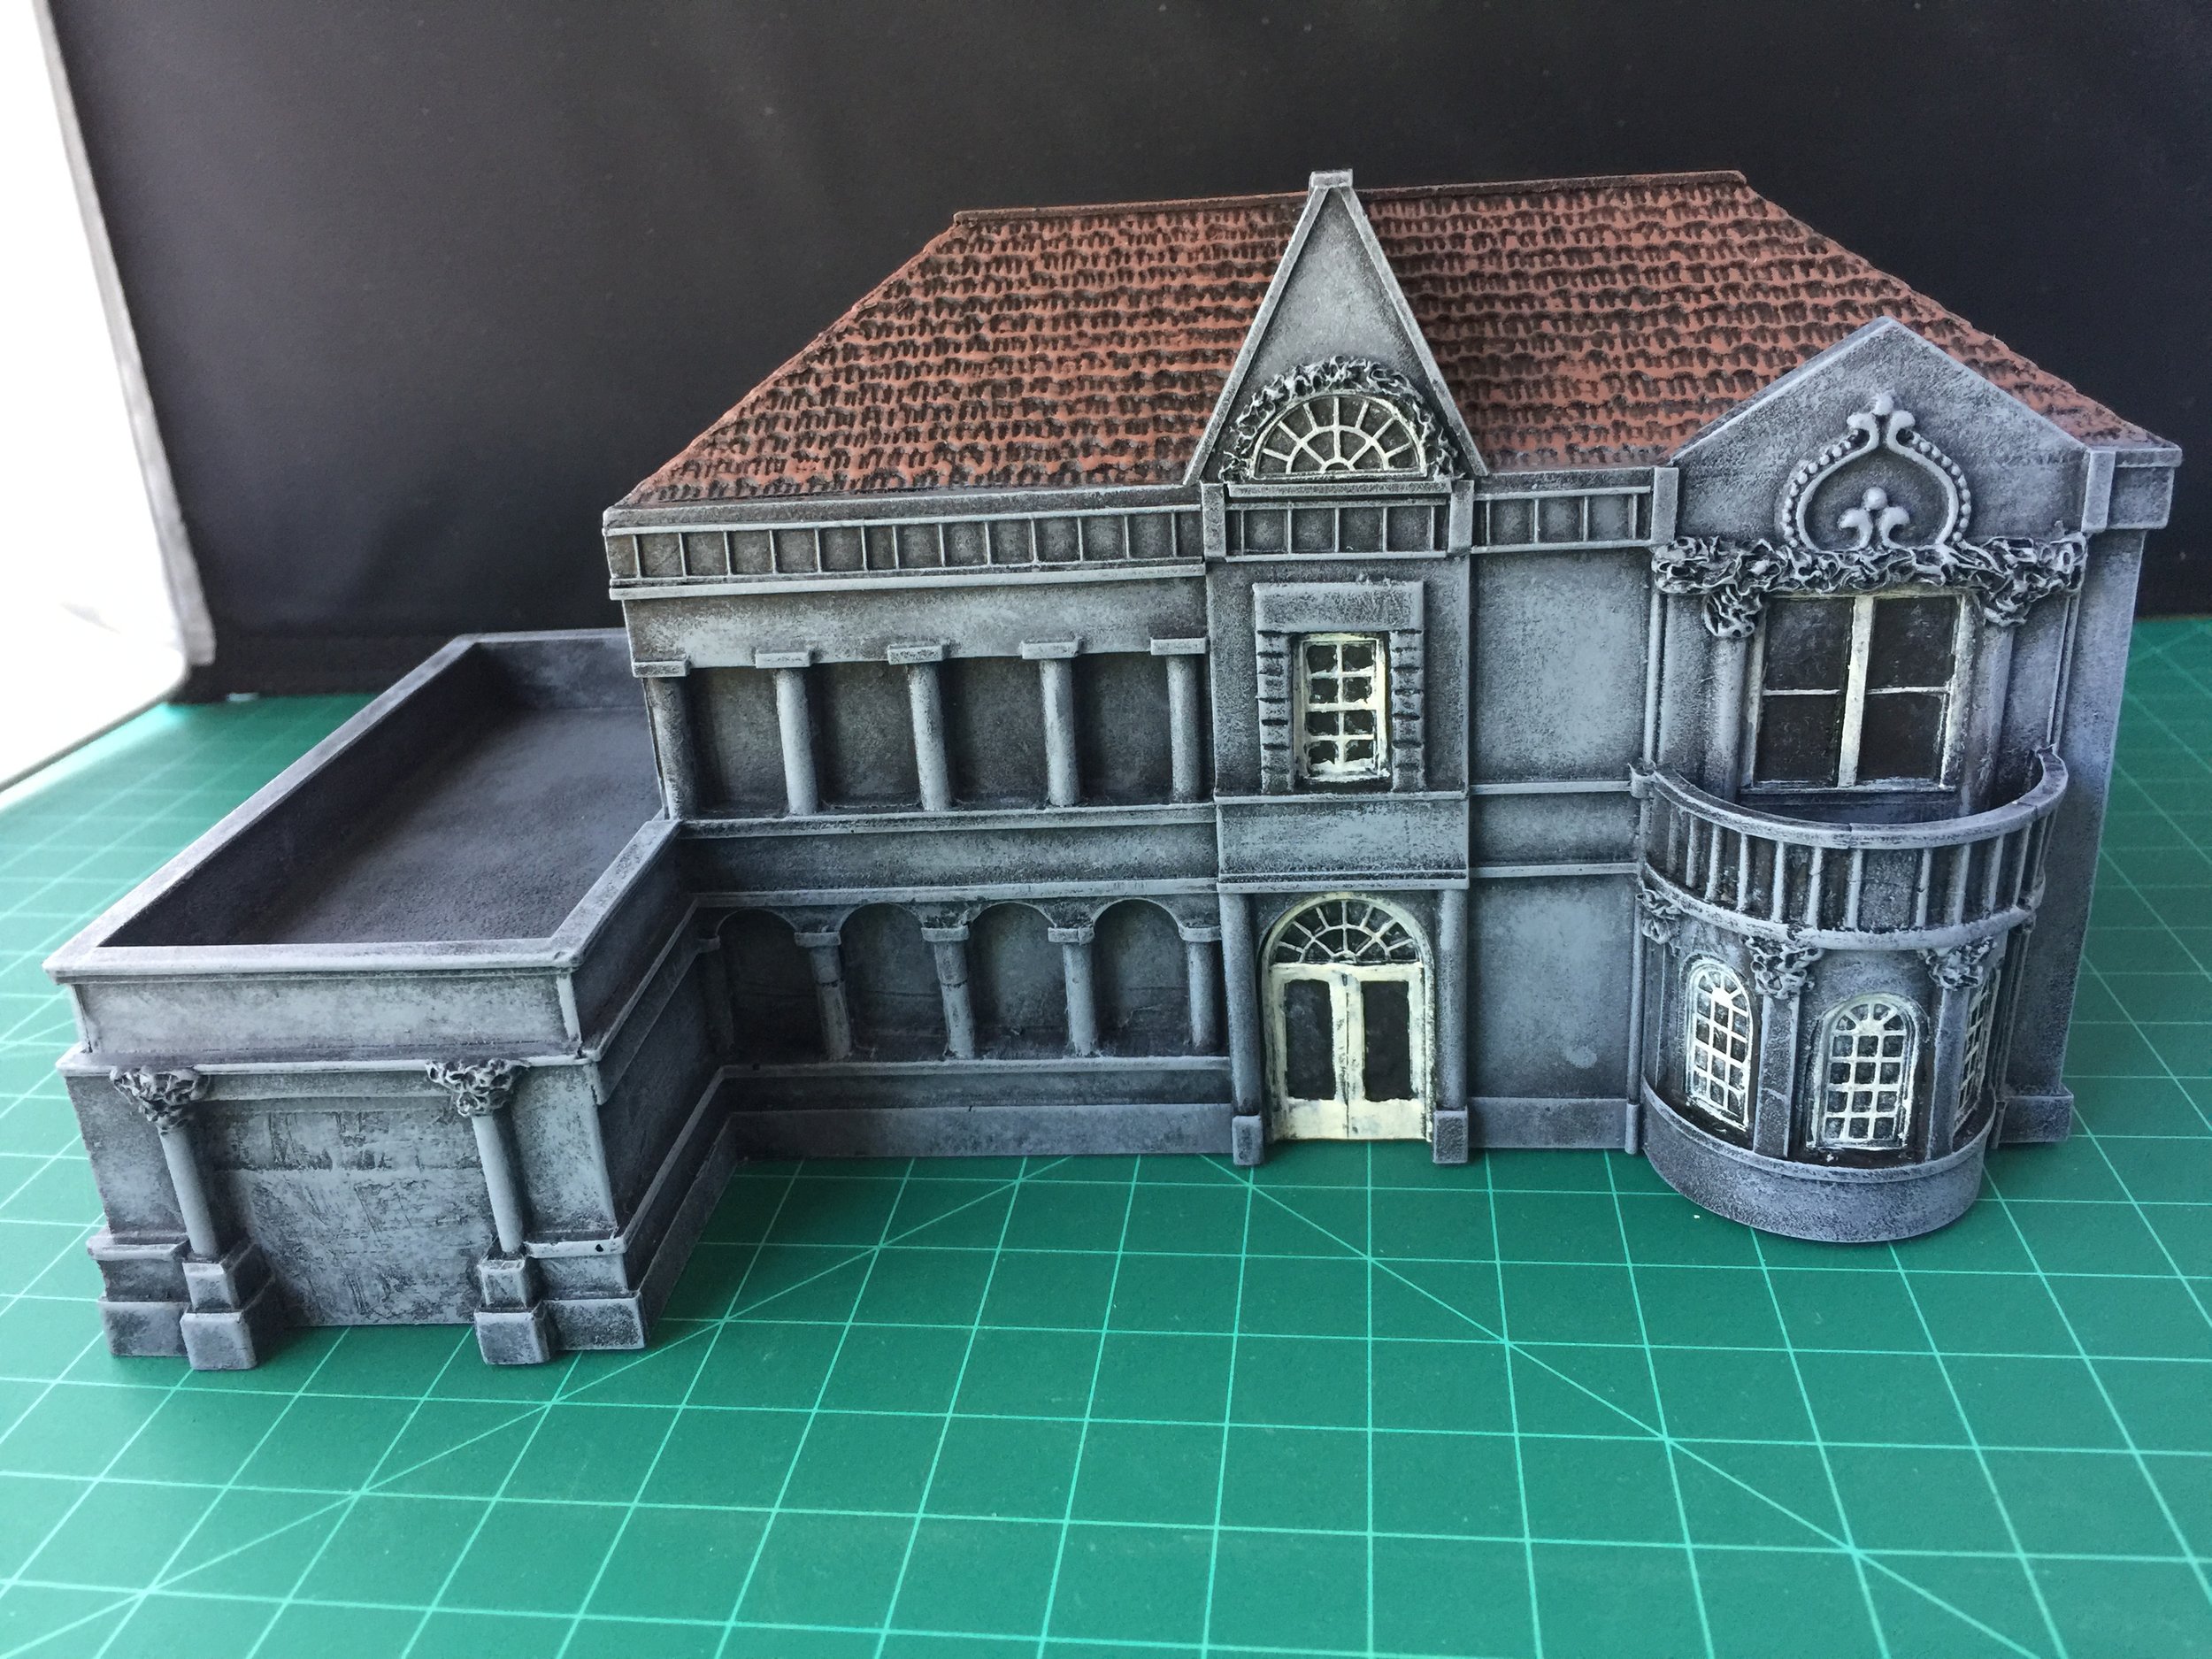
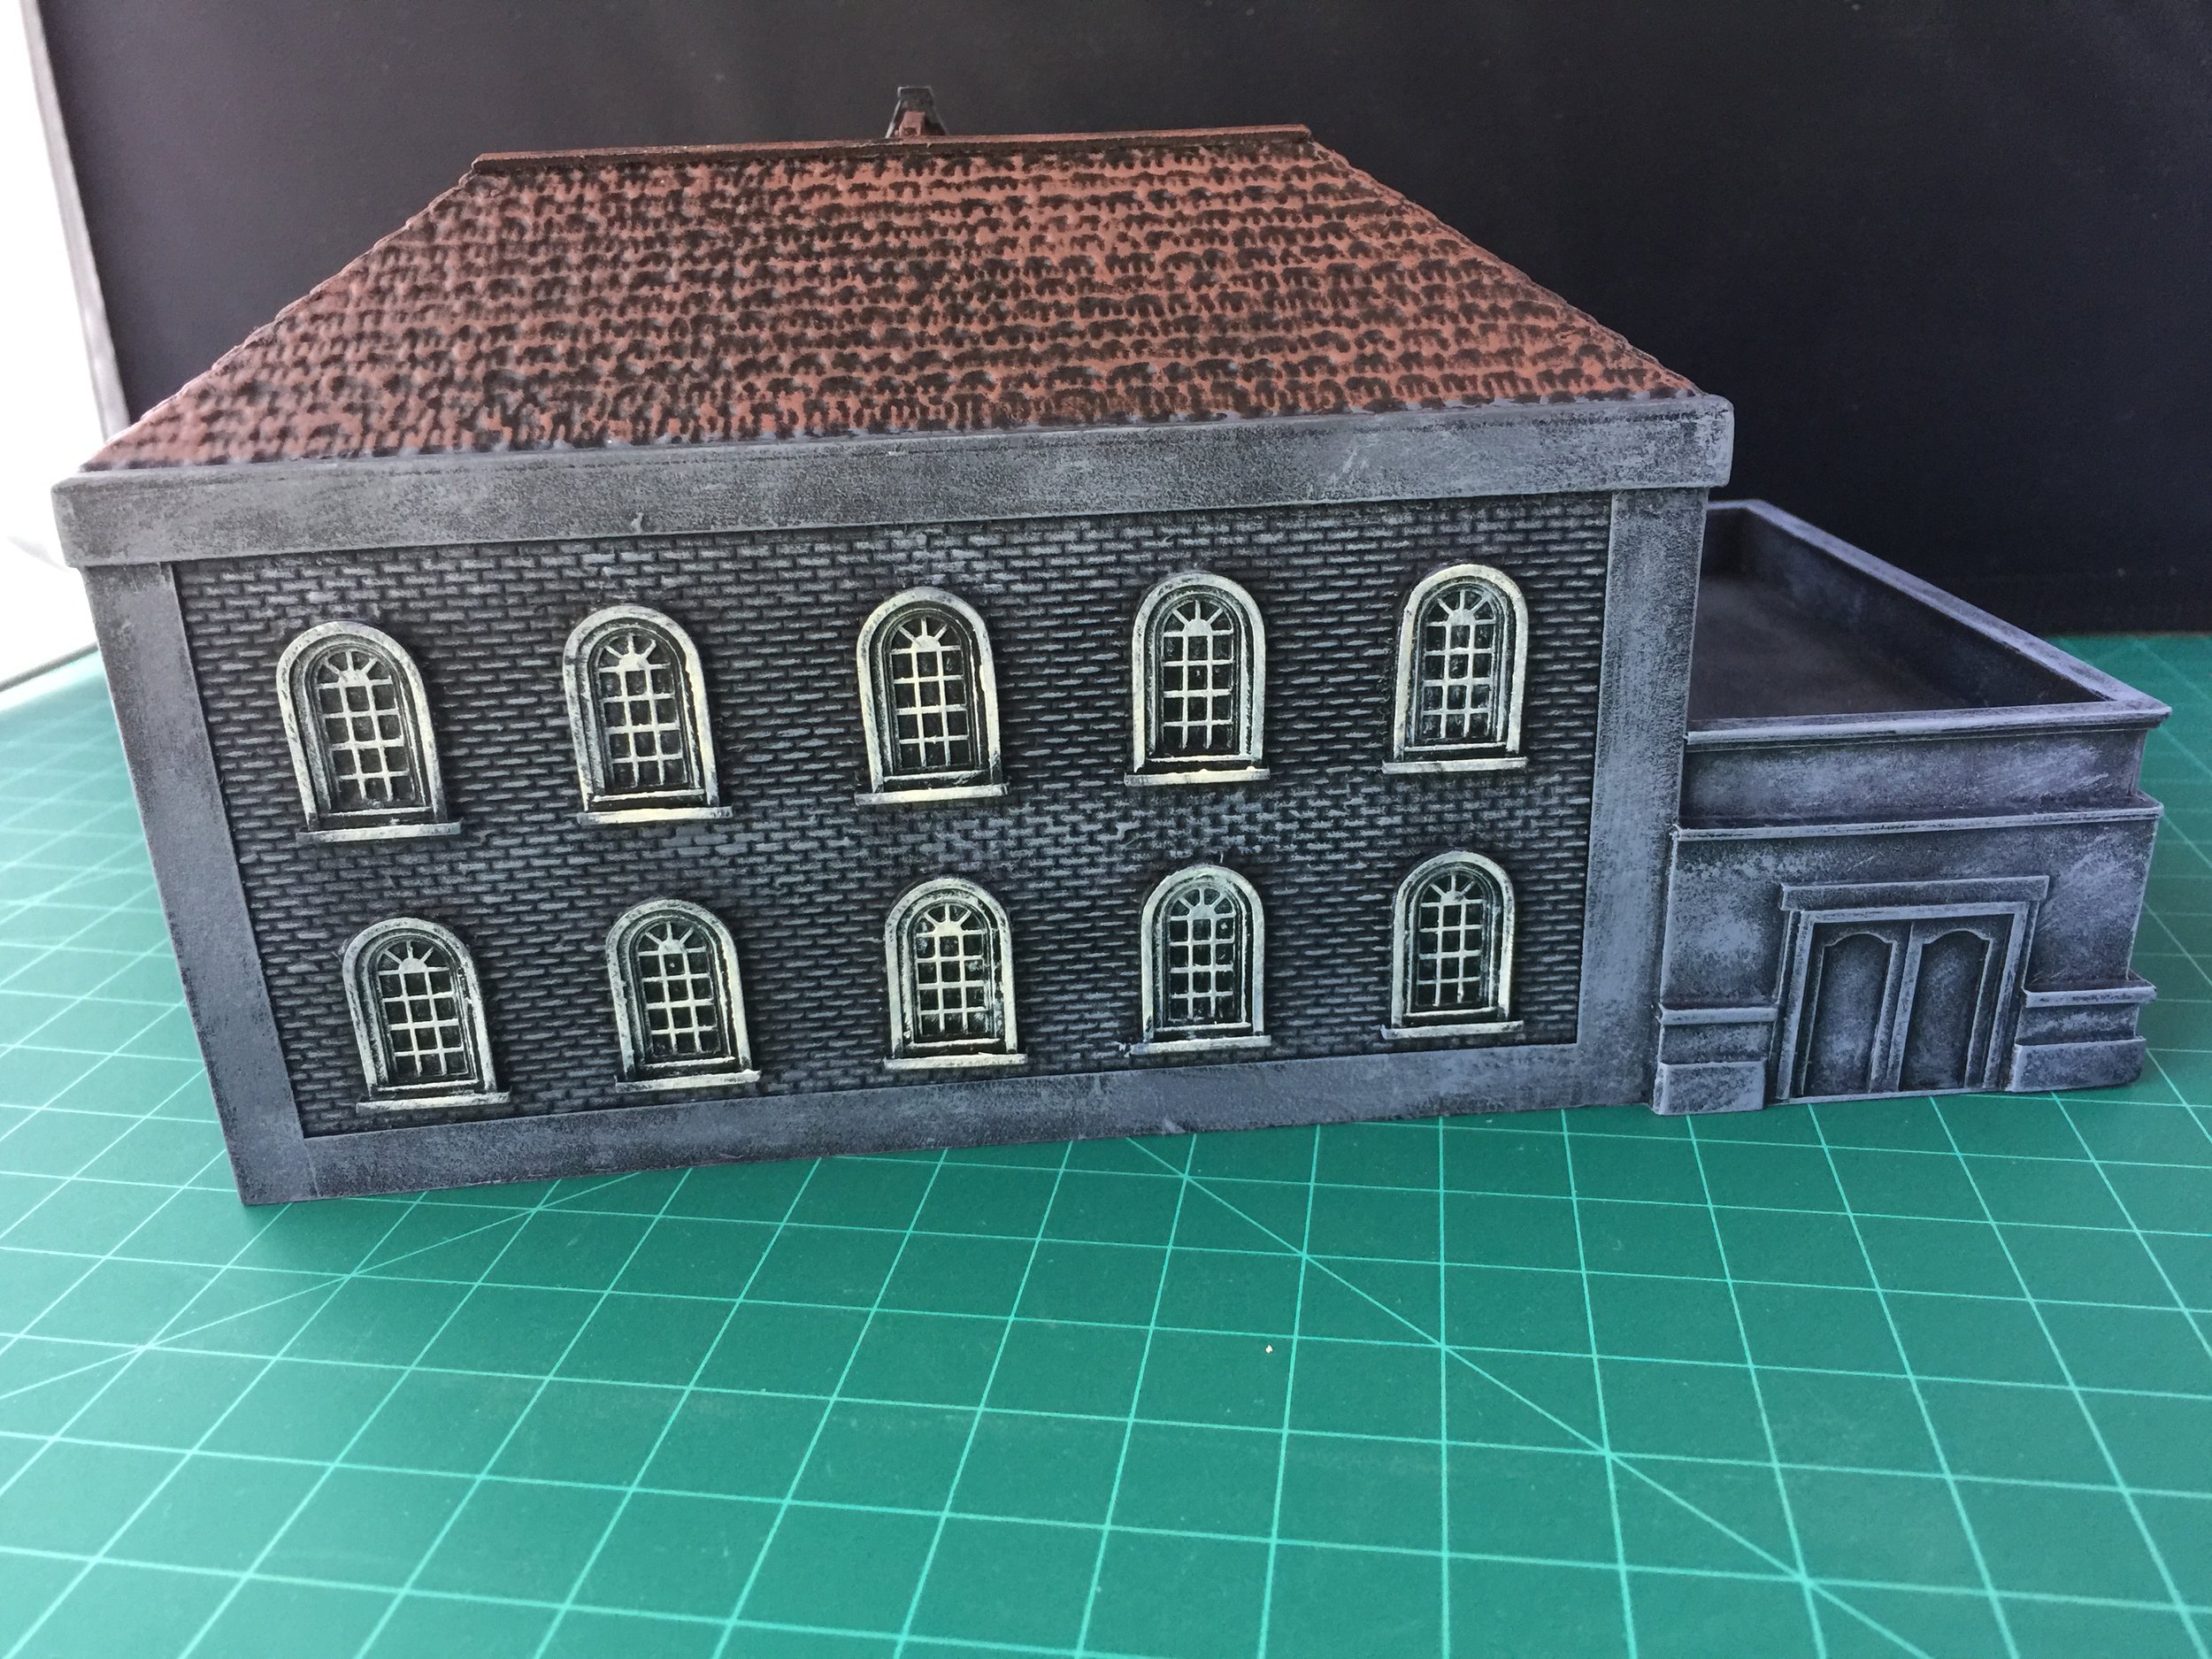
The last project completed on the Weekly Workbench this time around is the painting of an old Ian Weekley building… long out of production. When I purchased it more than a dozen years ago, I had no idea how I would make use of it. The company was closing its doors, and Brookhurst Hobbies (its US distributor) had a big sale on what remained of their Ian Weekley stock. I will be using two of the Ian Weekley buildings in my Boxer Rebellion collection. The one completed this week will be used as the pre-siege version of the British legation building. The other Ian Weekley building (not pictured) will be used as the Hotel de Pekin. Glad I bought them, and glad I remembered where I put them after all these years.


MAY 13, 2018
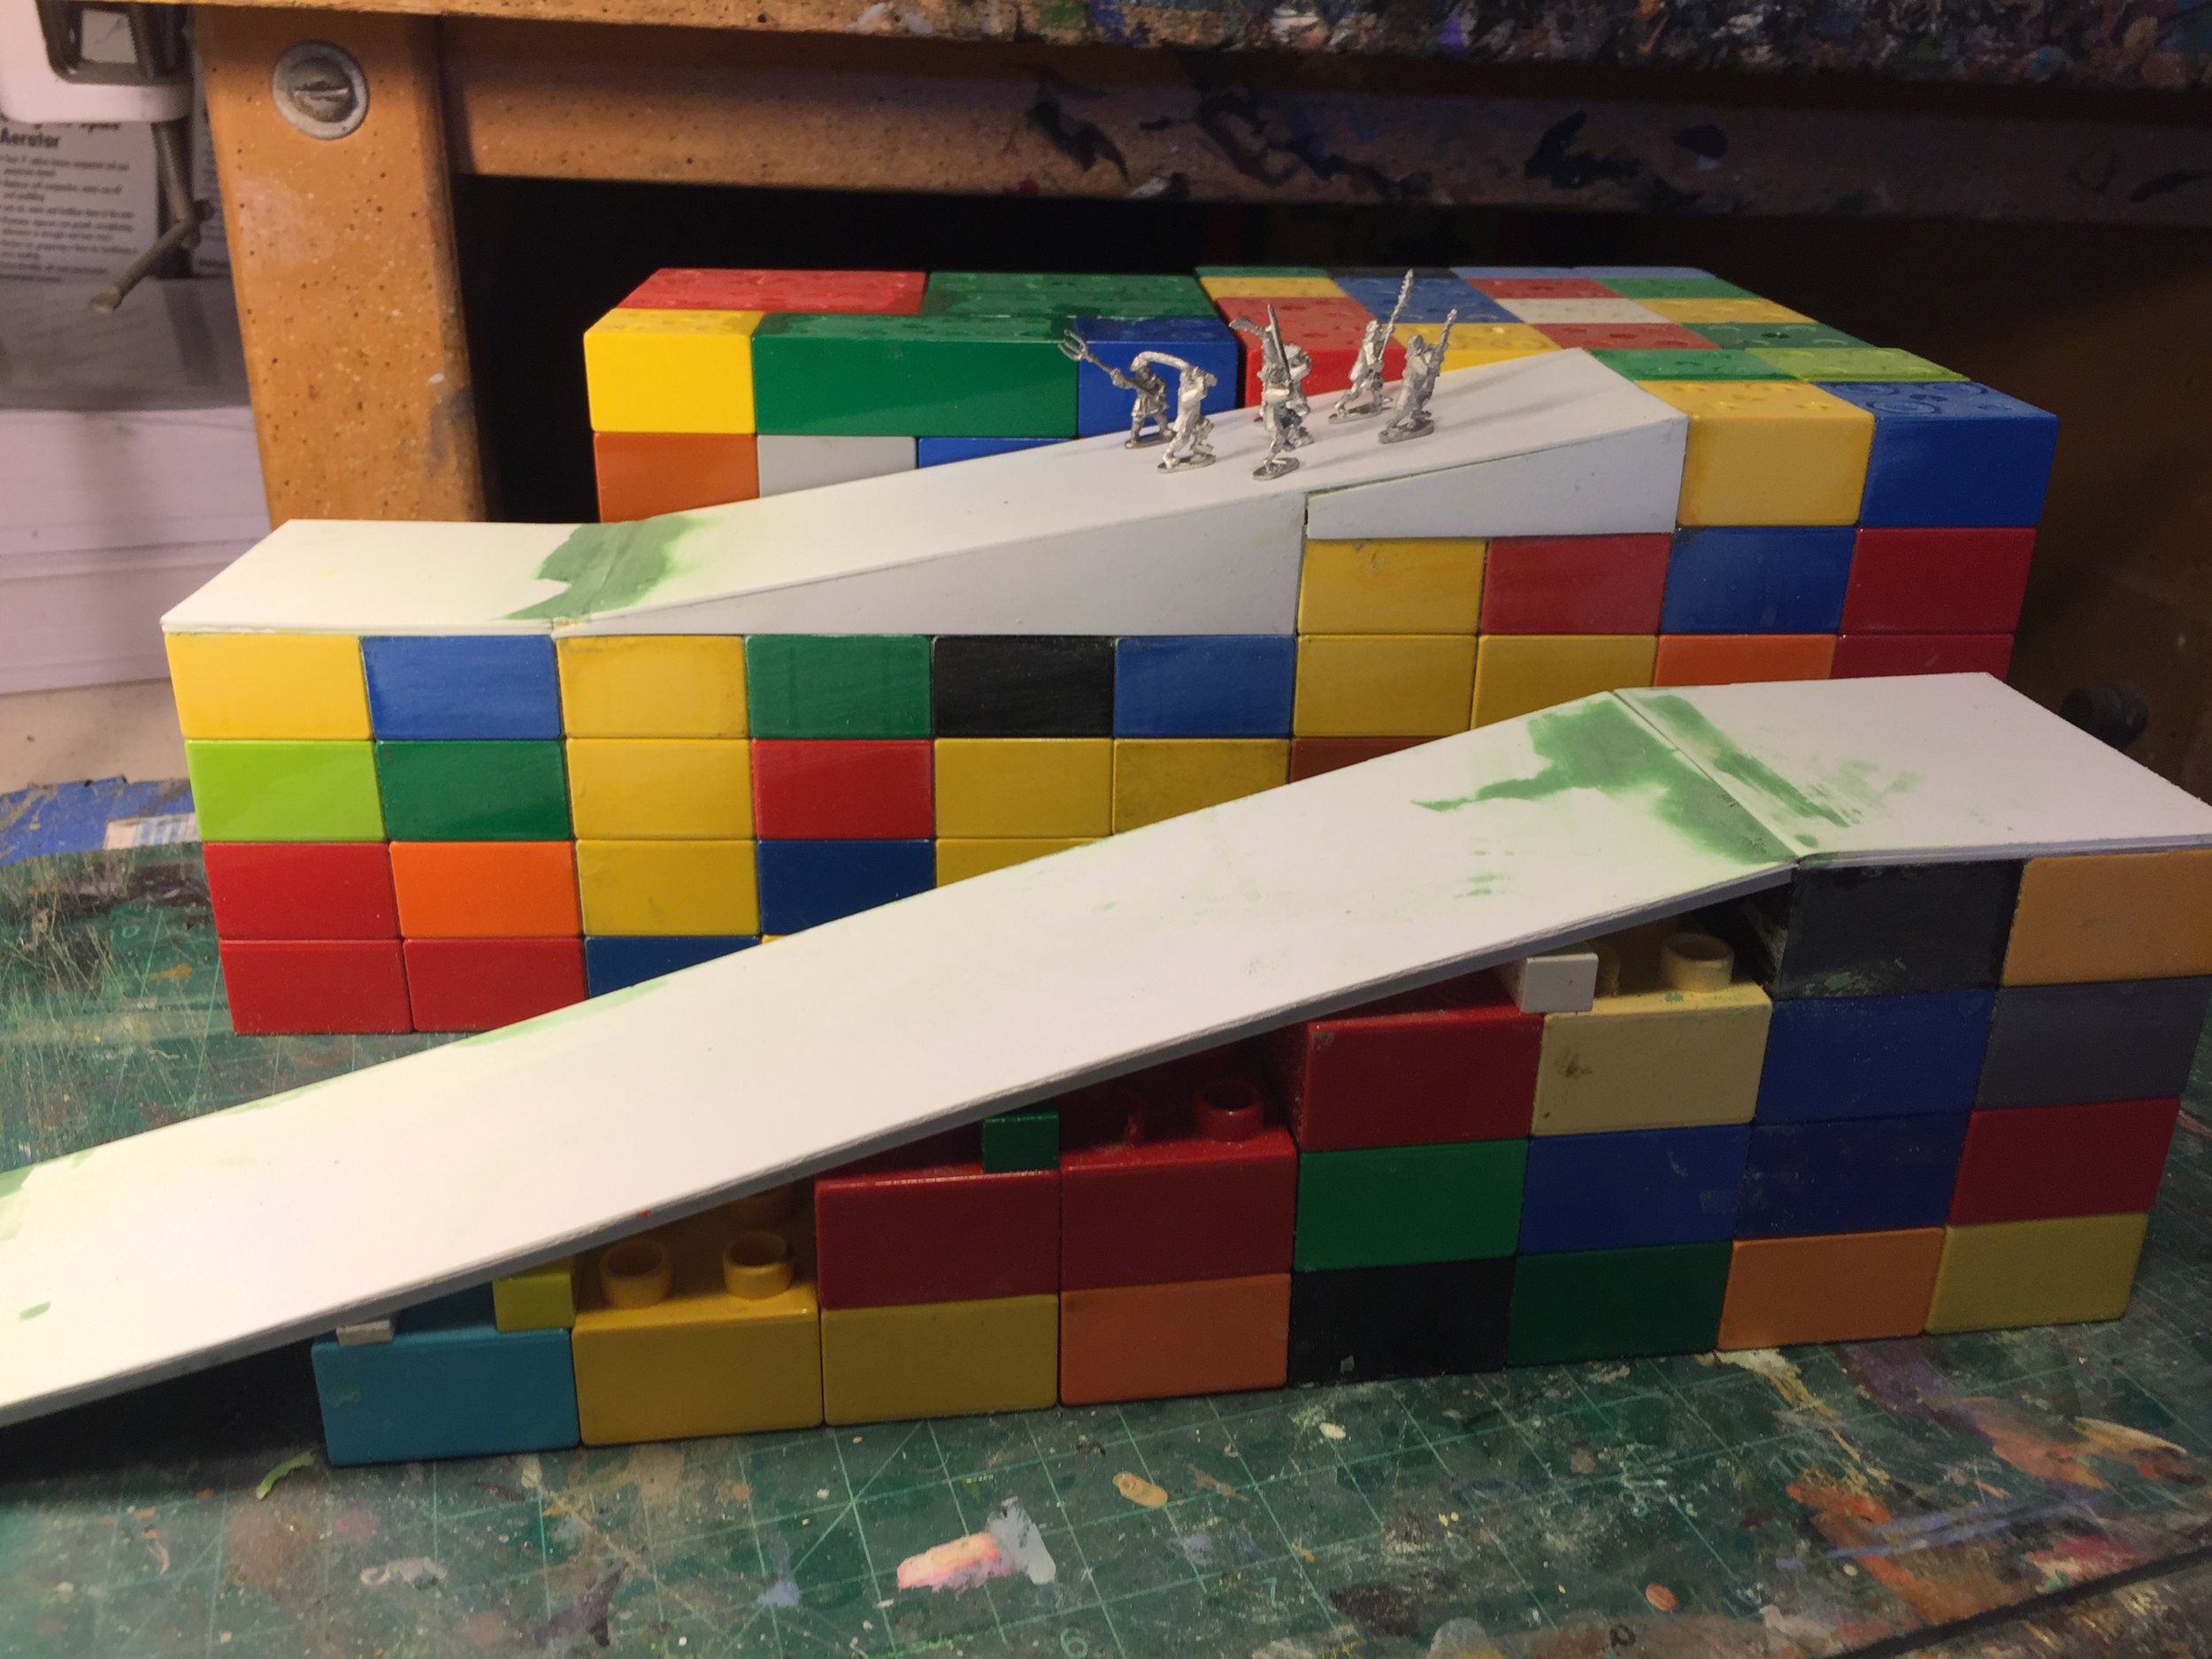
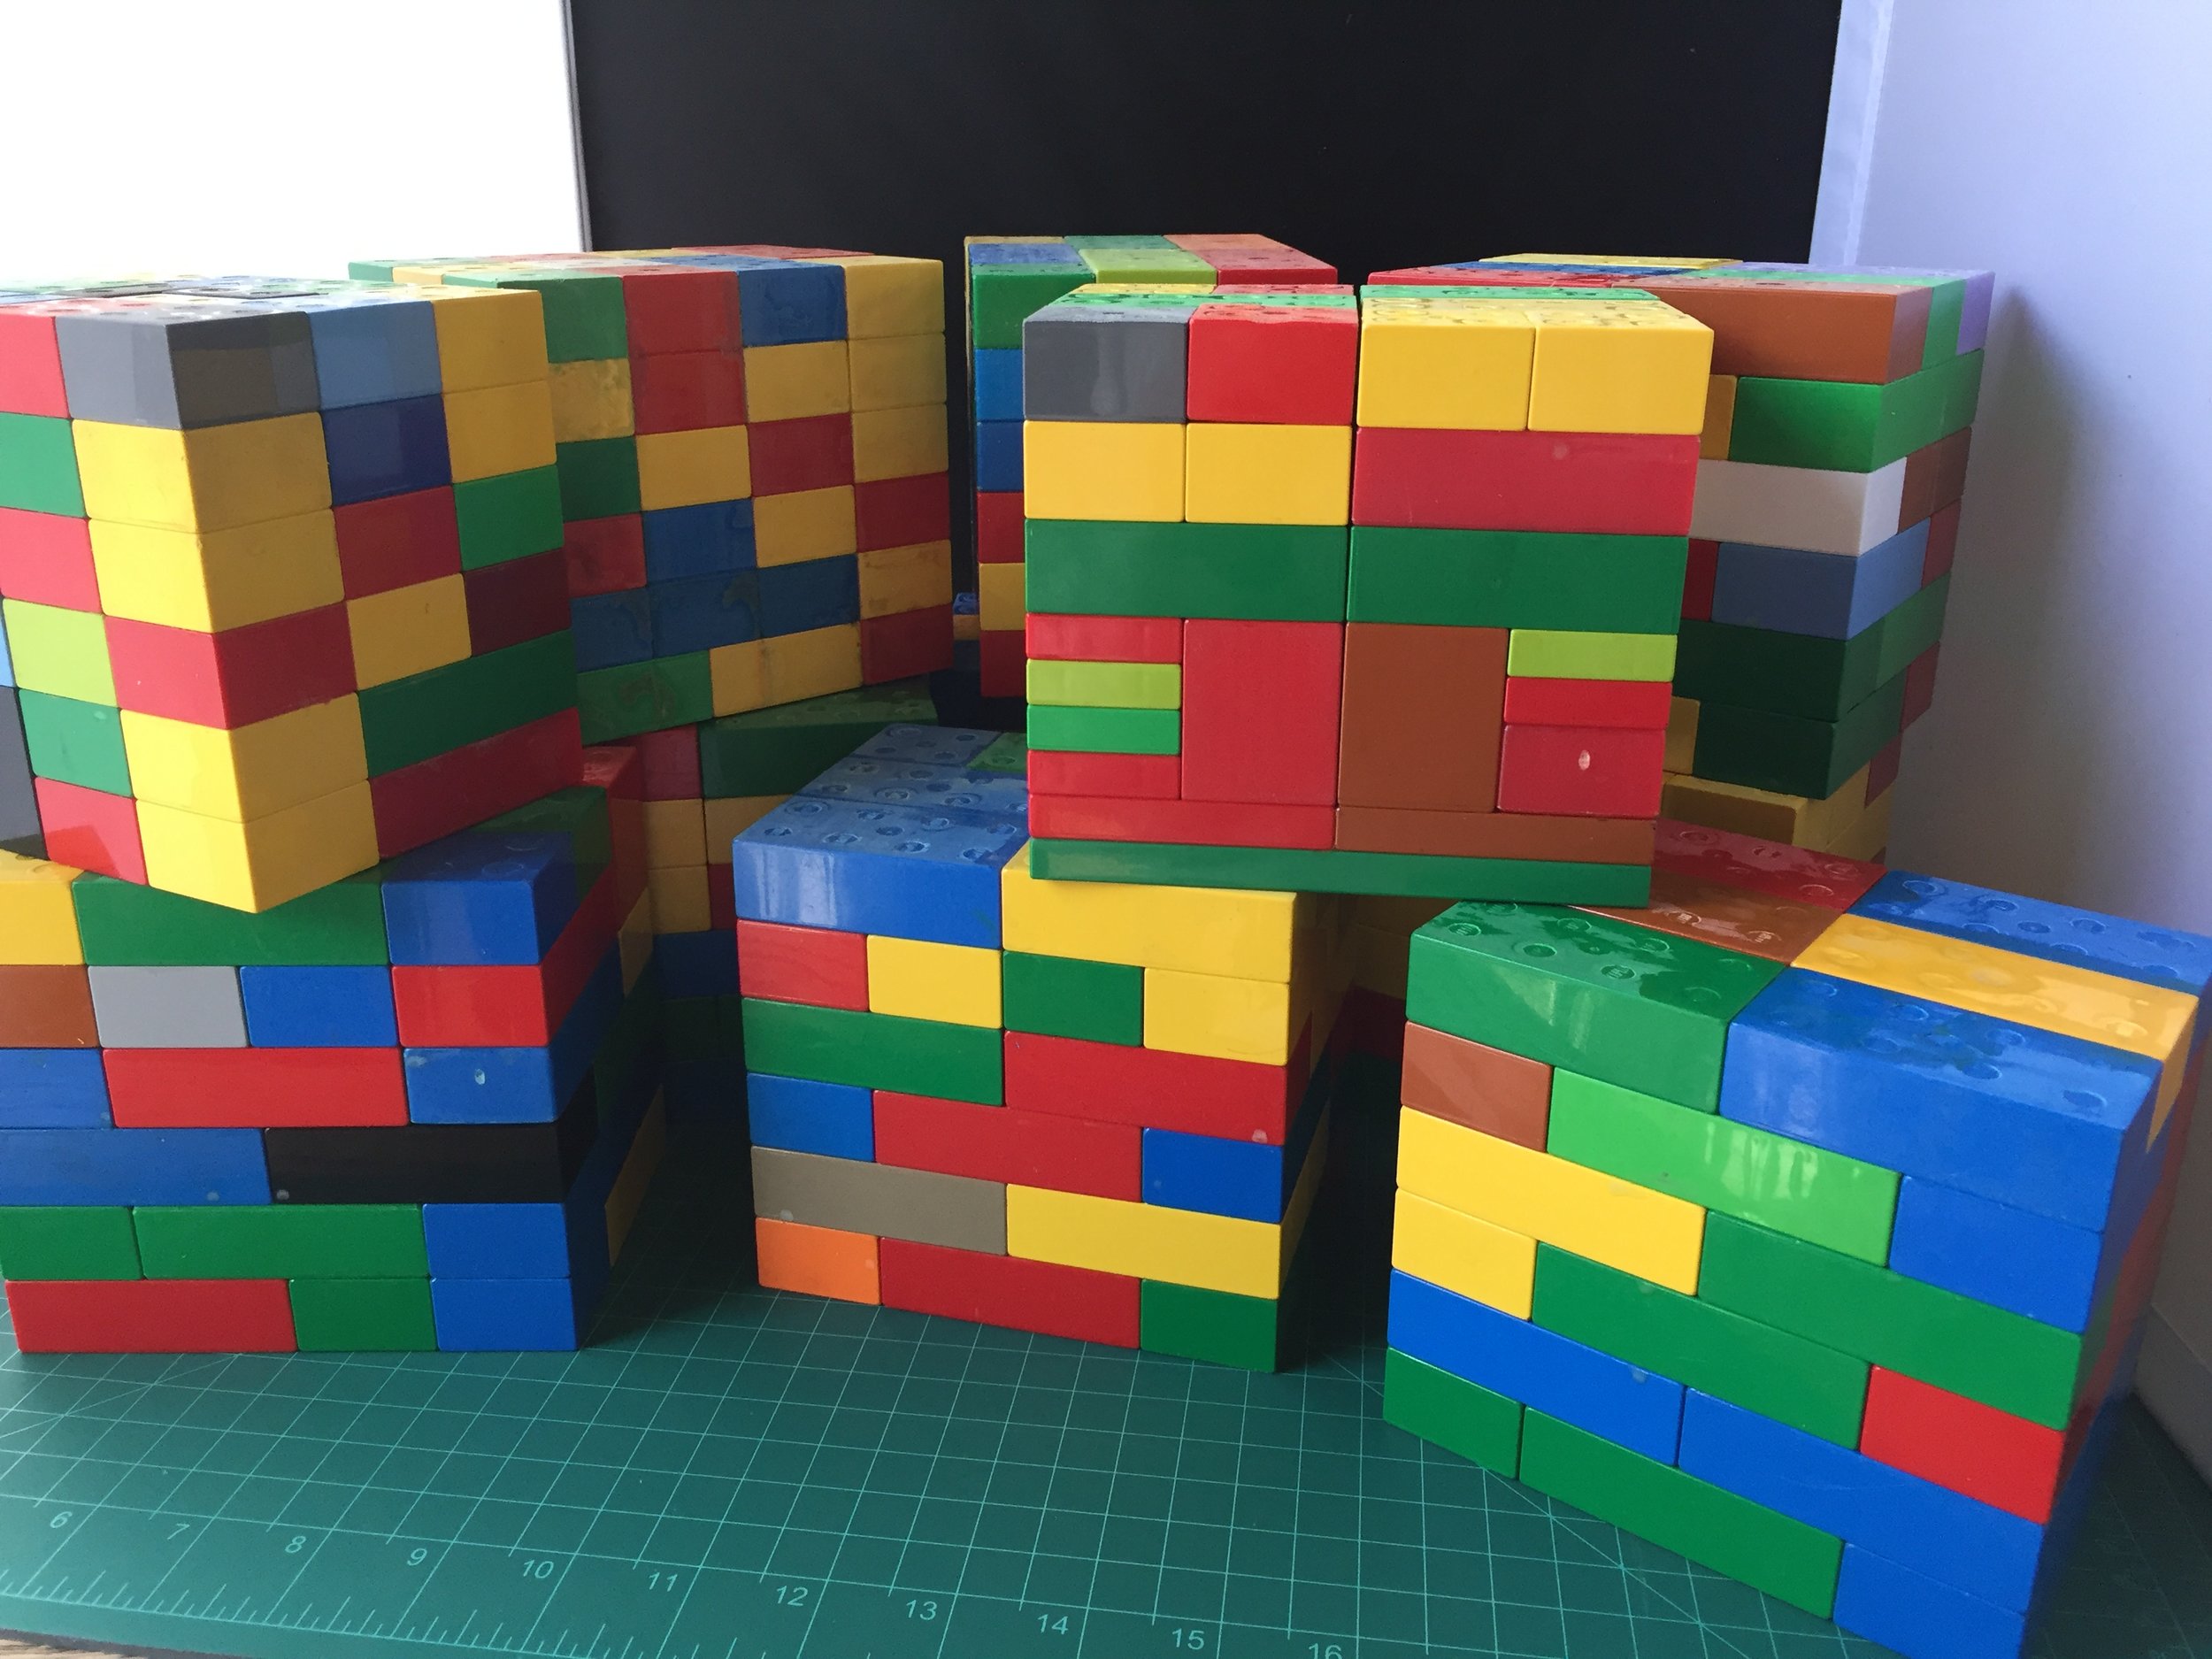
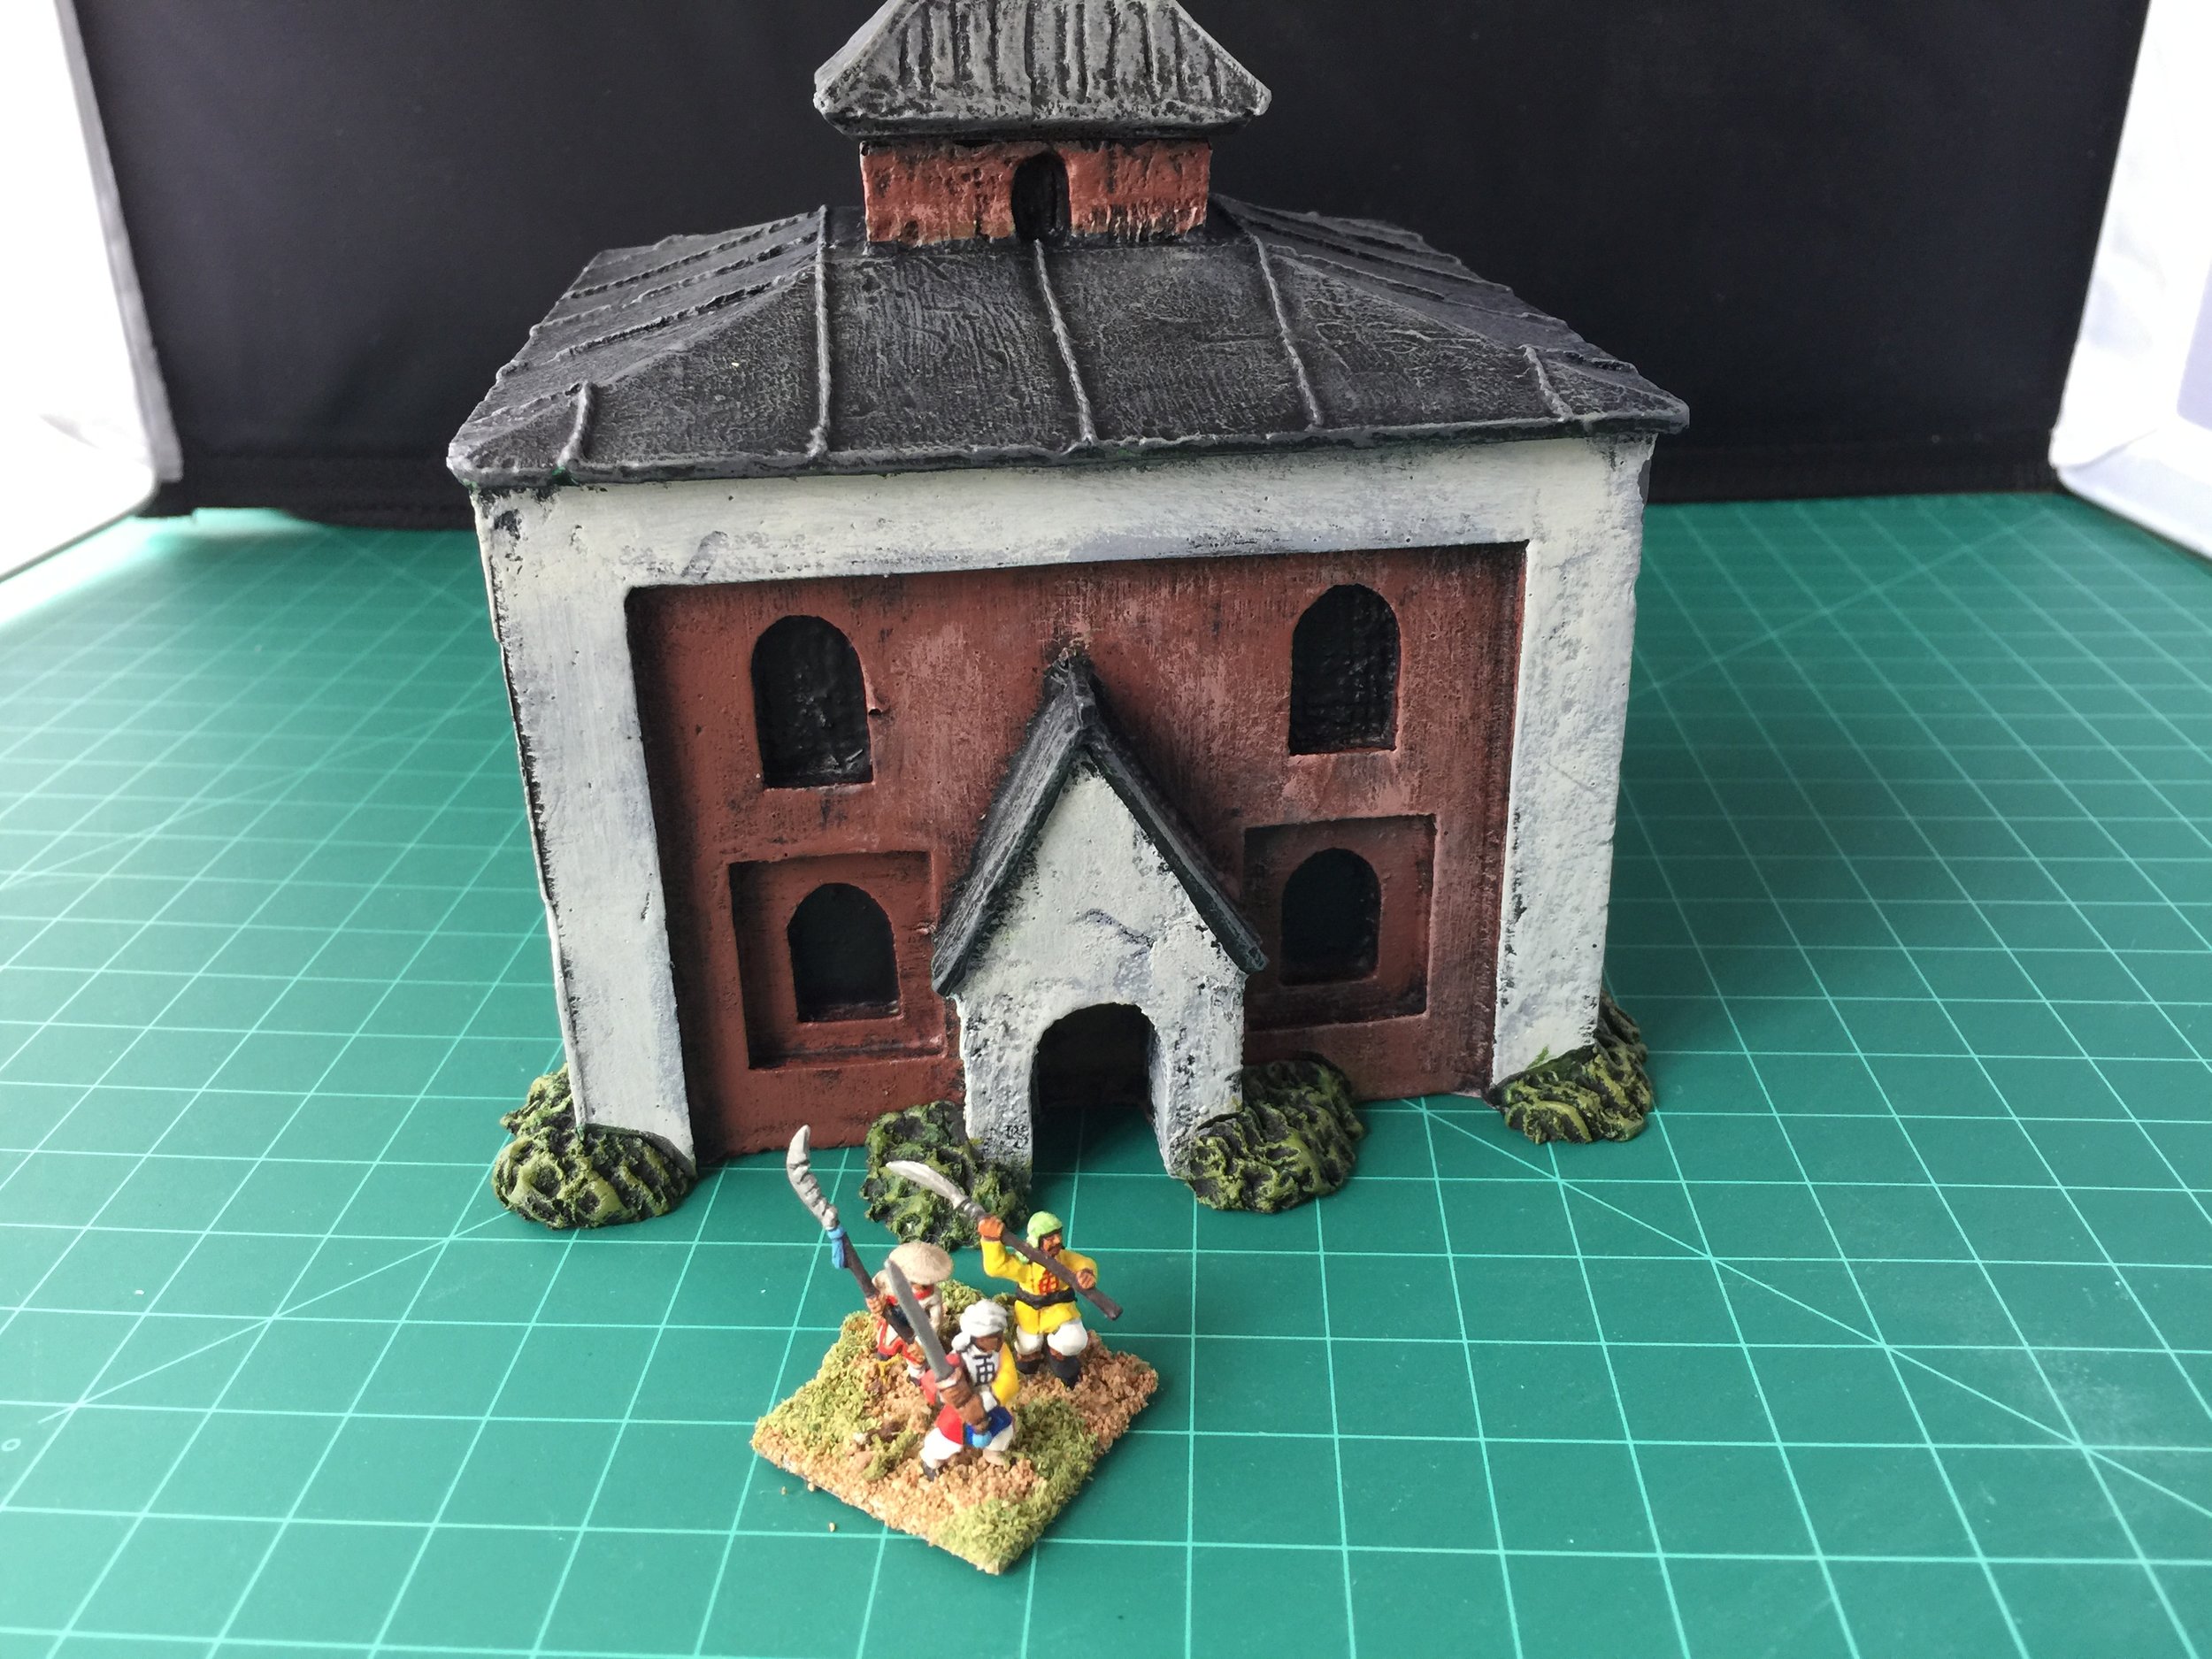
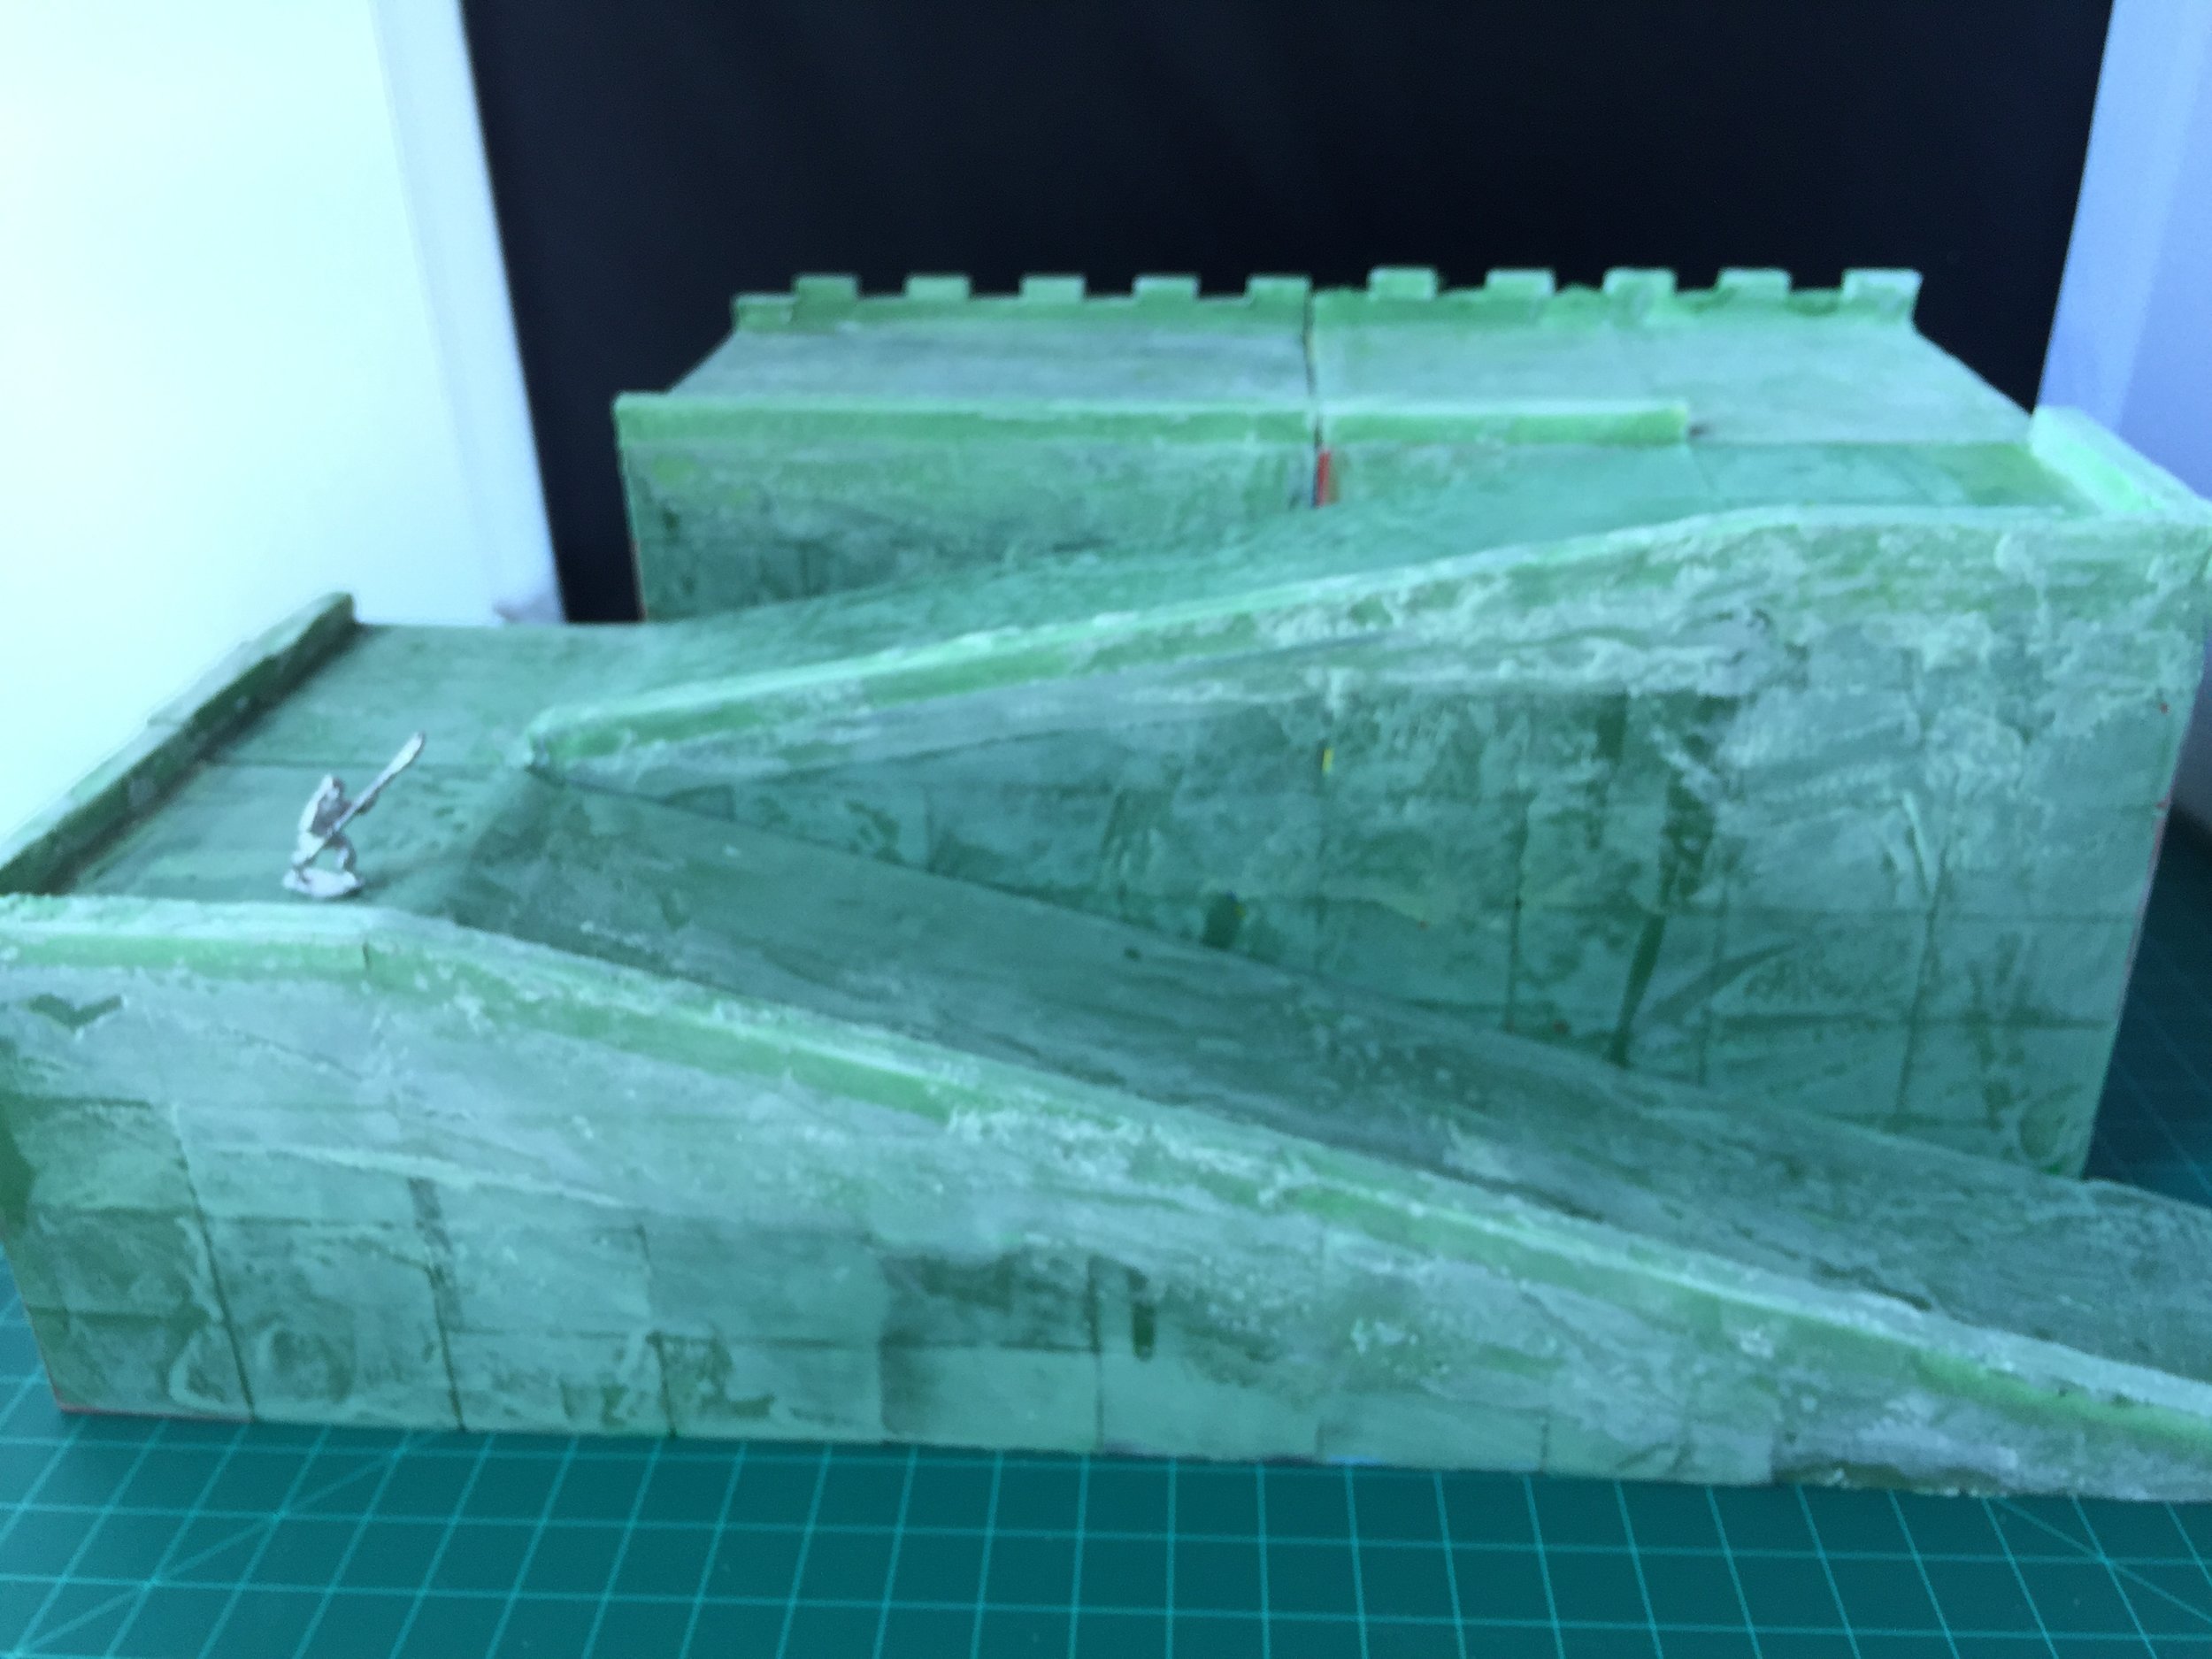
The workbench this week was dedicated to the completion of the construction and texturing of my Tartar Wall. The wall is composed of 12 five inch-long wall blocks and a two-part ramp made from Duplos and Evergreen Plastic. The texturing was done using Squadron Green Putty which was sanded after it dryed. The crenelated and non-crenelated rims on the top of each wall section as well as the ramps are made from Evergreen Plastic. The wall is five feet long and about 9 inches deep at its deepest point which is the ramp area (wall blocks plus two ramp sections). On one of the wall blocks I have made a representation of the water gate on each side of that wall section. On the crenelated side of the water gate wall section I have included a representation of a metal gate. In making the water gate I used as my source the picture on page 81 of Ospery’s Peking 1900 (#85) from their Campaign range of books. The painting remains to be done, but good headway was made this week.
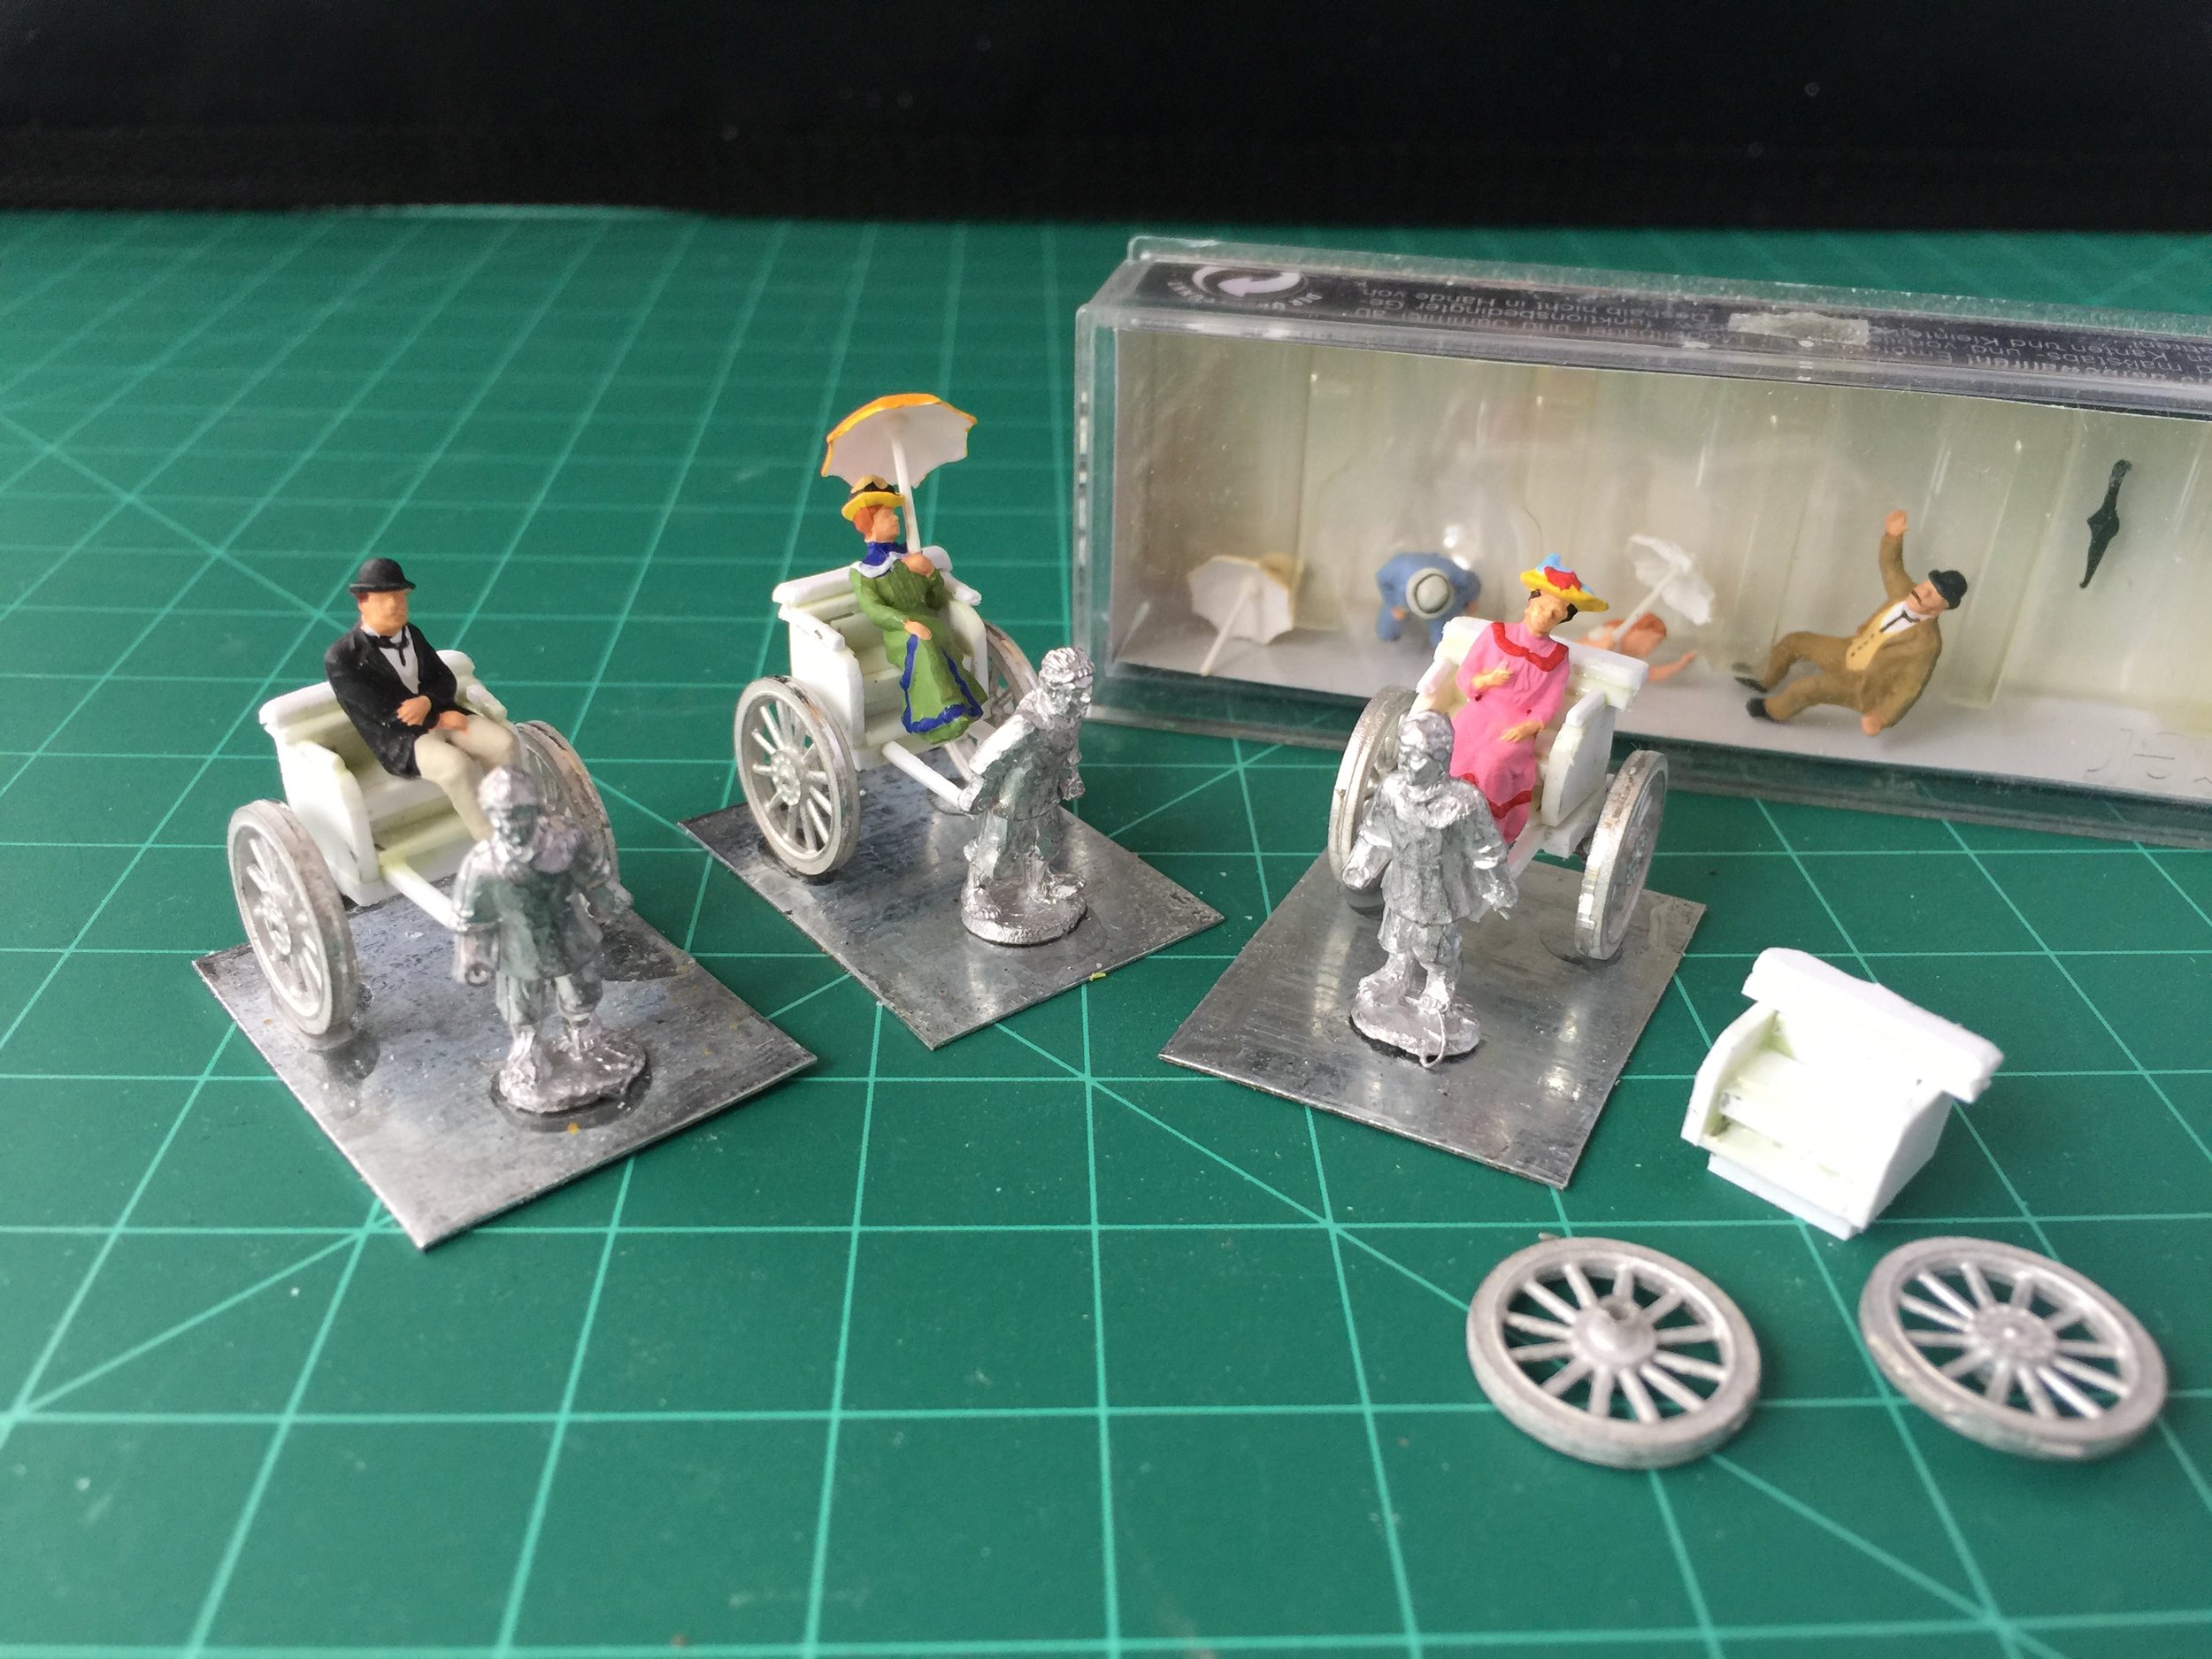
Thursday and Friday I turned my workbench efforts to scratch building four rickshaws. After a lengthy internet search I became convinced that no manufacturer makes a 15mm or 18mm rickshaw. Atlantis at one time made a plastic Chinese Revolution collection in 1/72 scale that included two rickshaws, but as is the case with most Atlantis toys, those are both difficult to find and extremely, very extremely expensive. My solution was to build my own. I did this by making the bodies of the rickshaws out of pieces of Evergreen Plastic. The wheels are leftovers I had by Old Glory 15s. The figures pulling the rickshaws are from the Blue Moon 15s’ Chinese civilians pack which is part of their Boxer Rebellion collection, and the rickshaw passengers are Preiser HO scale Victorian/Edwardian figures.
I closed out the week by painting six of the Tartar Wall sections… four of the wall blocks and the two ramp sections. One of the six pieces I painted was the water gate wall section. I’m liking it!

MAY 6, 2018
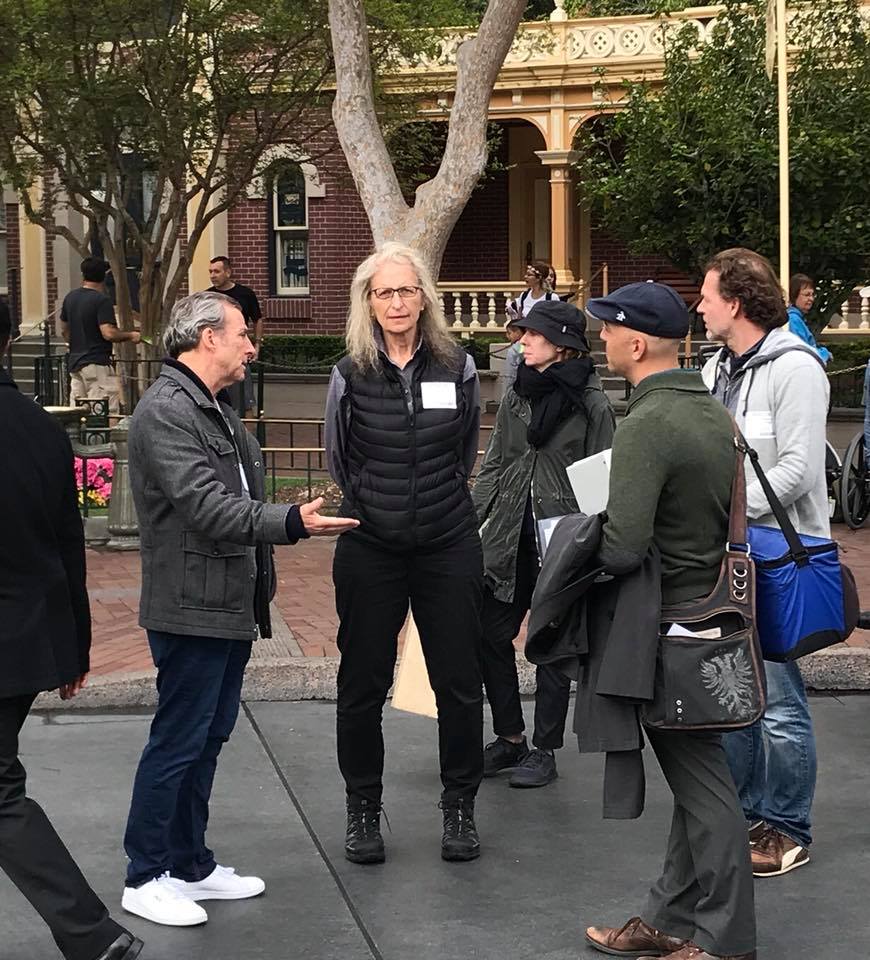
This week’s workbench involved a lot of work around a single project carried over from the week before… the Tartar Wall. Previously I had put all the Duplos together needed for the five feet of wall required for this project… 12 Duplo blocks; each 5 inches long and about 4 ½ inches tall. That’s a lot of Duplos. This Weekly Workbench began with the complex aspect of building my wall which is the construction of the ramp. Like the wall, it was built largely on a Duplo base. The actual ramp was made from Evergreen Plastic supported by rails of Evergreen Plastic that were supported by Legos. It worked out pretty well. My wife and I took a couple of breaks during the middle of the week… a trip to Disneyland where we encountered not only Peter Pan and Indiana Jones but also the famed photographer Annie Liebovitz. The next day we spent a few hours with our son-in-law and our baby granddaughter… that was really fun.
Returning from my workbench breaks, I began the rather boring task of removing the connecting buttons from the top level of Duplos on each wall block and then sanding that surface smooth. Once that was complete all of the Duplos in each block had to be glued together so each block would be a solid mass that I could texture with Squadron Green Putty and then, using Evergreen Plastic, add the raised edging to each side of the upper surface… once side crenelated; the other not. That pretty much ate up my week at the bench.
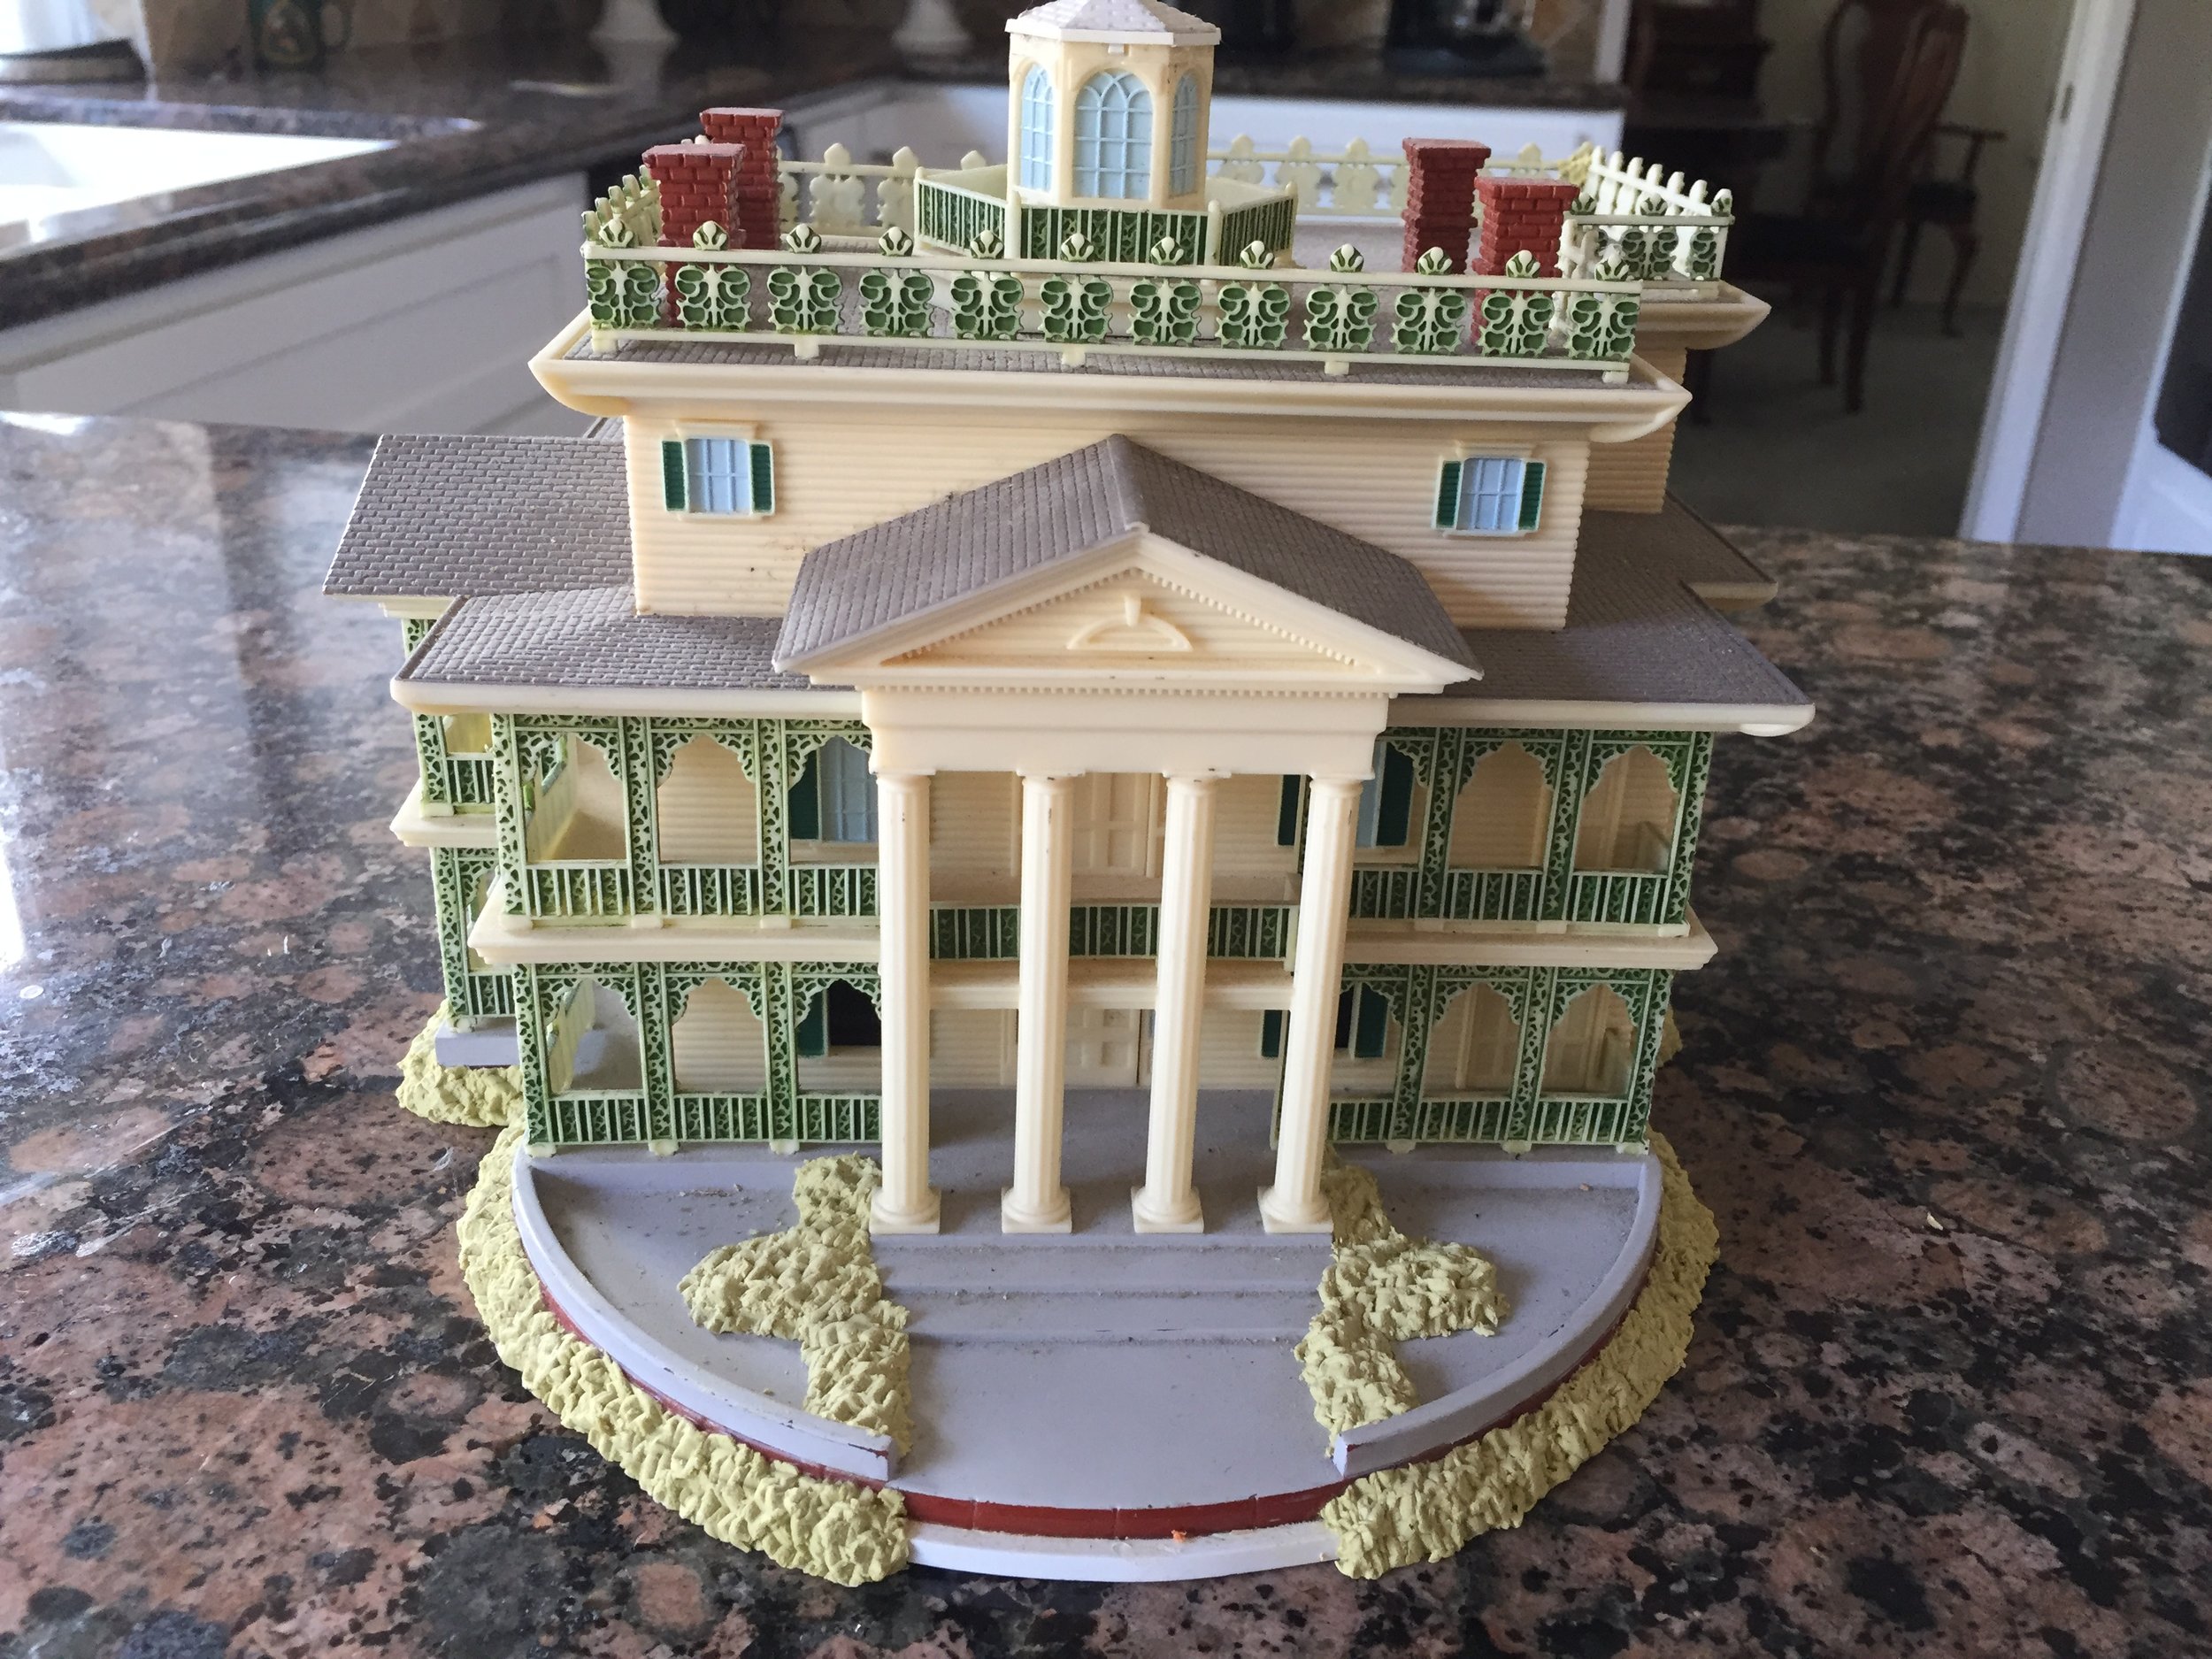
I did make one good discovery and a couple of decisions for this project. In reading Diana Preston’s book on the Boxer Rebellion I found that the British legation had green roof tiles. Can’t find similar color information on the other legations, but will keep my eyes open. Several years ago, when I first decided to do a 15mm Boxer Rebellion collection, there were figures and terrain by Blue Moon. I was going to have to piece odds and ends together. Over time I found a number of buildings that I believed would serve as the main buildings for each of the legations. One of those buildings was marketed by Disney and was a replica of the Disneyland Haunted Mansion. I found it at the swap meet… beautiful piece. In reviewing the map of the legation area of Peking, I found that near the Japanese and French legations was a hotel… the Hotel de Pekin. Blue Moon does not make this building. I don’t believe that anyone does so I decided that if it sized out right in terms of the Blue Moon buildings, I would use my Disney Haunted House as my Hotel de Pekin. As it turned out, the sale/size of that building and the Blue Moon structures work fine together. My other big decision is to build my own legation walls sans firing steps. In that way I can have the legation area both pre-siege and during siege in appearance. With the exception of the British legation, which was the main defensive point in the siege, the legation buildings for the Japanese, US, Russia and France look fine as both pre- and during siege structures. The British buildings are all bunkered up so I am going to cheat and use the Blue Moon Austrian legation building as my pre-siege British legation building.
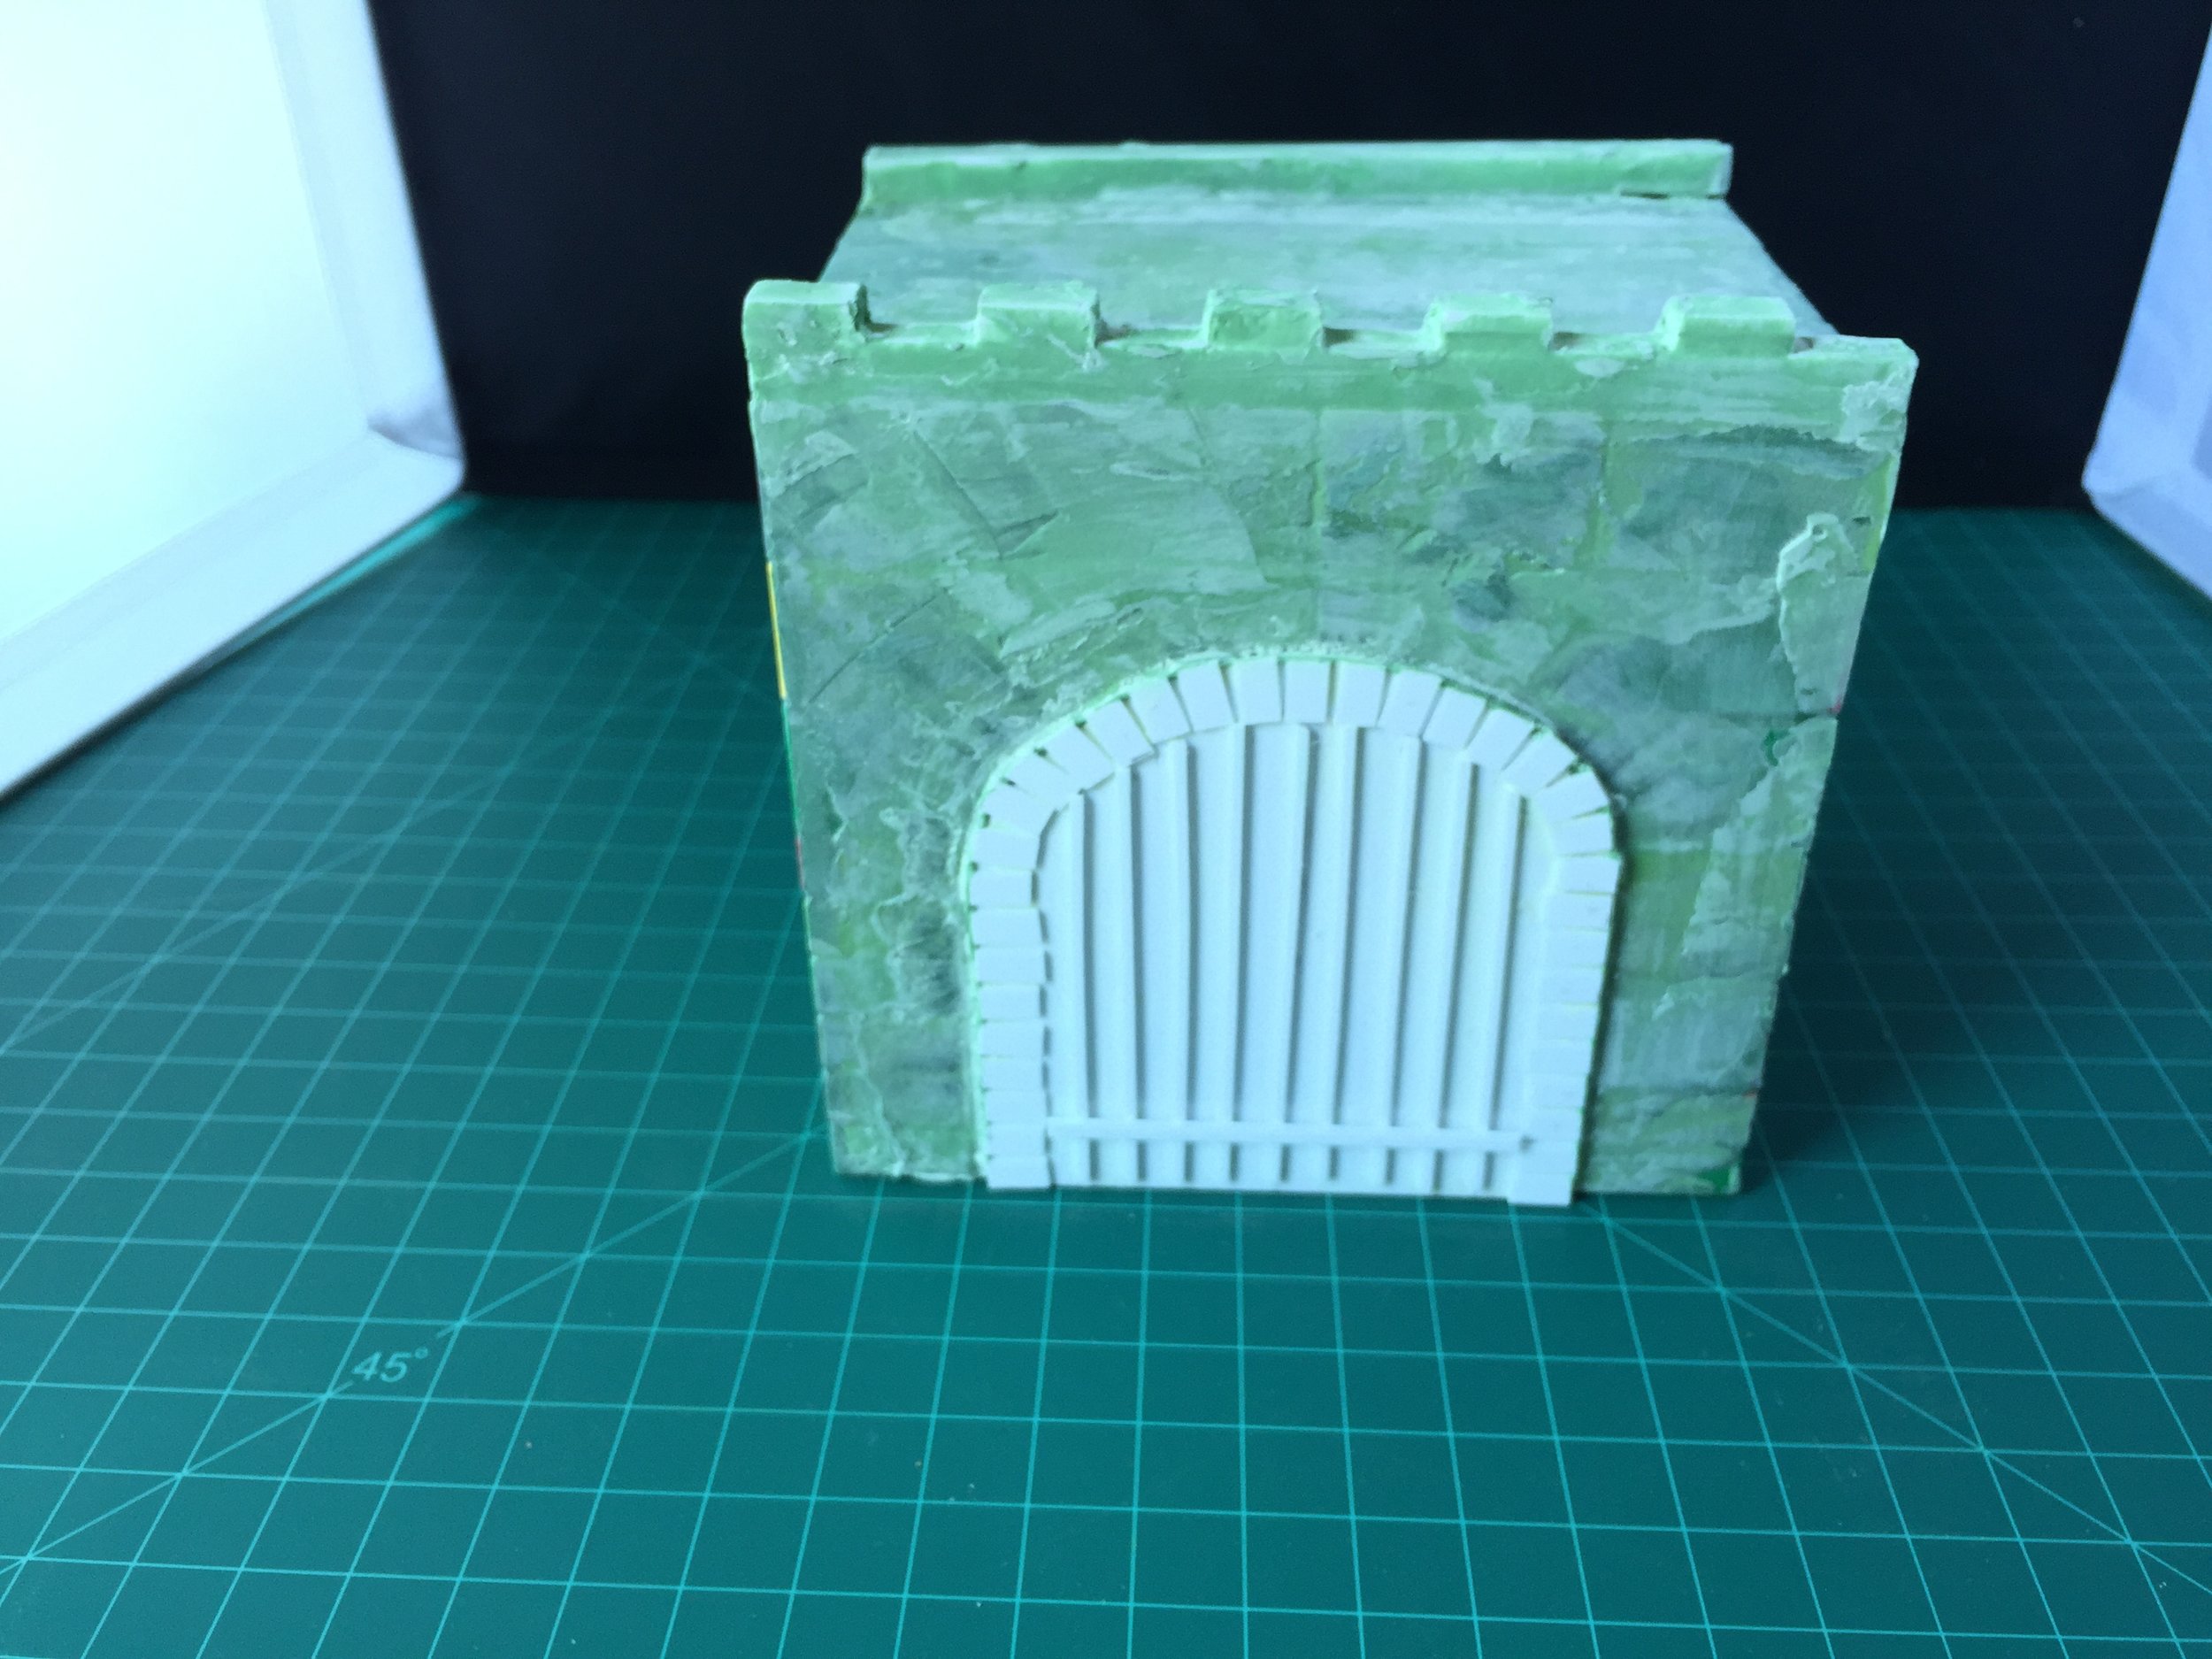
My last workbench project this week was scratch building the British legation gatehouse in a pre-siege condition. I did this using Legos to create the internal skeleton structure and covering the Legos with Evergreen Plastic. I think this will work out well and give me the two looks I want… pre-siege and during siege.