November 29, 2020
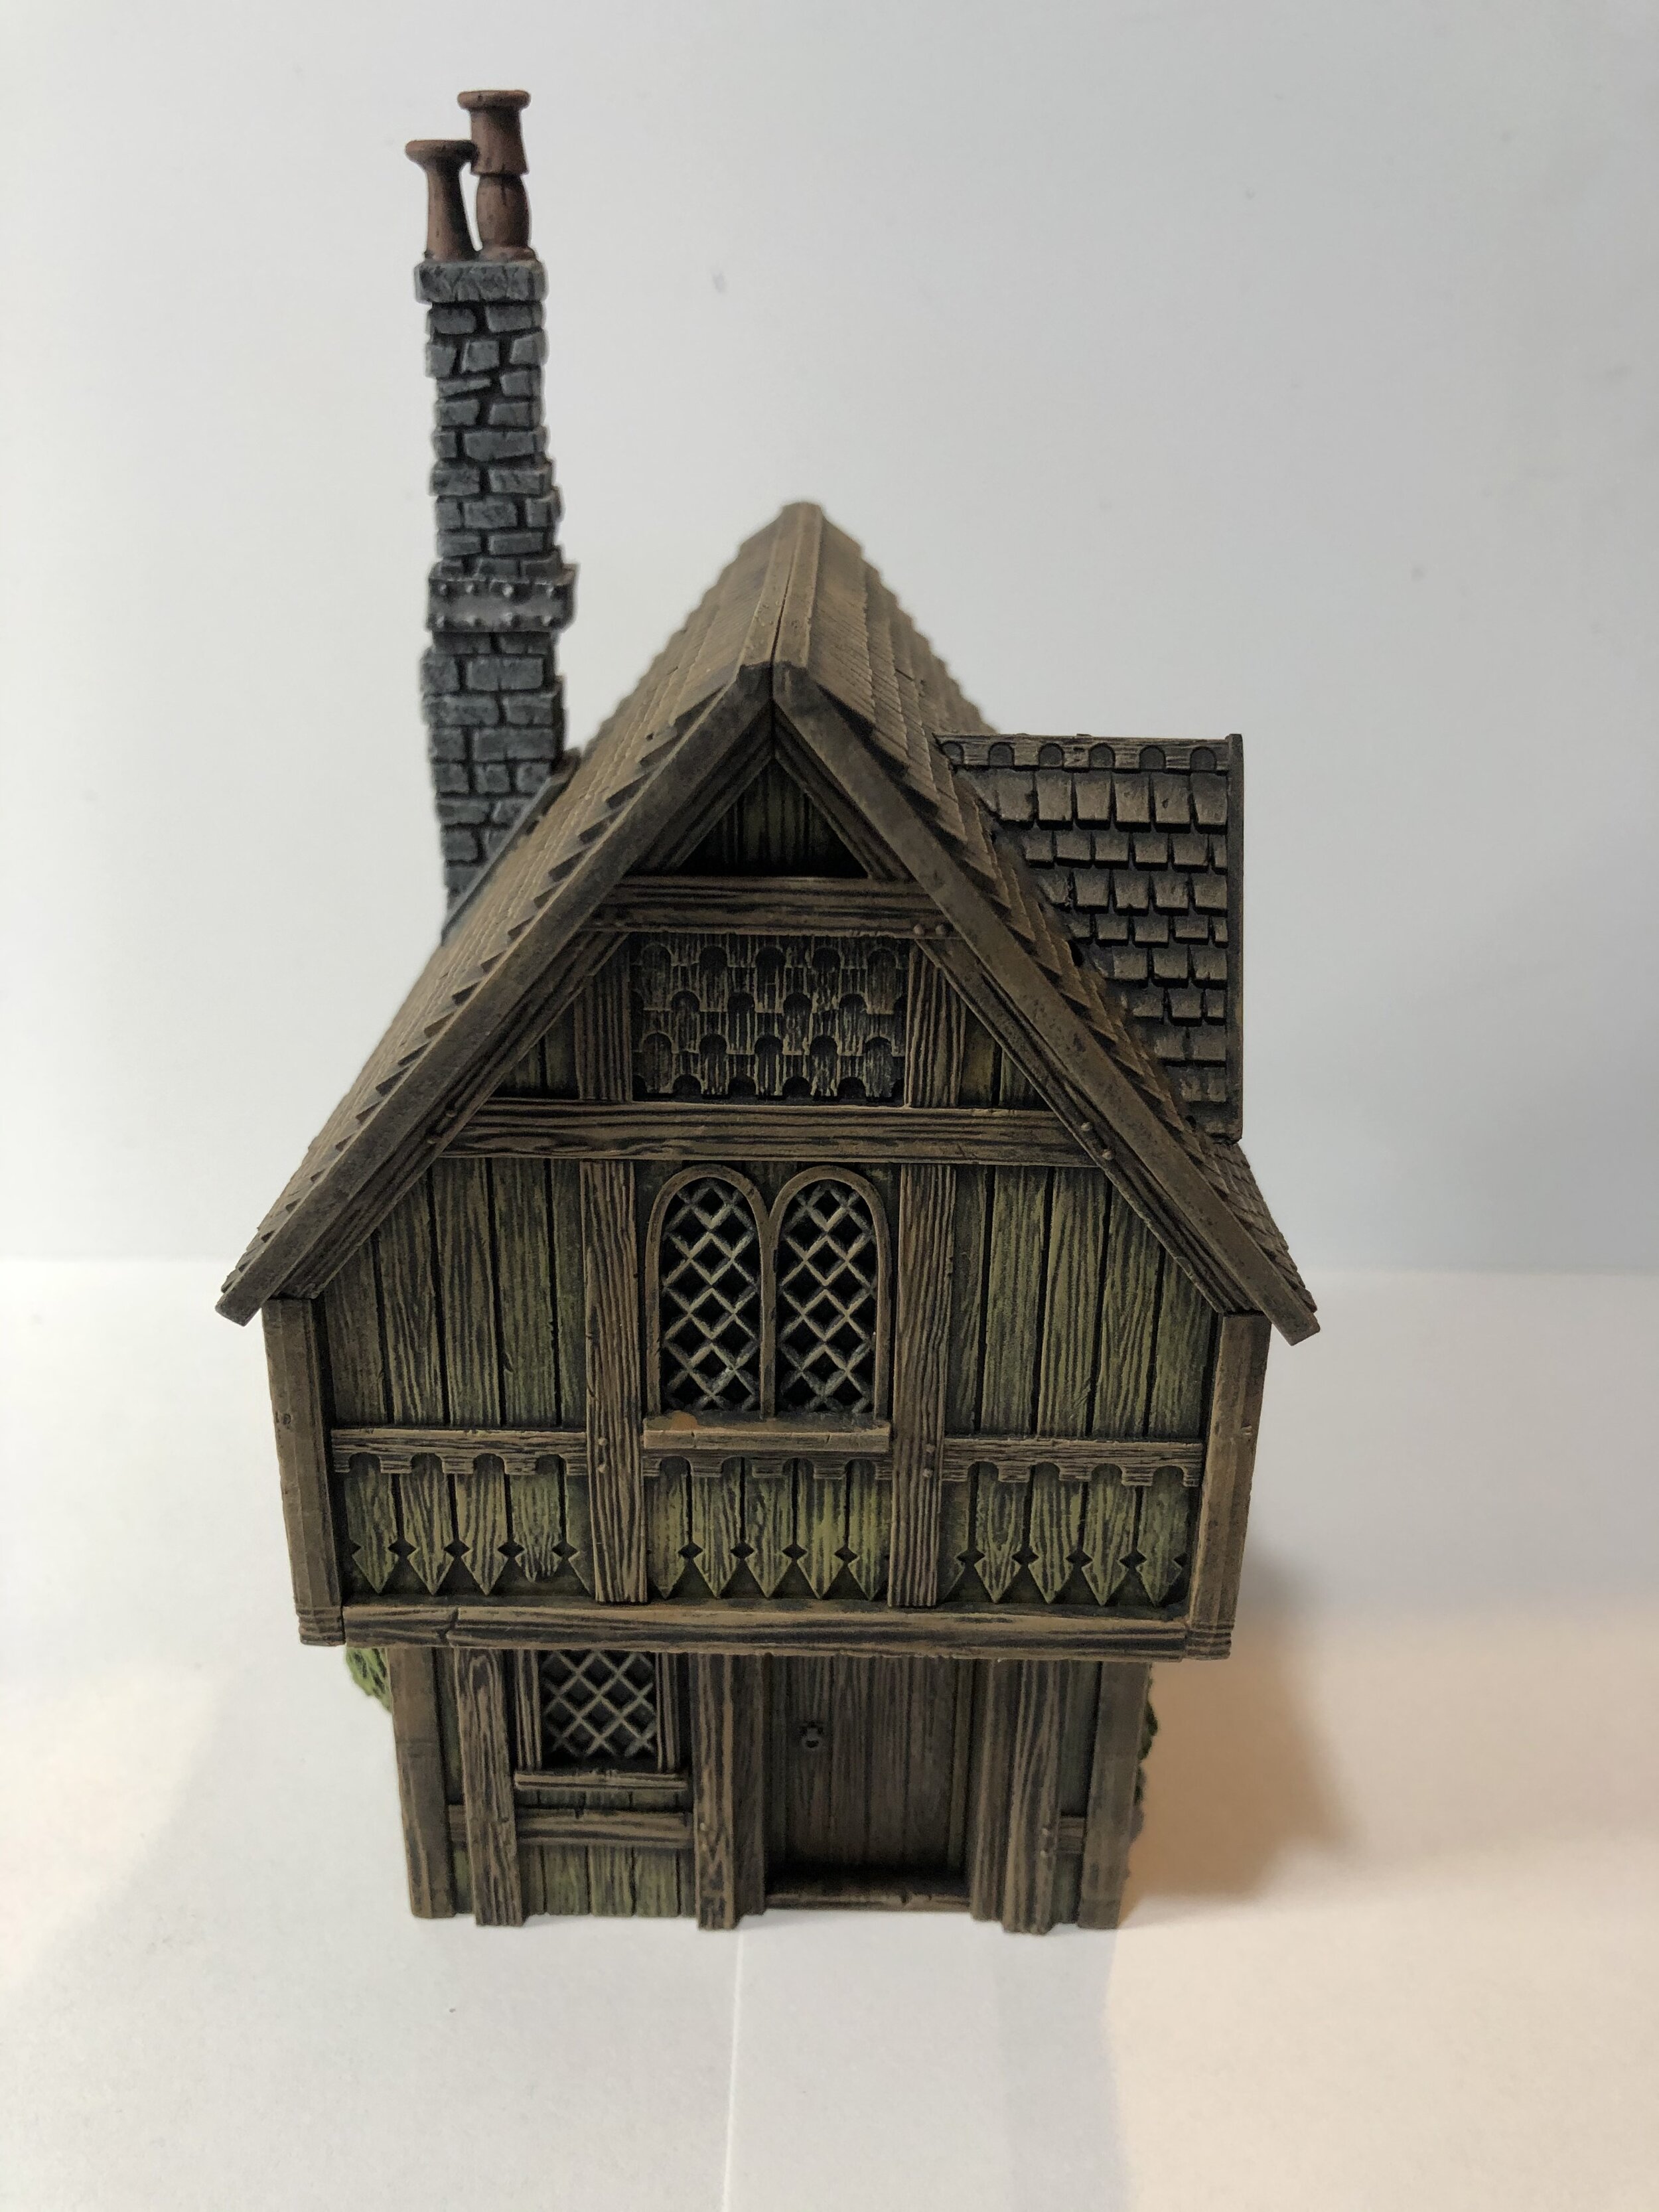
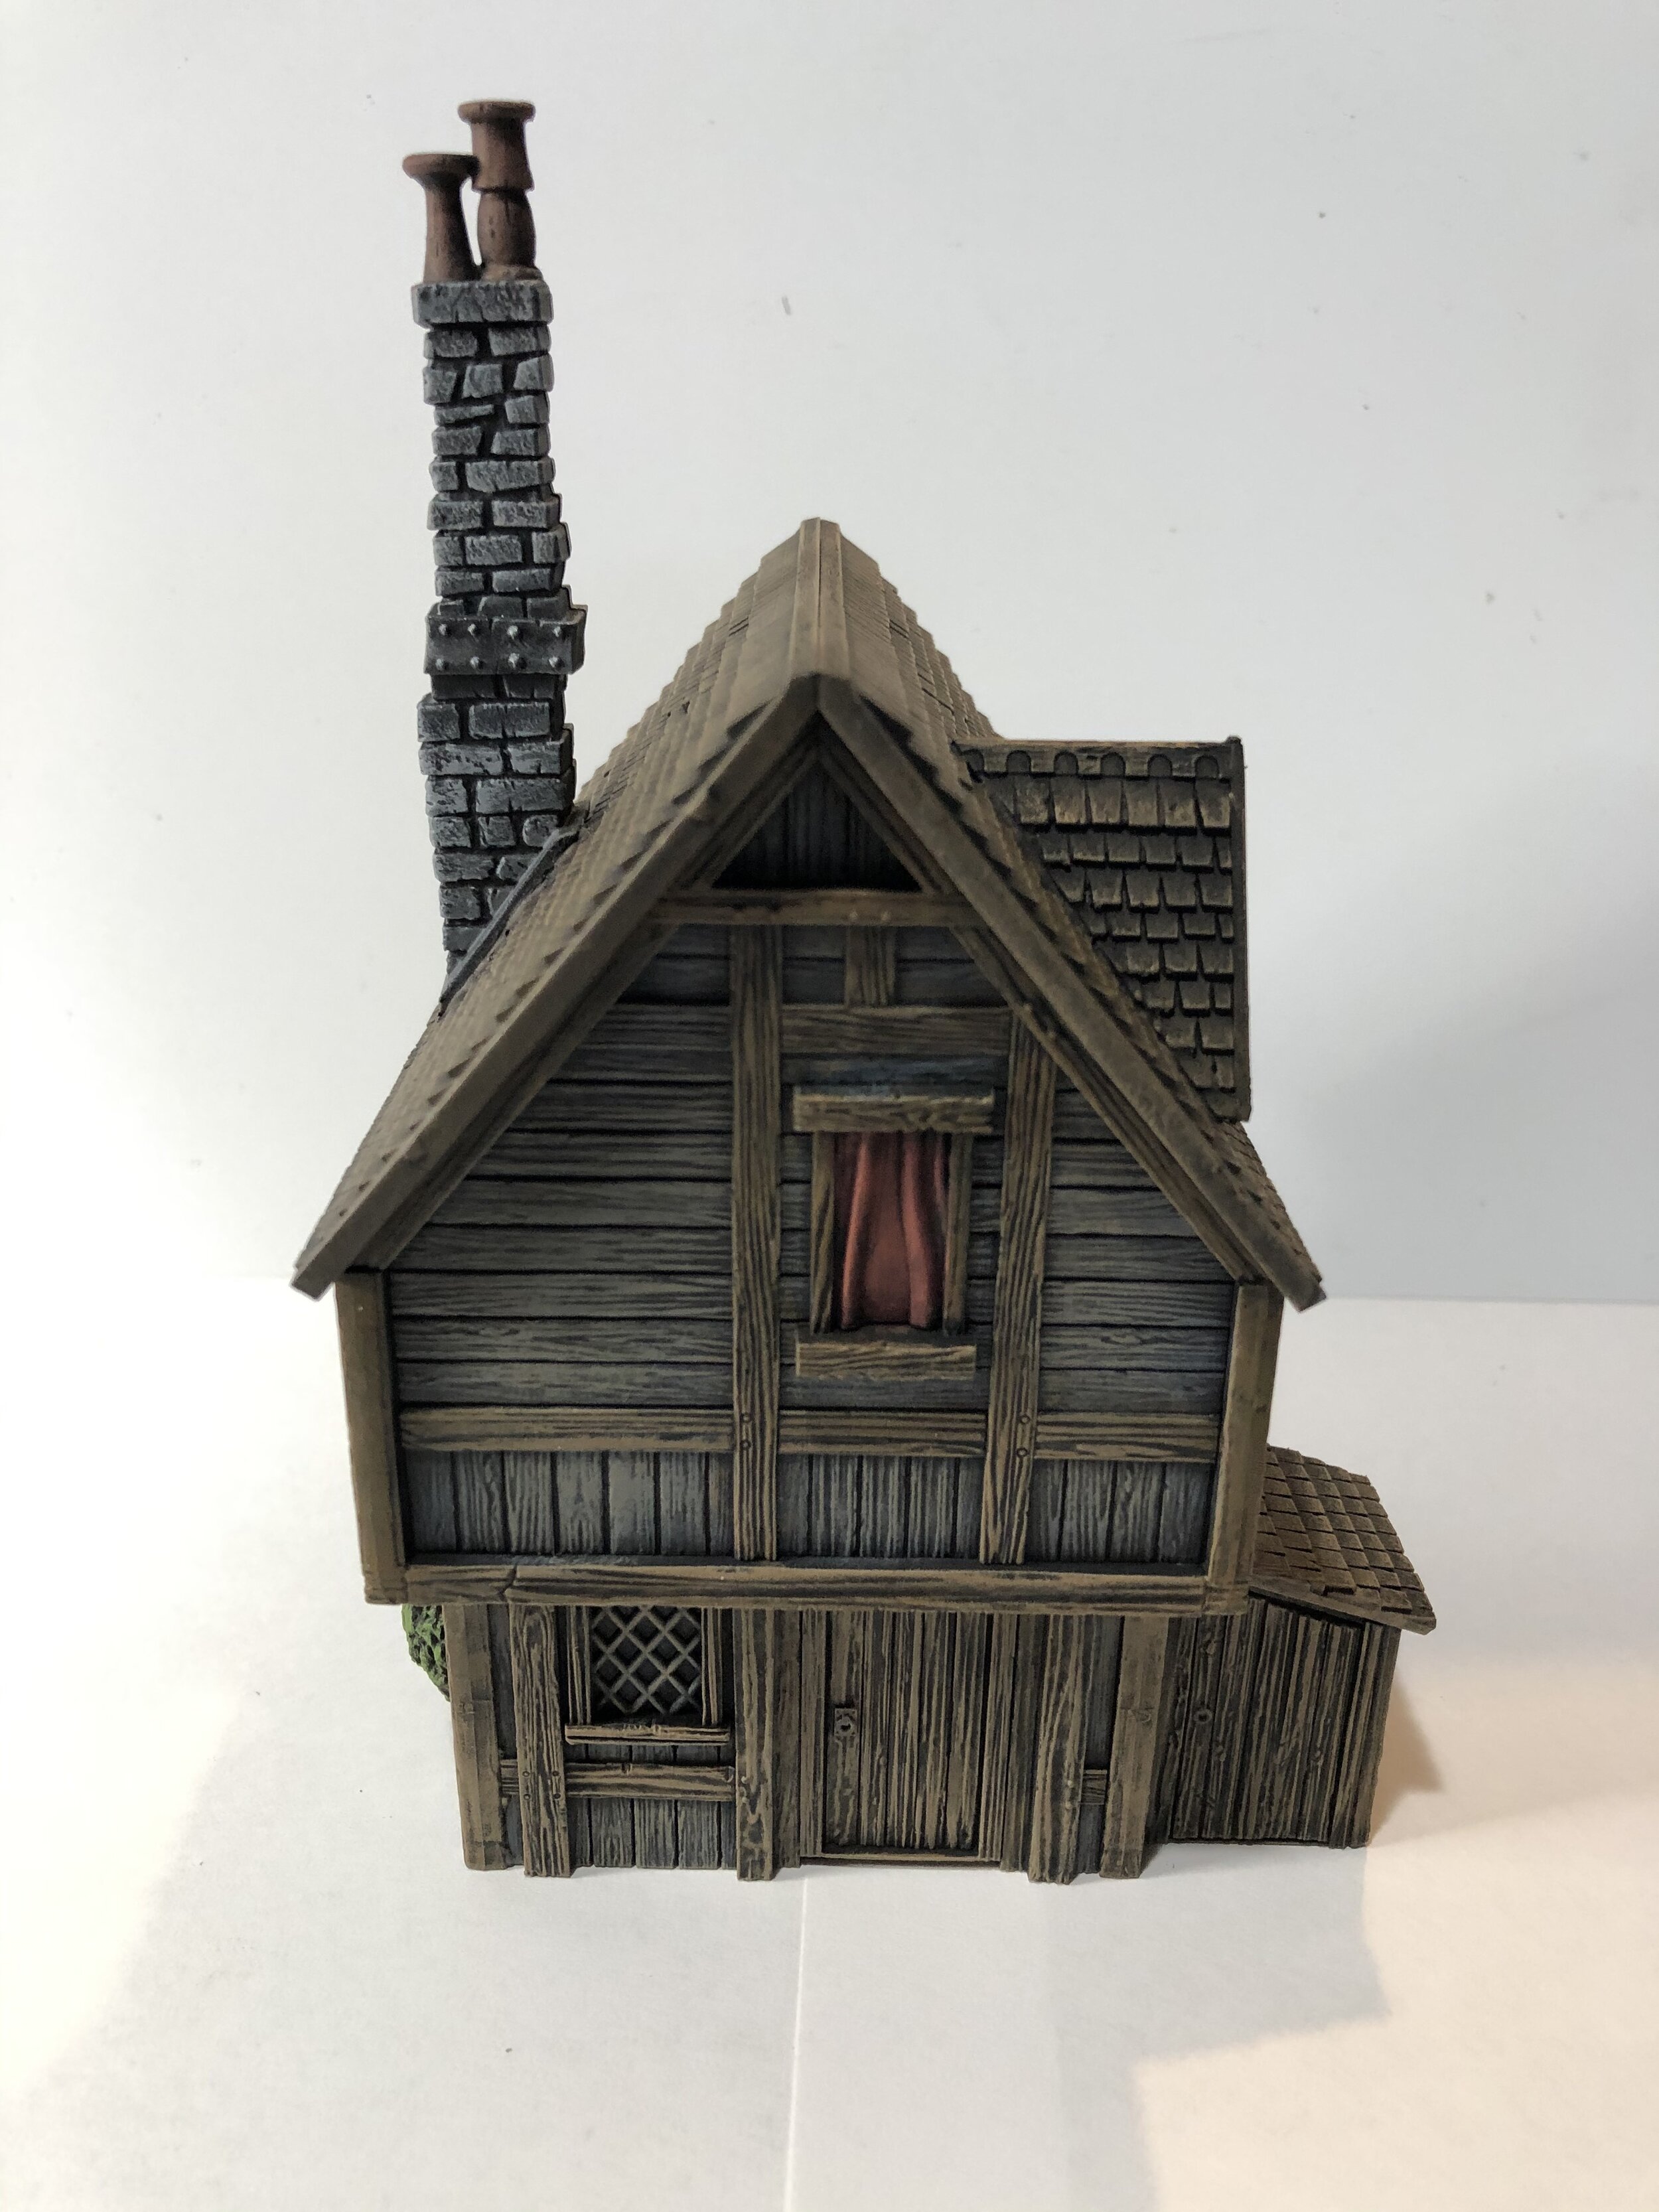
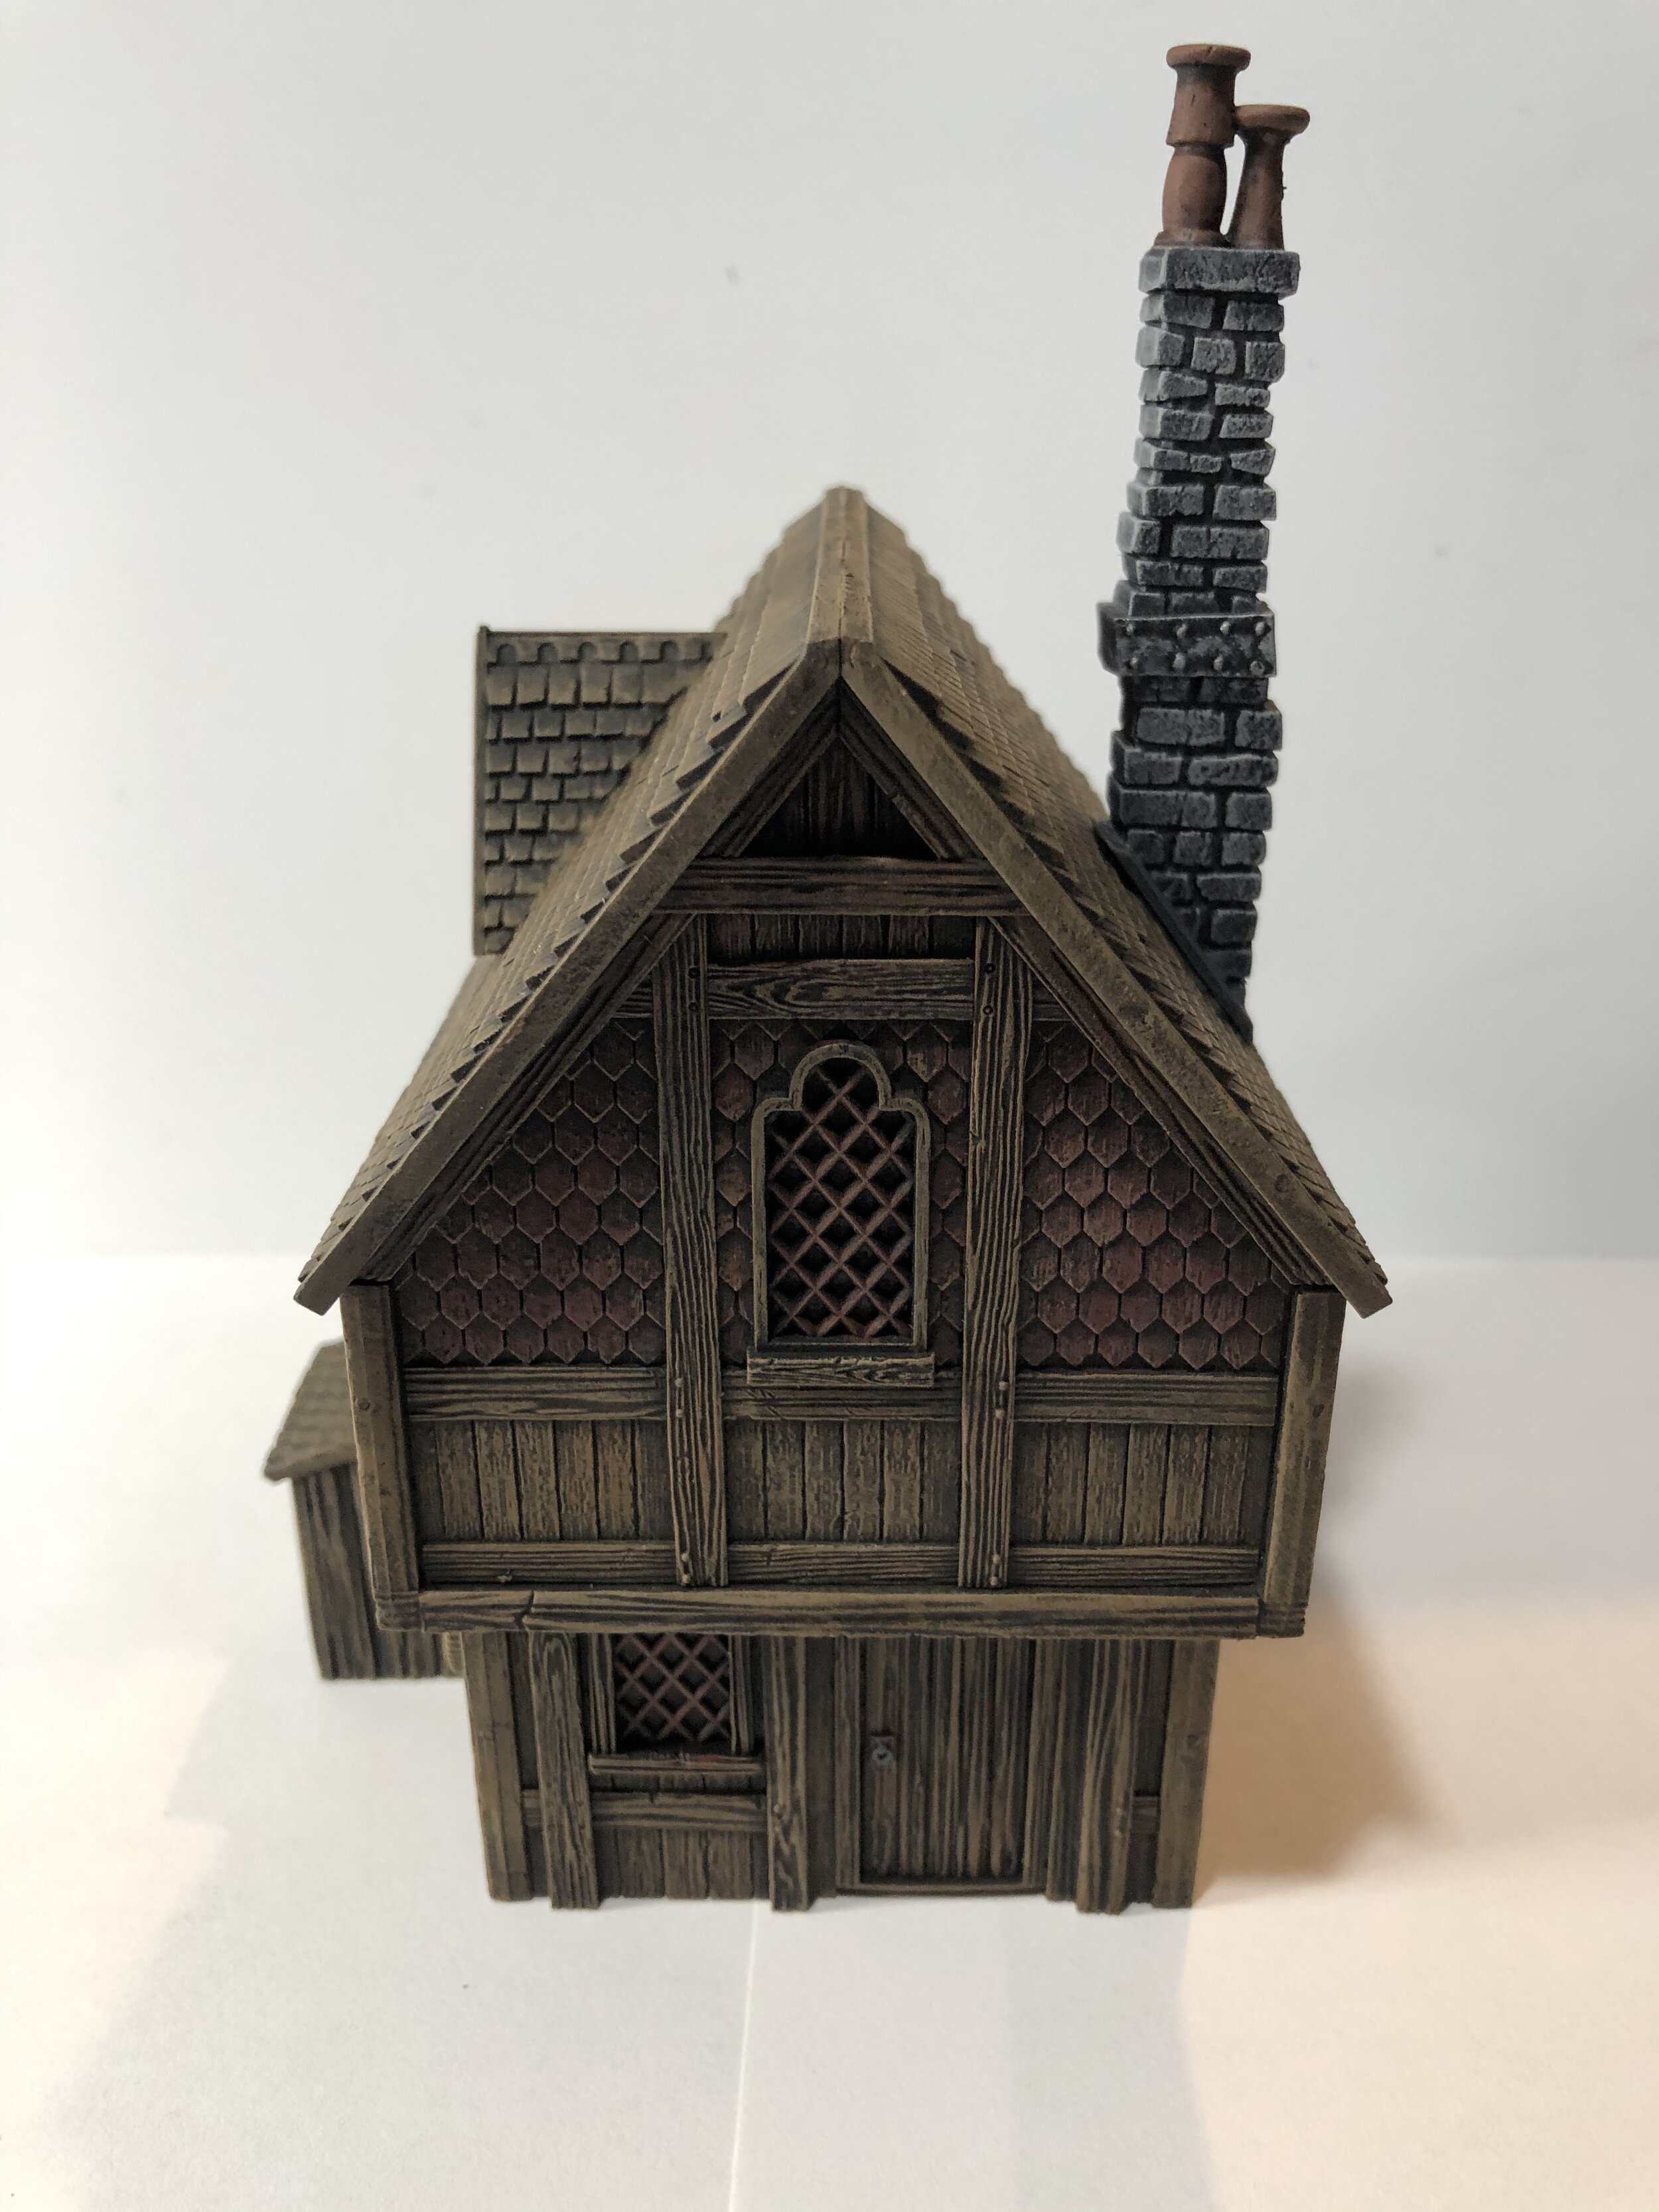
The workbench week began with a return to the Citadel Lake Town Houses. I decided I wanted to do at least three more, but this time I did them as non-waterfront buildings. I added permanent Milliput shrubs to the sides of the buildings and gave each of them stone chimneys. I like them a lot and may do a couple more.
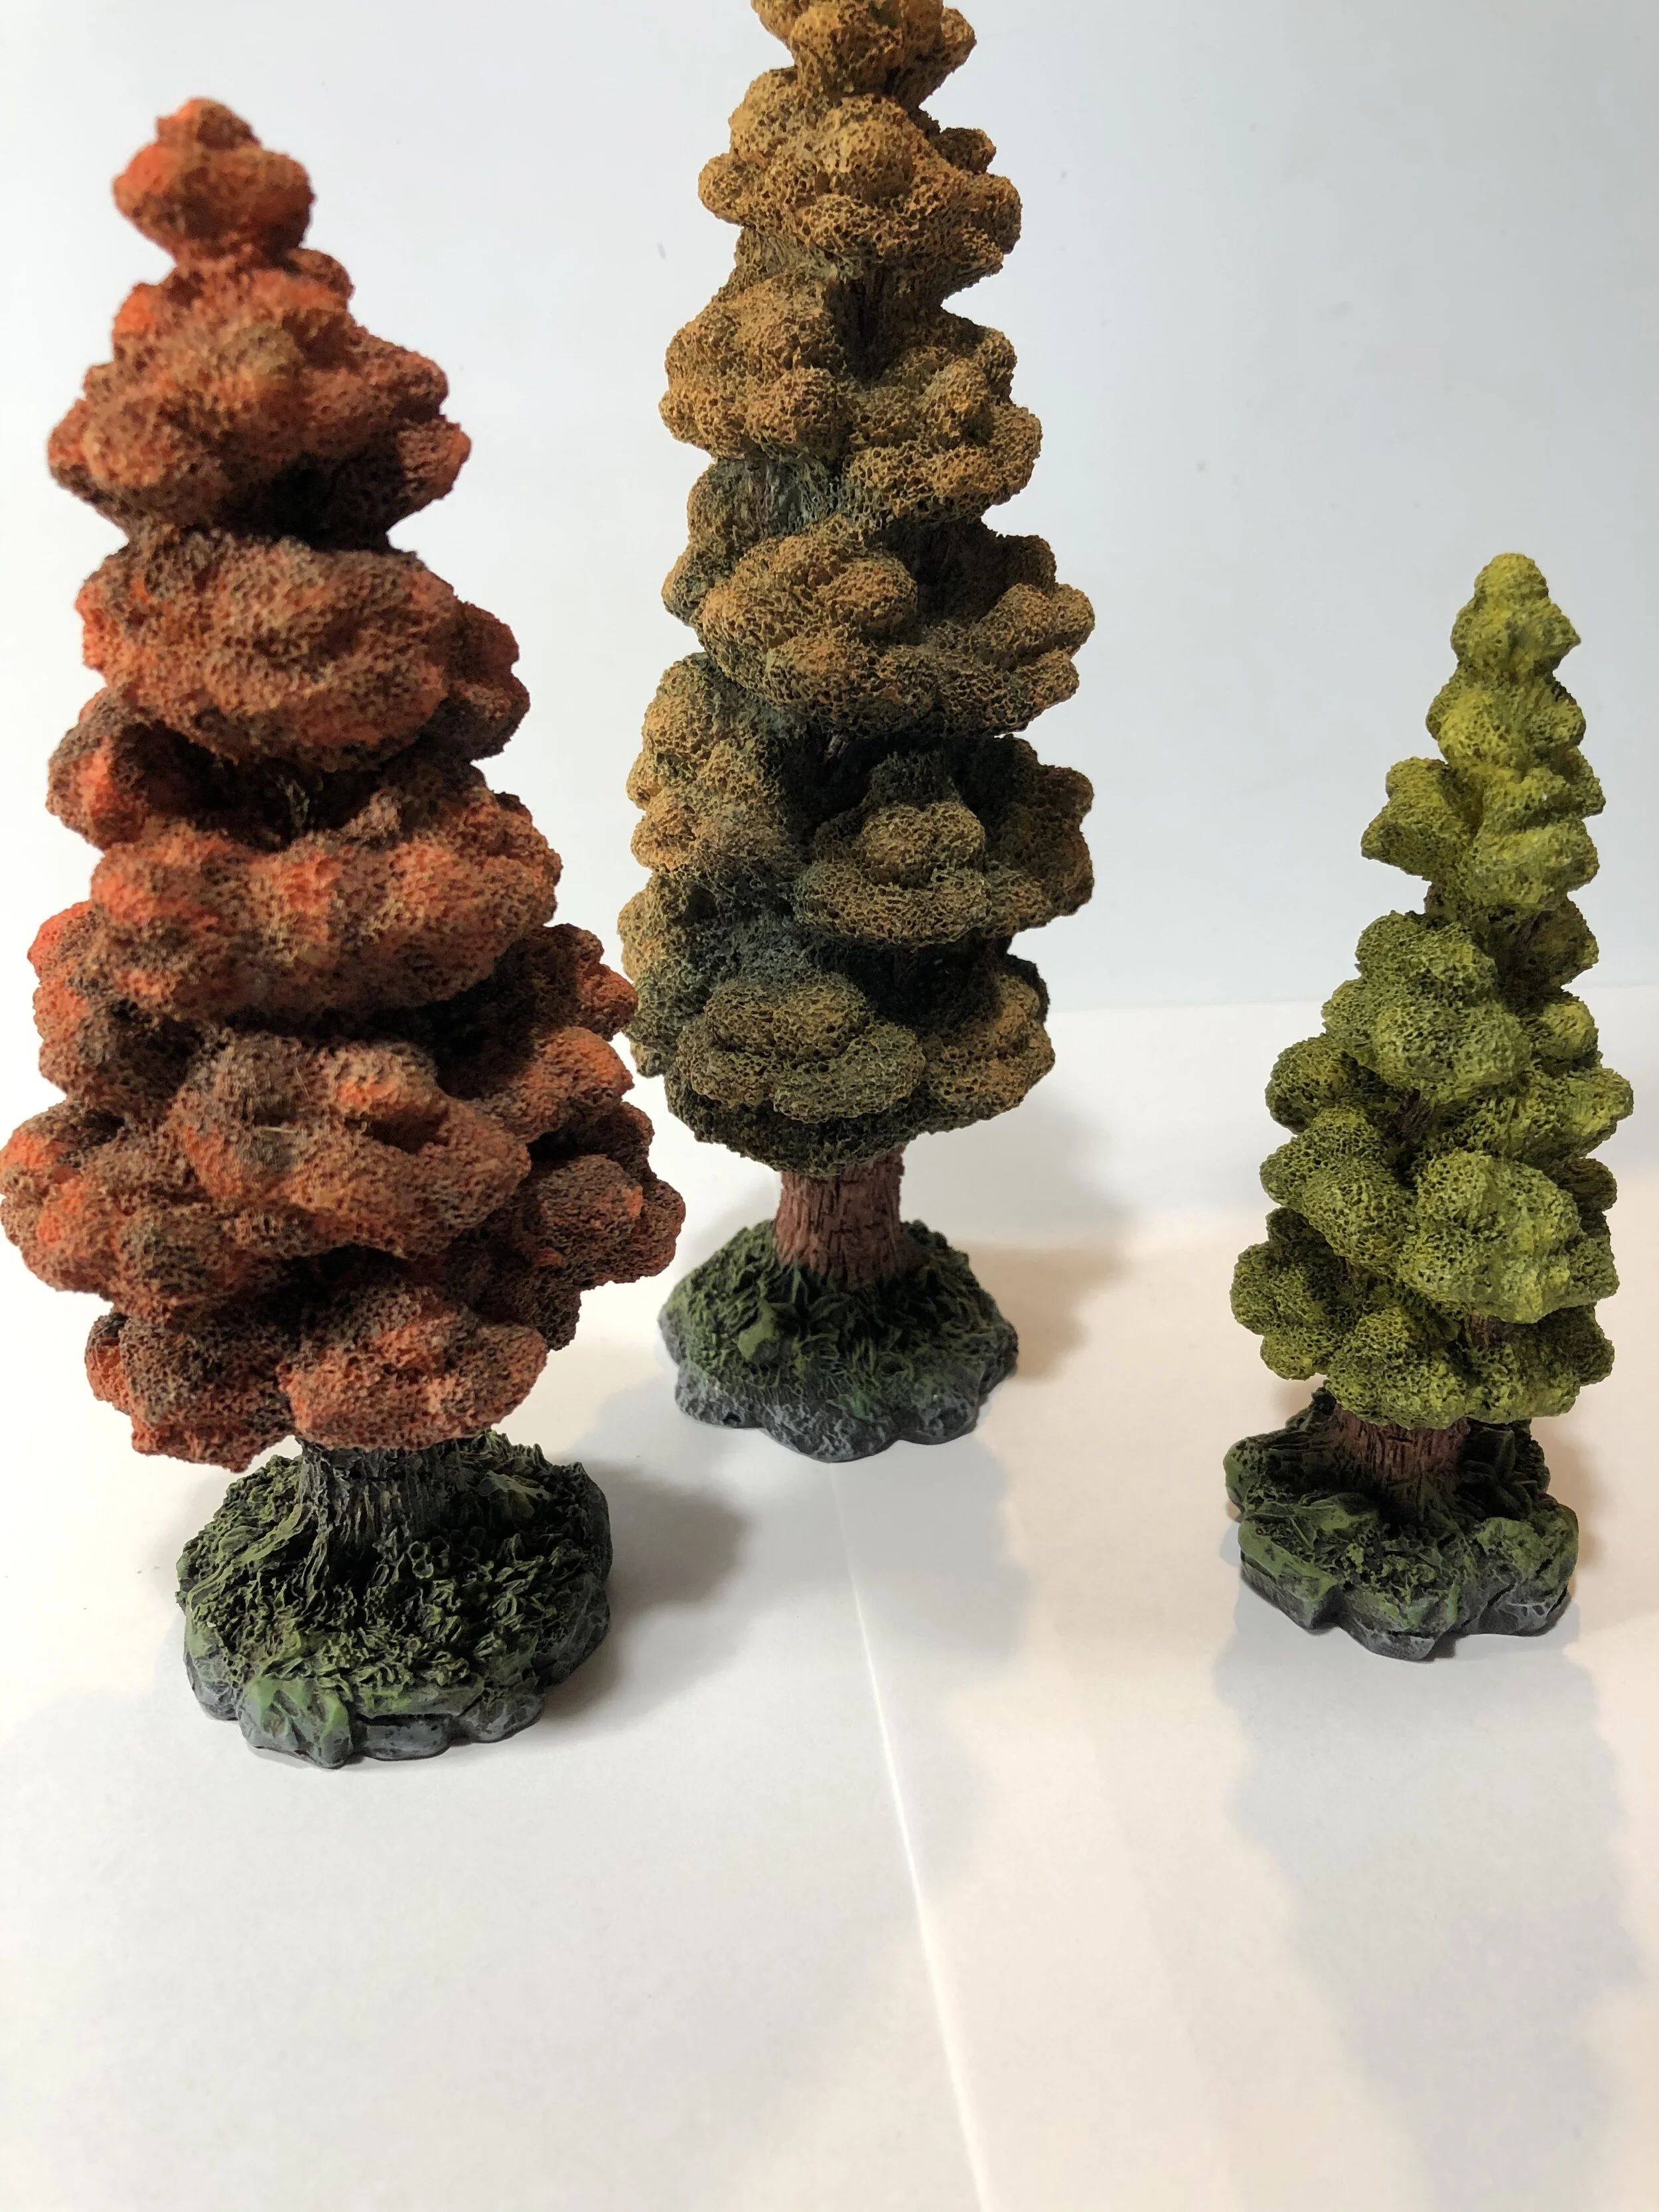
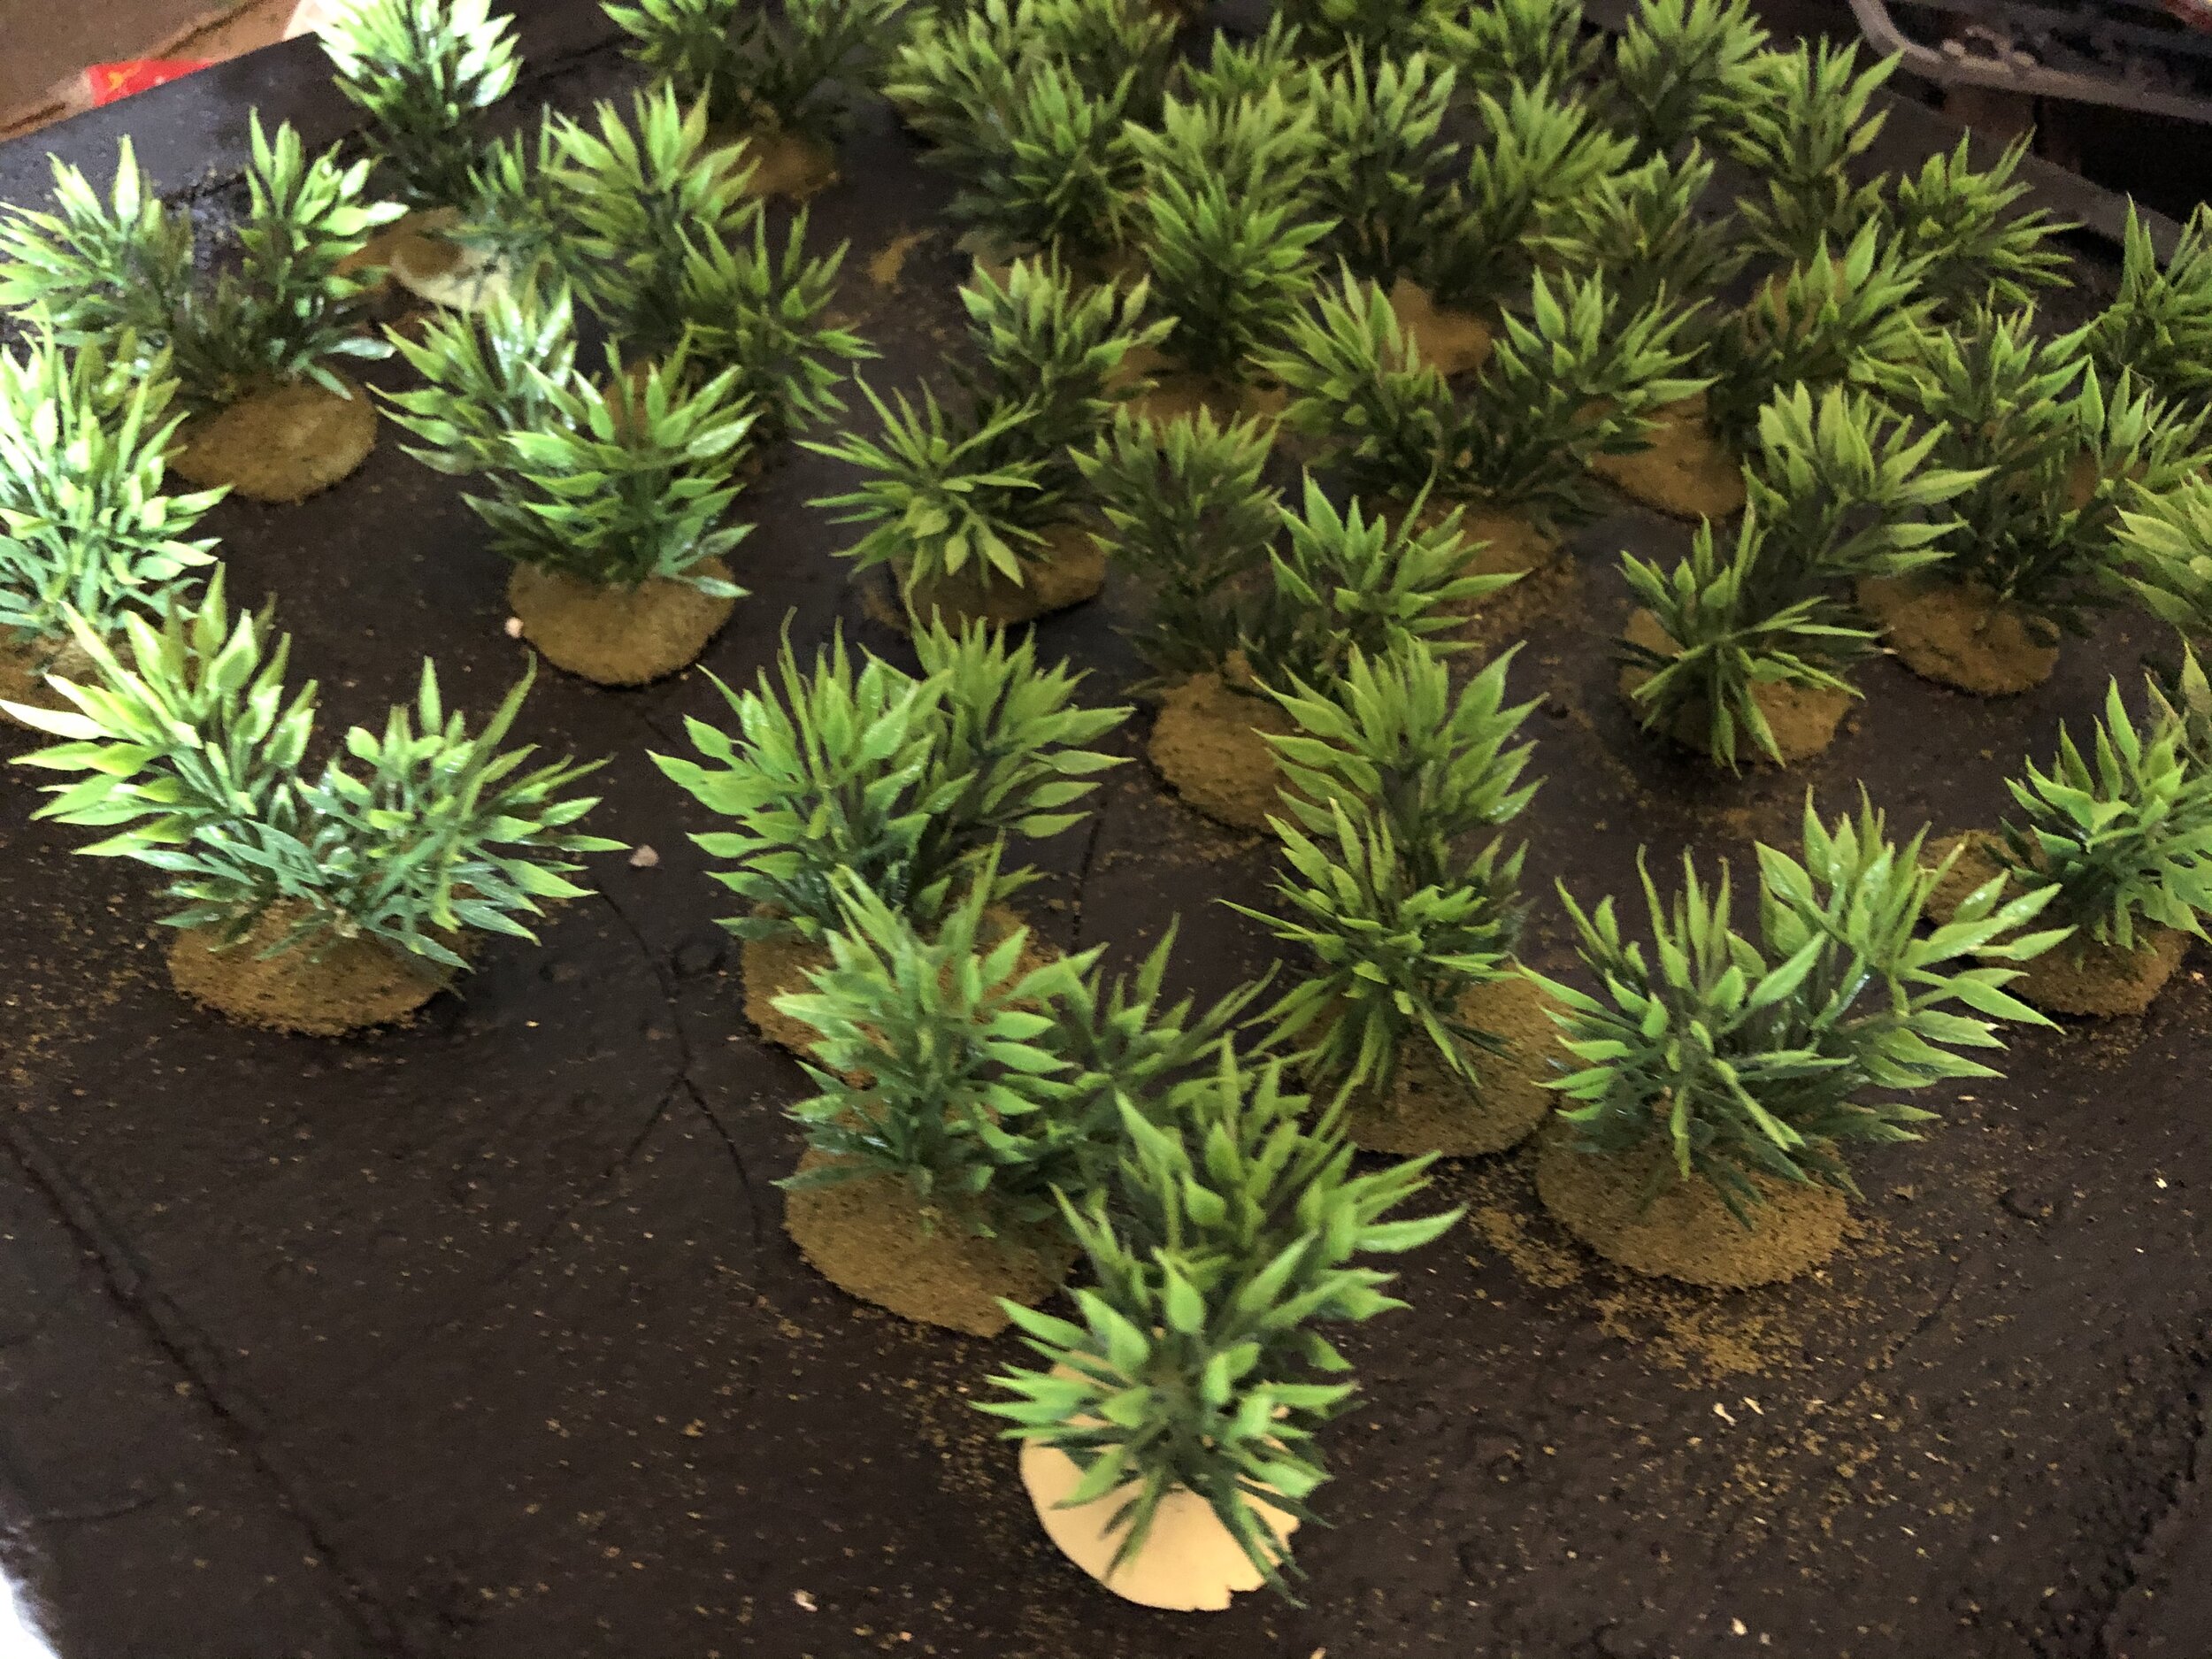
With the houses done, I turned my attention to painting the bases of 24 Dept. 56 Autumn Trees (they come three to a set). The trunks and foliage are fine, but I didn’t like their bases, so I gave them new paint jobs. Since I did all the bases the same, I am only showing one set in the photos here.
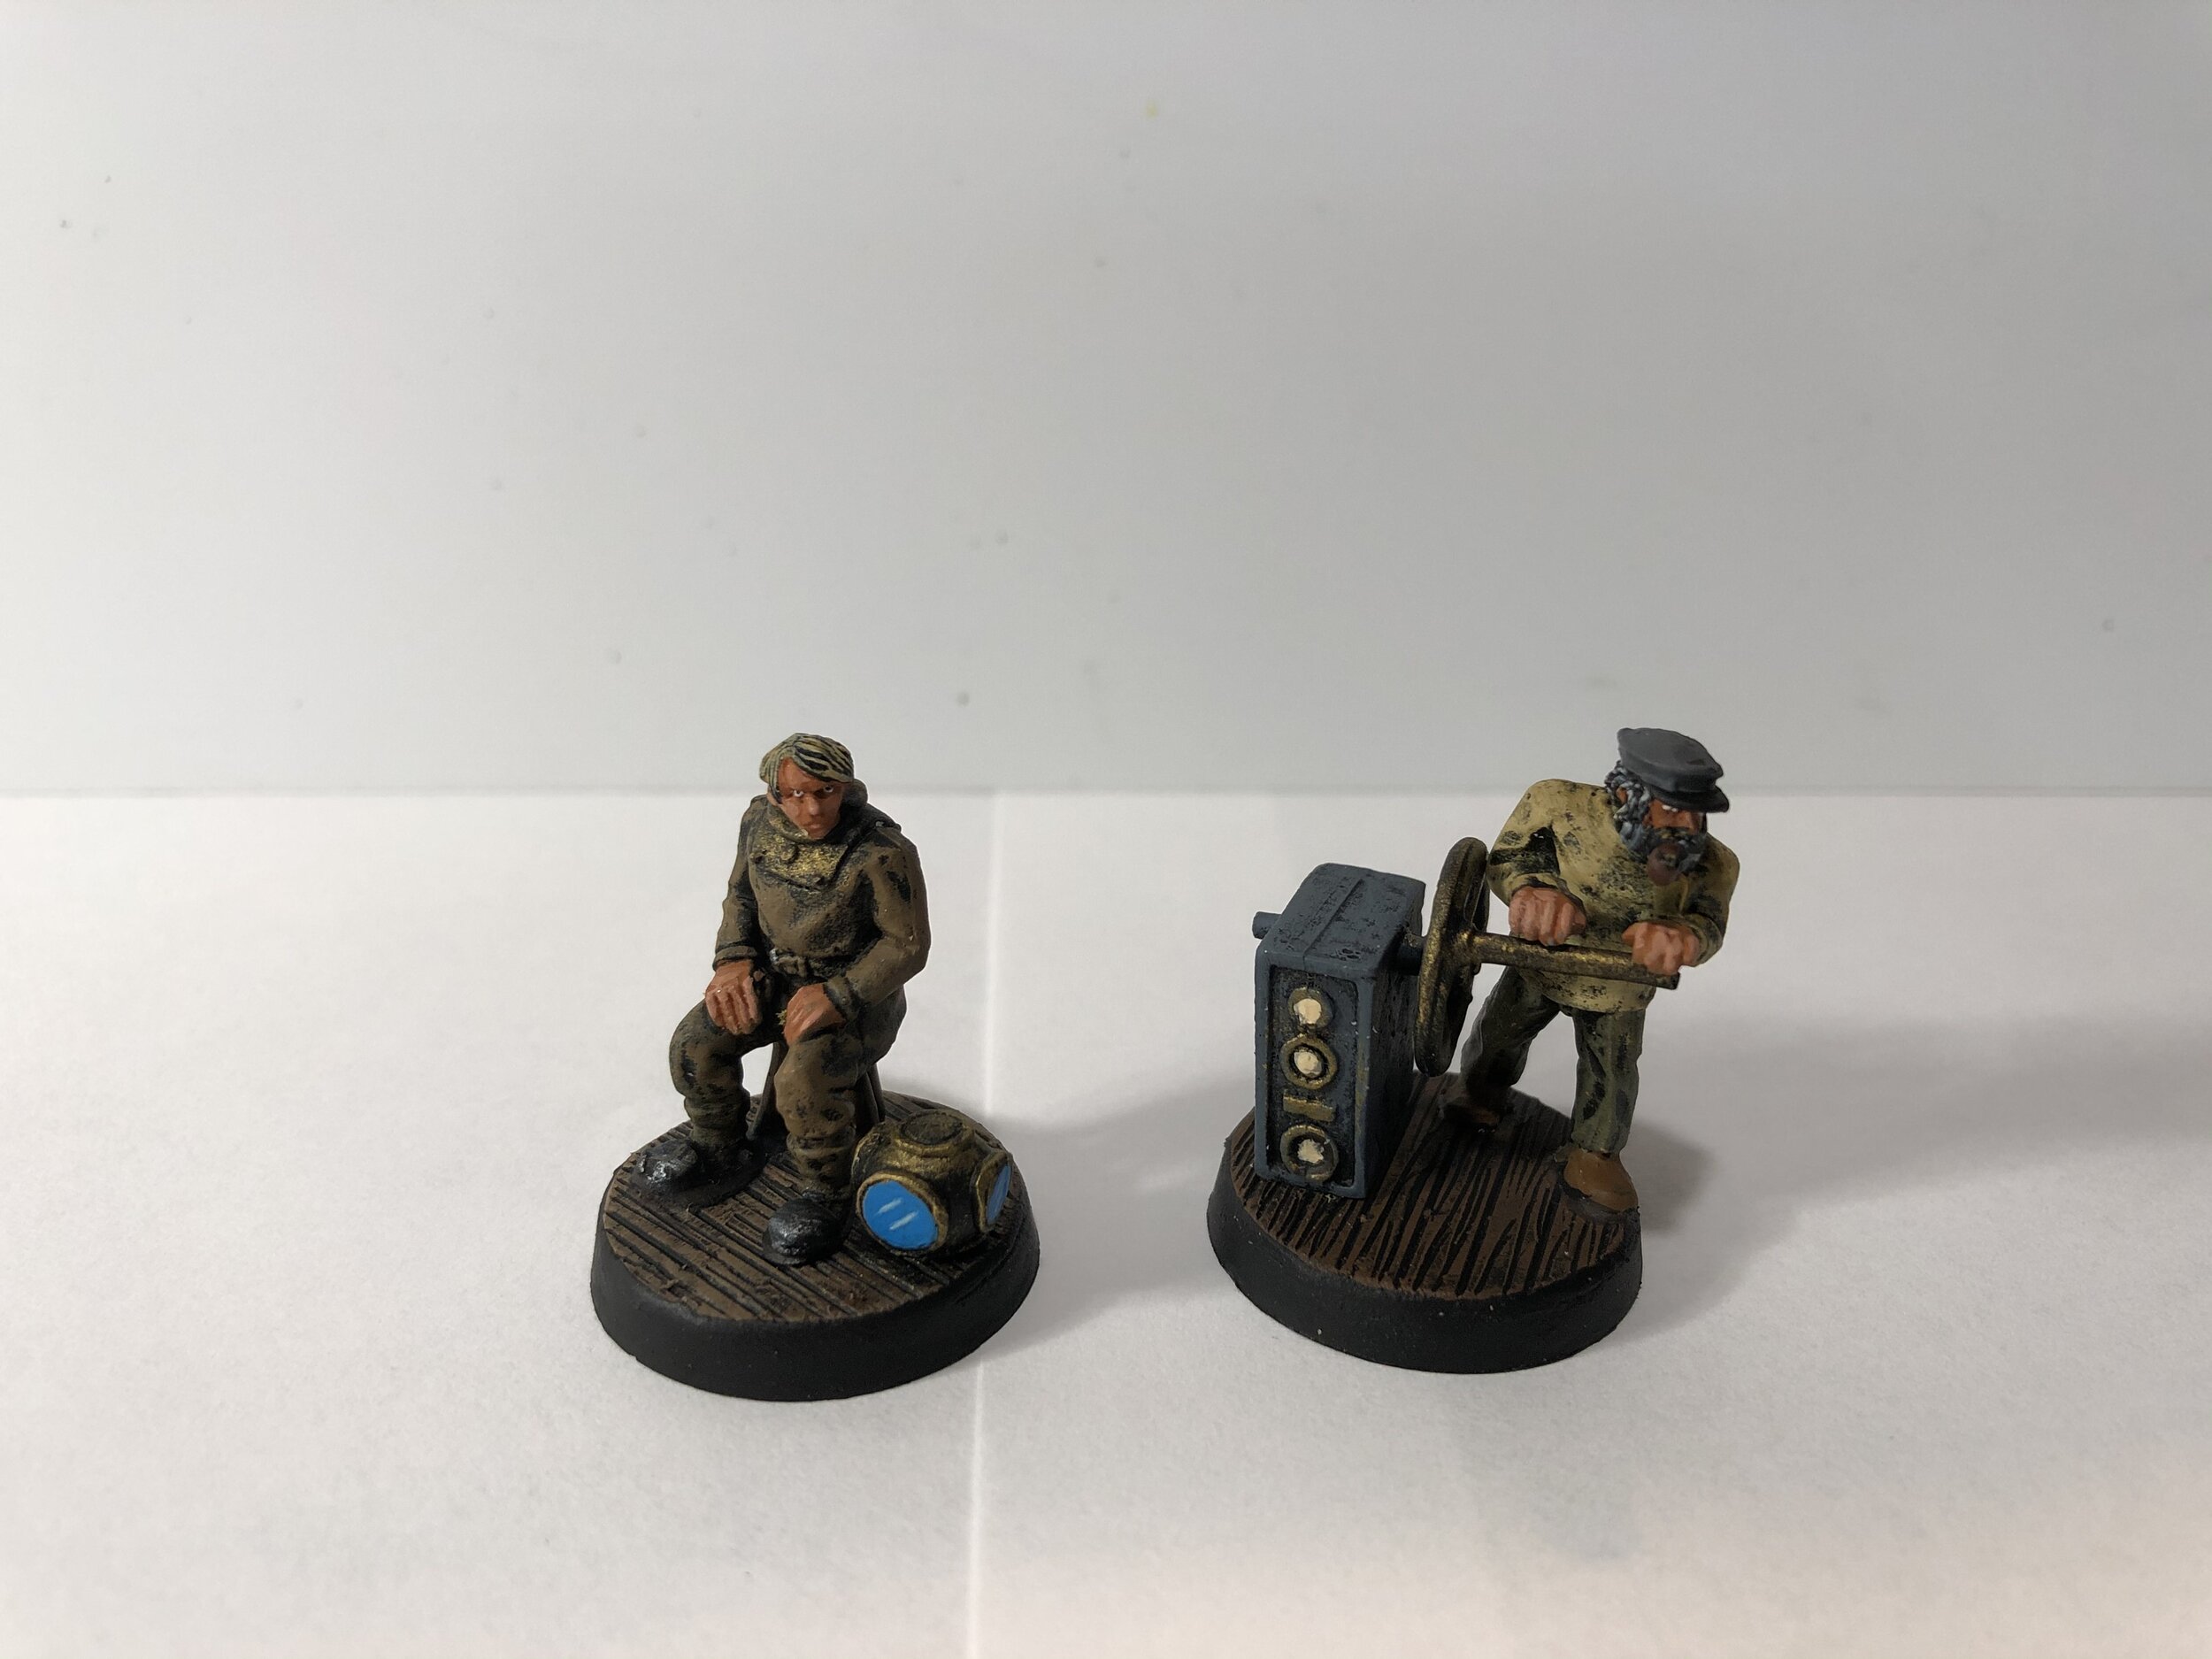
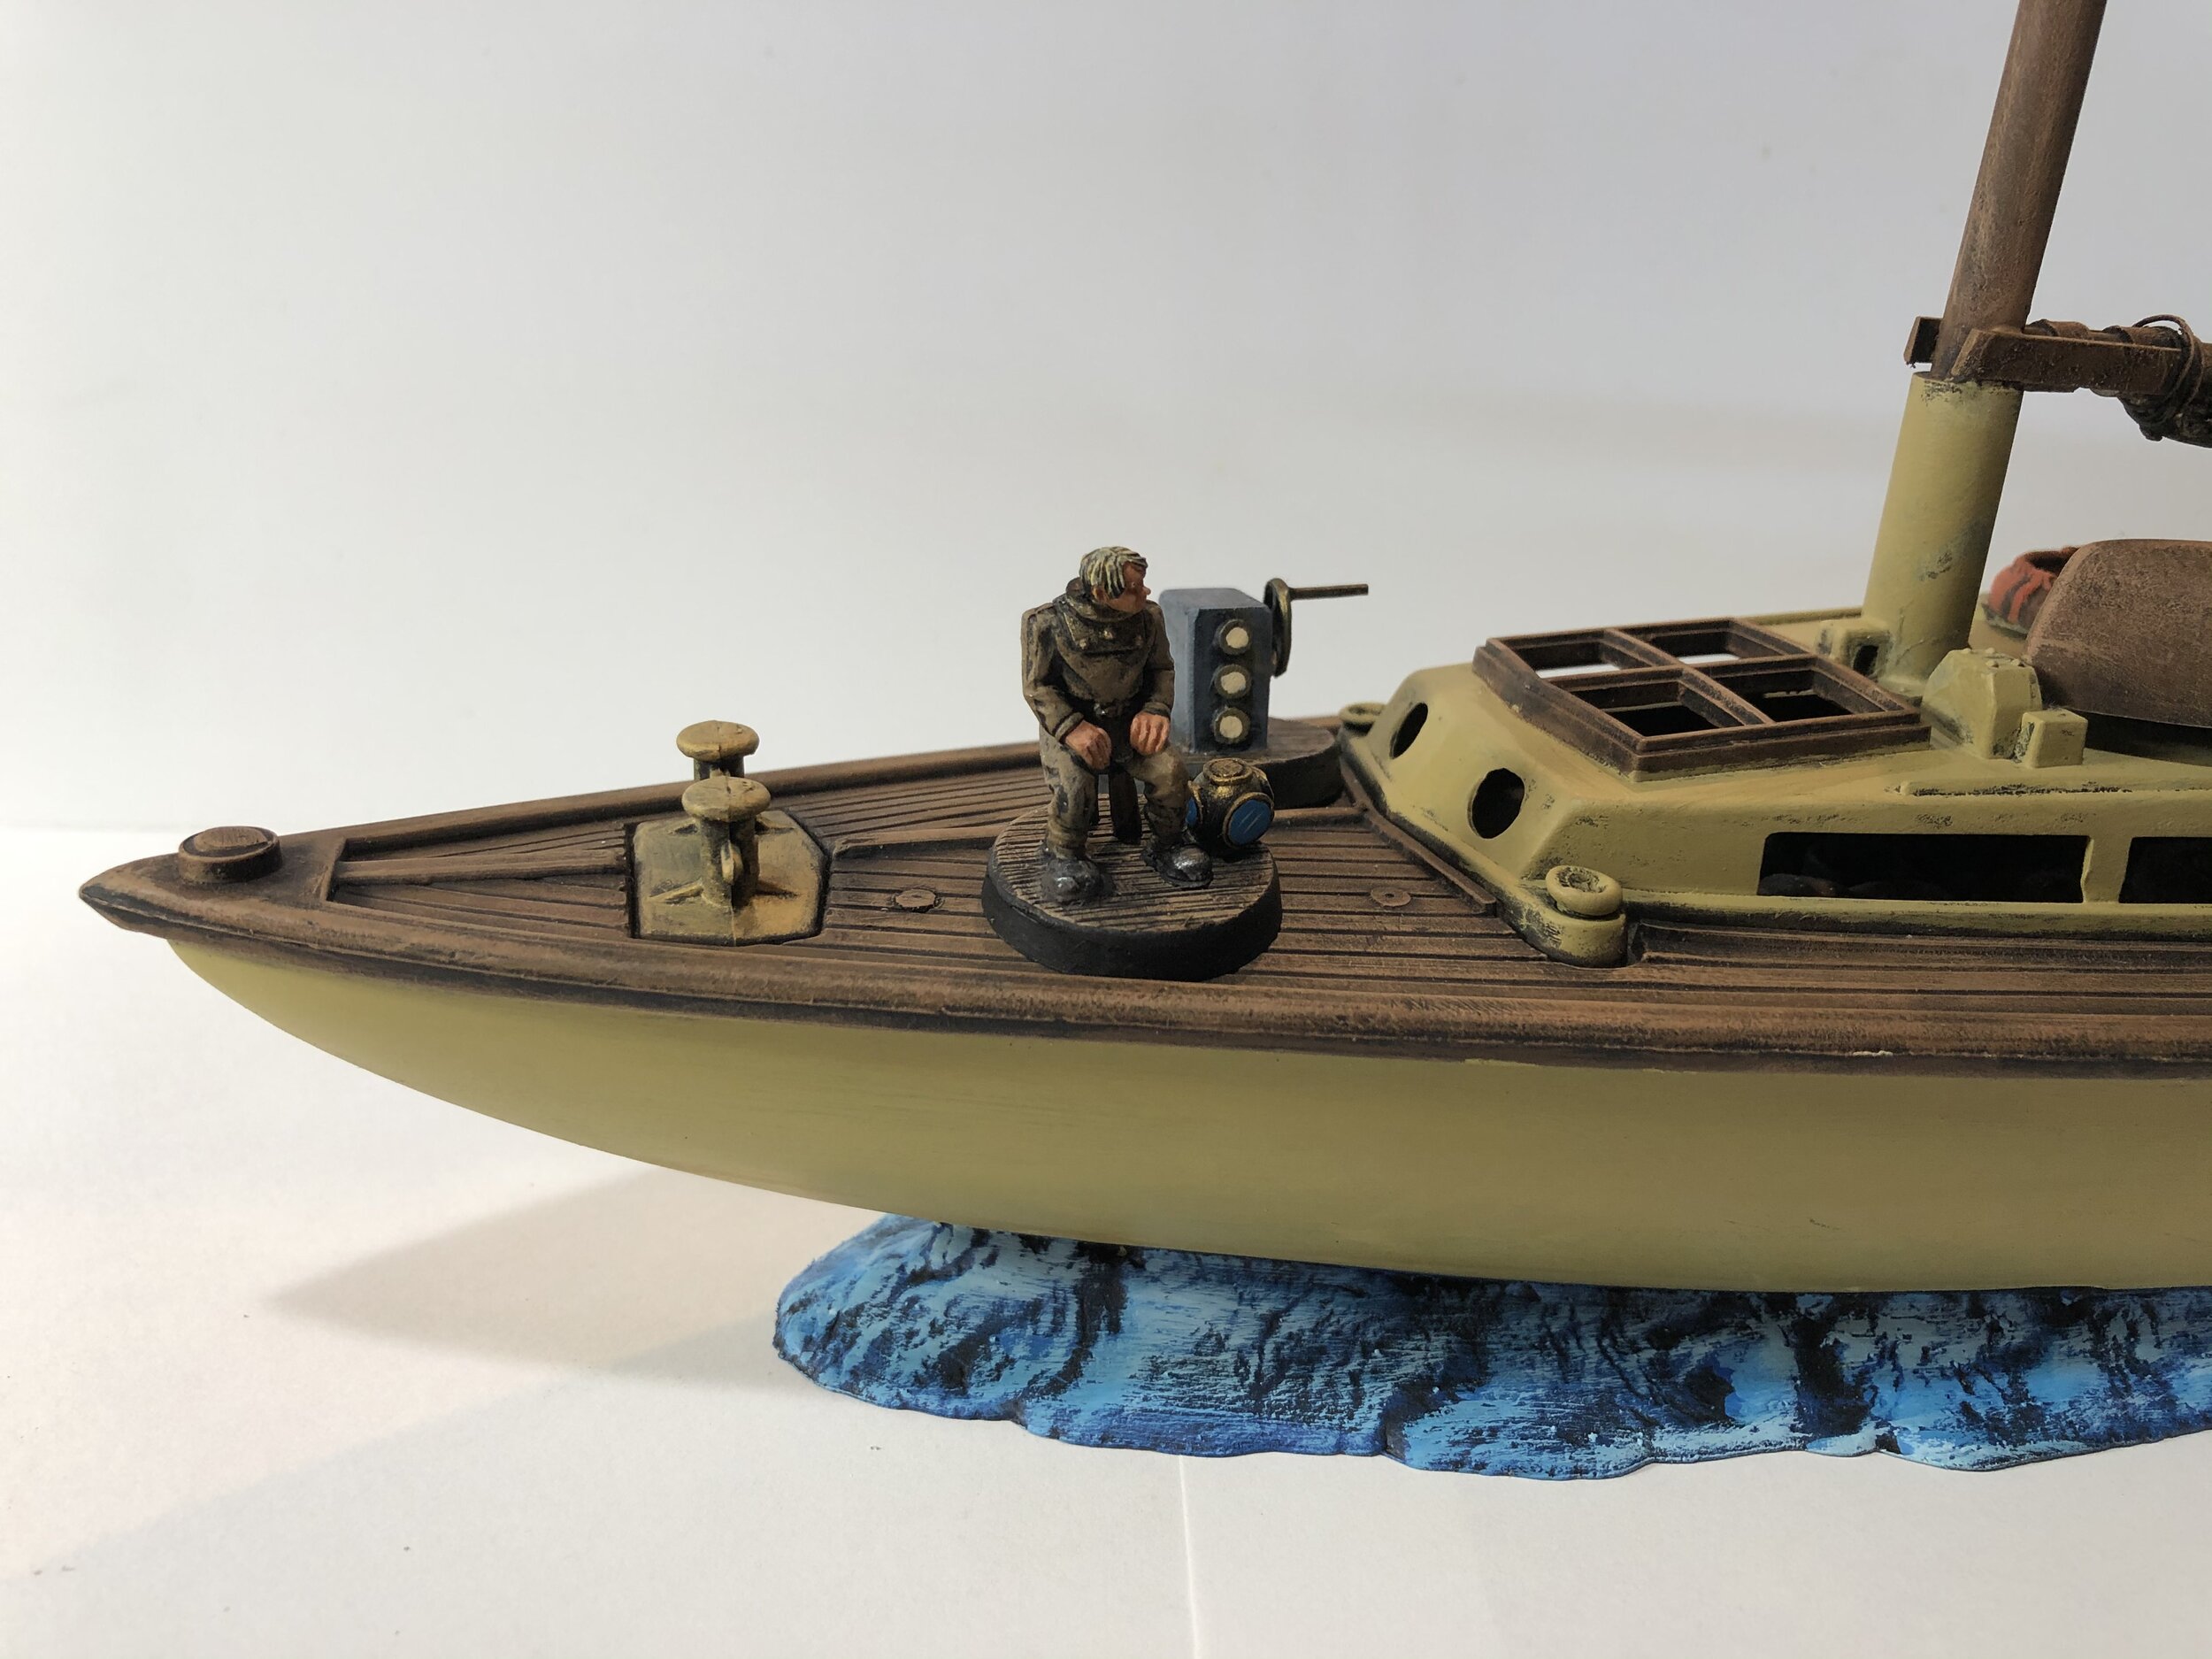
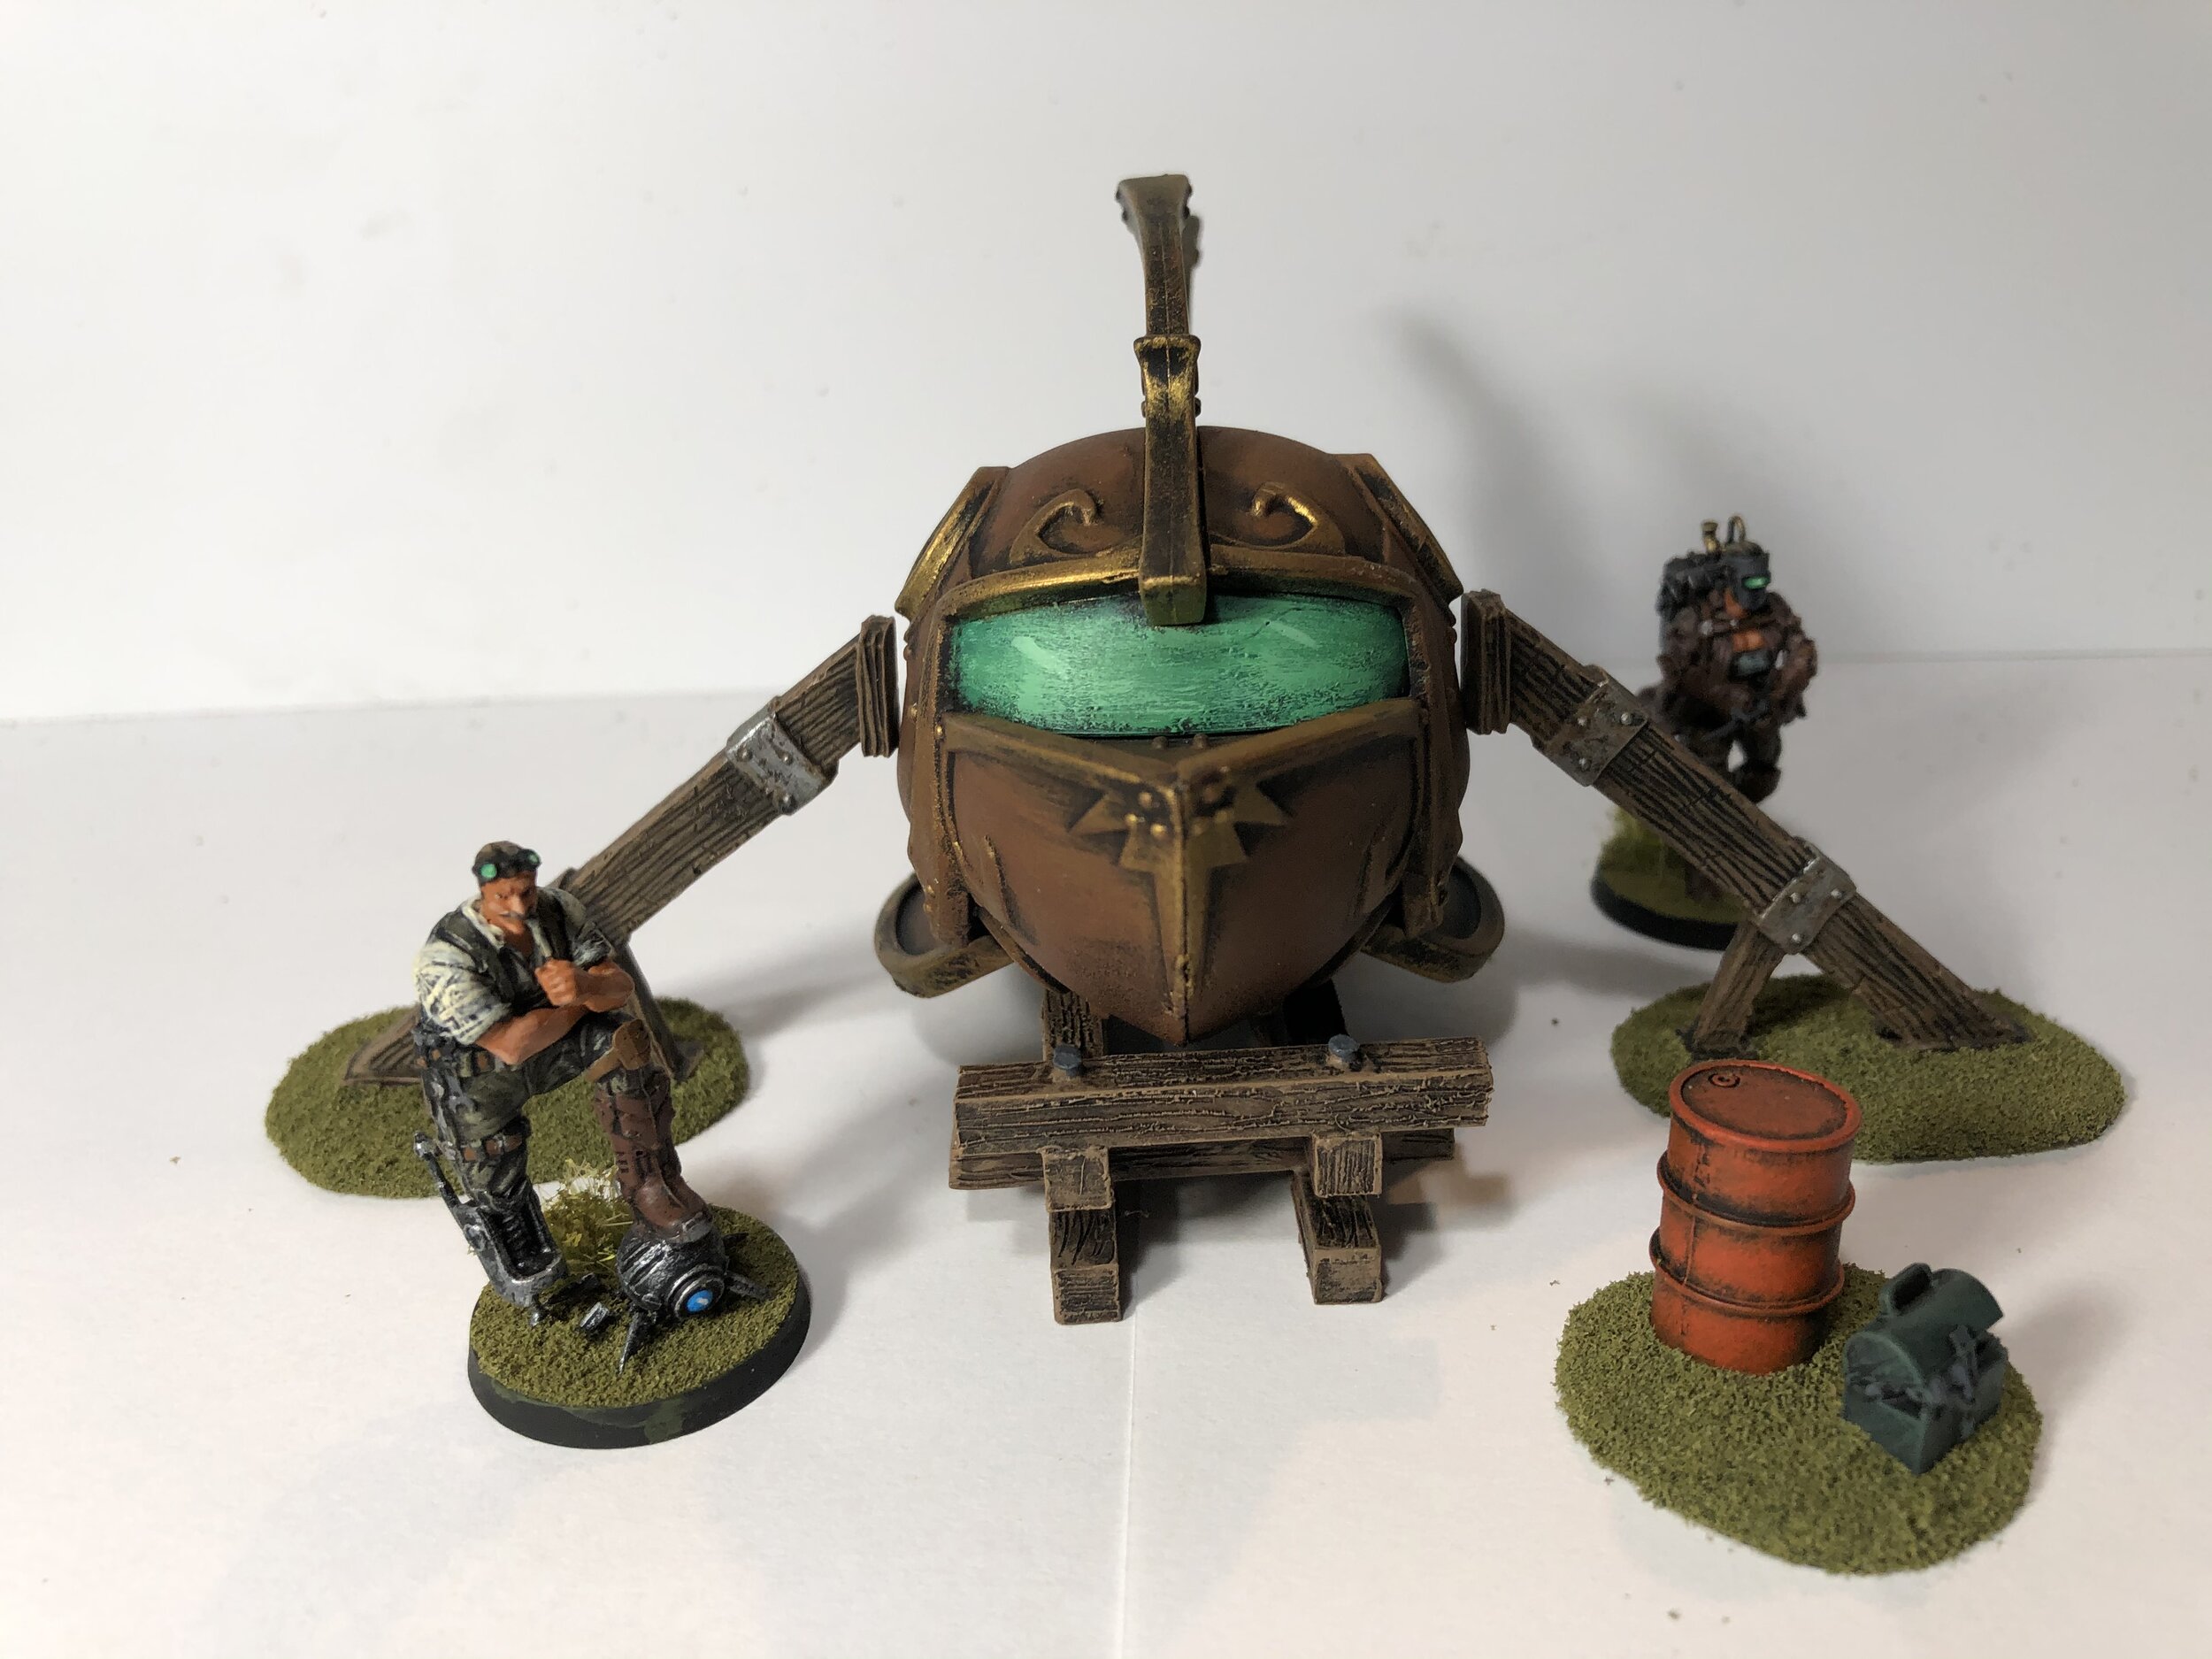
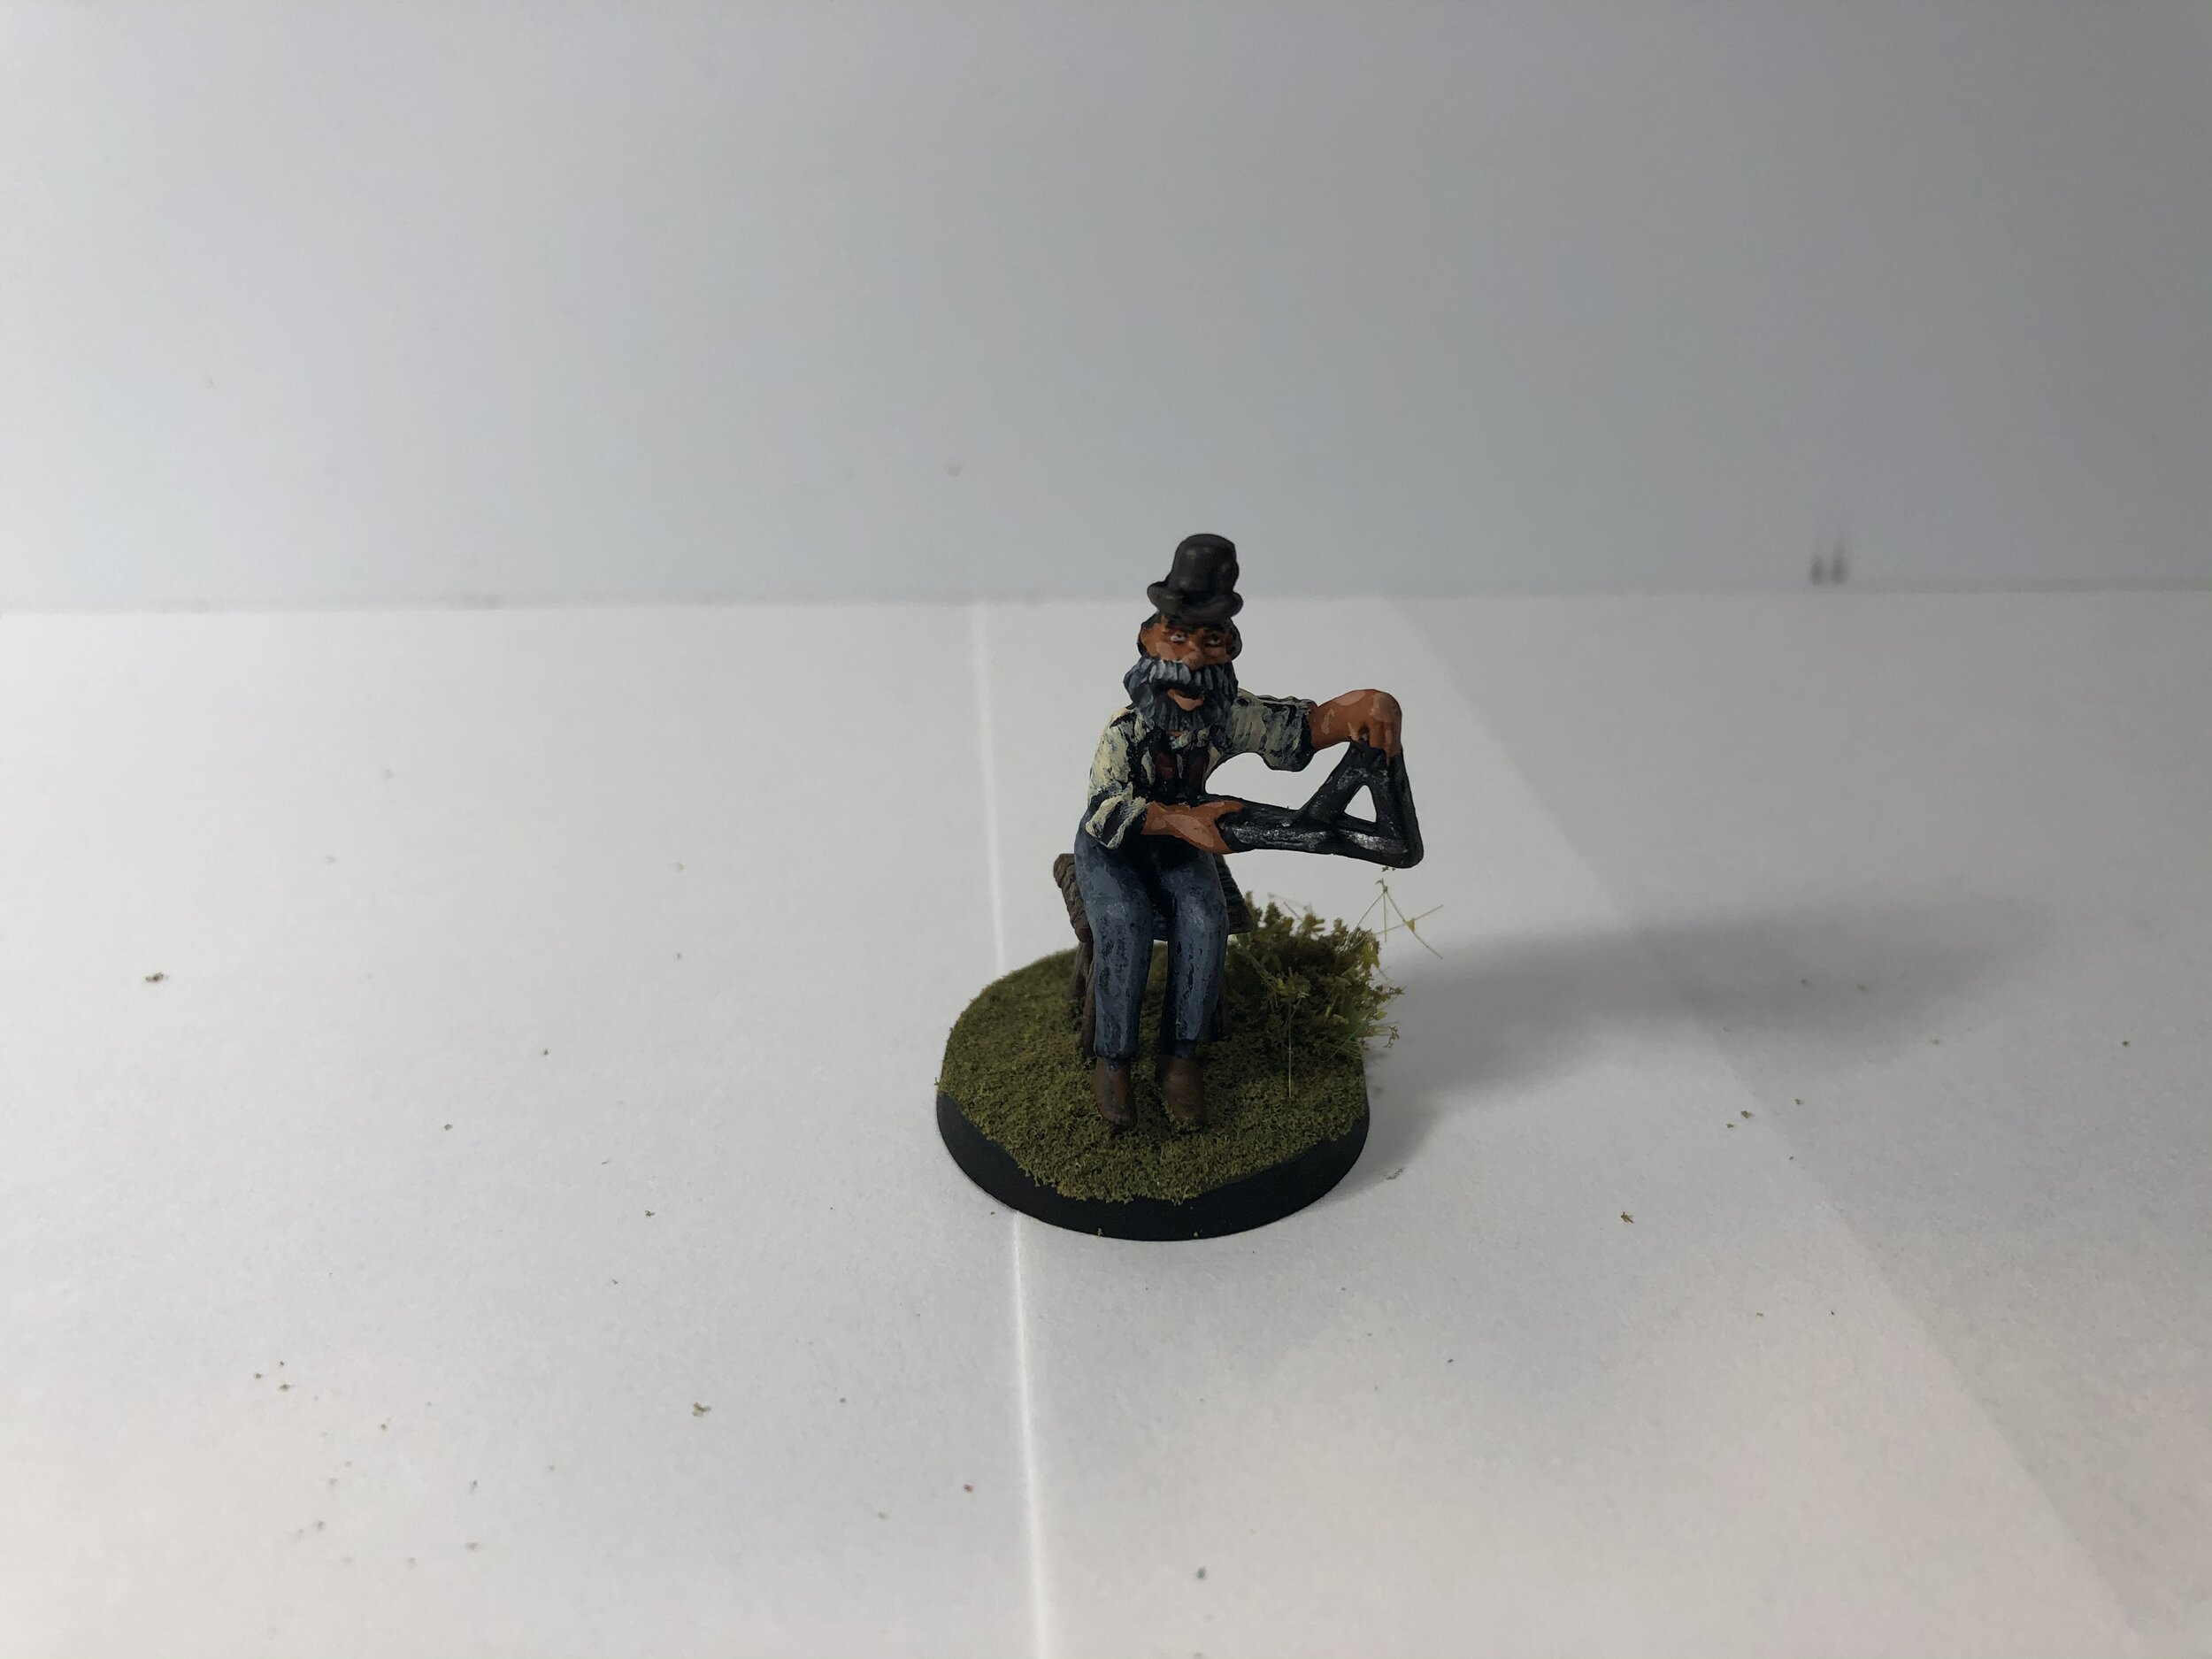
Shortly before I finished painting the bases, my order to Foundry arrived and there was one pack of figures in that order that is intended for the Loch Ness project… the deep-sea divers. The pack contains four figures and one air regulating machine. Of the four figures, I really like only two… a seated diver and the man running the machine. The only problem with the seated diver is that he isn’t wearing a diving helmet and no helmet for him was provided. To remedy that problem, I cut the helmet off of one of the other divers and set it on the base next to the seated diver. I also made a second regulating machine out of Evergreen plastic and a spare steering wheel I had in my odds-and-ends box. The diver now missing a head was given a new head without a helmet so that he can be used walking on deck or the dock.
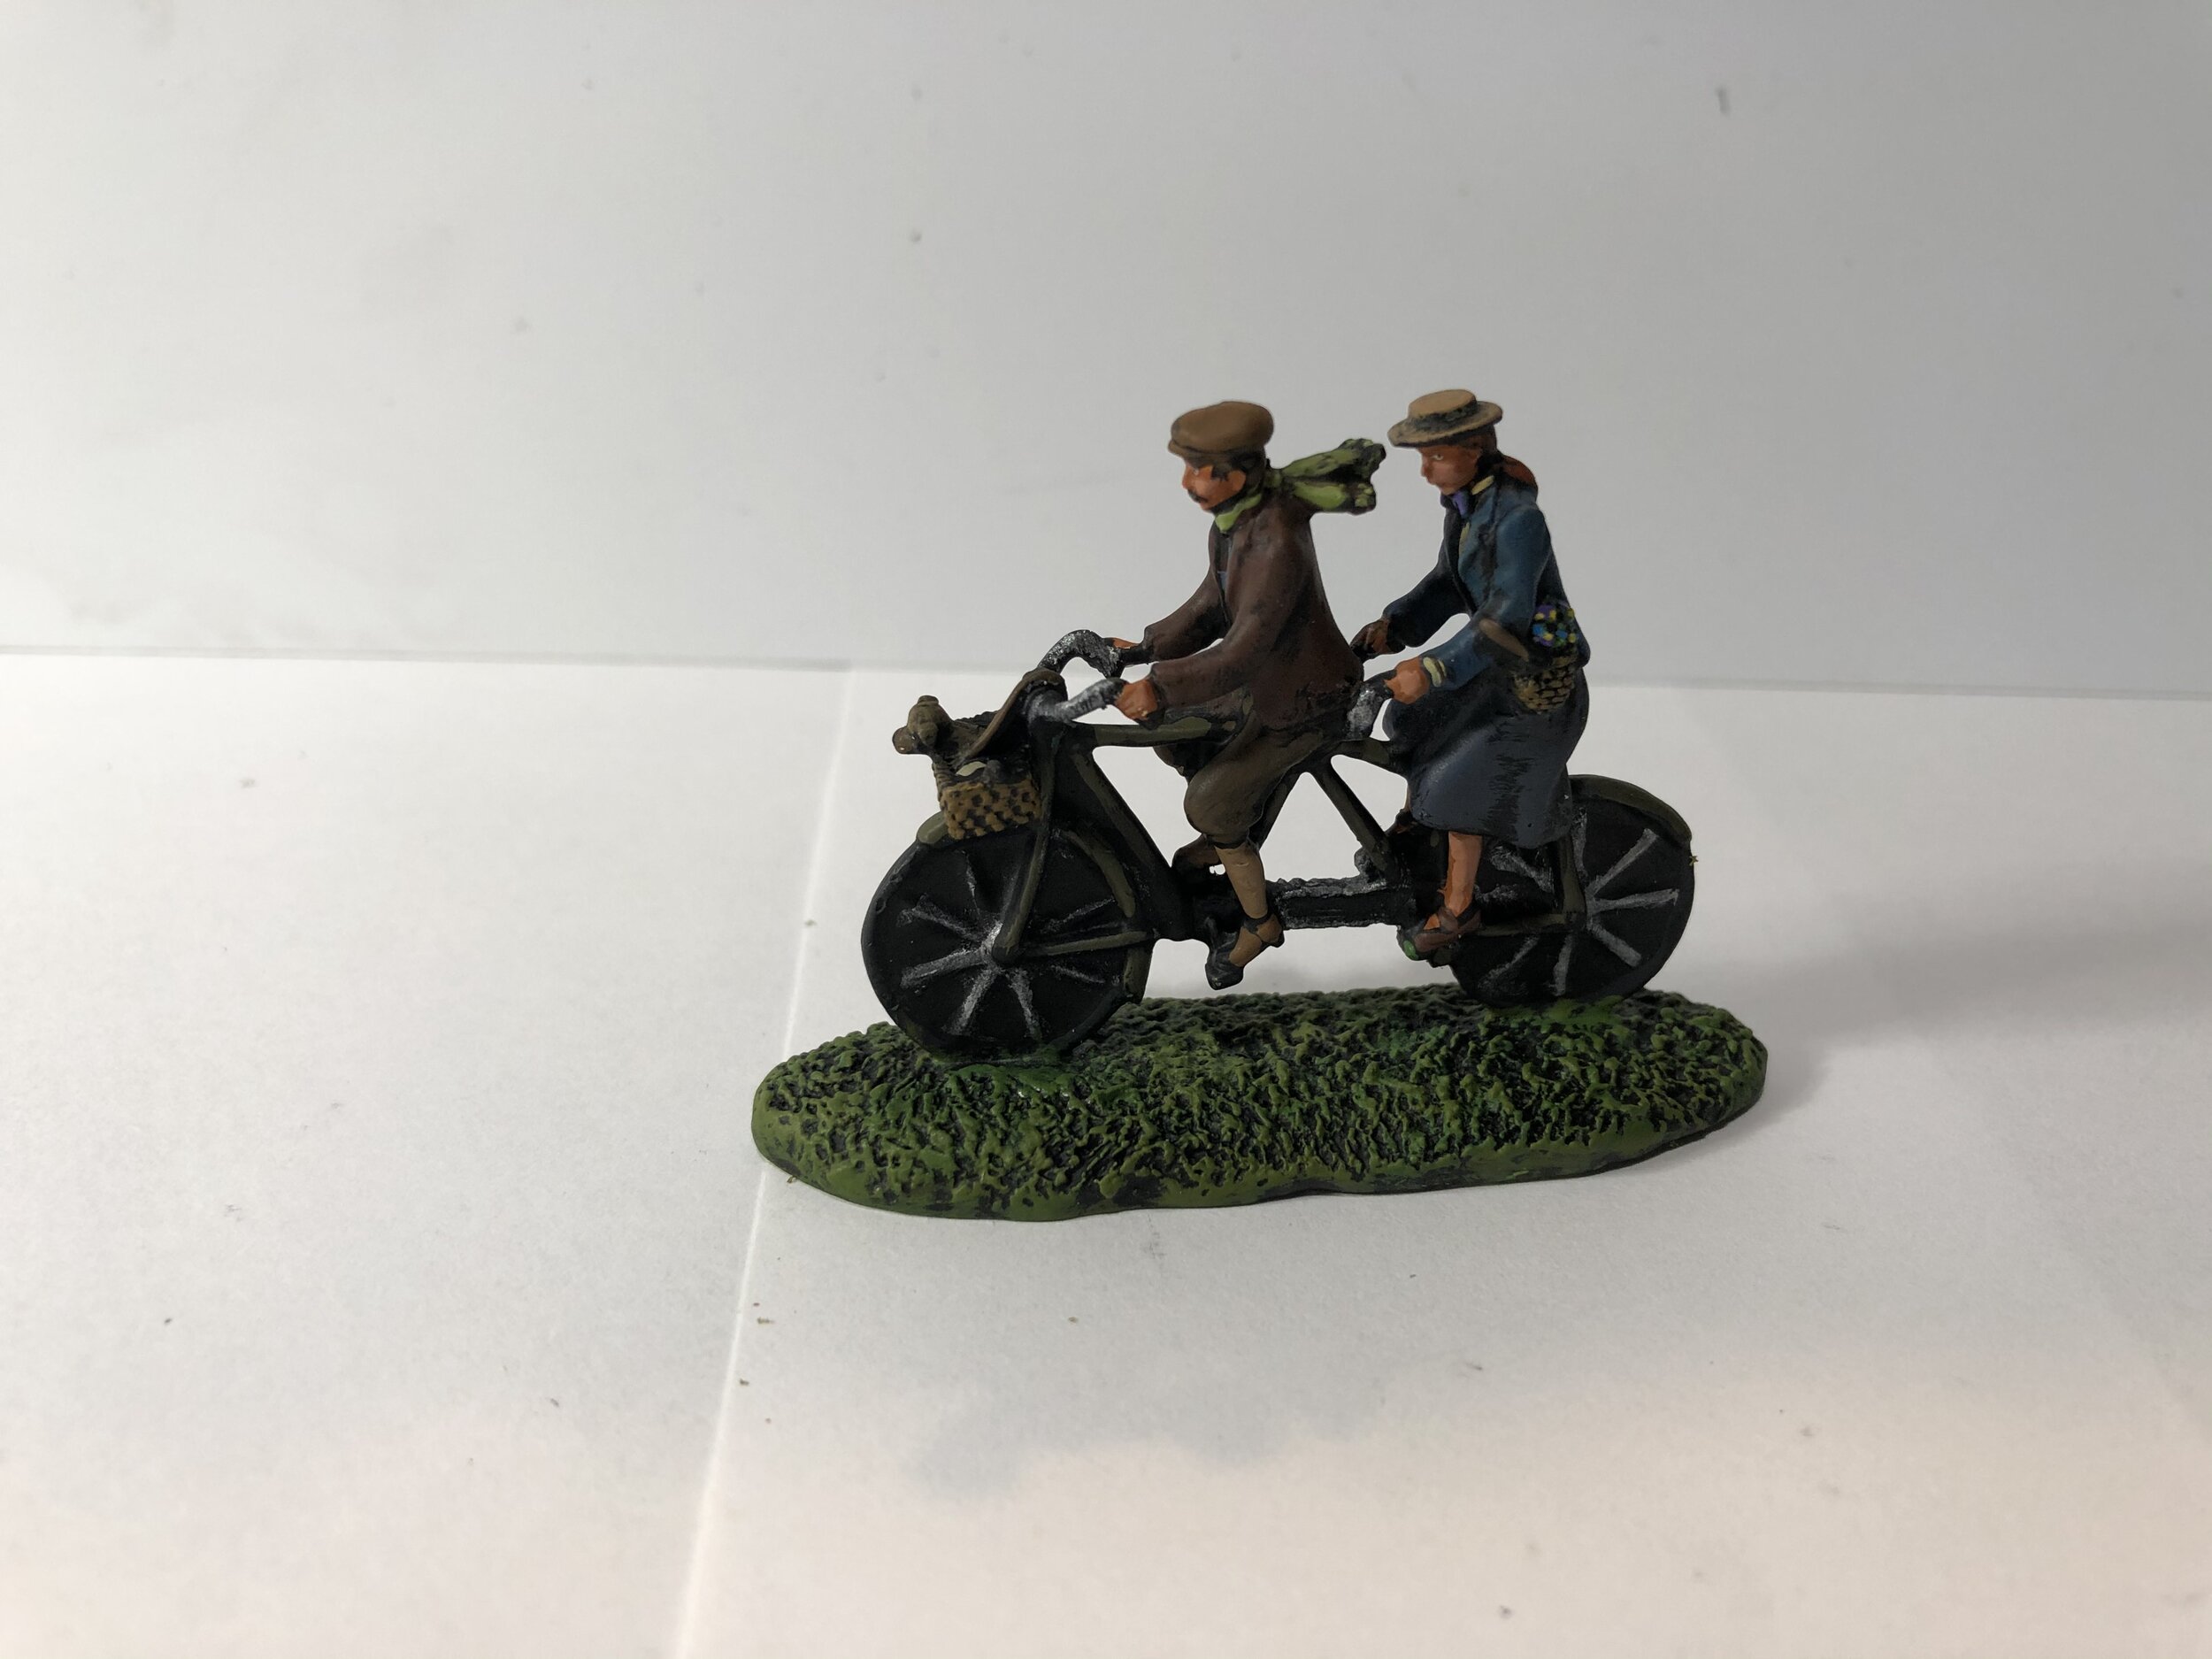
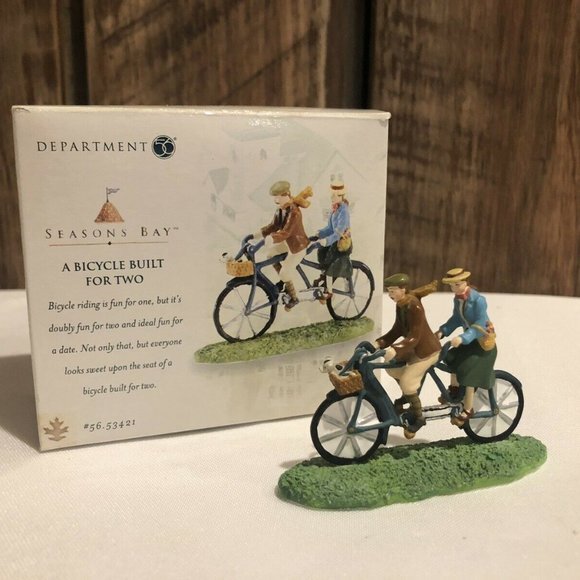
While looking for the steering wheel for my scratch-built regulating machine, I found a bicycle -built-for-two by Dept. 56 that I purchased at the swap meet a couple years ago and I decided to include it with my Loch Ness project. It is metal and came prepainted, but I gave it a new paint job so it would match the rest of the collection in terms of paint style.
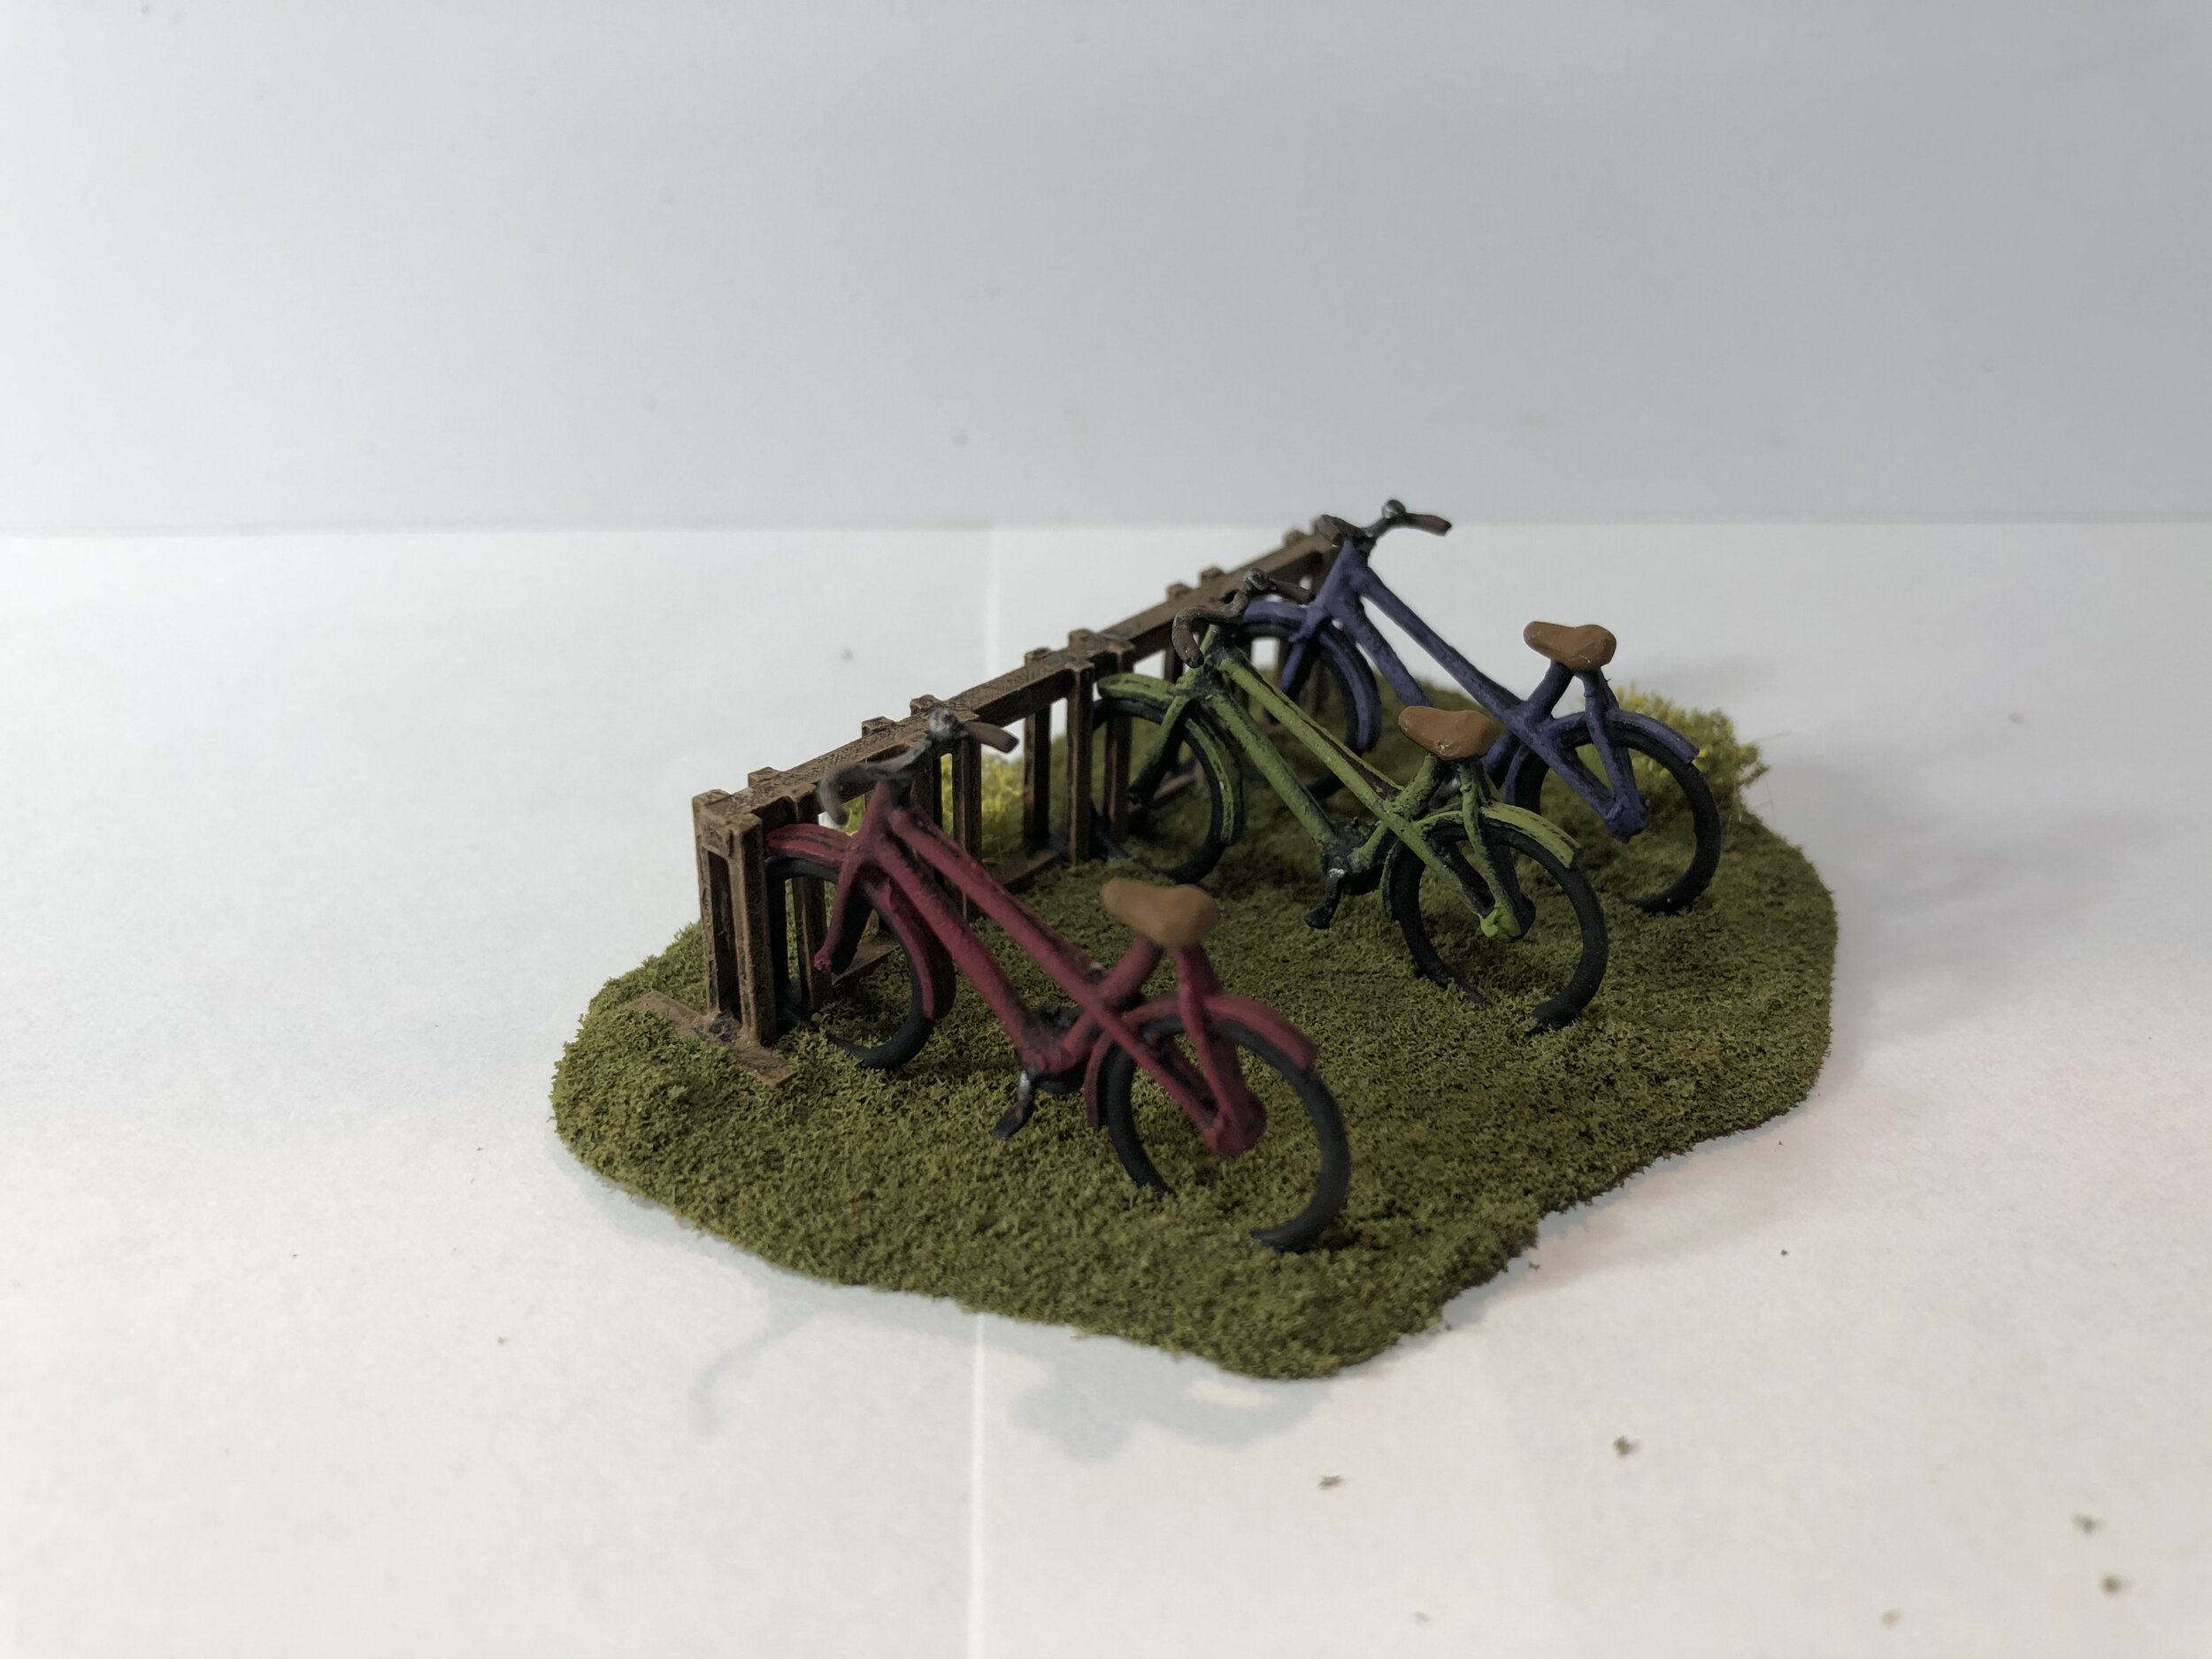
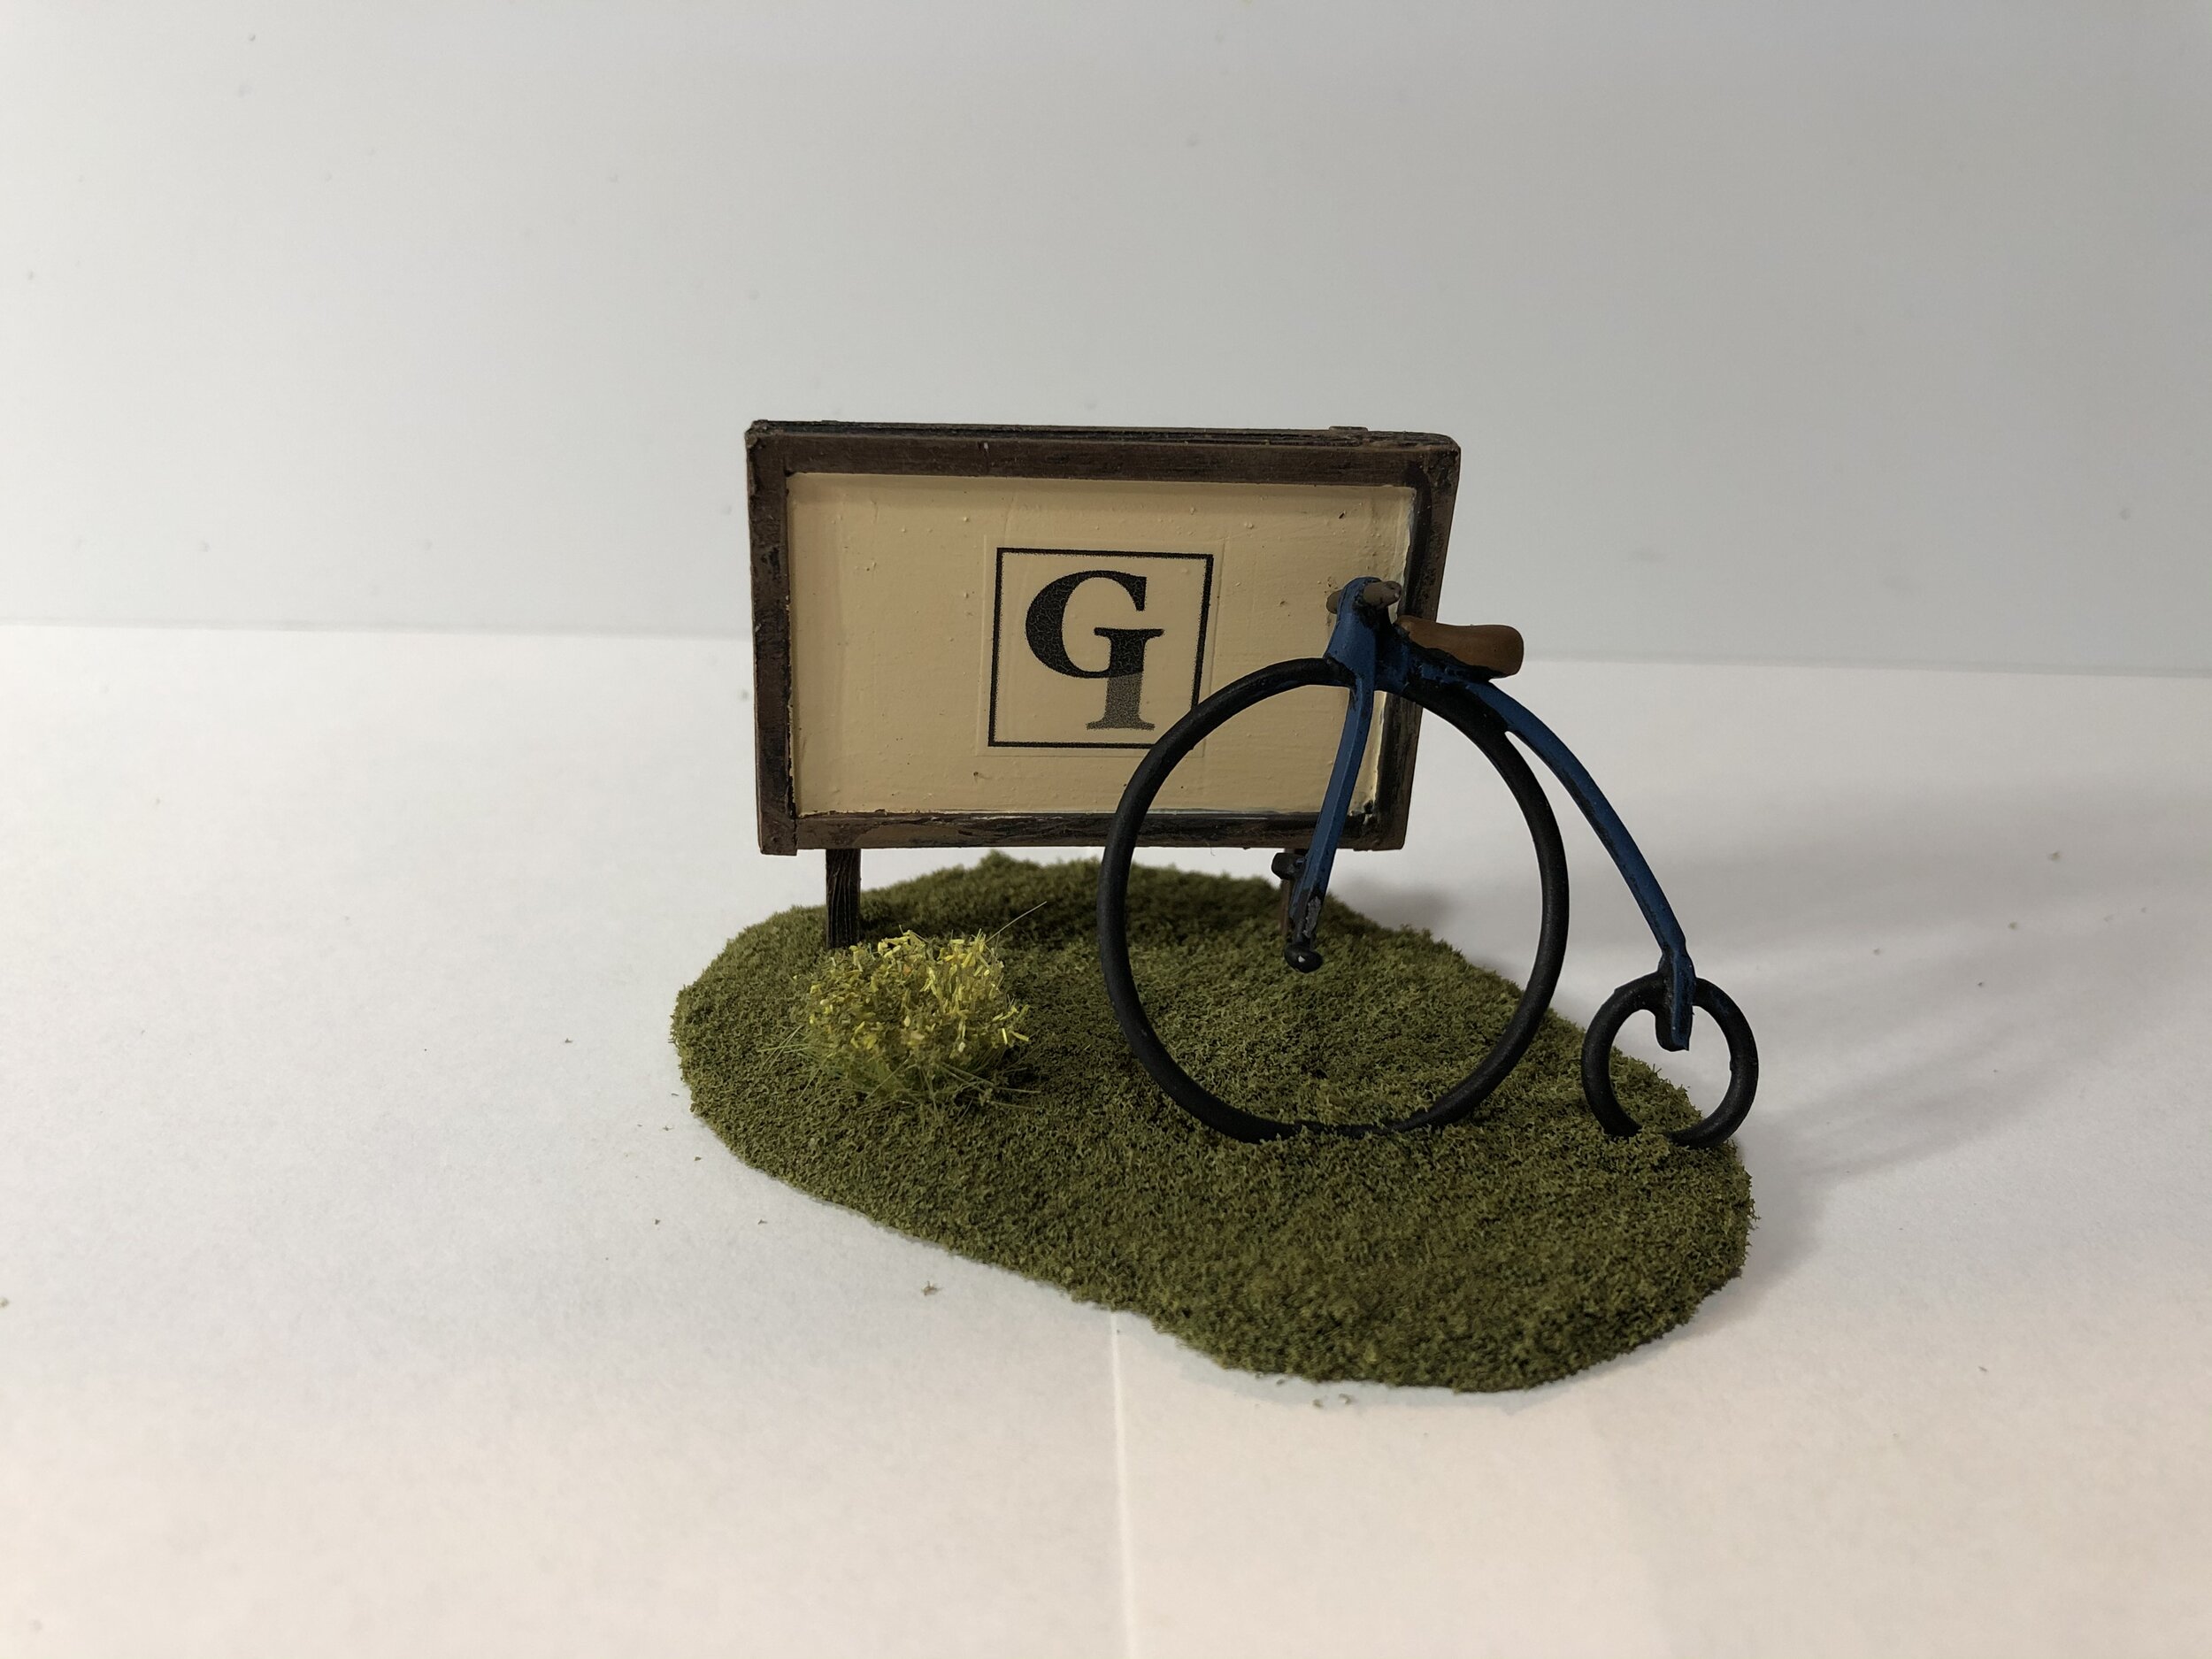
A second delivery came this week, this time from Eureka. It included some bicycles and a penny farthing that I want to include in the Loch Ness collection. These were without riders so they needed something they could lean on that allowed them to become part of the terrain. For the bicycles I built a bike rack out of Evergreen plastic and based it and the bicycles on Milliput. For the penny farthing I simply leaned it against one of my Gordon Institute signs.
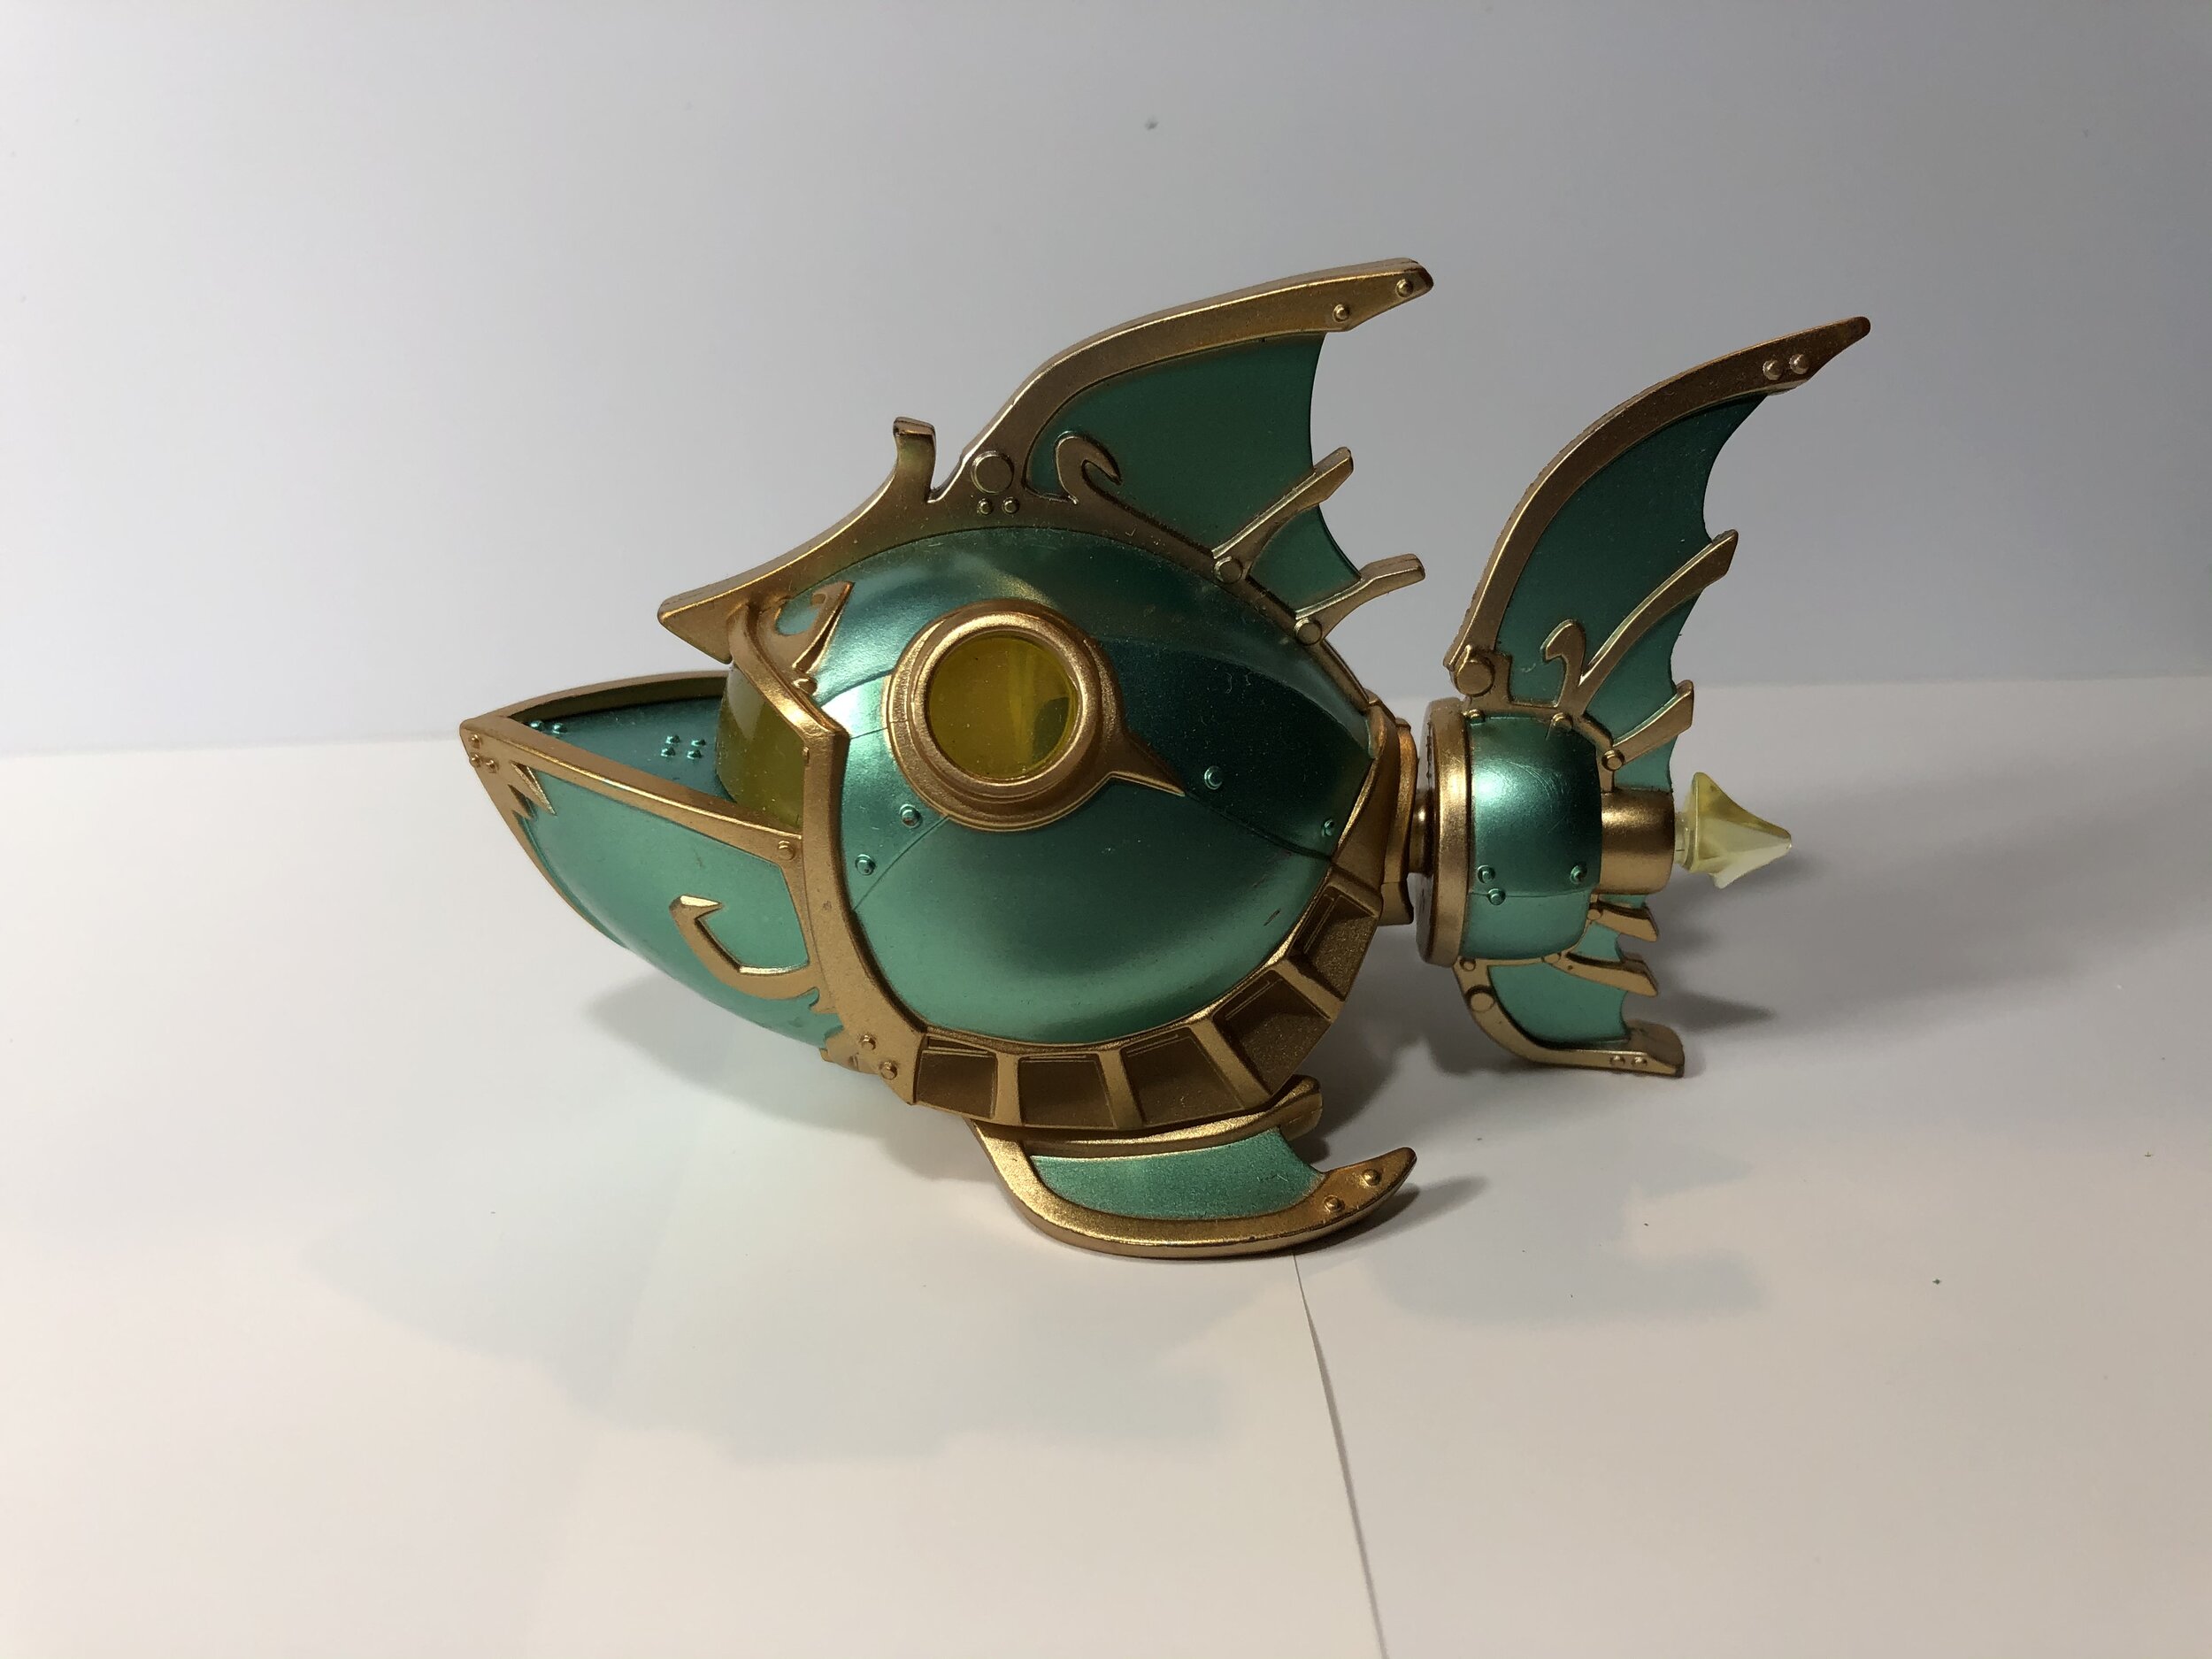
I closed out the week doing some Milliput basing. My Crooked Dice sea monster arrived so it got a base of Milliput to provide a water surround, and I decided to revisit a sloop that I repurposed more than a year ago. At that time, I cut it to waterline, but was never happy with it so I decided to cut it down a little more. It was risky… could have destroyed the whole thing. It turned out okay, and I gave it a new waterline surround with Milliput.
November 22, 2020
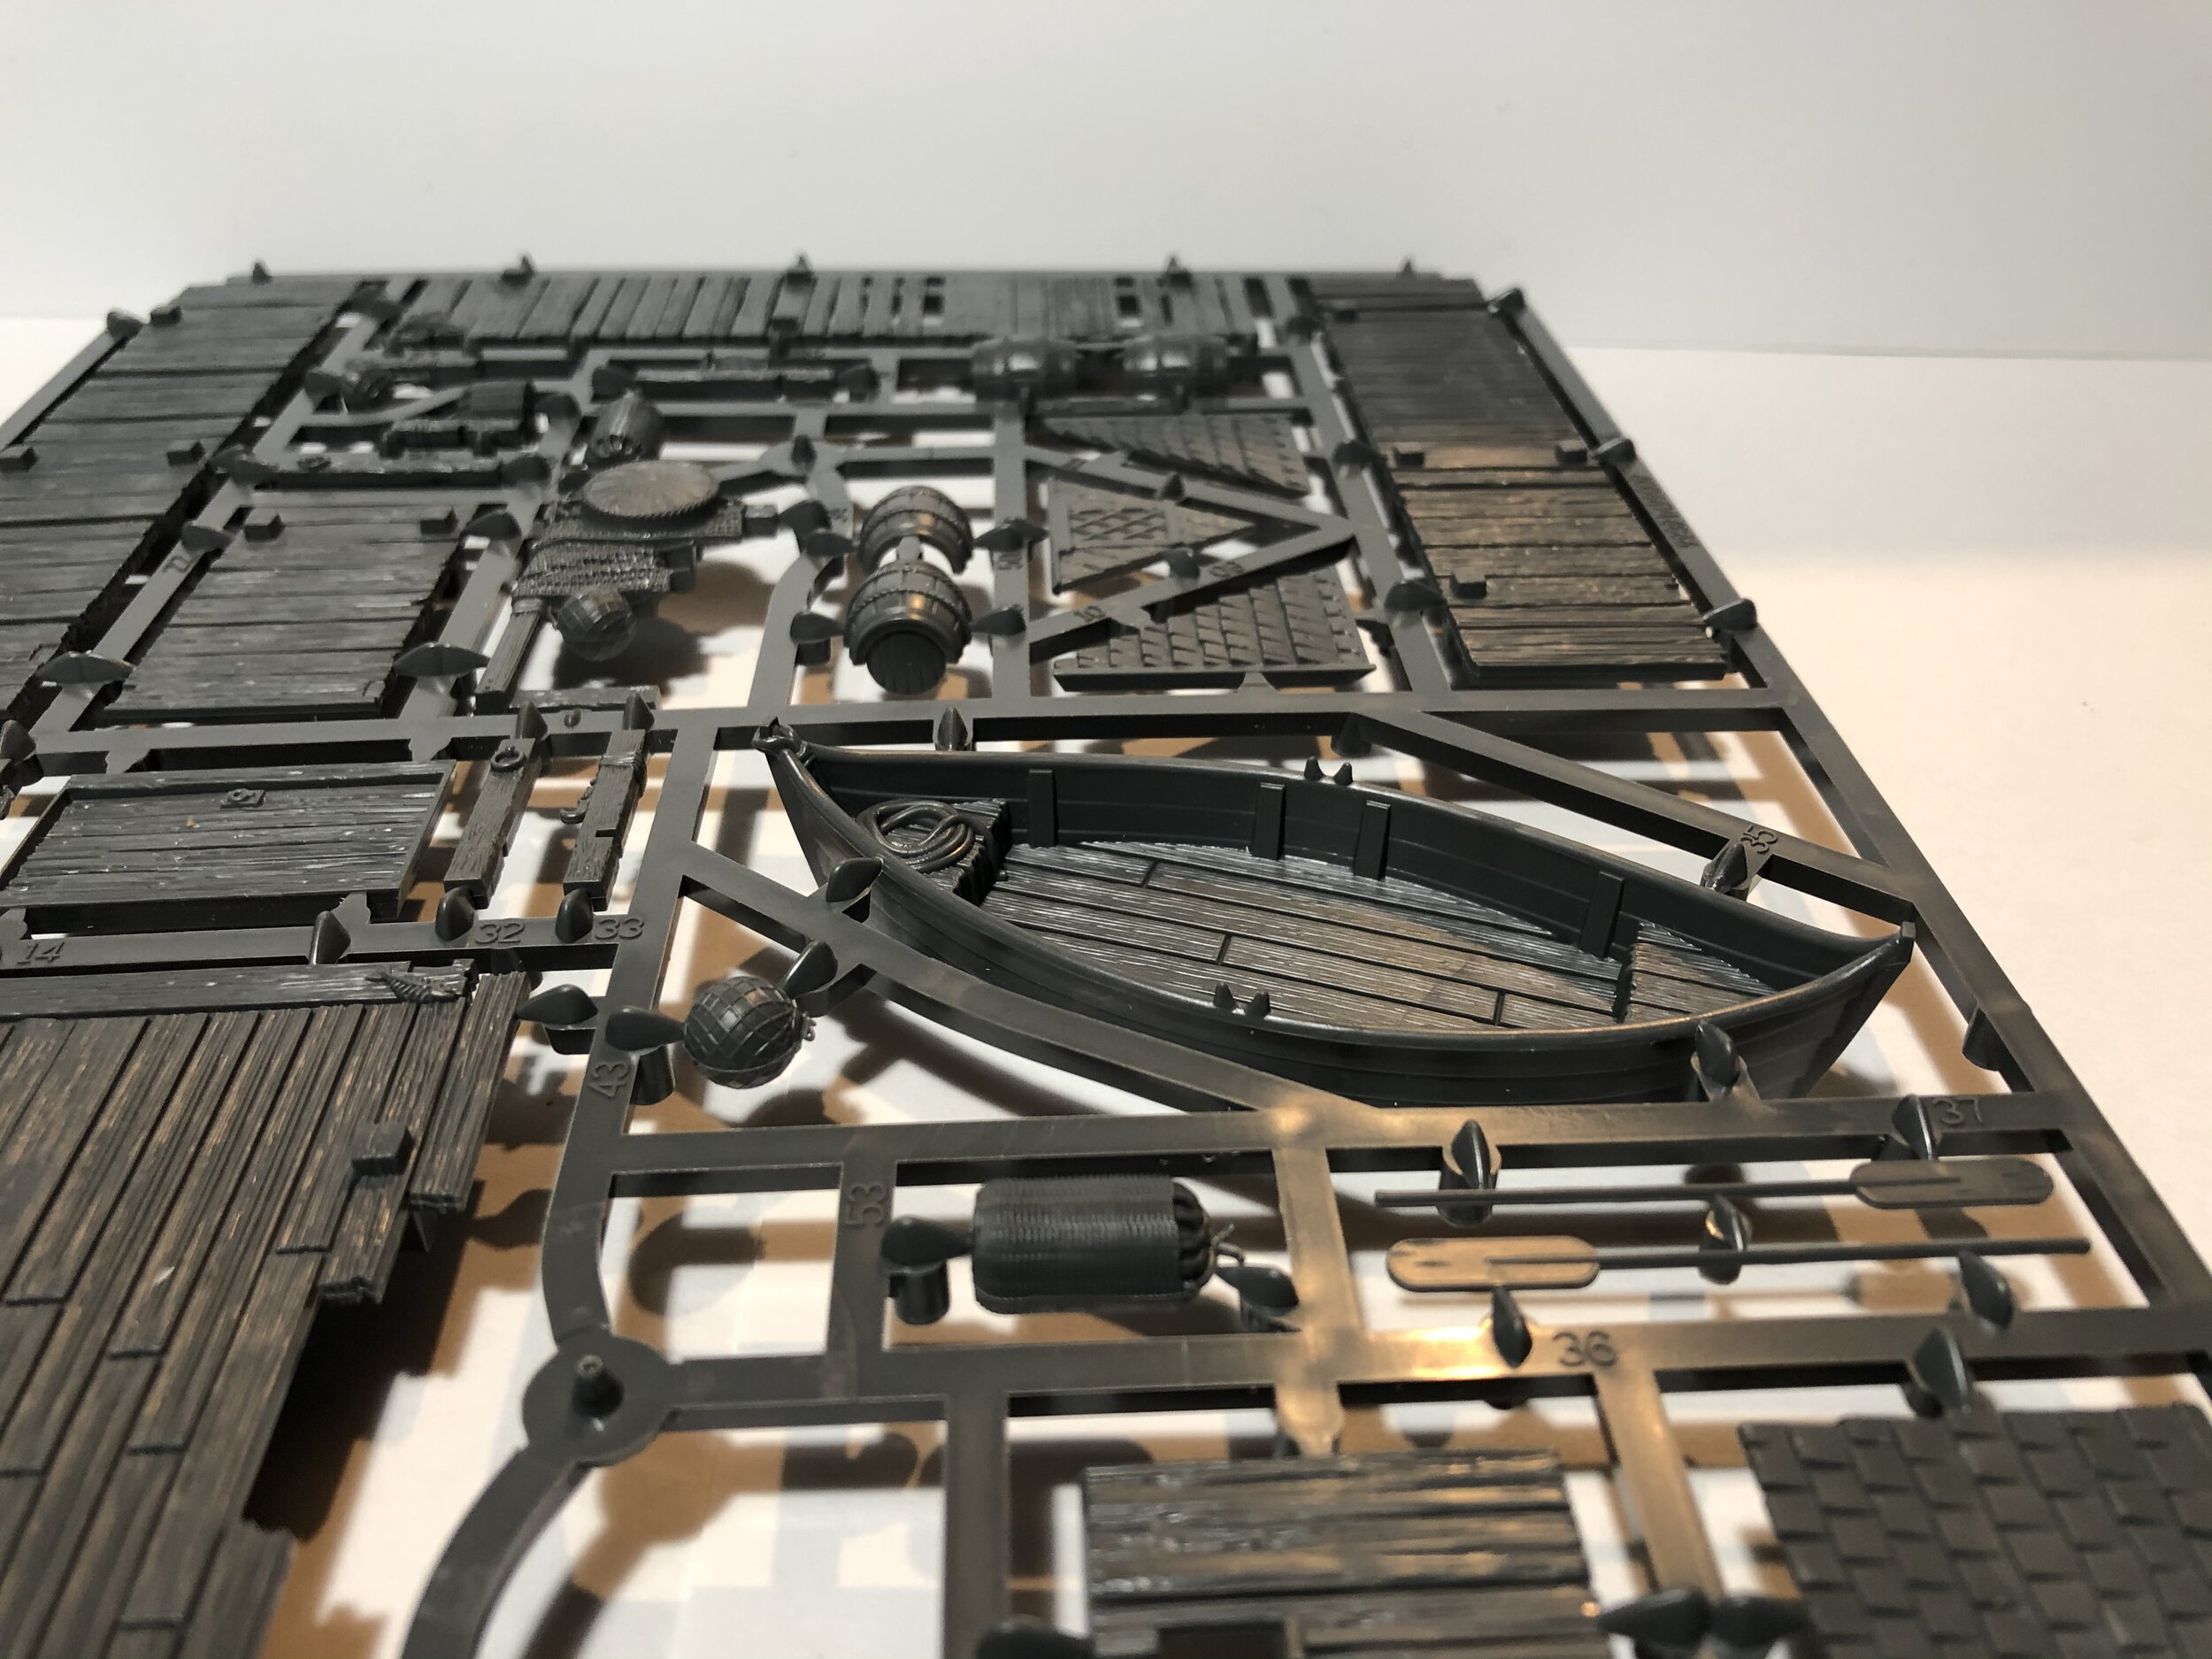
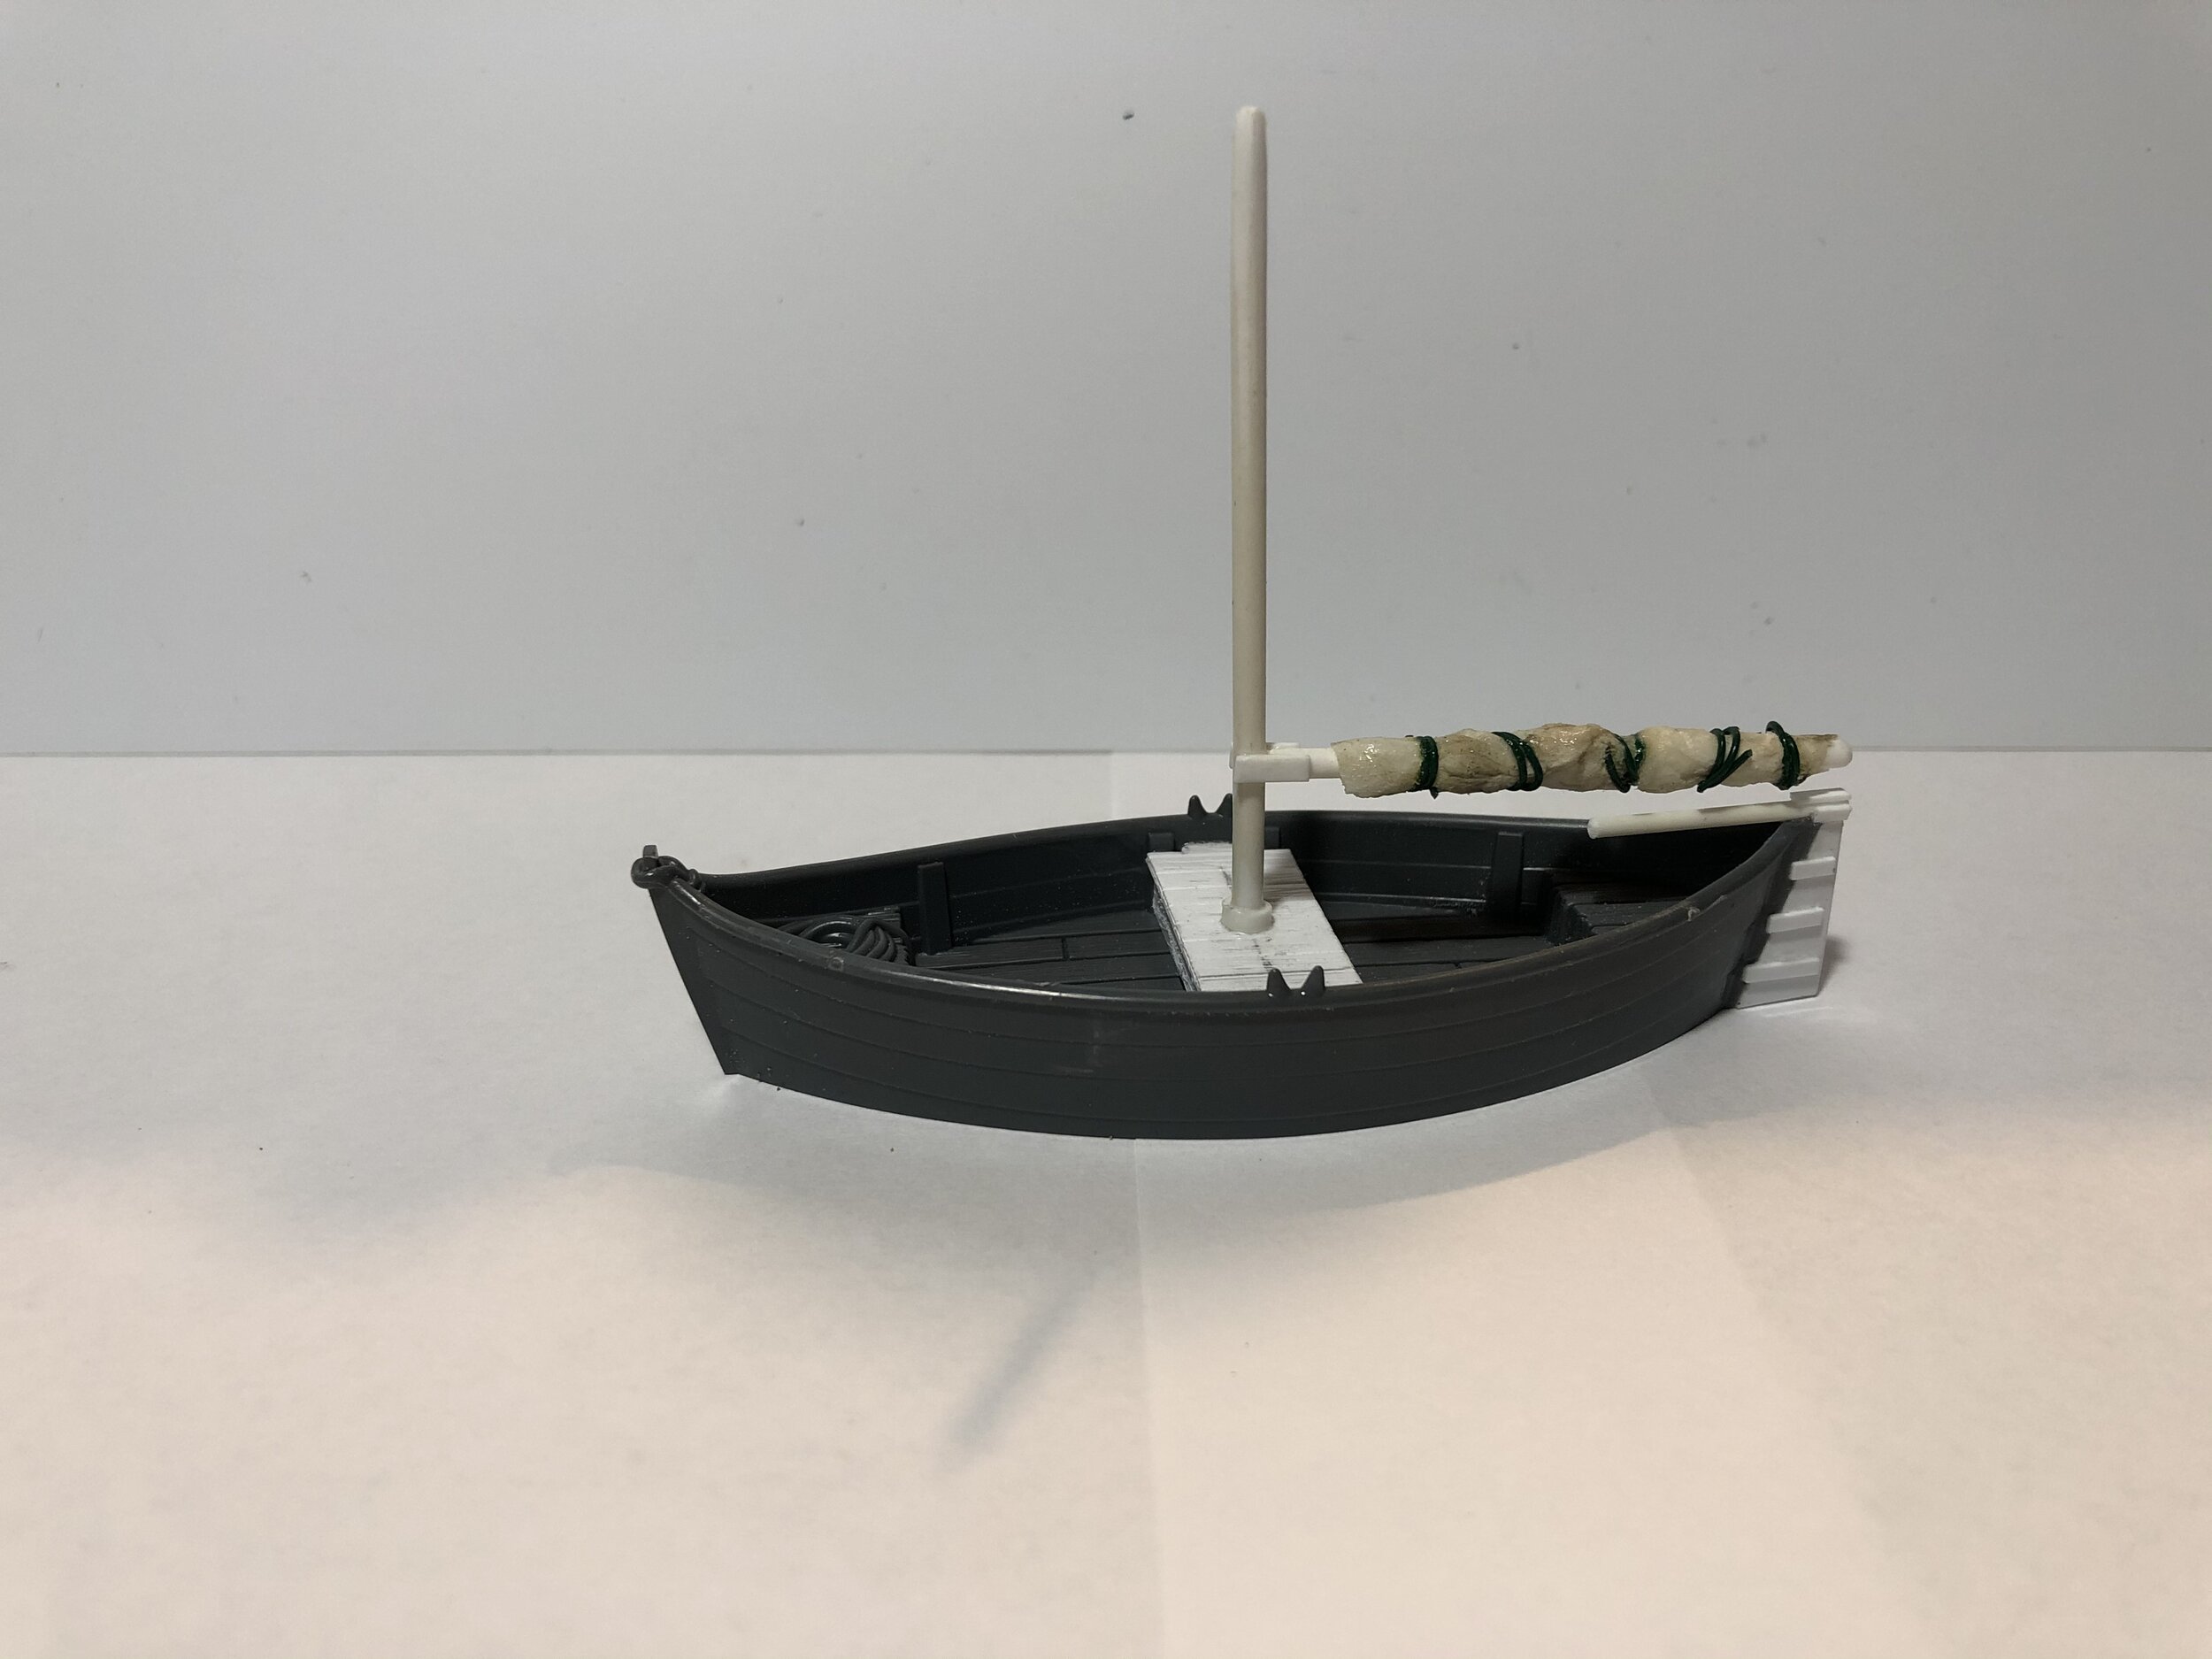
I’ve been working on my 28mm Gordon Institute Loch Ness project since June, and I hope to have the work done by the end of this month. At this point in one of these projects, things begin to slow because the next item on the project’s agenda is not as clear as it was at the beginning when there were lots of obvious things to be done. I’m at a stage where I am asking myself whether I have forgotten something(s) or is there something that I should do that hadn’t been part of the original plan. One of the things that came up recently is something I have been thinking about for a couple months but hadn’t gotten around to doing… turning one of the Citadel Lake Town House rowboats into a sailboat. In order to do that I needed to make some modifications to the original boat’s hull. I had to make a center seat or platform that the mast could be set in. I had to give the mast a boom for the sail. Unlike a rowboat the sailboat needed a tiller and rudder. All of these I made with Evergreen plastic. The furled sail I made with facial tissue wrapped with floral wire and hardened with a coat of clear enamel paint. With all that done, I gave it a simple dry-brush paint job, and I had my sailboat.
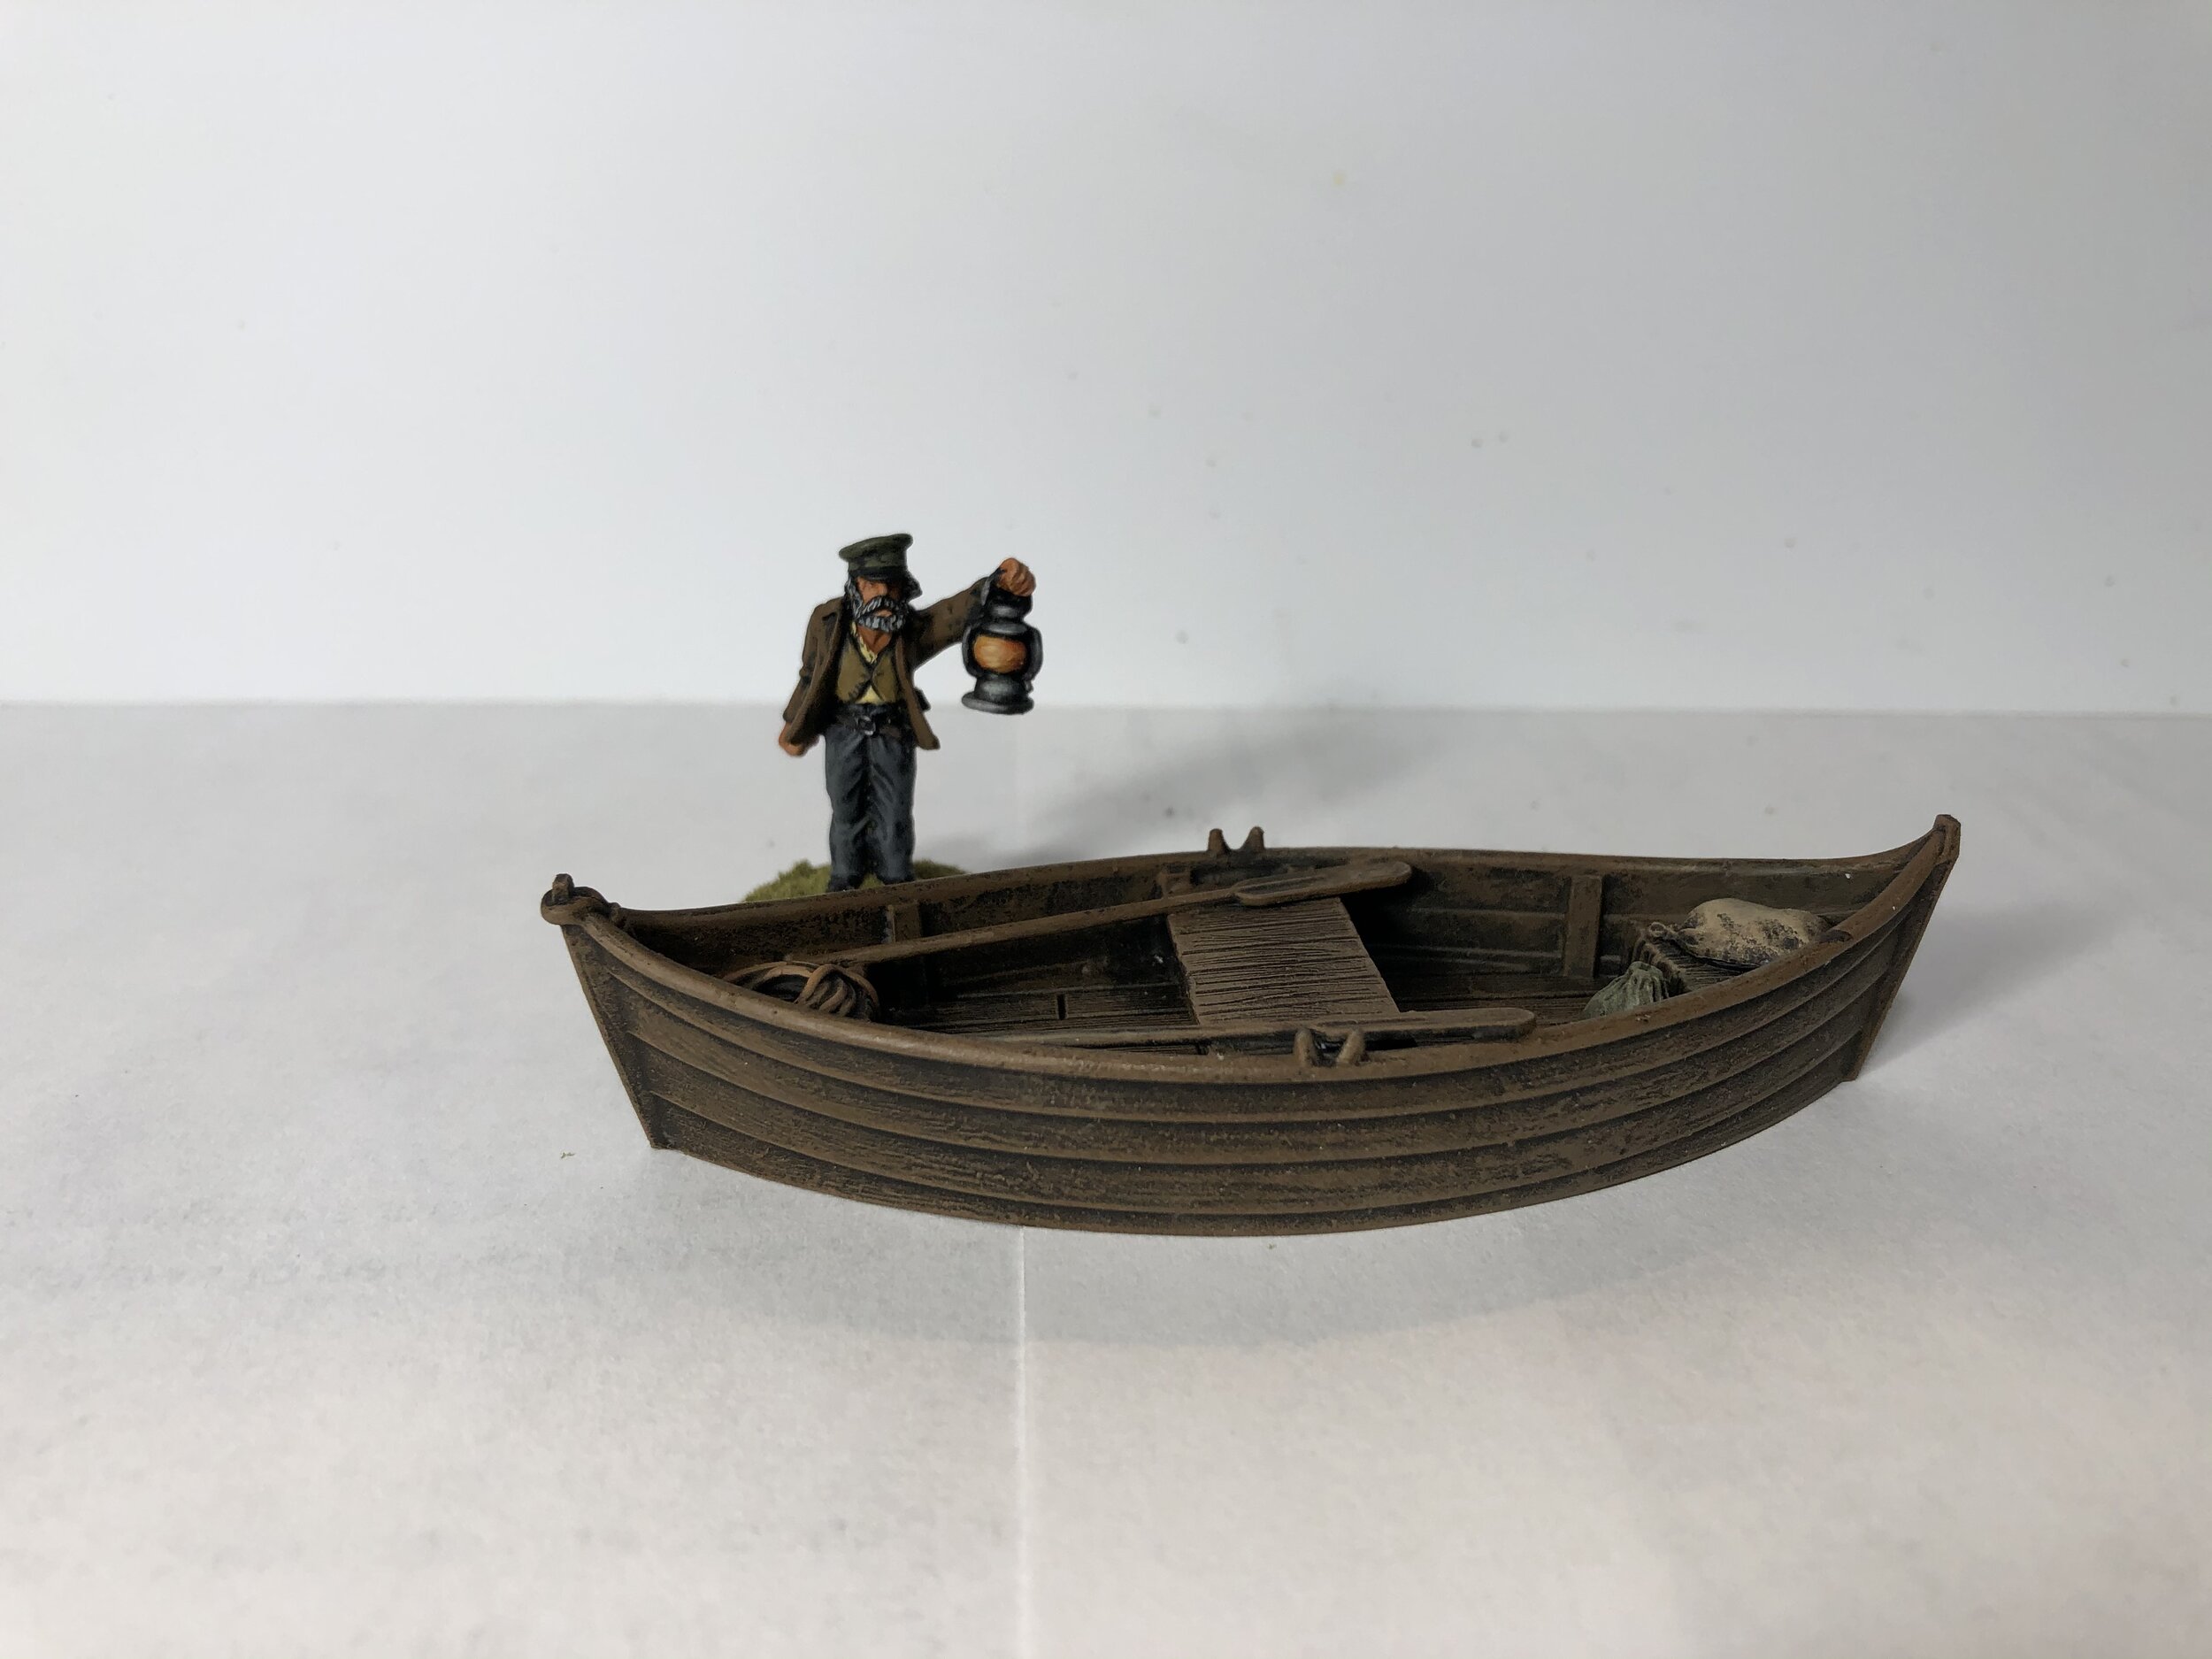
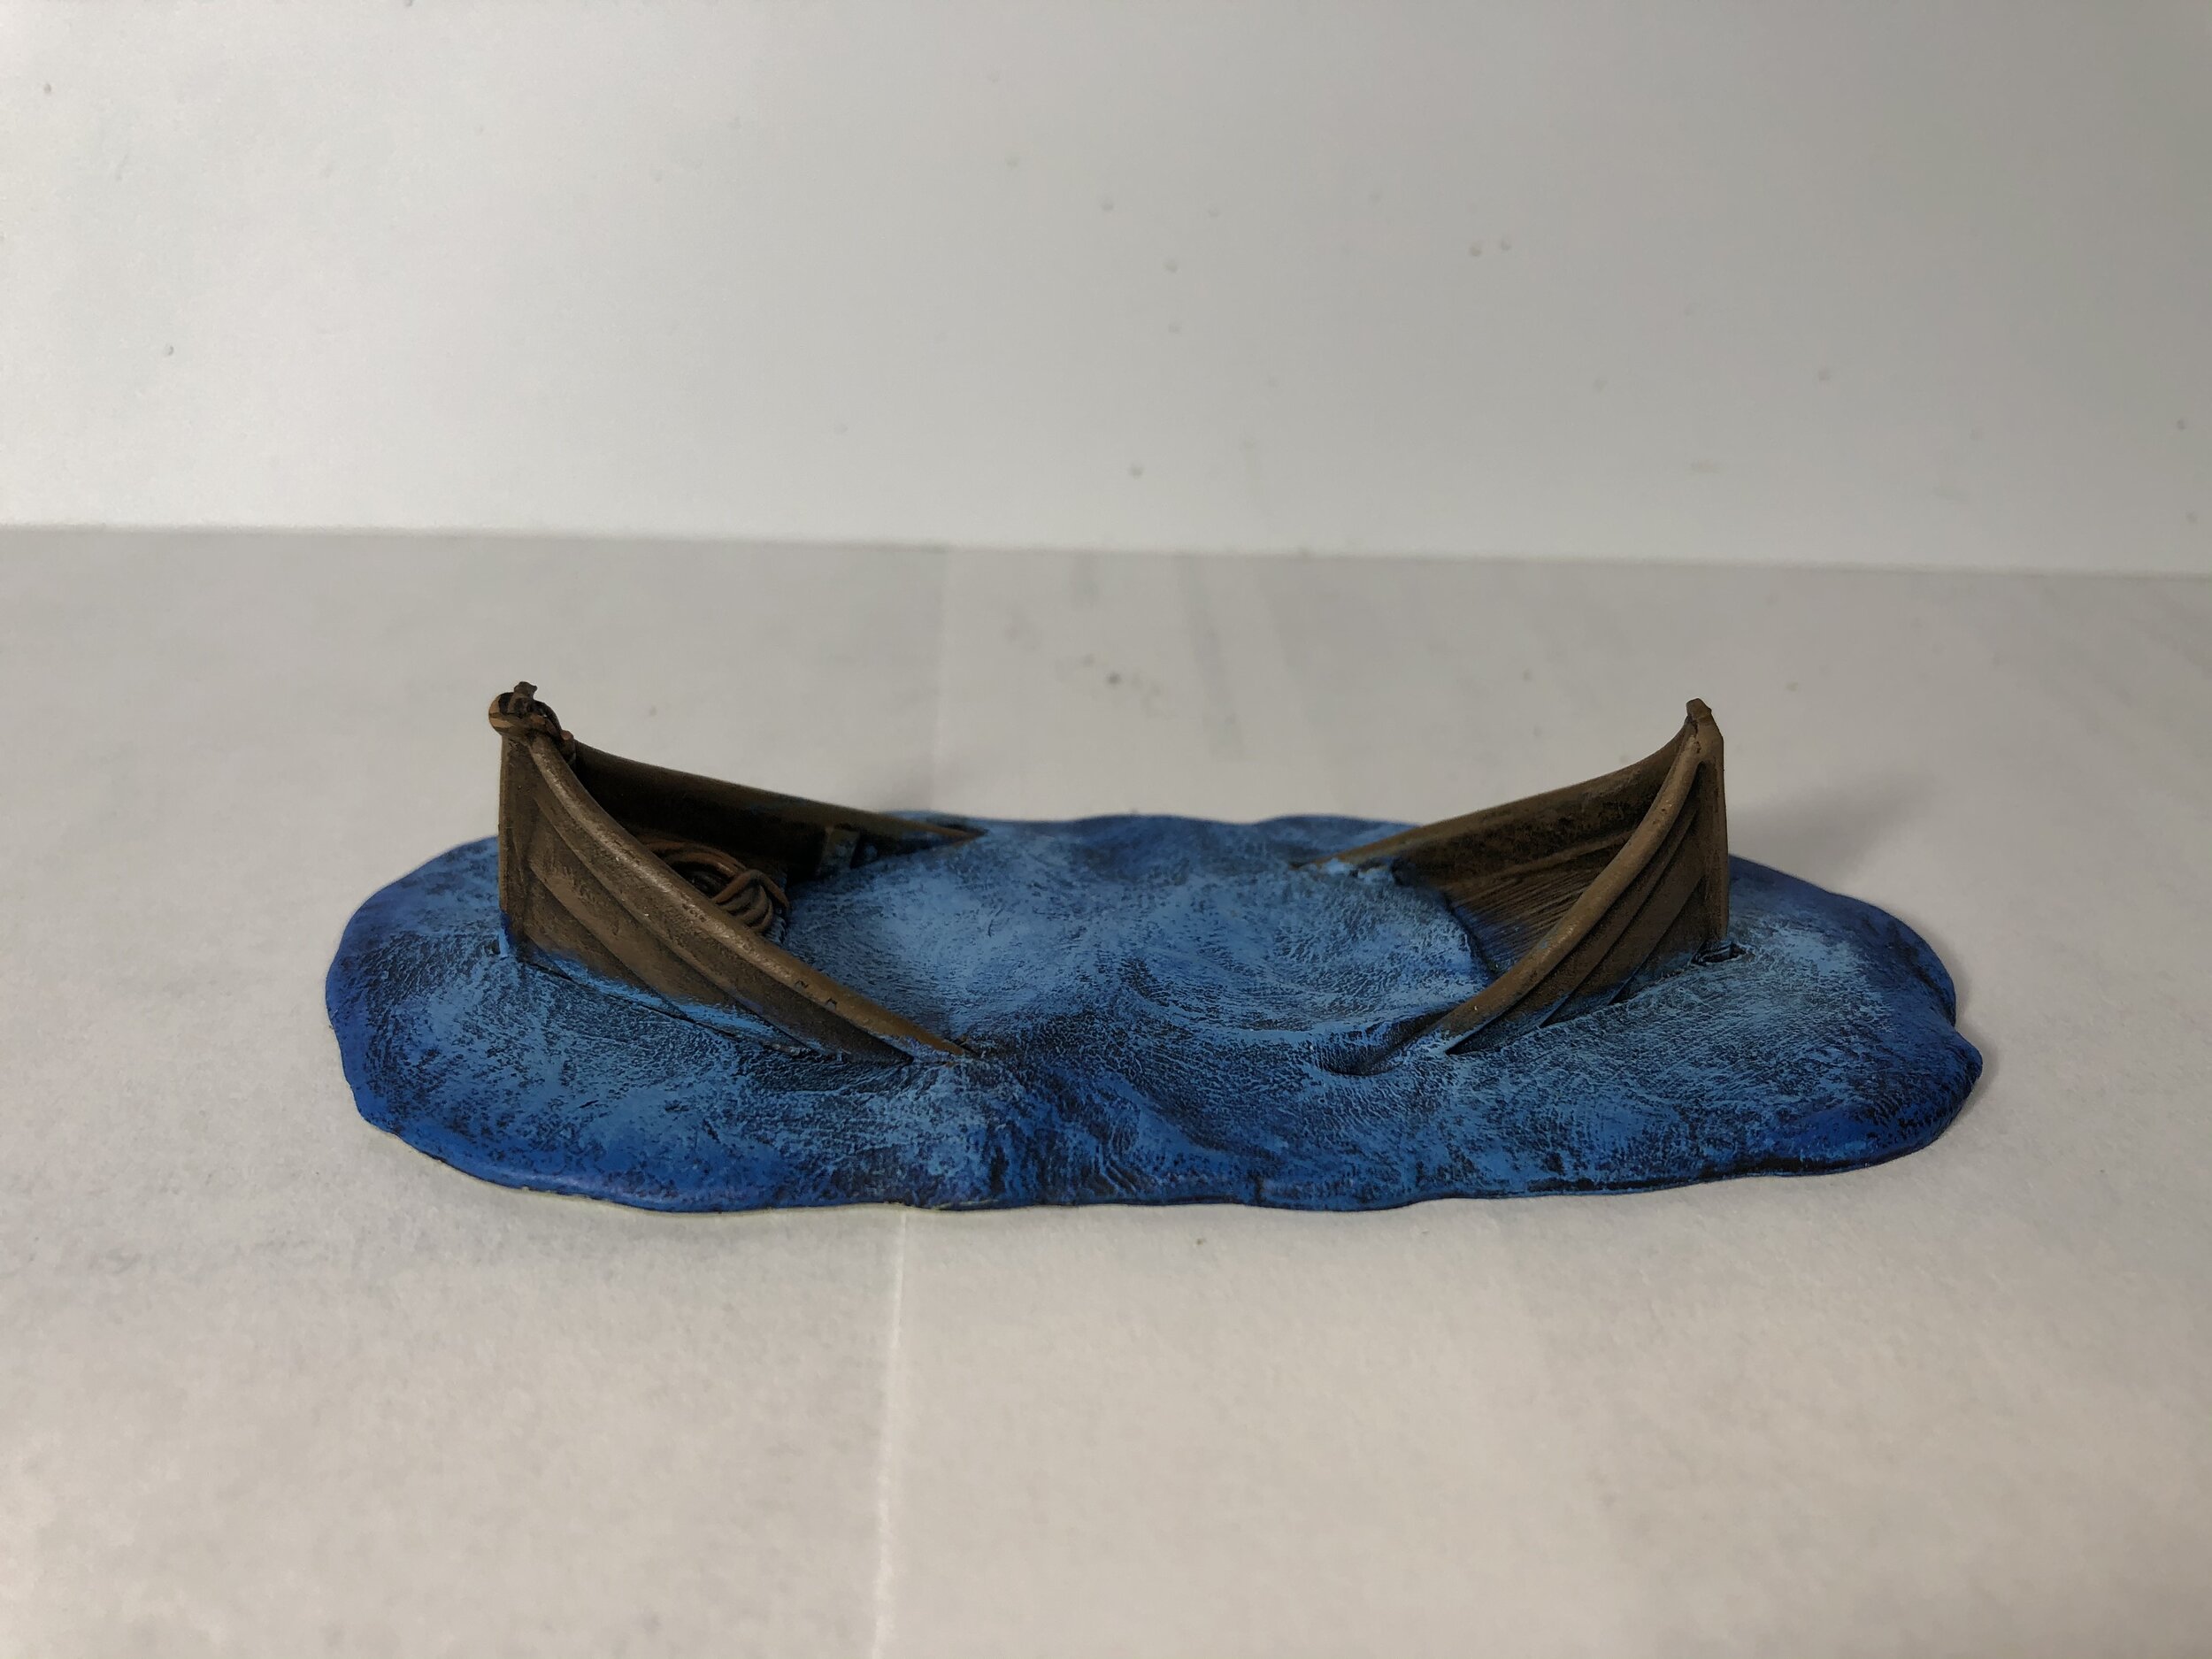
With the sailboat done I turned to the last two of my Citadel Lake Town House rowboats. One I did with very little modification. I added a center bench using Evergreen Plastic, and I added a couple of Tamiya 1/48 scale bags from their Jerry Can Set. The other boat underwent more dramatic modification since I thought it would be good to have a sinking boat that may have had a negative experience with a mysterious creature.
One of the submersibles I will be using with my Gordon Institute Loch Ness collection is a Skylander toy. I have two of them. One I have placed on a pole so I can use it underwater. The other is self-standing. In order to use that one, I am placing it on blocks for inspection and minor repairs before setting out on her next voyage. The blocks it (the Nemo) rests on are made from Evergreen plastic and the buttresses are by Games Workshop.
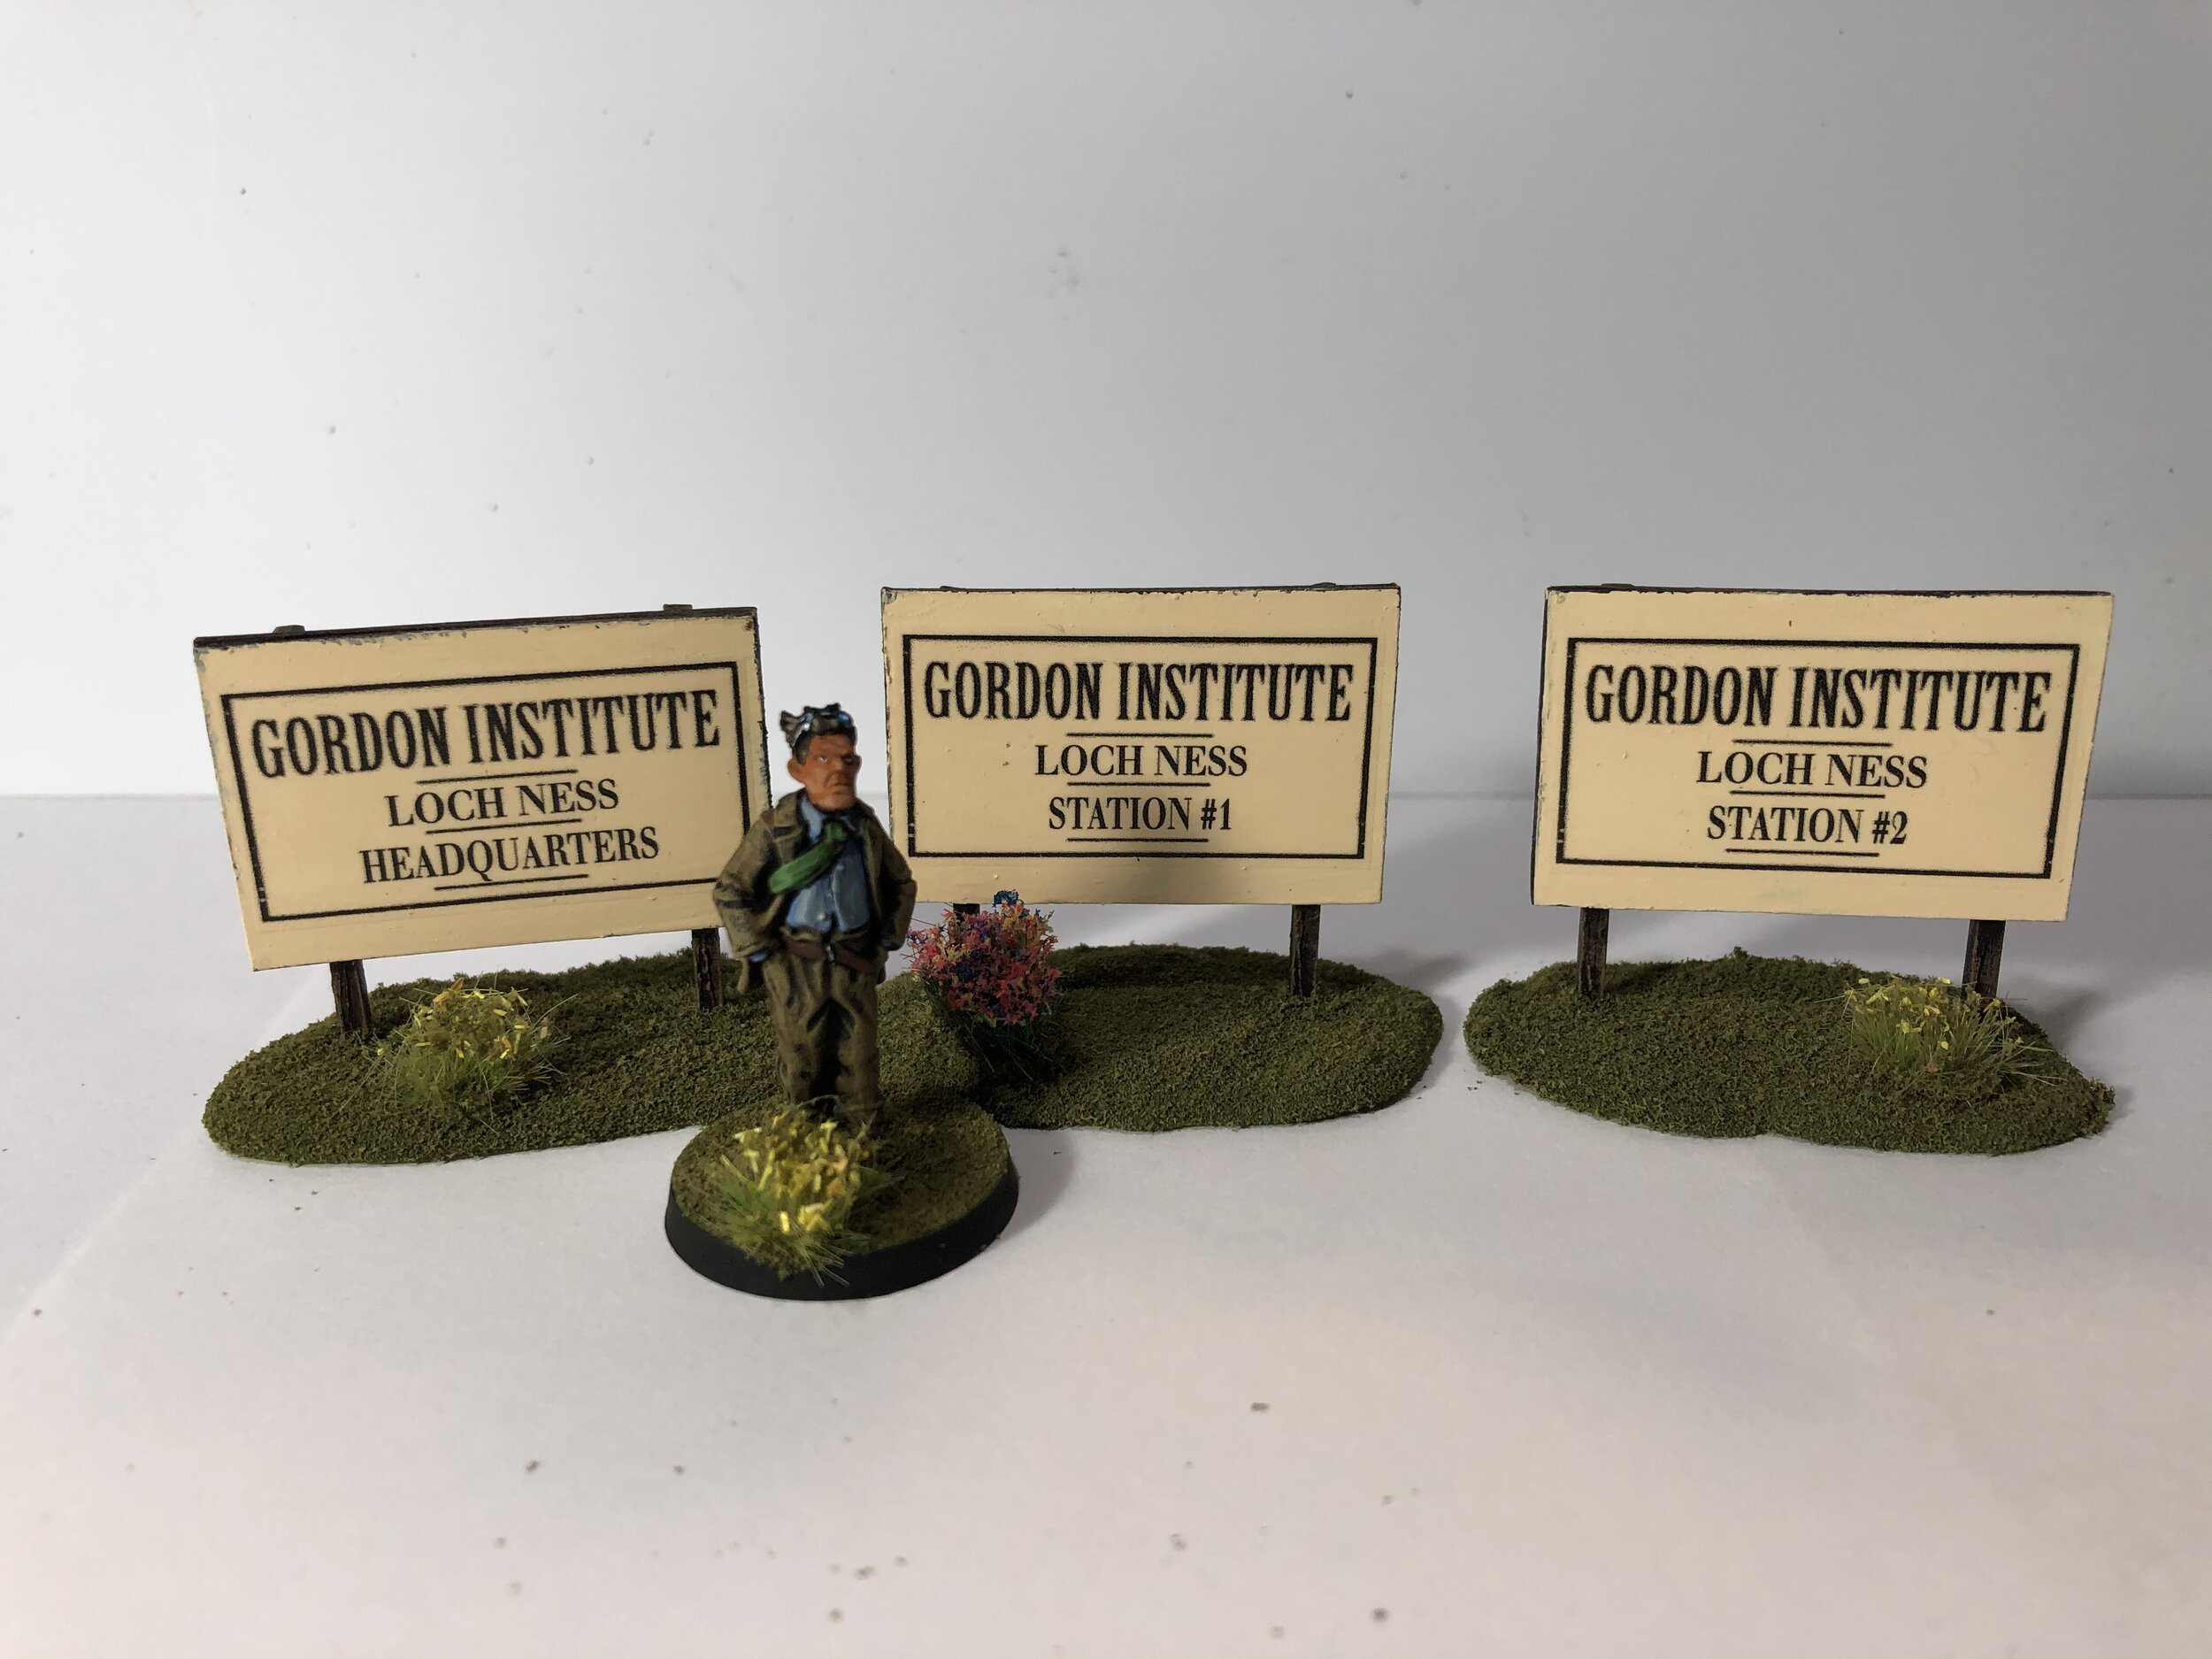
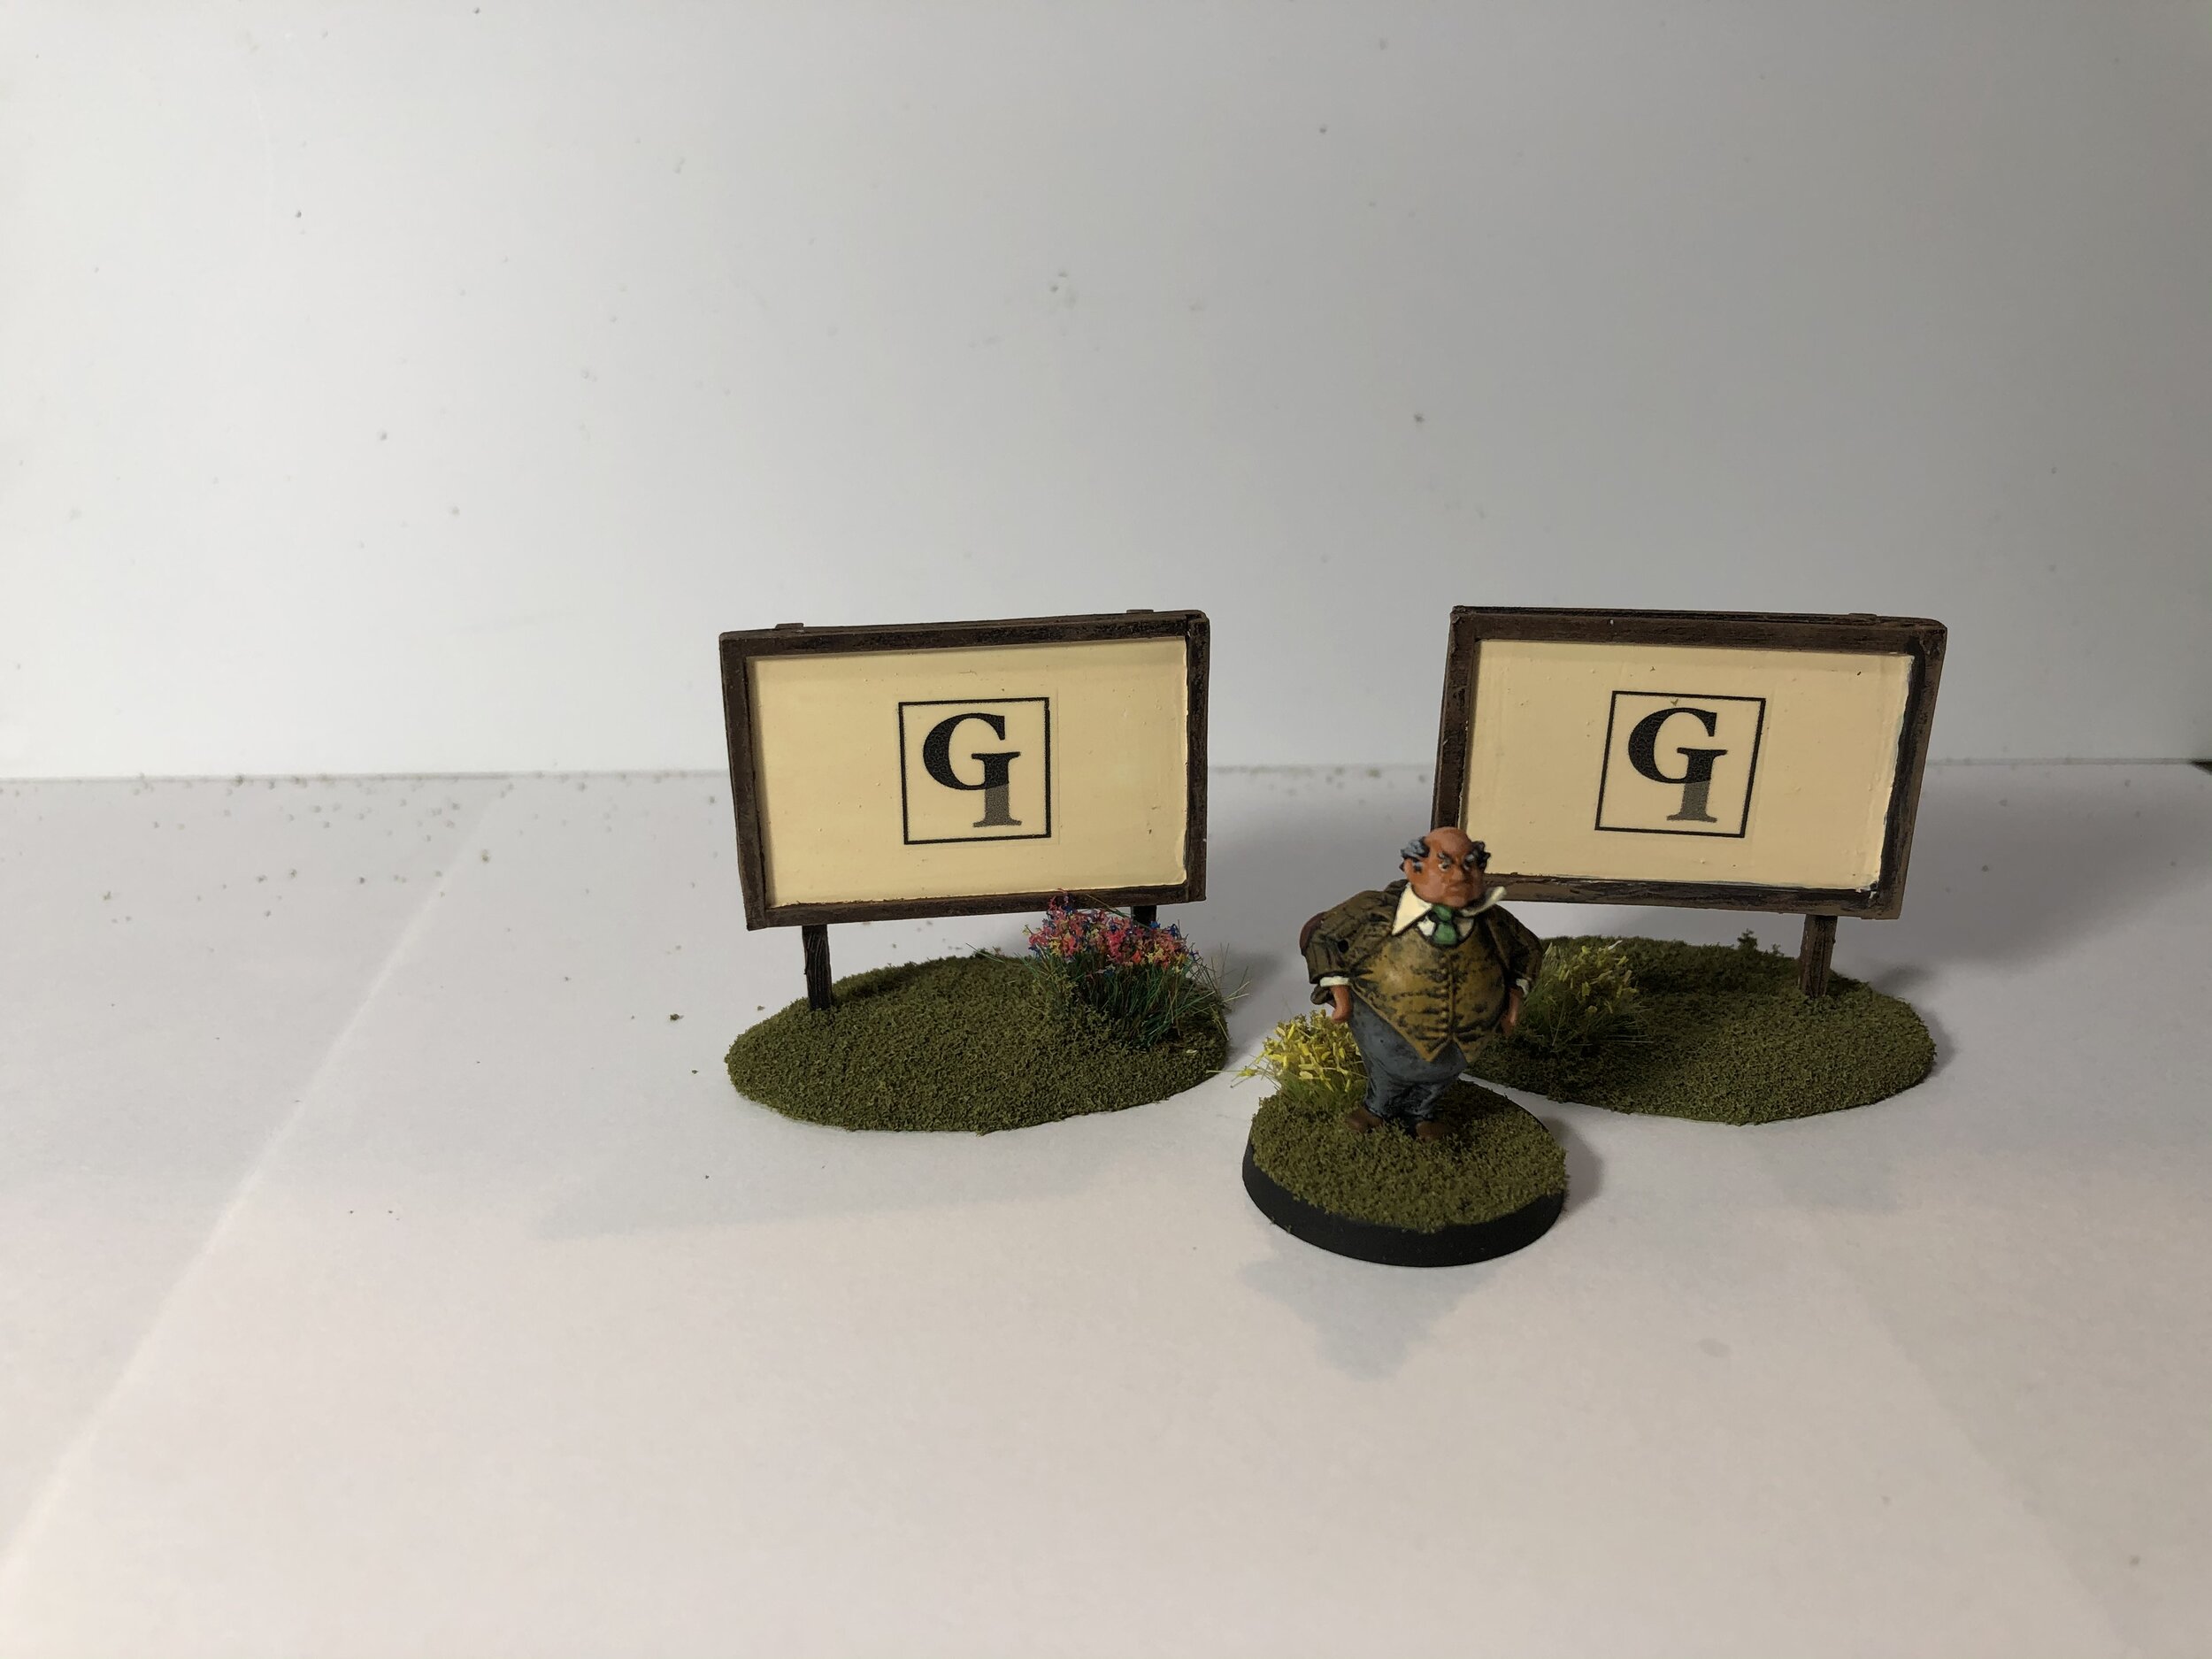
The workbench week ended with the construction, painting and decaling of the signs that will be placed around the Gordon Institute Loch Ness research stations. The signs are made from pieces of Evergreen plastic. They are set in bases of Milliput. The decals are homemade.


November 15, 2020
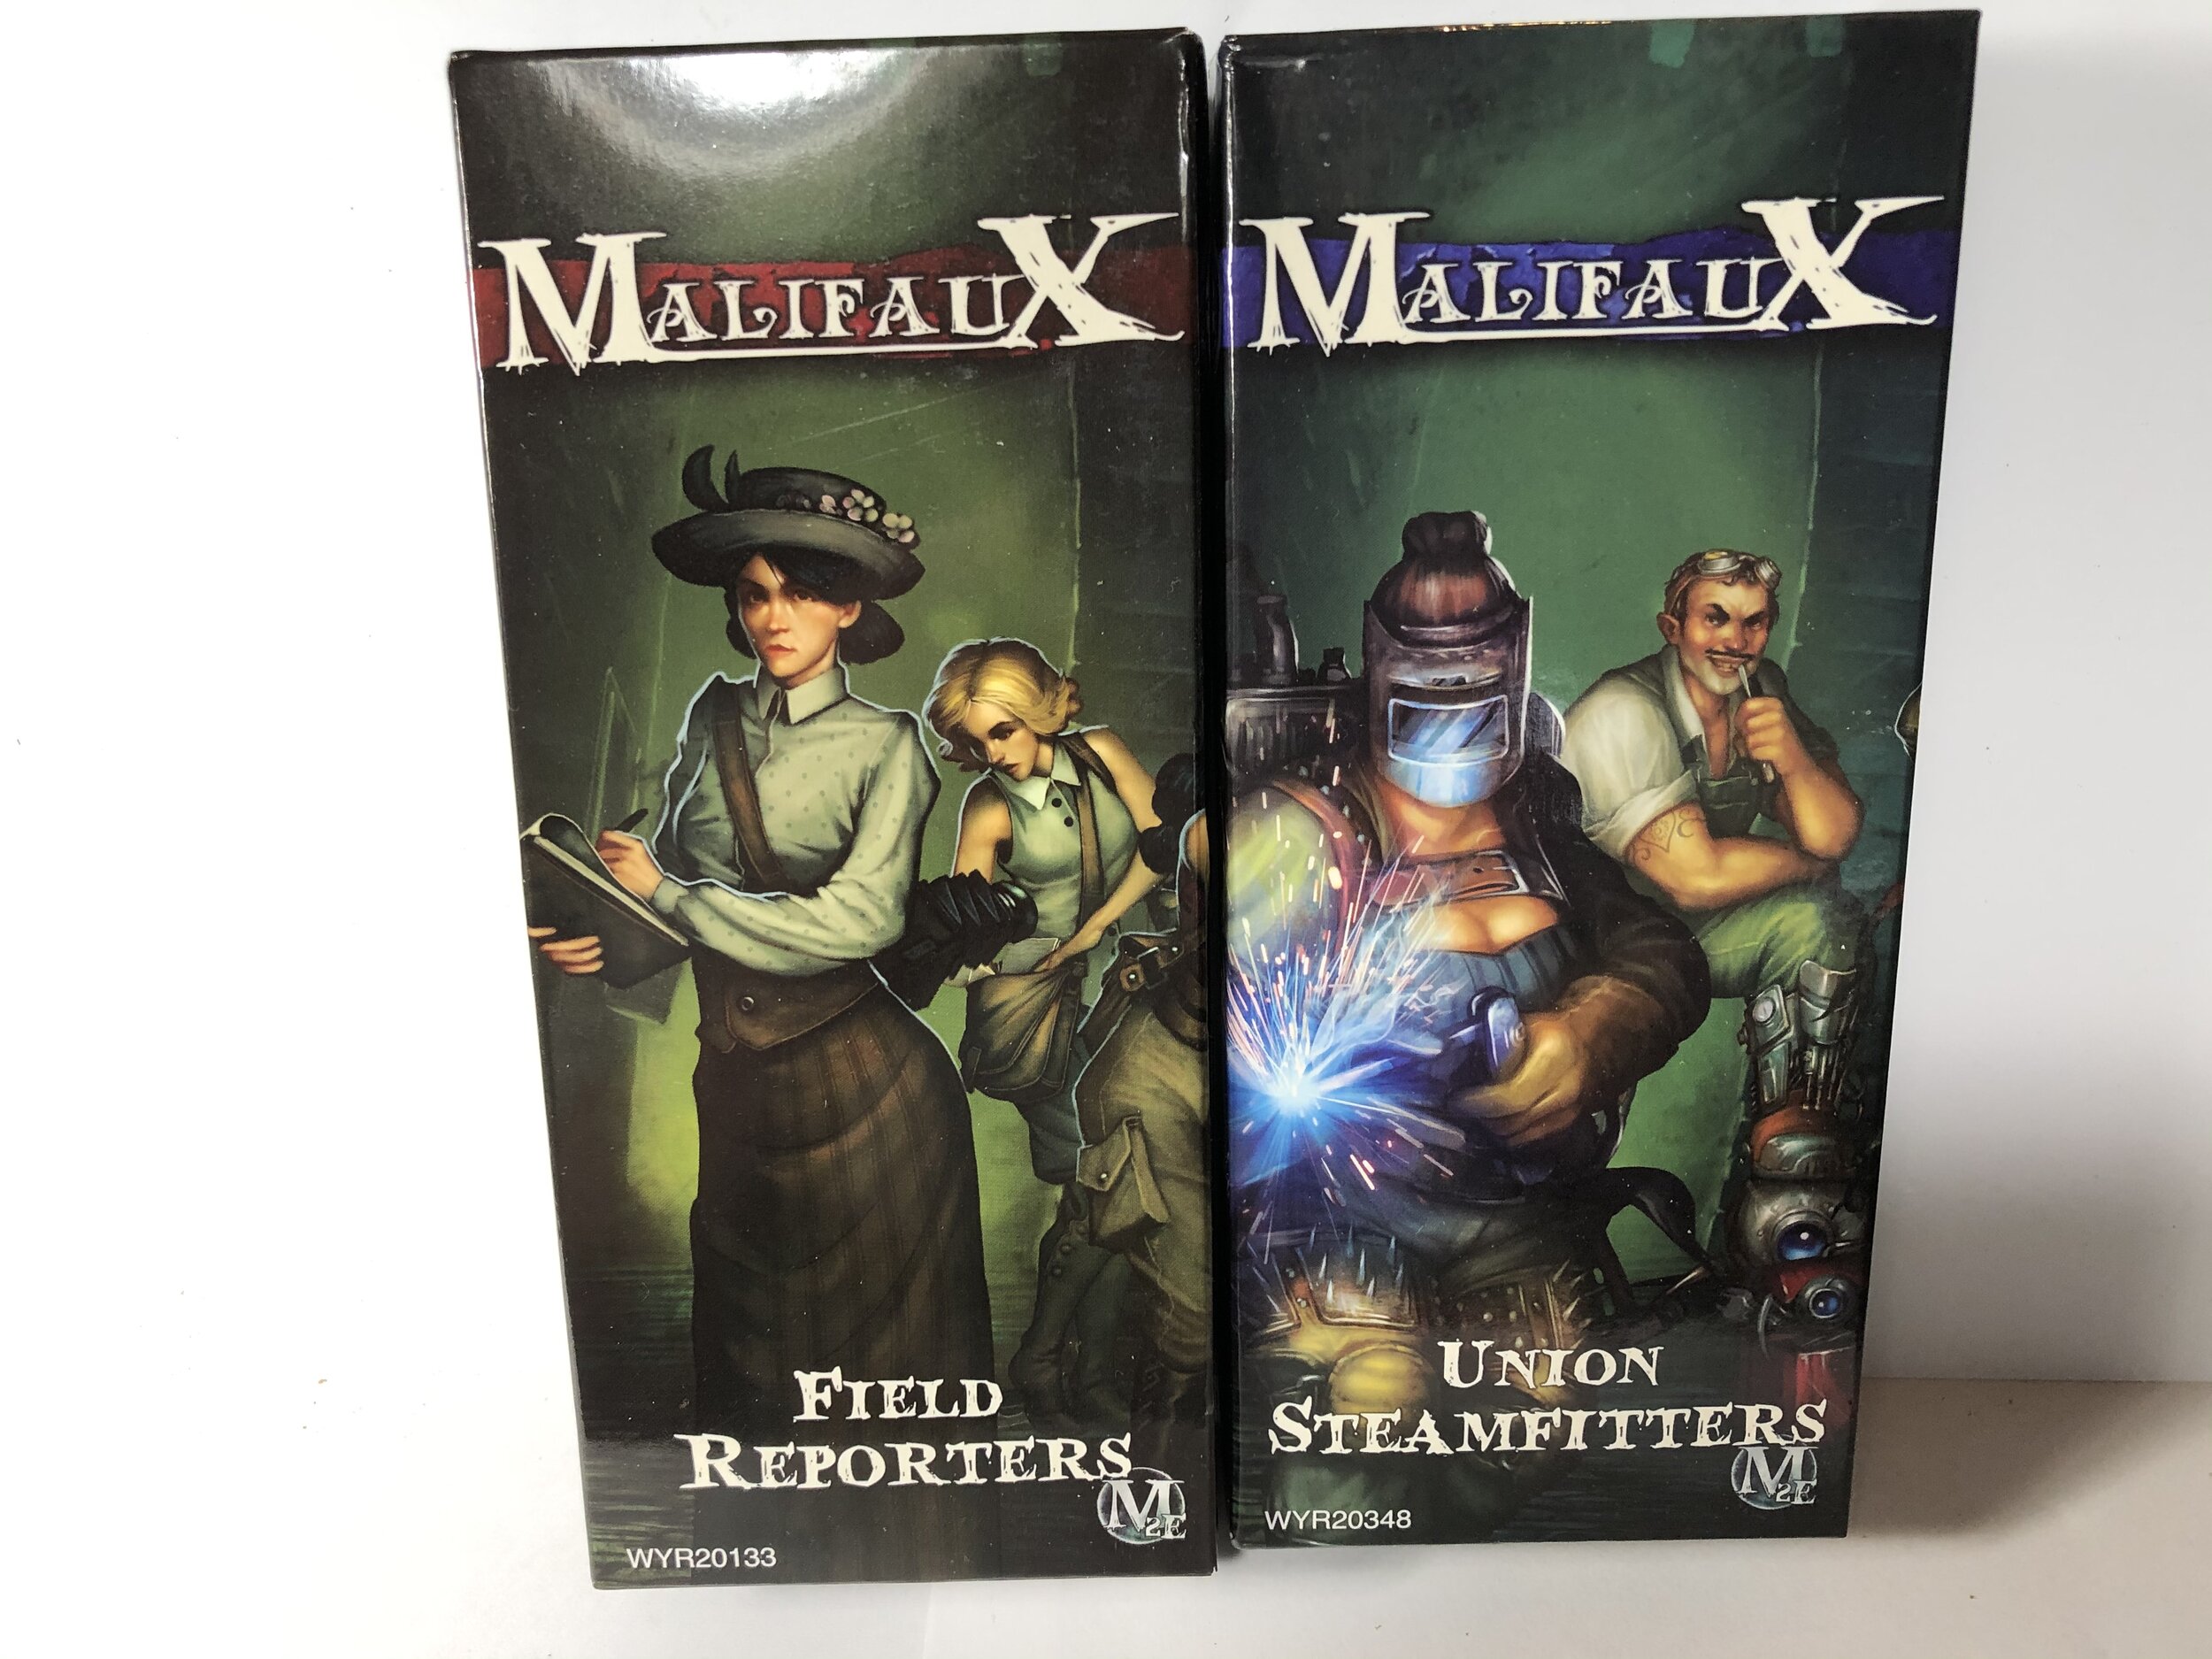
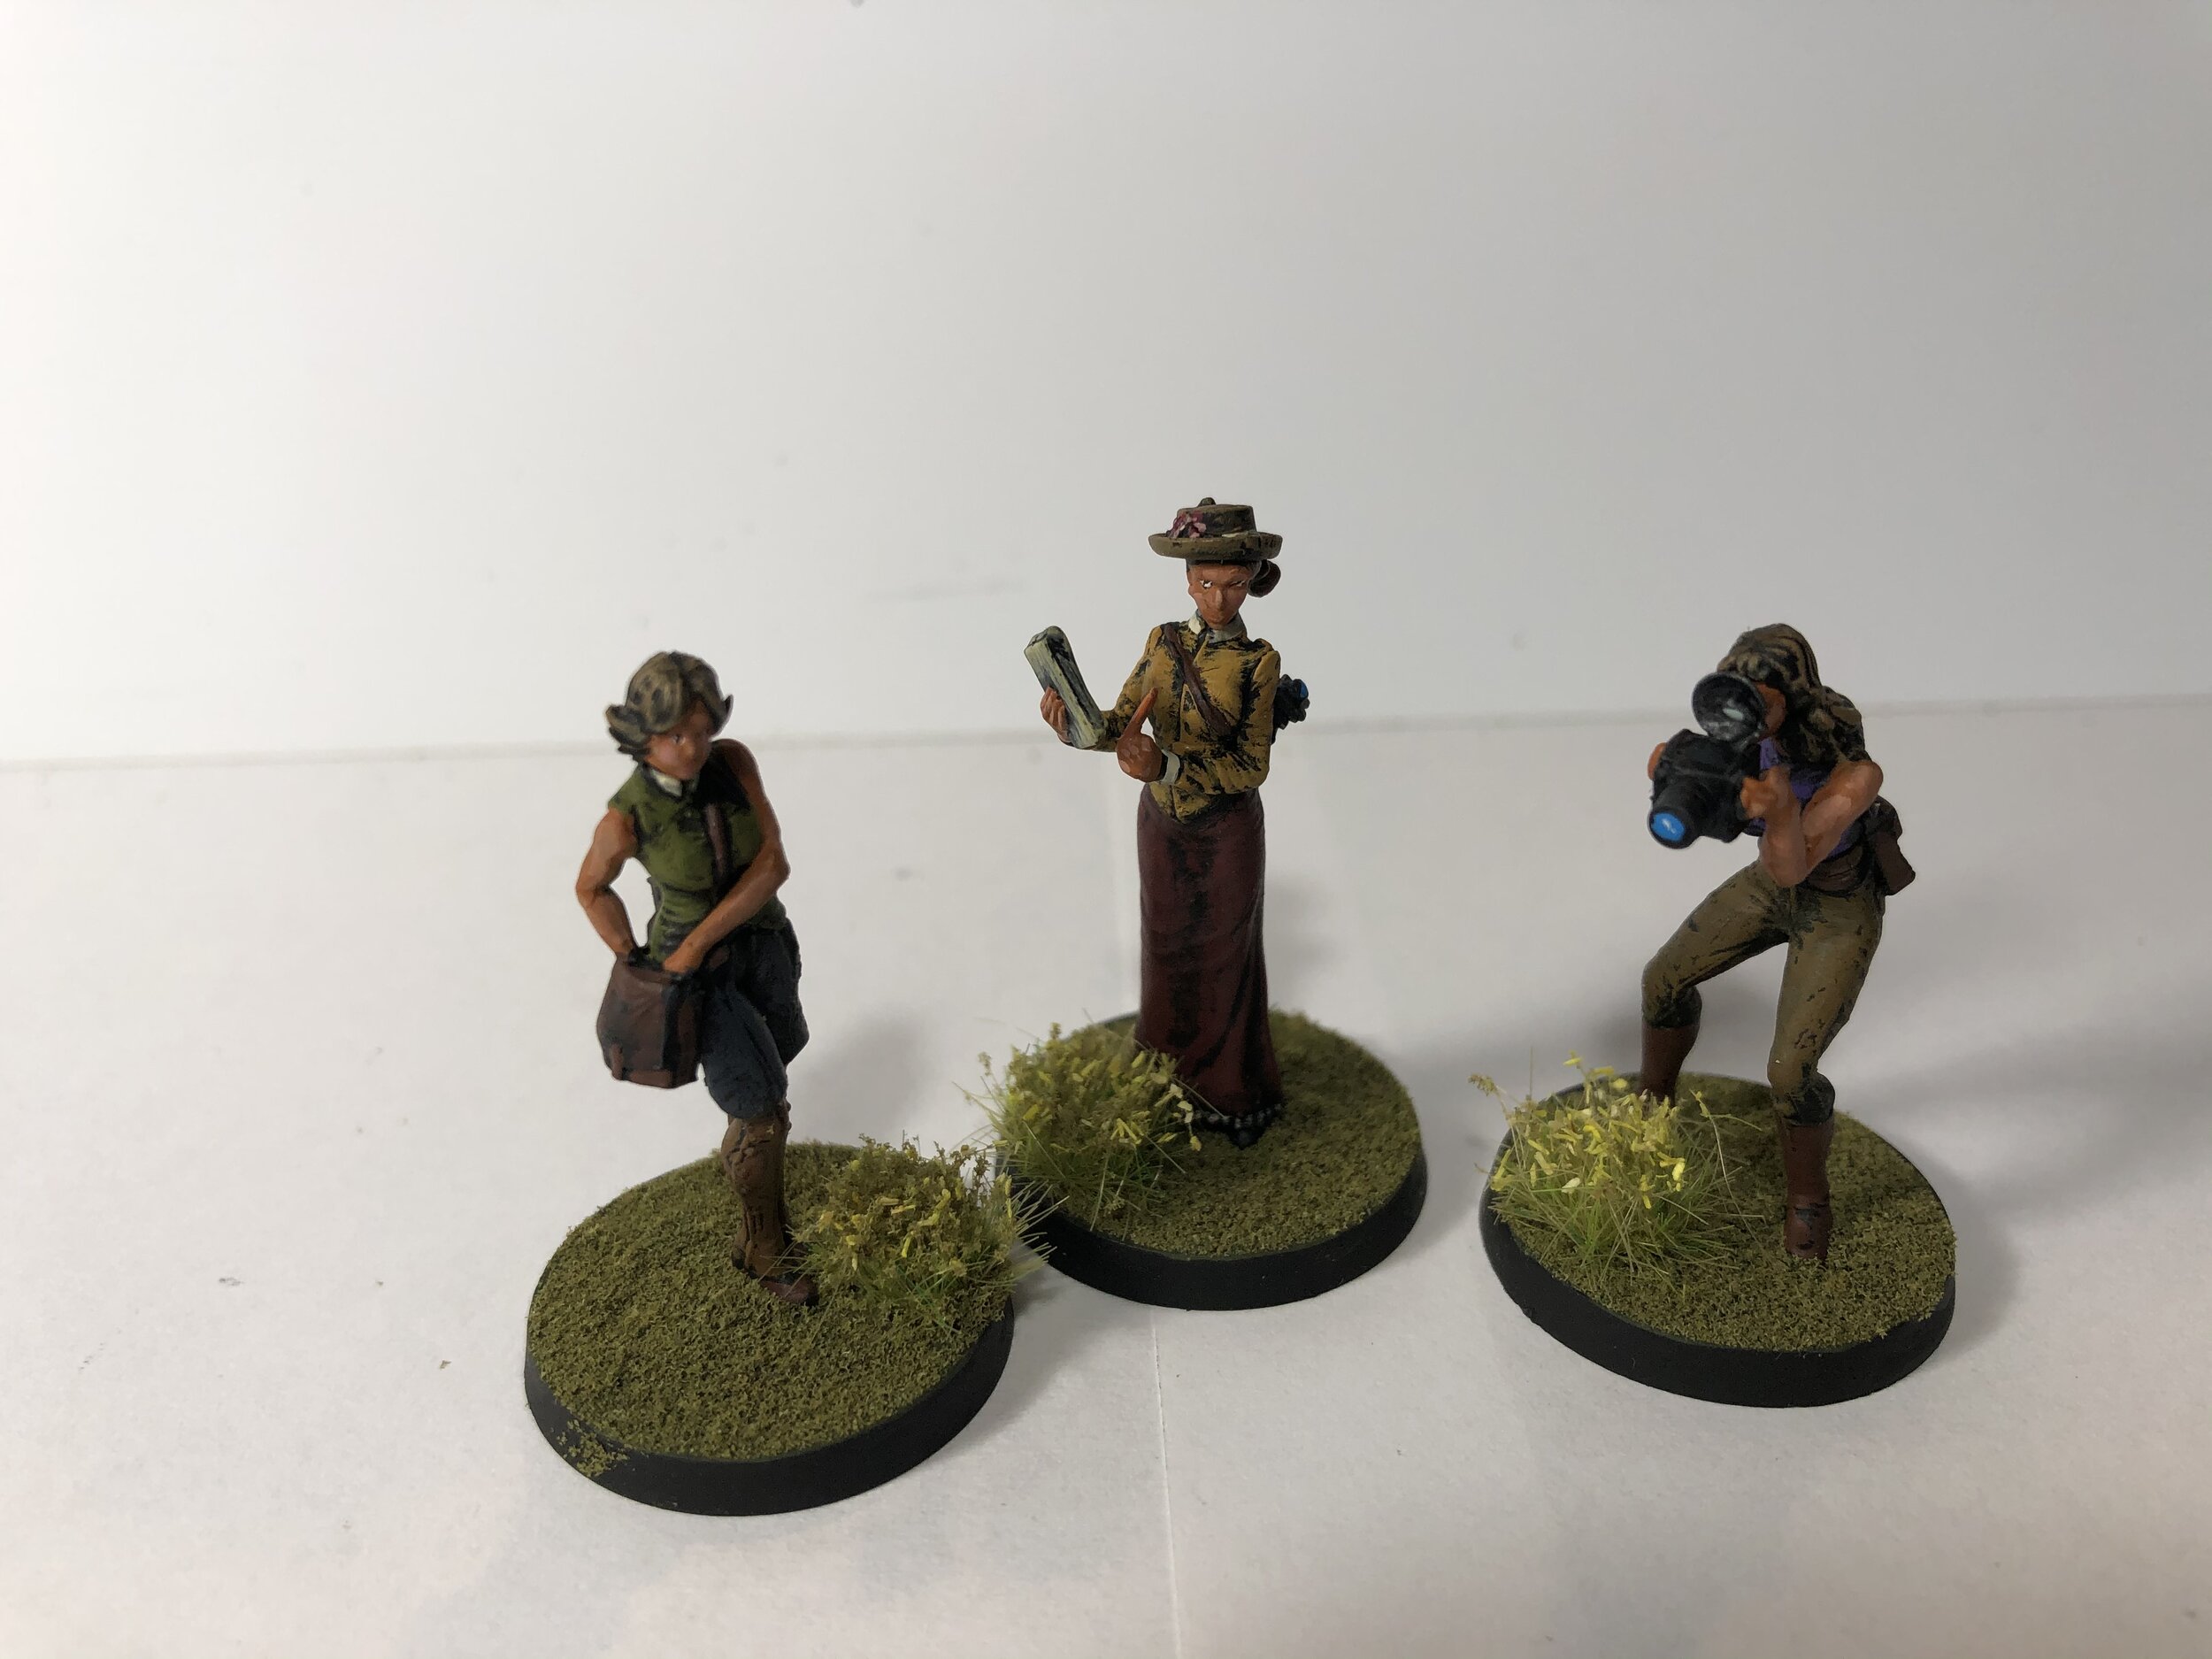
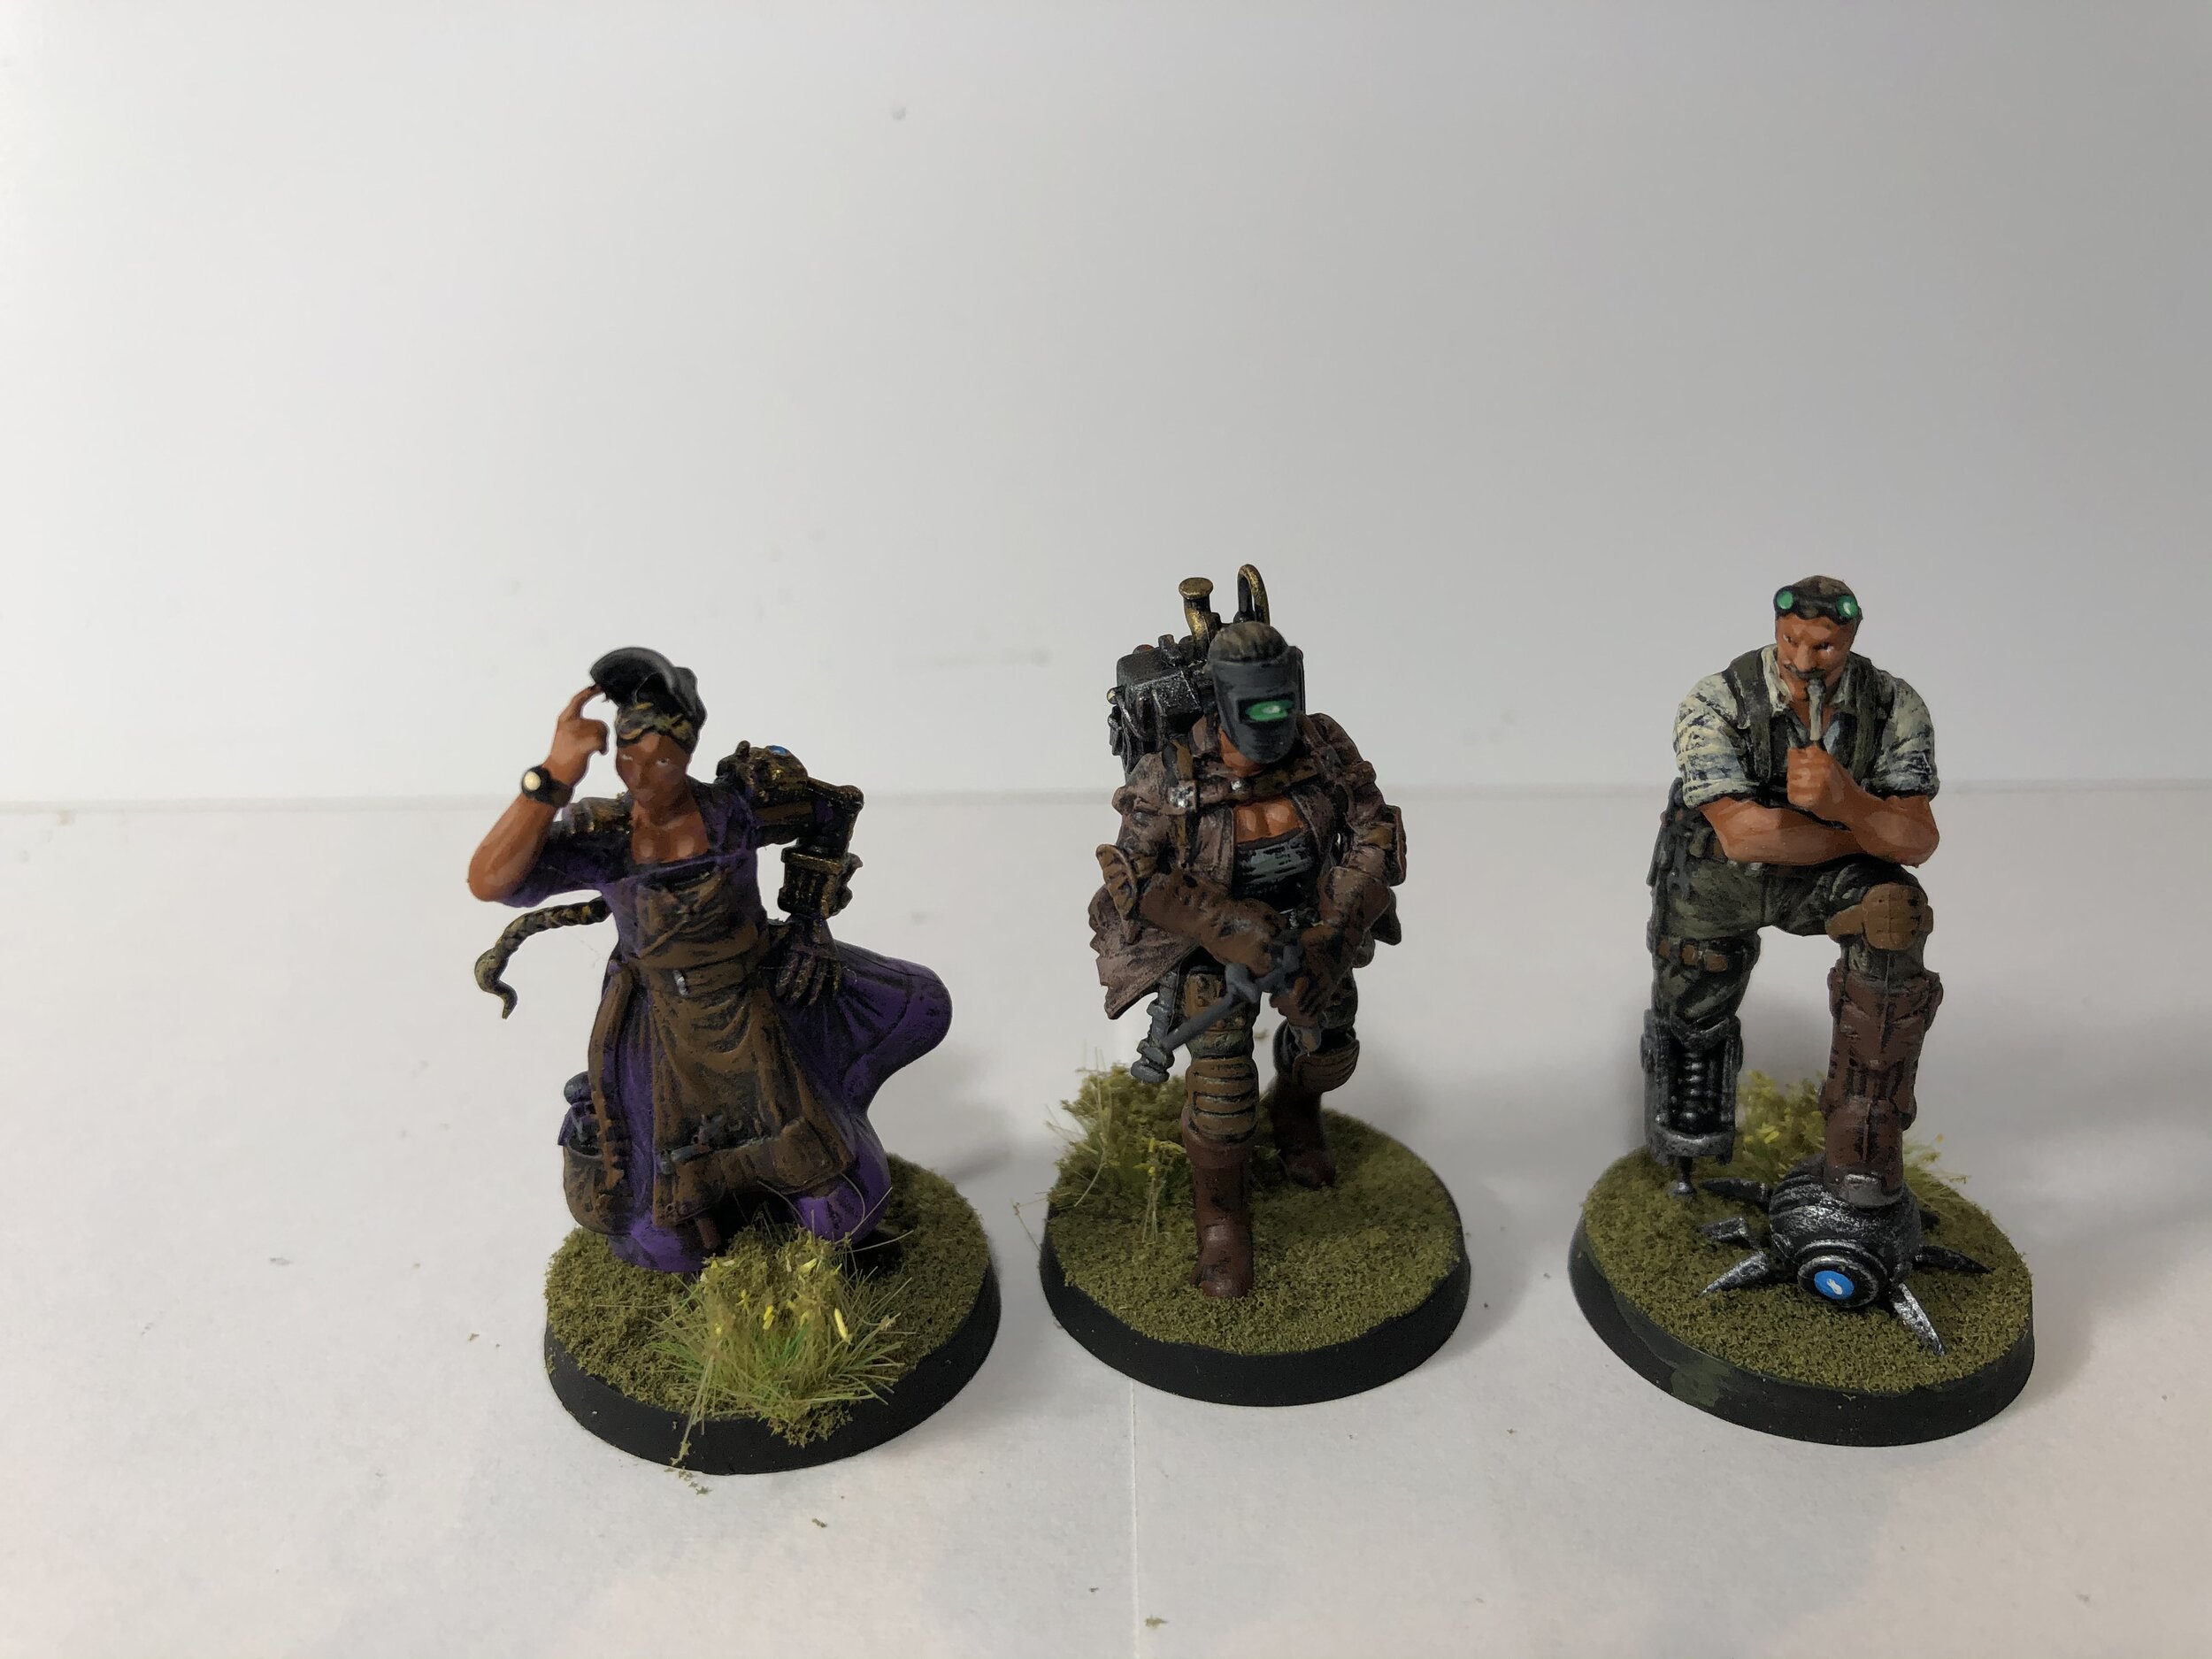
This was a week of the unplanned. It began with the discovery that I had six unexpected figures left to paint for my Loch Ness project. That’s in addition to the three I have on order. The six unexpected figures were Malifaux figures I purchased more than a year ago and forgot I had. Three are from their Field Reporters set and three from their Union Steamfitters set. All six are plastic and require assembly. They are beautifully detailed and no walk in the park to assemble.
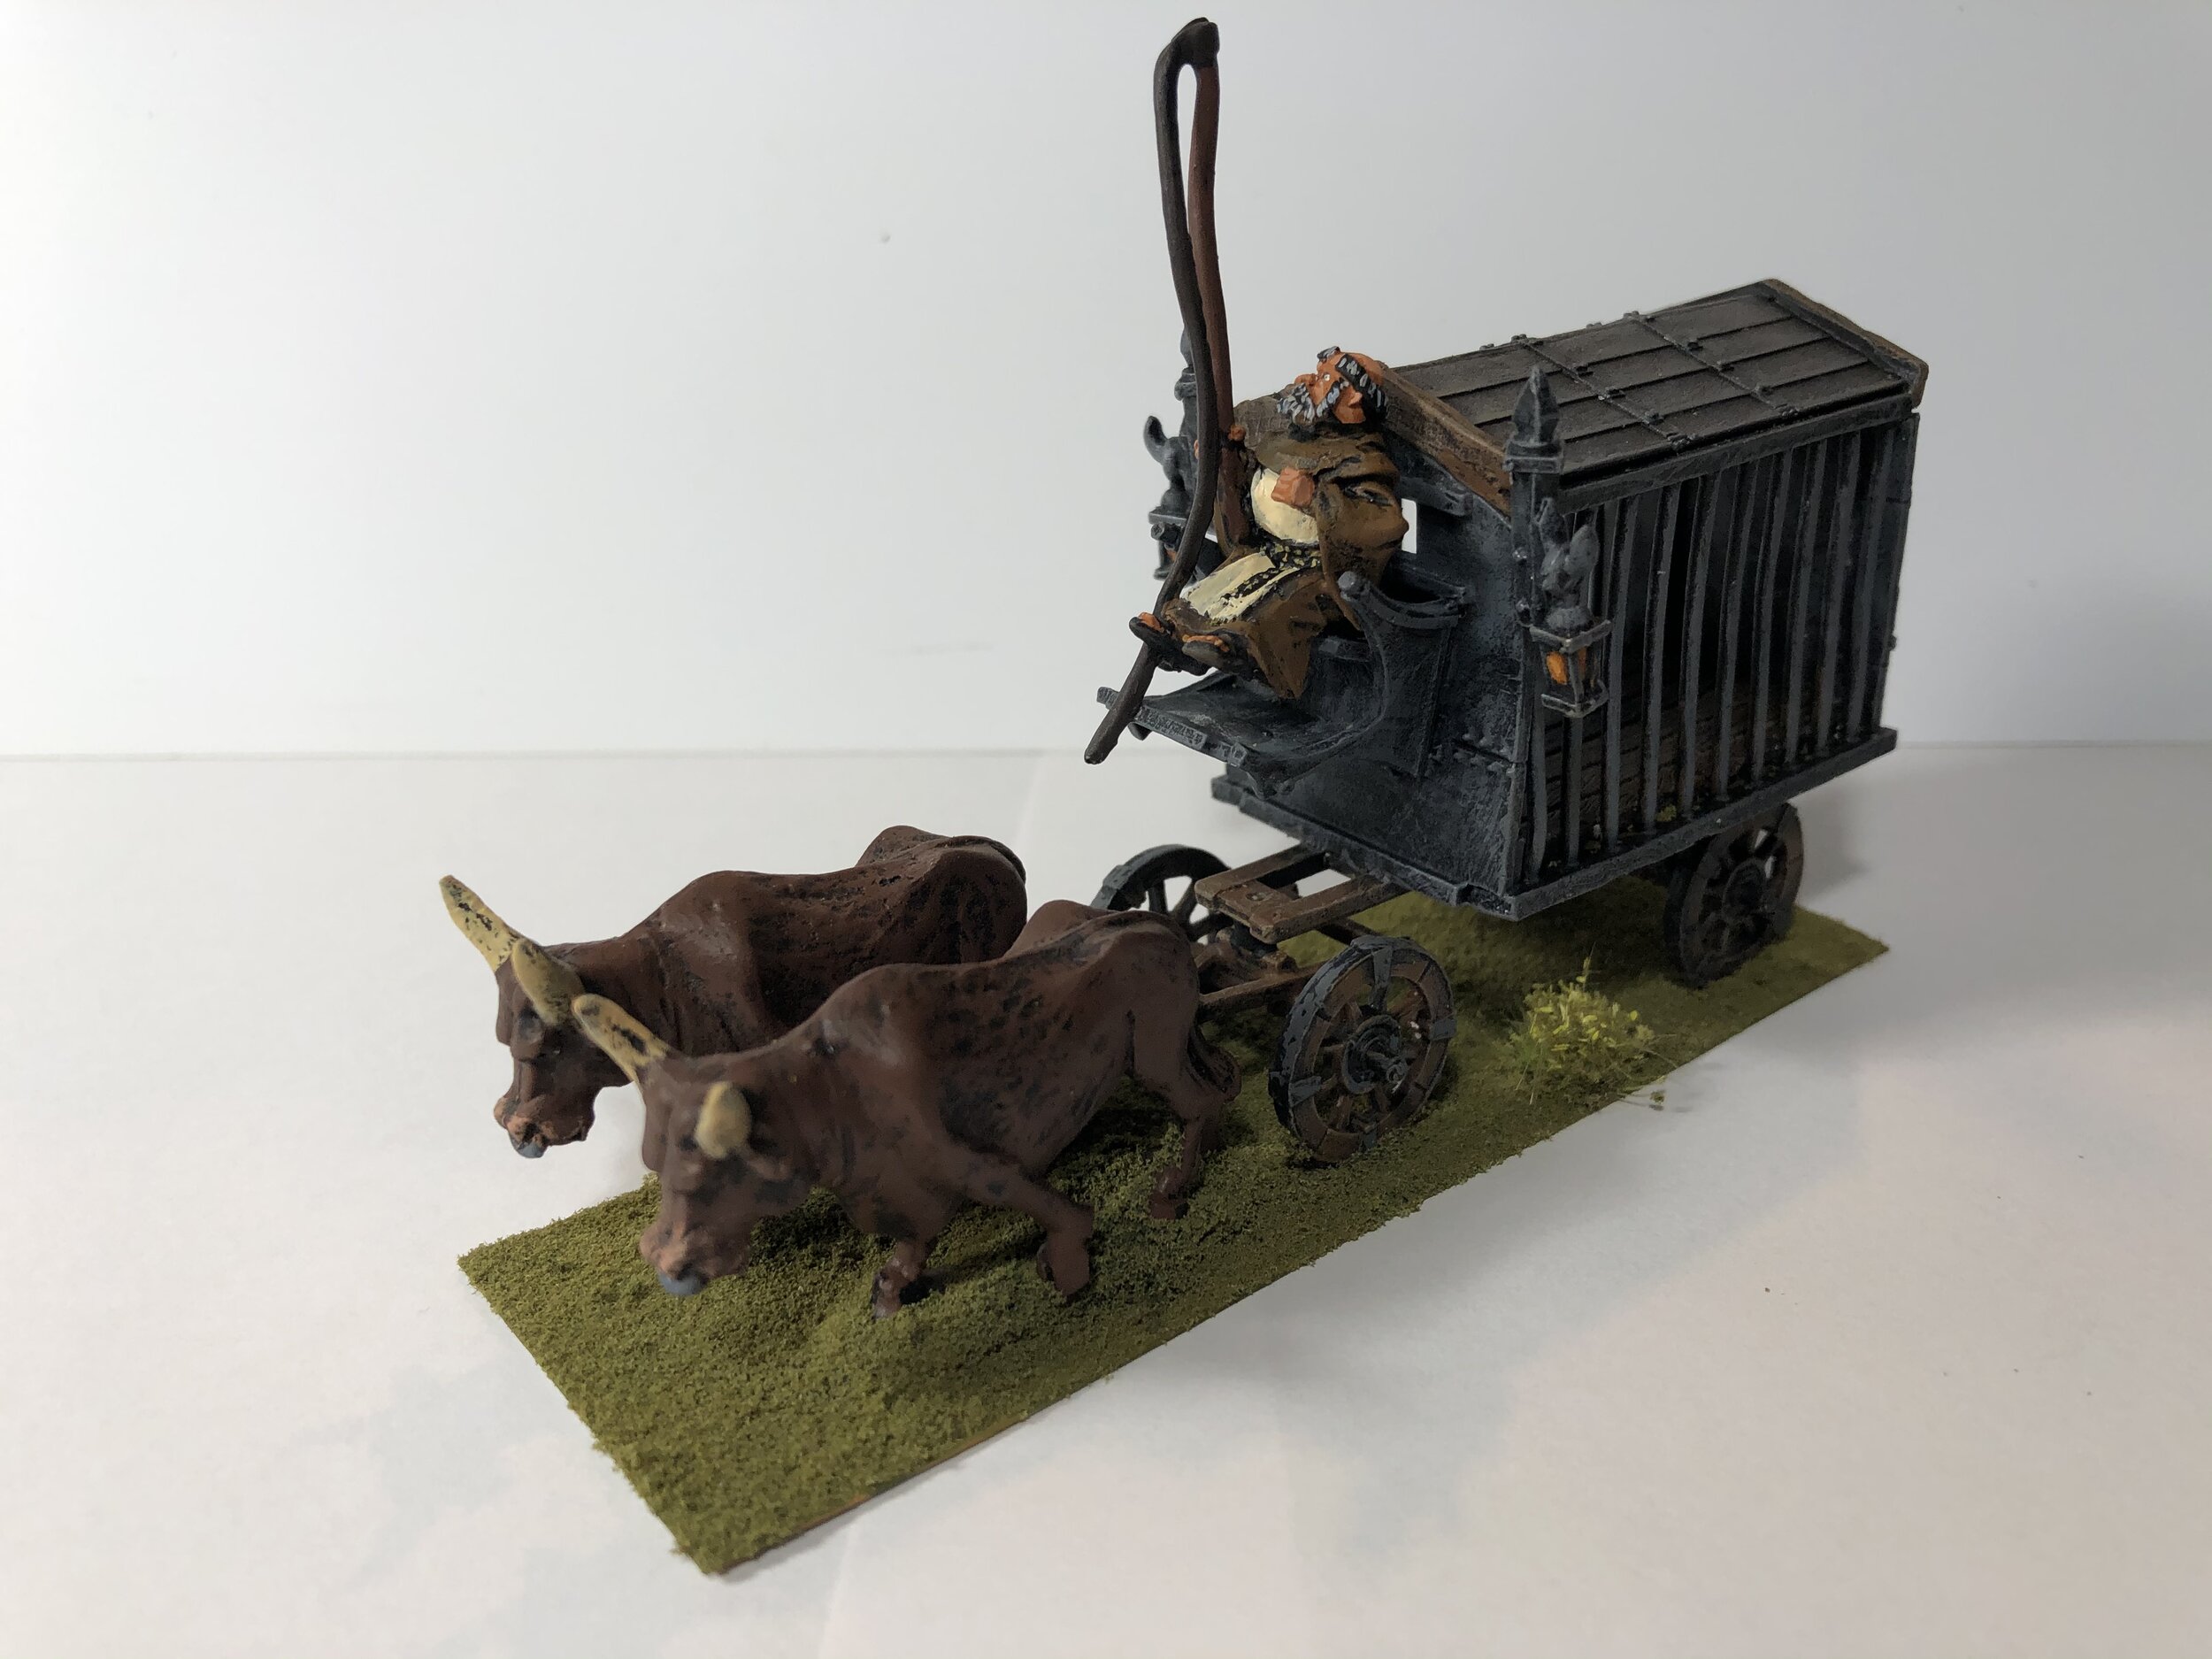
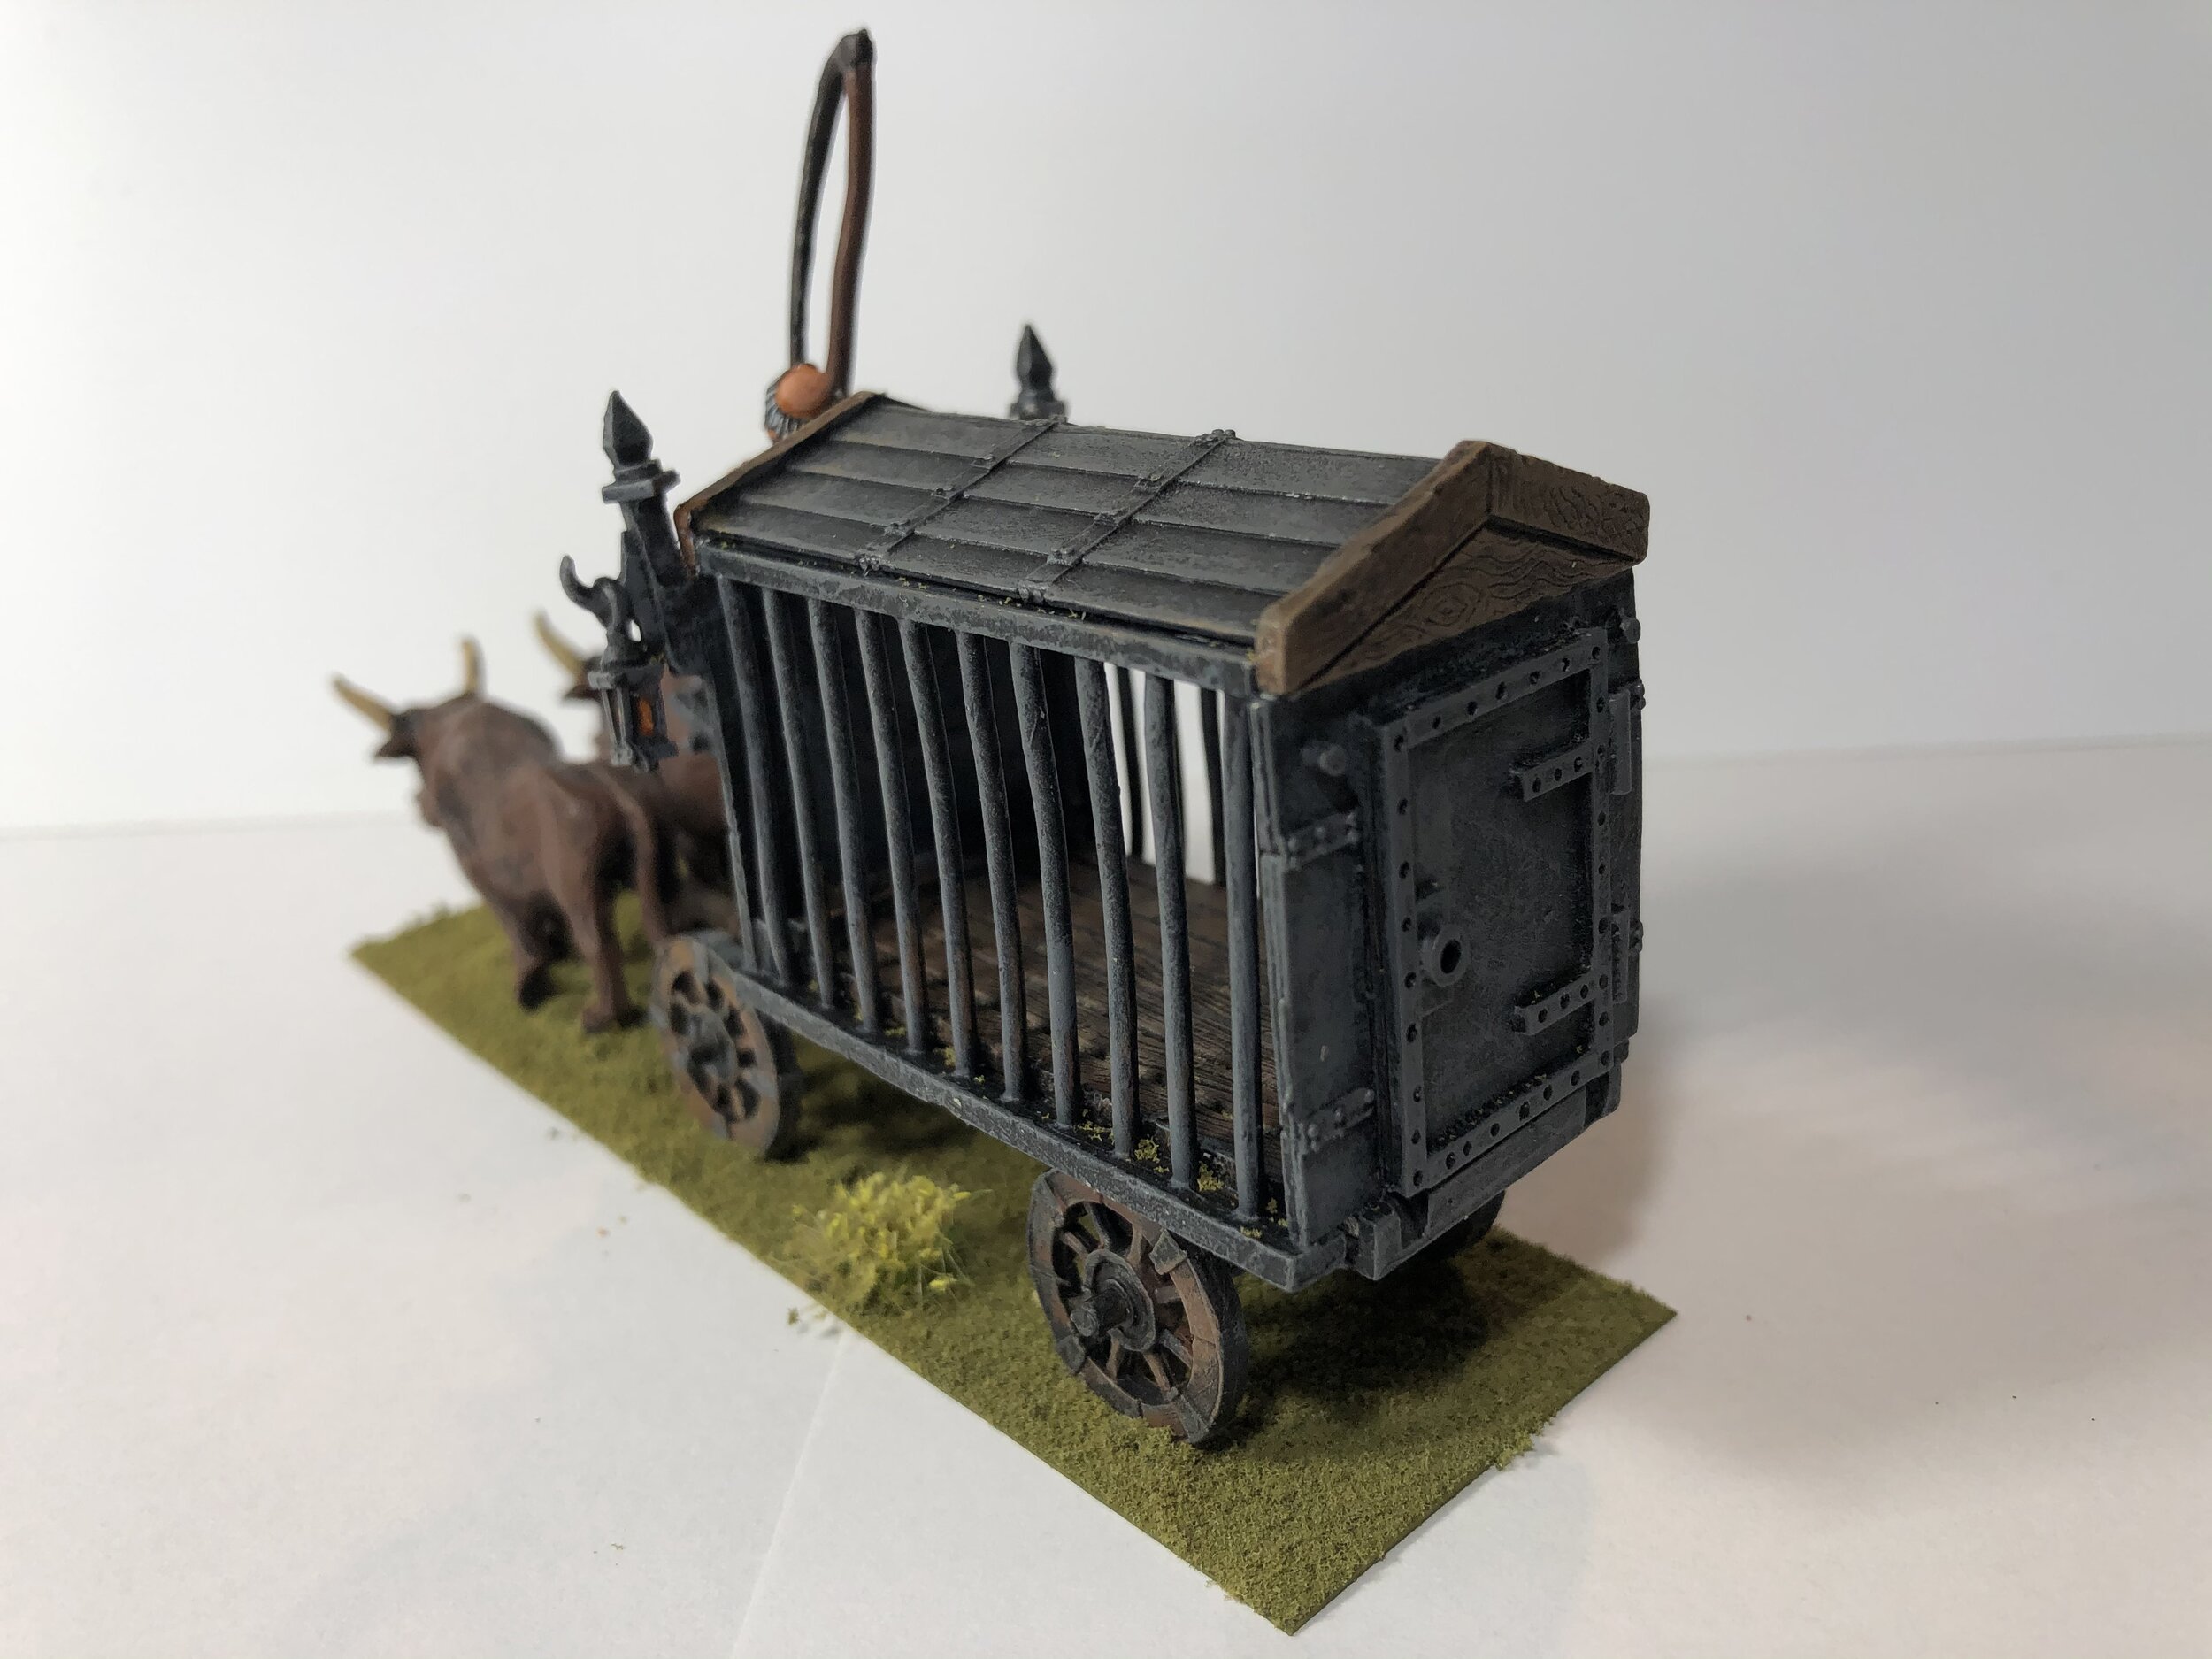
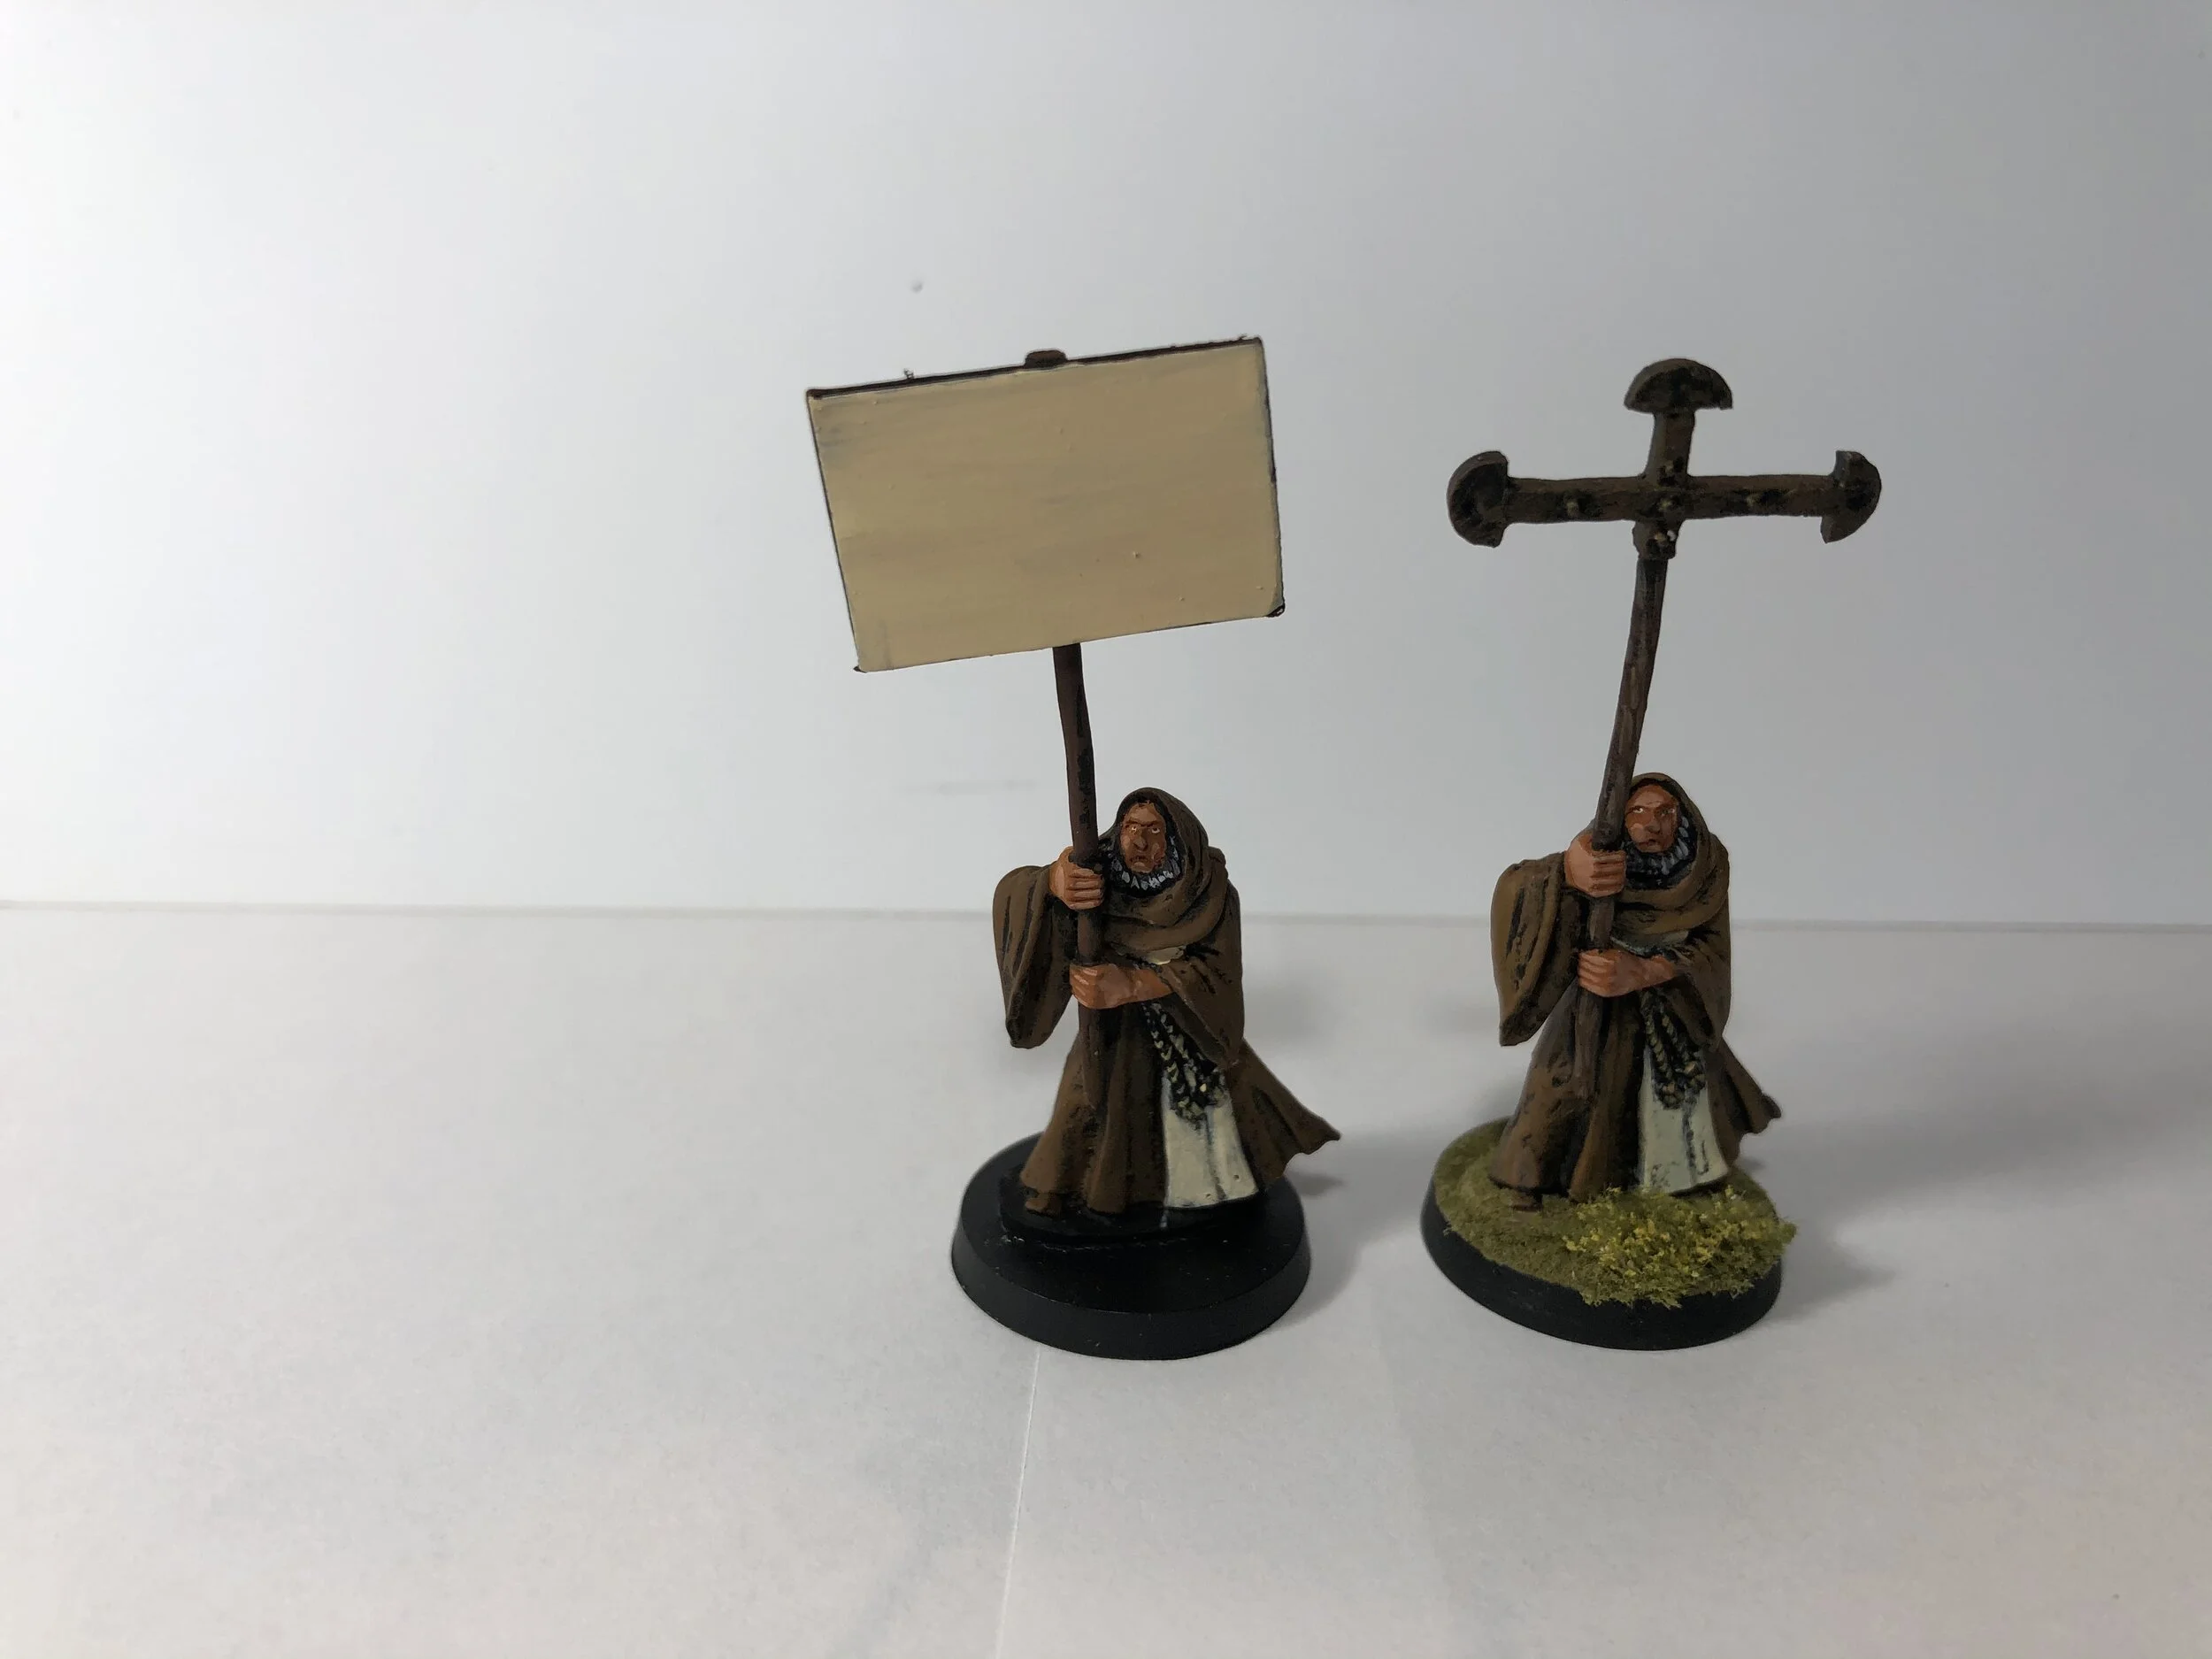
When I completed them, I was at a loss for what to do next, and for some reason I was drawn to the West Wide Kinder Nacht prison wagon. I did one of those several years ago. I purchased it without a plan for how to use it, but I liked the way it looked and decided to give it a go in the hope that I would find a use later on… so far, I haven’t. The wagon is hell to put together and while a prison wagon, its rear door is wide open. On that first wagon I created a rear door out of Evergreen plastic. With no plan for how to use the first wagon, about a year ago I decided to buy a second, and this week I devoted a couple days to completing it. Fortunately, I had the first wagon to serve as a map for construction. Once again, I made a rear door out of Evergreen plastic. I made slight modifications to the figures and painted it up. I added a piece of plastic to serve as a sign on one figure… the sign will be done with a homemade decal saying REPENT OR PERISH.
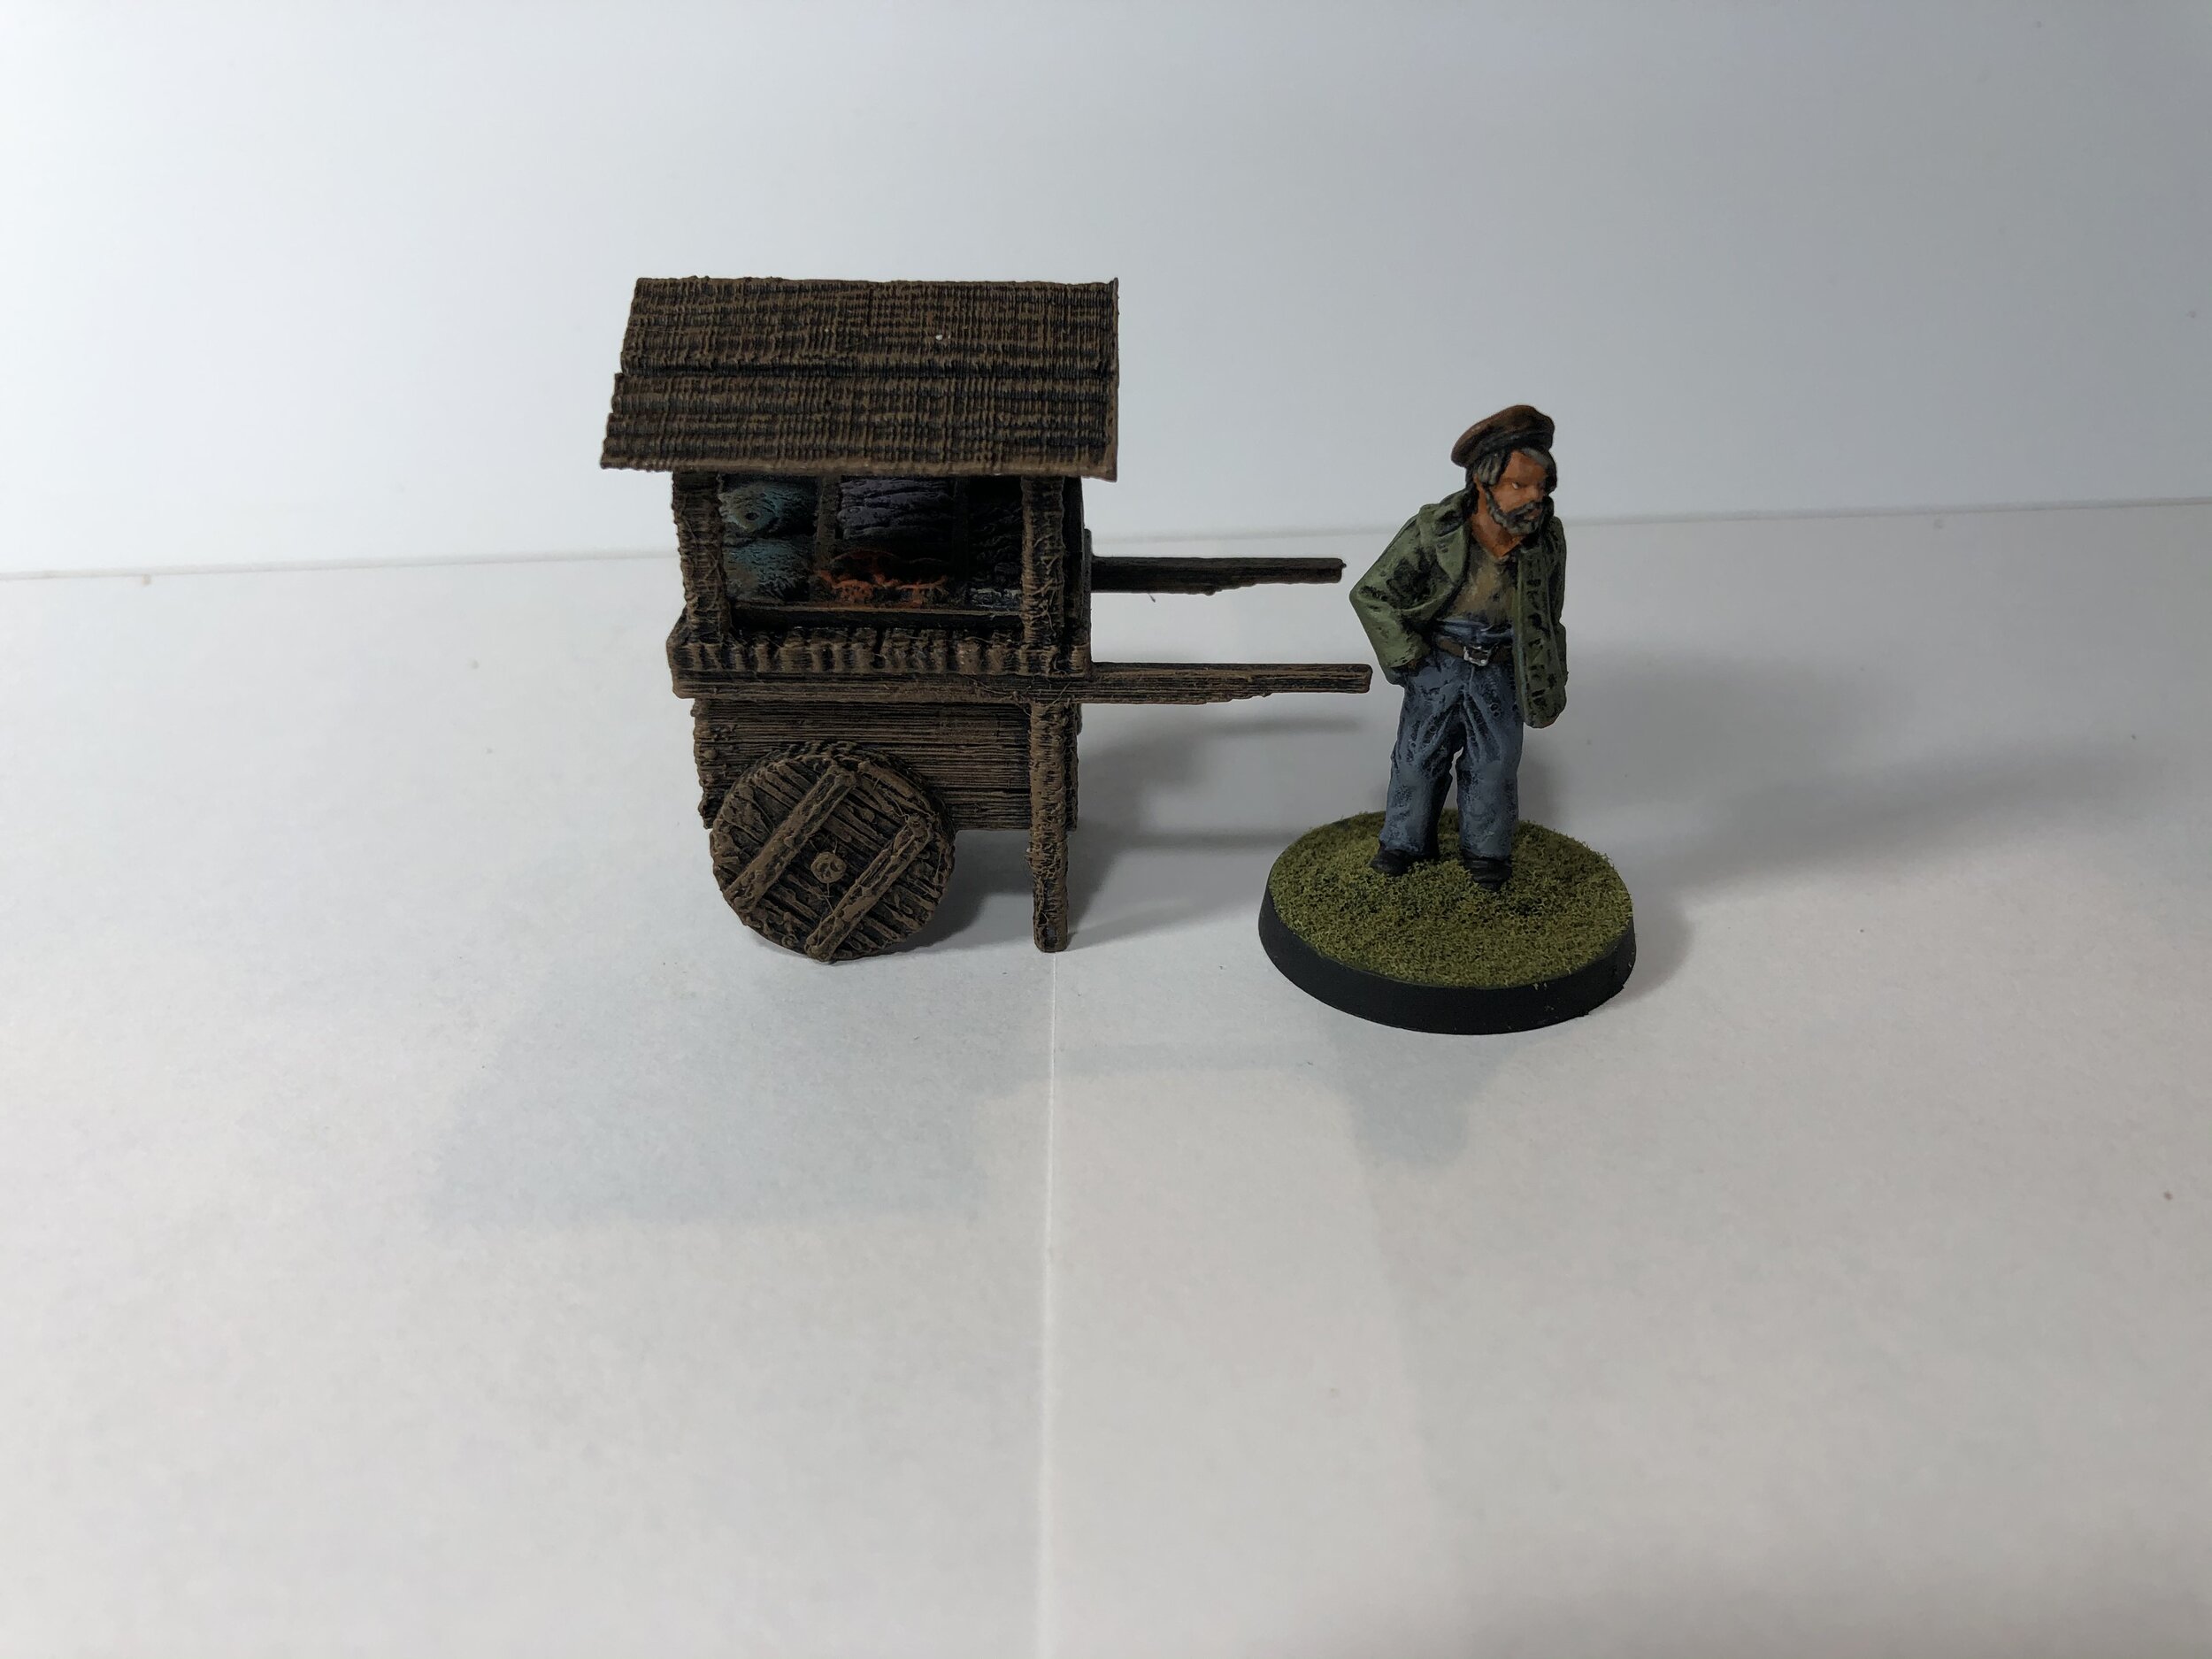
I painted up a PrinTerrain cart to serve as my Reaper Fishwife’s cart and added a rack of seafood from a Foundry Victorian cart… that cart came with three selling options and I still had the seafood unused.
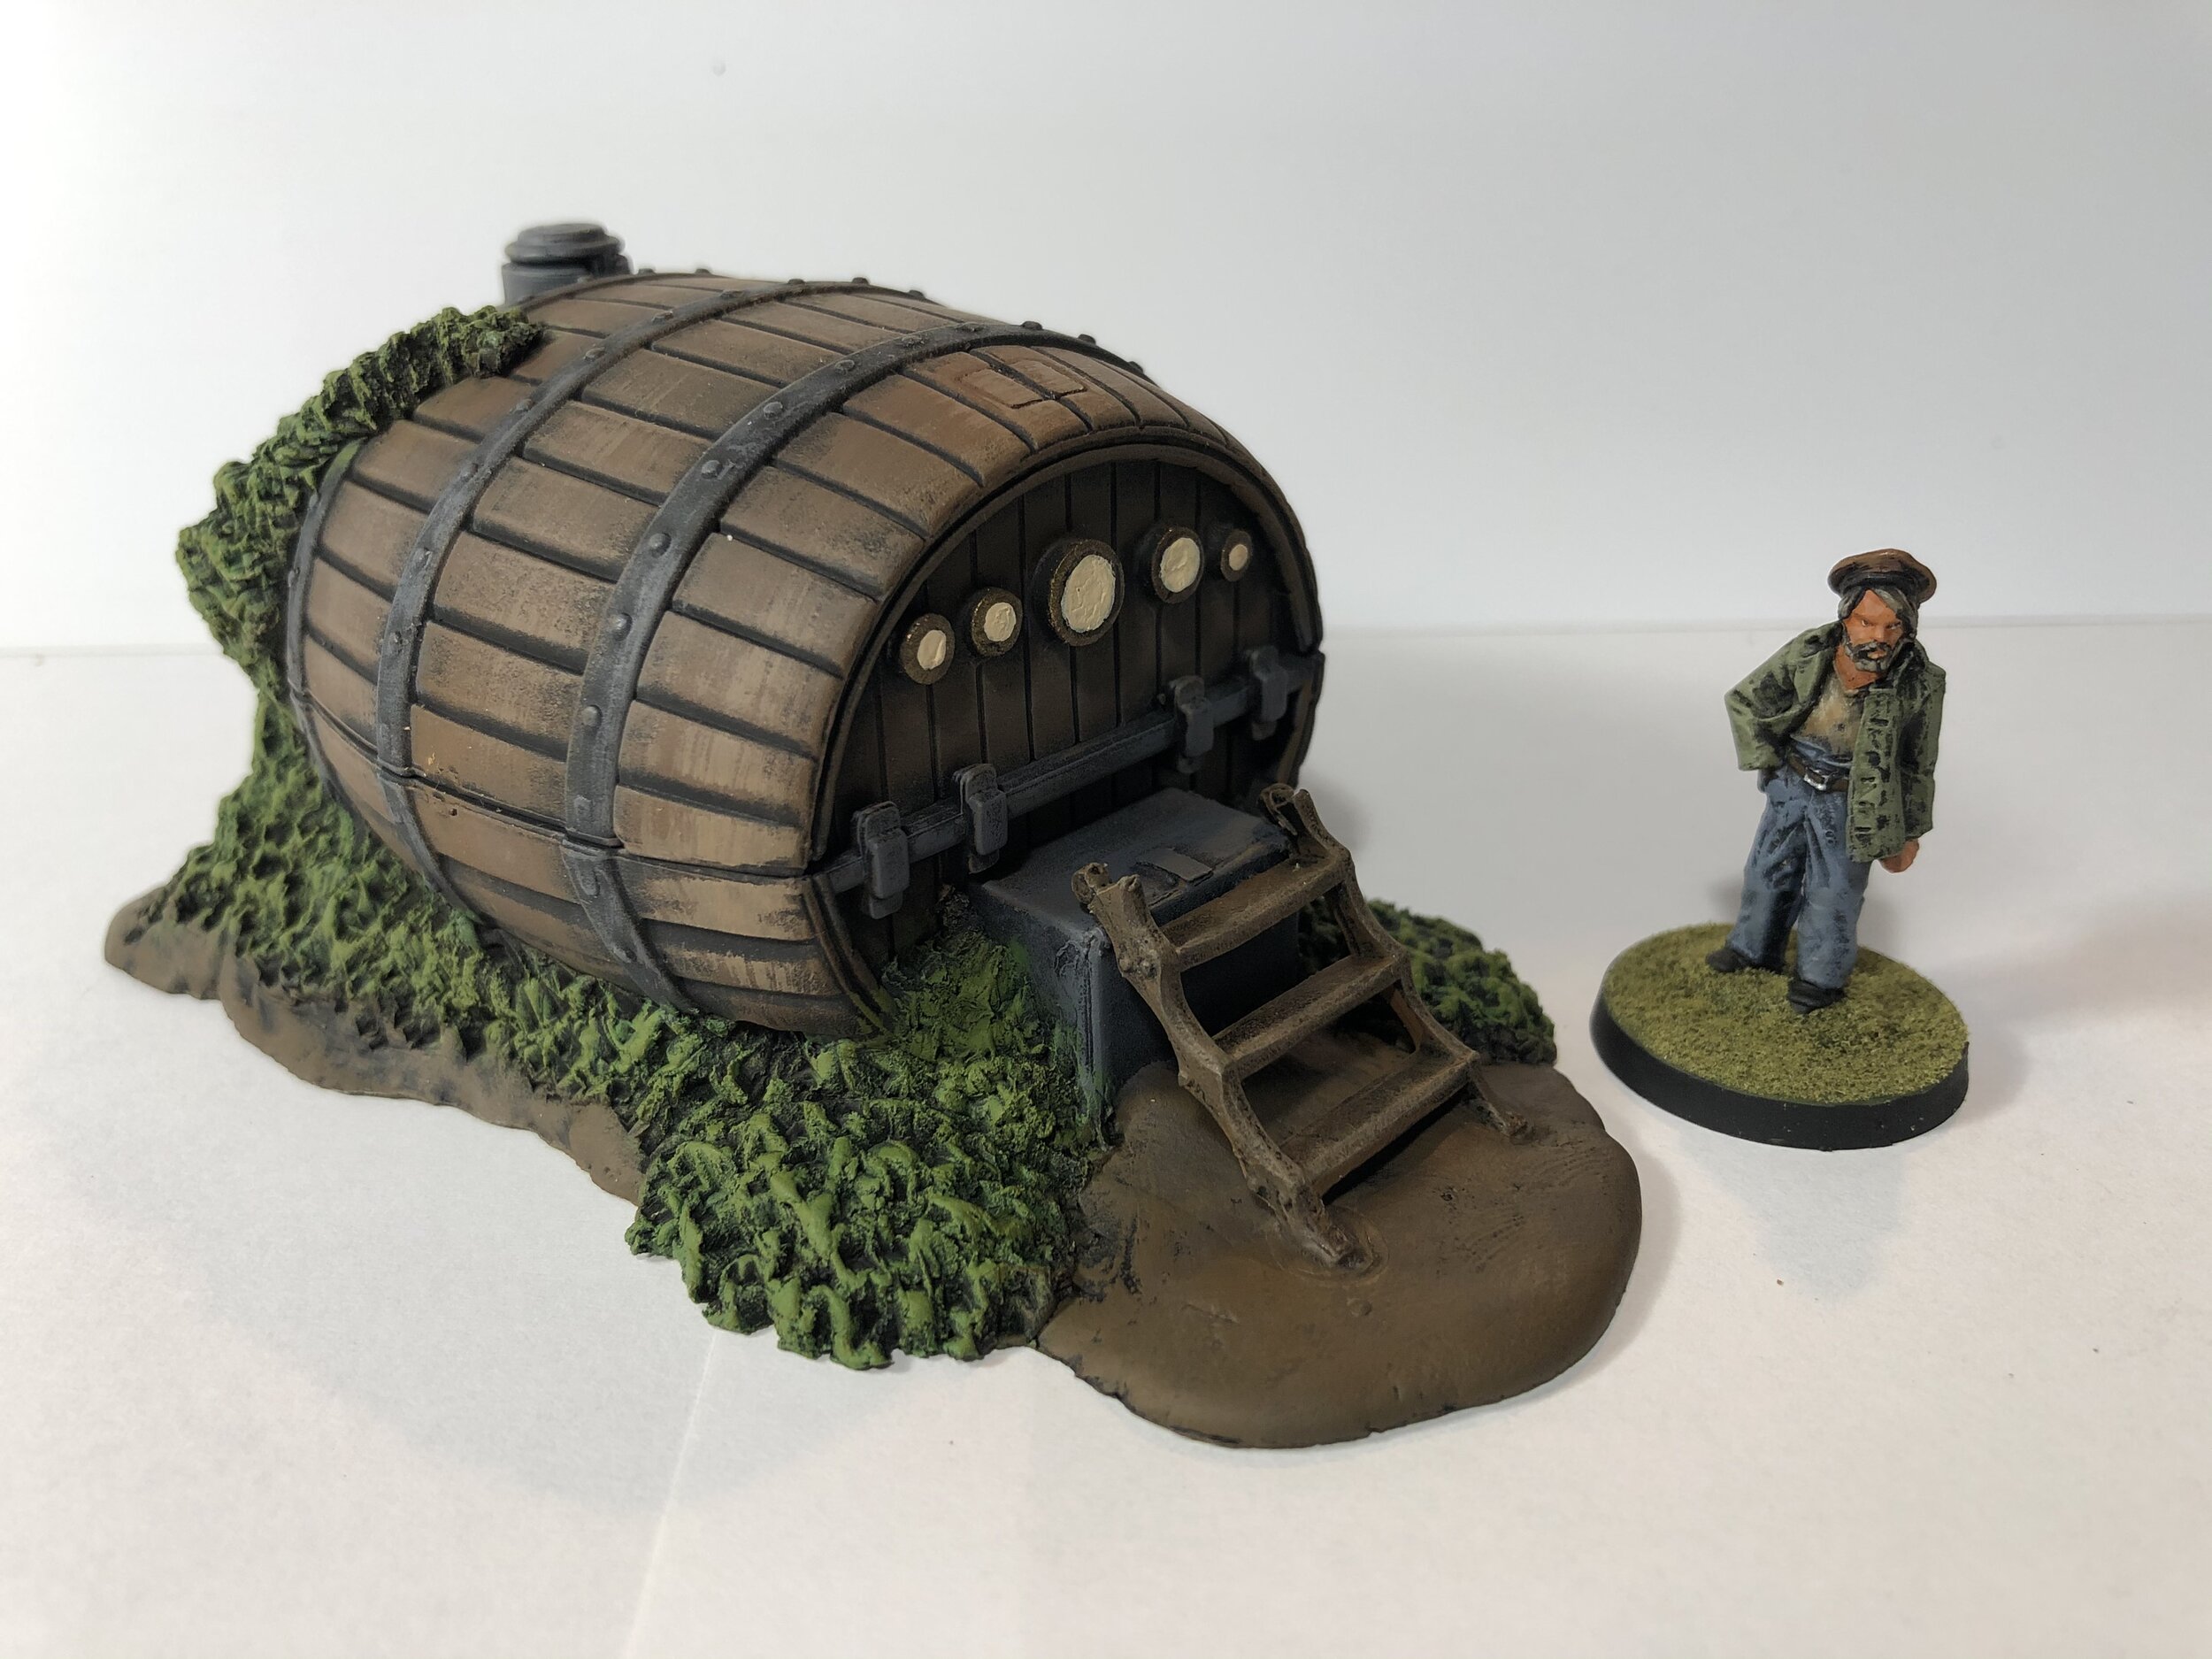
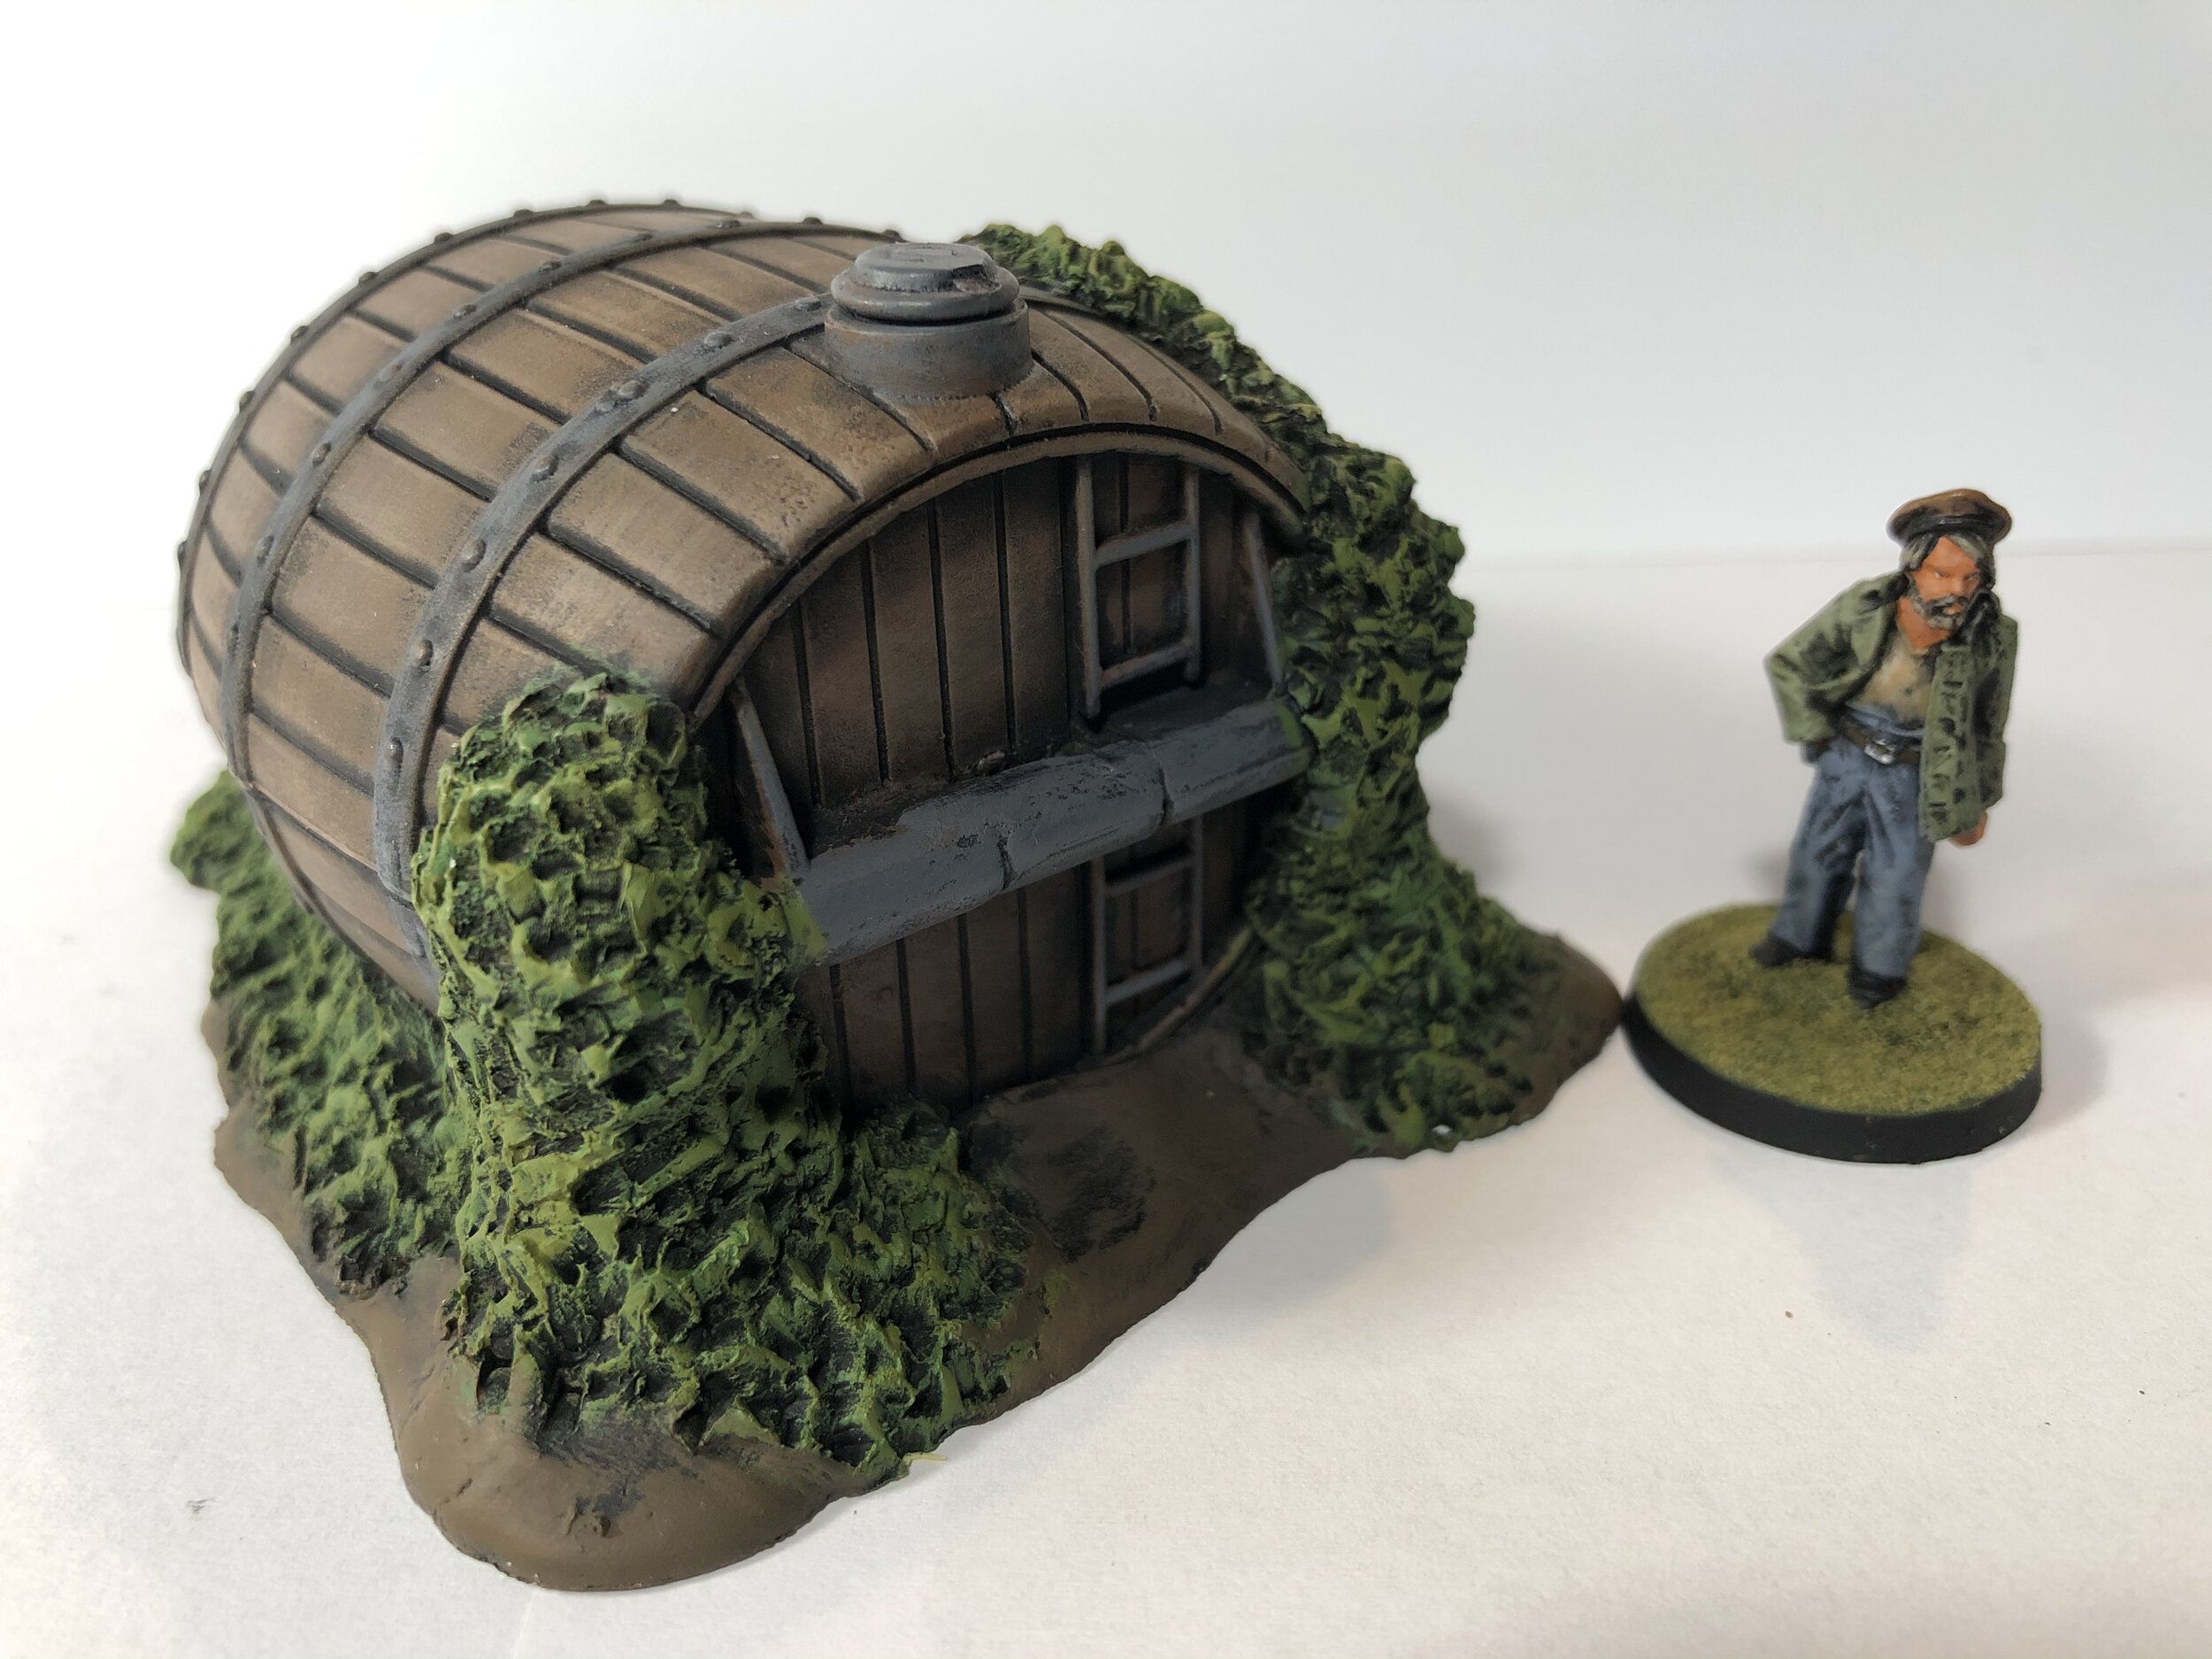
As I neared the end of the week, I noticed that I had the tank/large barrel from my modified Atlantis tank truck, so decided to make it into a self-standing tank/barrel. I set it on a base of Milliput and used some different Evergreen plastic rod to serve as gauges. I like it.
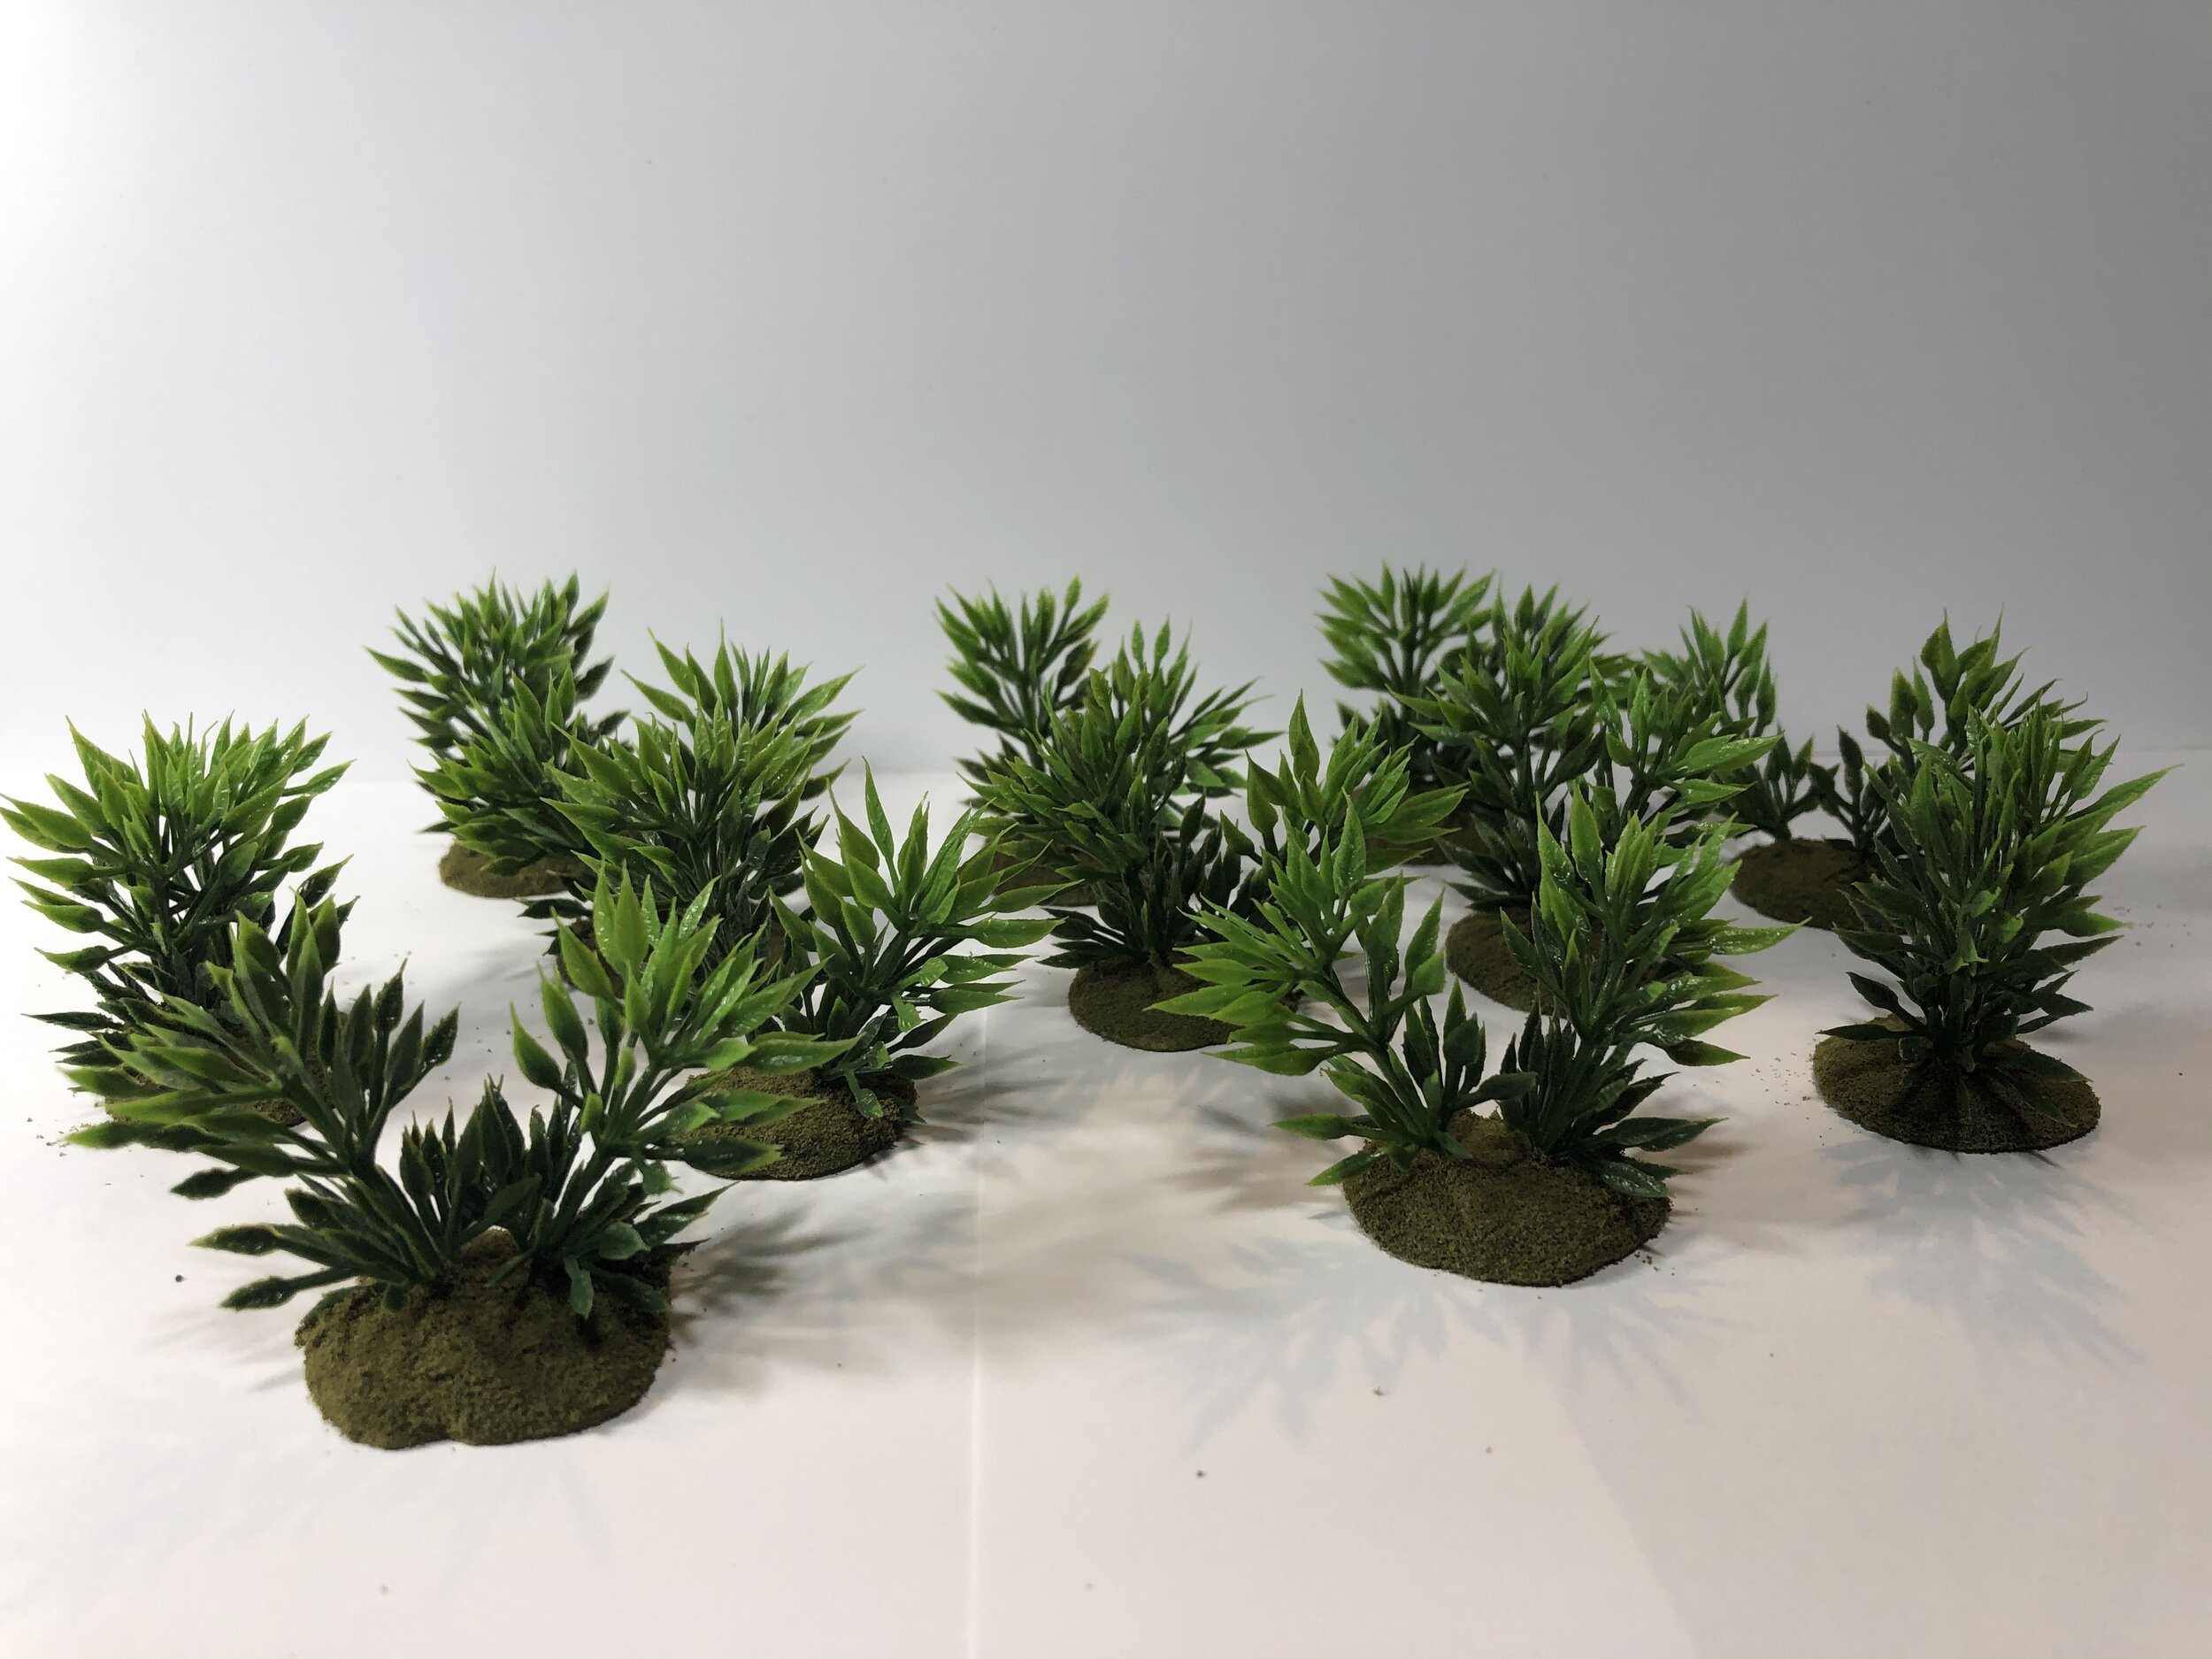
At the end of the week I based more plastic plants for Loch Ness.

November 8, 2020
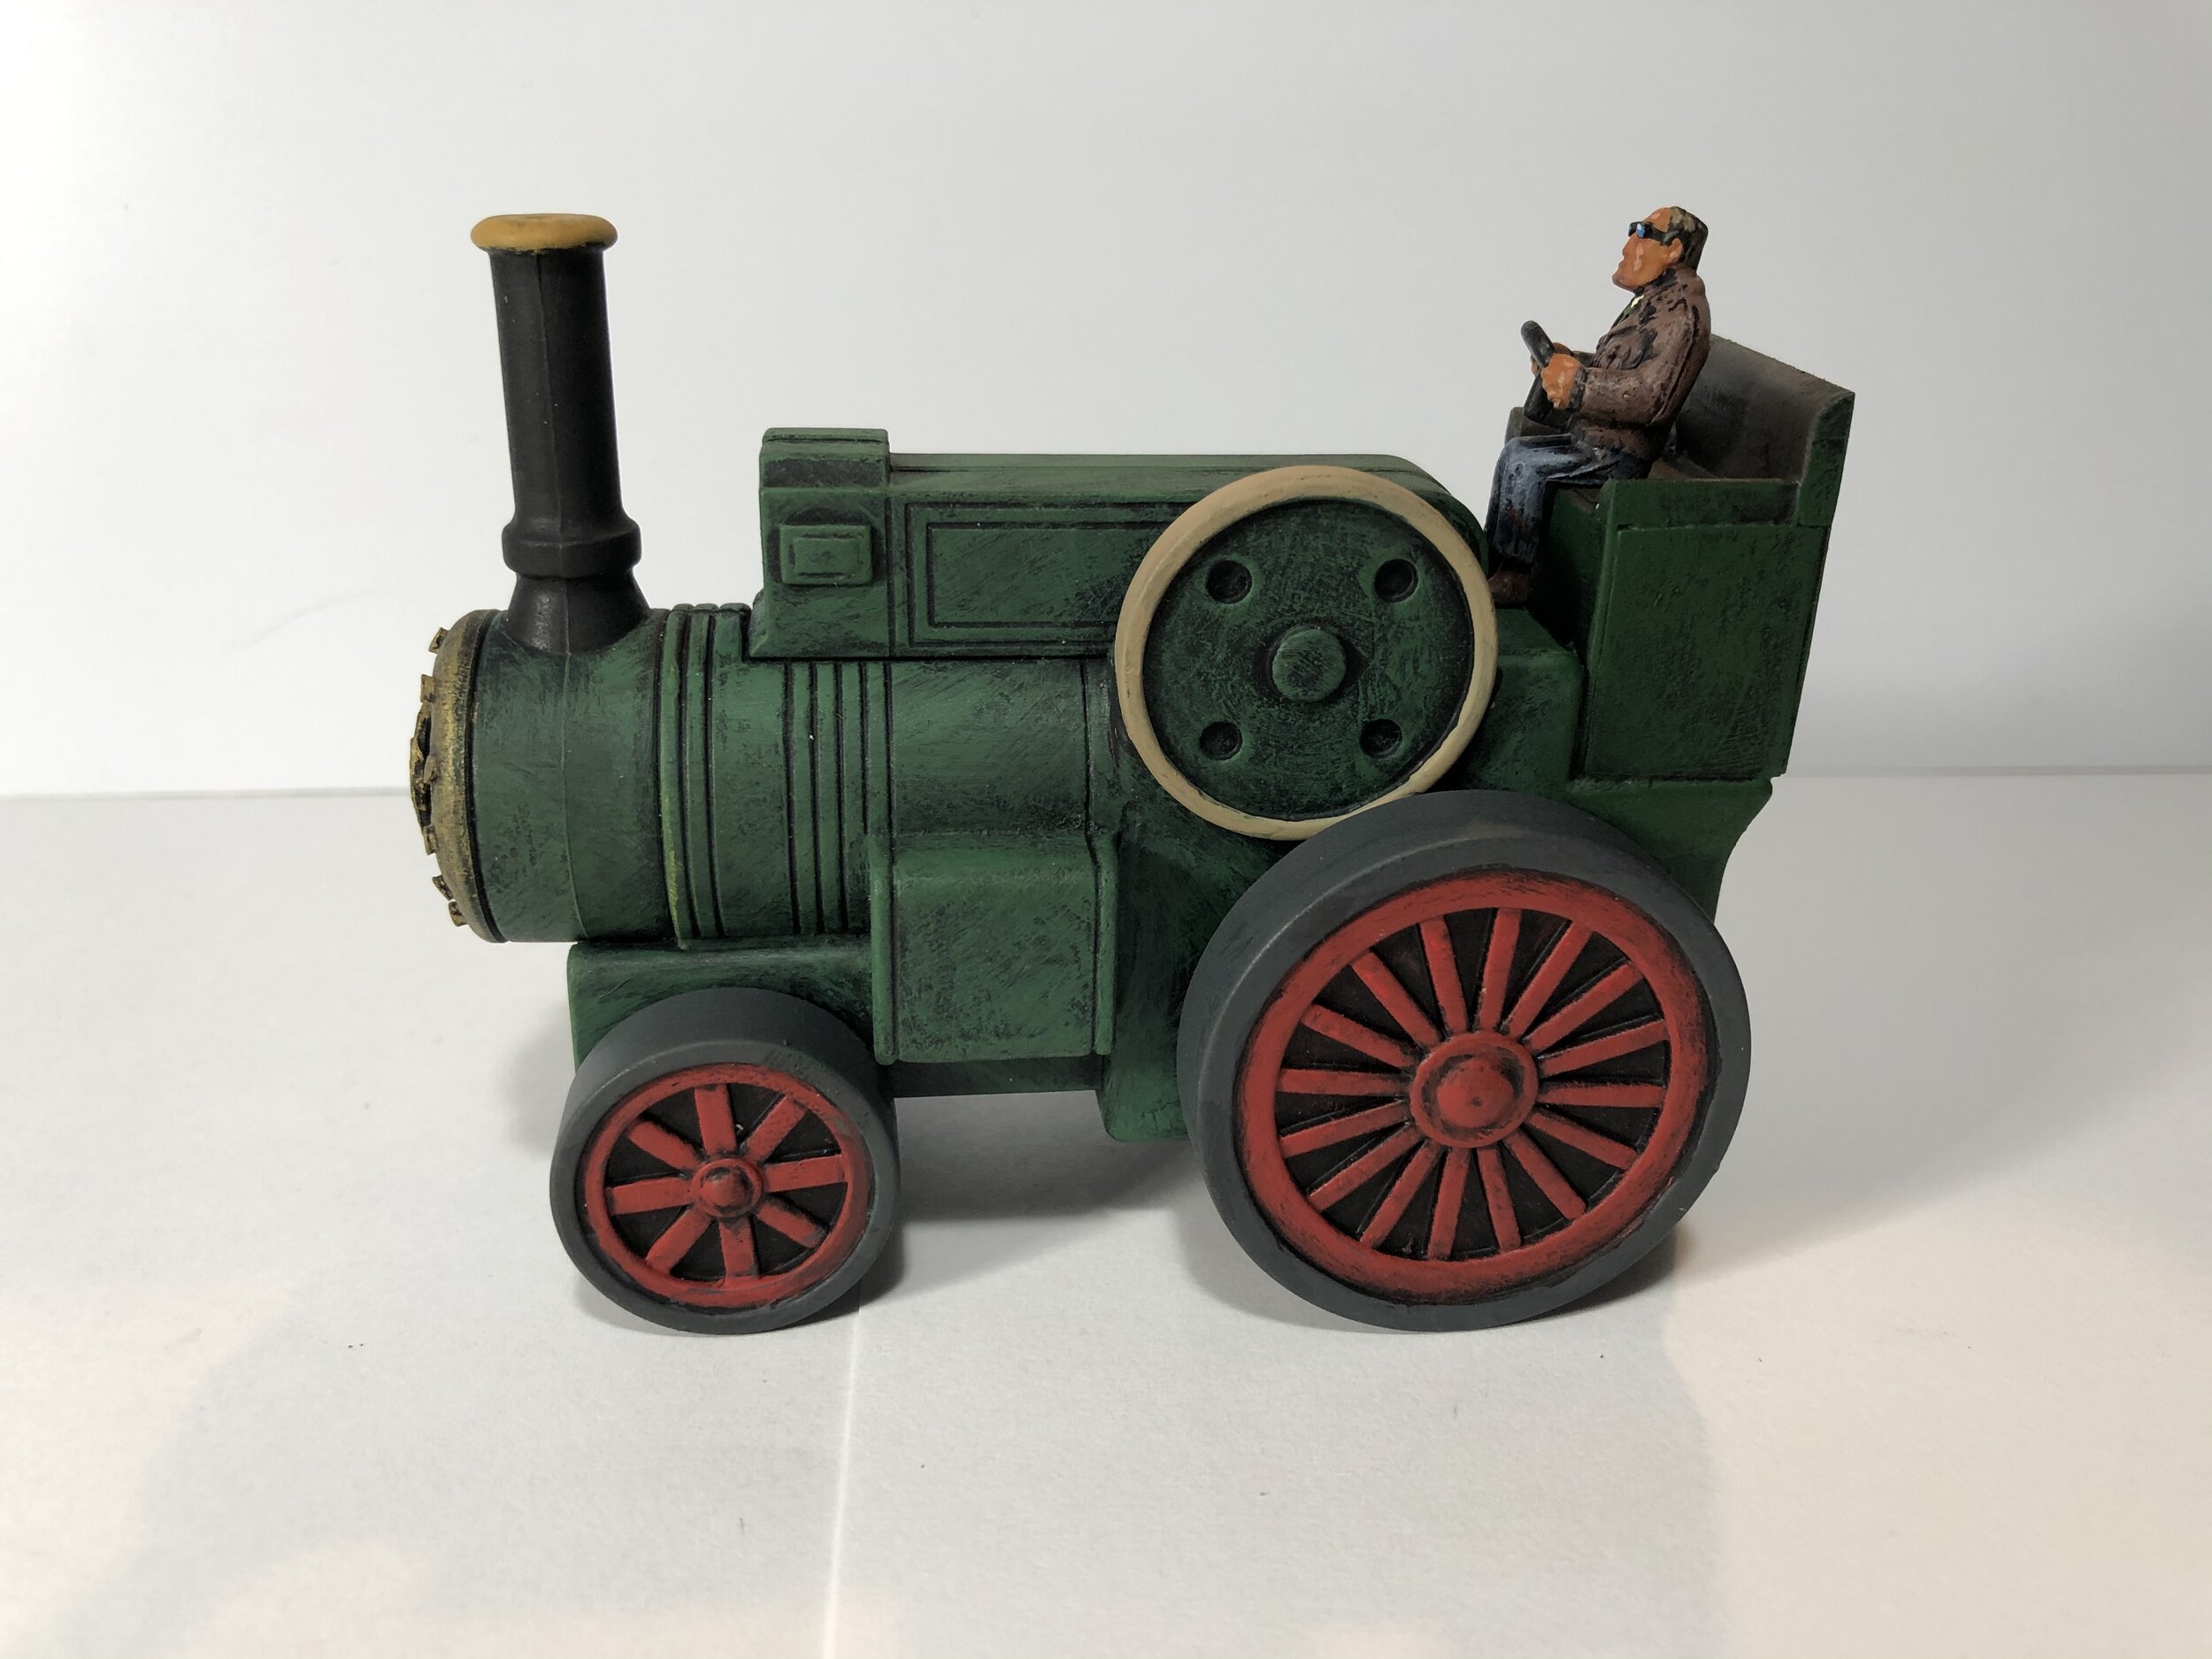
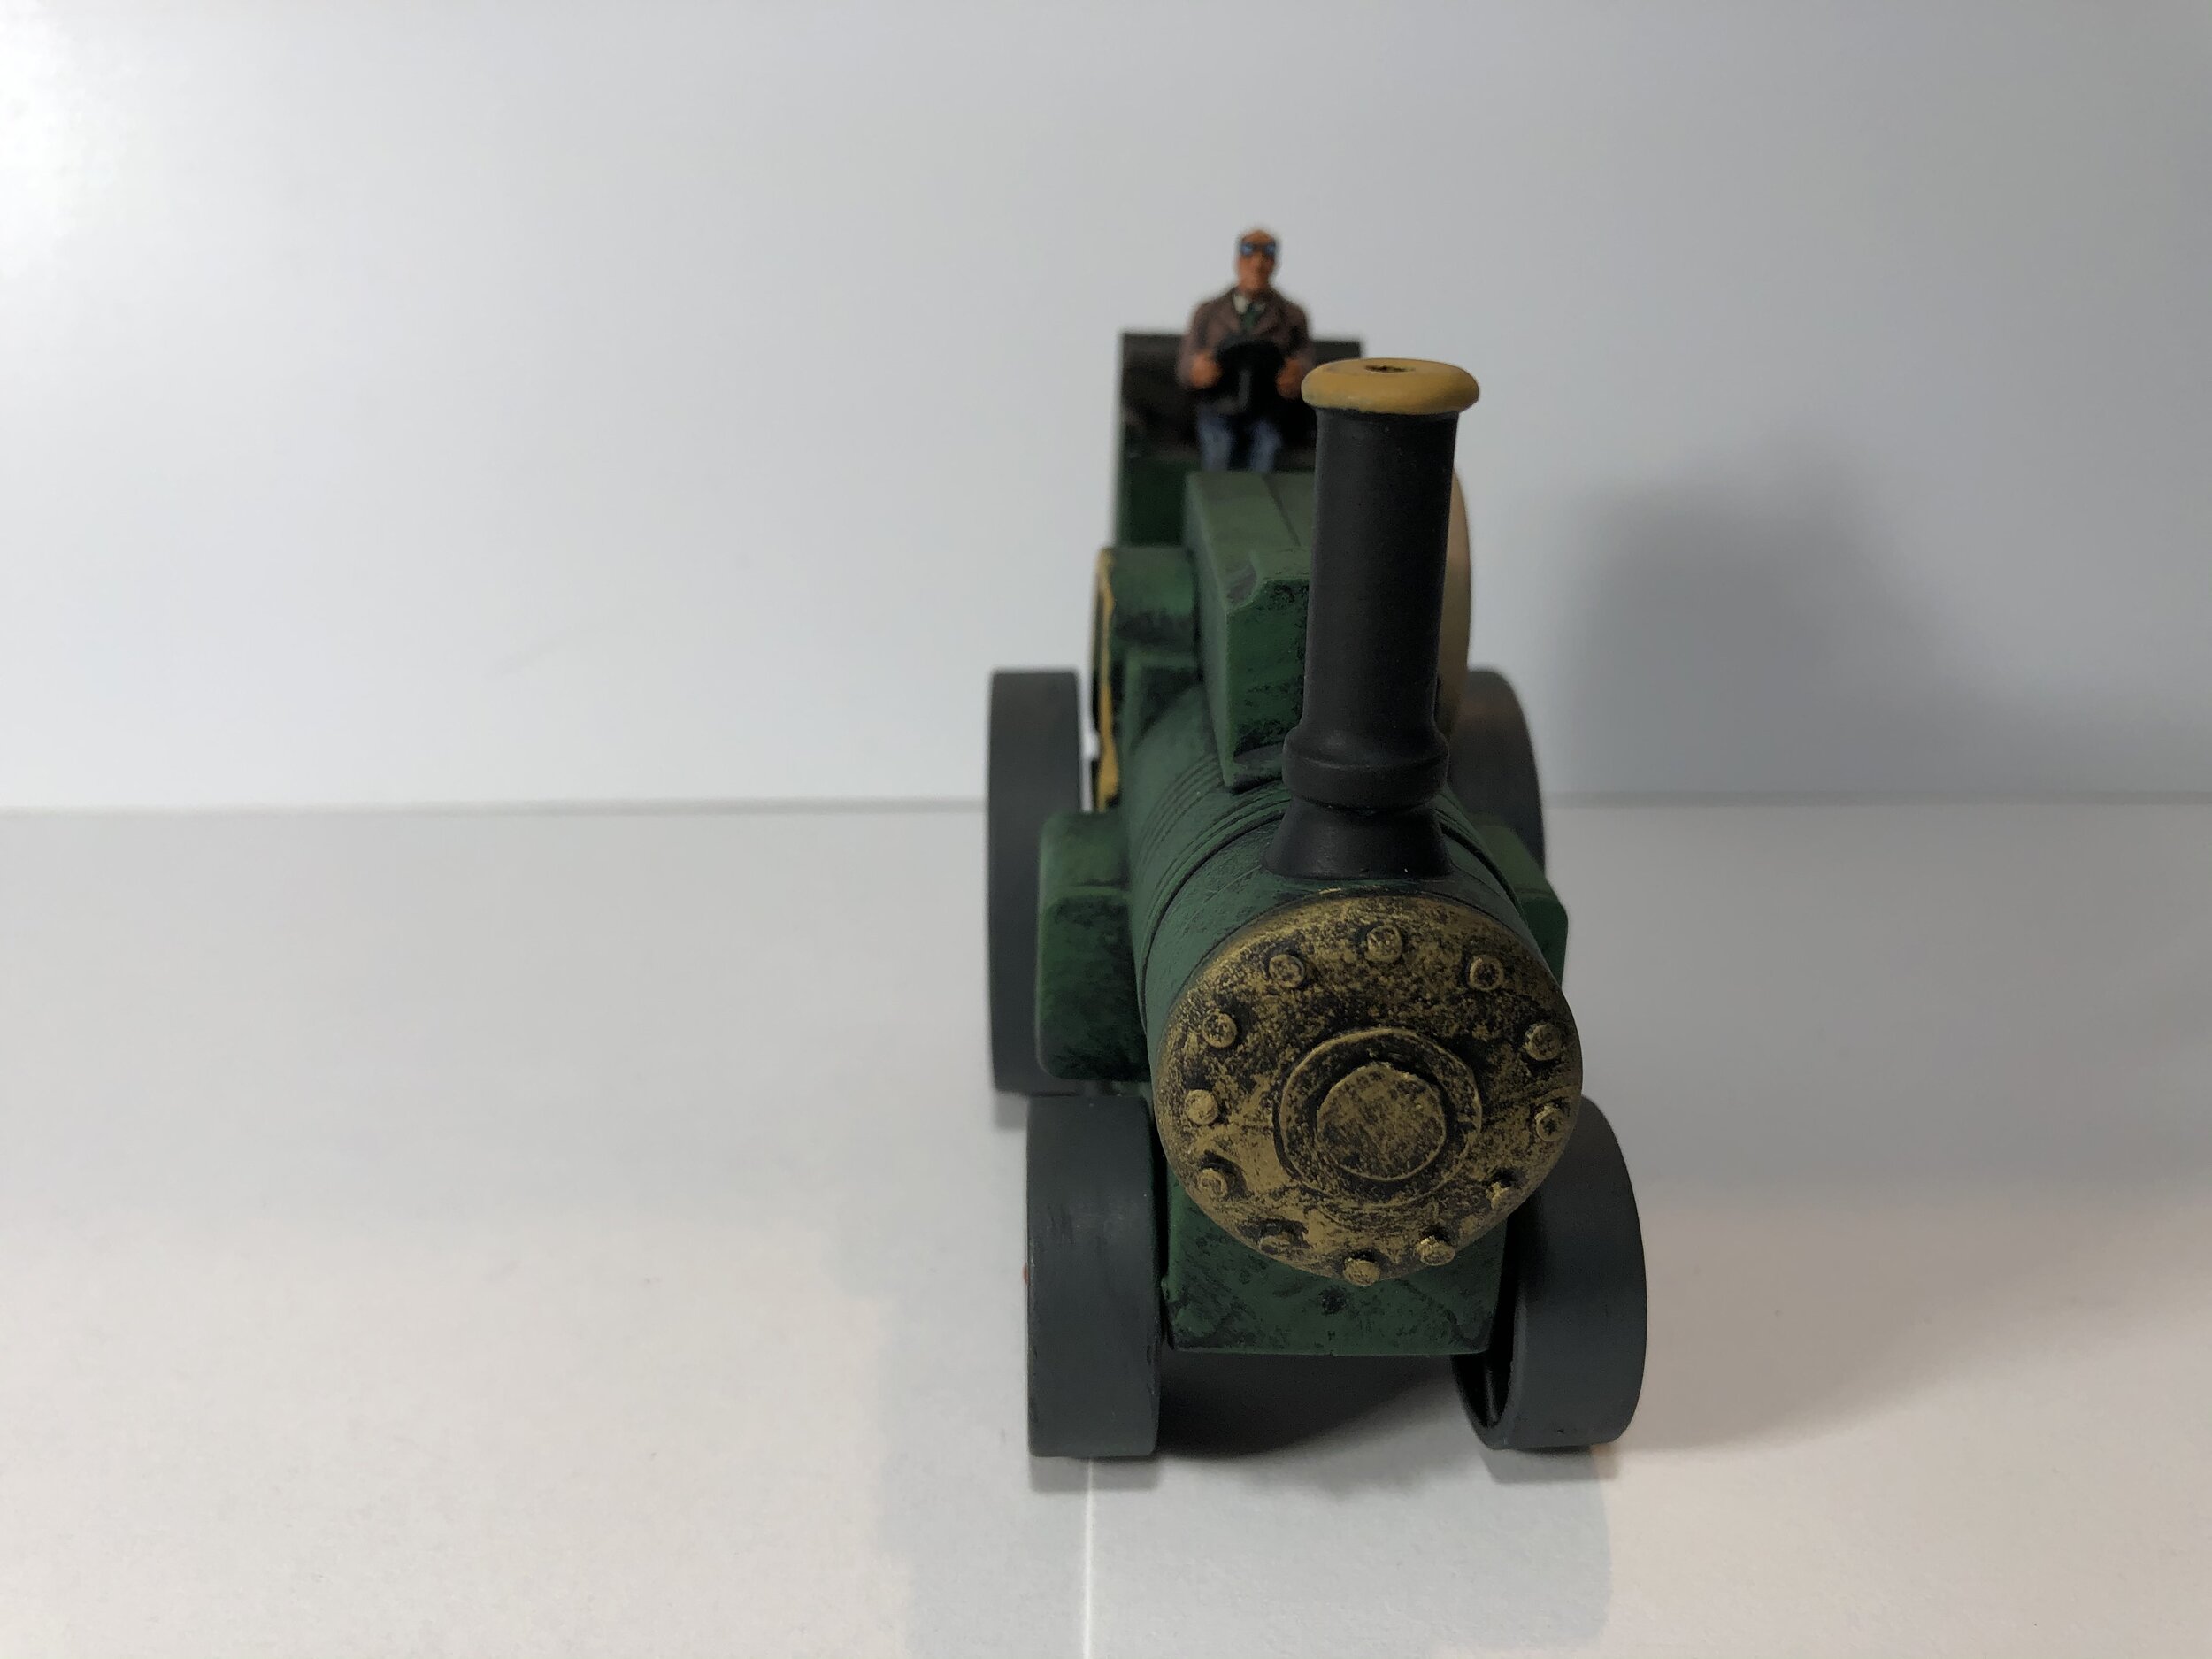
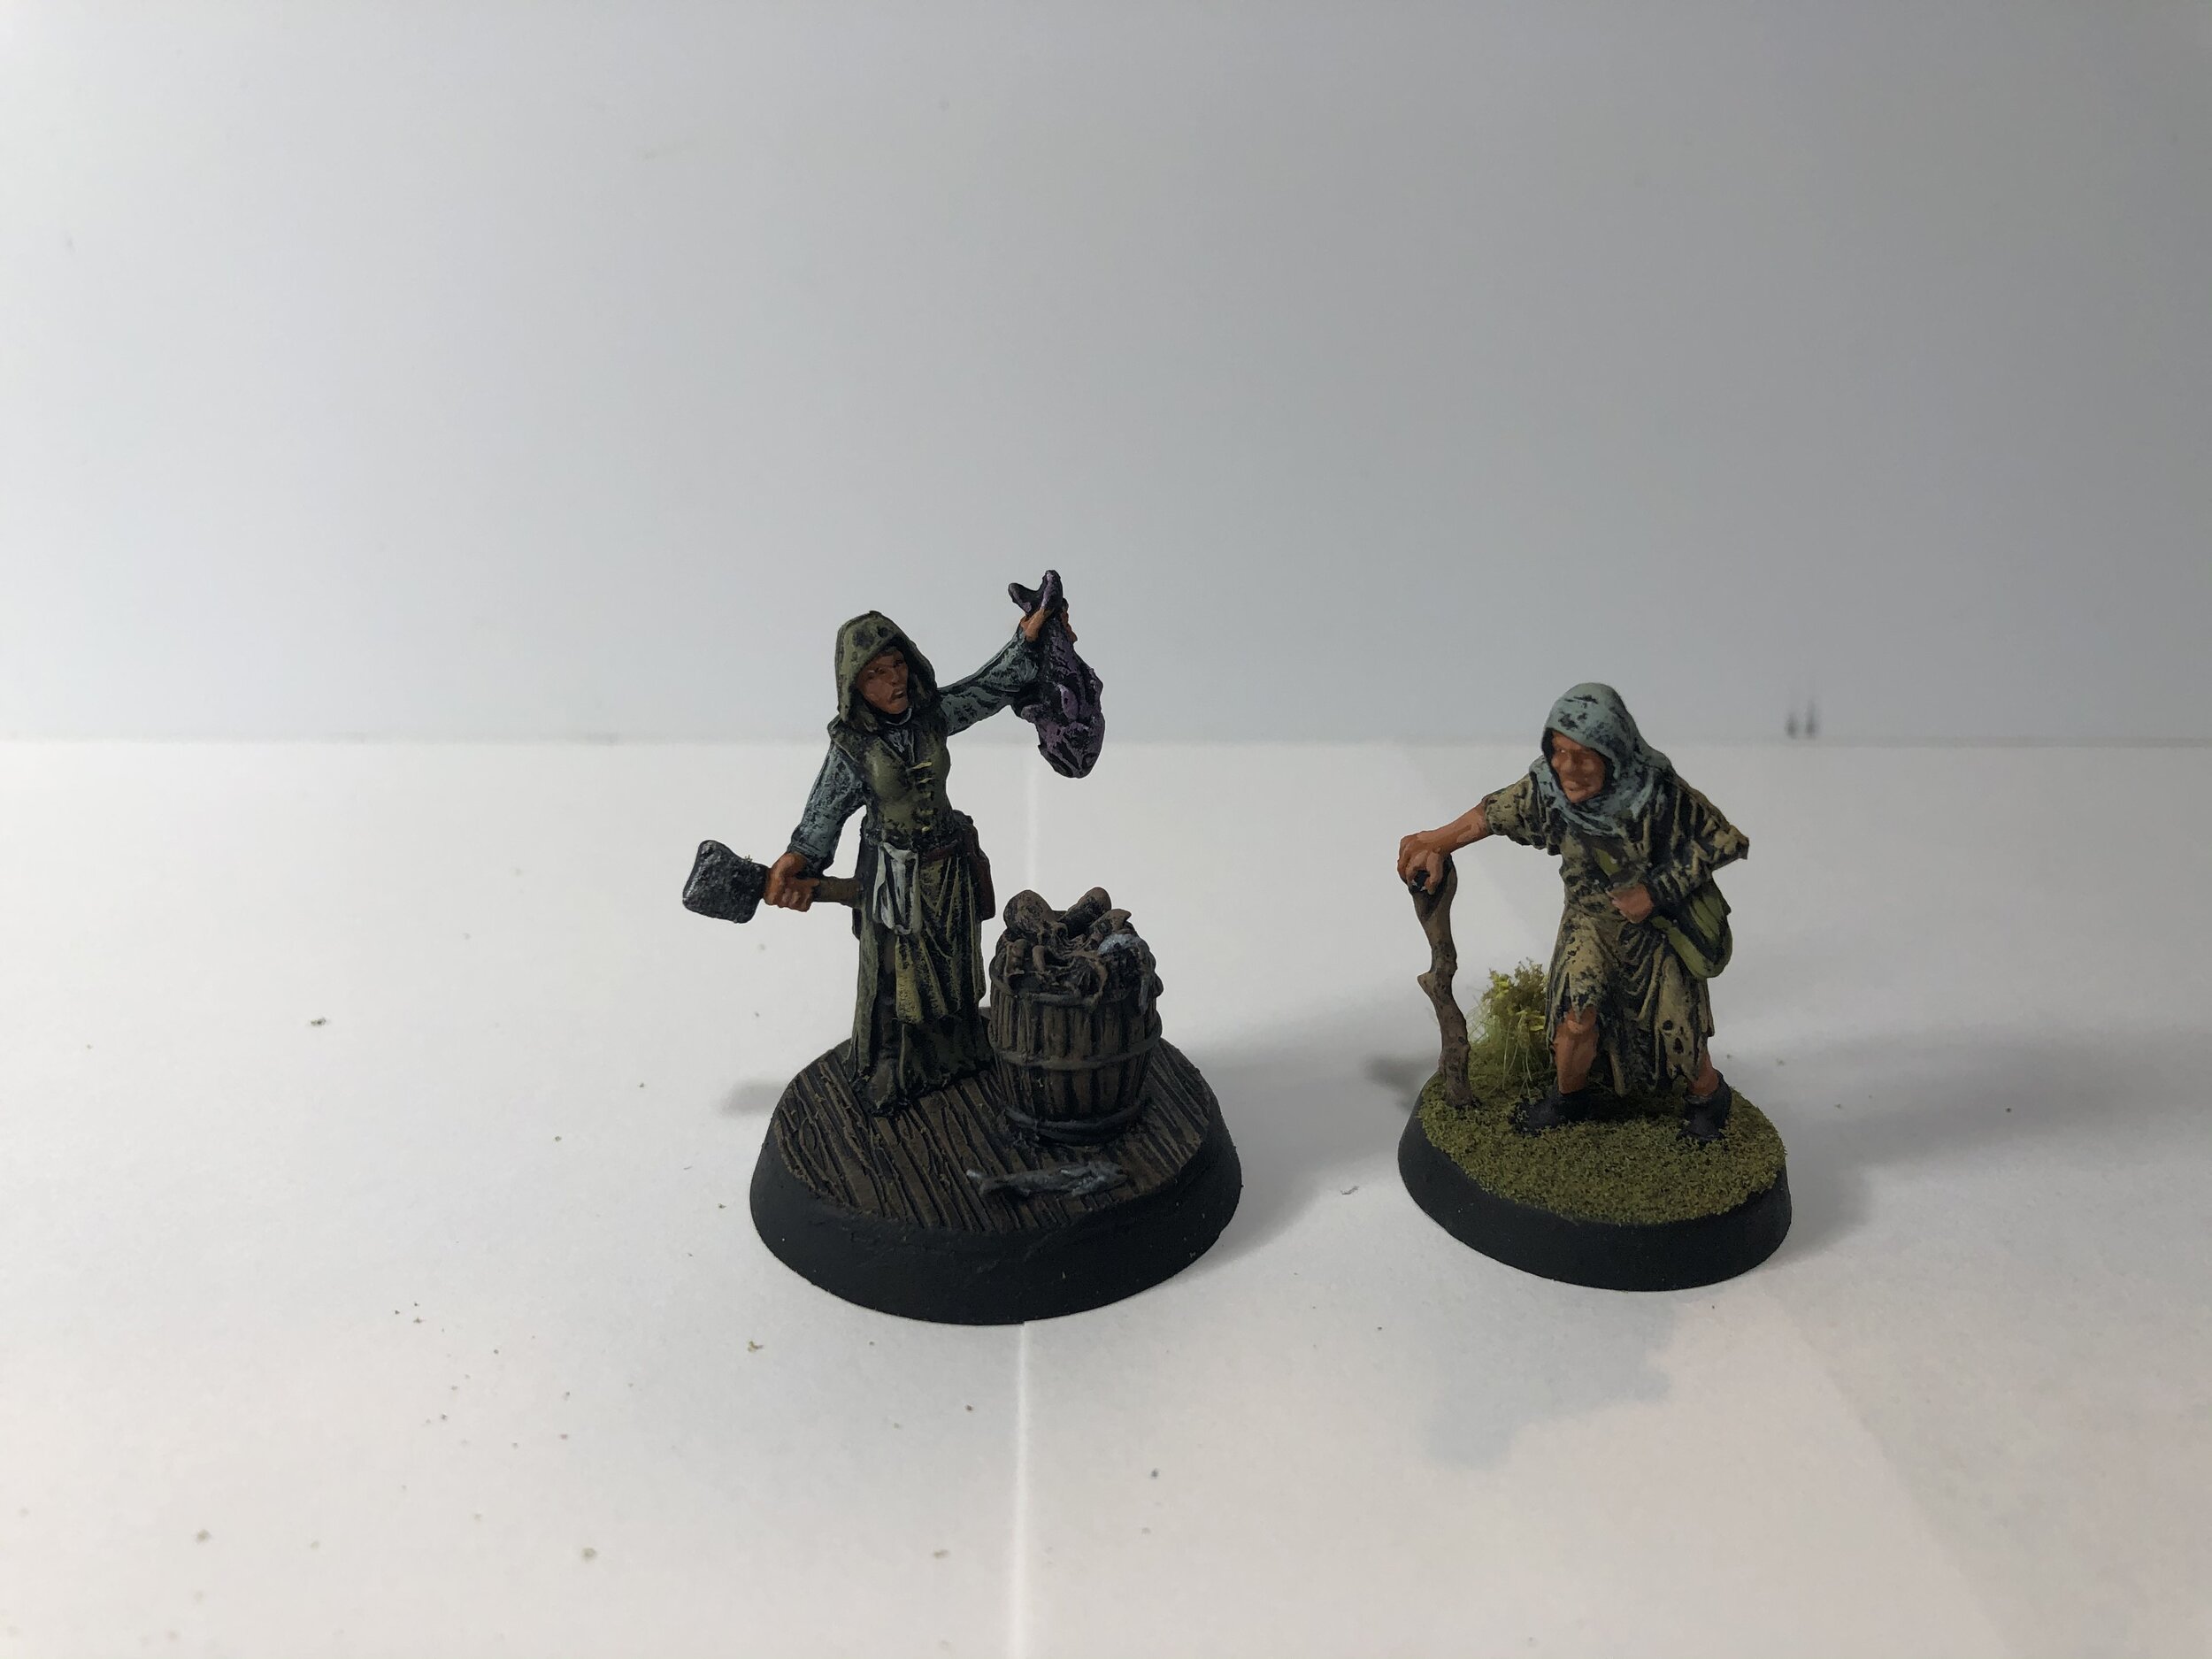
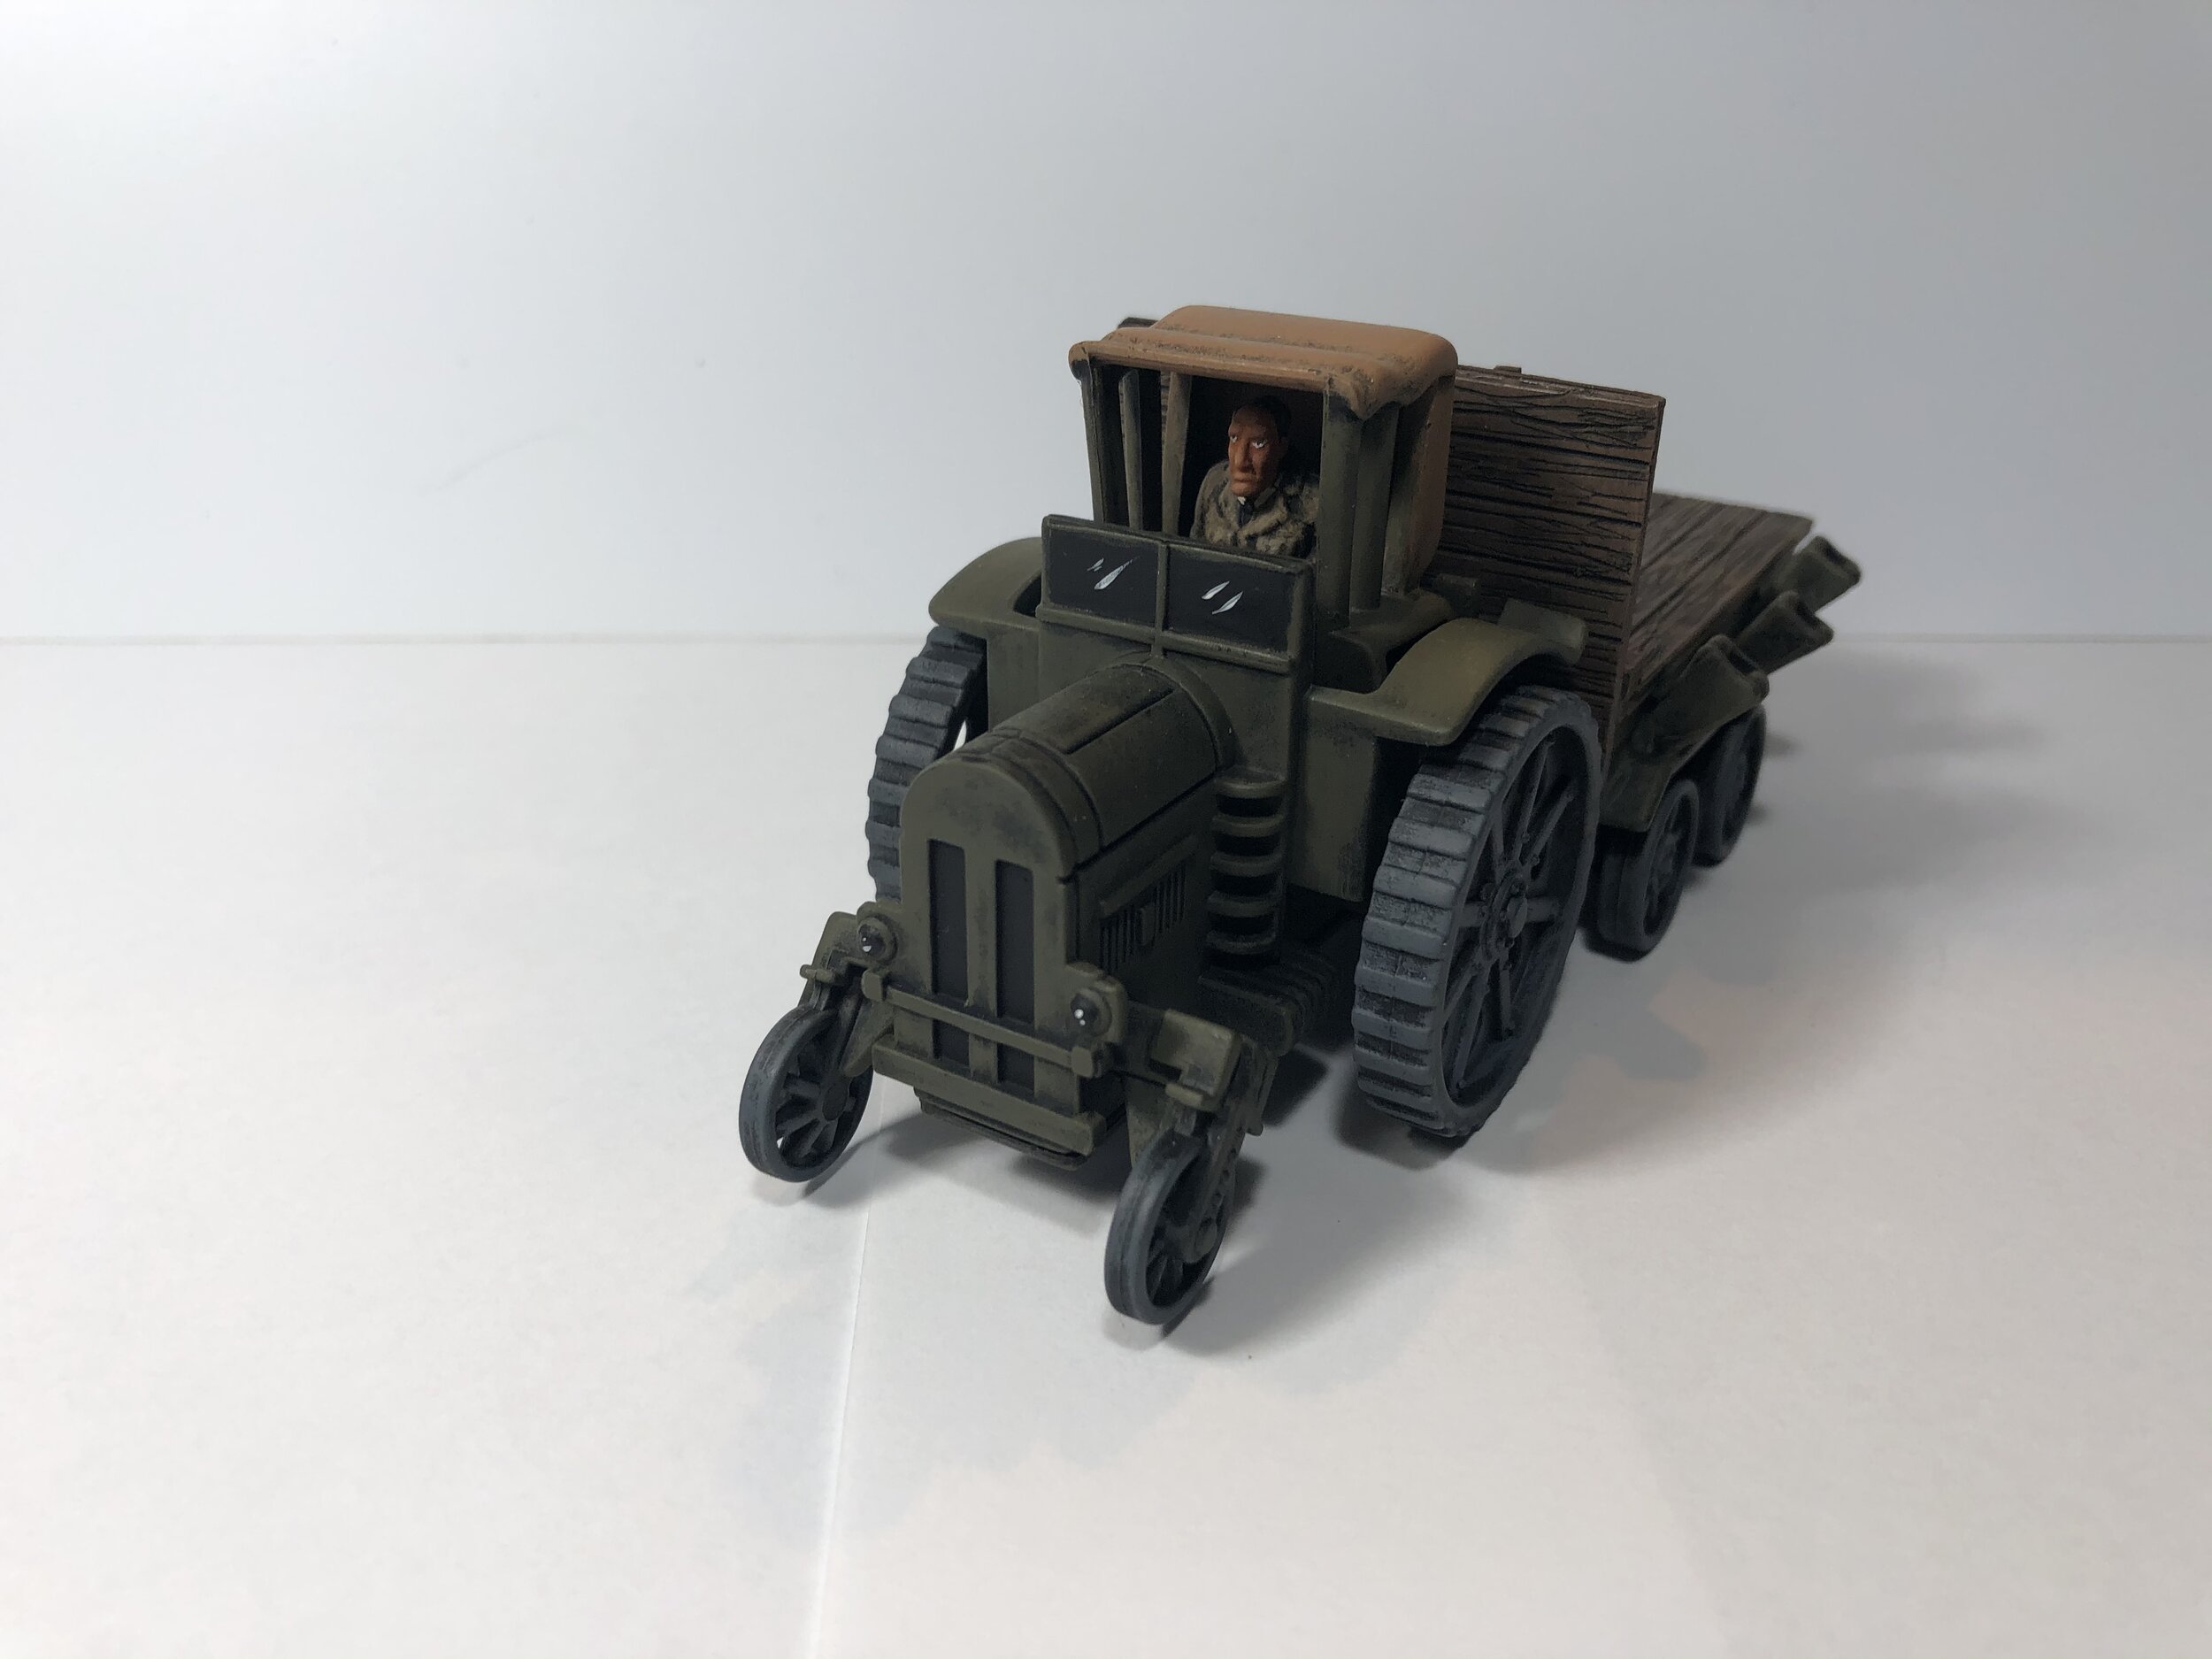
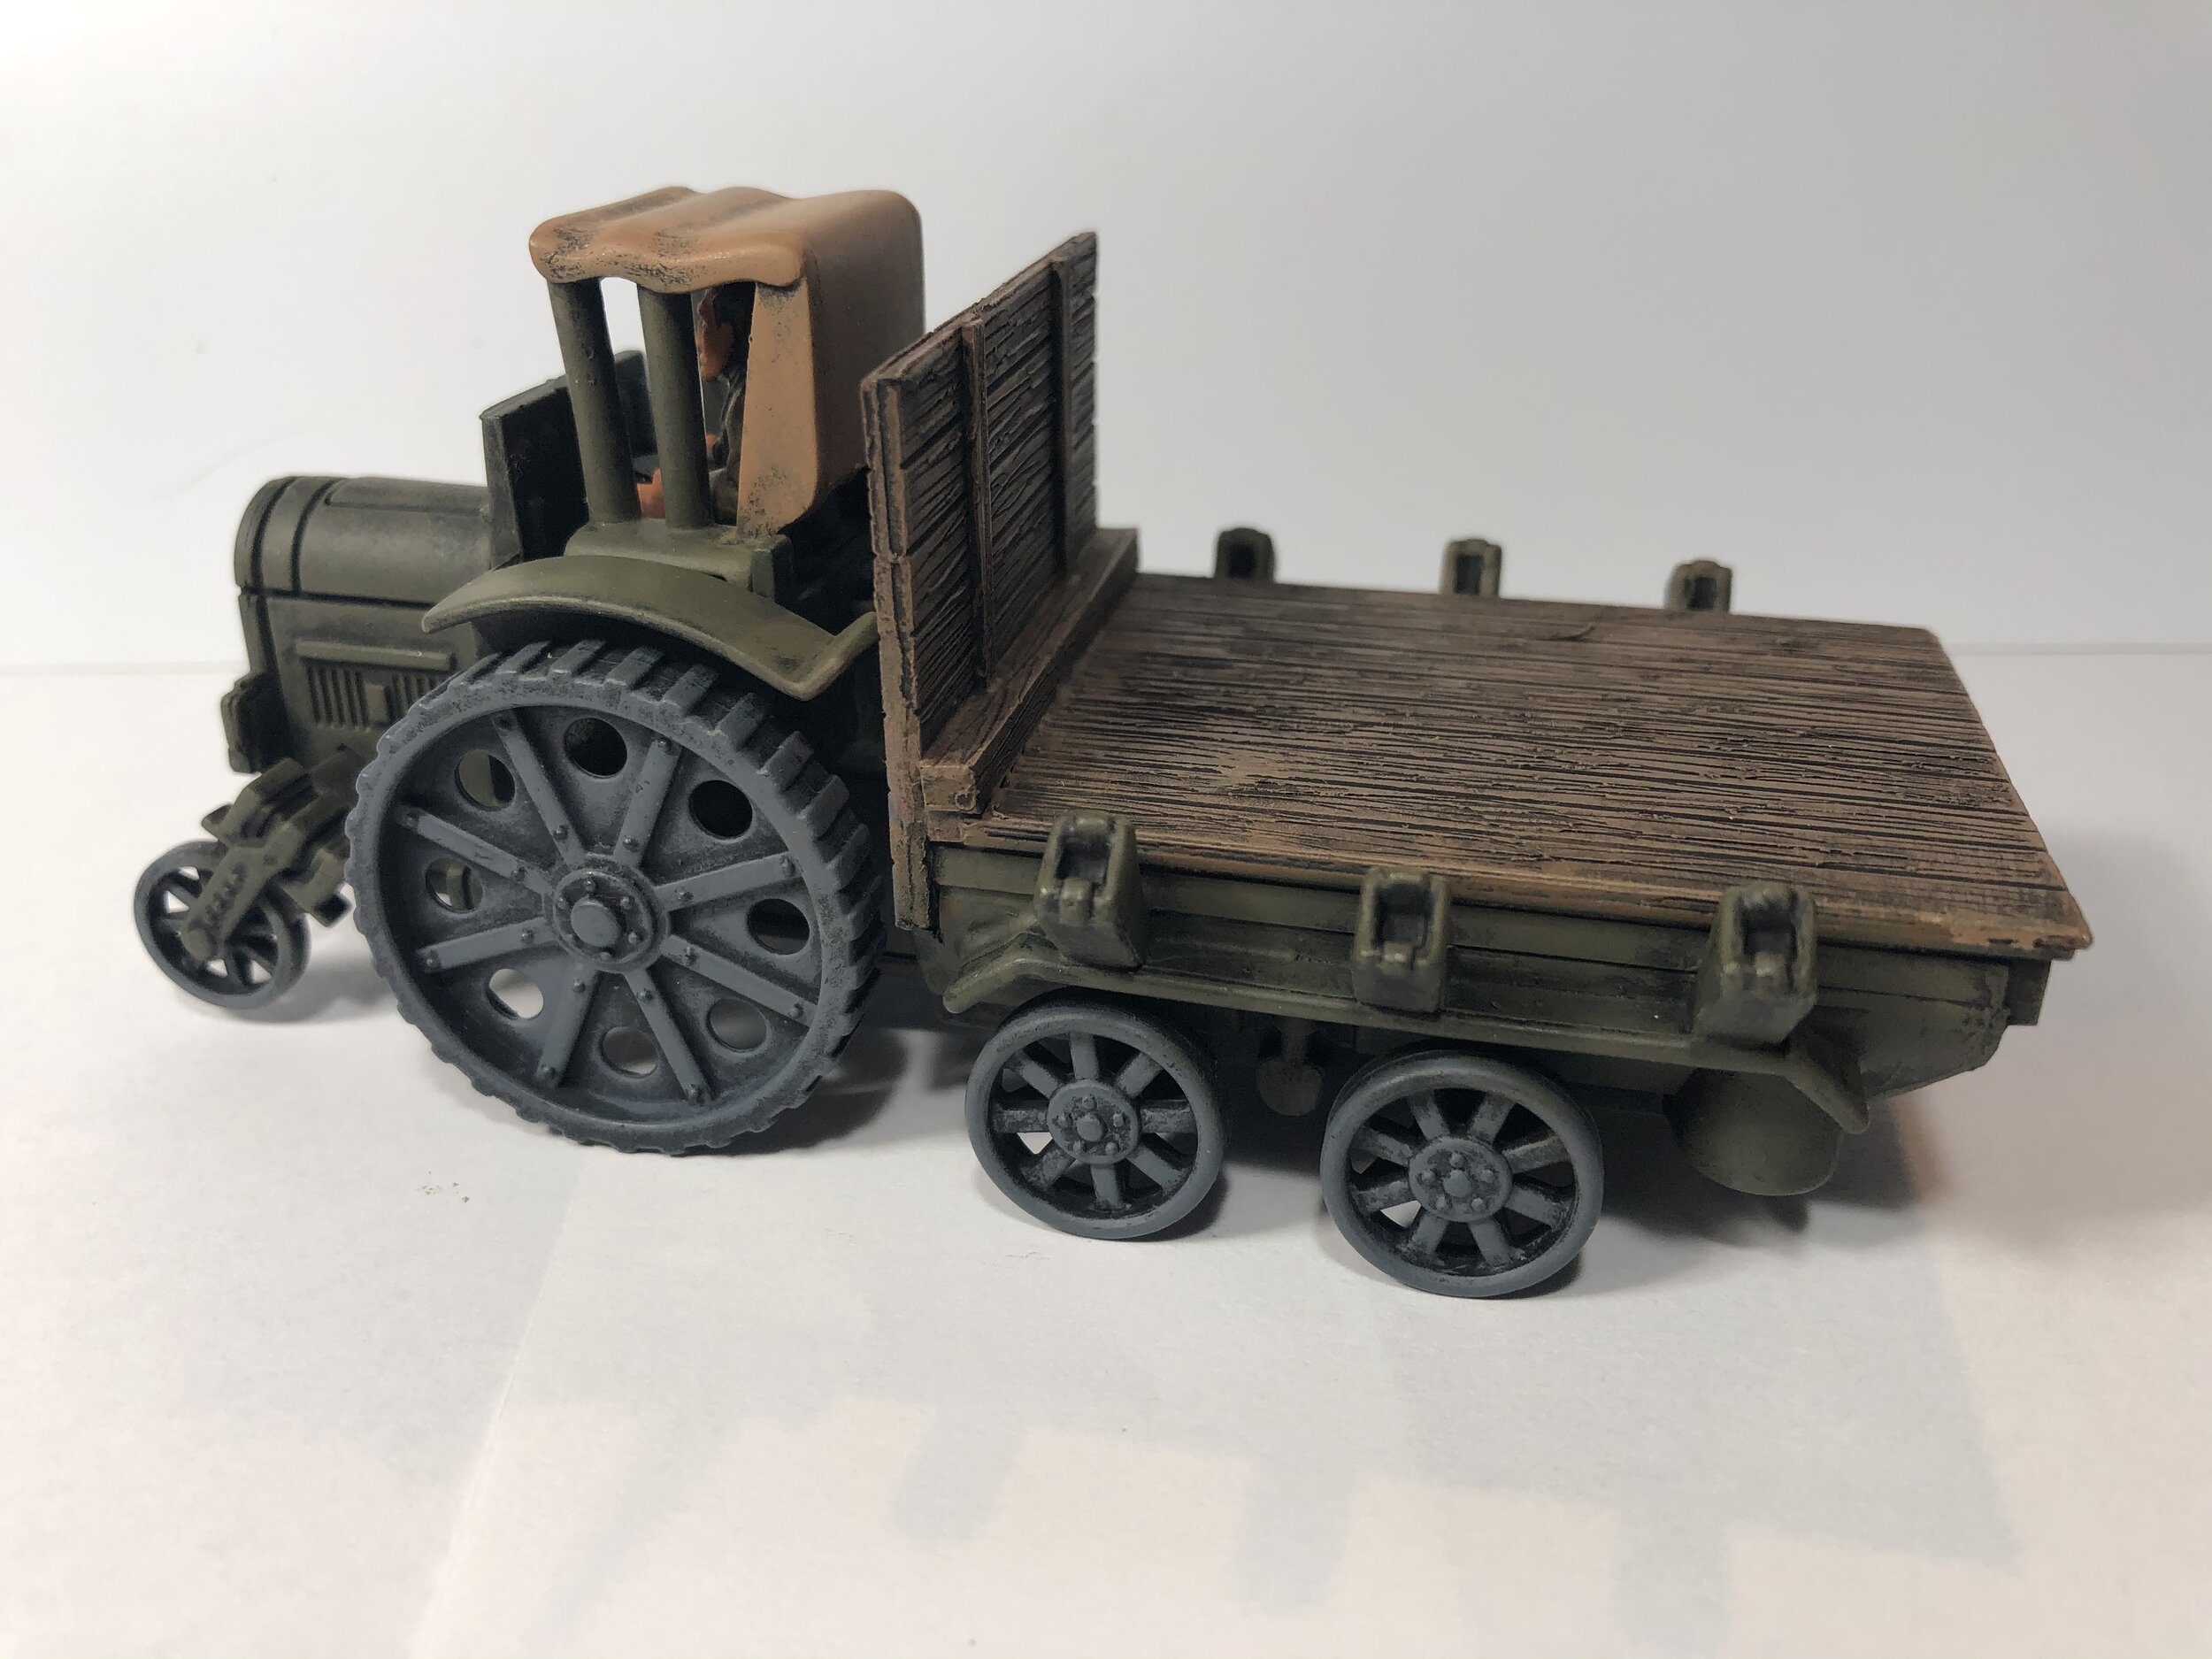
Most of this workbench week was focused on repurposing a group of Atlantis the Lost Empire vehicles that I recently purchased as a package deal and at a good price on eBay. I began by painting some seated Atlantis figures that I am using as drivers in vehicles repurposed this week and last week. One of the non-Atlantis vehicles I repurposed this week was actually just an additional modification of a Thomas Tank steam tractor I had repurposed several years ago and had never been completely happy with. The driver’s area at the rear of the tractor was probably more accurate as I previously had it but didn’t really work in terms of using even a standing driver. Consequently, I decided to add a driver’s seat (probably not accurate but more effective for my use) using Lego blocks covered with Evergreen and Plastruct plastic to add height and create a seat-like configuration. While focused on figures (drivers) I decided to paint two Reaper Bones Black figures that I will be using with my Loch Ness collection… the fishwife and crone.
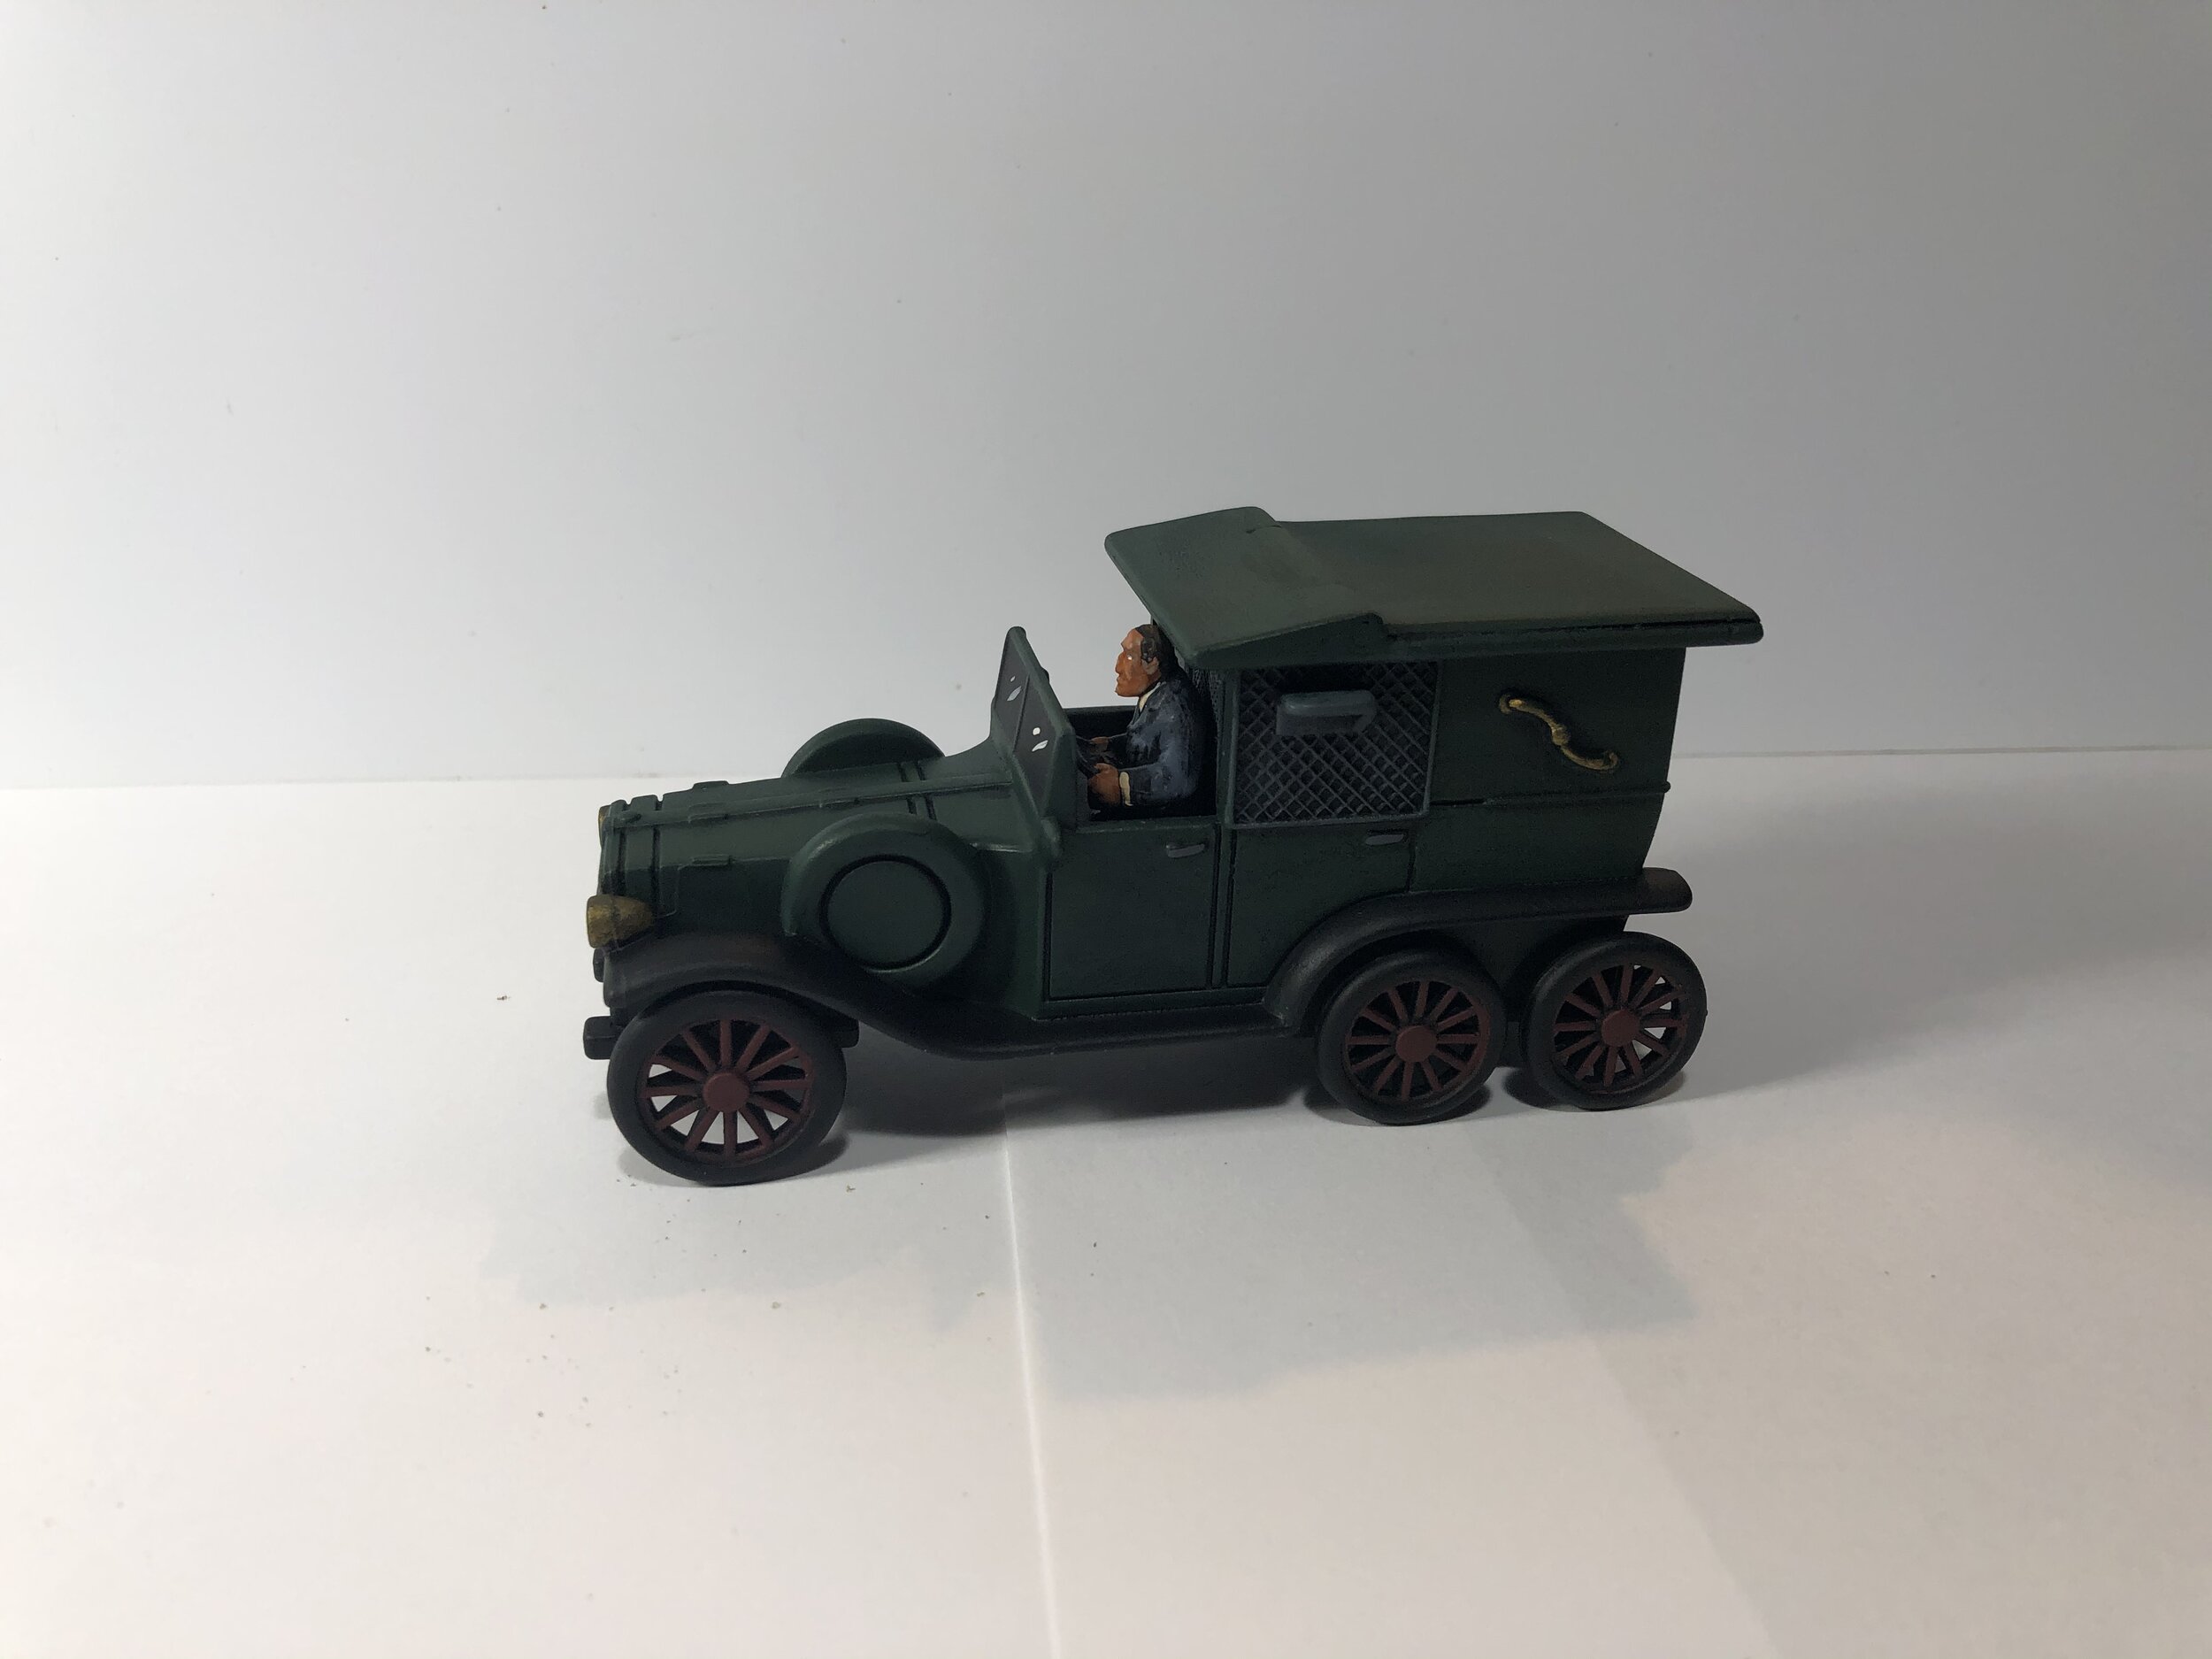
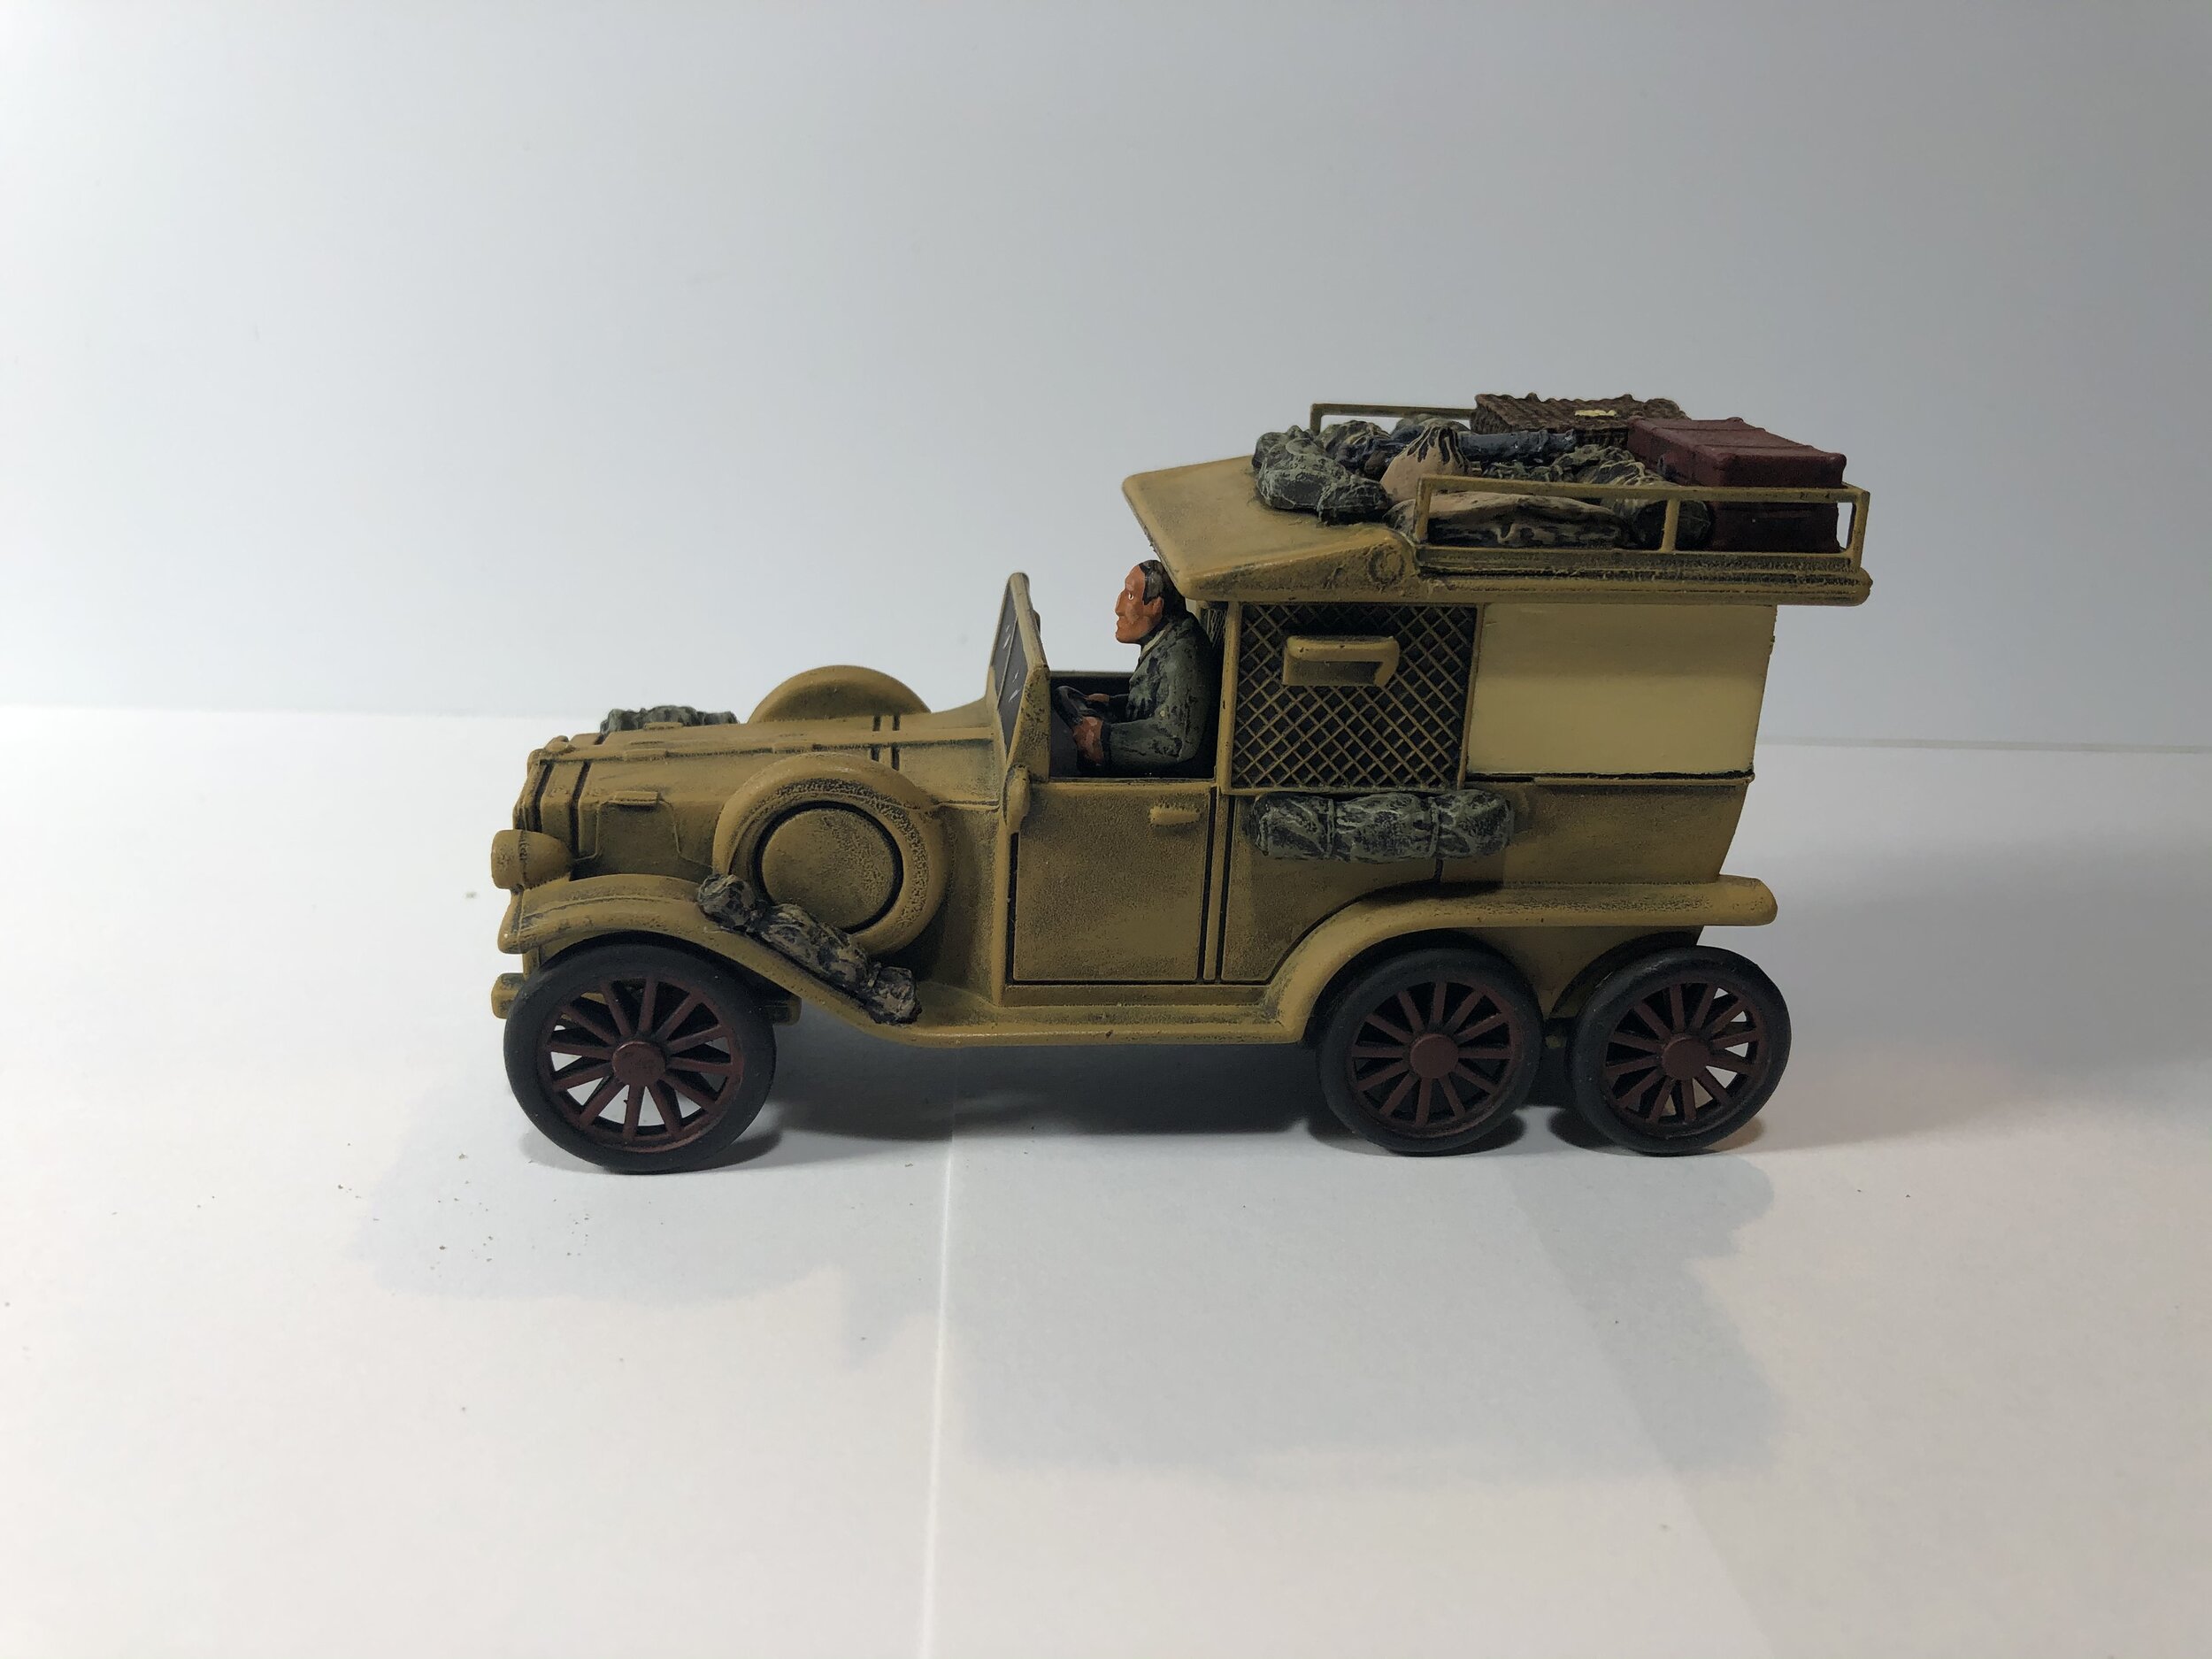
My final Atlantis vehicle work and the last of the Atlantis vehicles I had unmodified were the command car and a tank truck. I added a baggage rack to the top of the command car and some other stowage hung from the side of the car and on the fenders. I also gave the car a rack with two jerry cans. I still need to add the Gordon Institute decals to the side but those are not done as yet. I created another flatbed truck out of the tank truck. The truck bed is made from Evergreen v-groove (#4188).
The last work I did was making some additional plants for the riverbank of the Loch Ness collection. I have a couple more pieces for the Loch Ness collection on order… not much. I also need to do a practice set up to see how the layout will look and what adjustments need to be made, but other than that I’m getting close to the finish point.

November 1, 2020
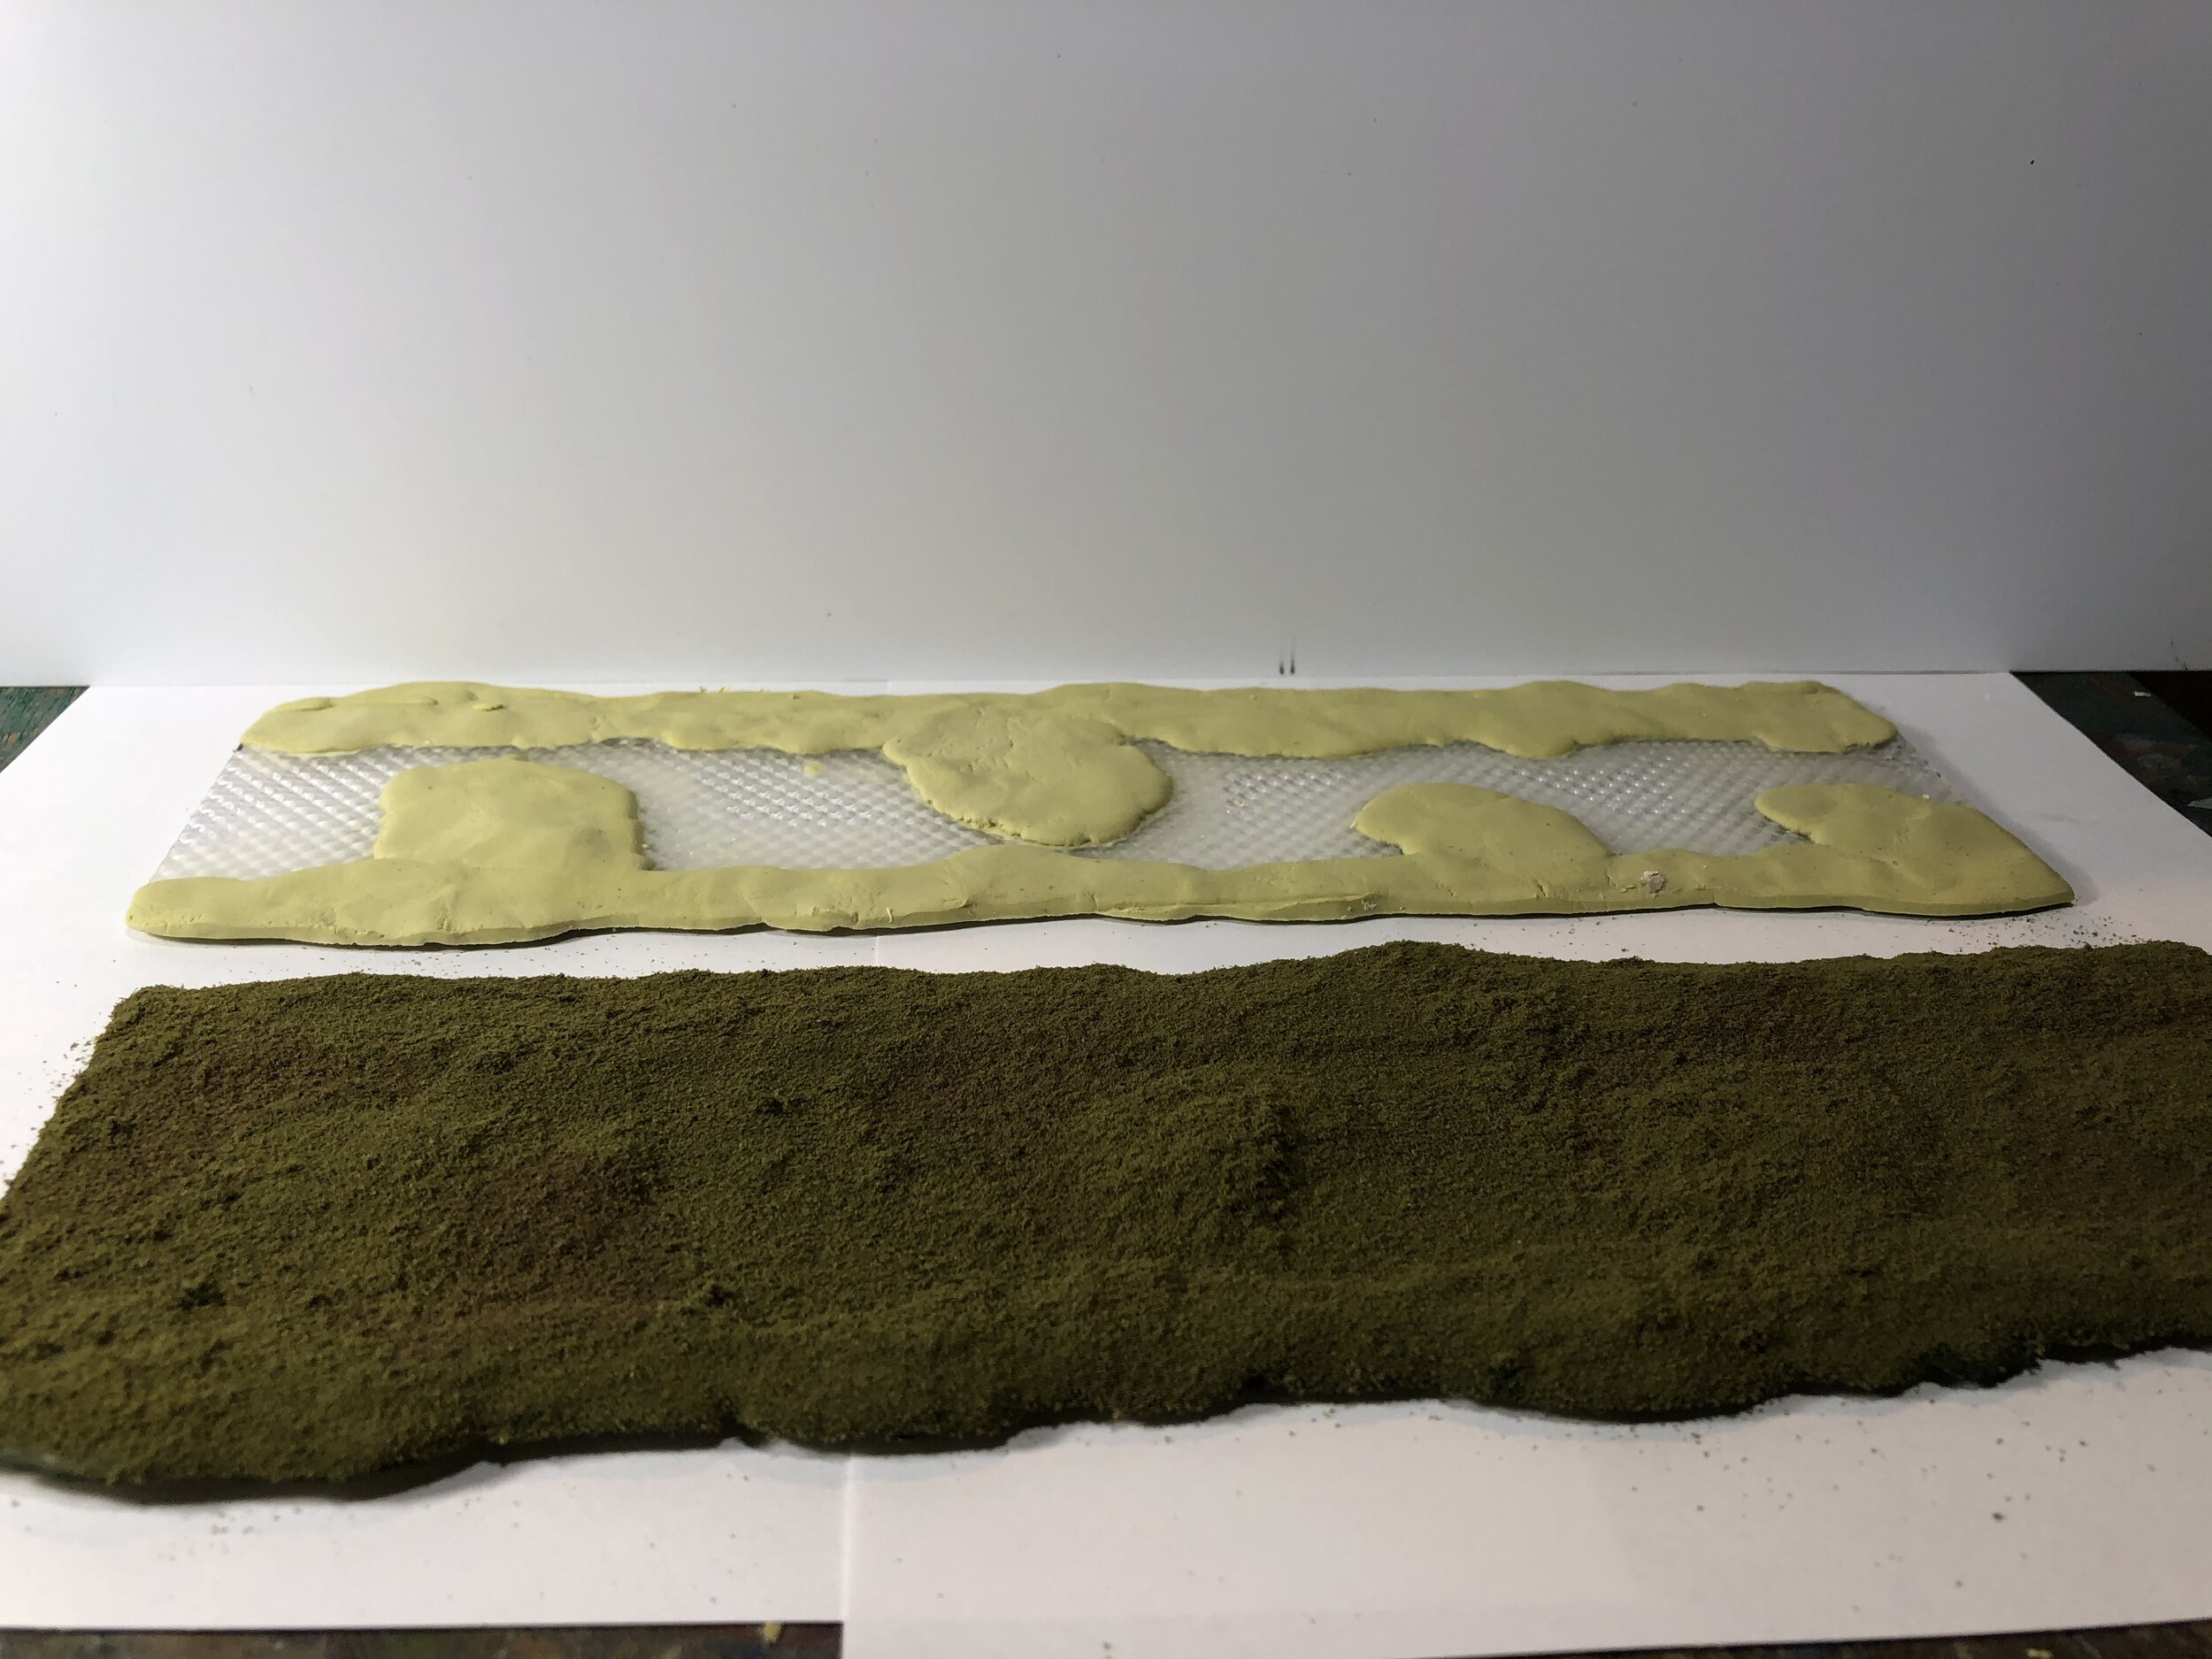
I began the week confronting an important but not particularly interesting task for my Loch Ness project. That task was the creating of shoreline banks for the waterfront. I did it by cutting plastic sections (approximately 2 ½” wide by 11” long). For each 11” section of shoreline, two of those plastic sections were needed… glued together and offset by ½” so that a ½” lip would set over the water. To give each section additional strength and character I covered large portions of them with Milliput and finally covered each section with Scenic Effects turf. I did six of them and decided I needed a seventh which will have to wait until next week.
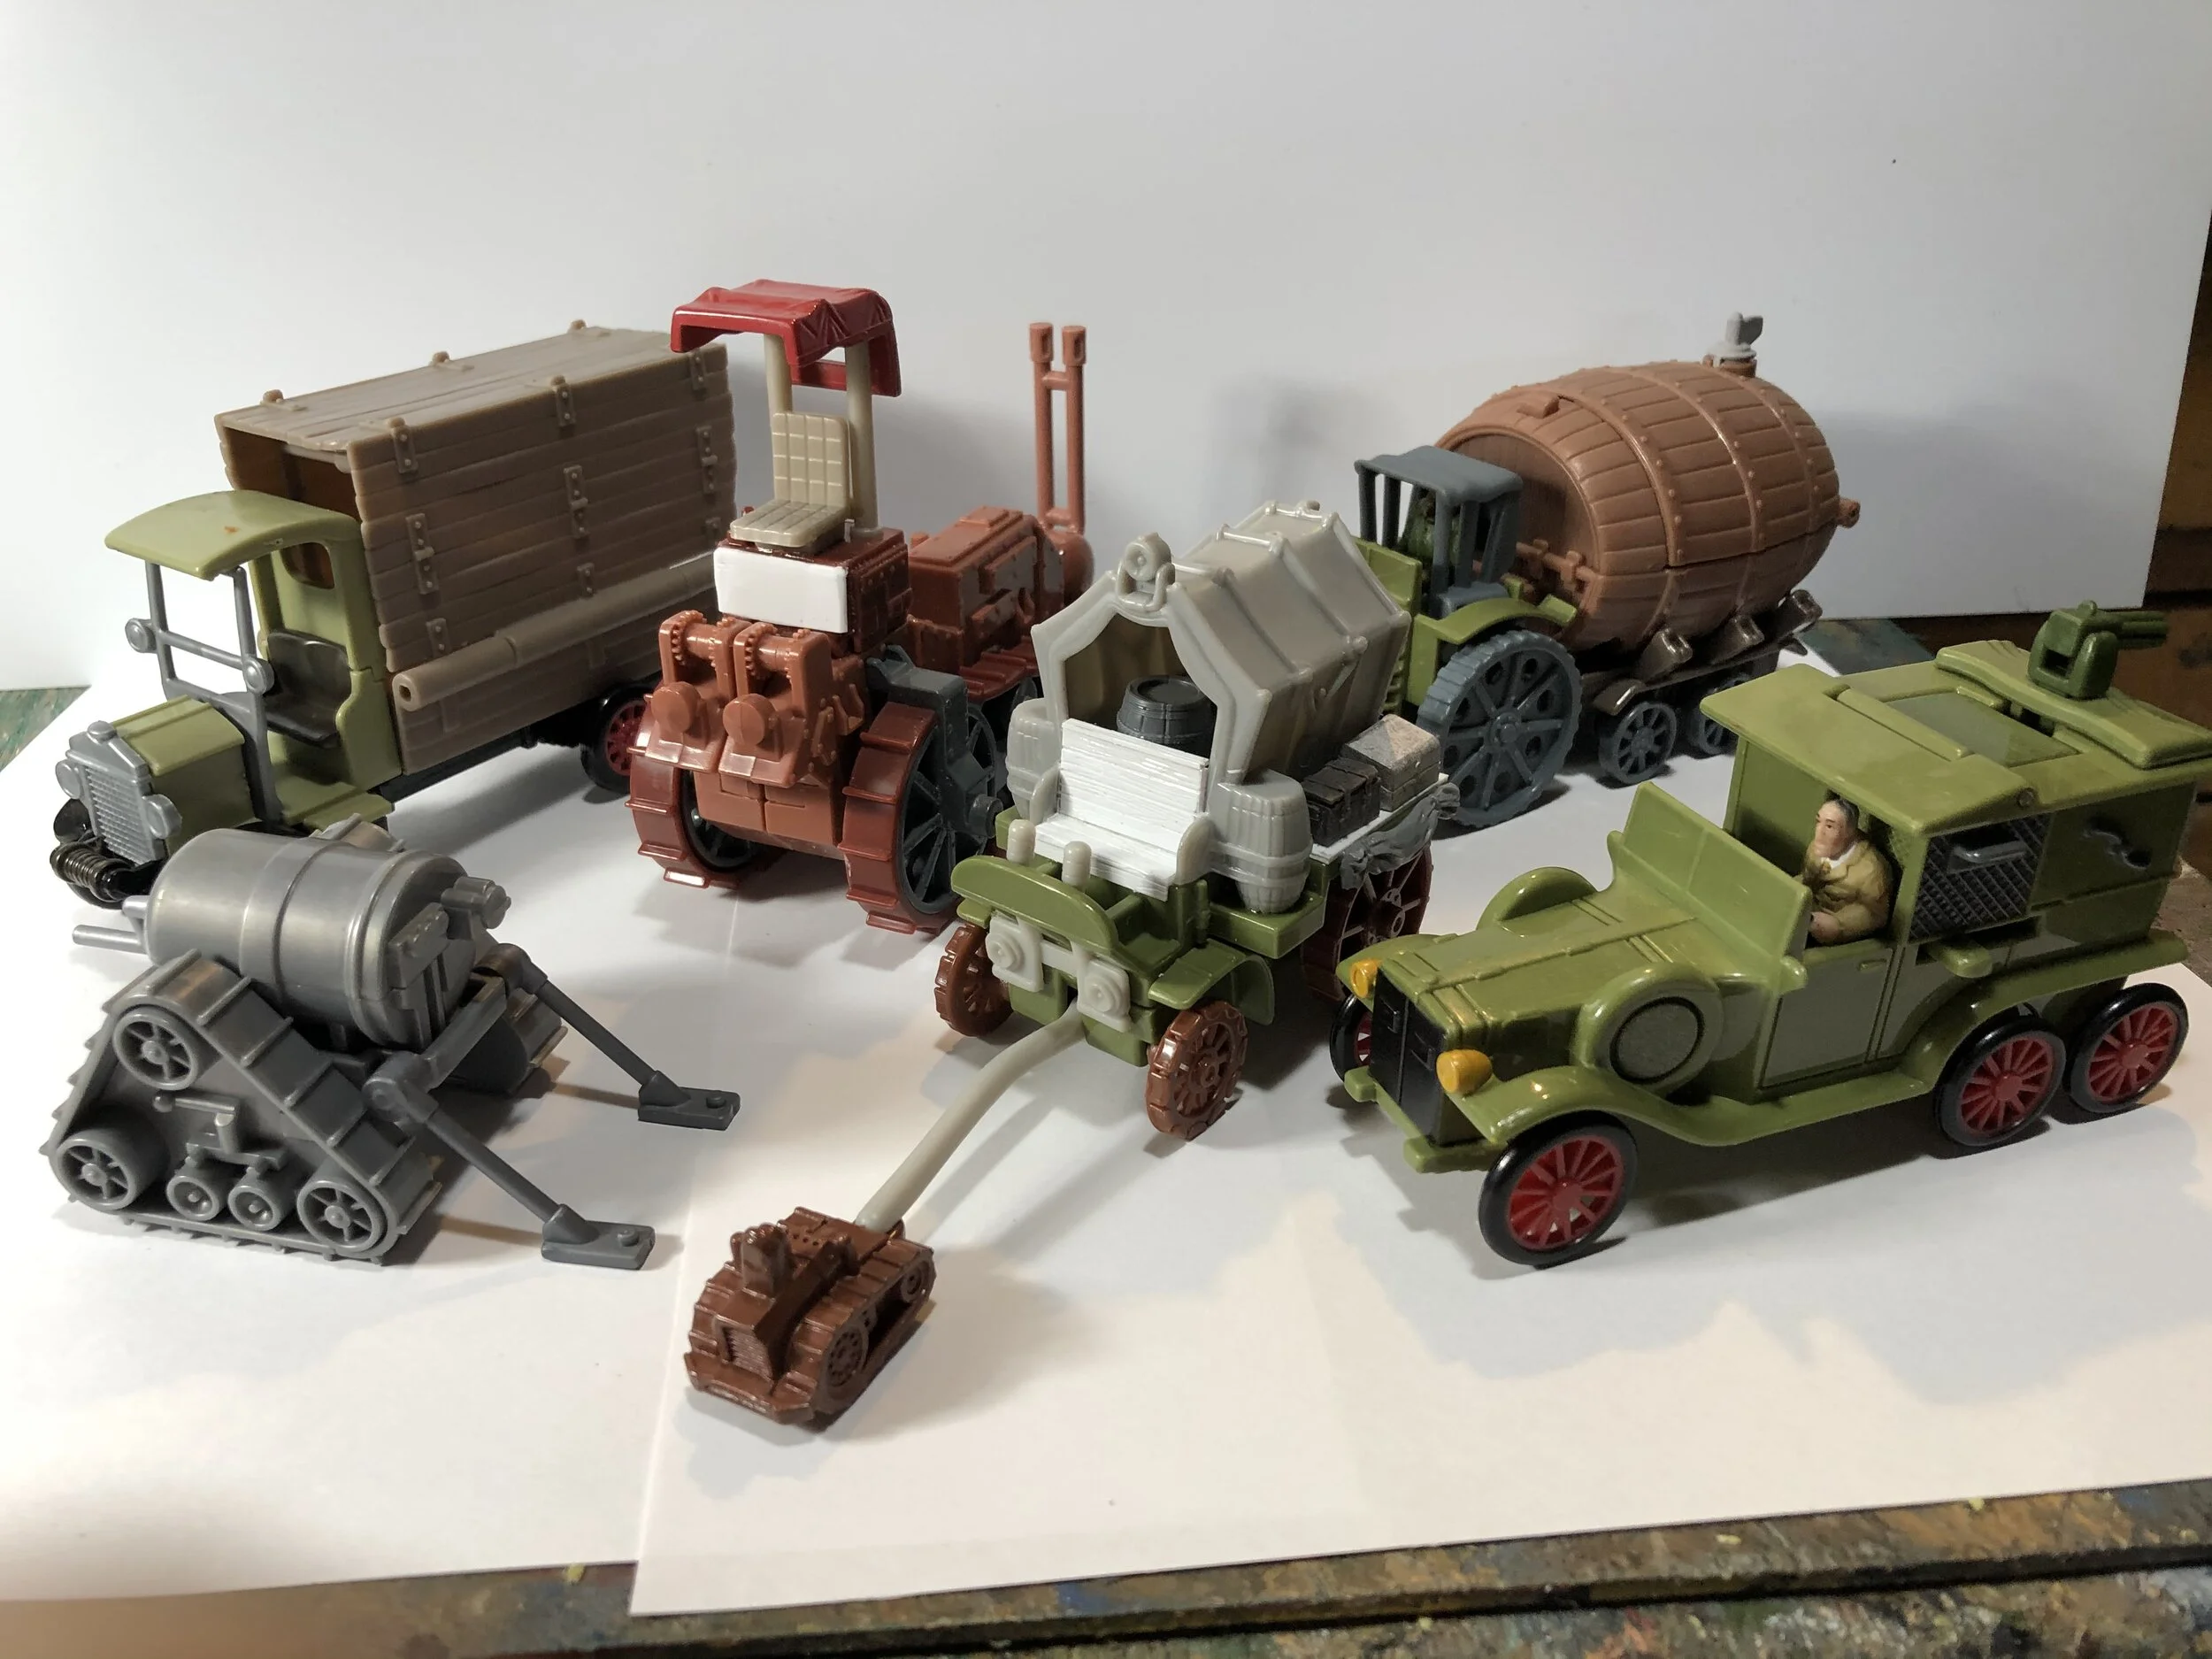
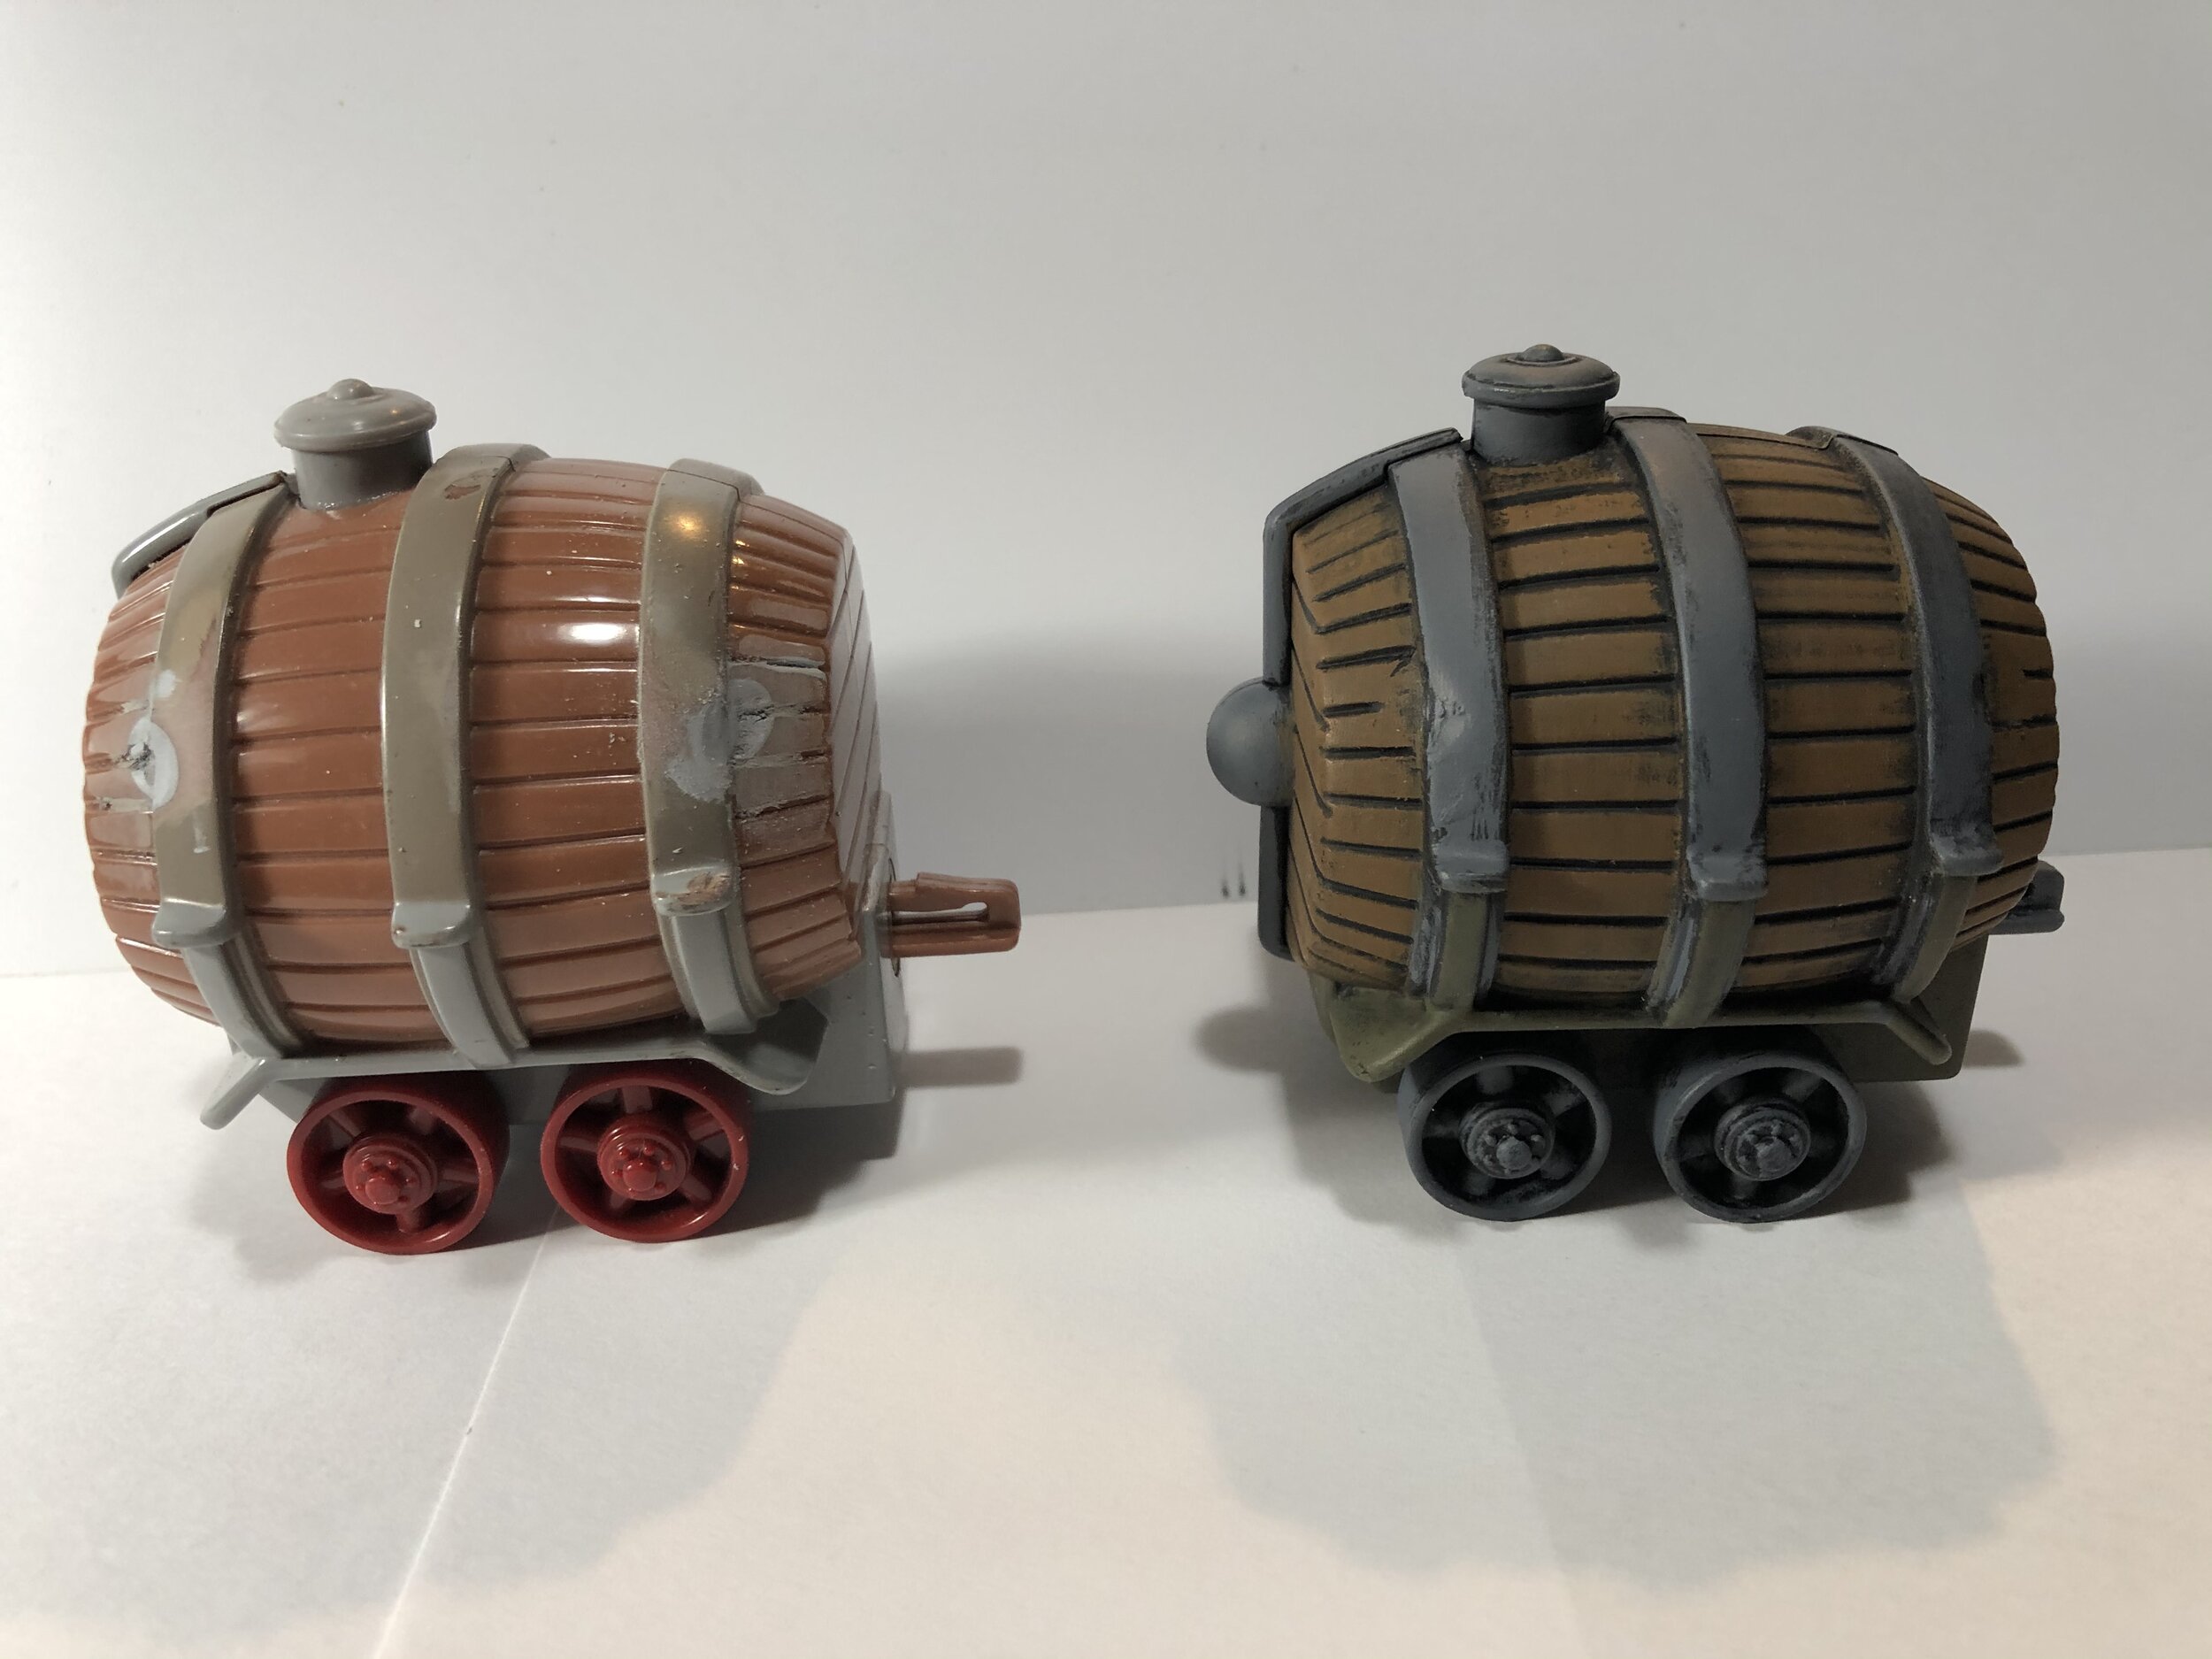
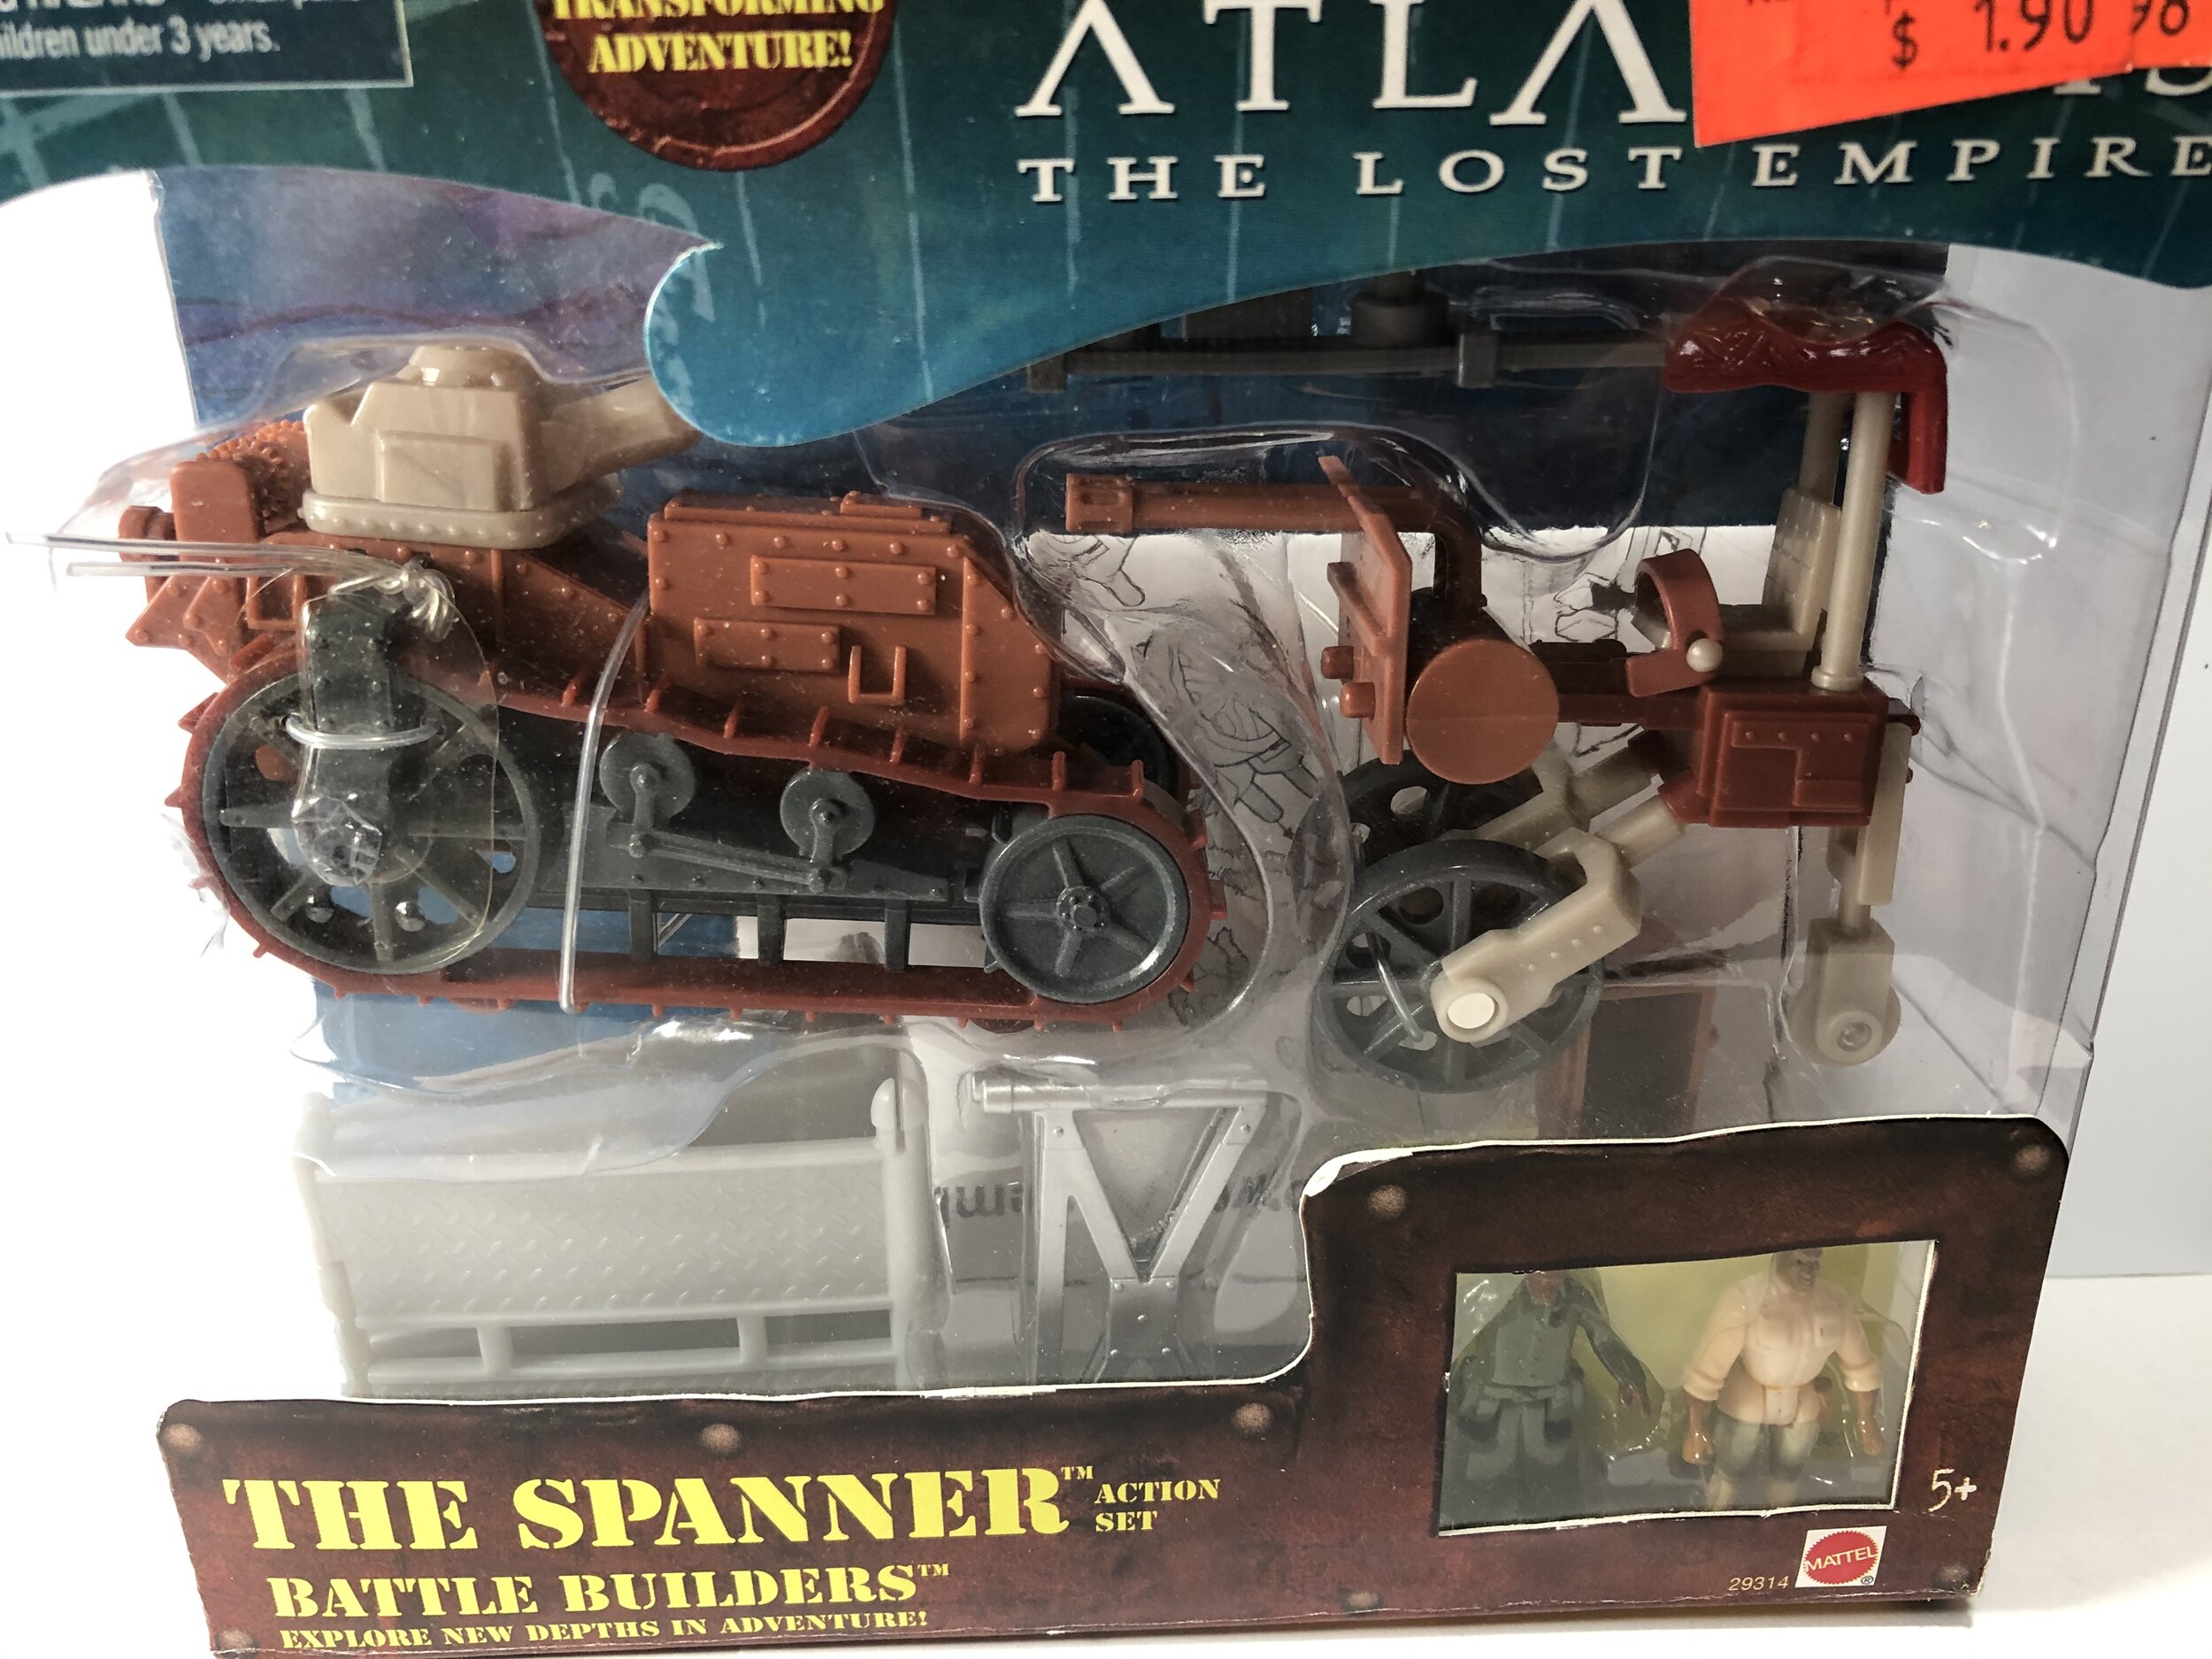
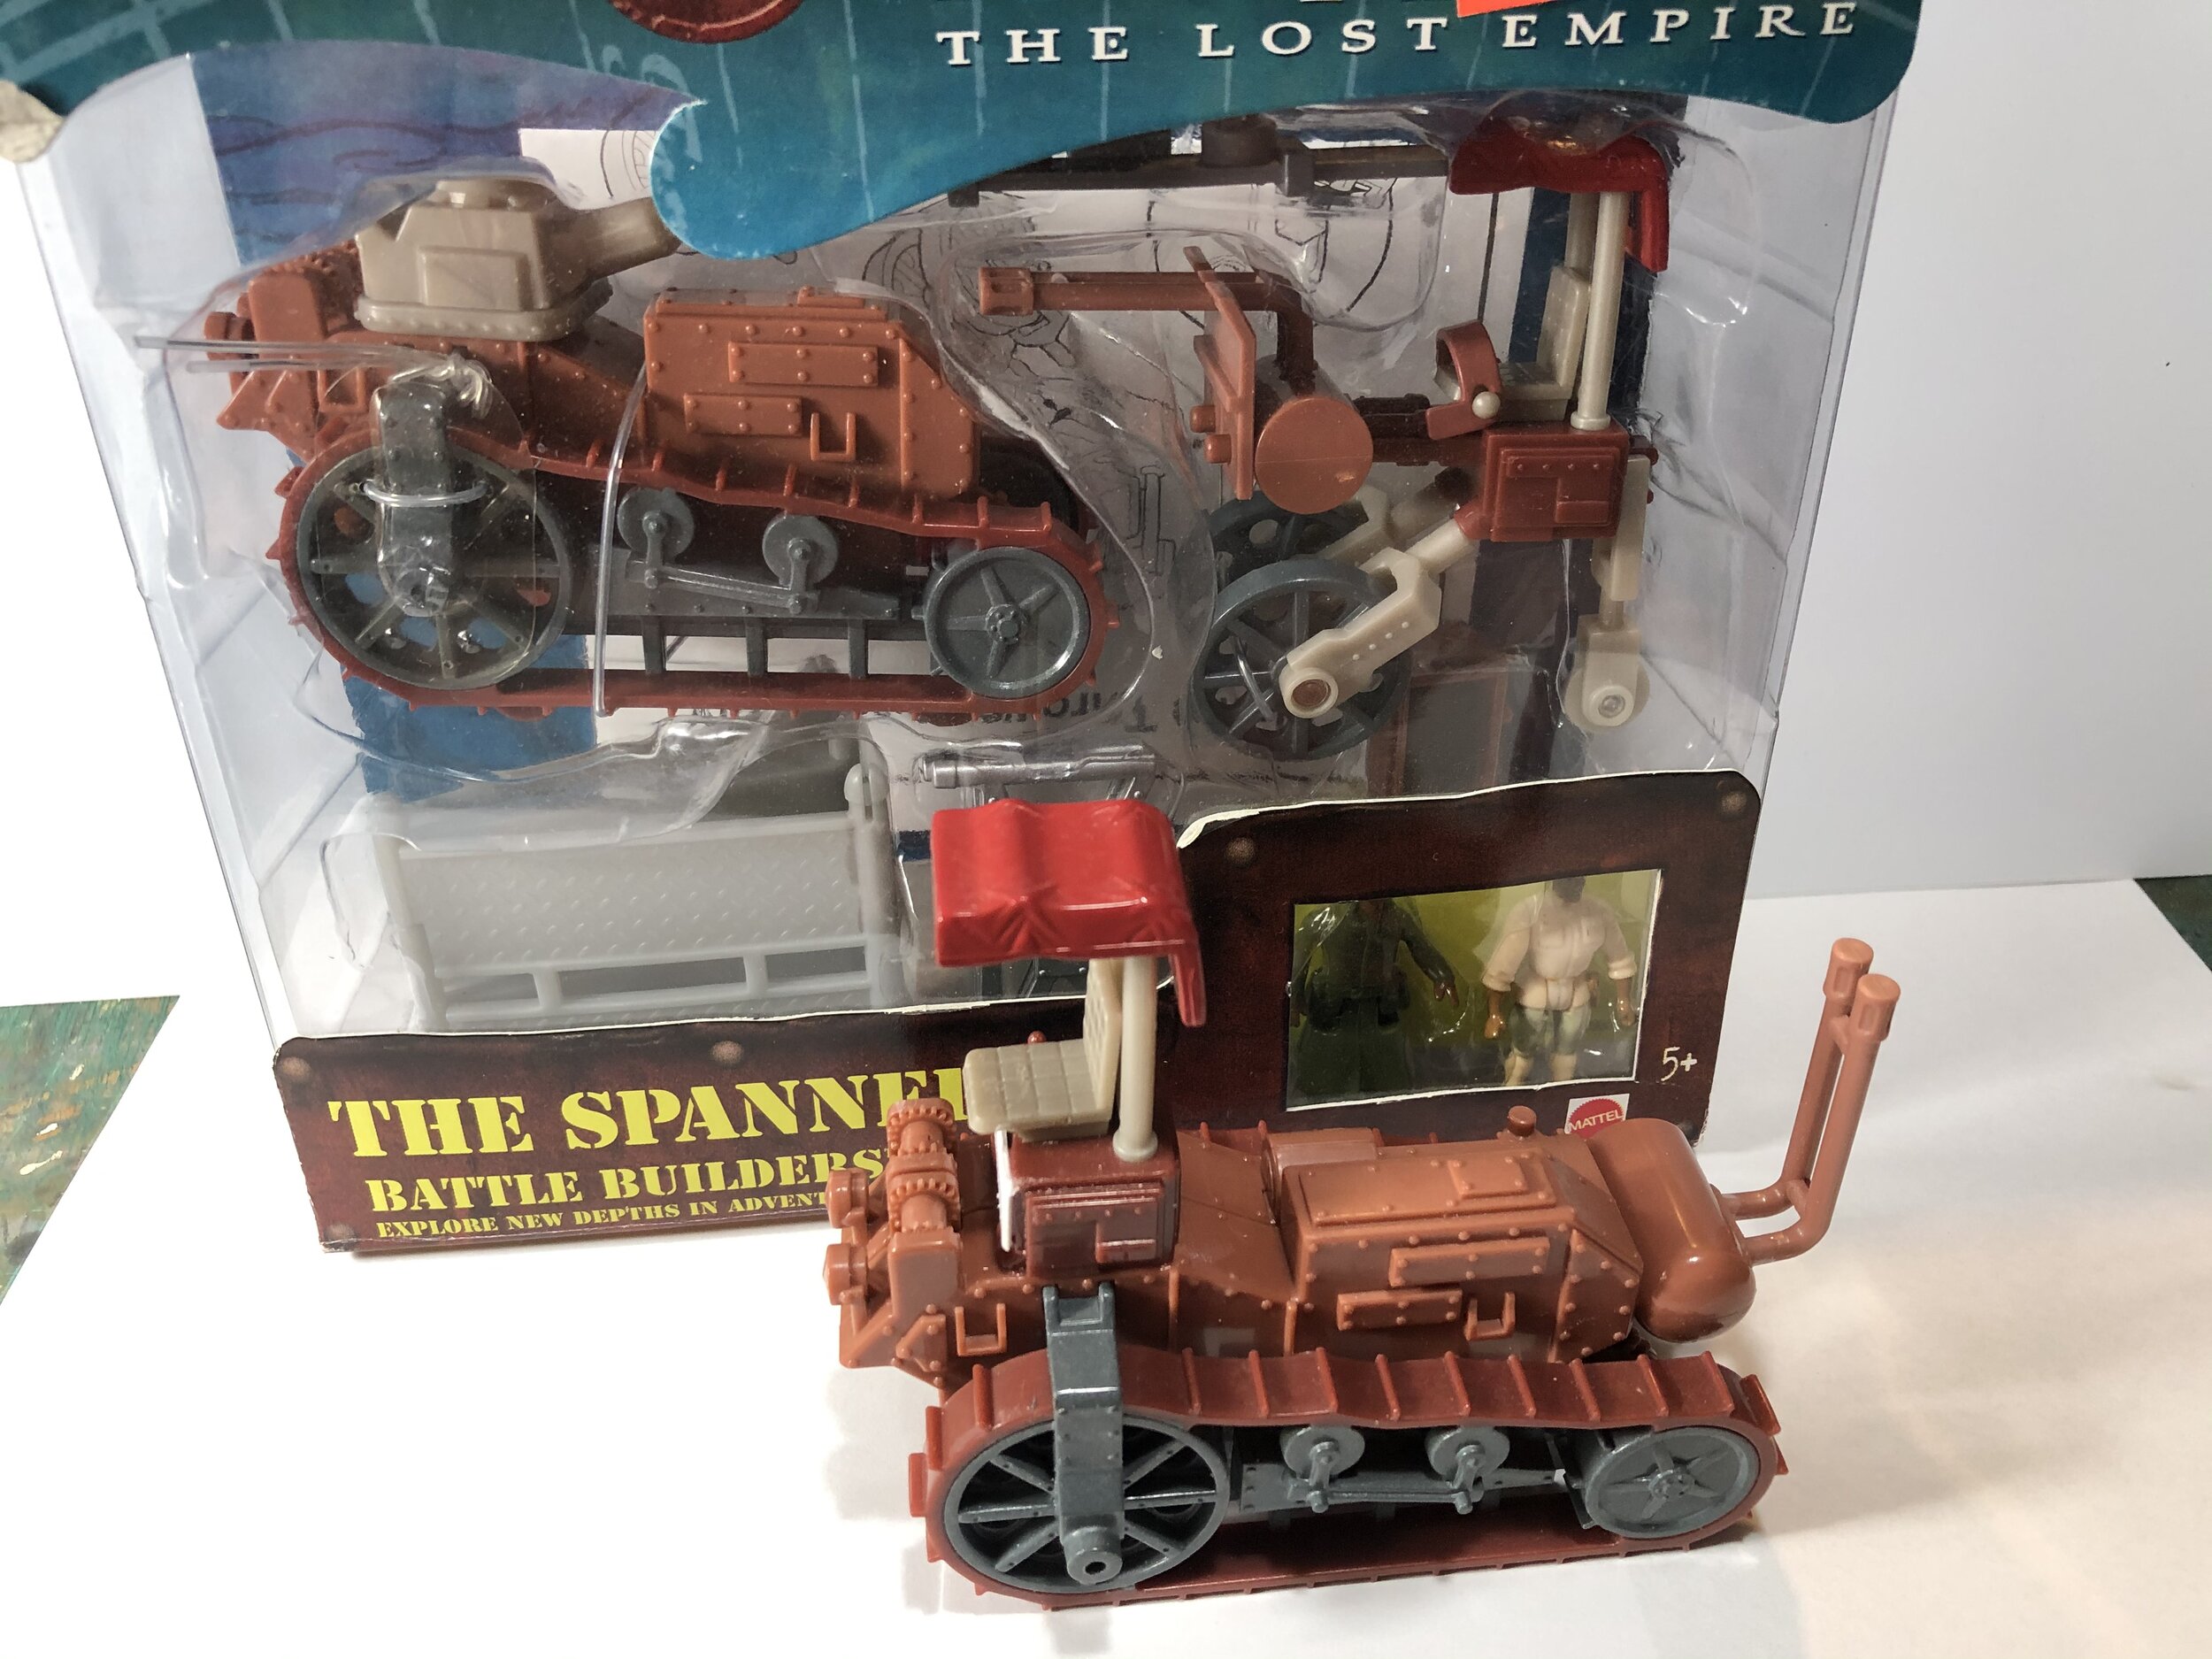
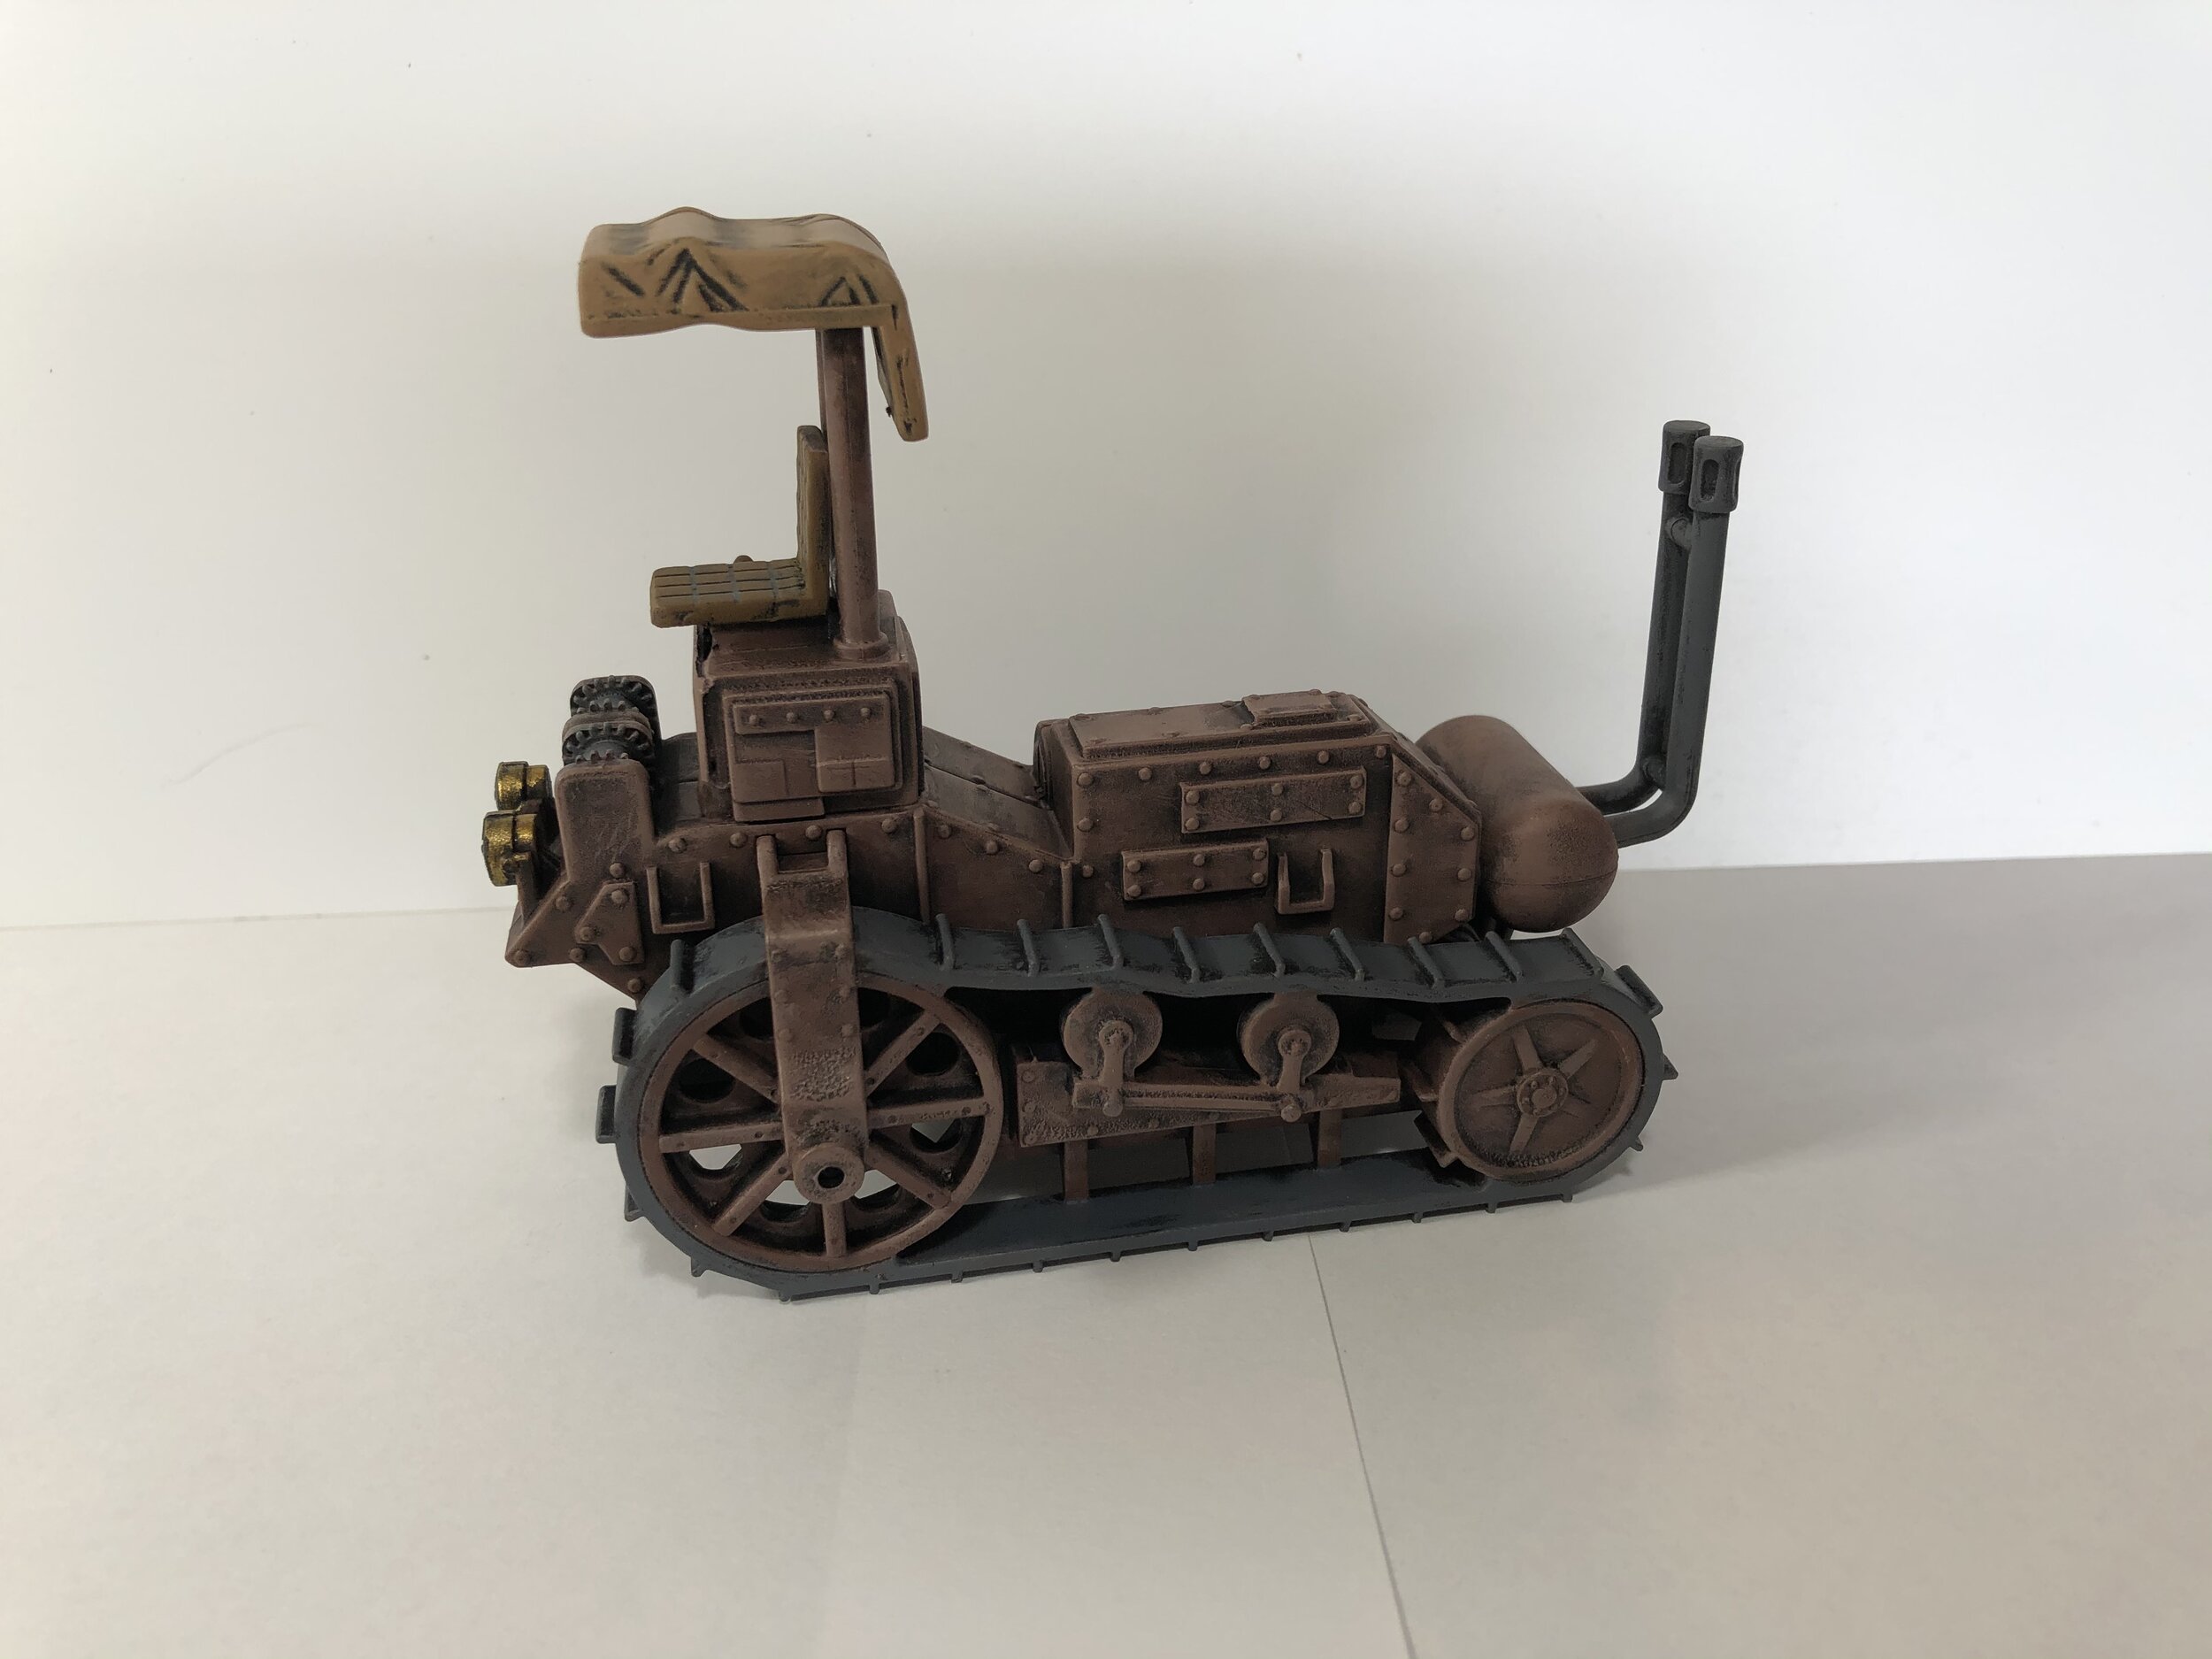
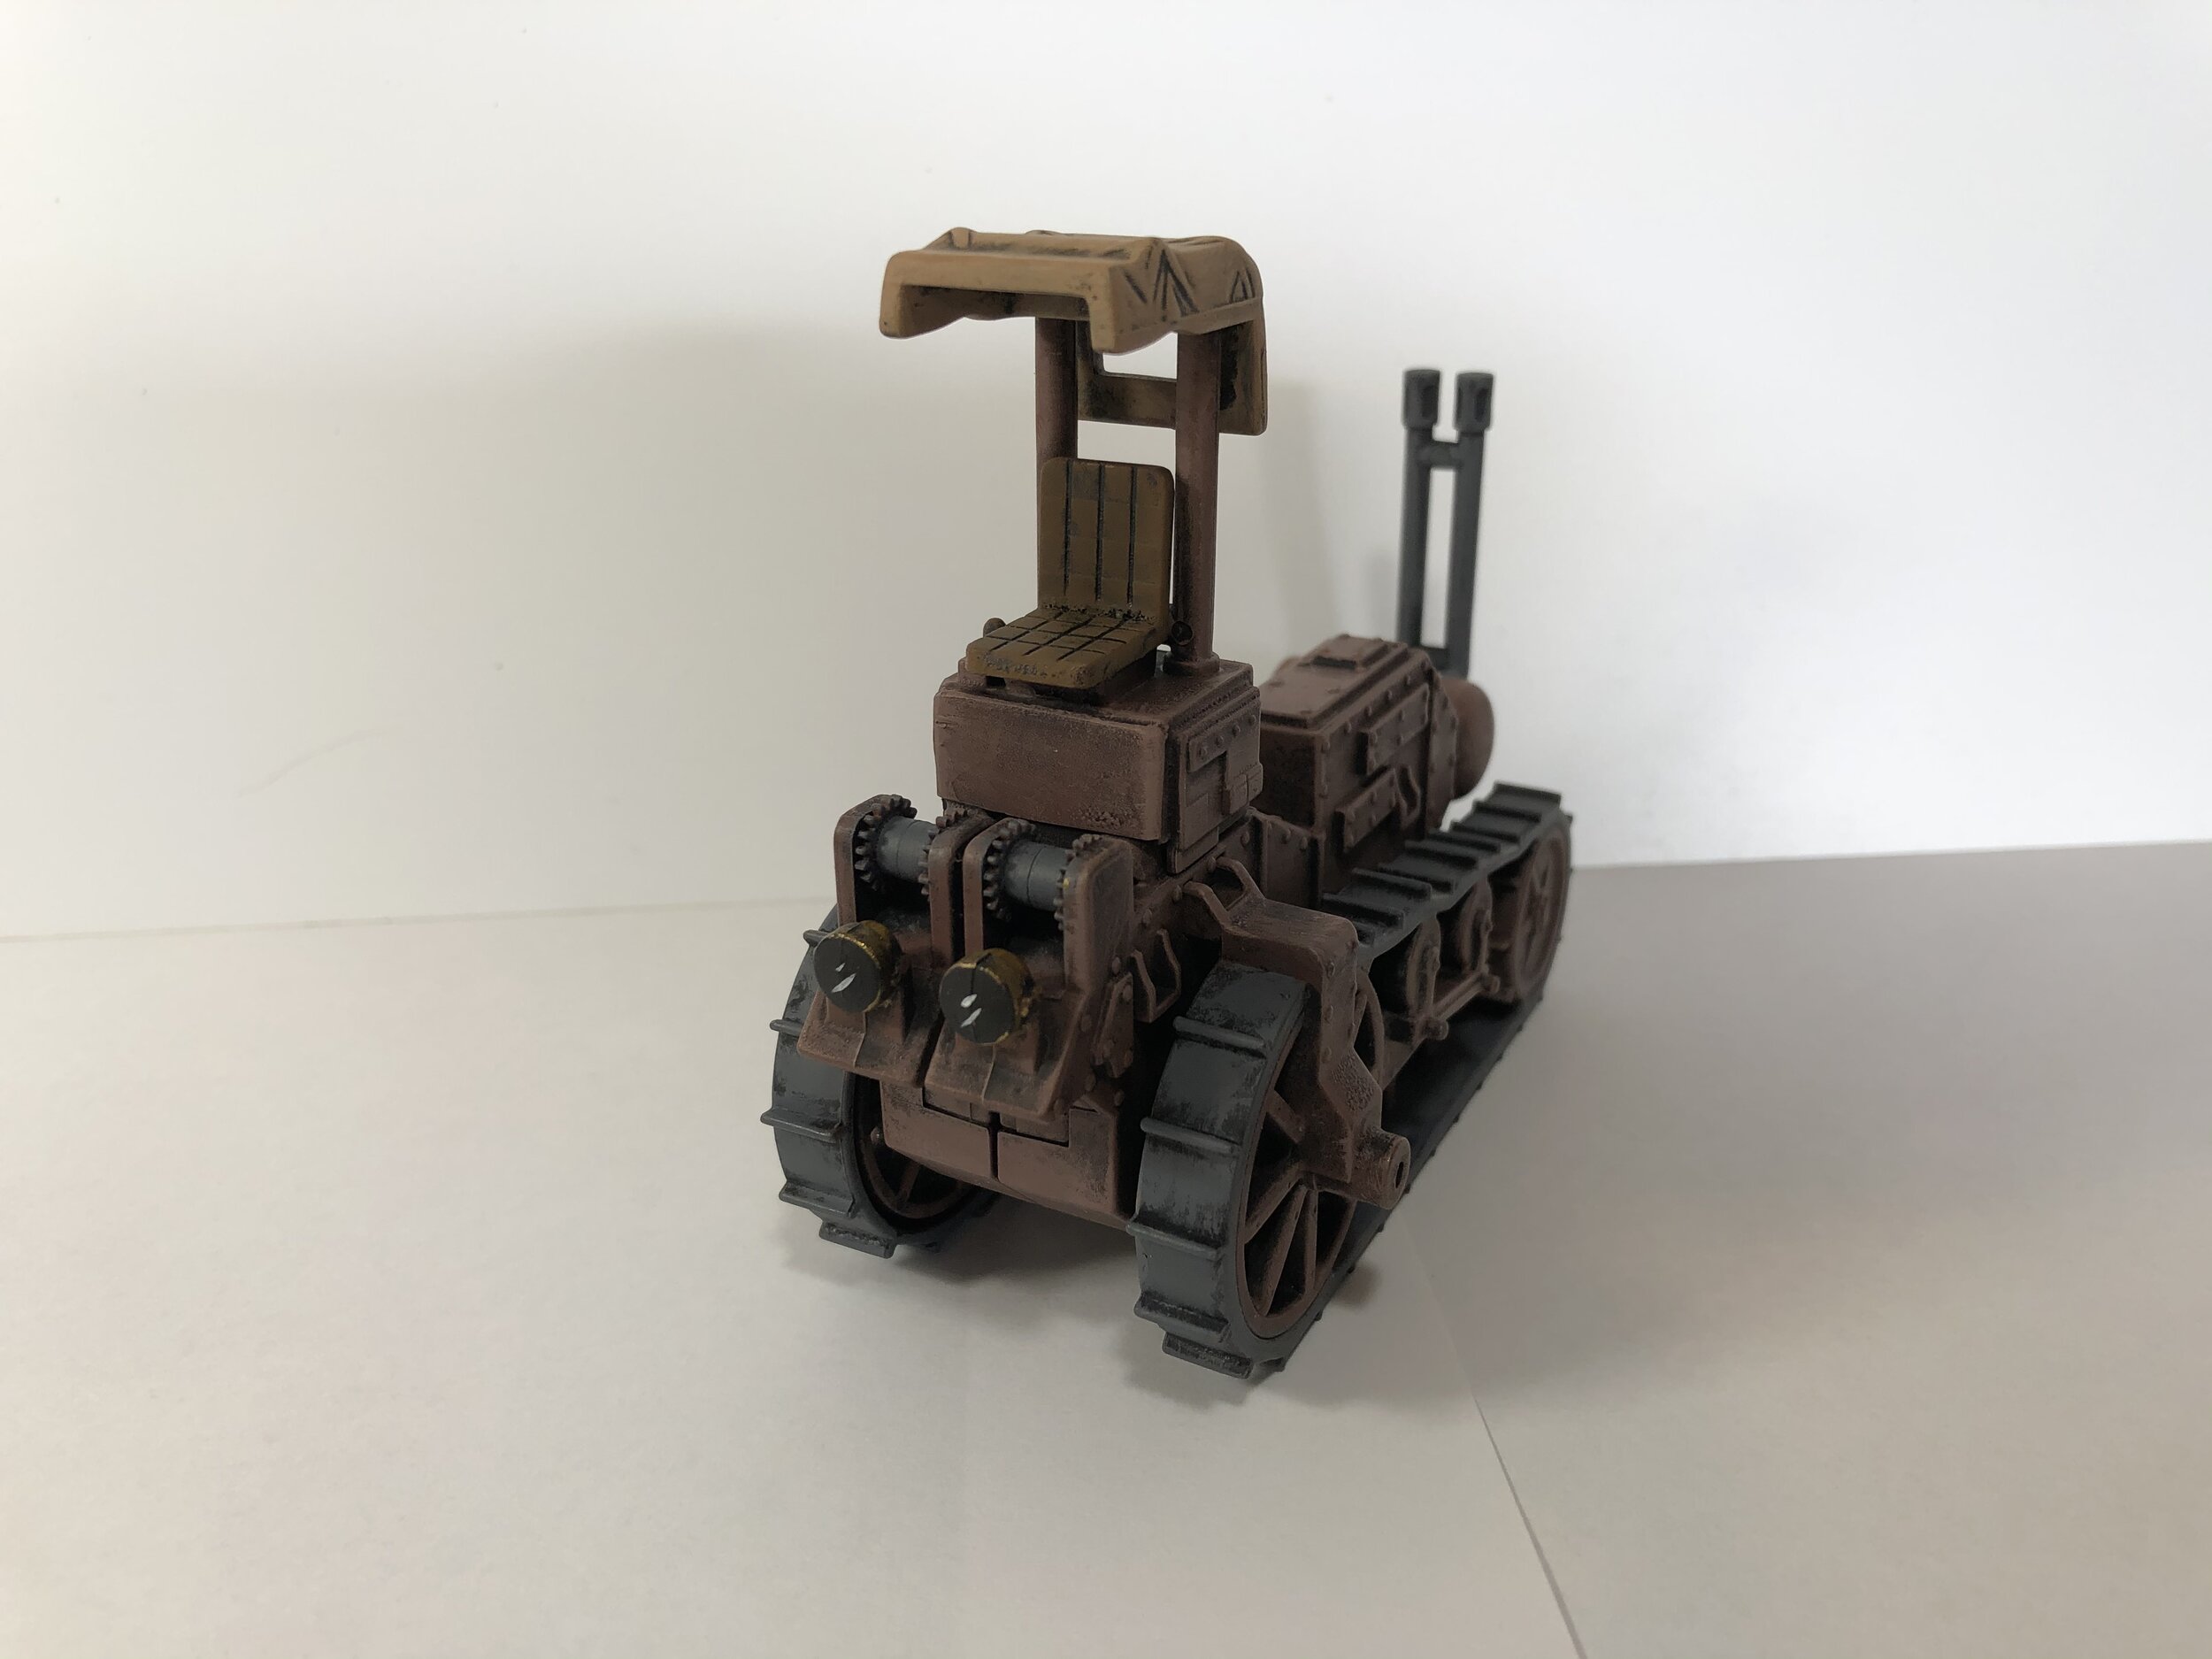
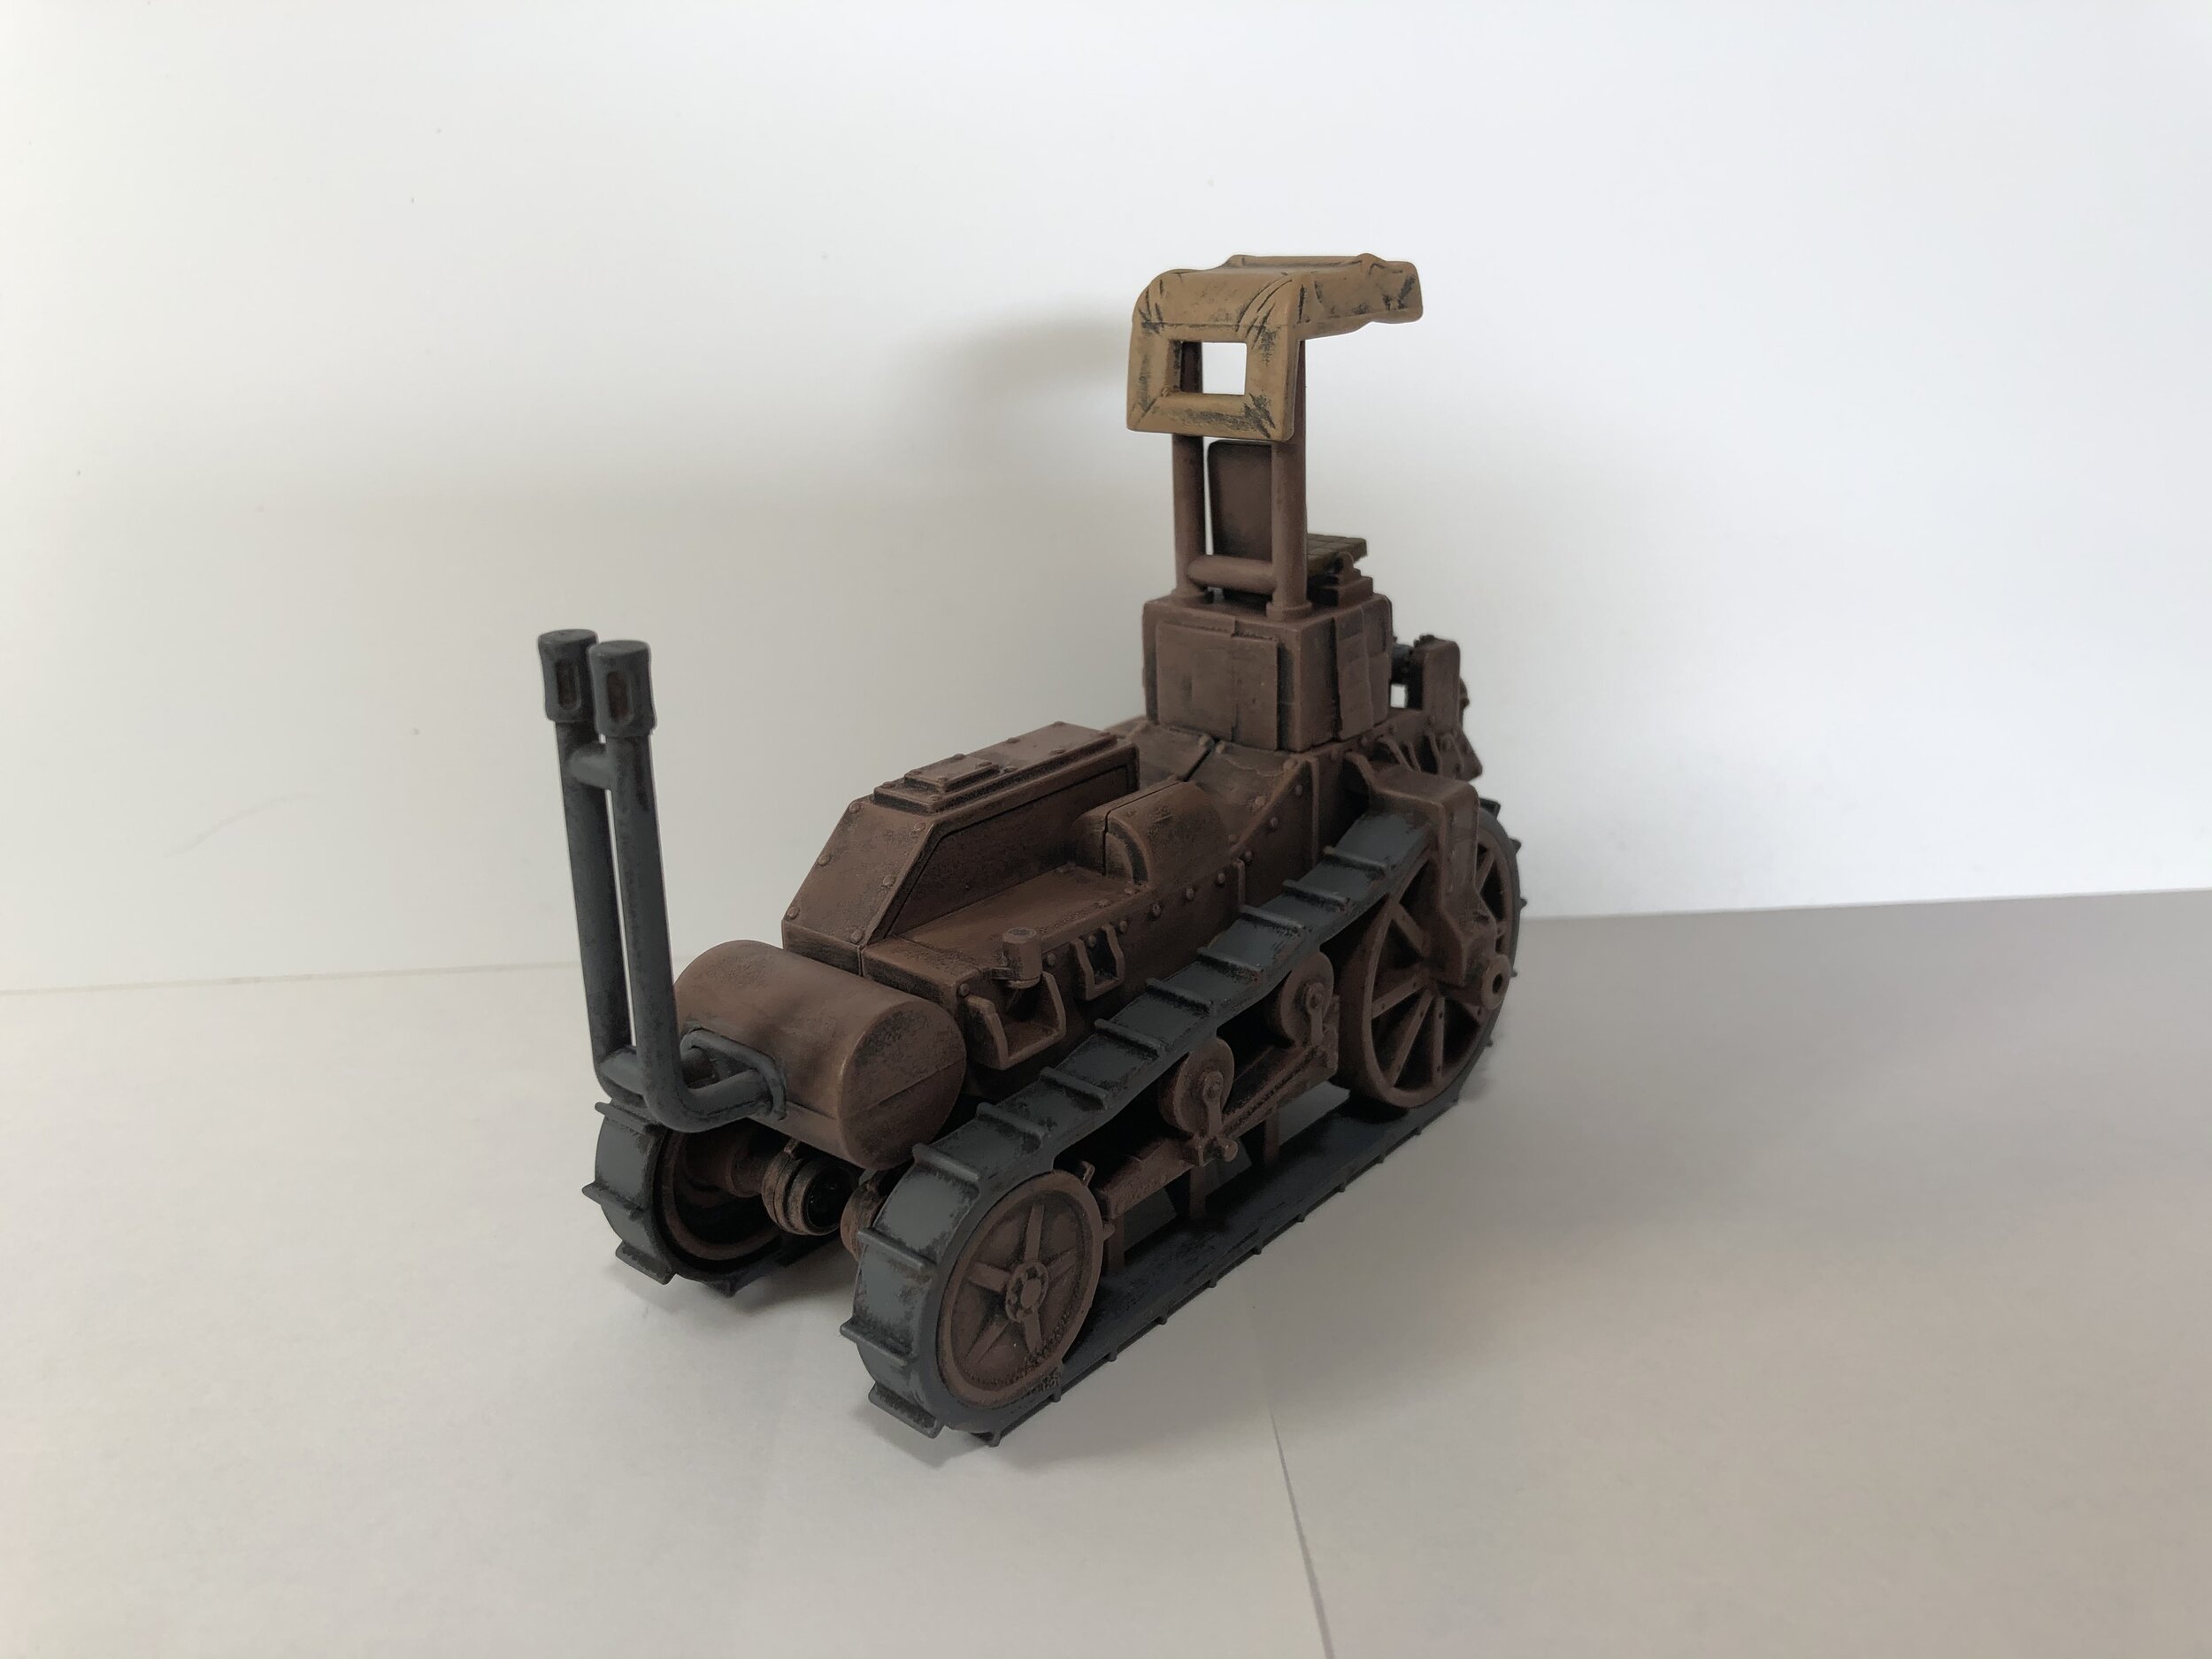
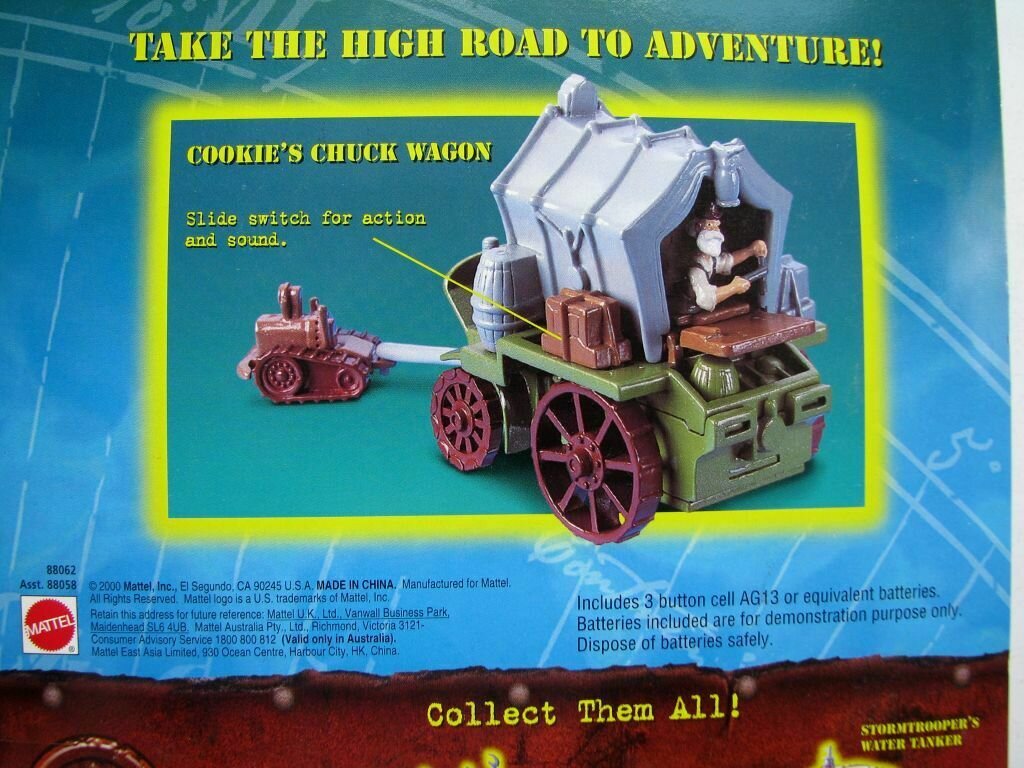
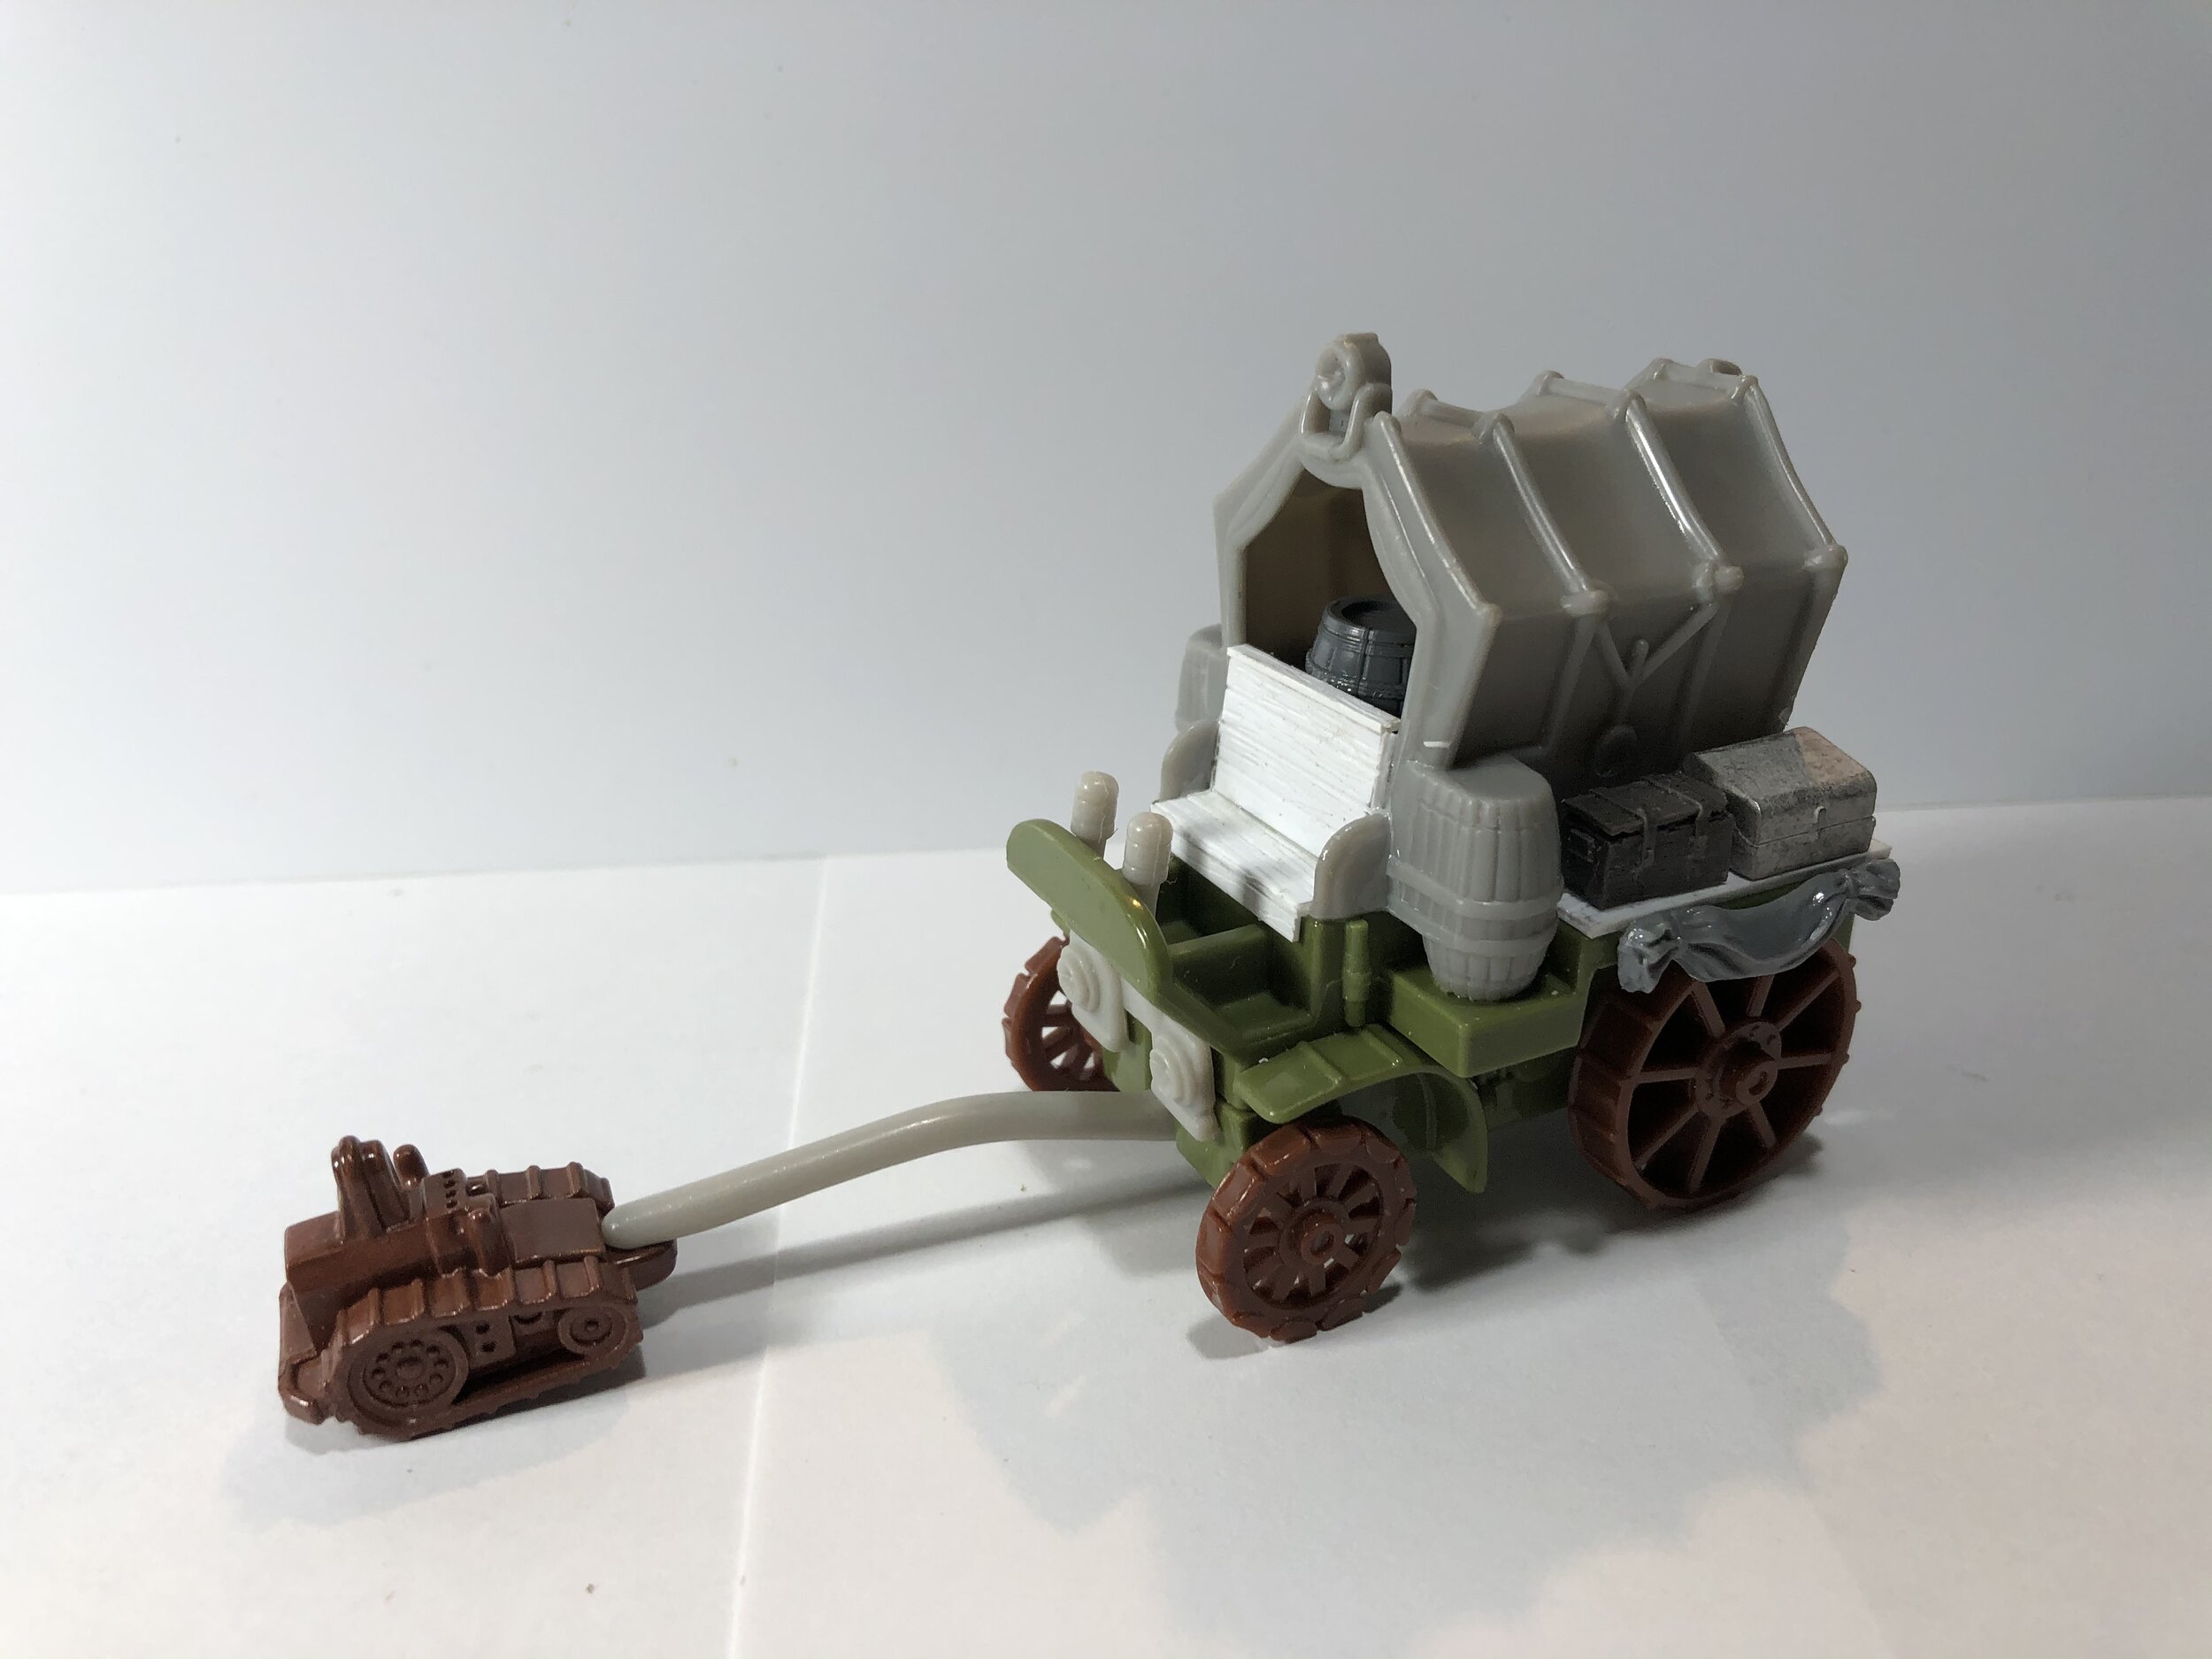
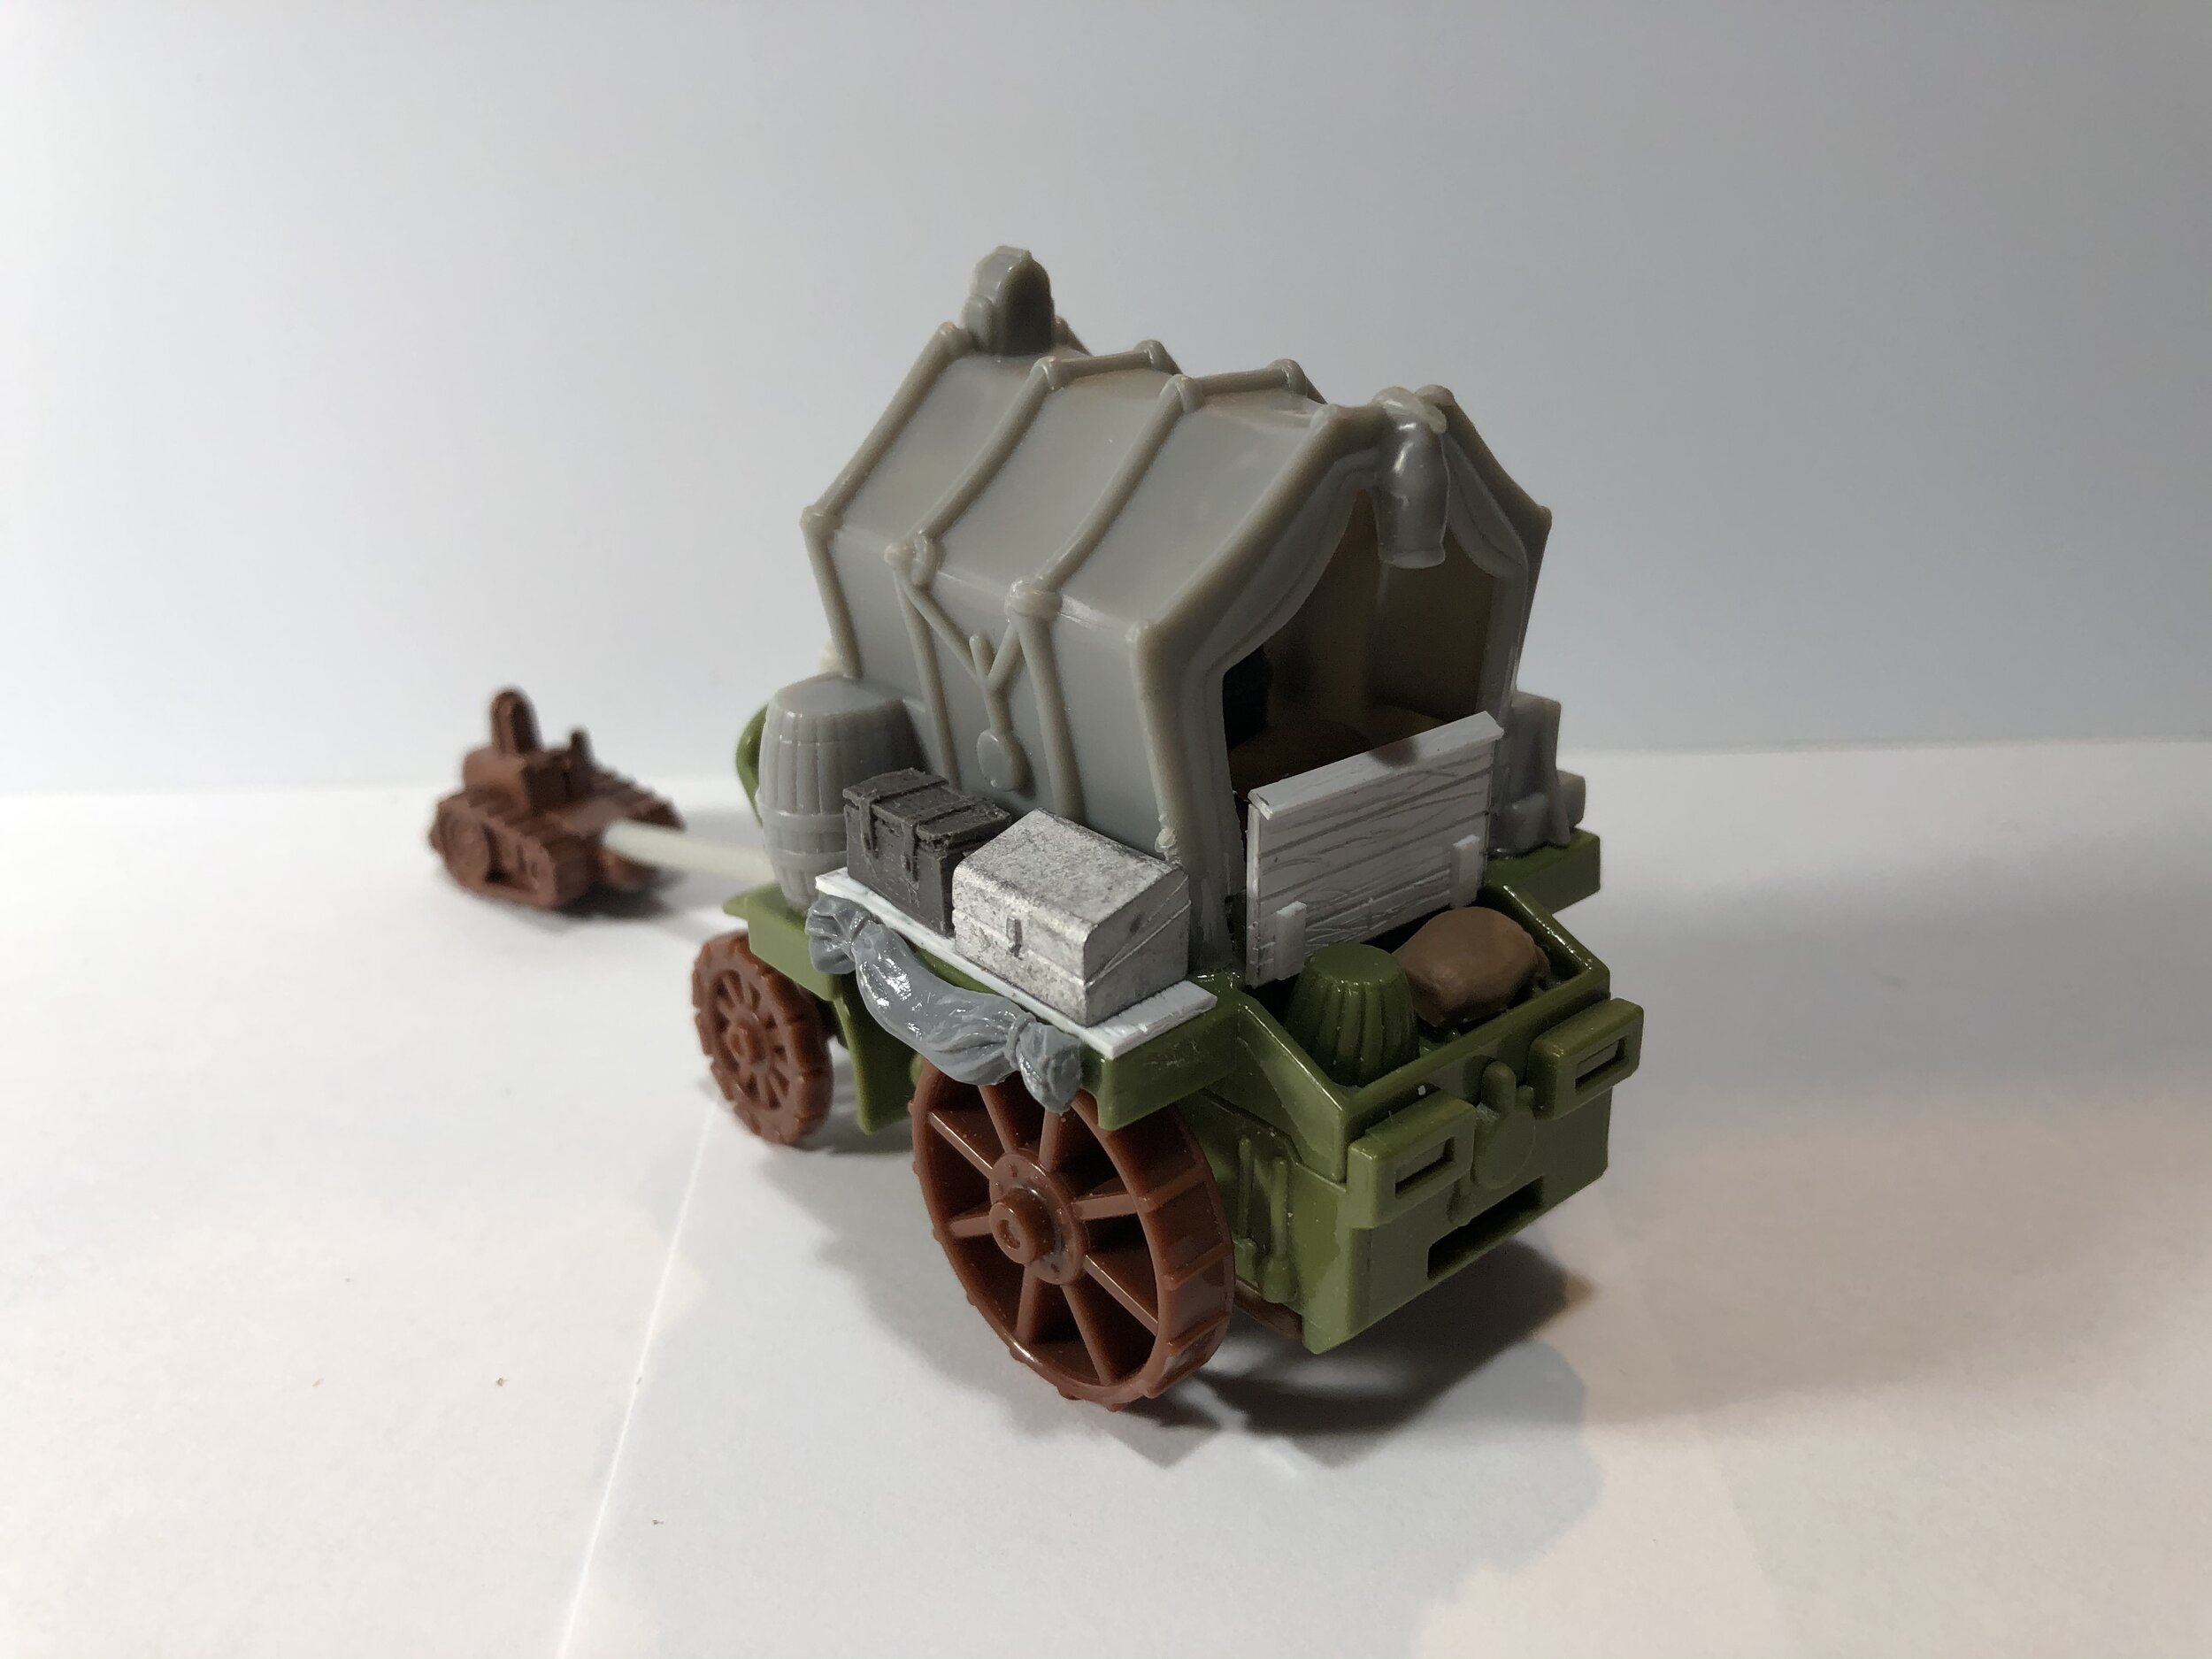
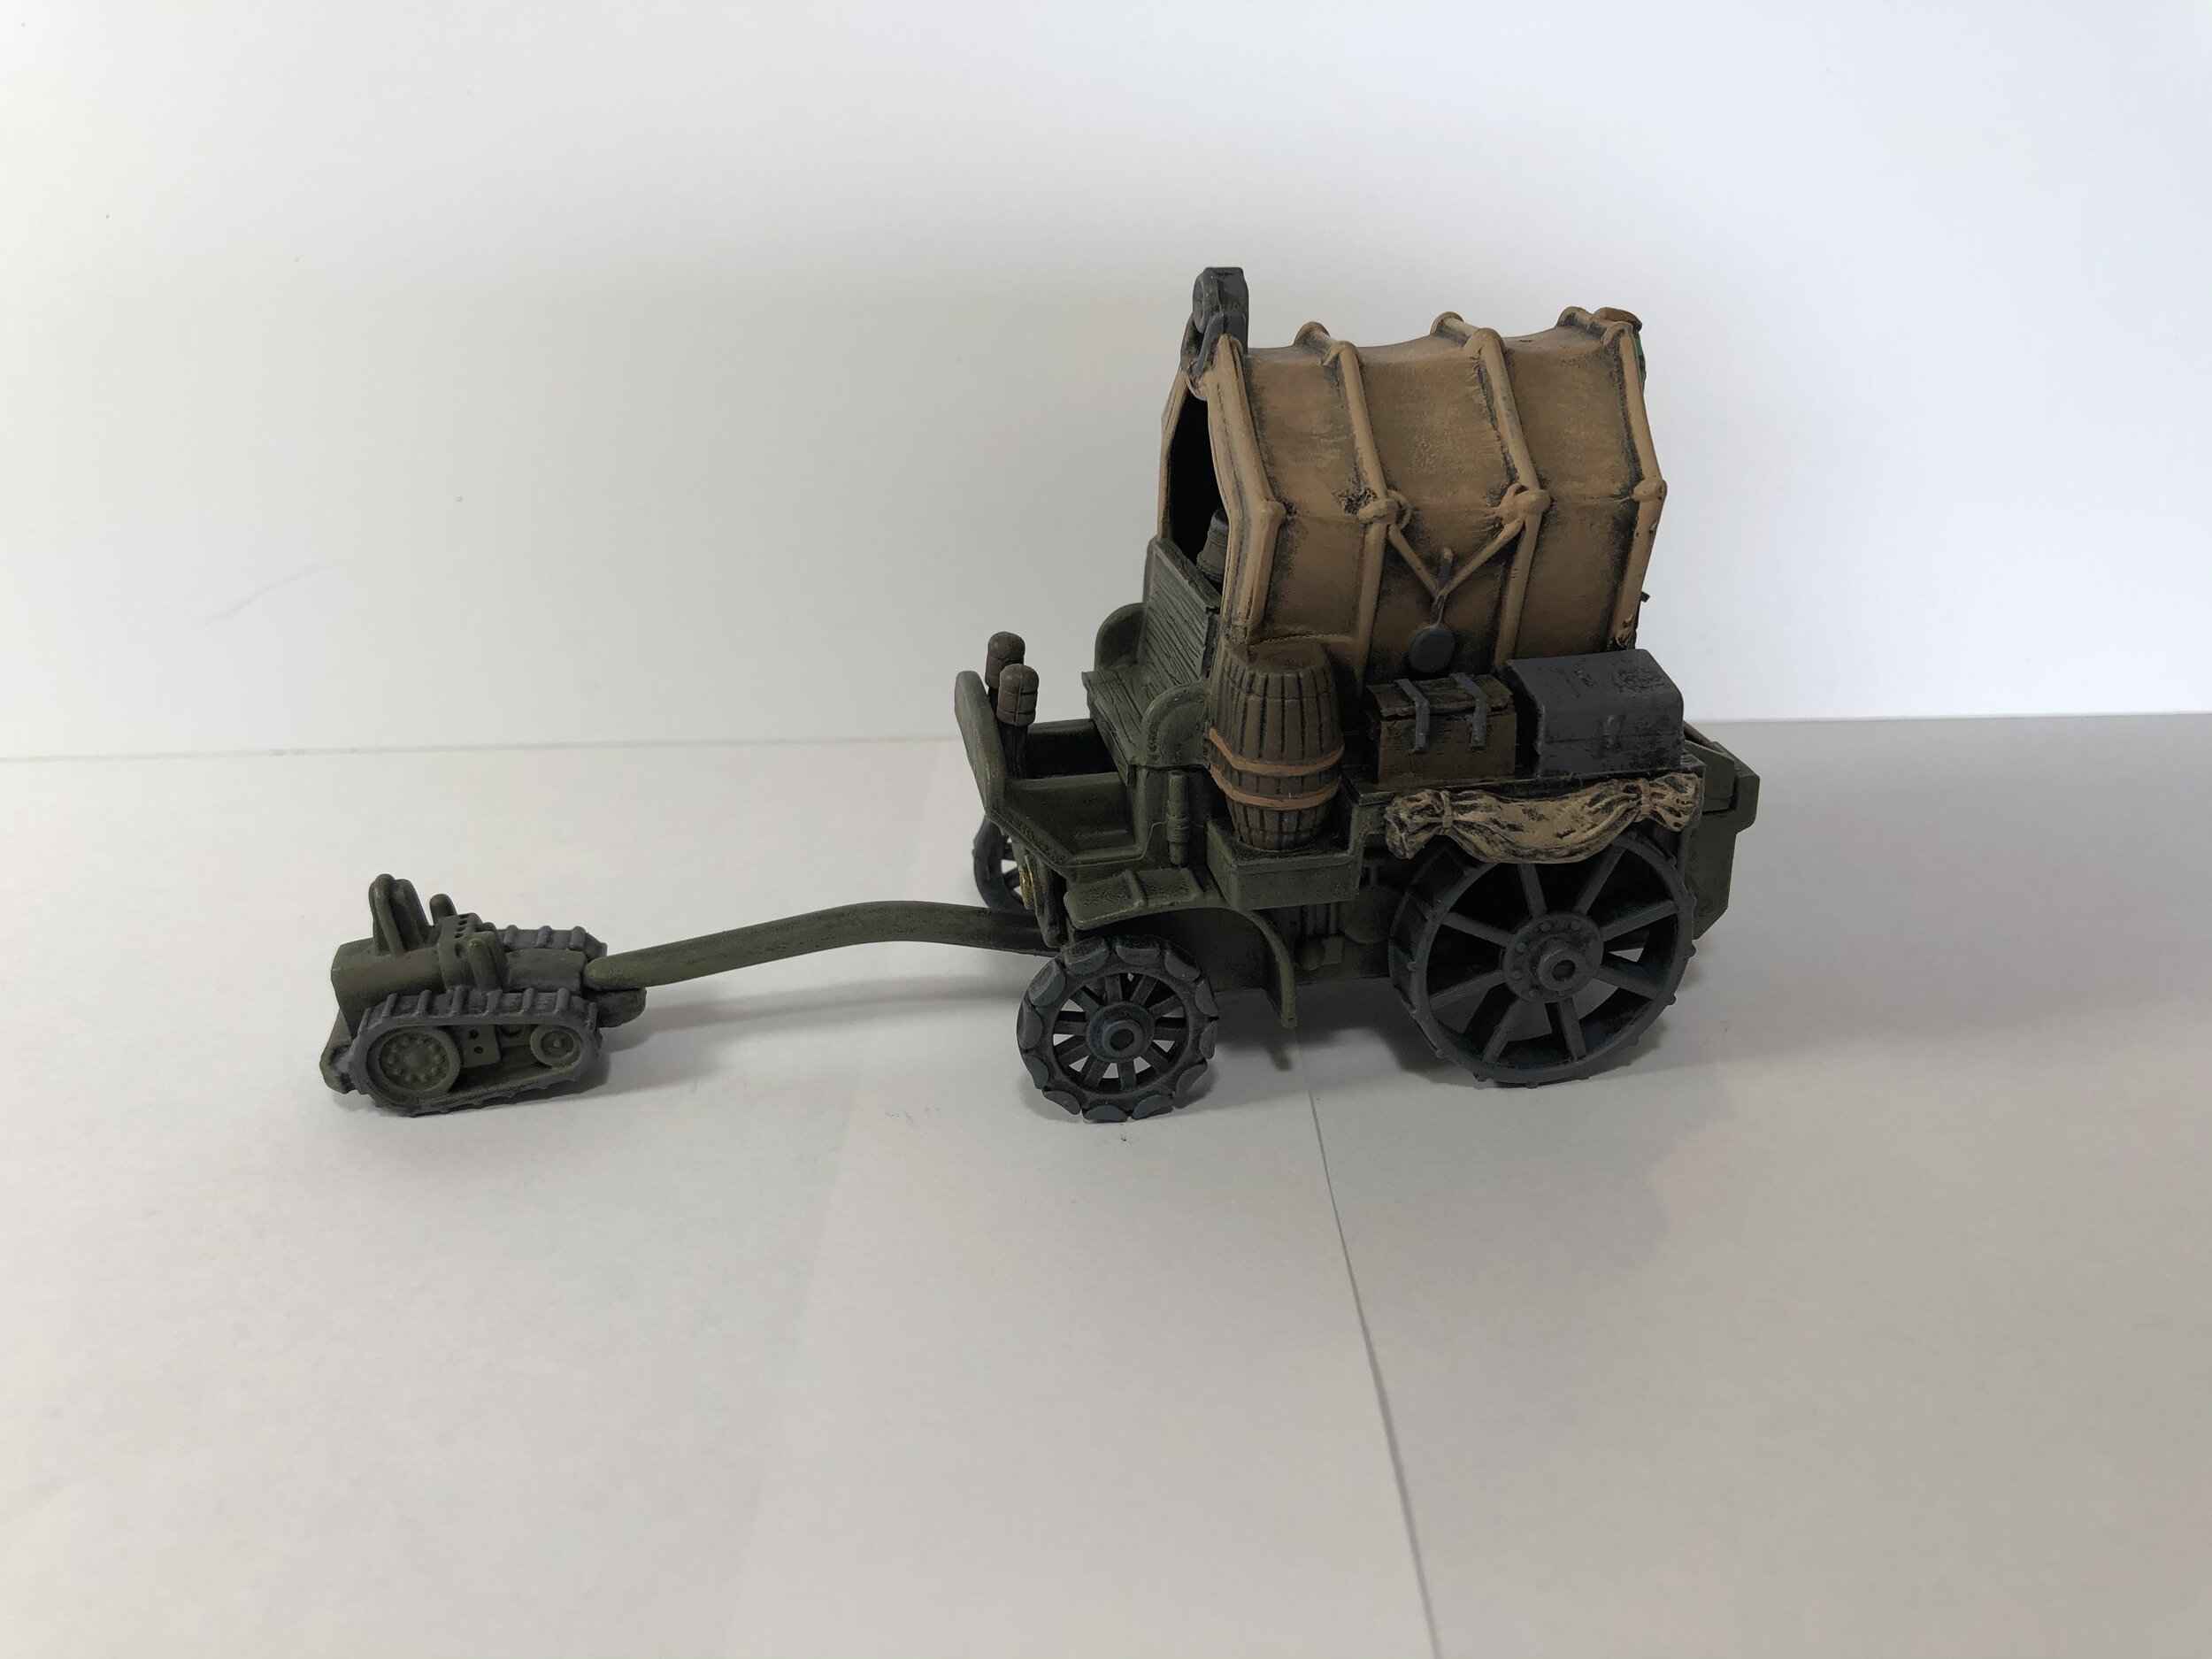
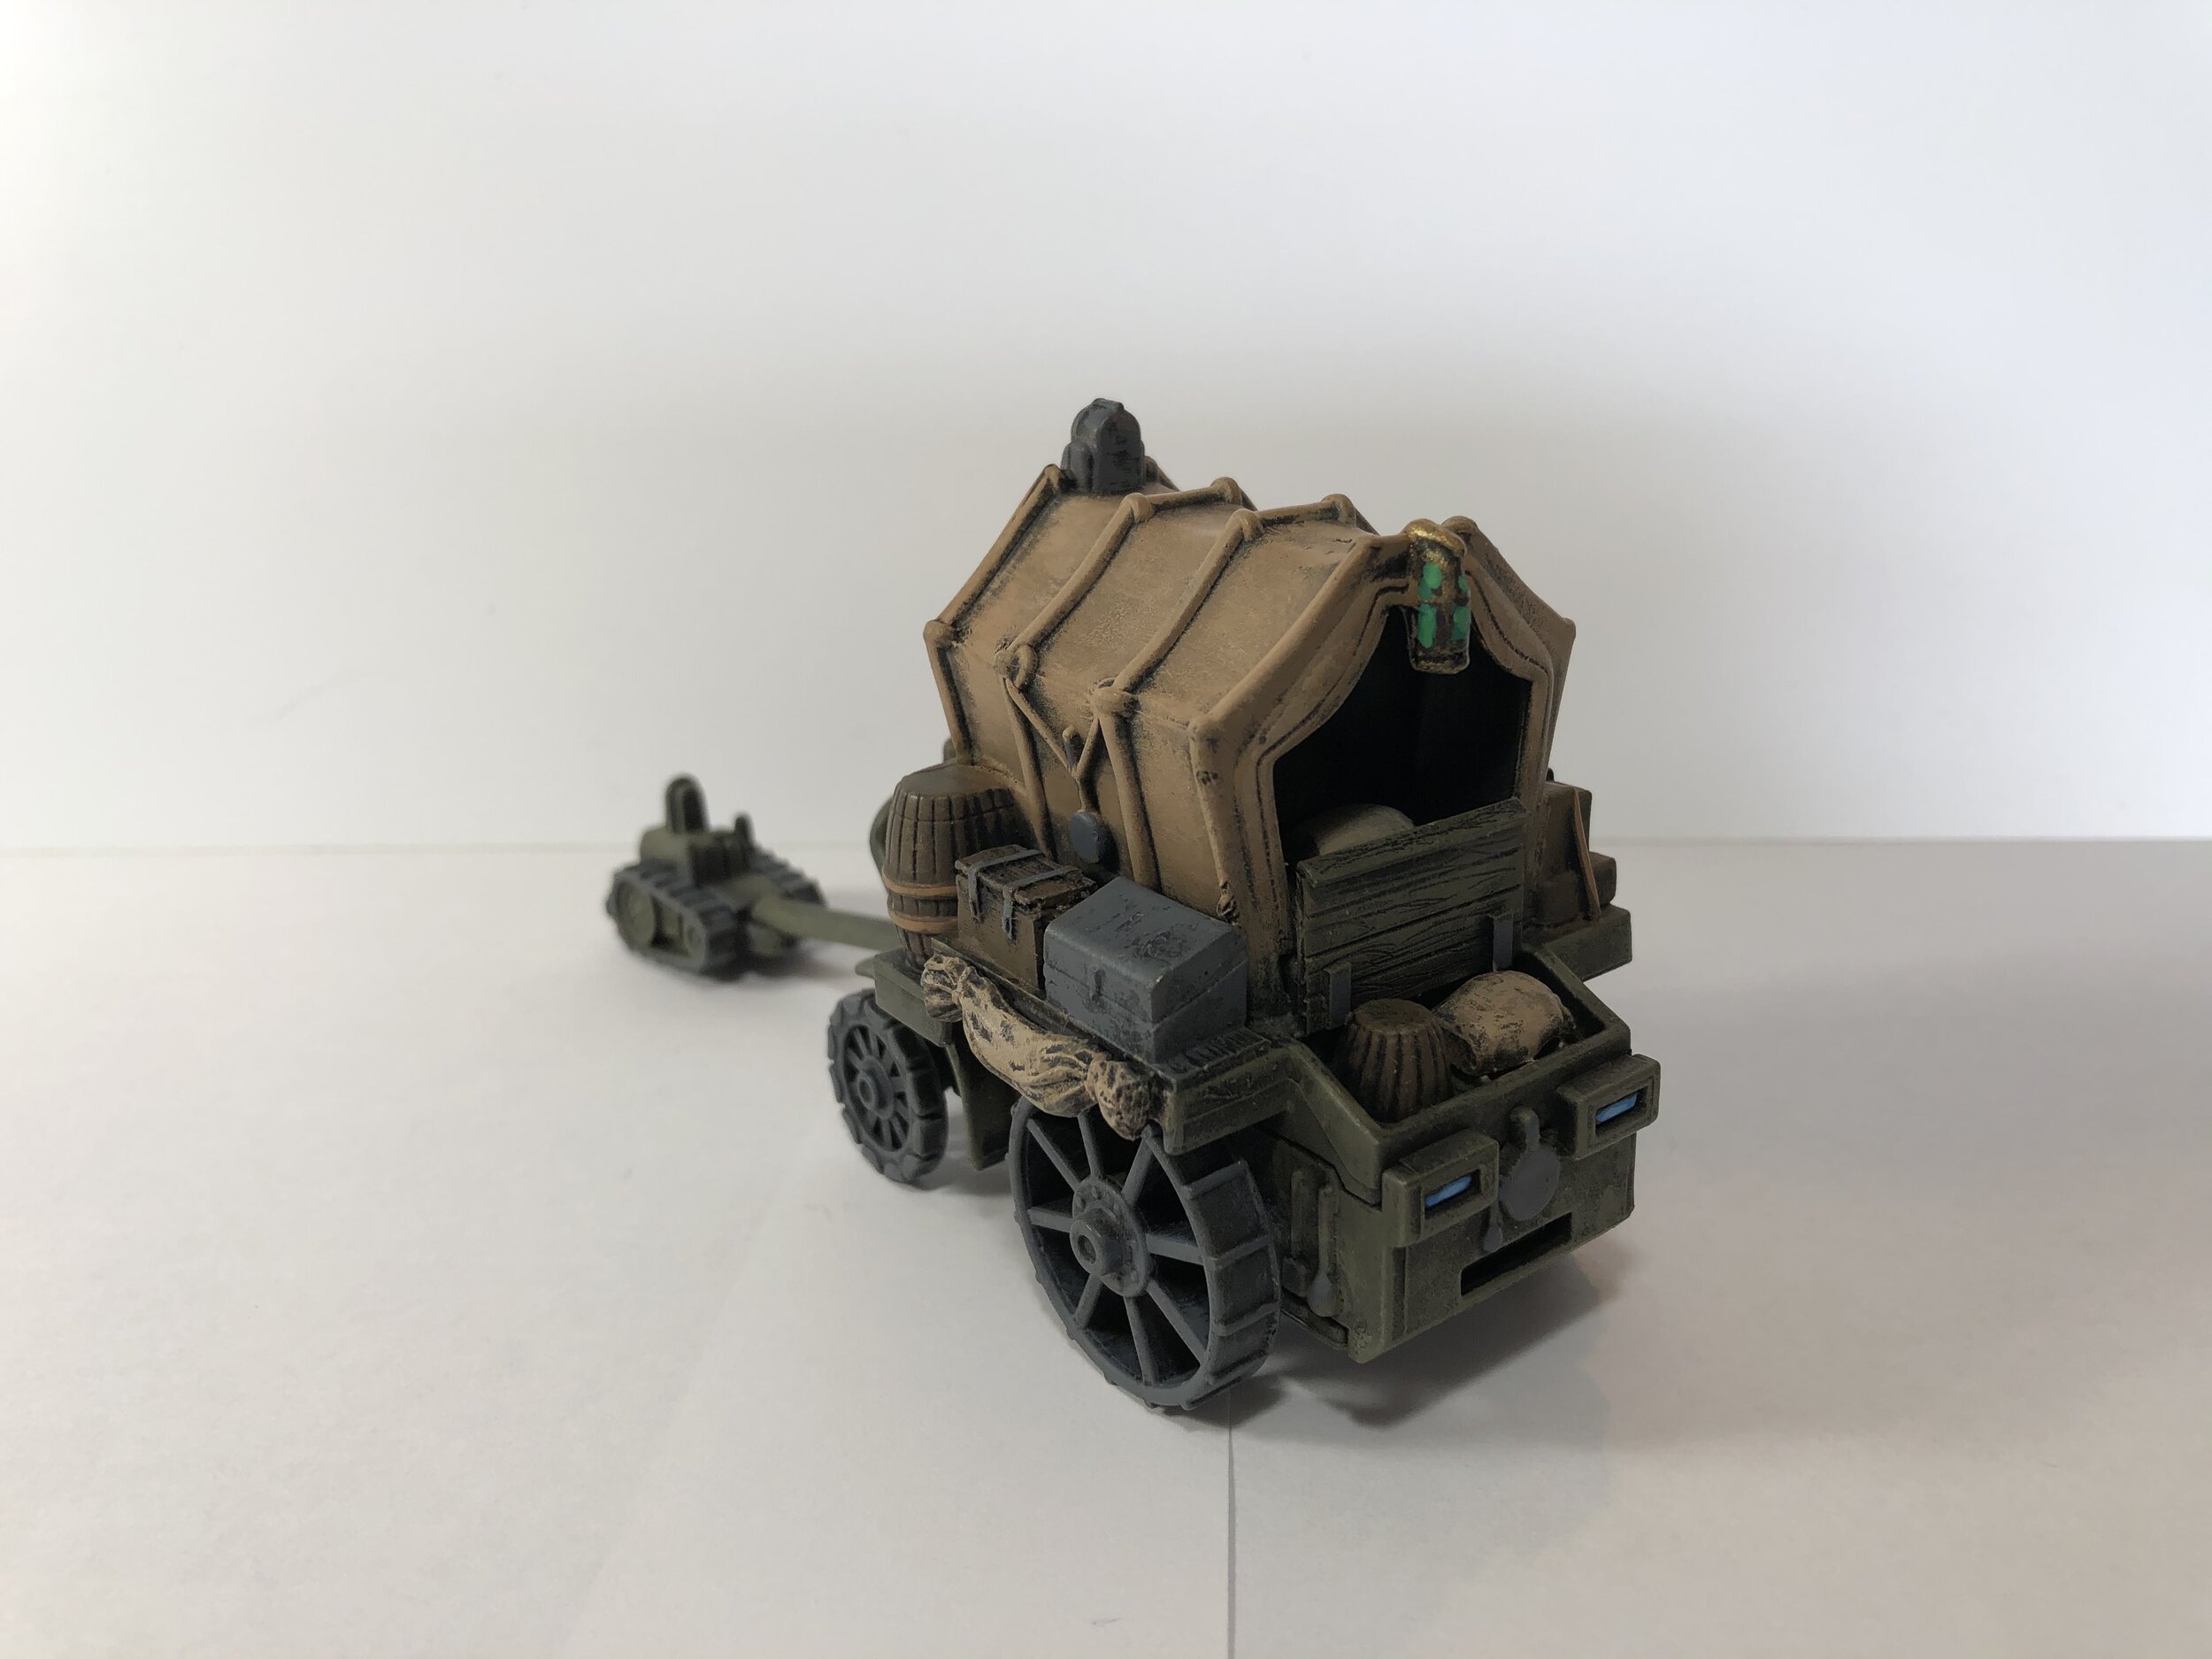
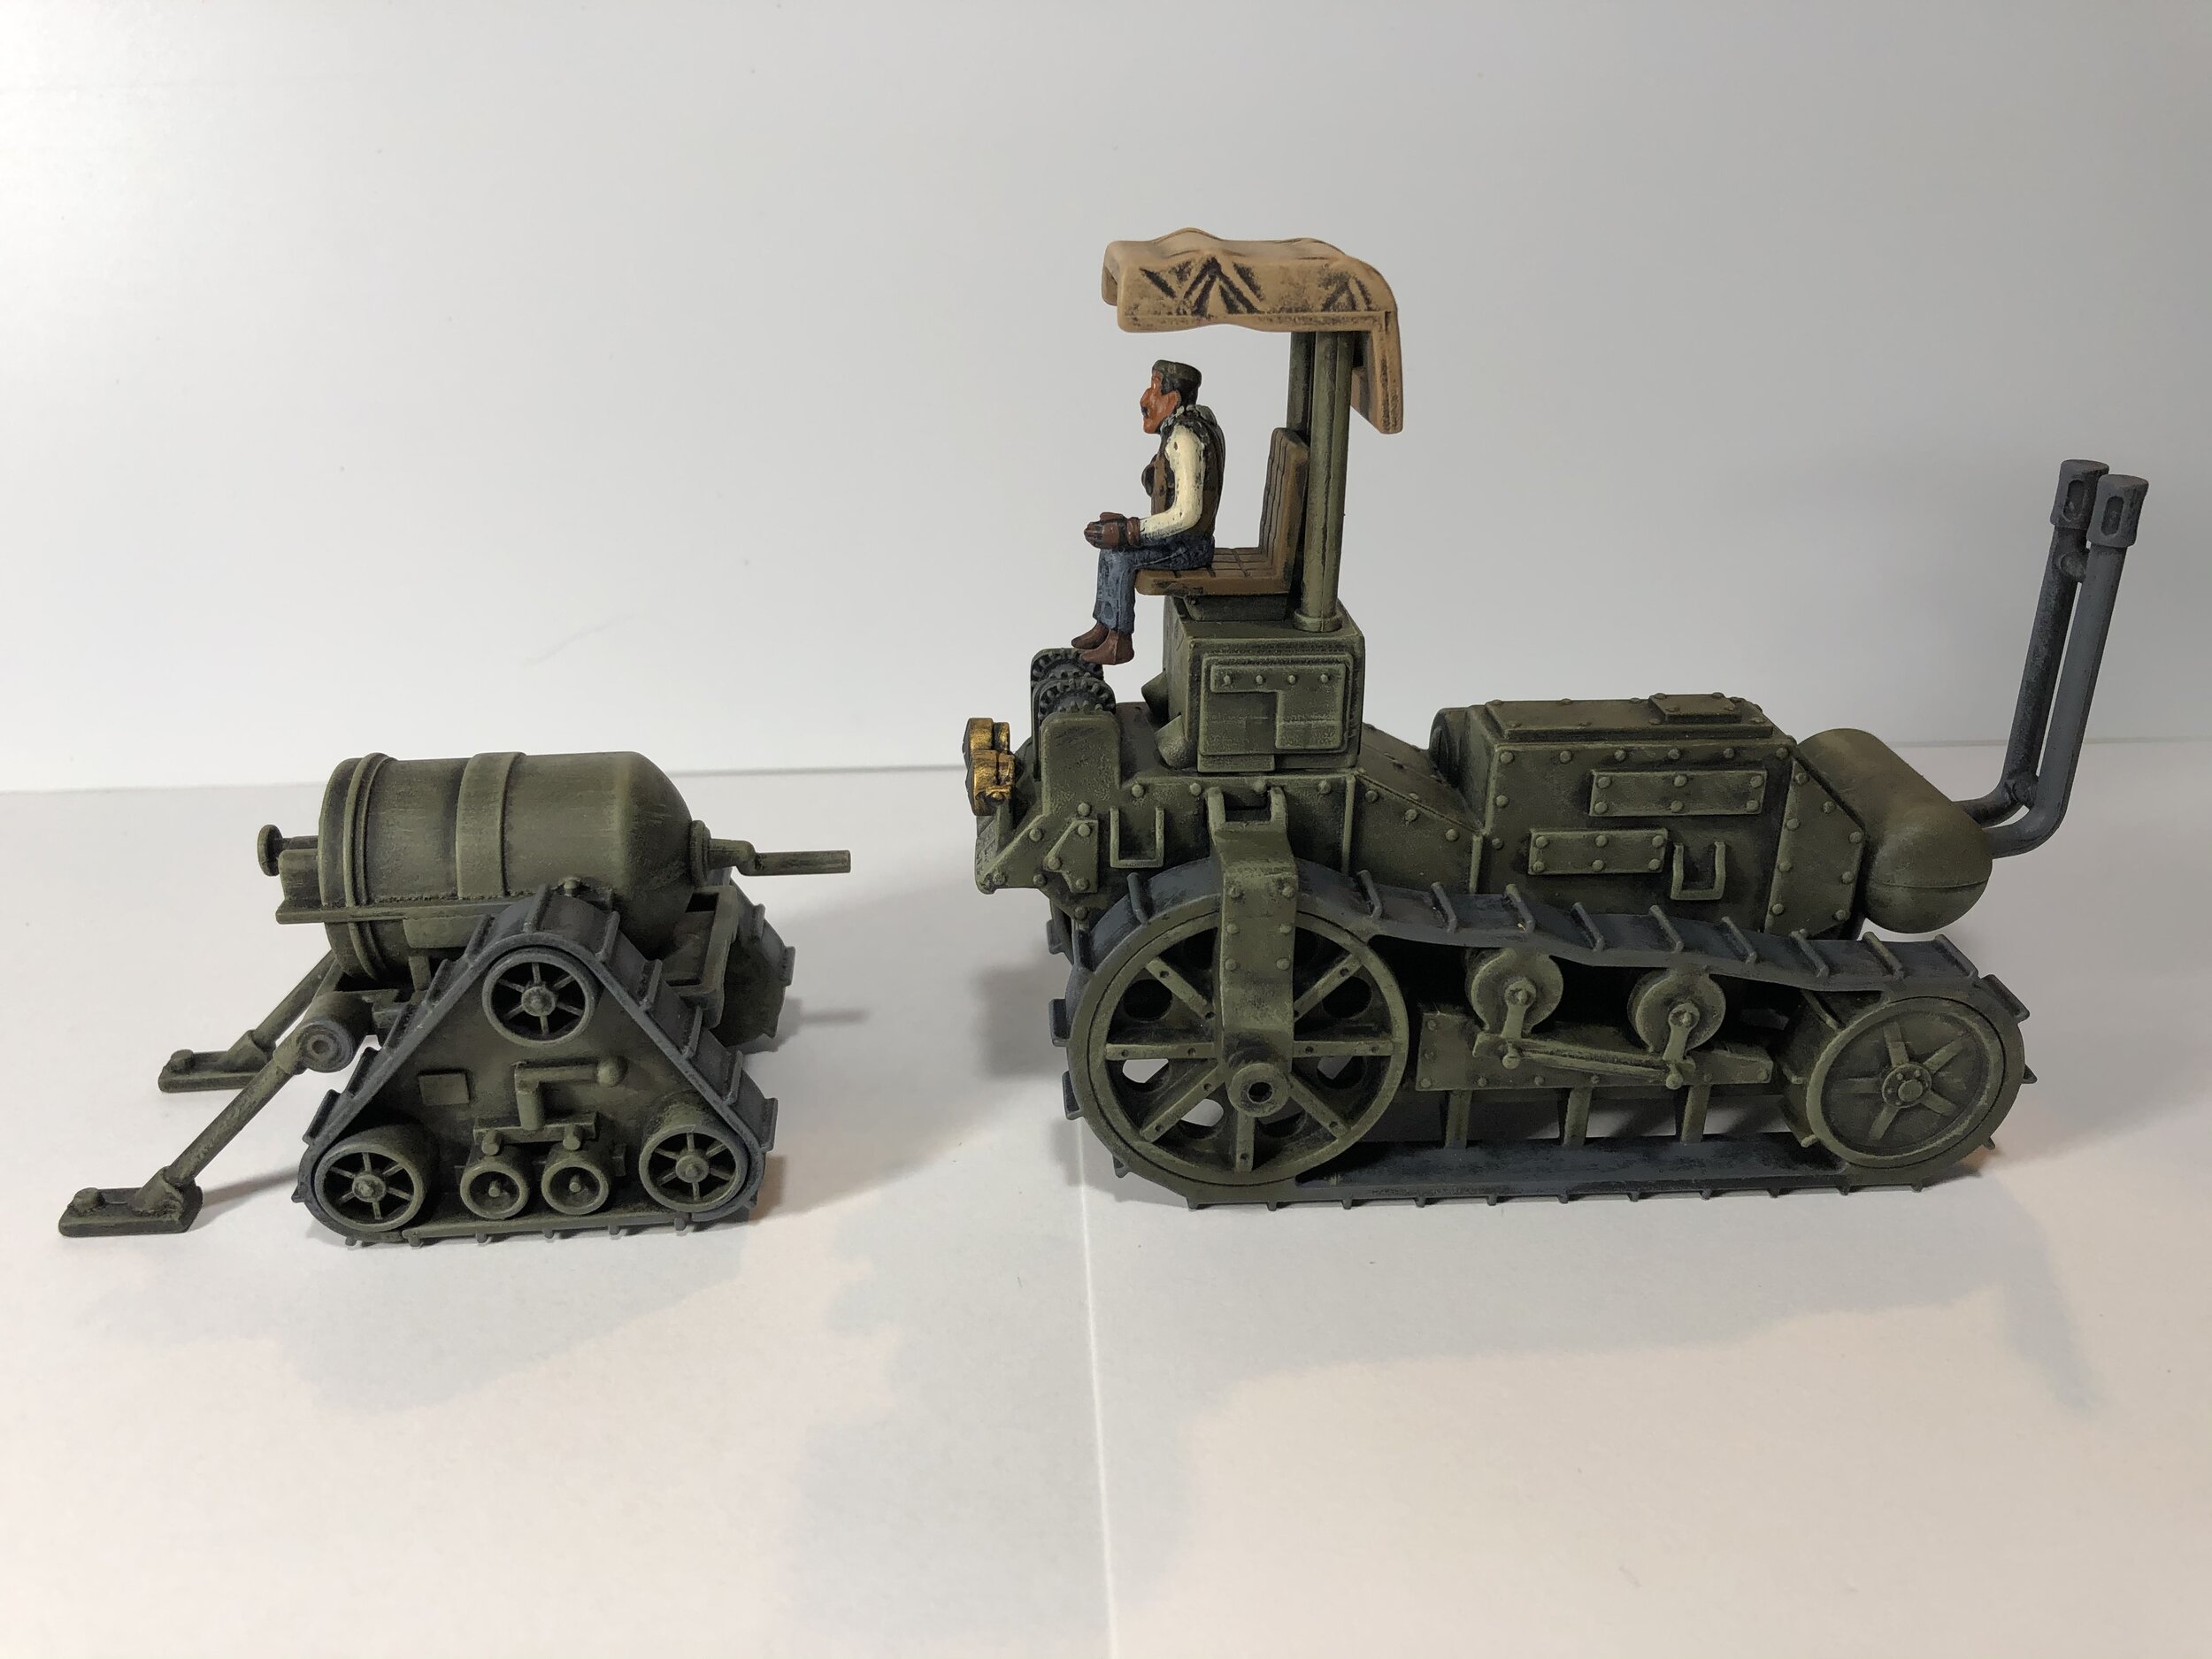
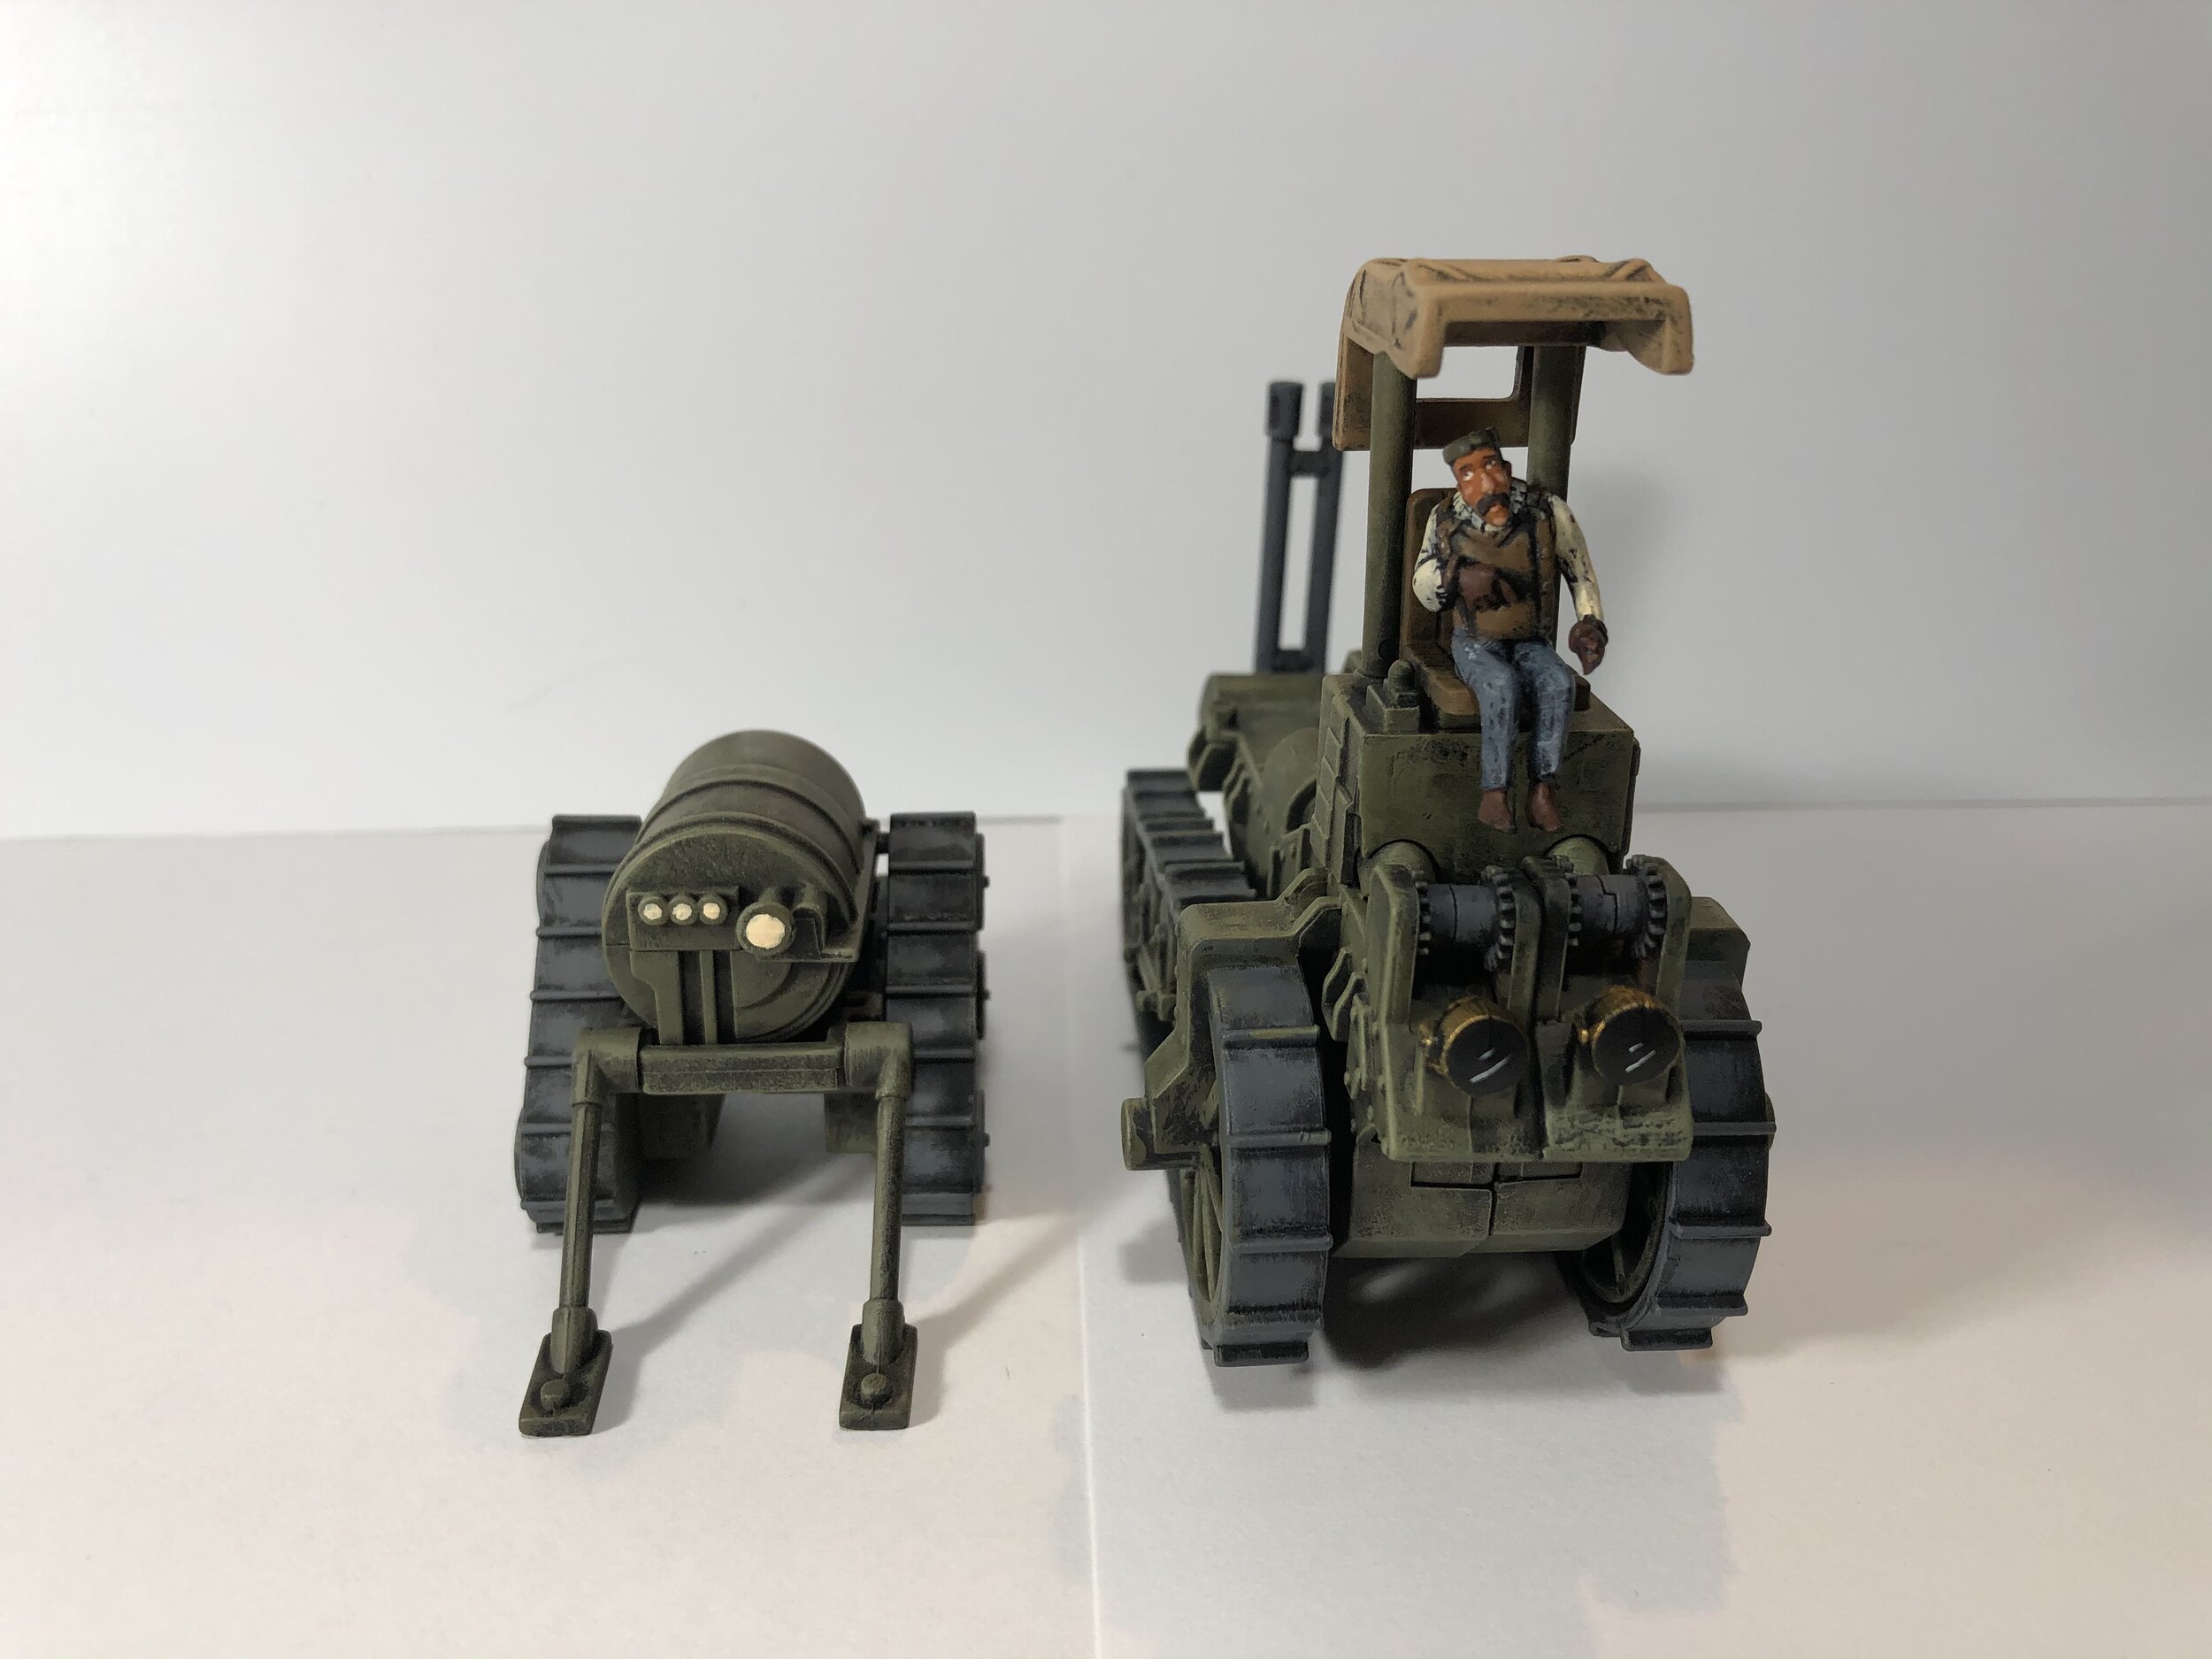
Mid-week I got an eBay delivery of a box of the Atlantis the Lost Empire vehicles. I began buying Atlantis vehicles more than a decade ago… I love them. But they have gotten dramatically more expensive over the years. The first one I bought on eBay was $9 and that included shipping. Today the normal price for the Tanker or the Panel Truck or the Command Car is between $30 and $40 once shipping is included. The reason I bought these (need was not an issue) is they were a great package deal. The package included a Tanker, a Panel Truck, a Command Car, the Spanner and Flamethrower known as HEAT, a tread-mounted storage tank (don’t know anything about it but it looks good) and the Chuck Wagon. I got them all for $43 which included the shipping… really hot deal.
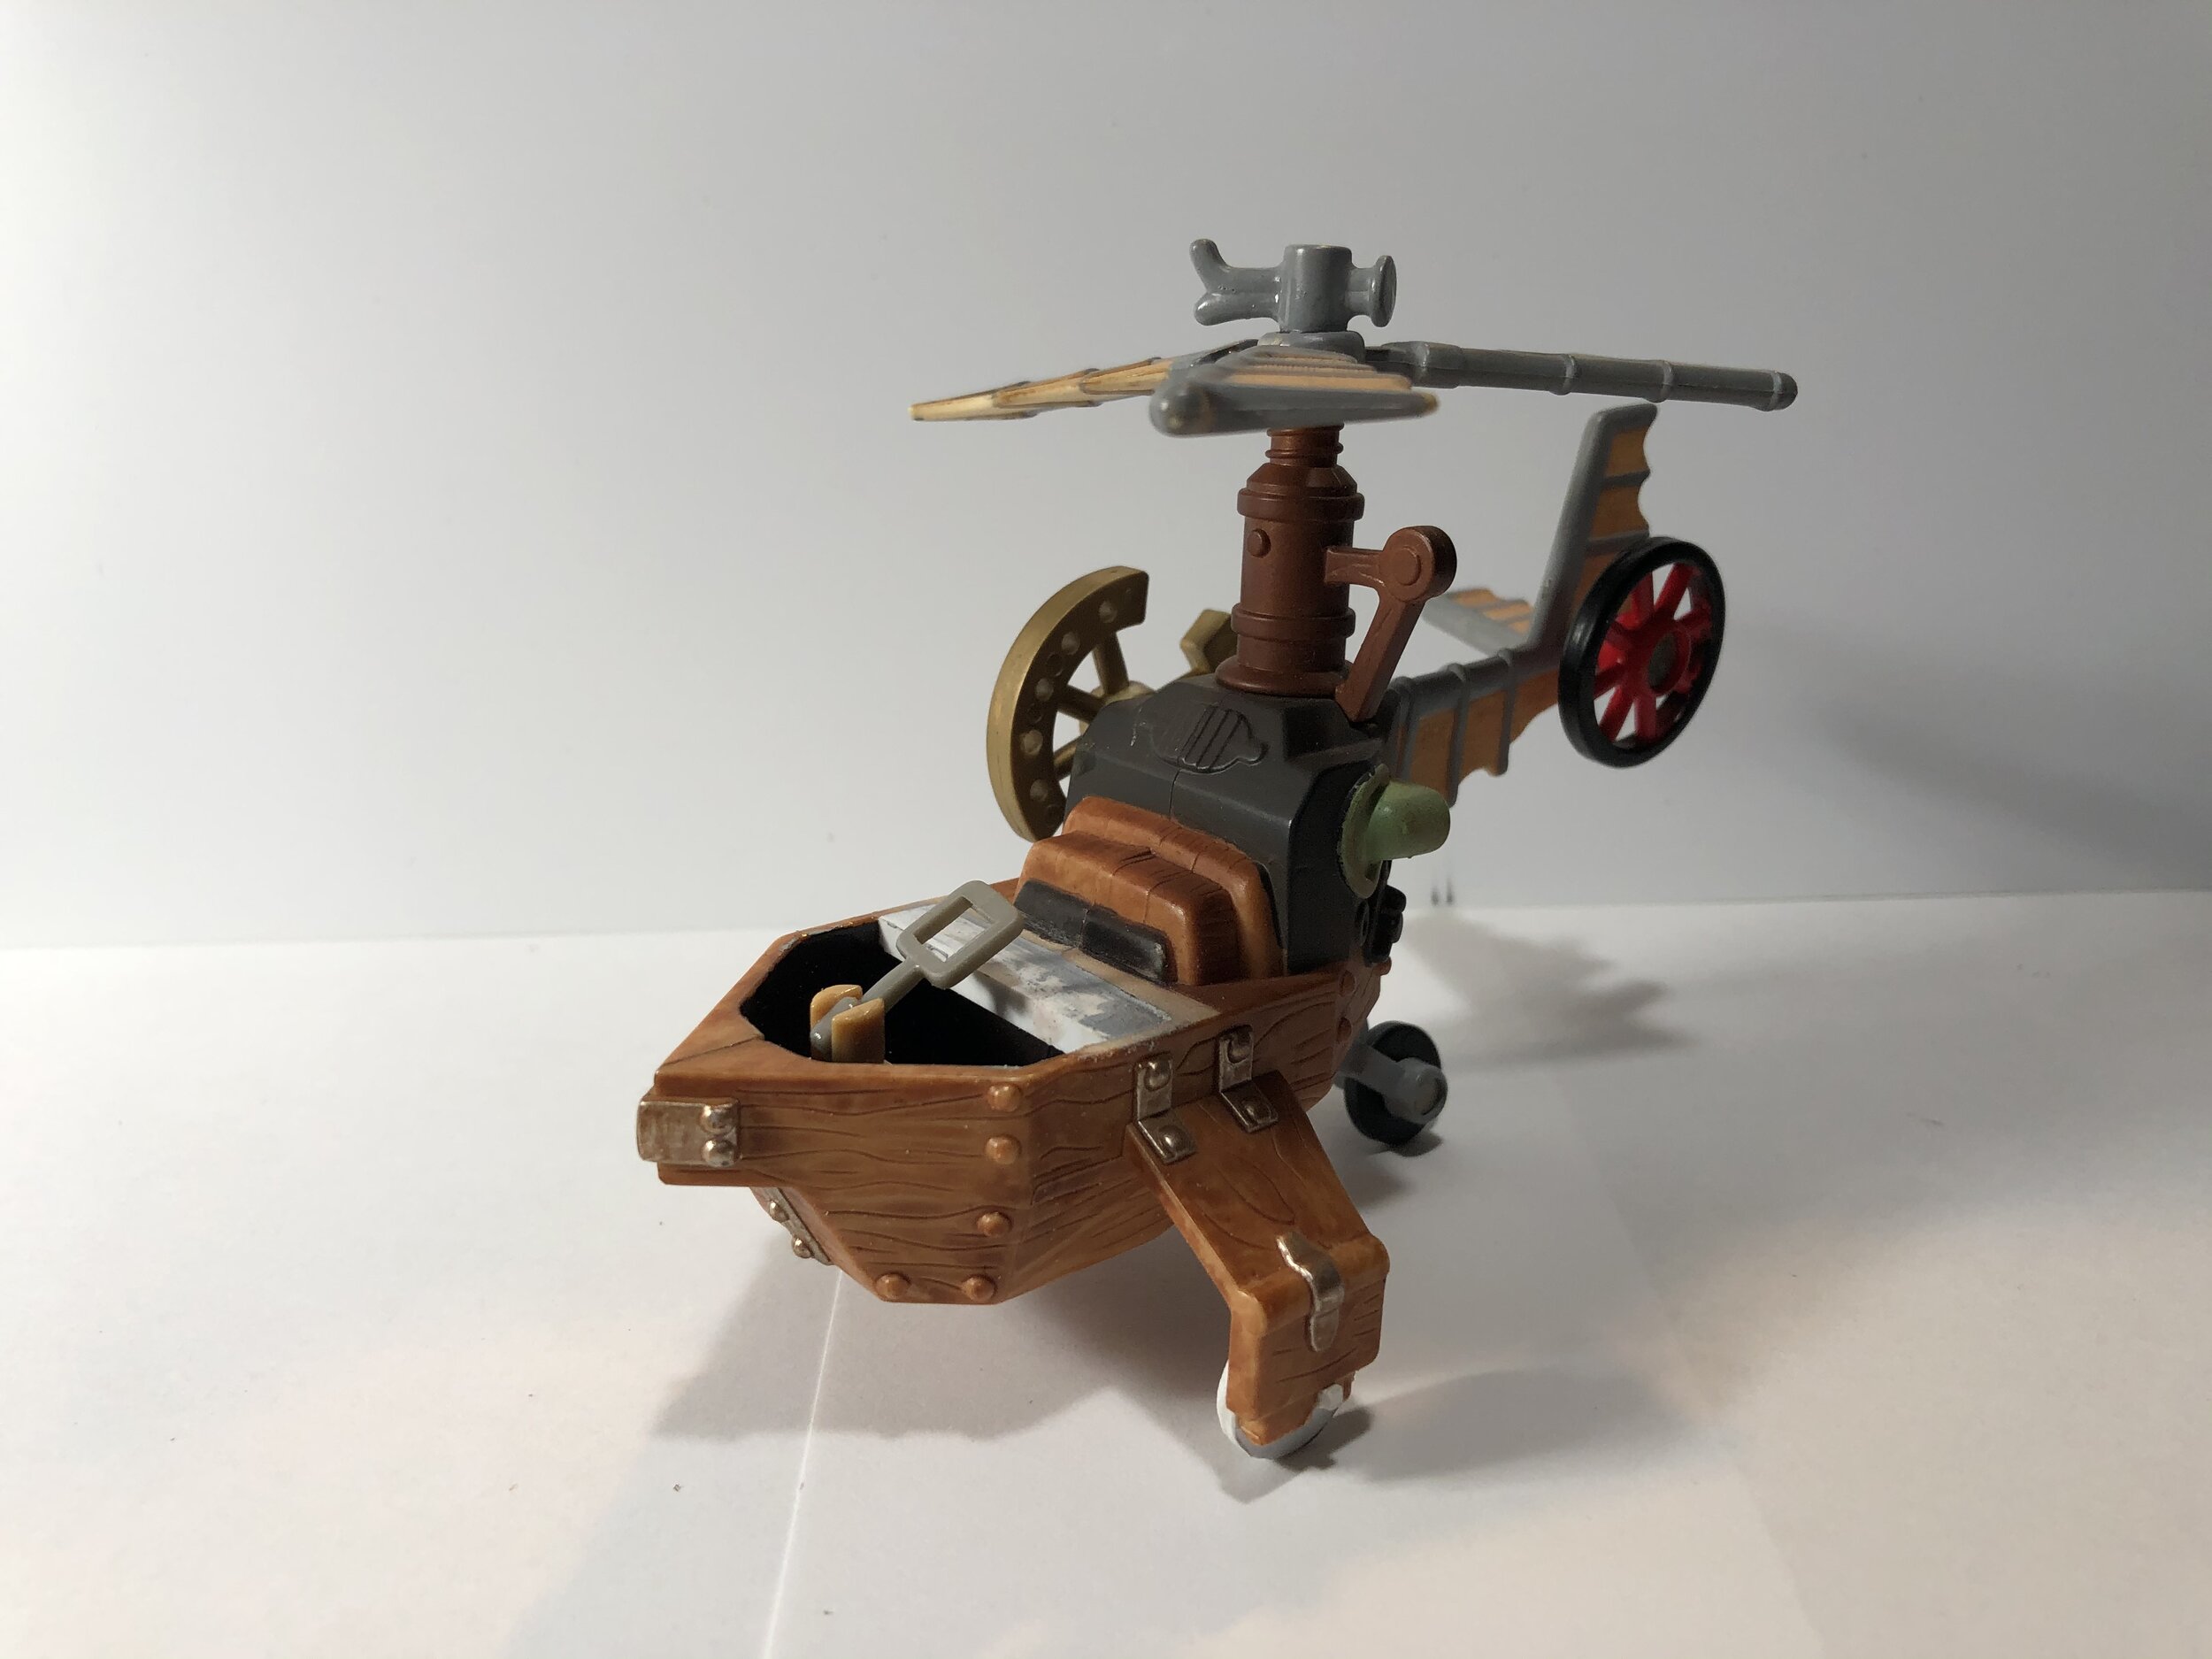
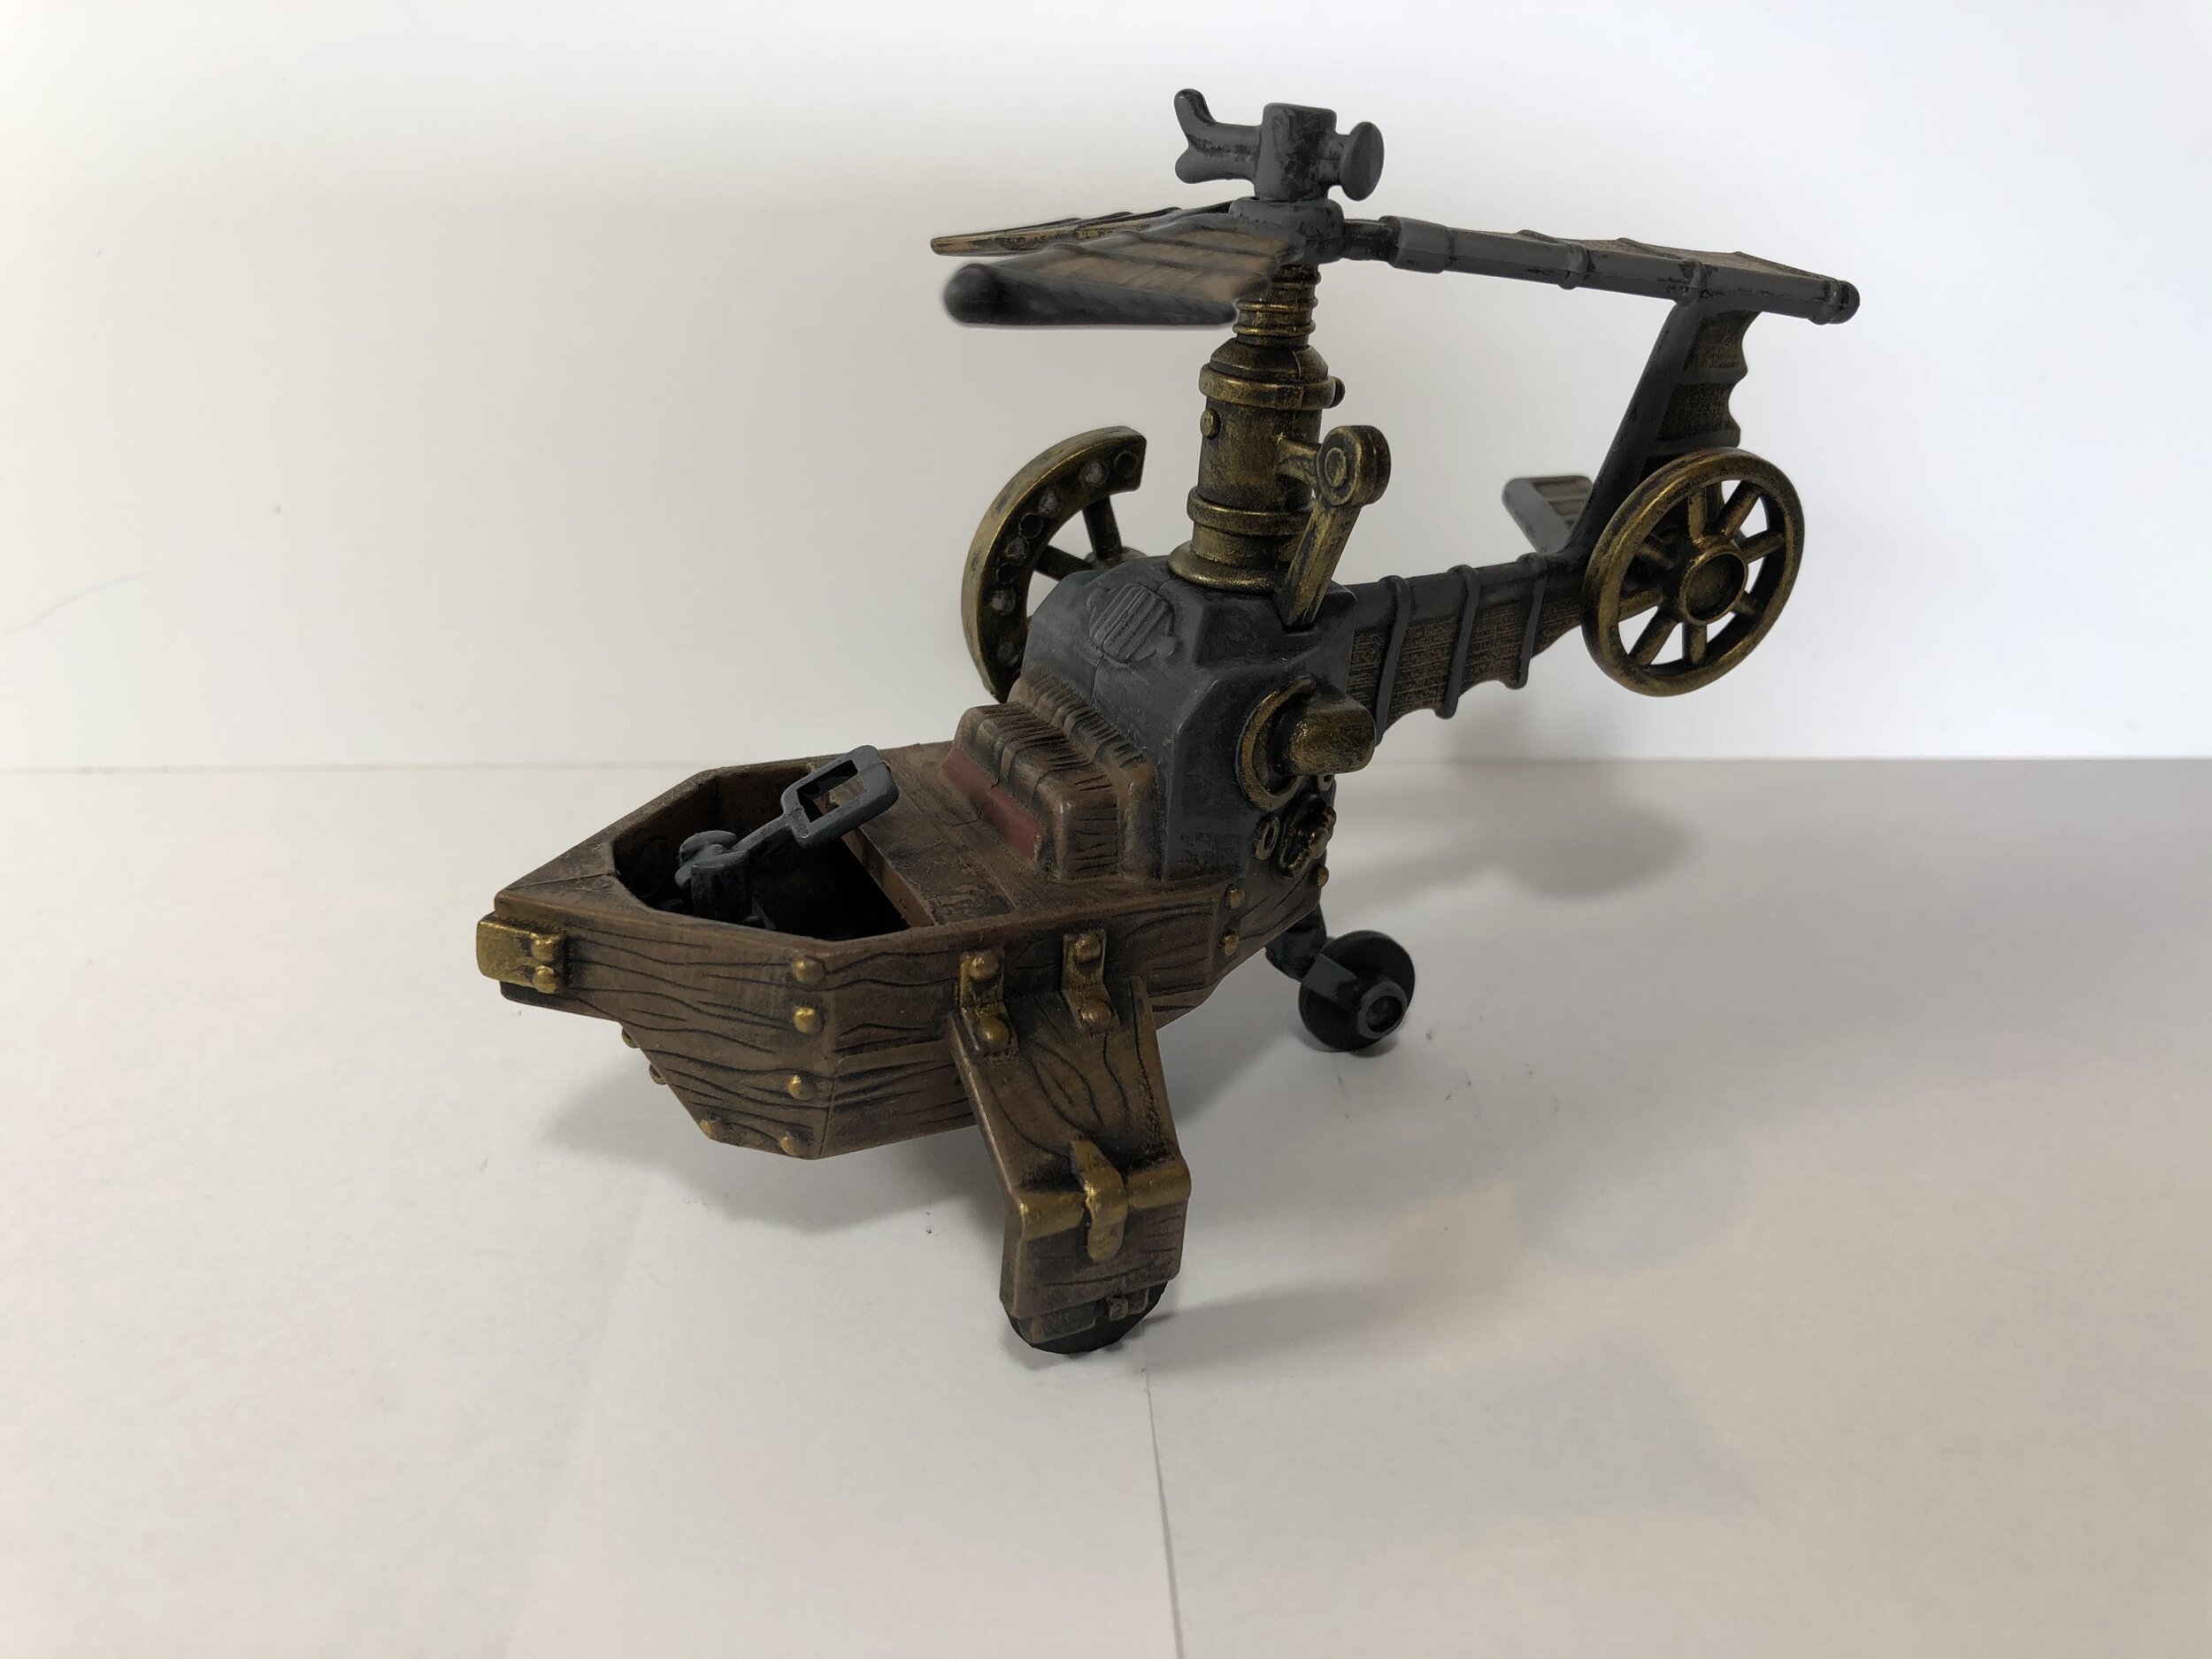
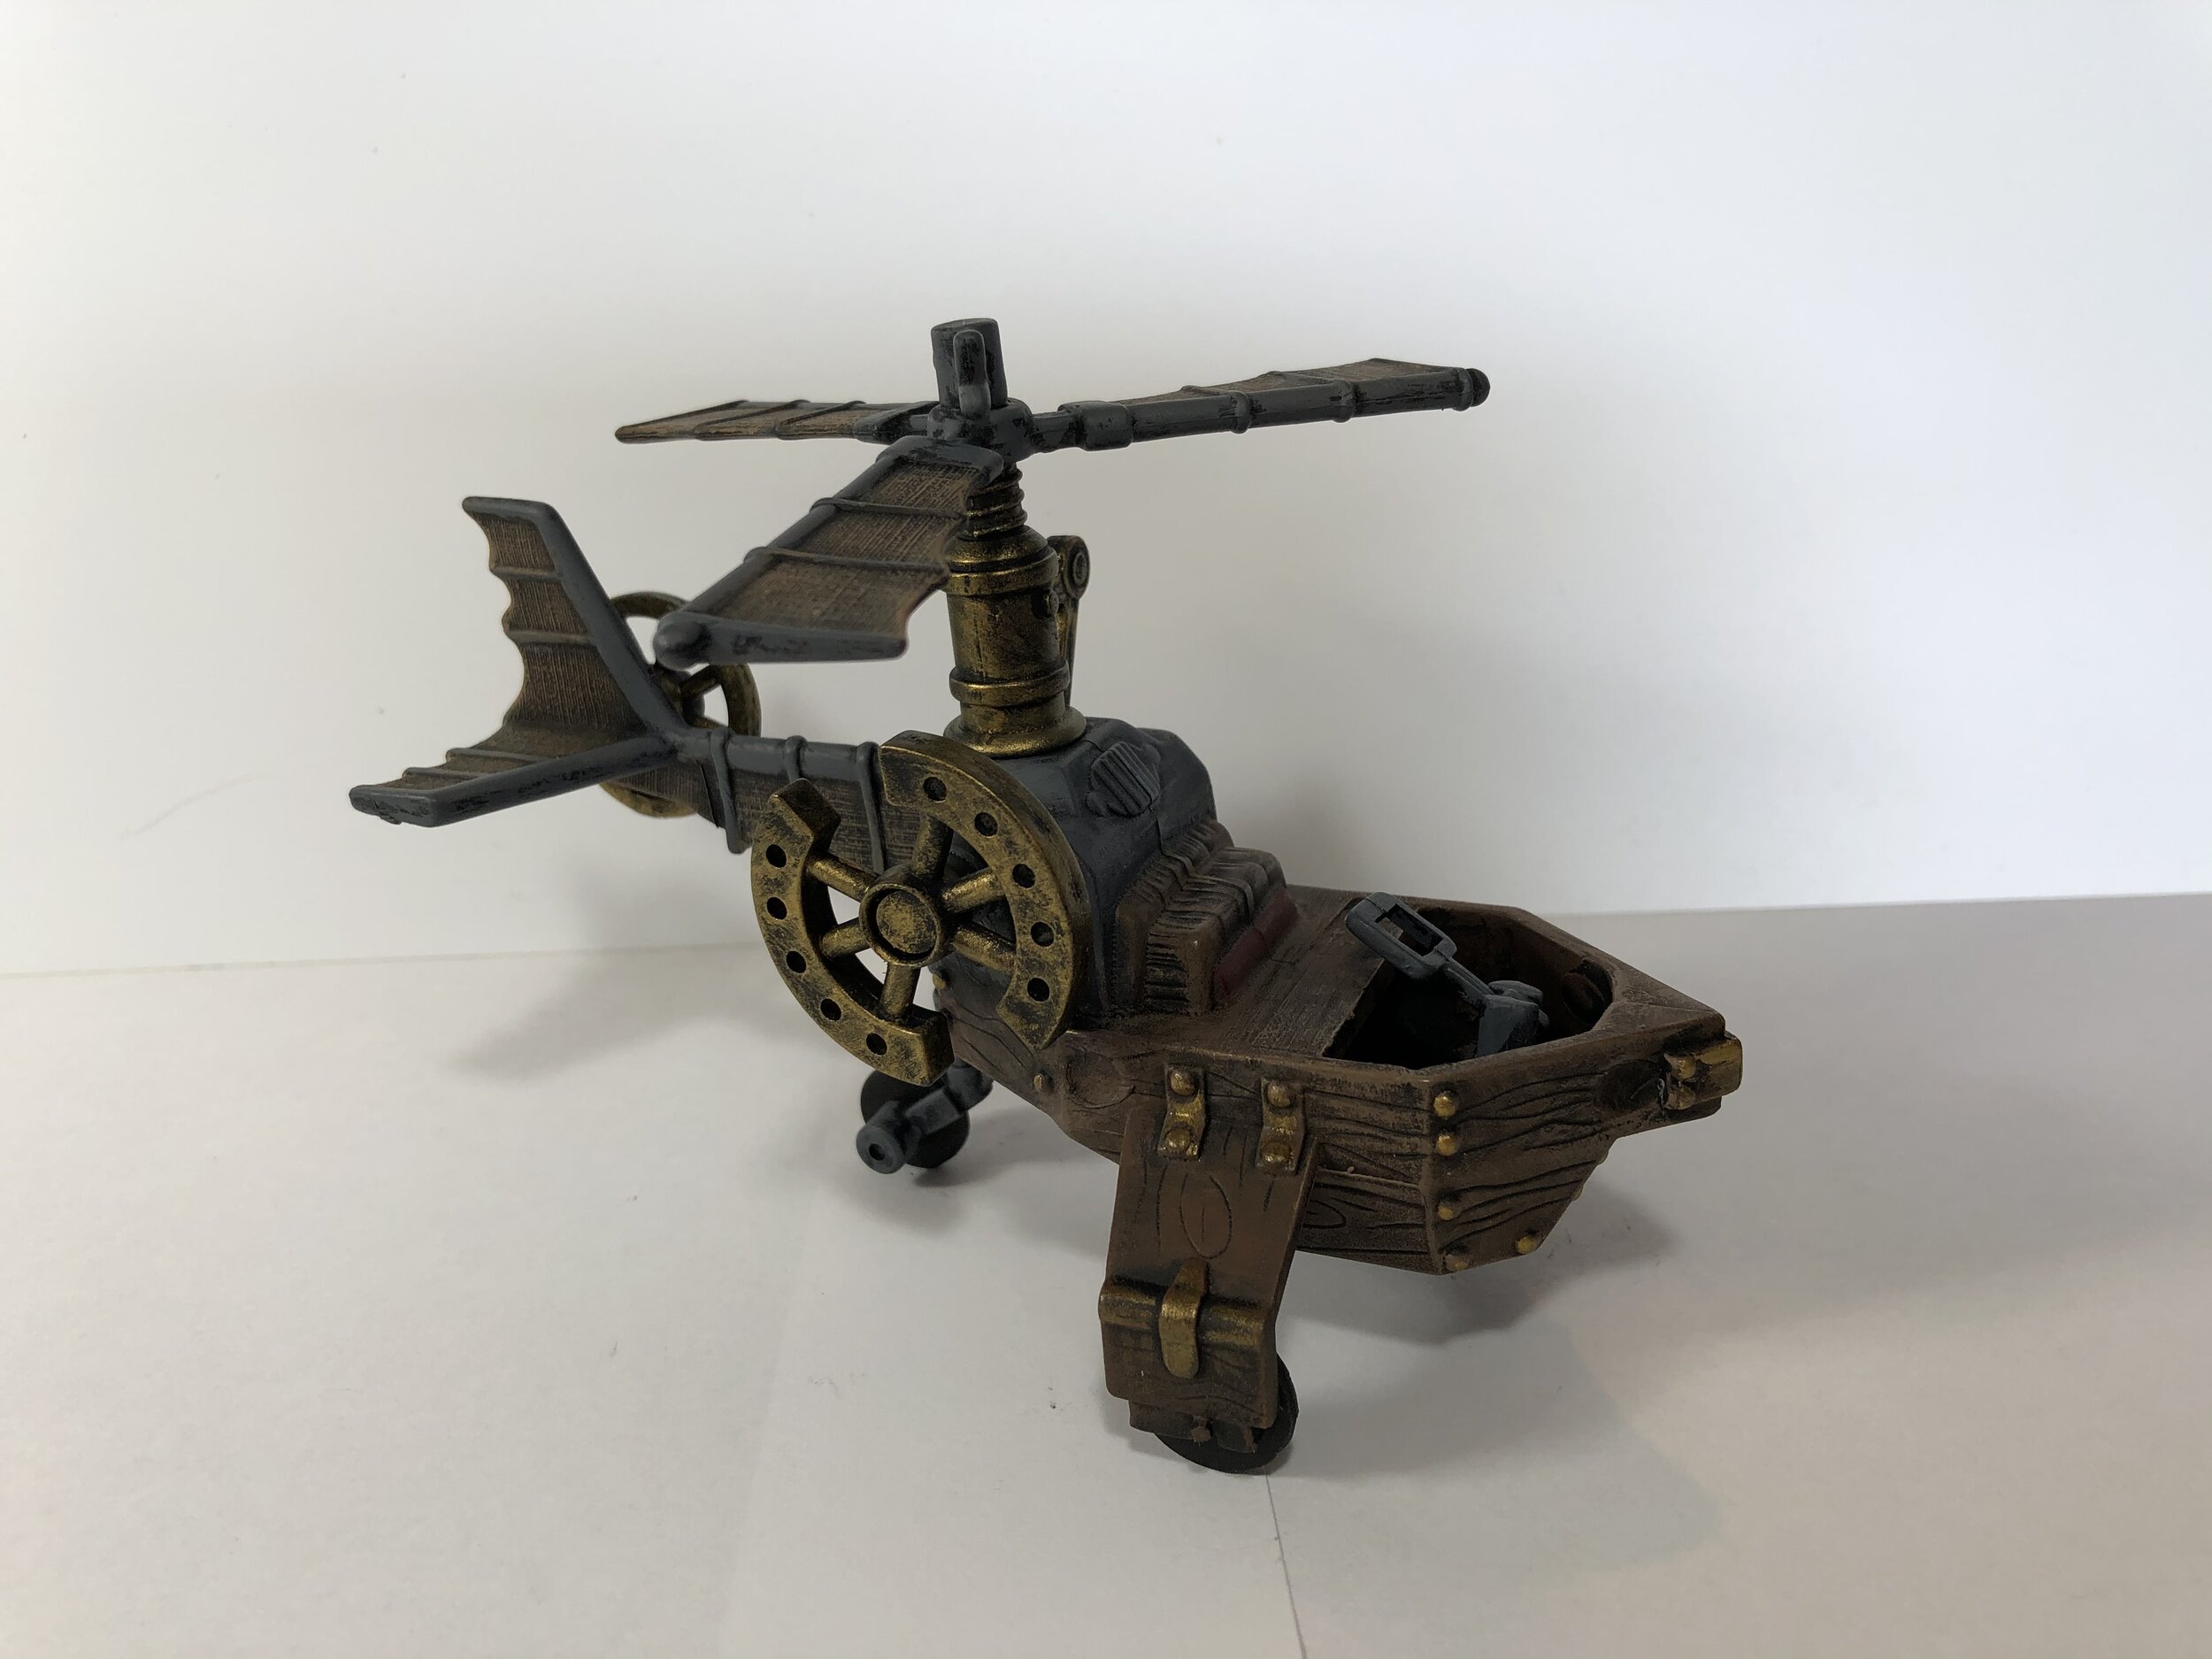
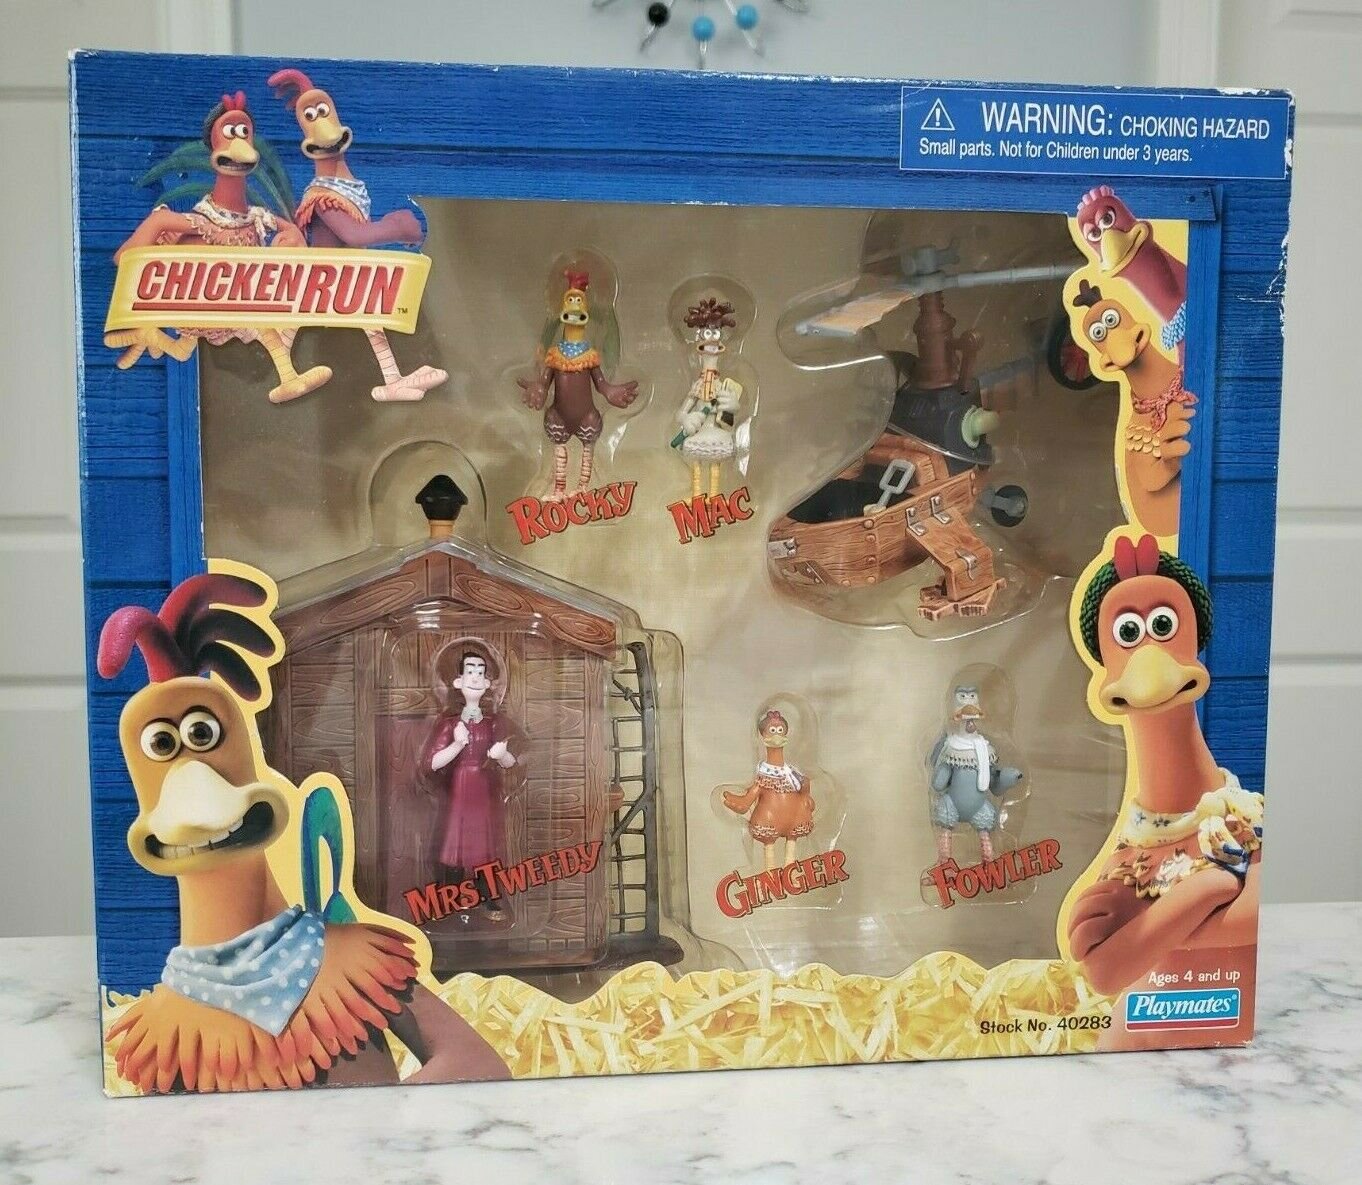
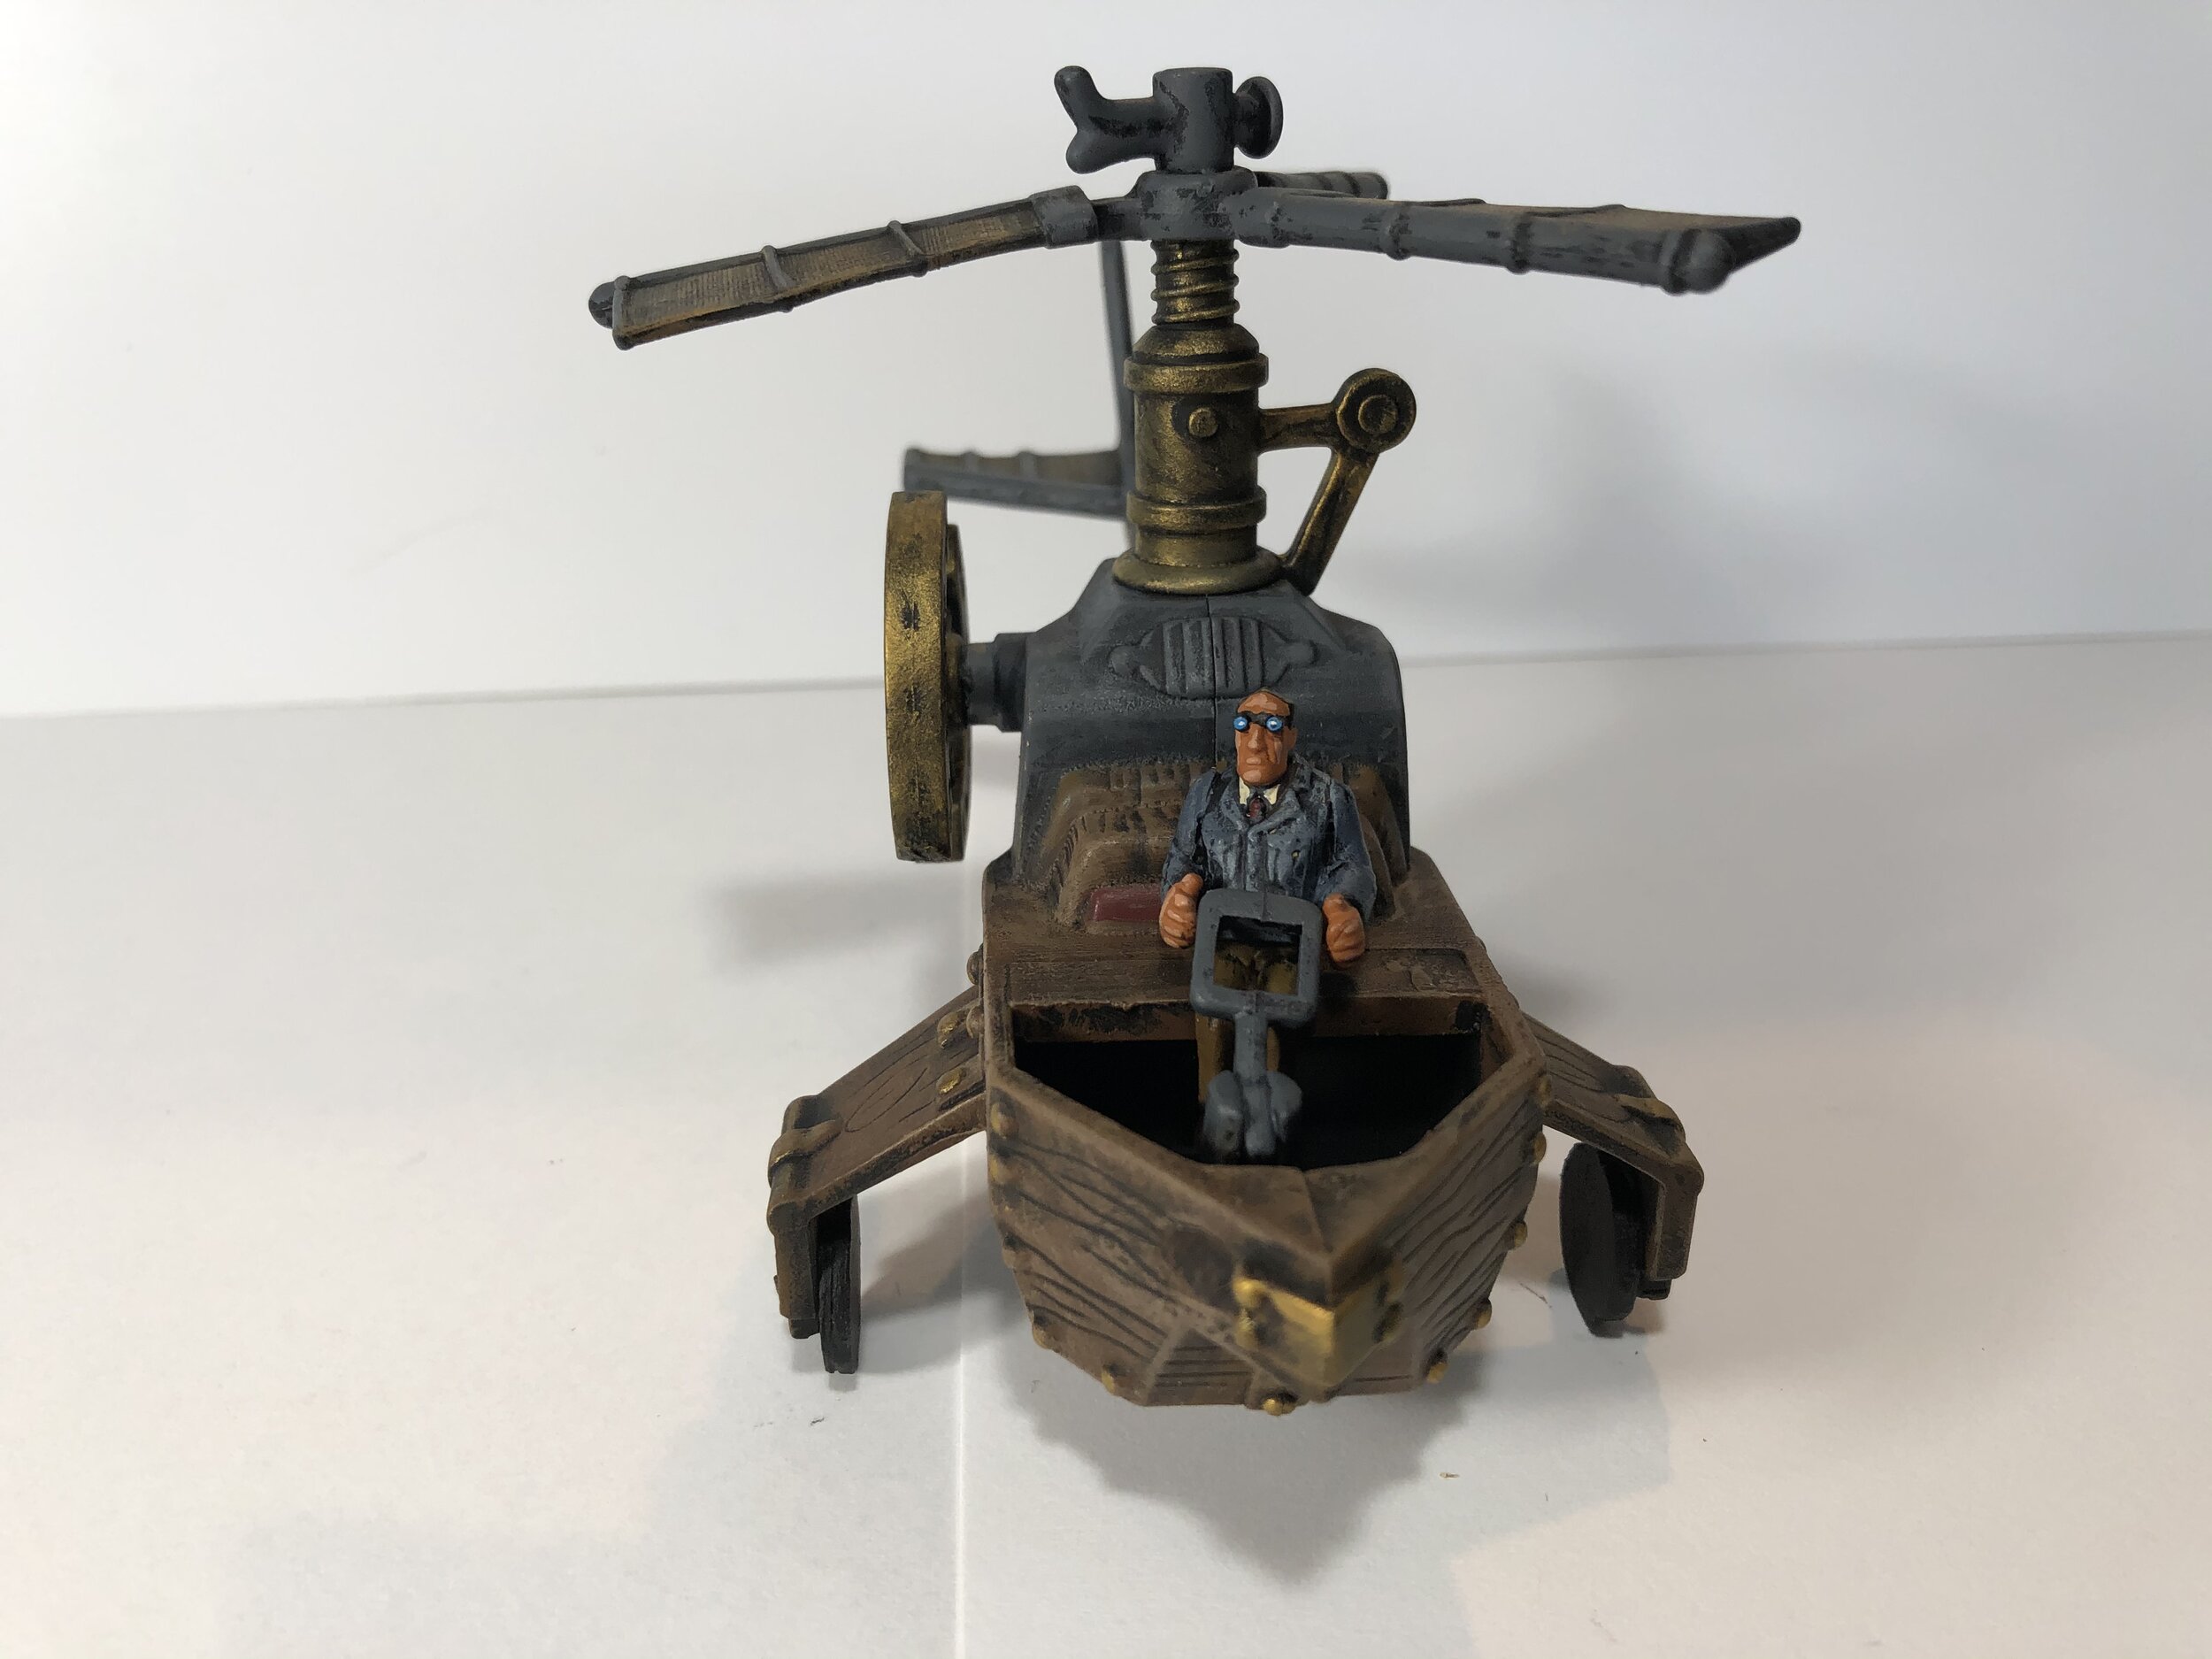
I had never repurposed the Spanner or the Chuck Wagon so I decided to see what I could do with them. The Spanner was missing a gun turret (no big loss) and HEAT came with an awning-covered seat that was missing its wheels. I combined the pieces I had from HEAT with the Spanner. My redesigned Spanner became a tractor with tracks that I like better than the original toys. I took the Chuck Wagon entirely apart, removing its figures (they didn’t look good) and some other stuff that looked silly and lacked recognizable purpose. I added barrels and grain bags to the interior and using Evergreen plastic I added a new driver’s seat and a rear gate. I gave both the redesigned Spanner and the Chuck Wagon new paint jobs, and I think both look really good. Work on the Atlantis vehicles reminded me that I had another little flying machine from the movie Chicken Runthat would work well with my Gordon Institute. It was missing its landing skids so I gave it replacement wheels cut from Evergreen Plastic and then painted it up. I also moved the flying stick to the middle of the cockpit.