MARCH 25, 2018
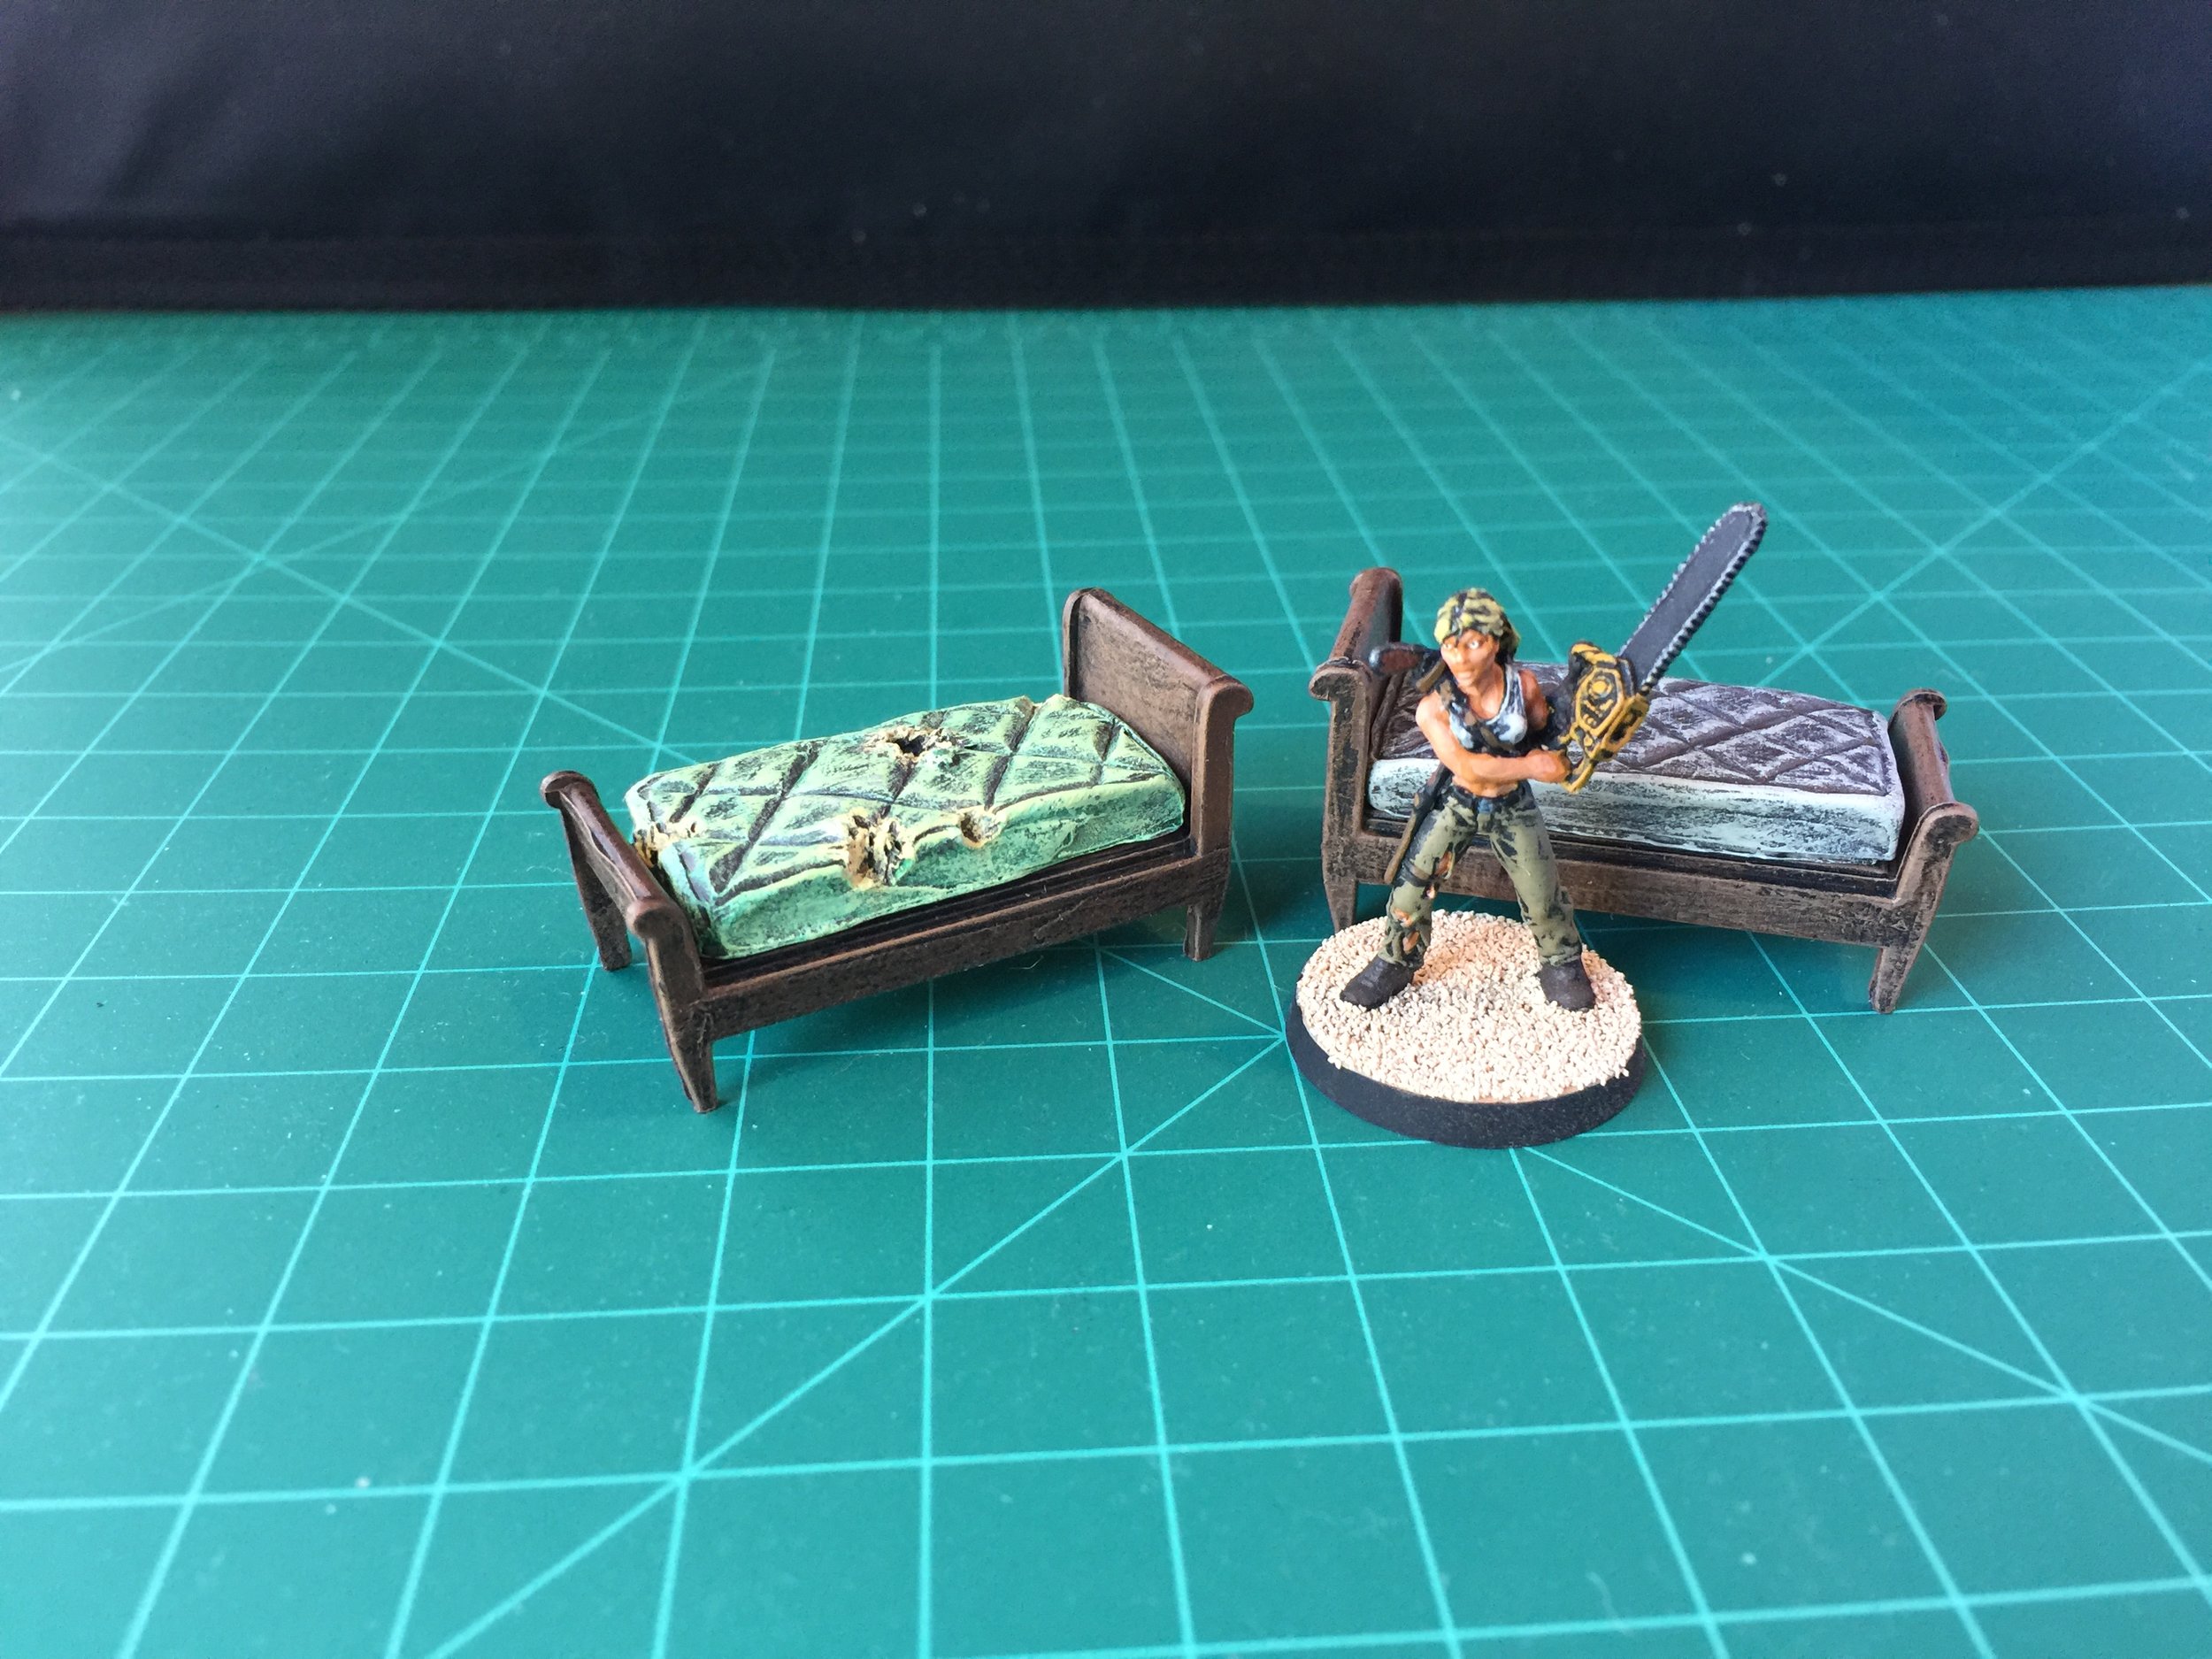
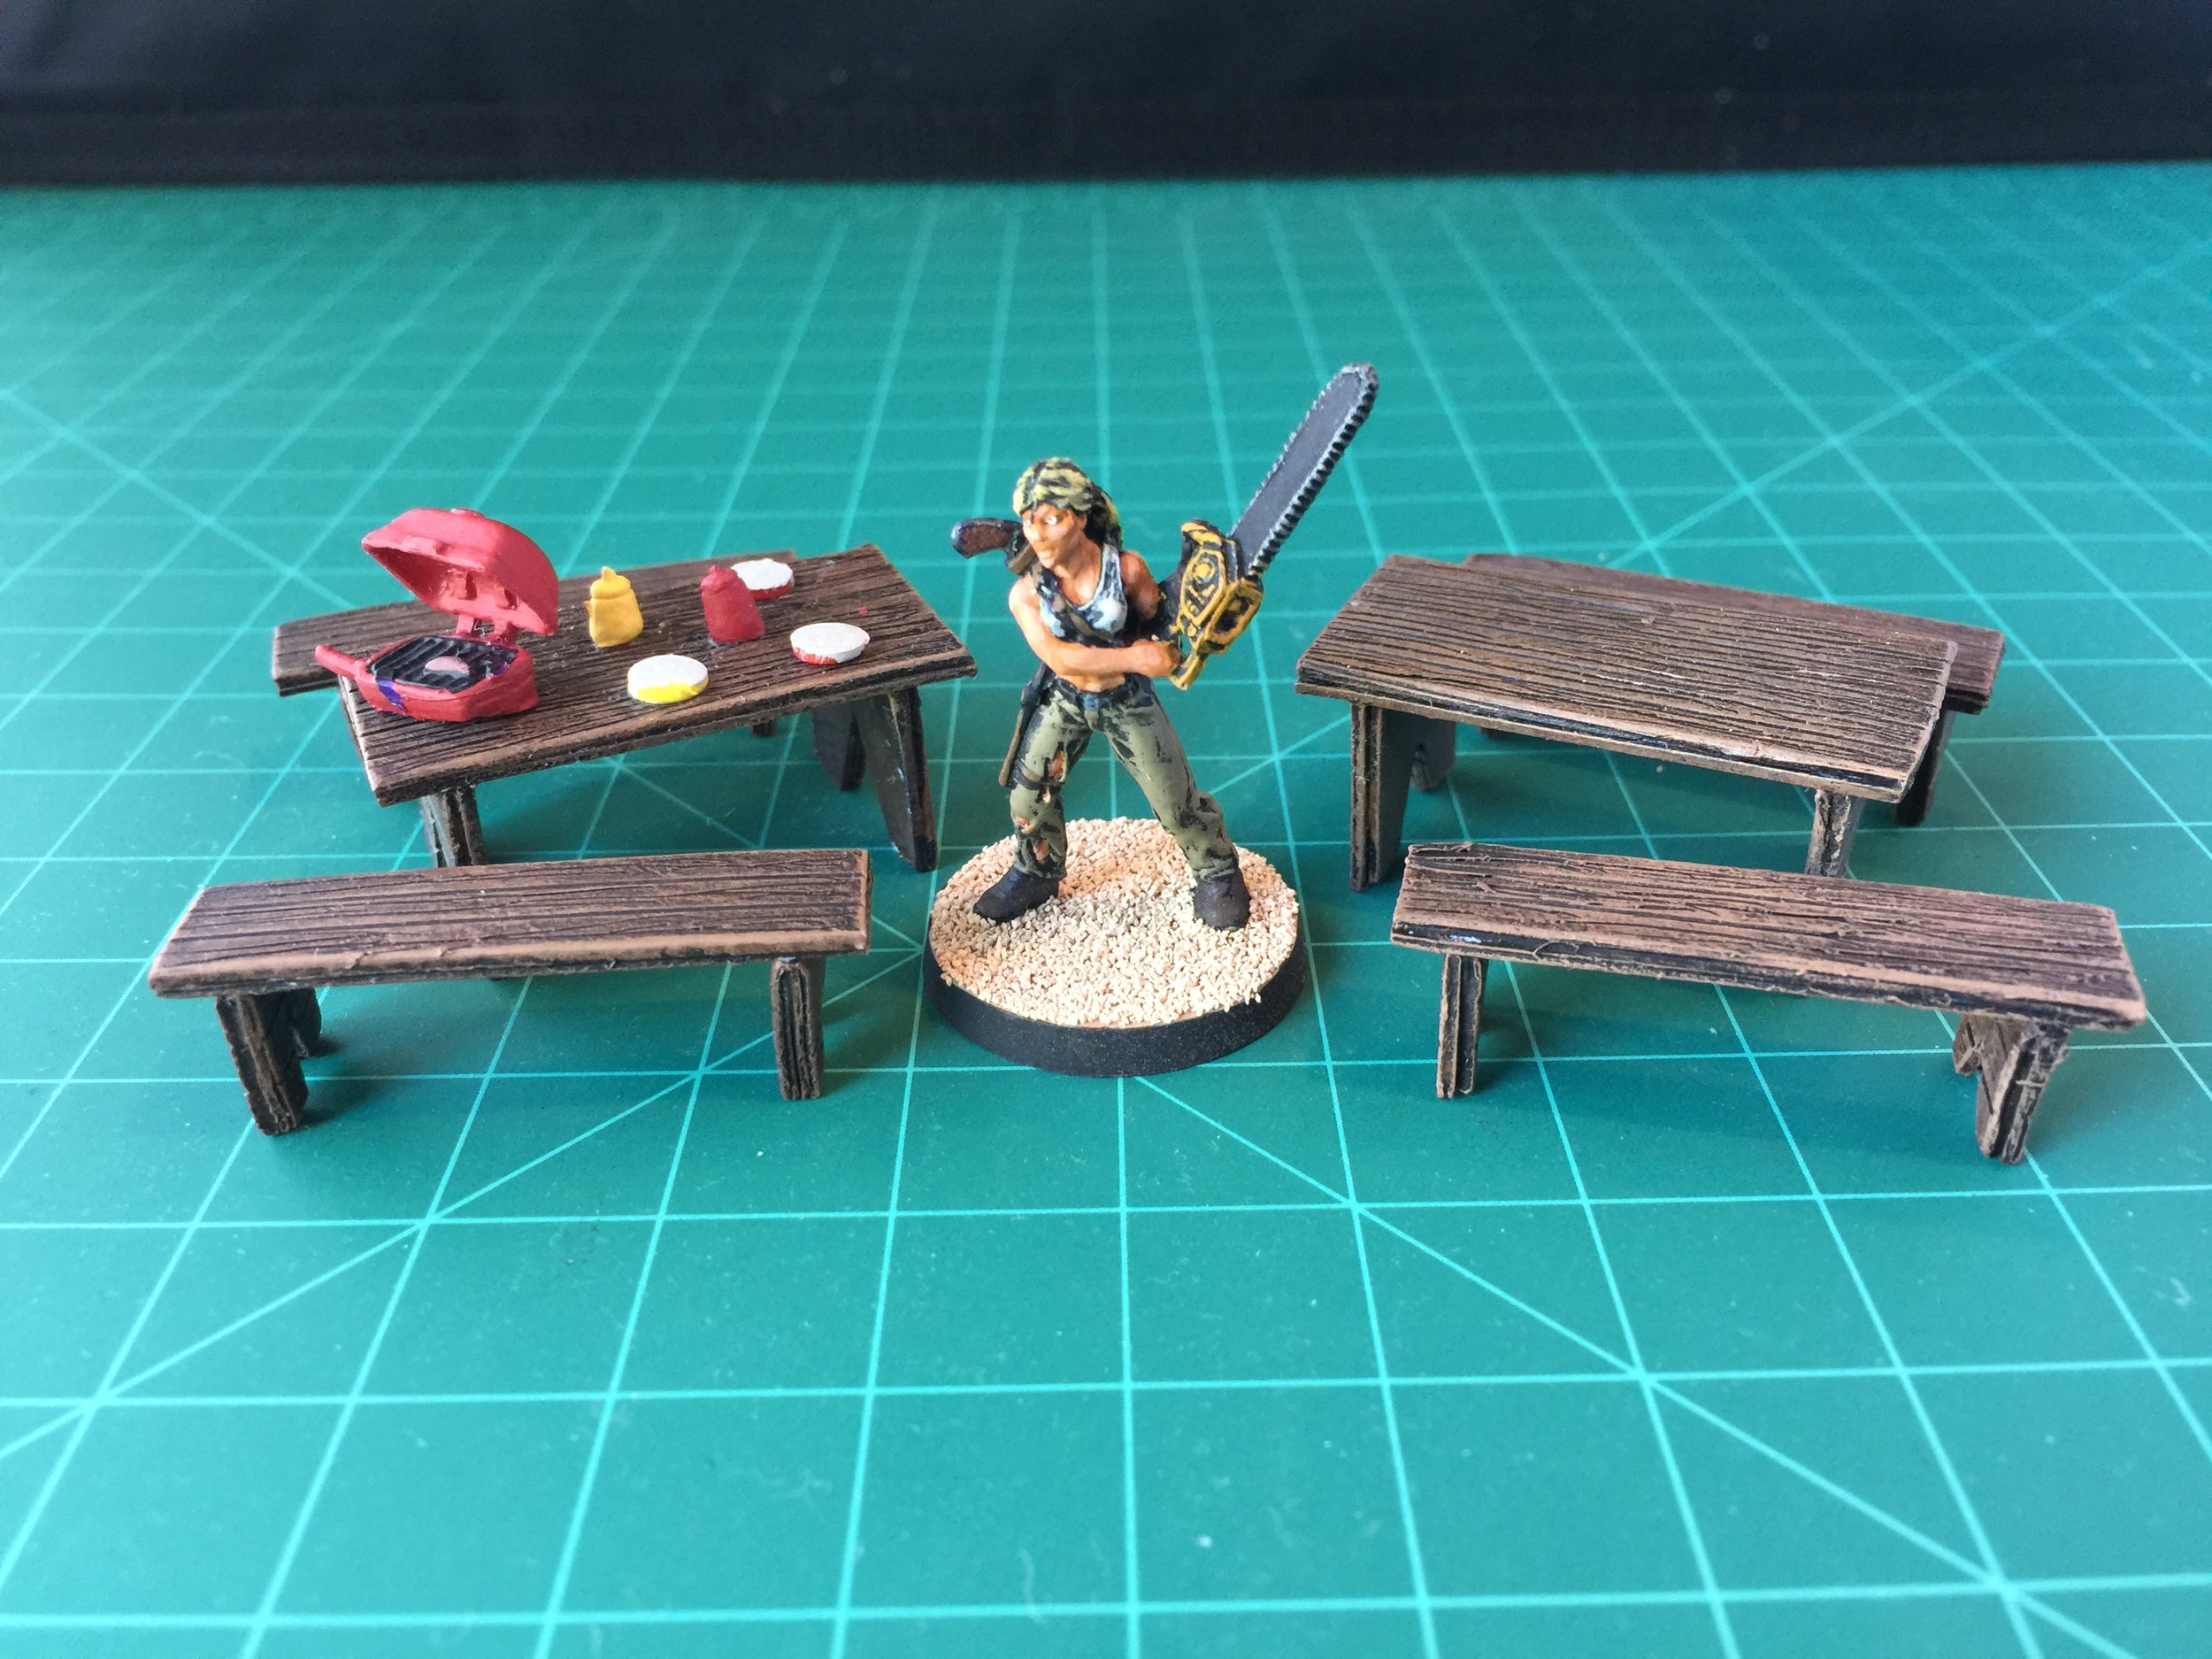
This time around, the Weekly Workbench began with some odds and ends/detail pieces and will probably carry on that way throughout the week. First off was an idea to use a Crooked Dice mattress on one of the Aztec dollhouse beds. I was happily surprised that they turned out to be a perfect fit for one another. I next began the process of building some picnic tables and benches for my trailer park out of Evergreen Plastic. I decorated one of the tables with a BBQ, and mustard and ketchup dispenser from the Heroclix figure The Thing. I added three plates made from the knobs cut off a Lego. With that done I was surprised by another swap meet find purchased about five months ago and forgotten. In this case it was a drugstore sign… probably part of a broken Christmas decoration. Since all of my buildings are complete, gluing this sign to a finished building didn’t seem like a good idea, but I remembered that the building I made for my barber shop had a removable sign. I also remembered that I used a different Plasticville/K-Line building that housed a florist and a barbershop in my gangster collection. The earlier barbershop building now became part of my post apoc collection, and I put together a supporting pole for my new drugstore sign. The new sign will sit on the building’s roof weighted by three washers at the pole’s base.
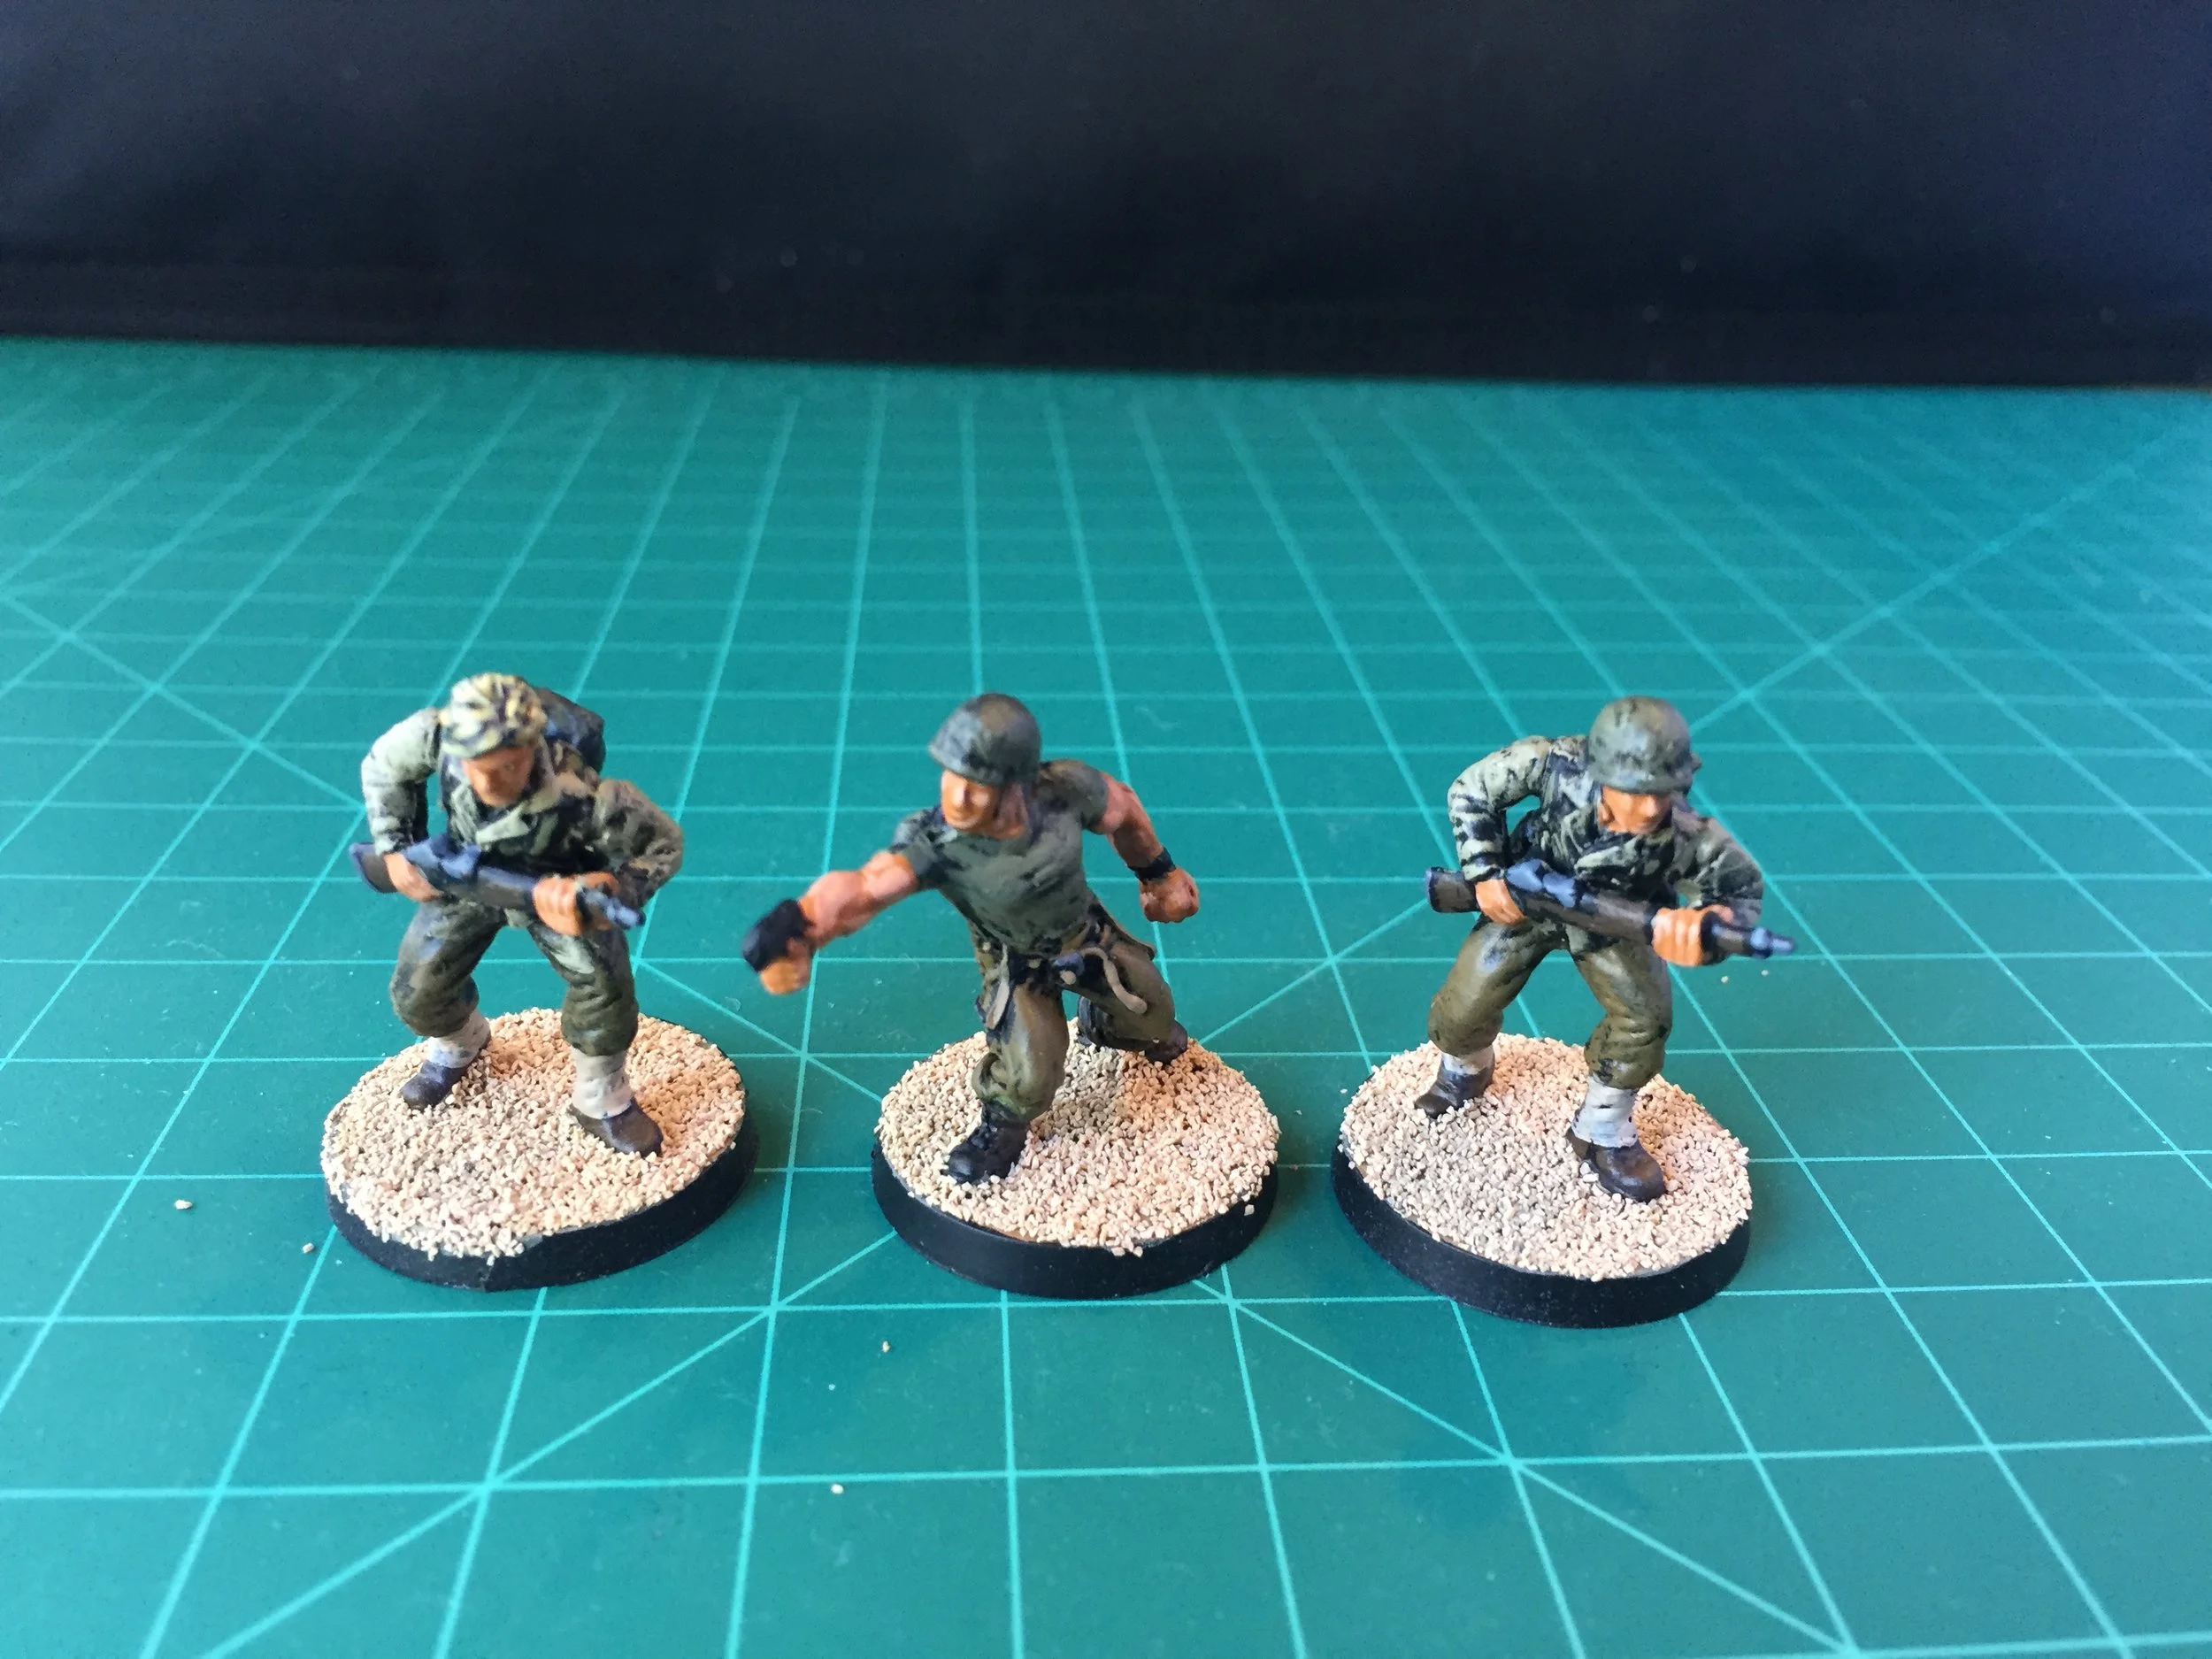
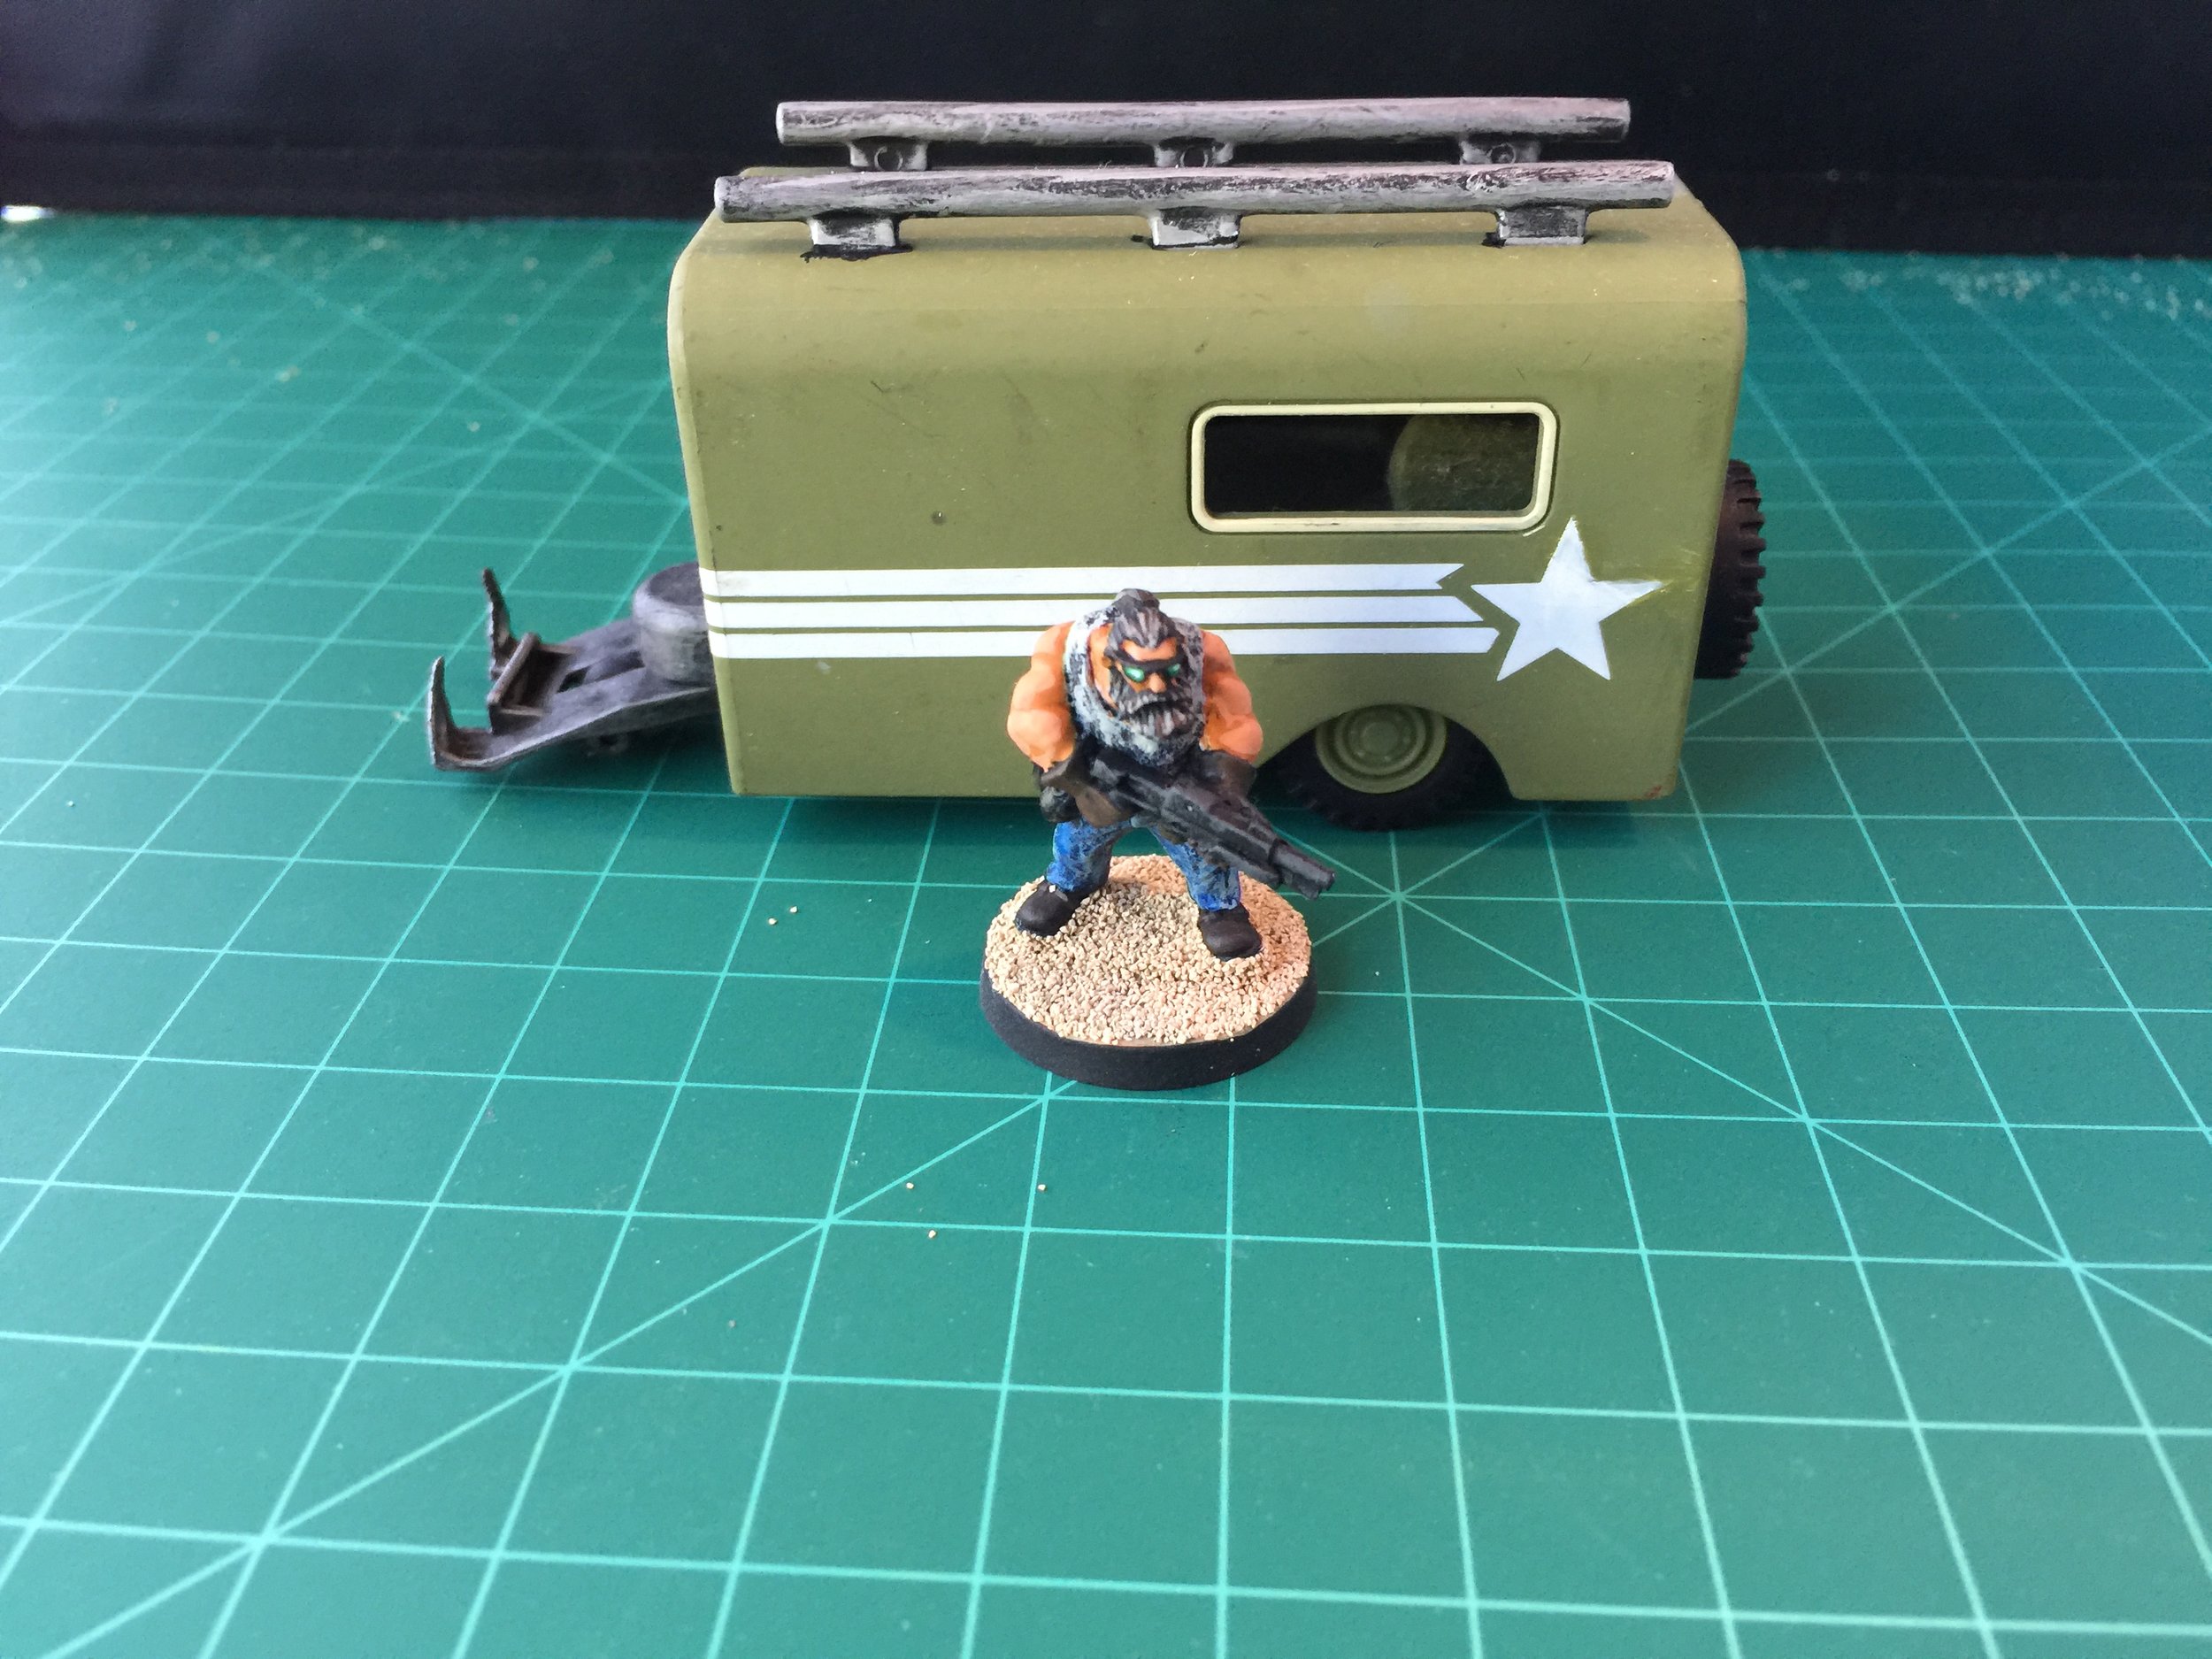
When I painted up the US military communications van and trailer I was forced to confront the fact that while I like those pieces, I had no US military figures to go with them. On Saturday I went to Majestix (my Heroclix shop) and went through the 25 cent buckets. I found a US Army figure plus another figure that could be repurposed for a military look. I bought two of the military figures and one of the figures for repurposing and began the modification and painting on Sunday. After a couple of head swaps and some new paint, I had three US military figures that will work well with the military vehicles I’ve already completed.
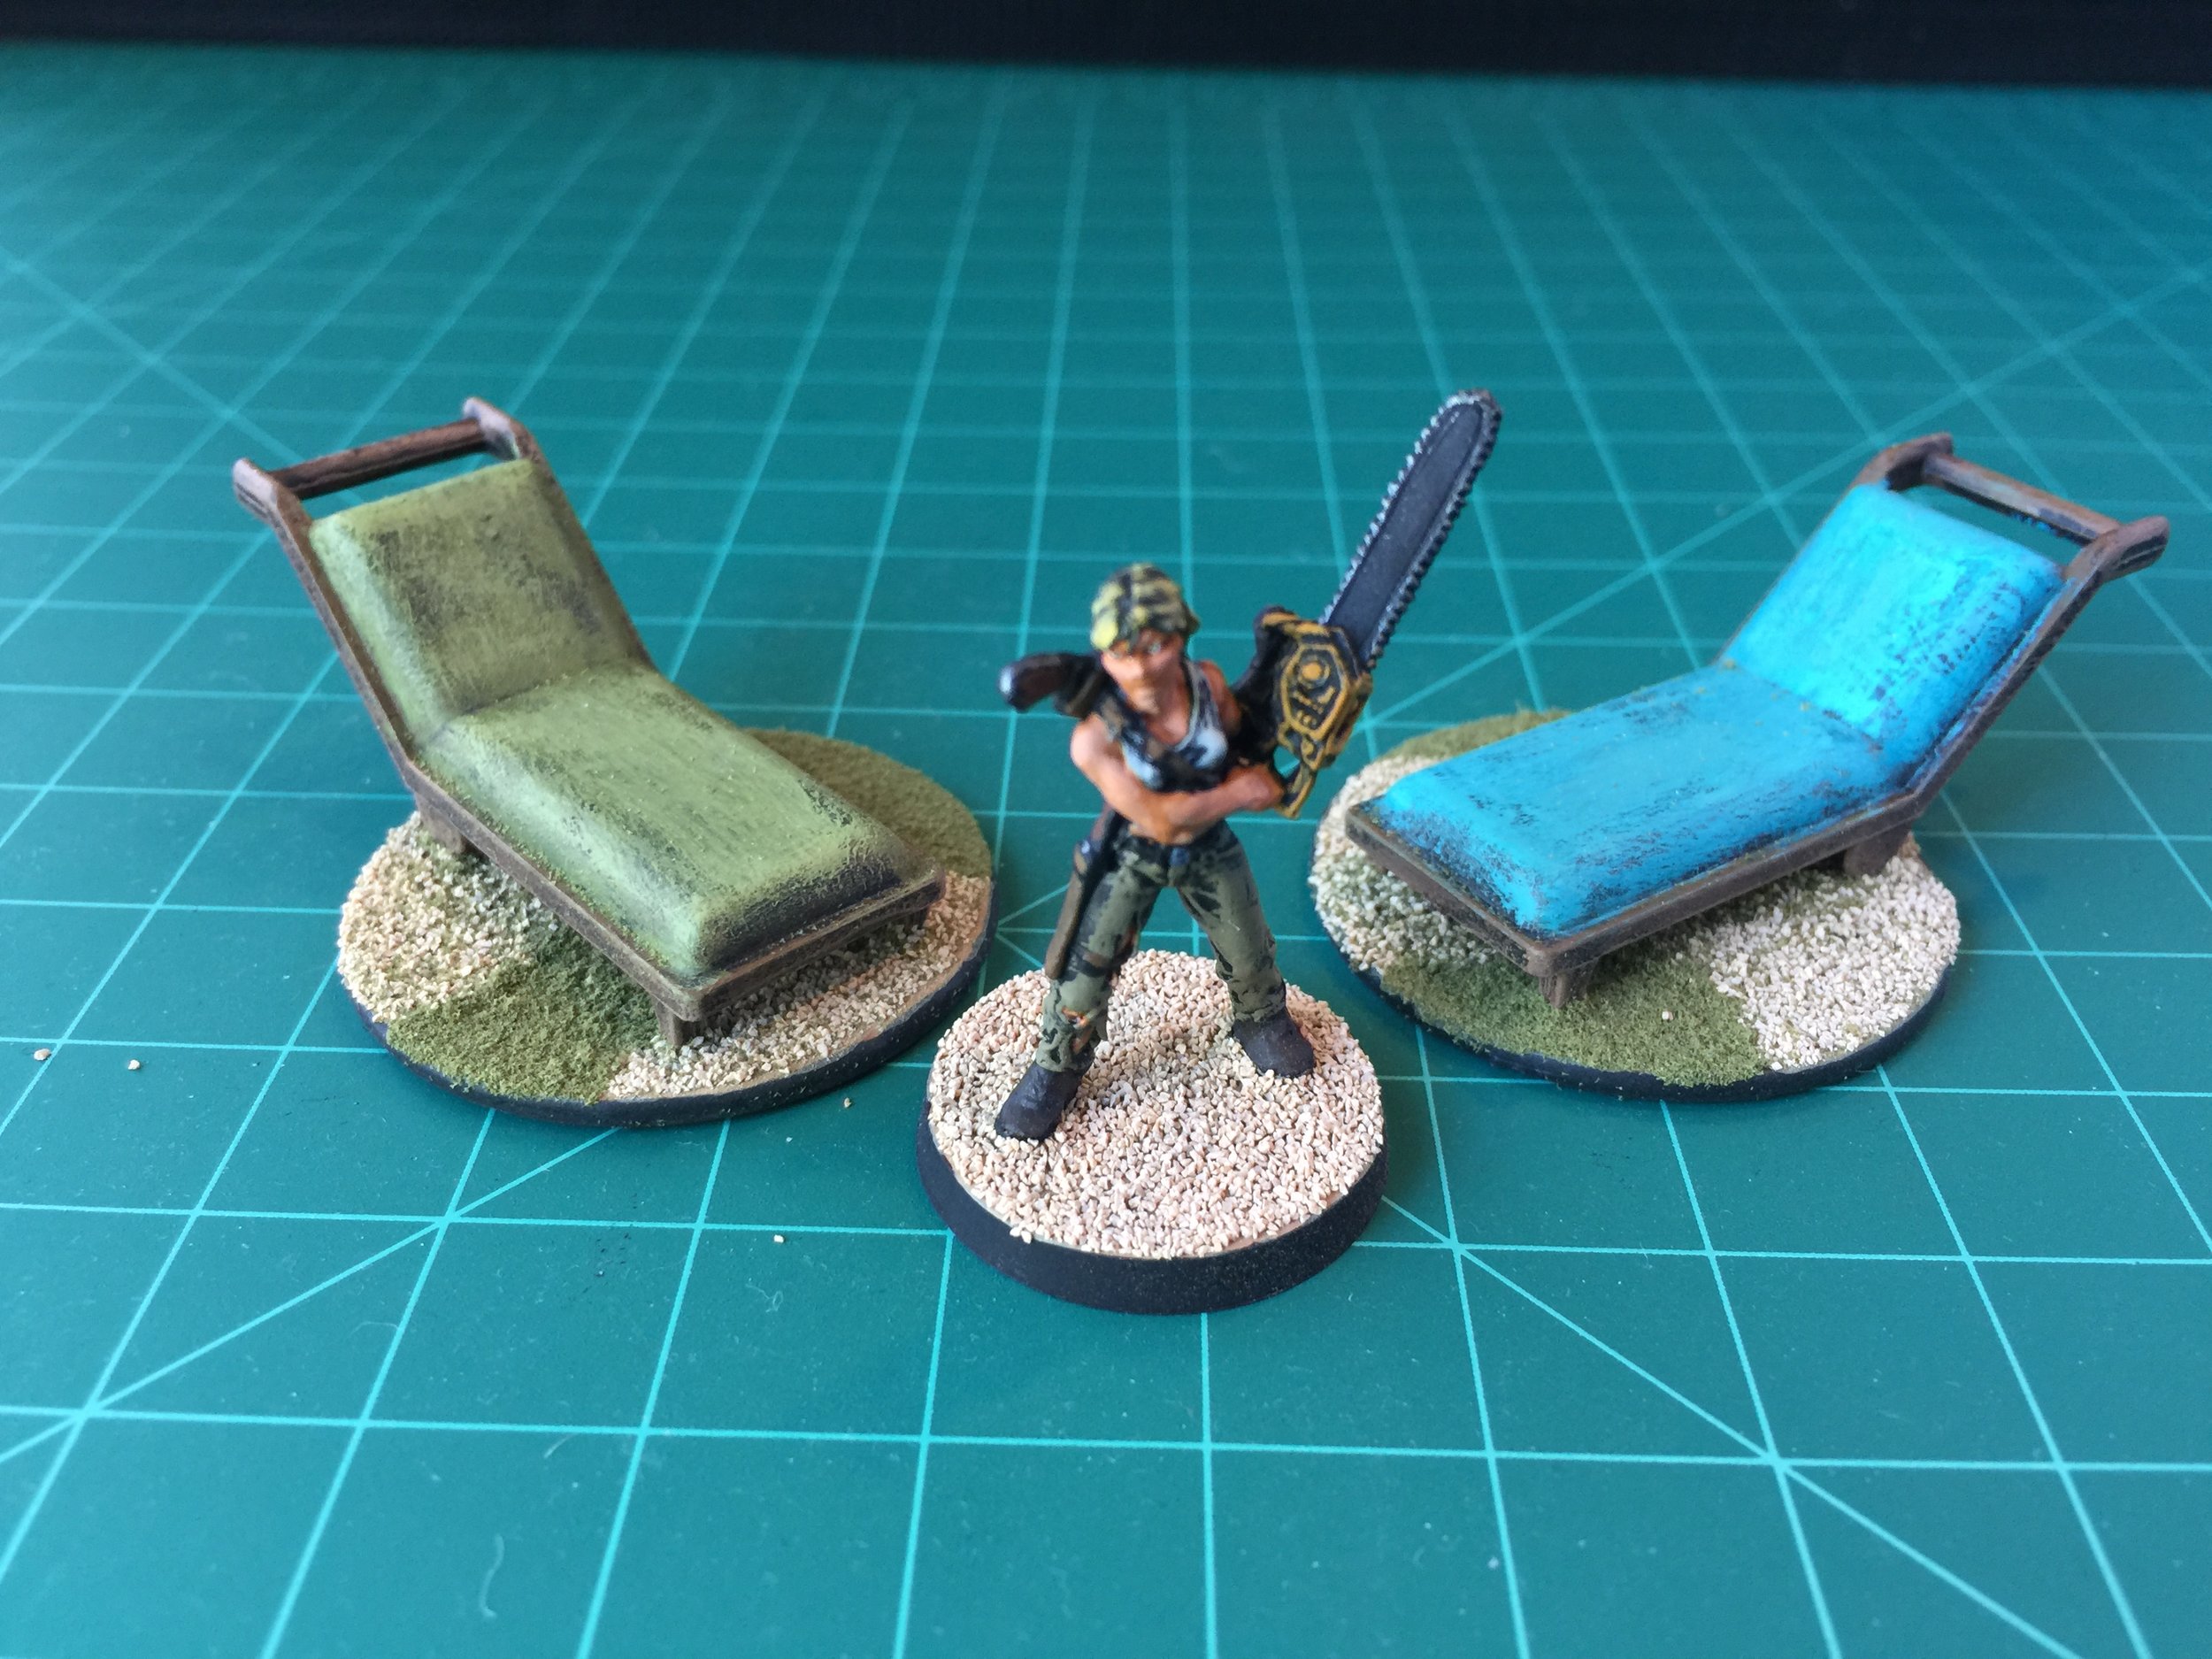
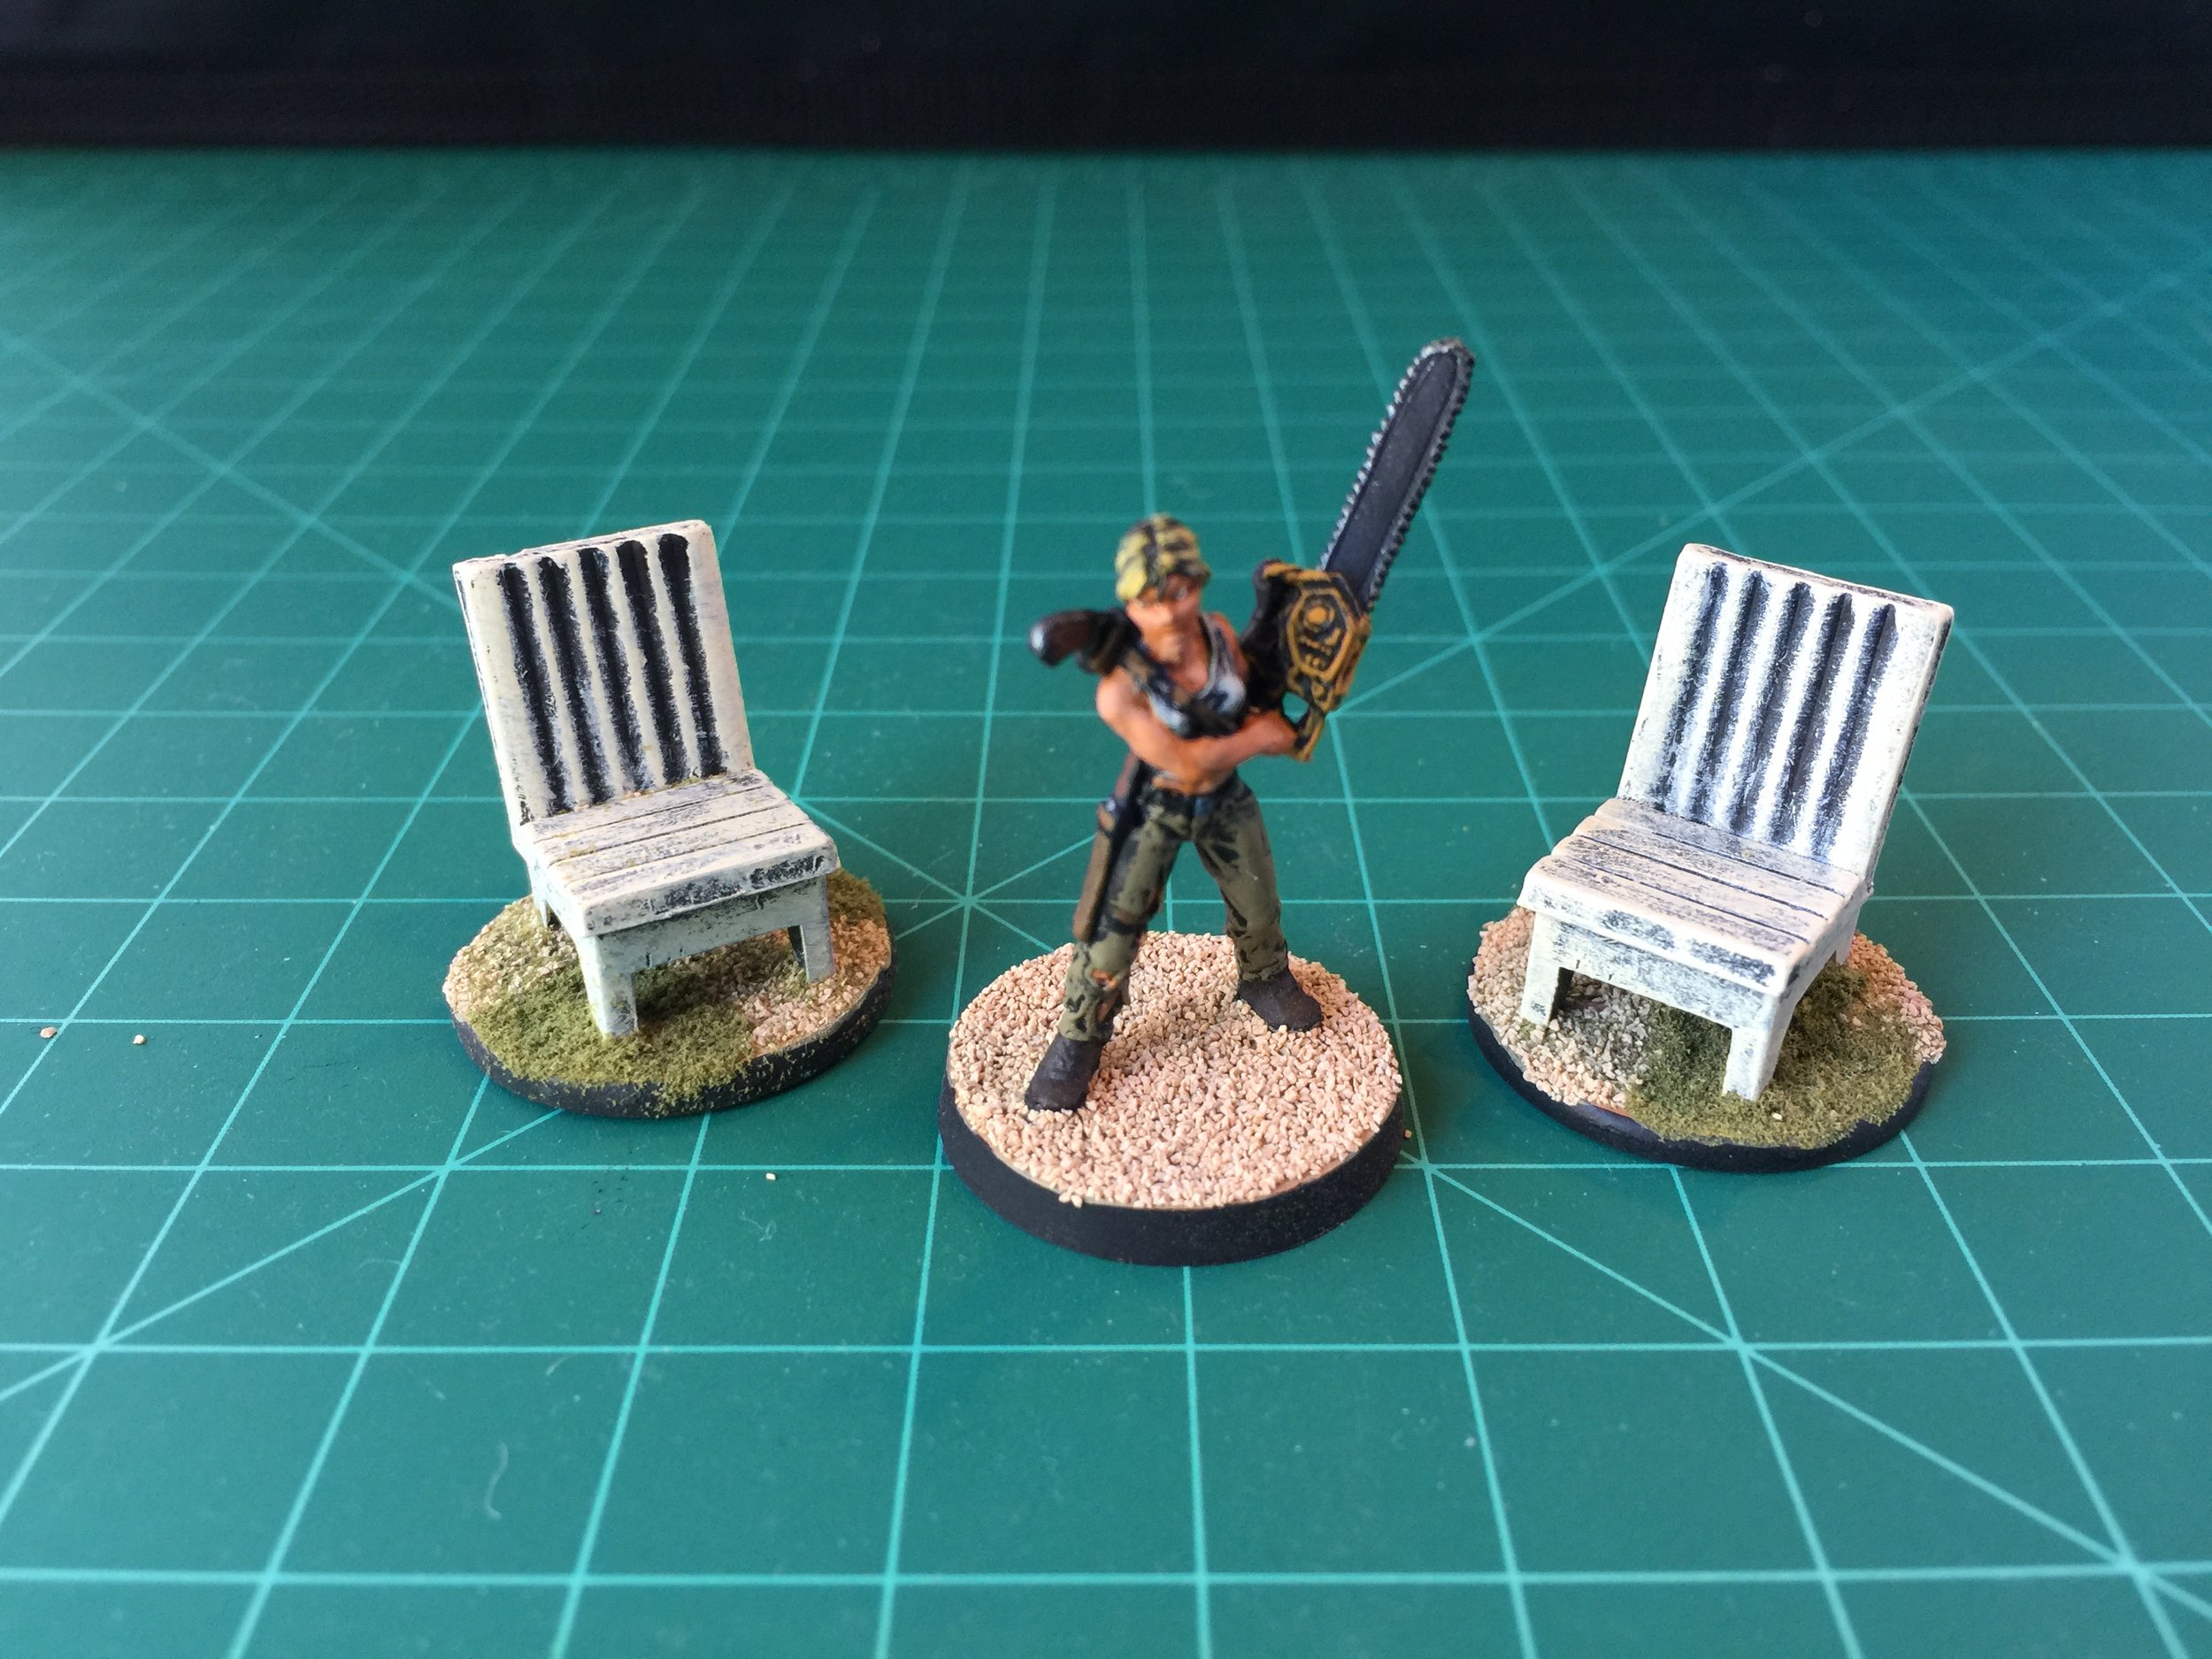
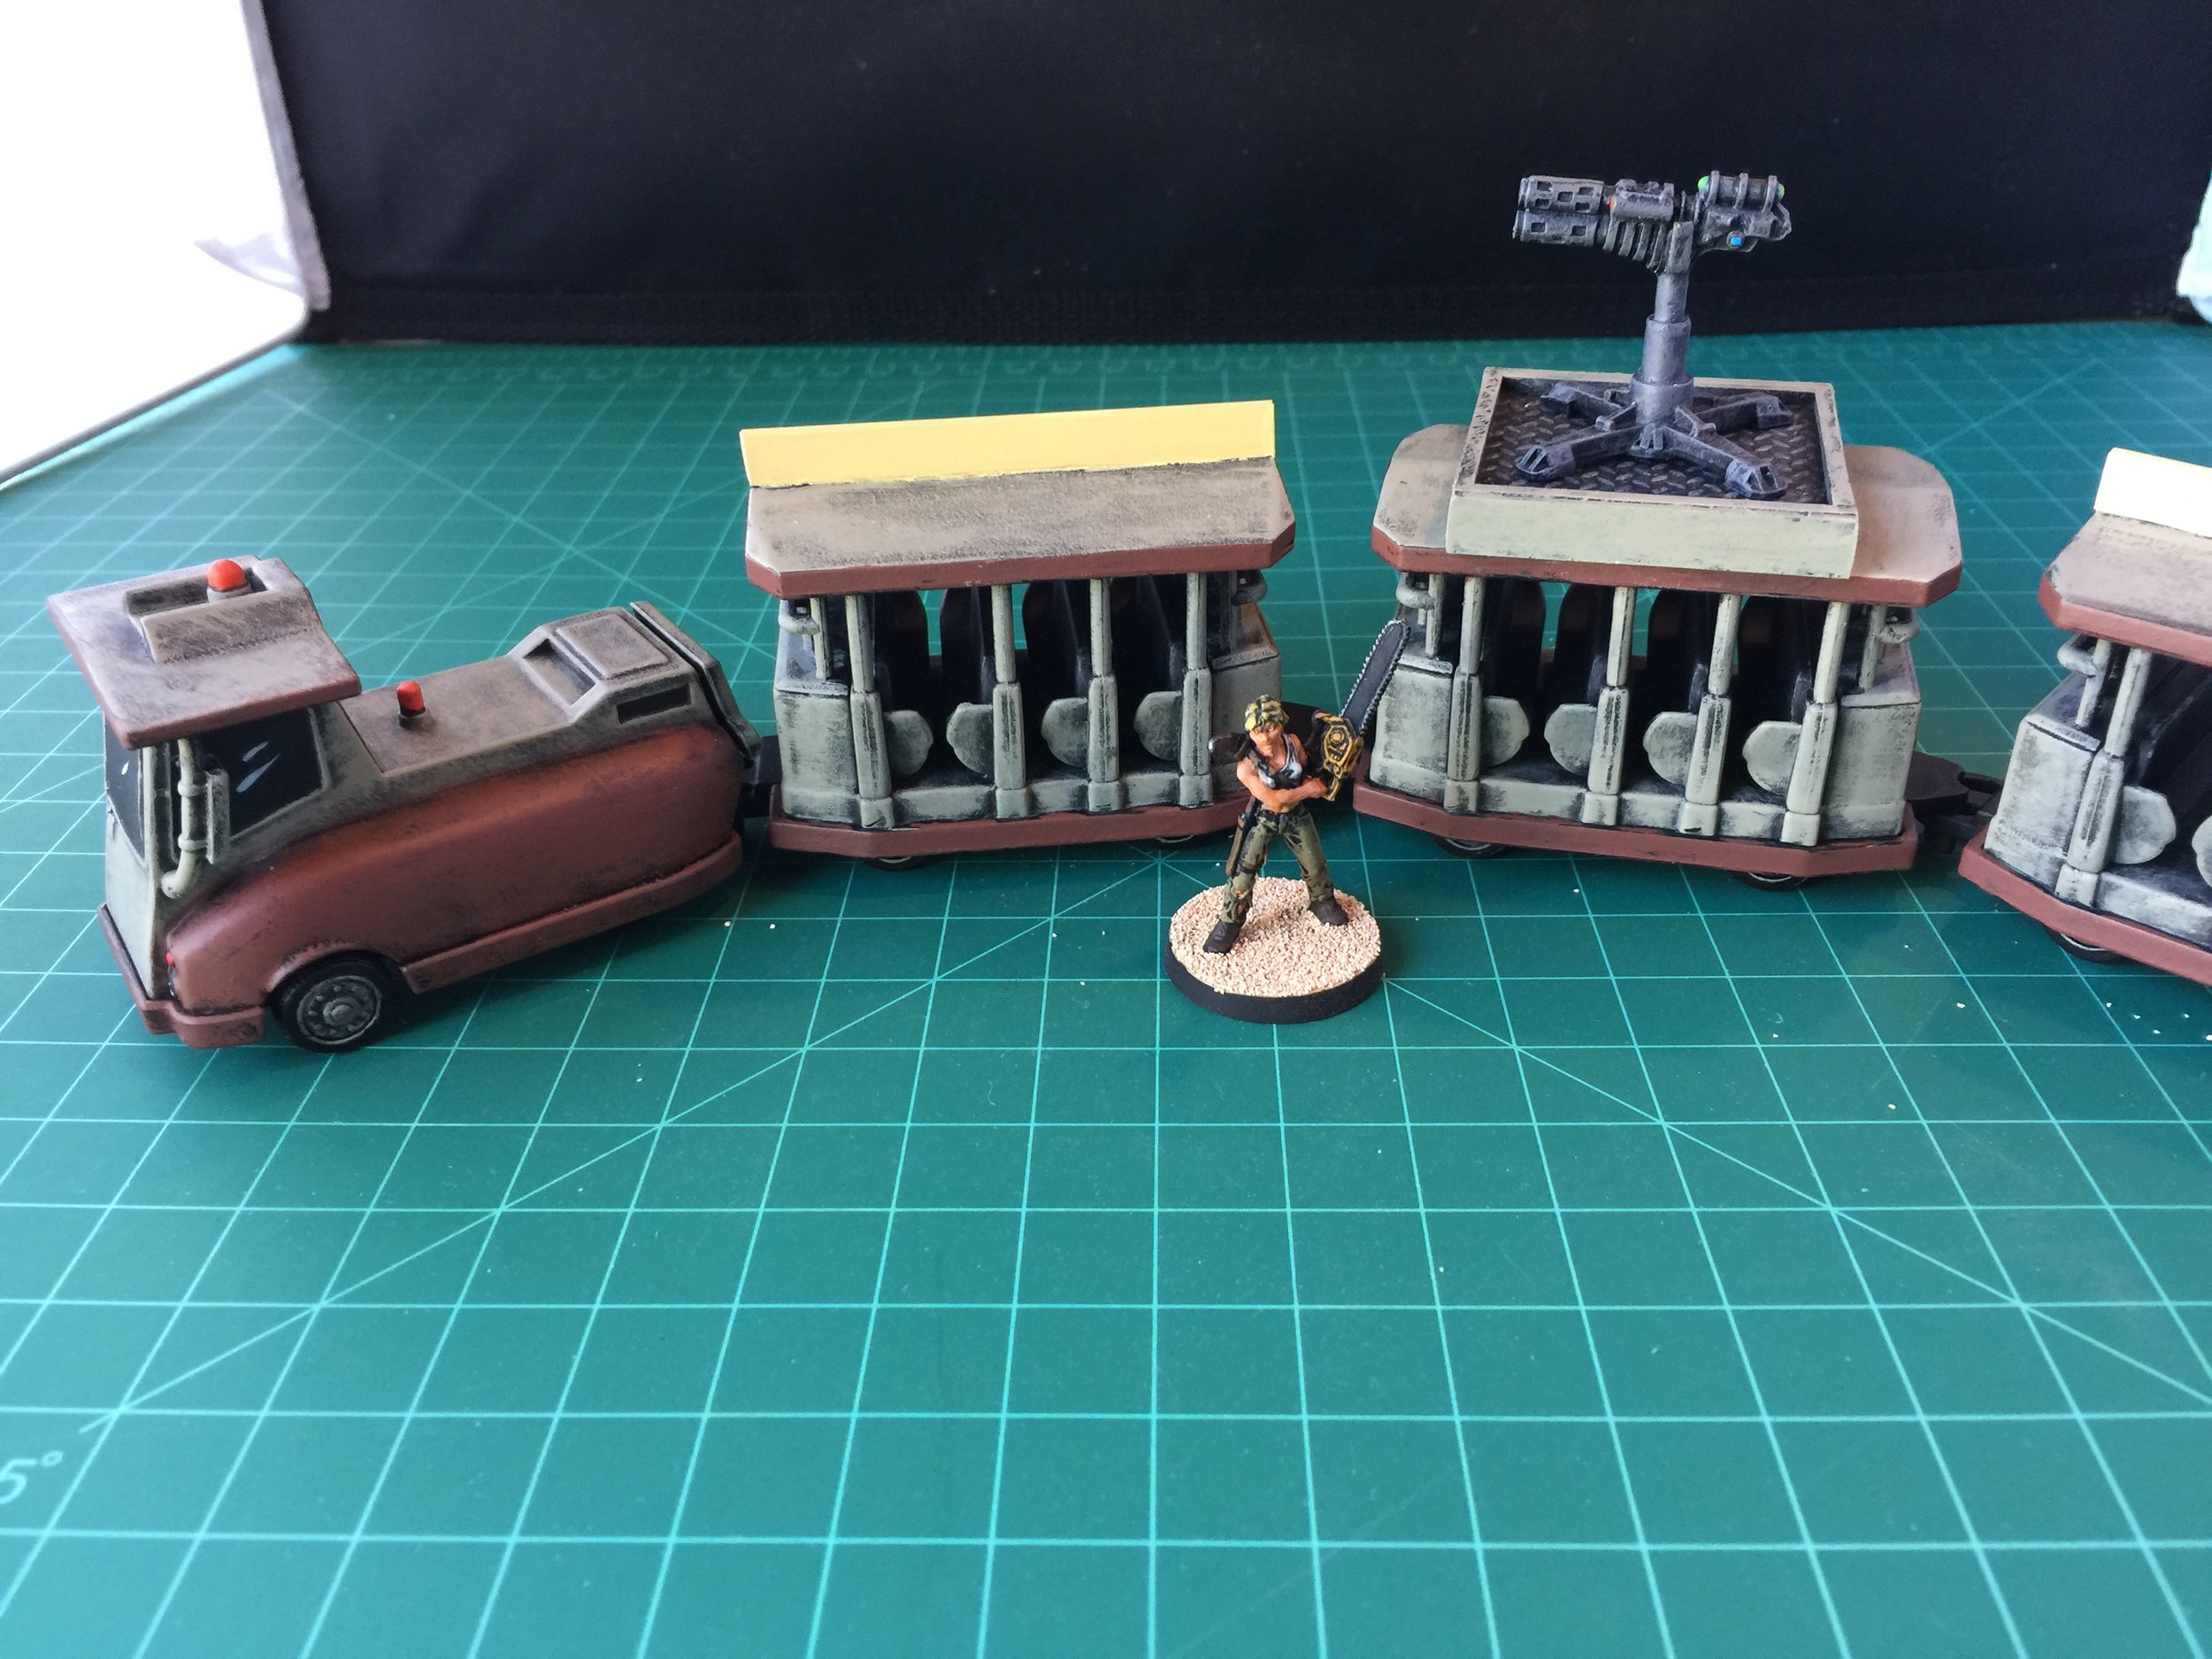
I pulled out a couple of patio and lawn chairs from my Plasticville apartments (I will be using the Plasticville apartments in a more urban setting in another collection.) and painted them up. With those done I decided to do some modification and paint work on a Disney parking lot tram. I have used these Disney trams with two other collections (my Gangsters & Stuff and Spaceport galleries). They are great toys (hard to believe little kids are actually interested in playing with parking lot trams, but I am) that work well with 28mm and offer an unusual look for these collections. With the Gangsters, it served as a studio tour tram (little tongue-in-cheek humor) and with the Spaceport it served as a tram carrying spacecraft passengers from their craft to destinations around the spaceport military base and town. In the case of this tram, I am going tongue-in-cheek once again and it will be a ZOMBIE TOUR tram running through my post apoc town. In addition to the ZOMBIE TOUR signs on top of two of the passenger wagons (the first and third passenger wagons), the central passenger wagon sports a gun platform on its roof. As yet I am still putting together the homemade decal list, but they will be coming soon.
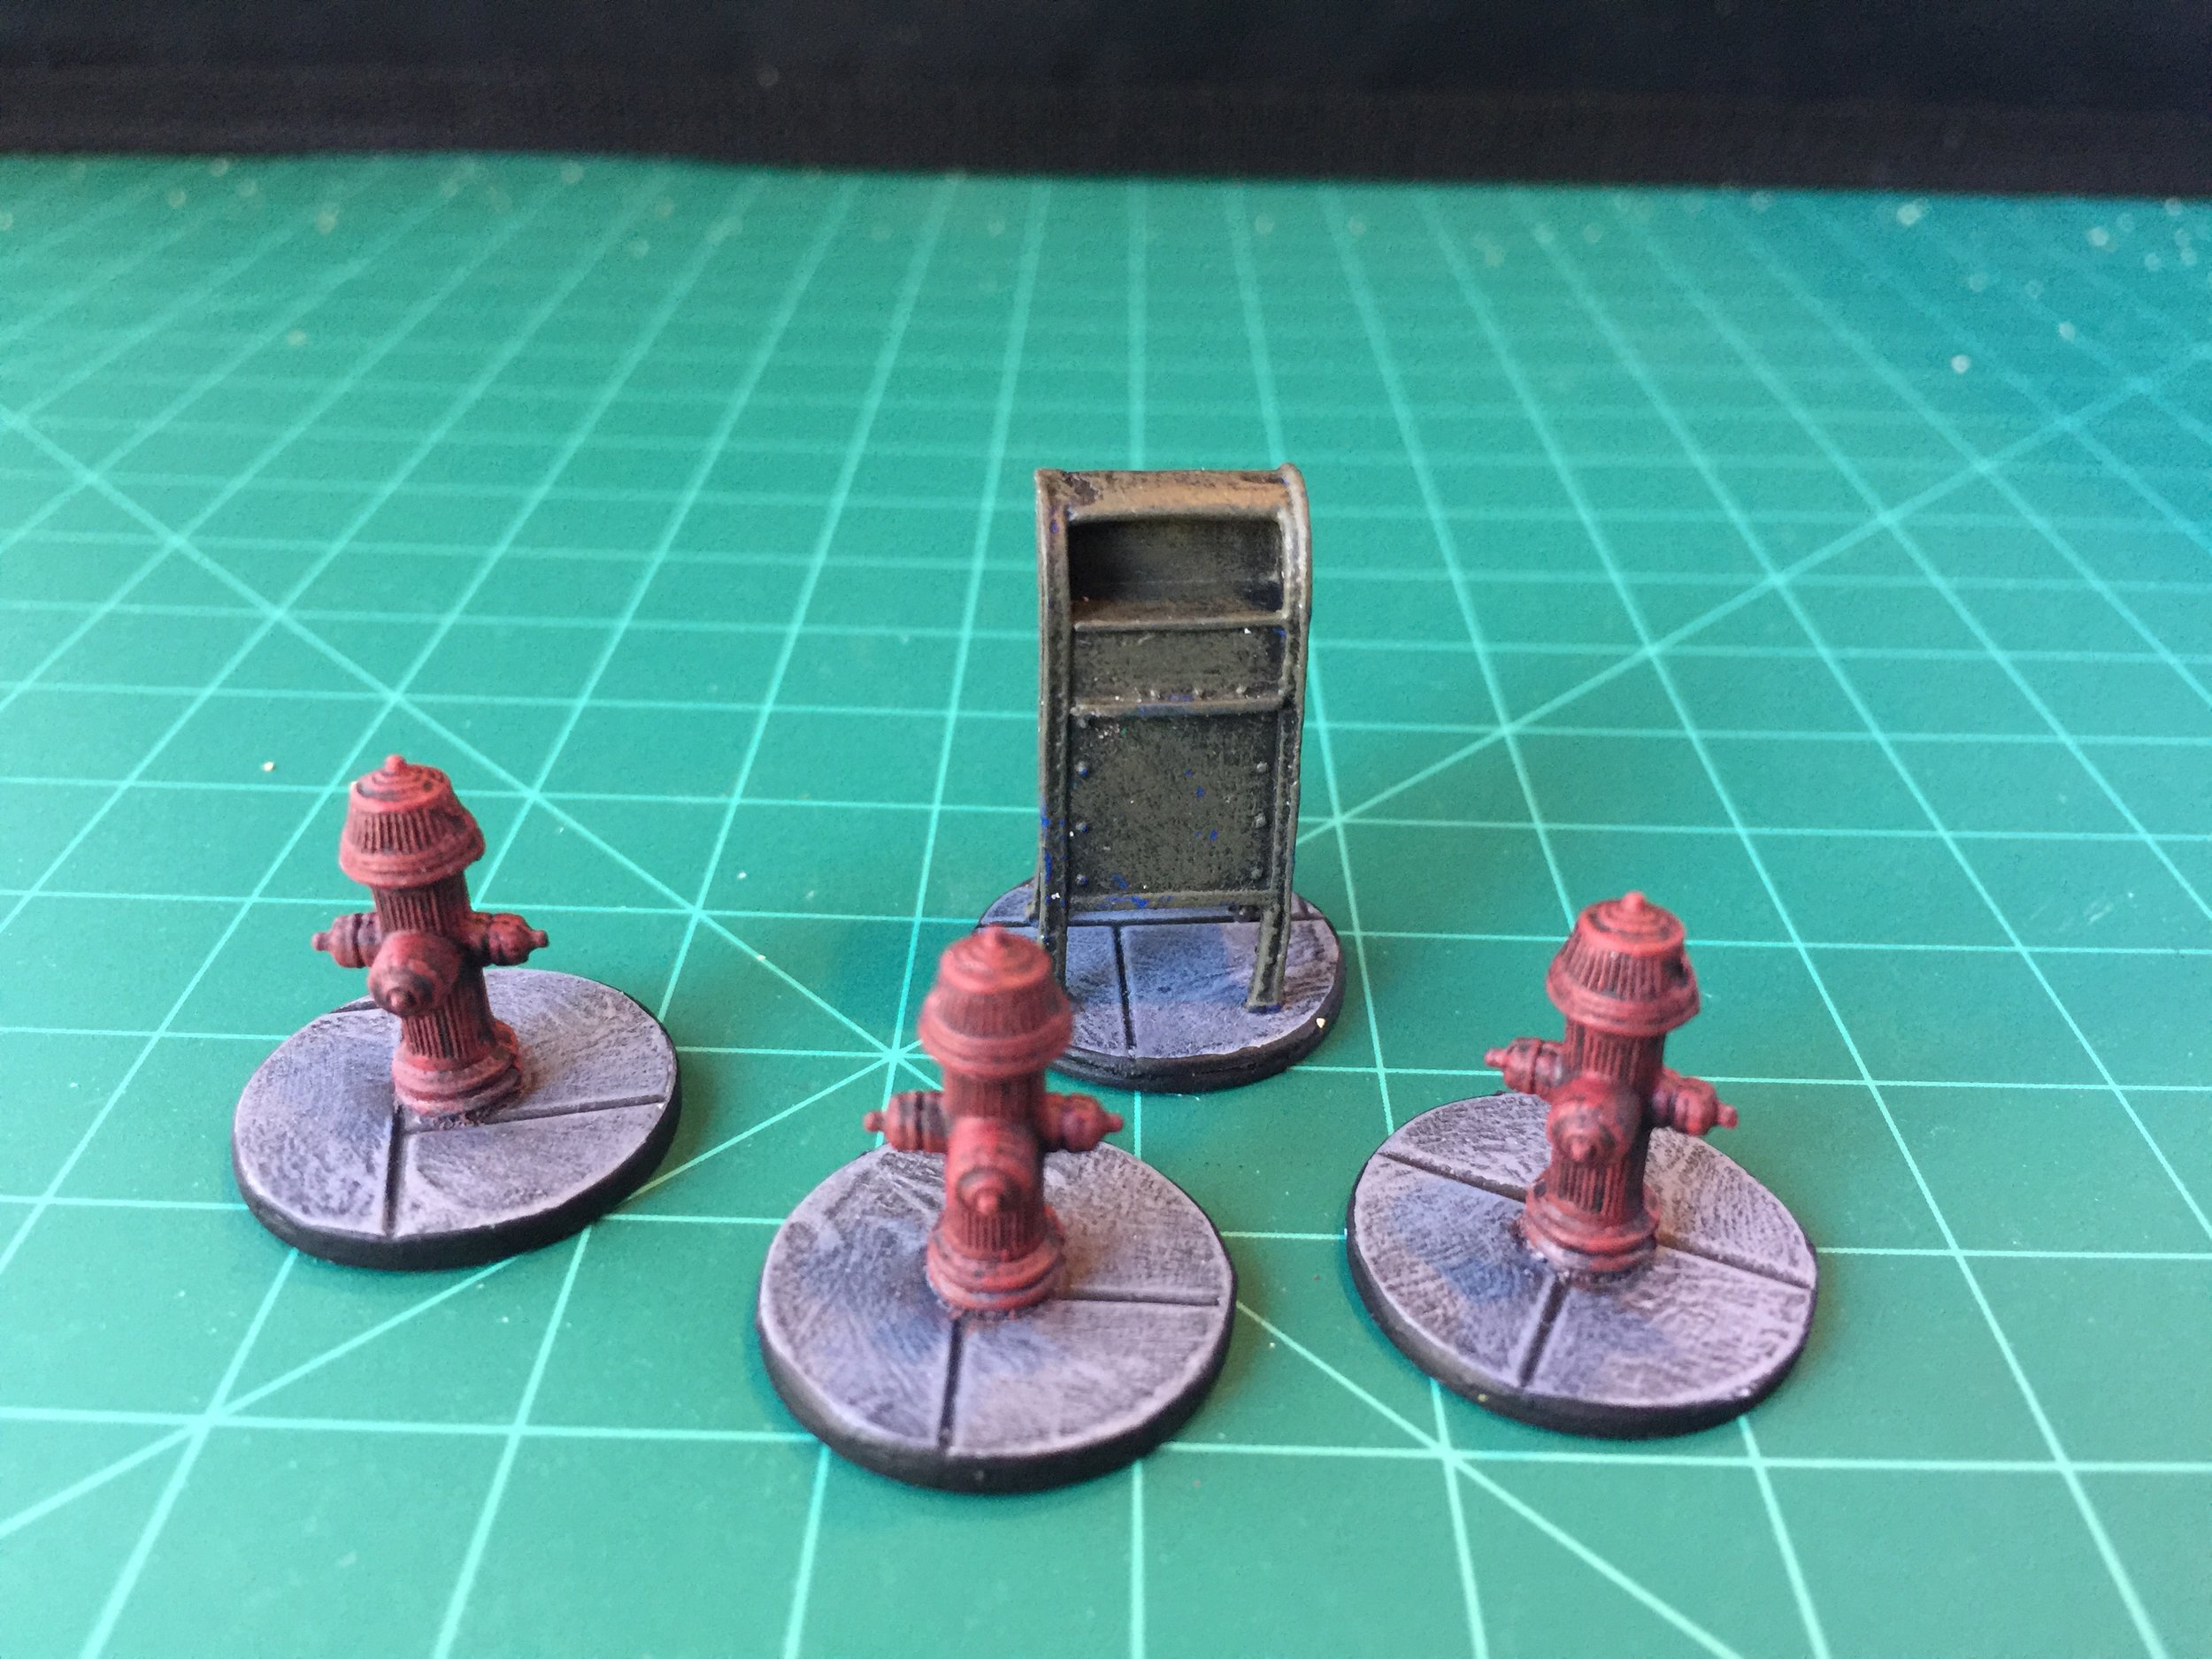
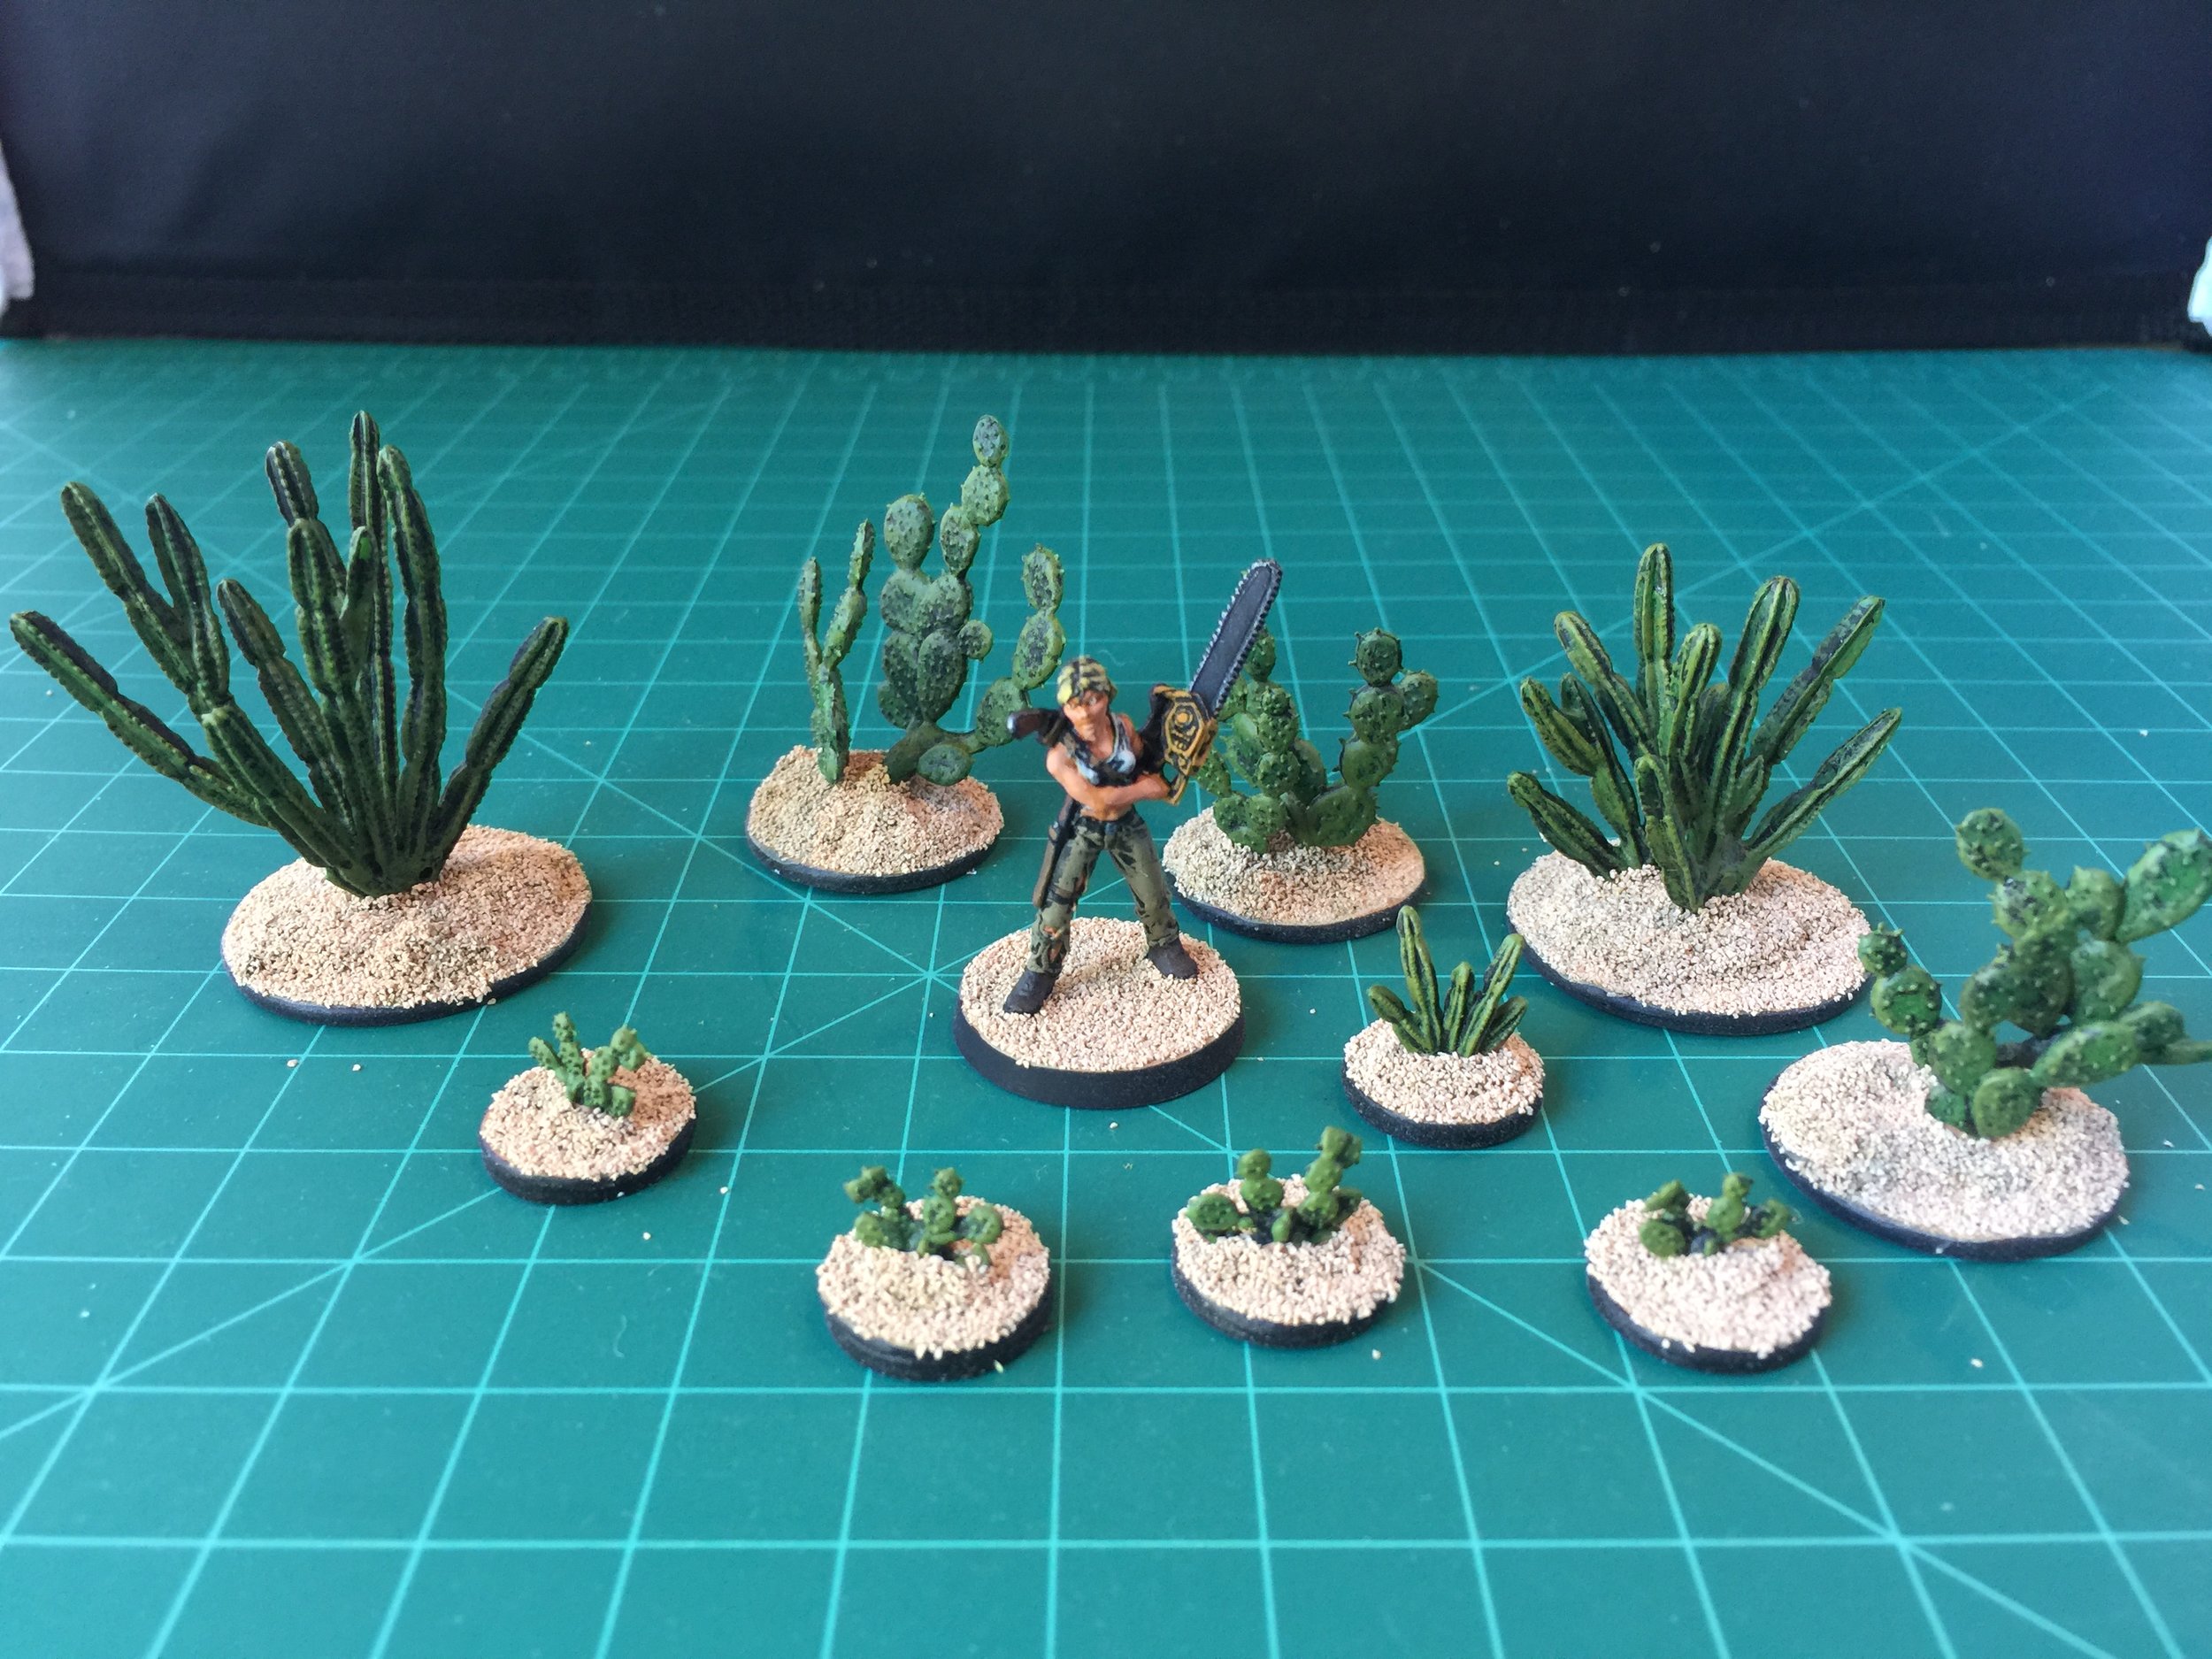
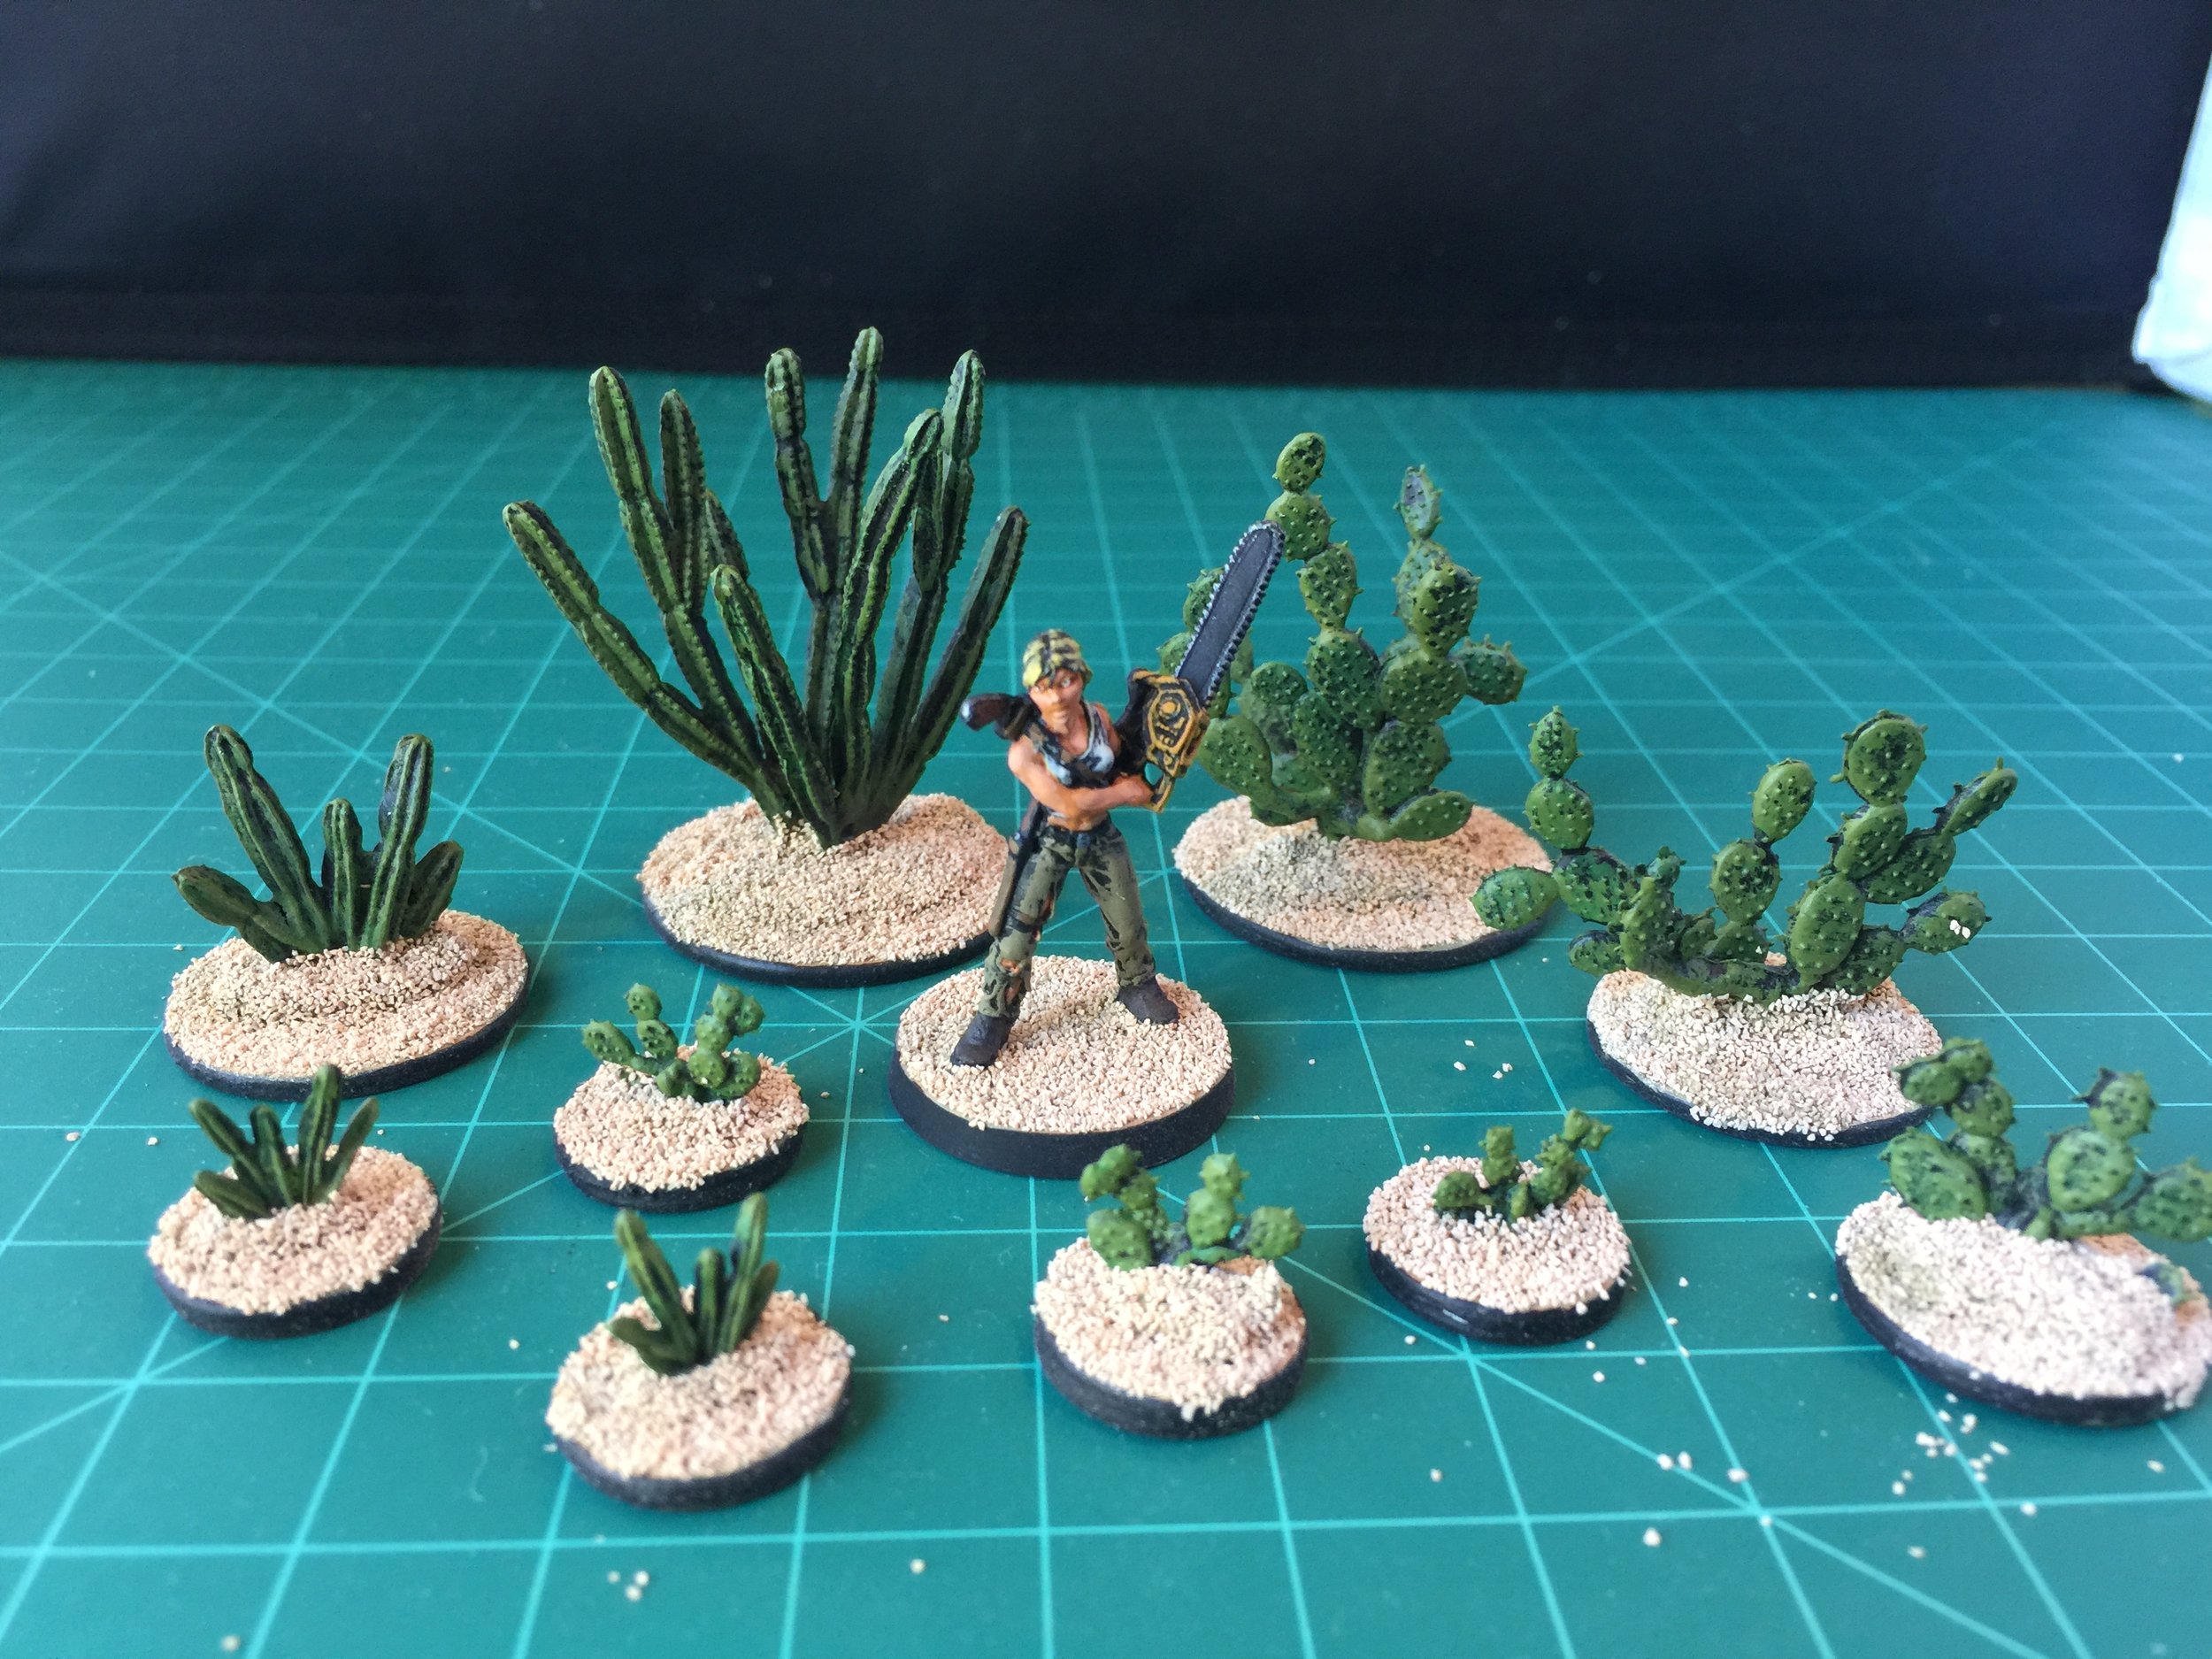
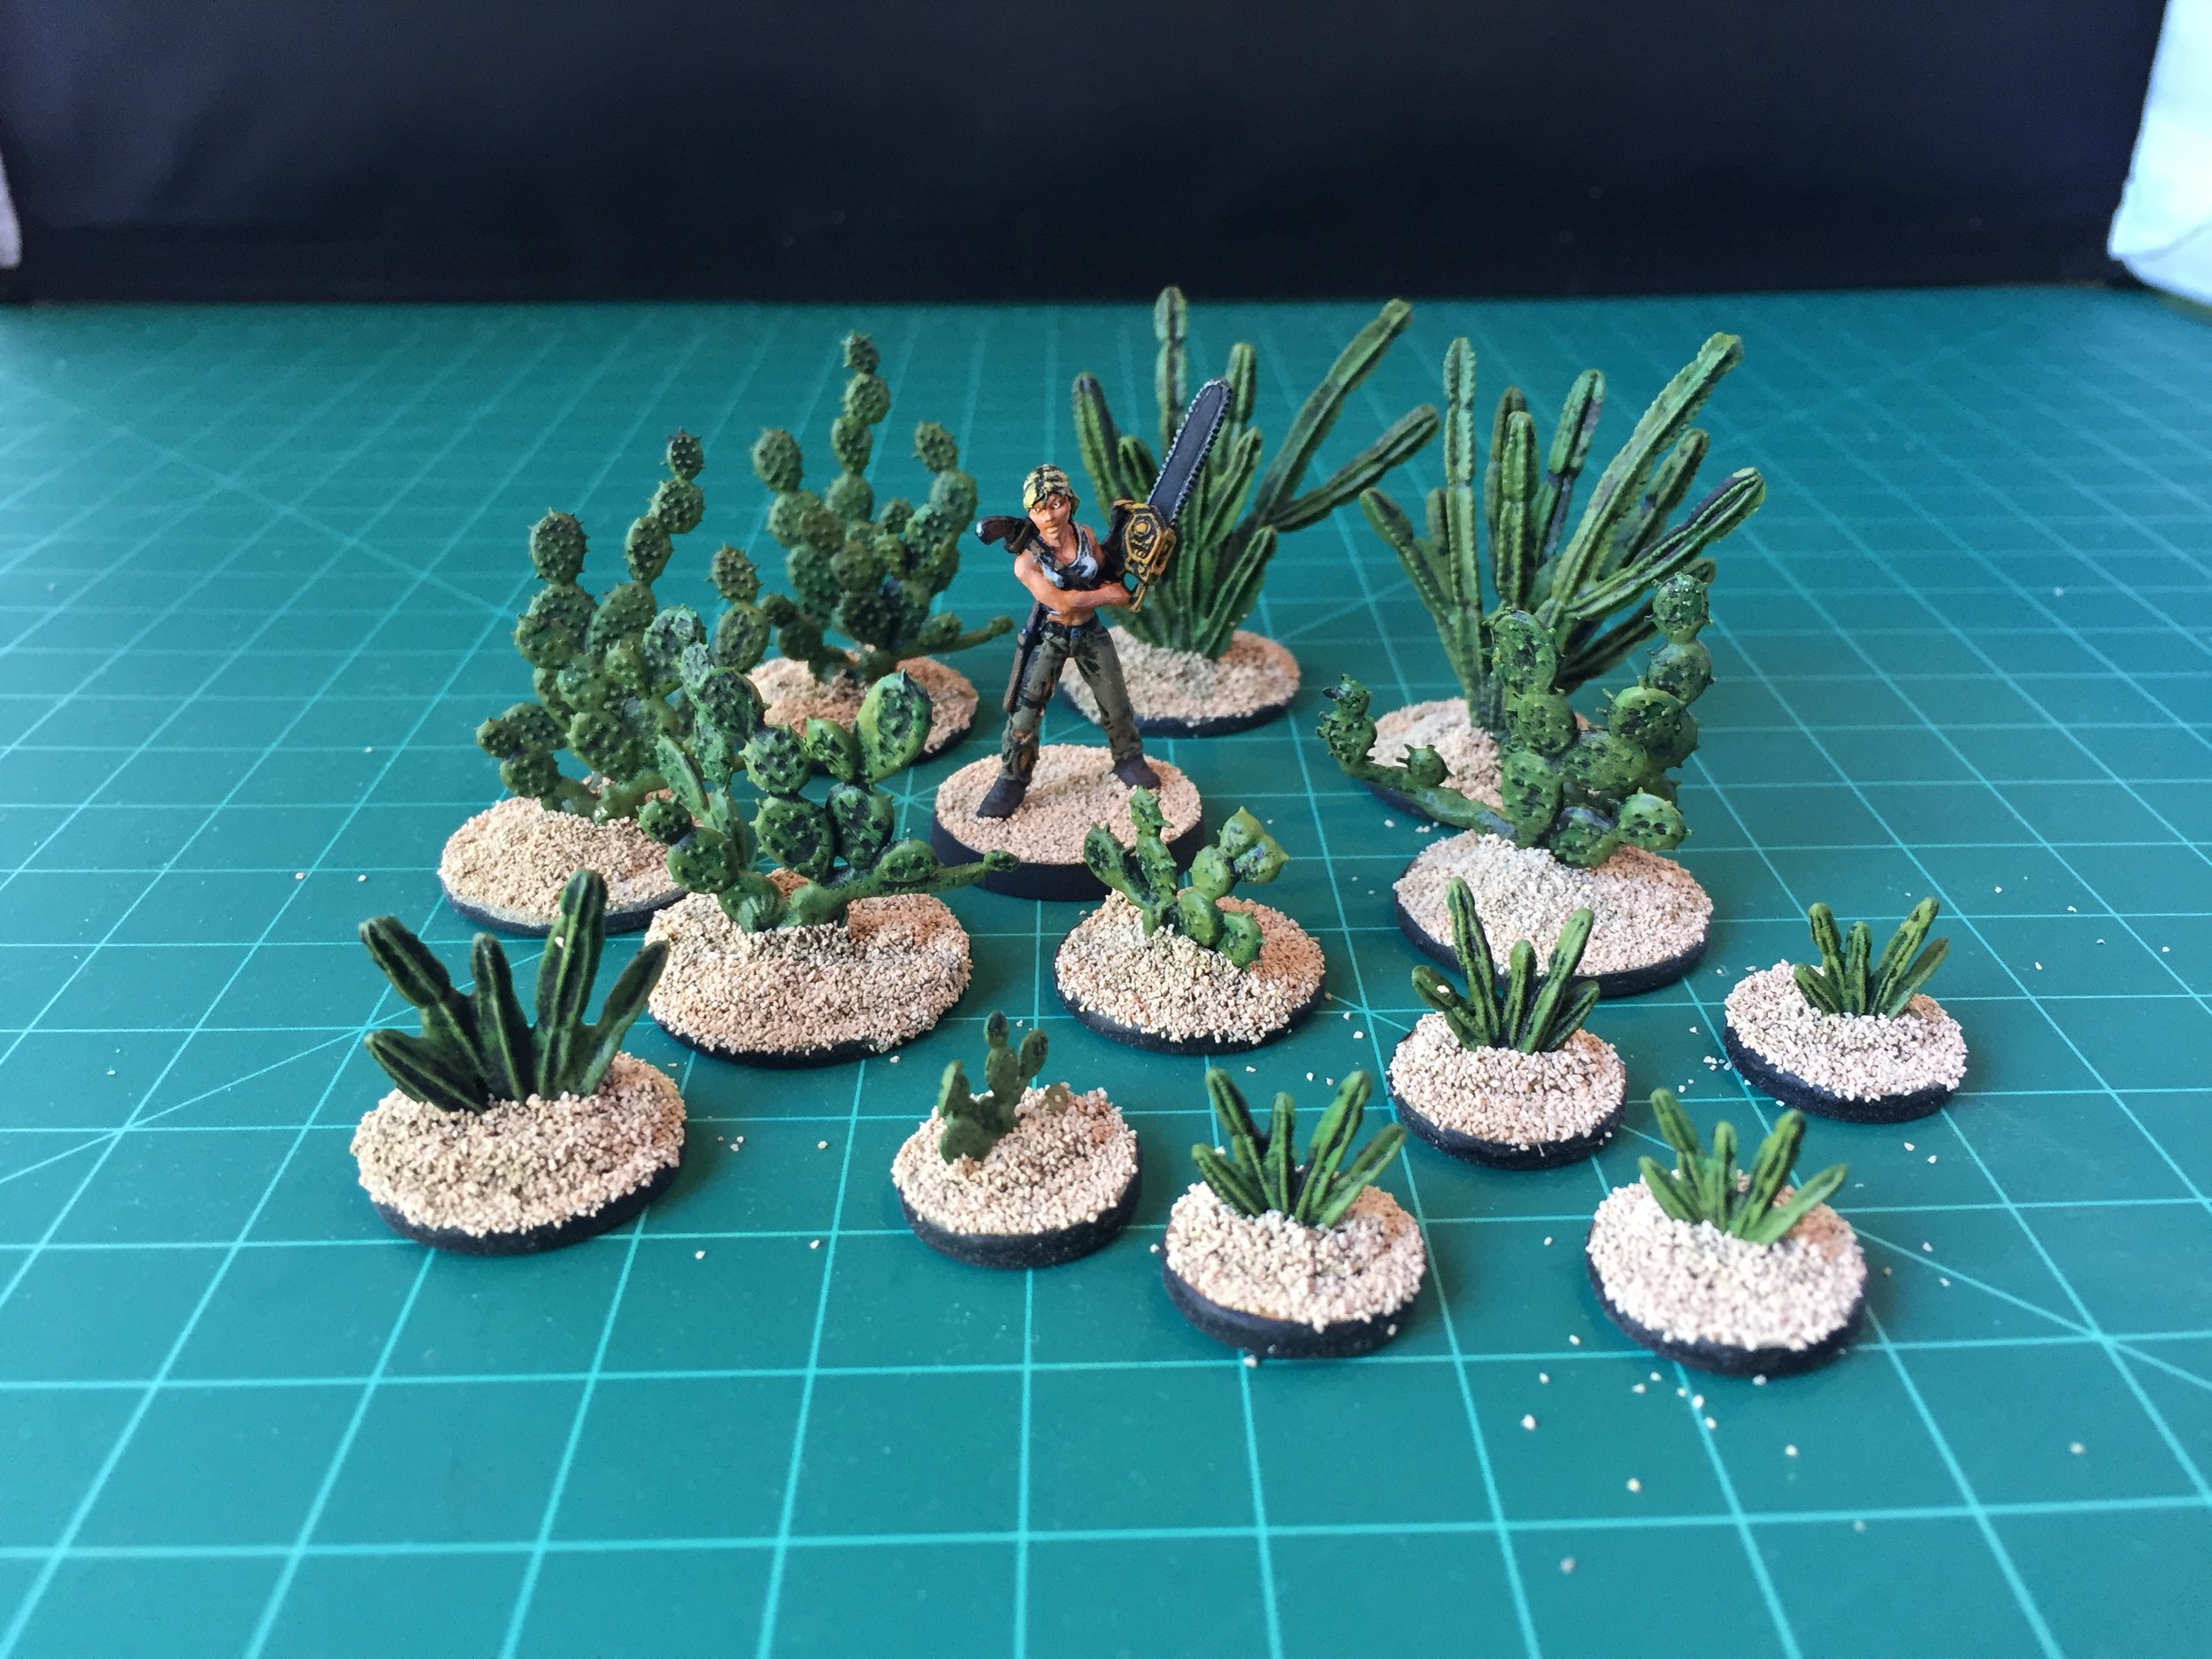
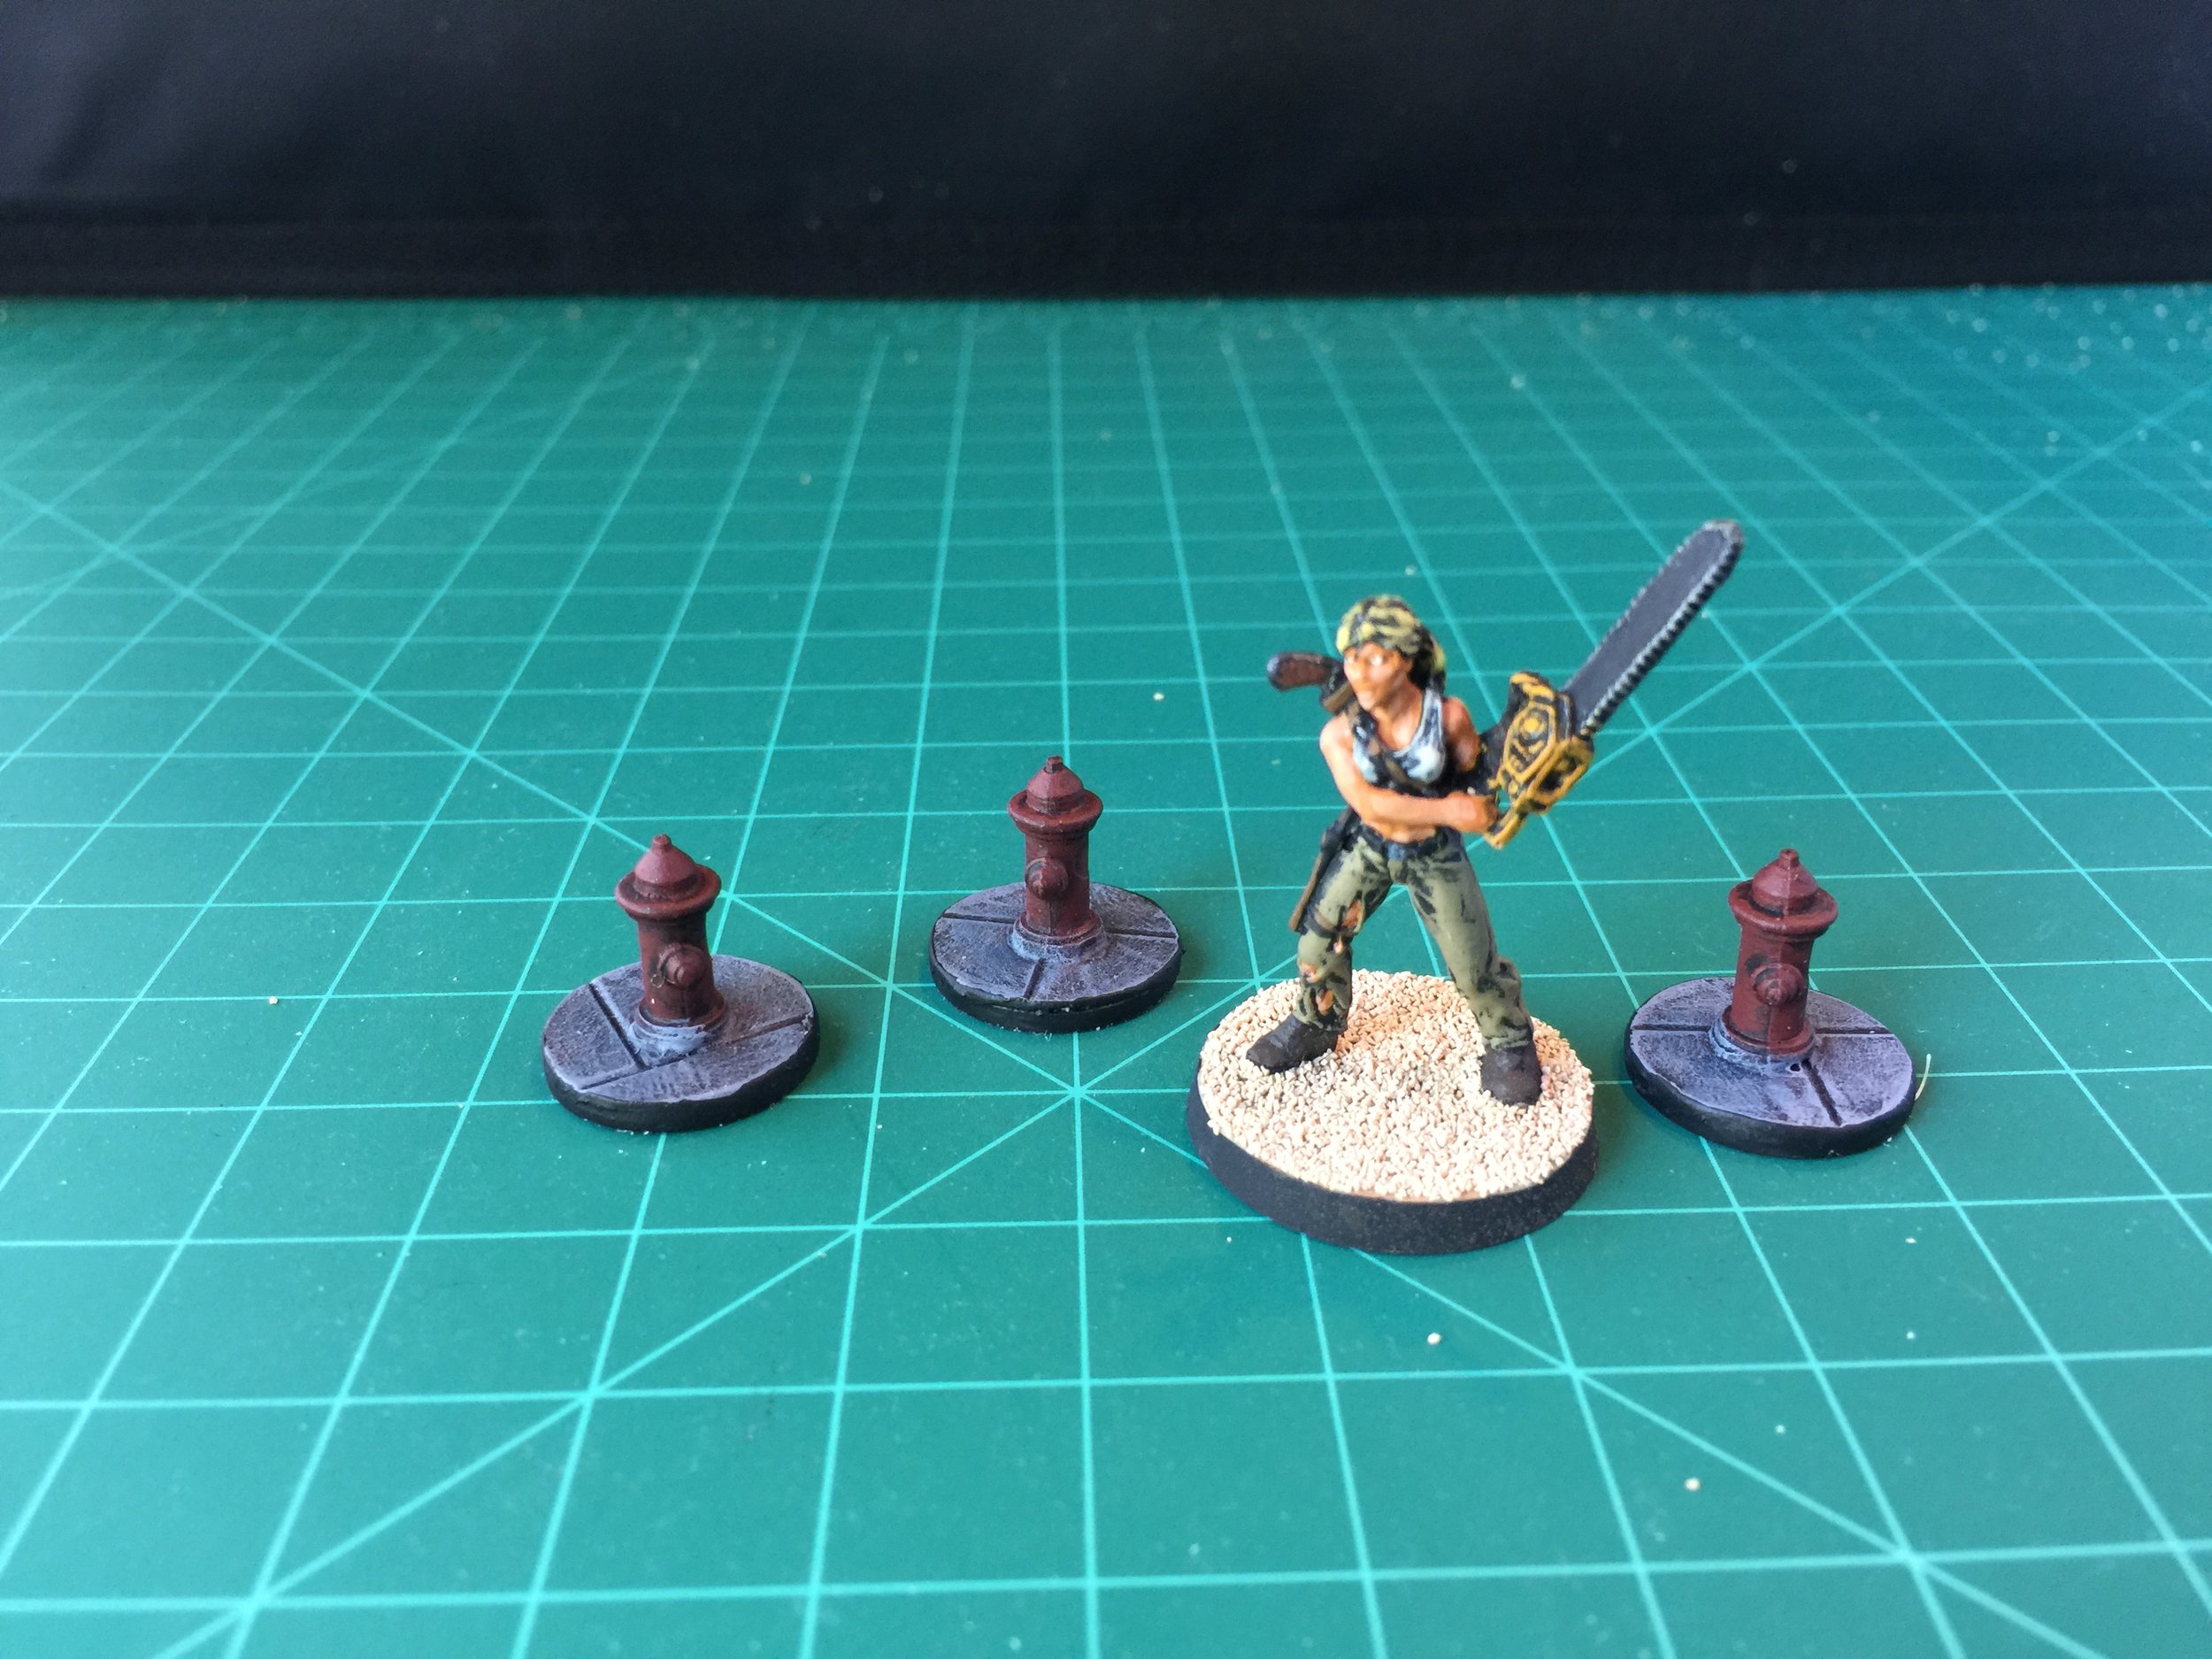
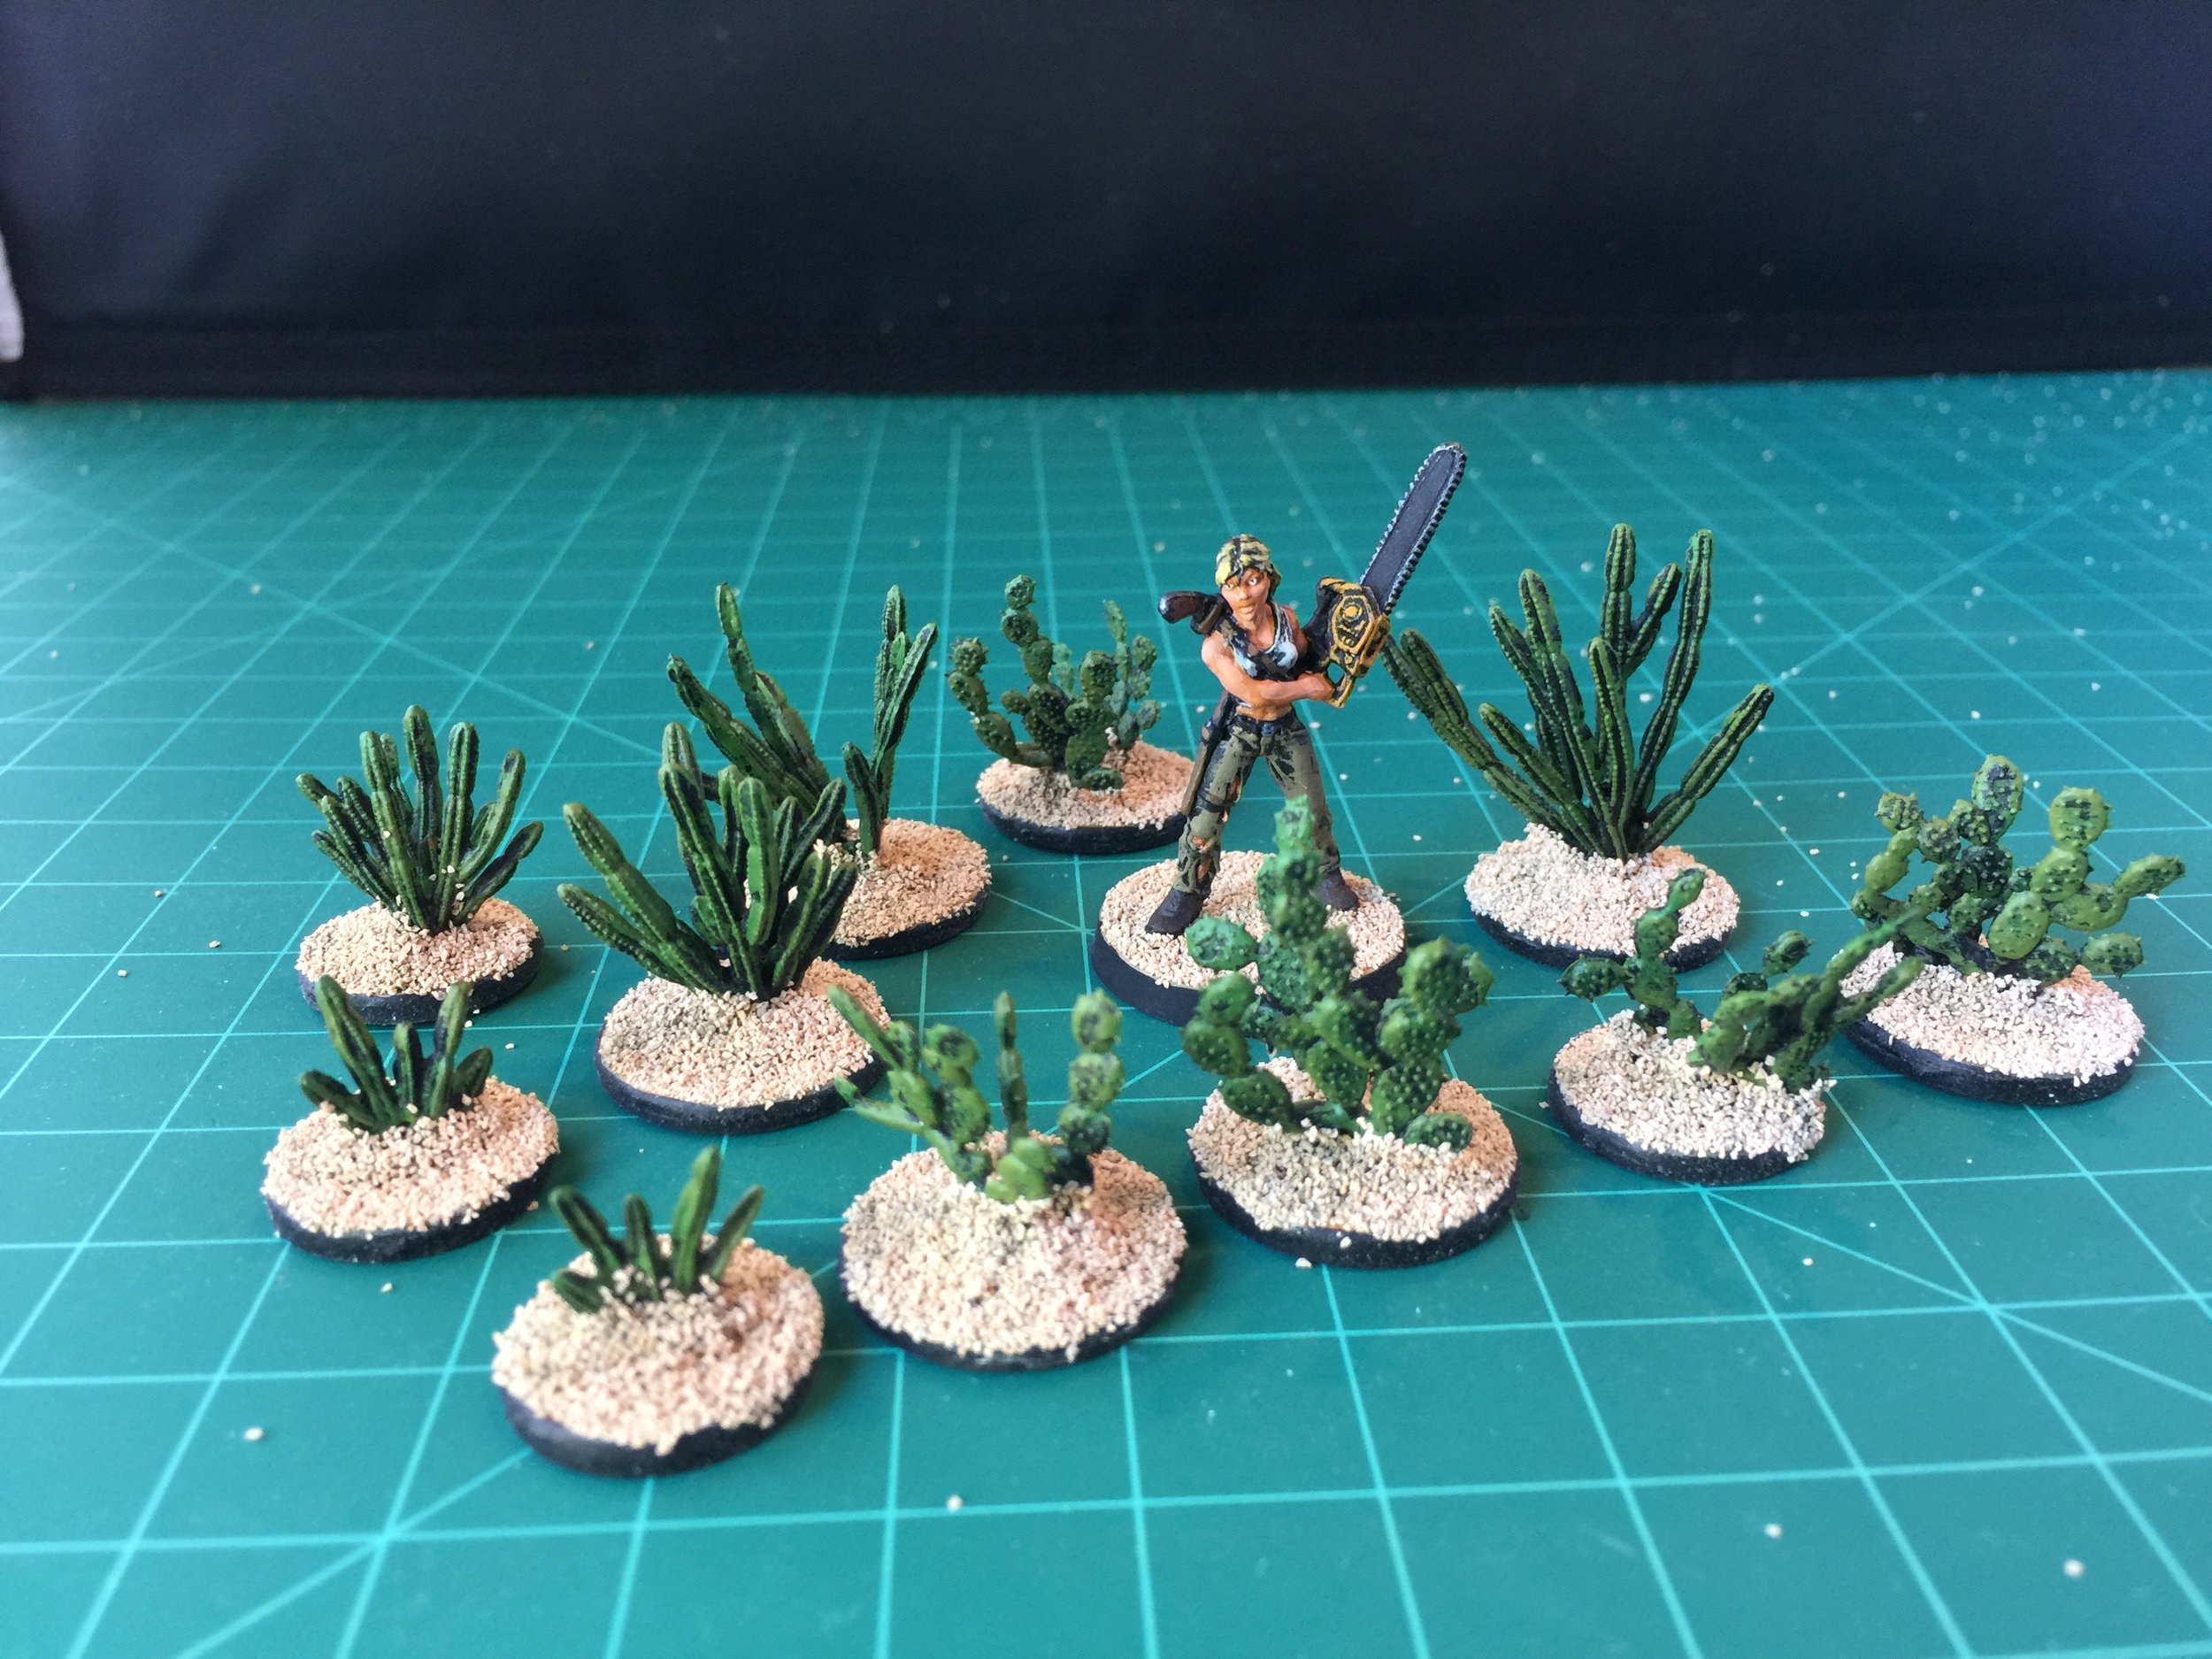
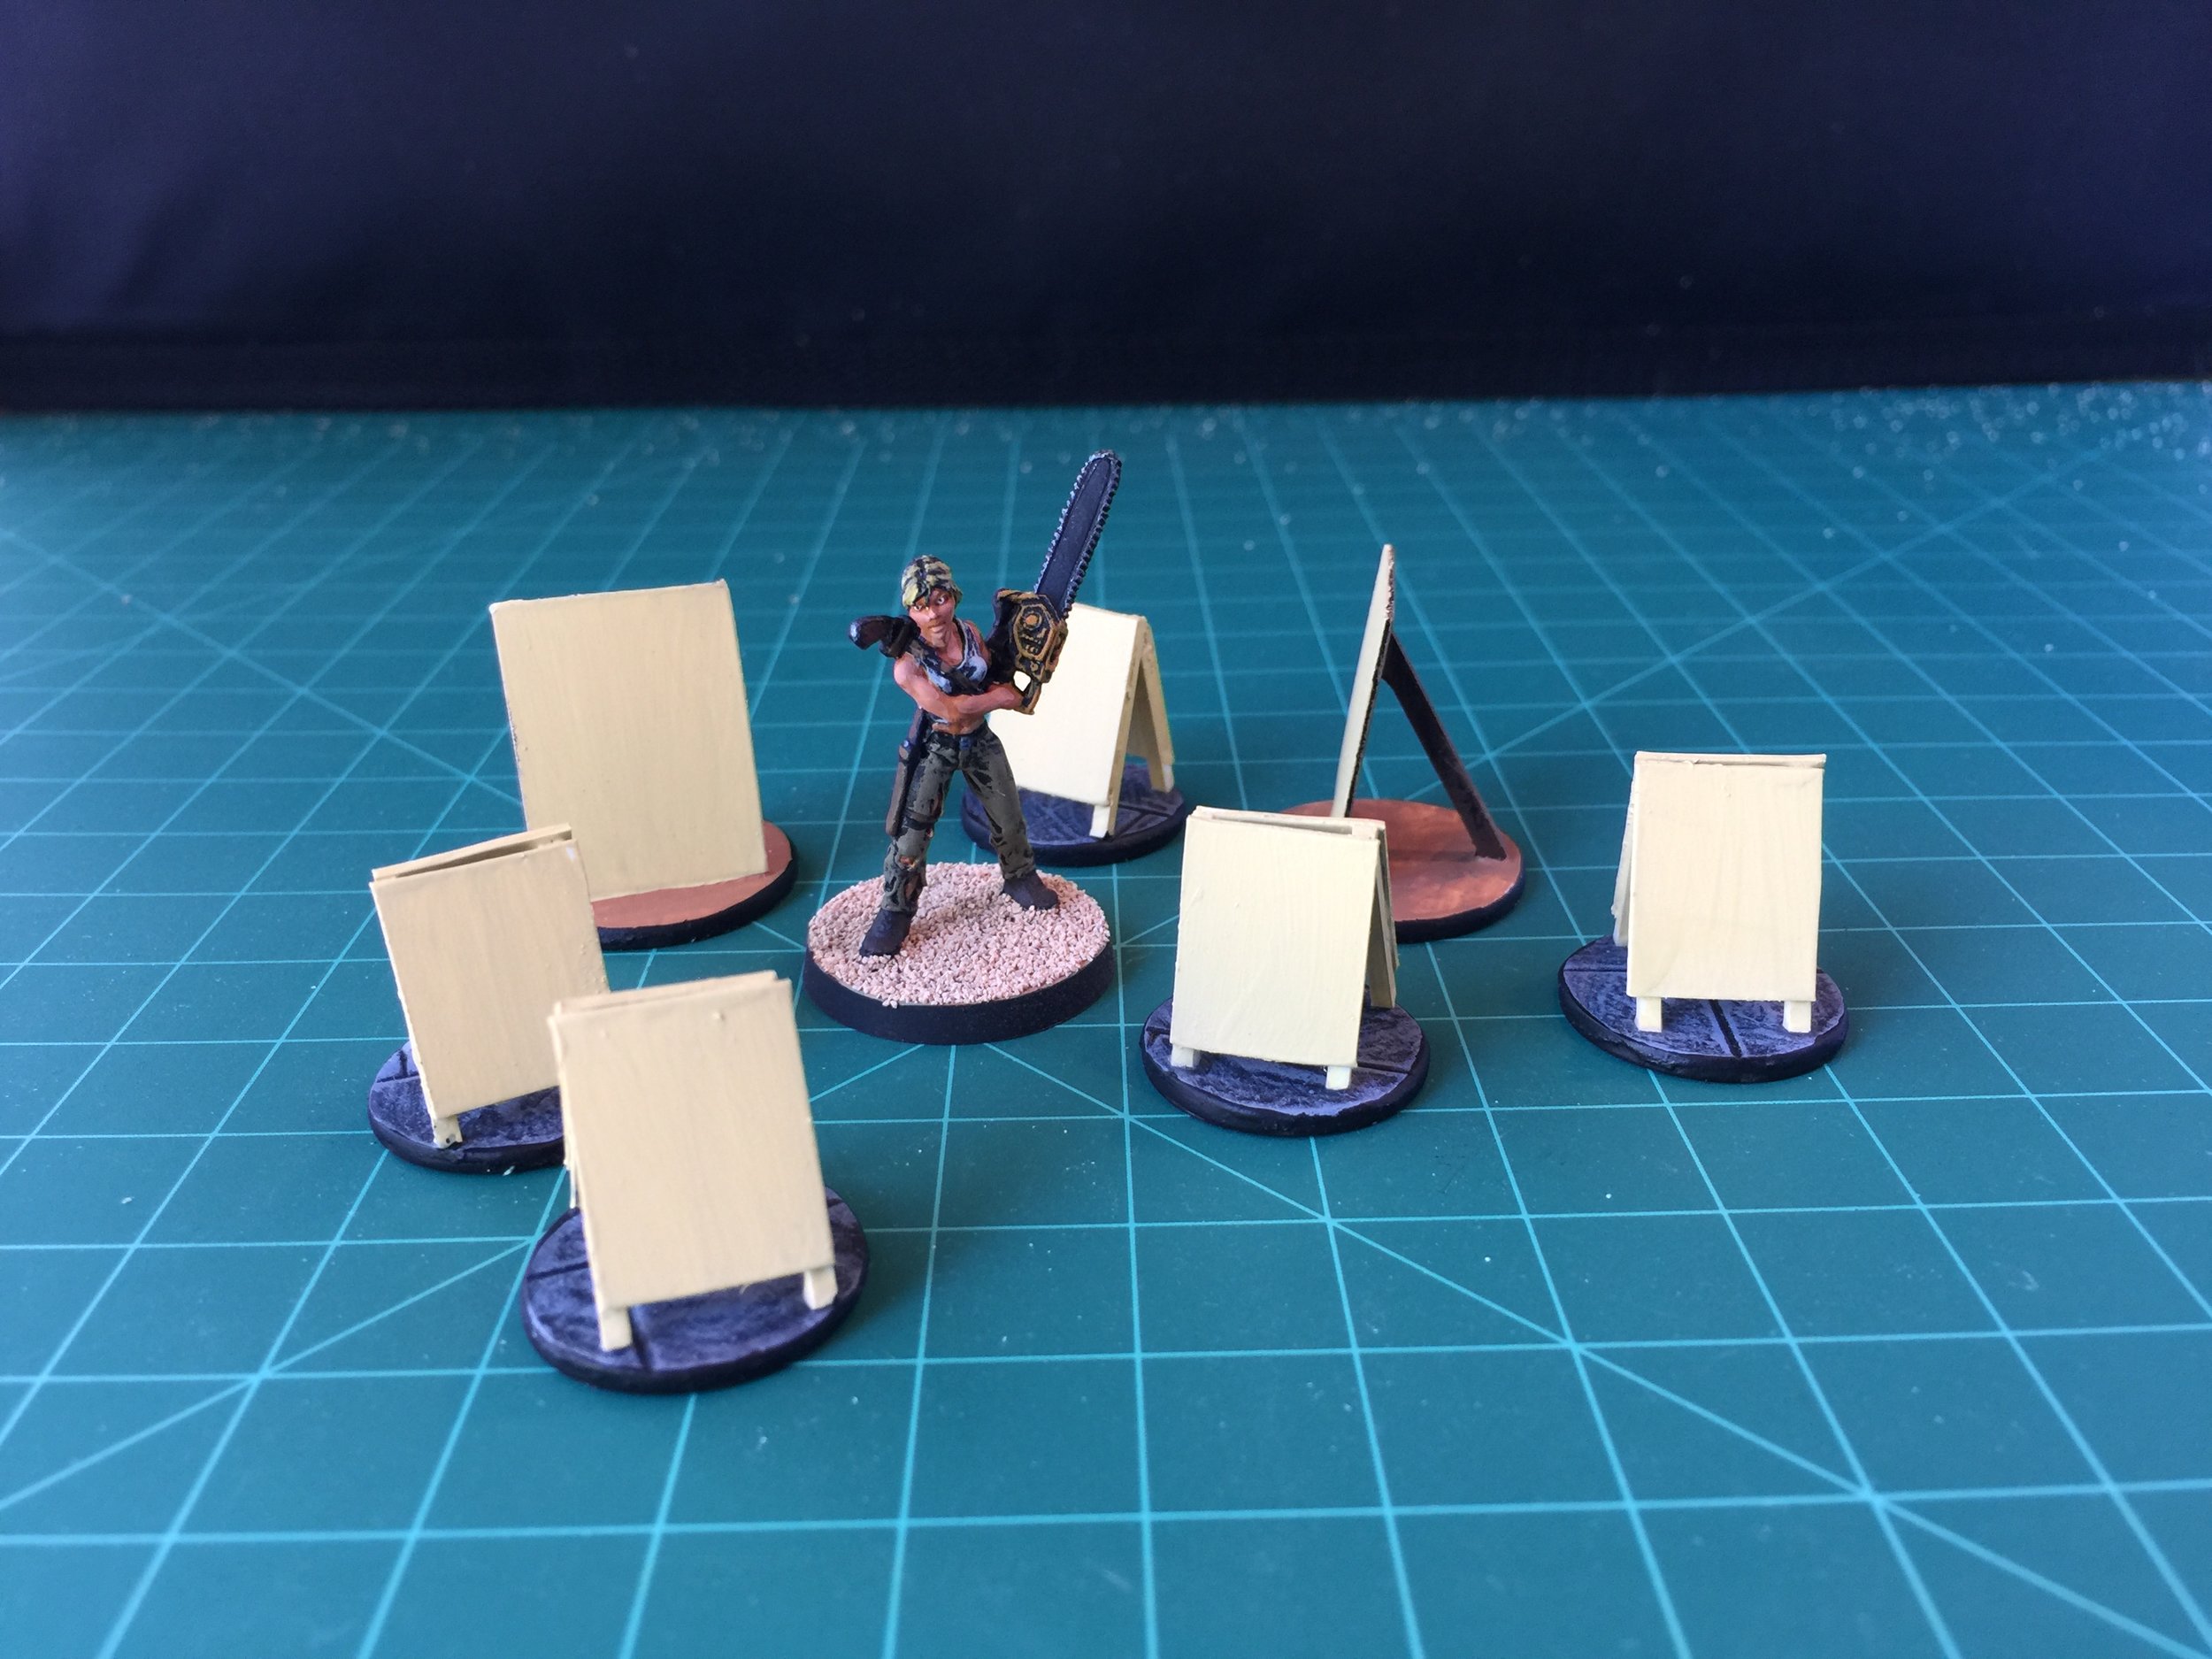
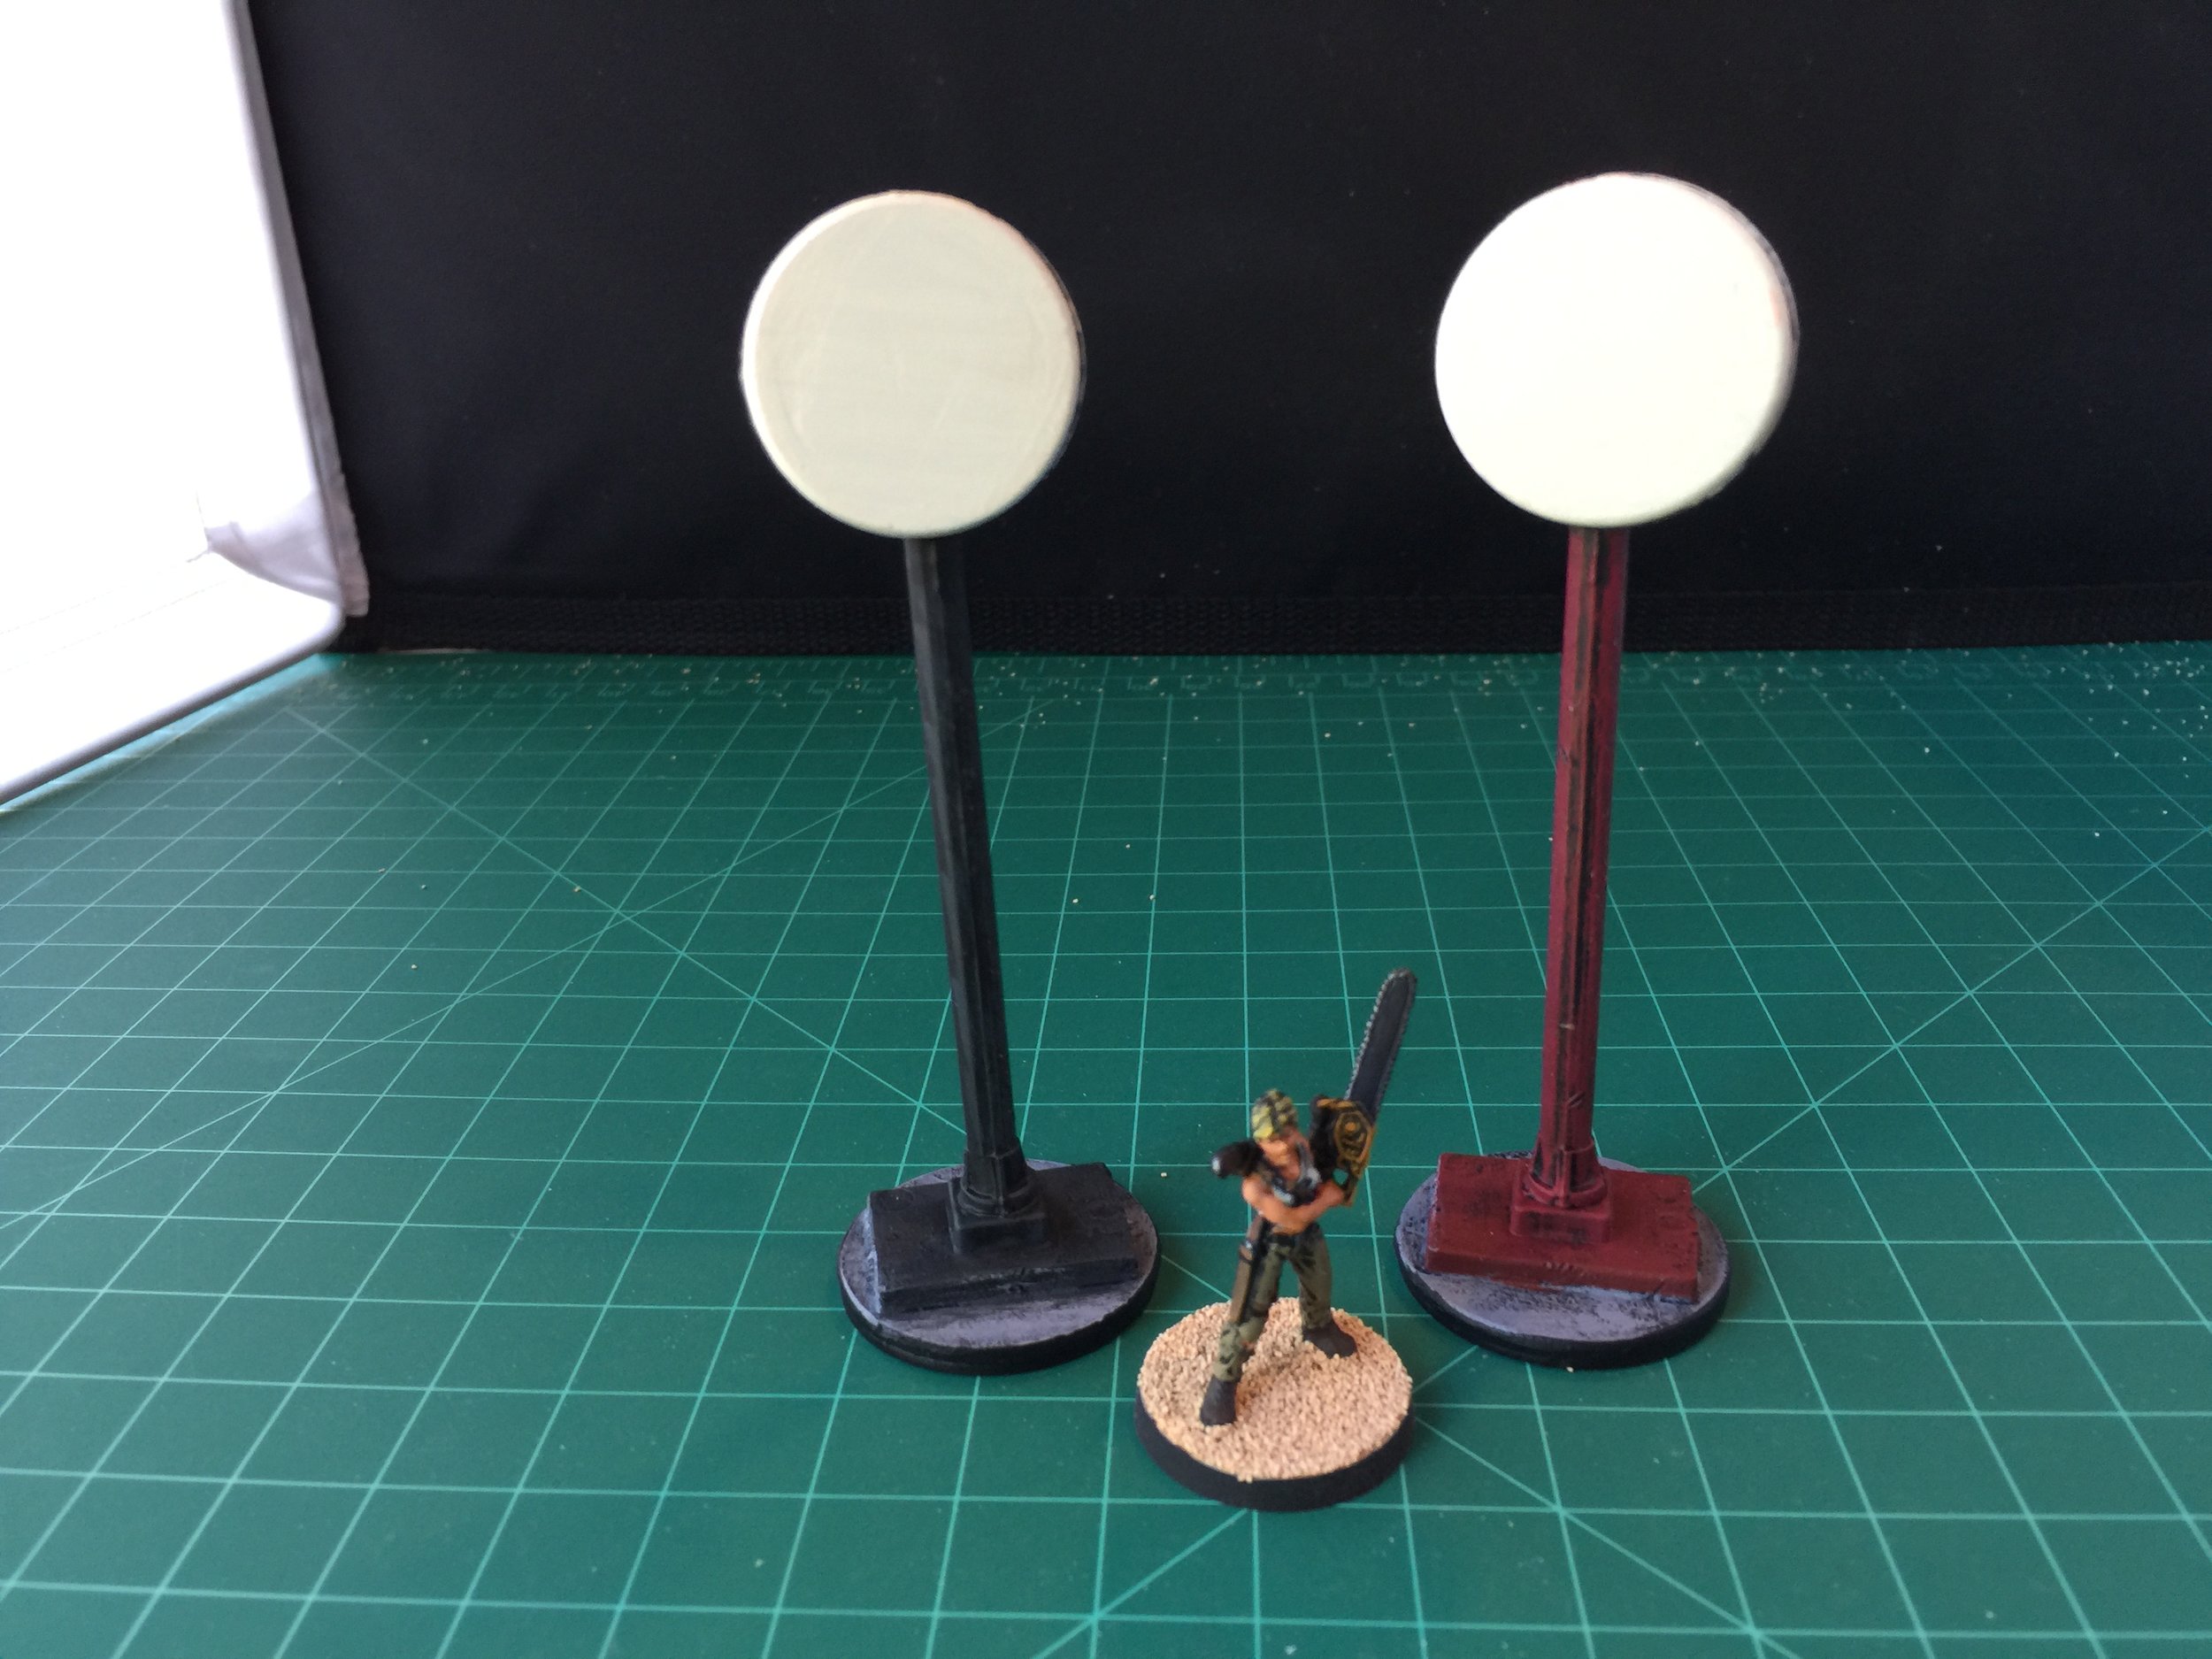
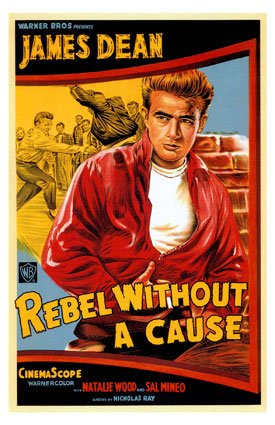
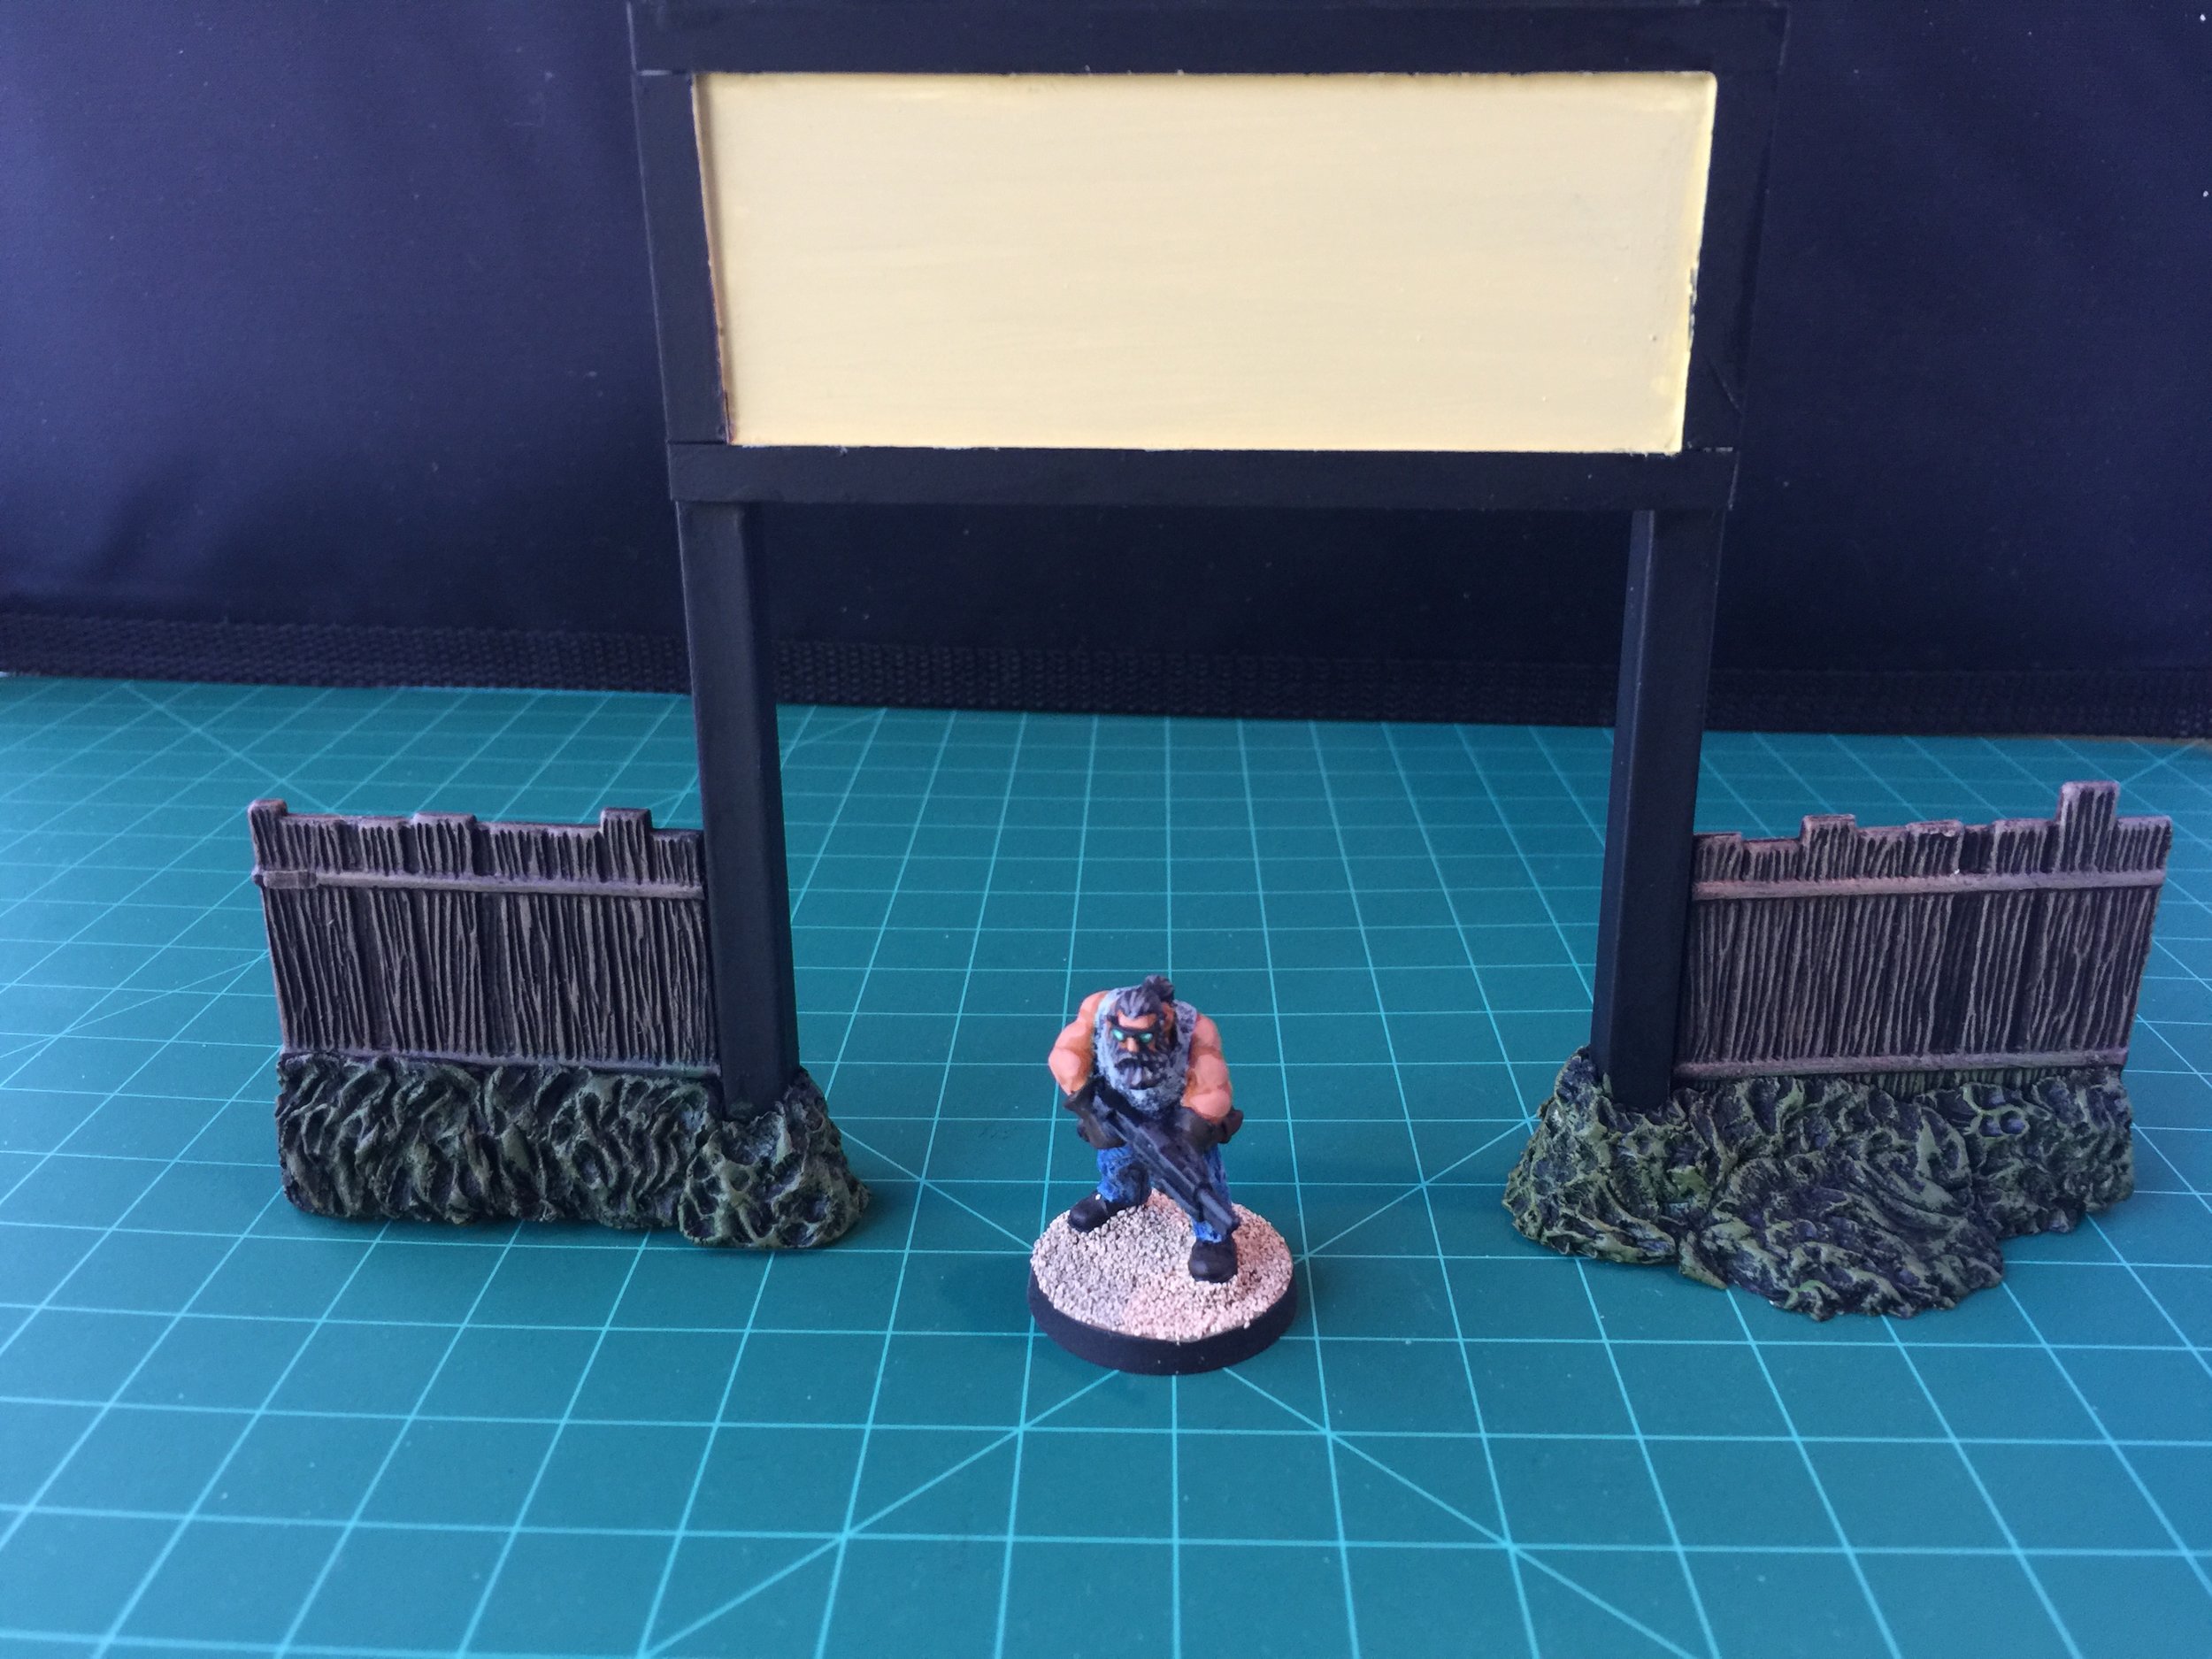
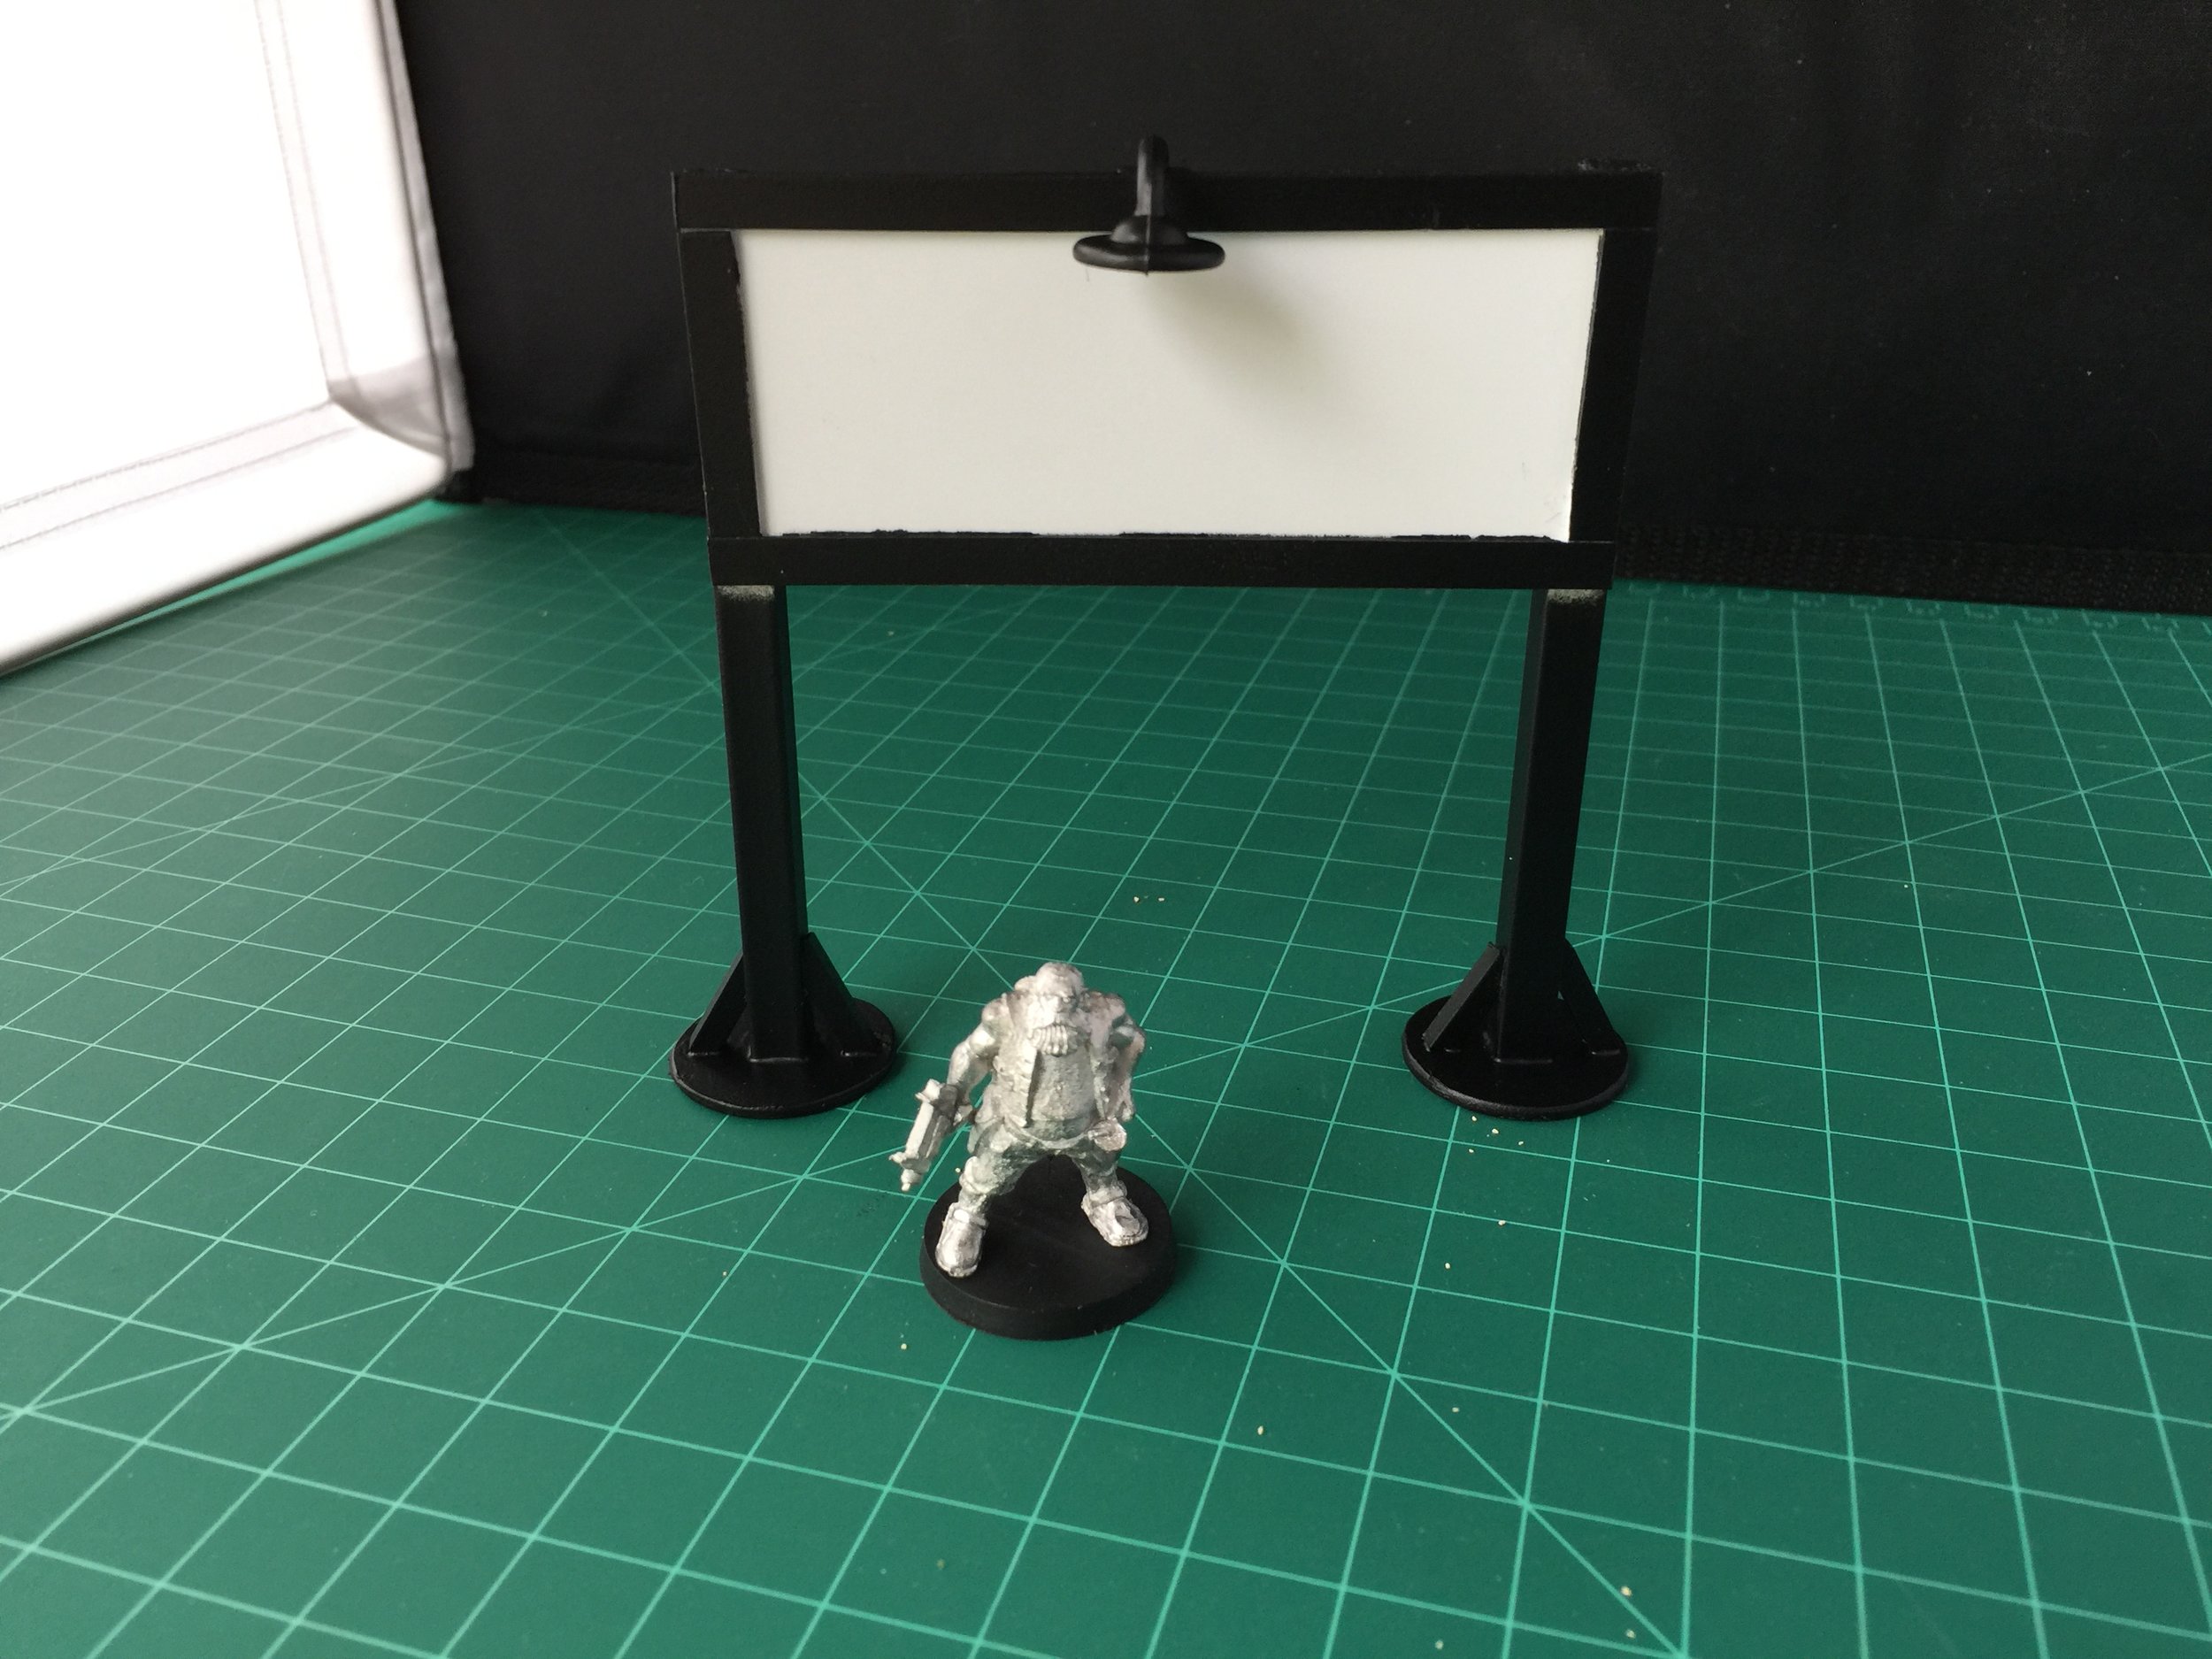
It was a rainy day on Thursday, and I spent my hobby time basing and painting cactus (by Pegasus) for the land that surrounds my desert town. I completed Box #1 of the Pegasus cactus and began Box #2 (the small size cactus). I also built and painted five sidewalk advertising signs before I called it quits for that rainy day. On Friday I dropped by Arnie’s Trains and made a wonderful find on their bargain table in the form of a box of Plasticville O gauge figures and a second box of Plasticville O gauge accessories. In the accessories box I was delighted to find 12 fire hydrants, lots of bus-stop-style benches and mailboxes. There were also two A & P pole signs (probably not Plasticville). I painted up three of the hydrants for use with my post apoc collection, and began modifying the A & P poles signs to become a Texaco pole sign and a Shell pole sign. The modification of the pole signs involved sanding off the raised A & P logo so that it could be replaced by the Texaco and Shell logo decal and rebasing both signs. In at least two of my previous collections (Gangsters and Victorians) I use made sidewalk signs with ad posters. I decided to use a few of those with this collection as well.
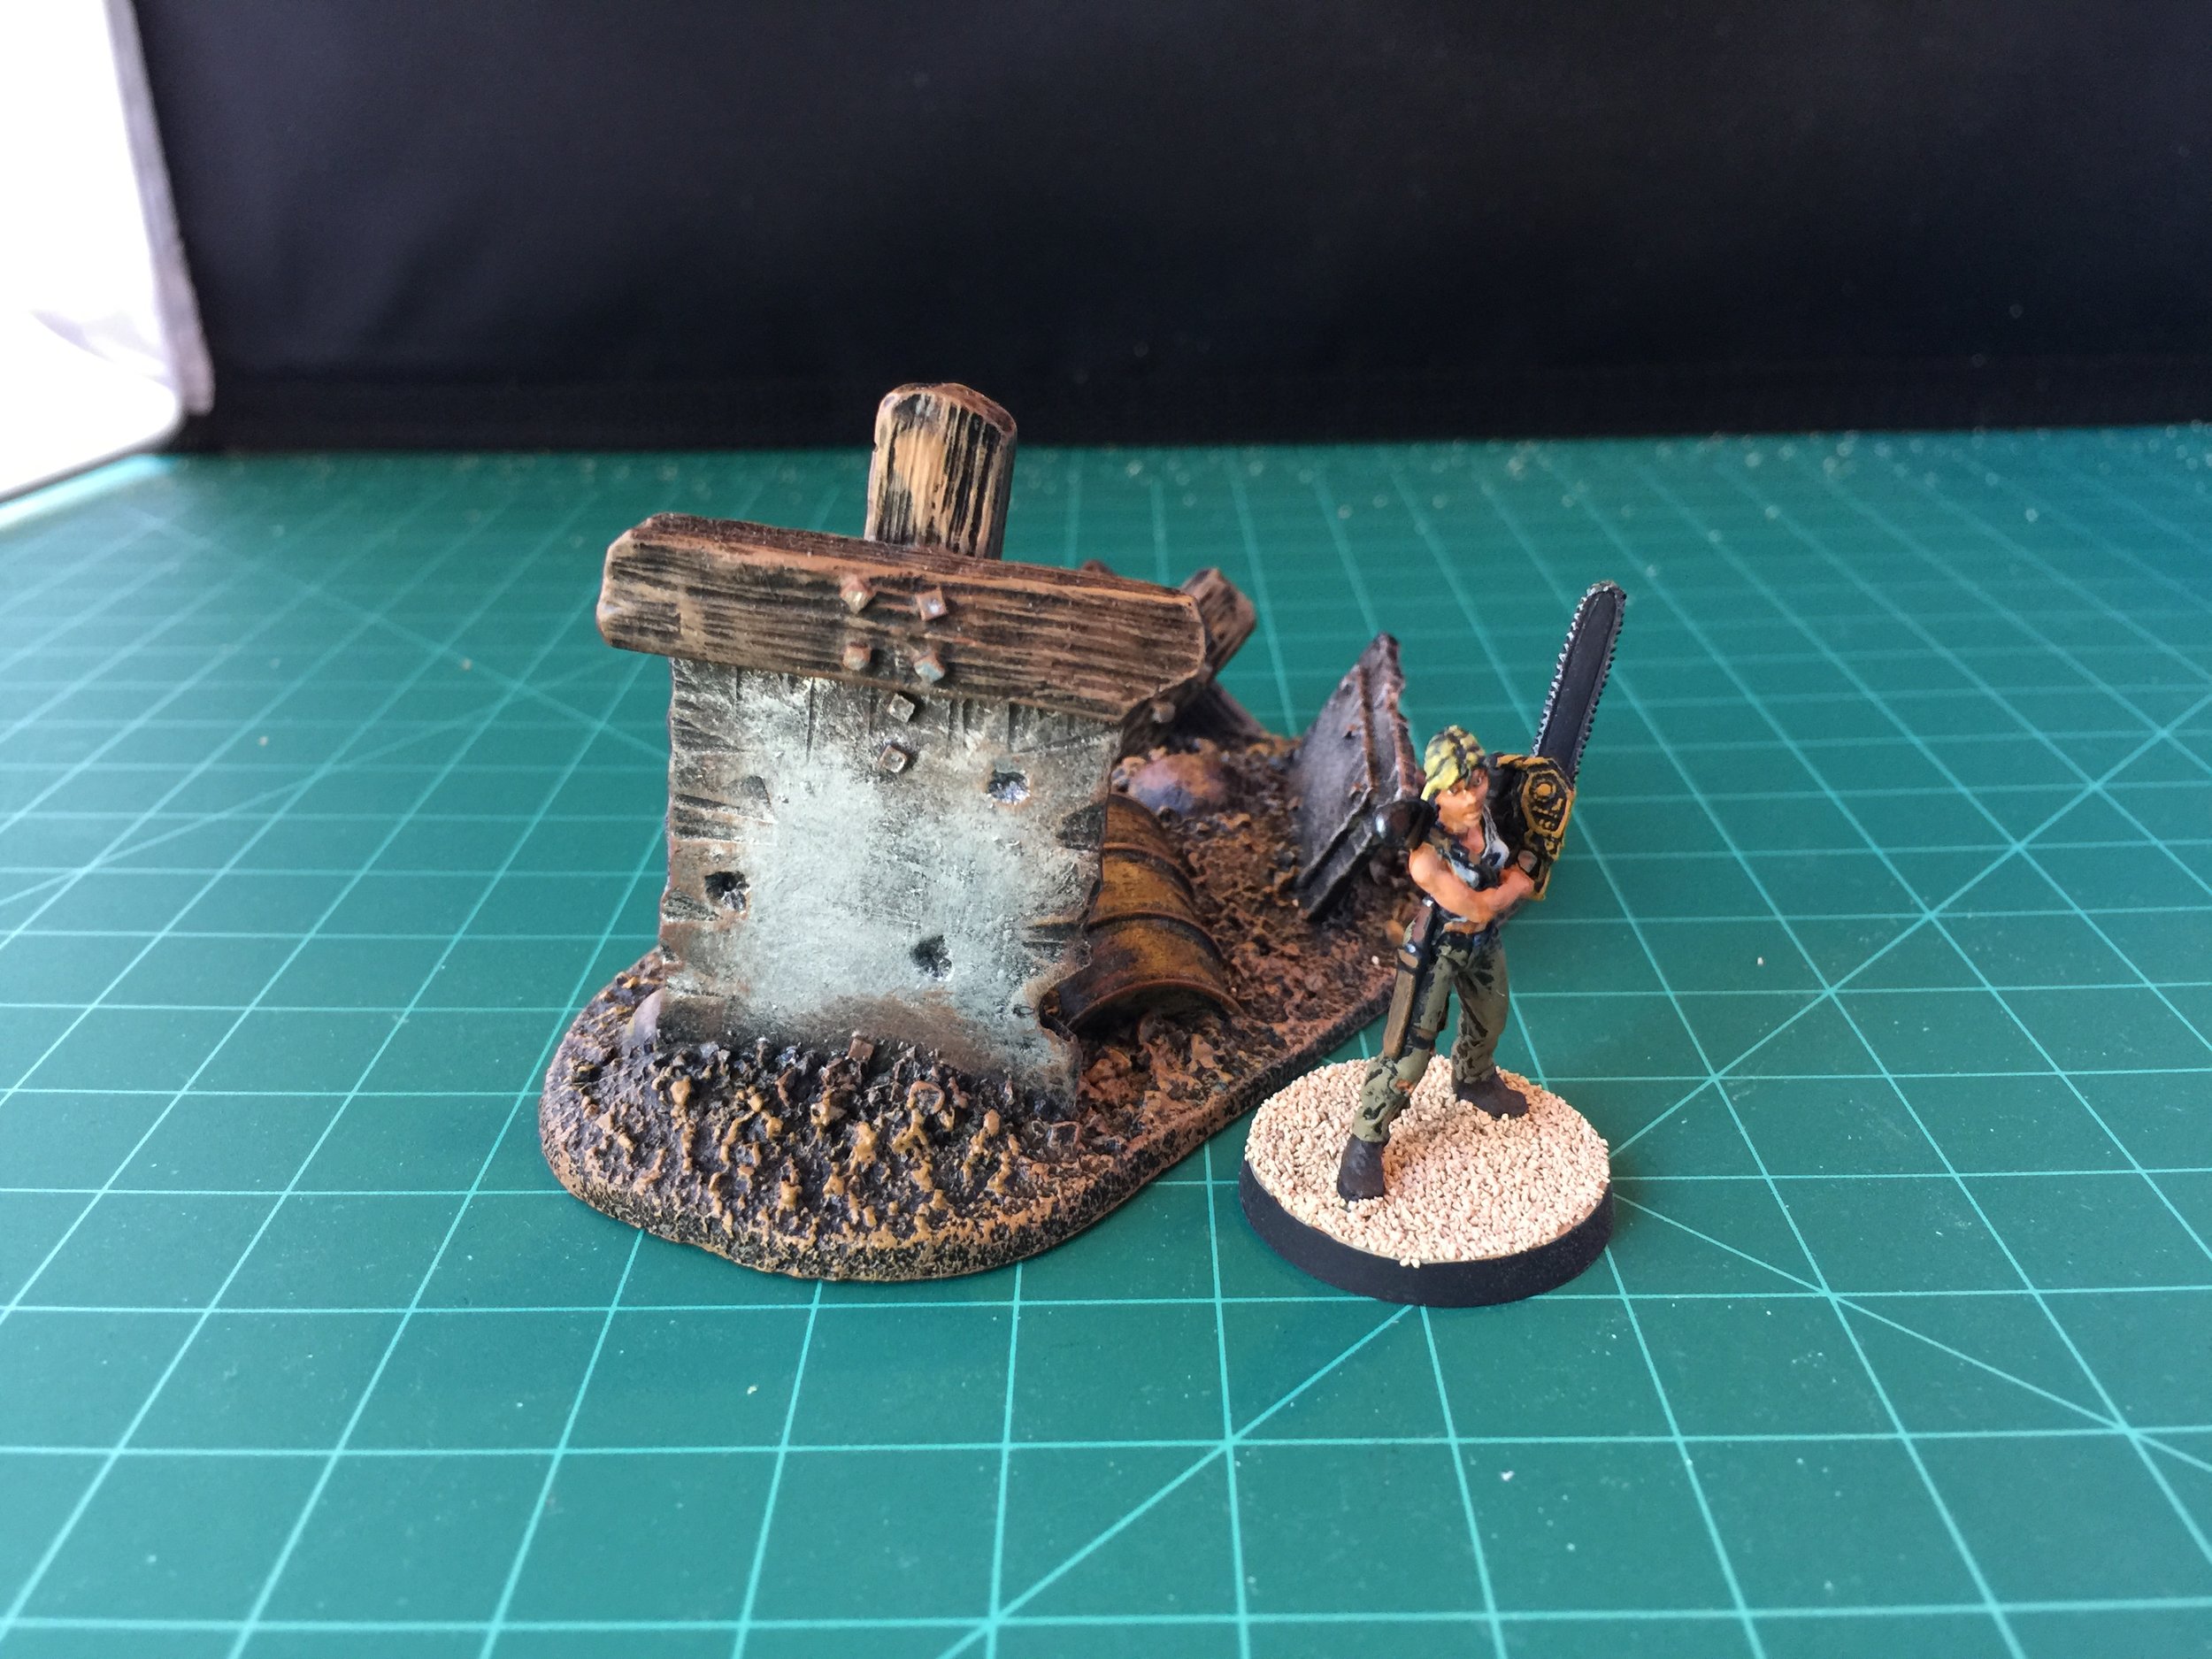
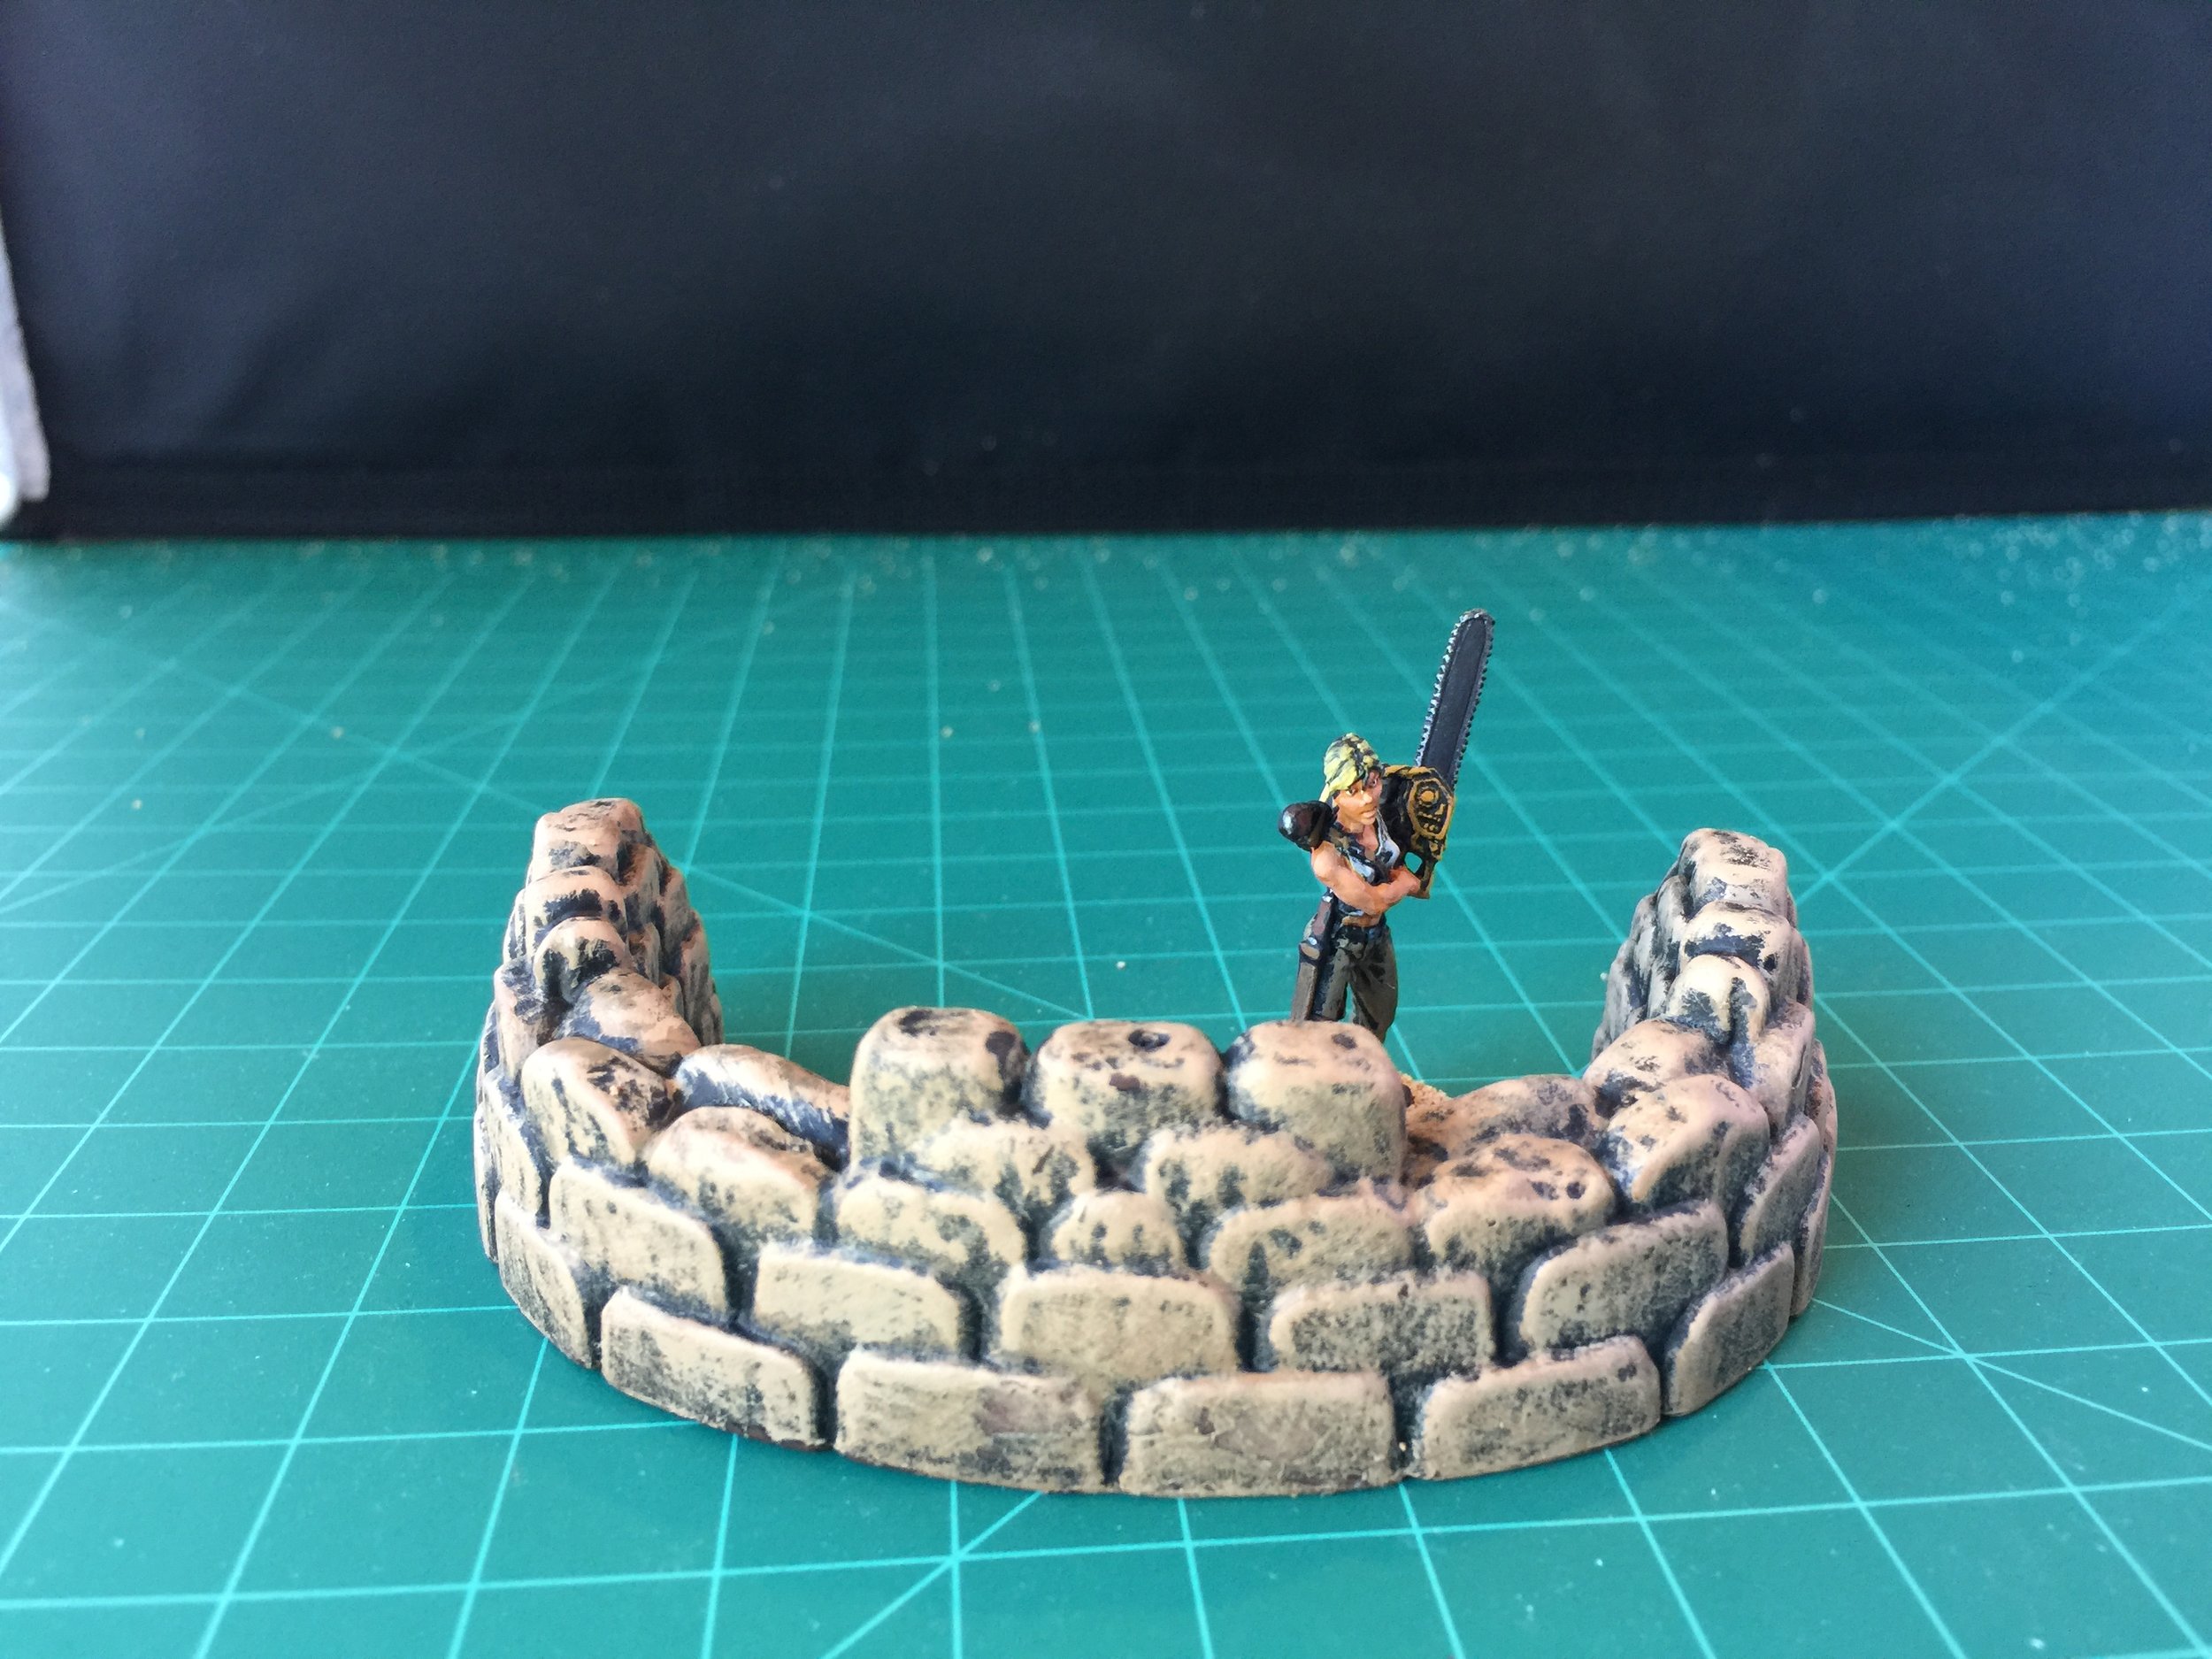
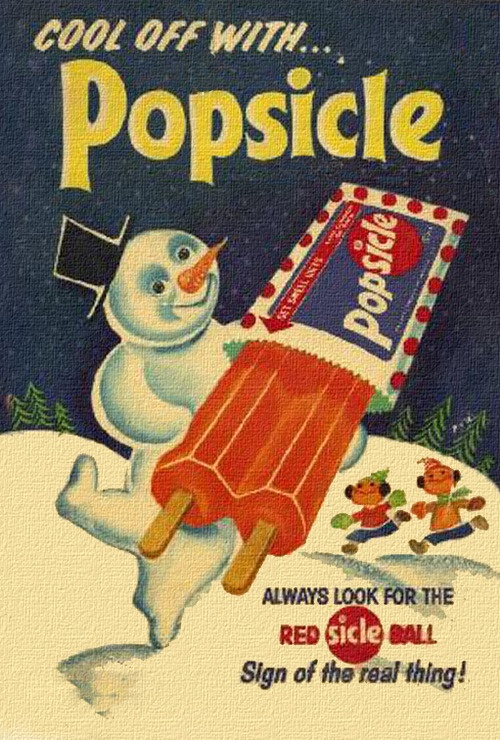
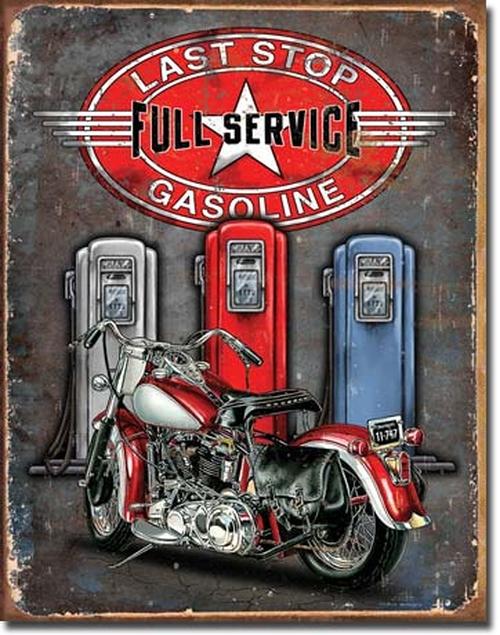
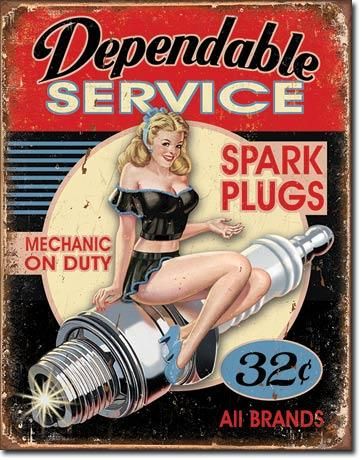
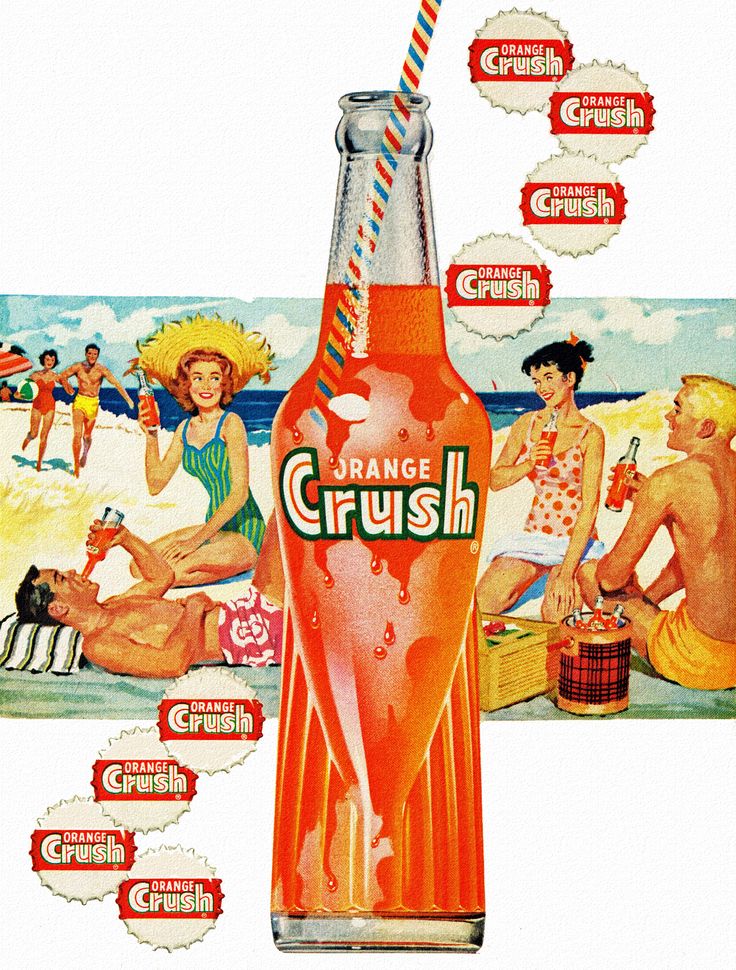
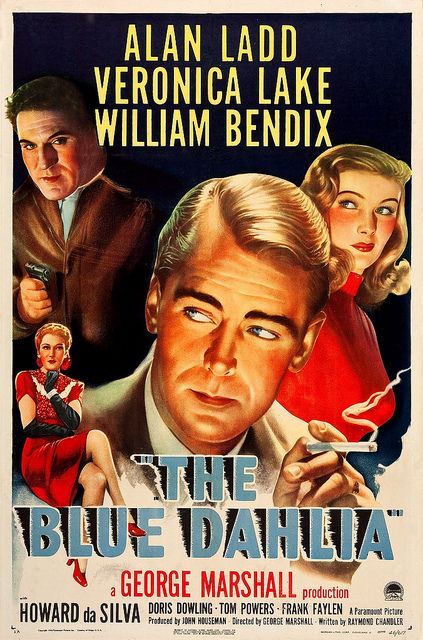
This week’s swap meet offered up a toy sandbag defensive position. It’s a little big and the sandbags are far from perfect sculpts, but I think they work with zombies, big toy bugs, Plasticville and K-Line buildings. Plus they are cheap and easy to paint, and I’ll add a couple more if the swap meet gives me the chance before this collection is done. I also decided to use a Snapdragon terrain piece that will have an atomic warning symbol on it plus a sign that says Test Area. To complete this week’s Weekly Workbench pictures, I’ve included posters and signs that will be made into decals for this project. Hope you enjoy.


MARCH 18, 2018
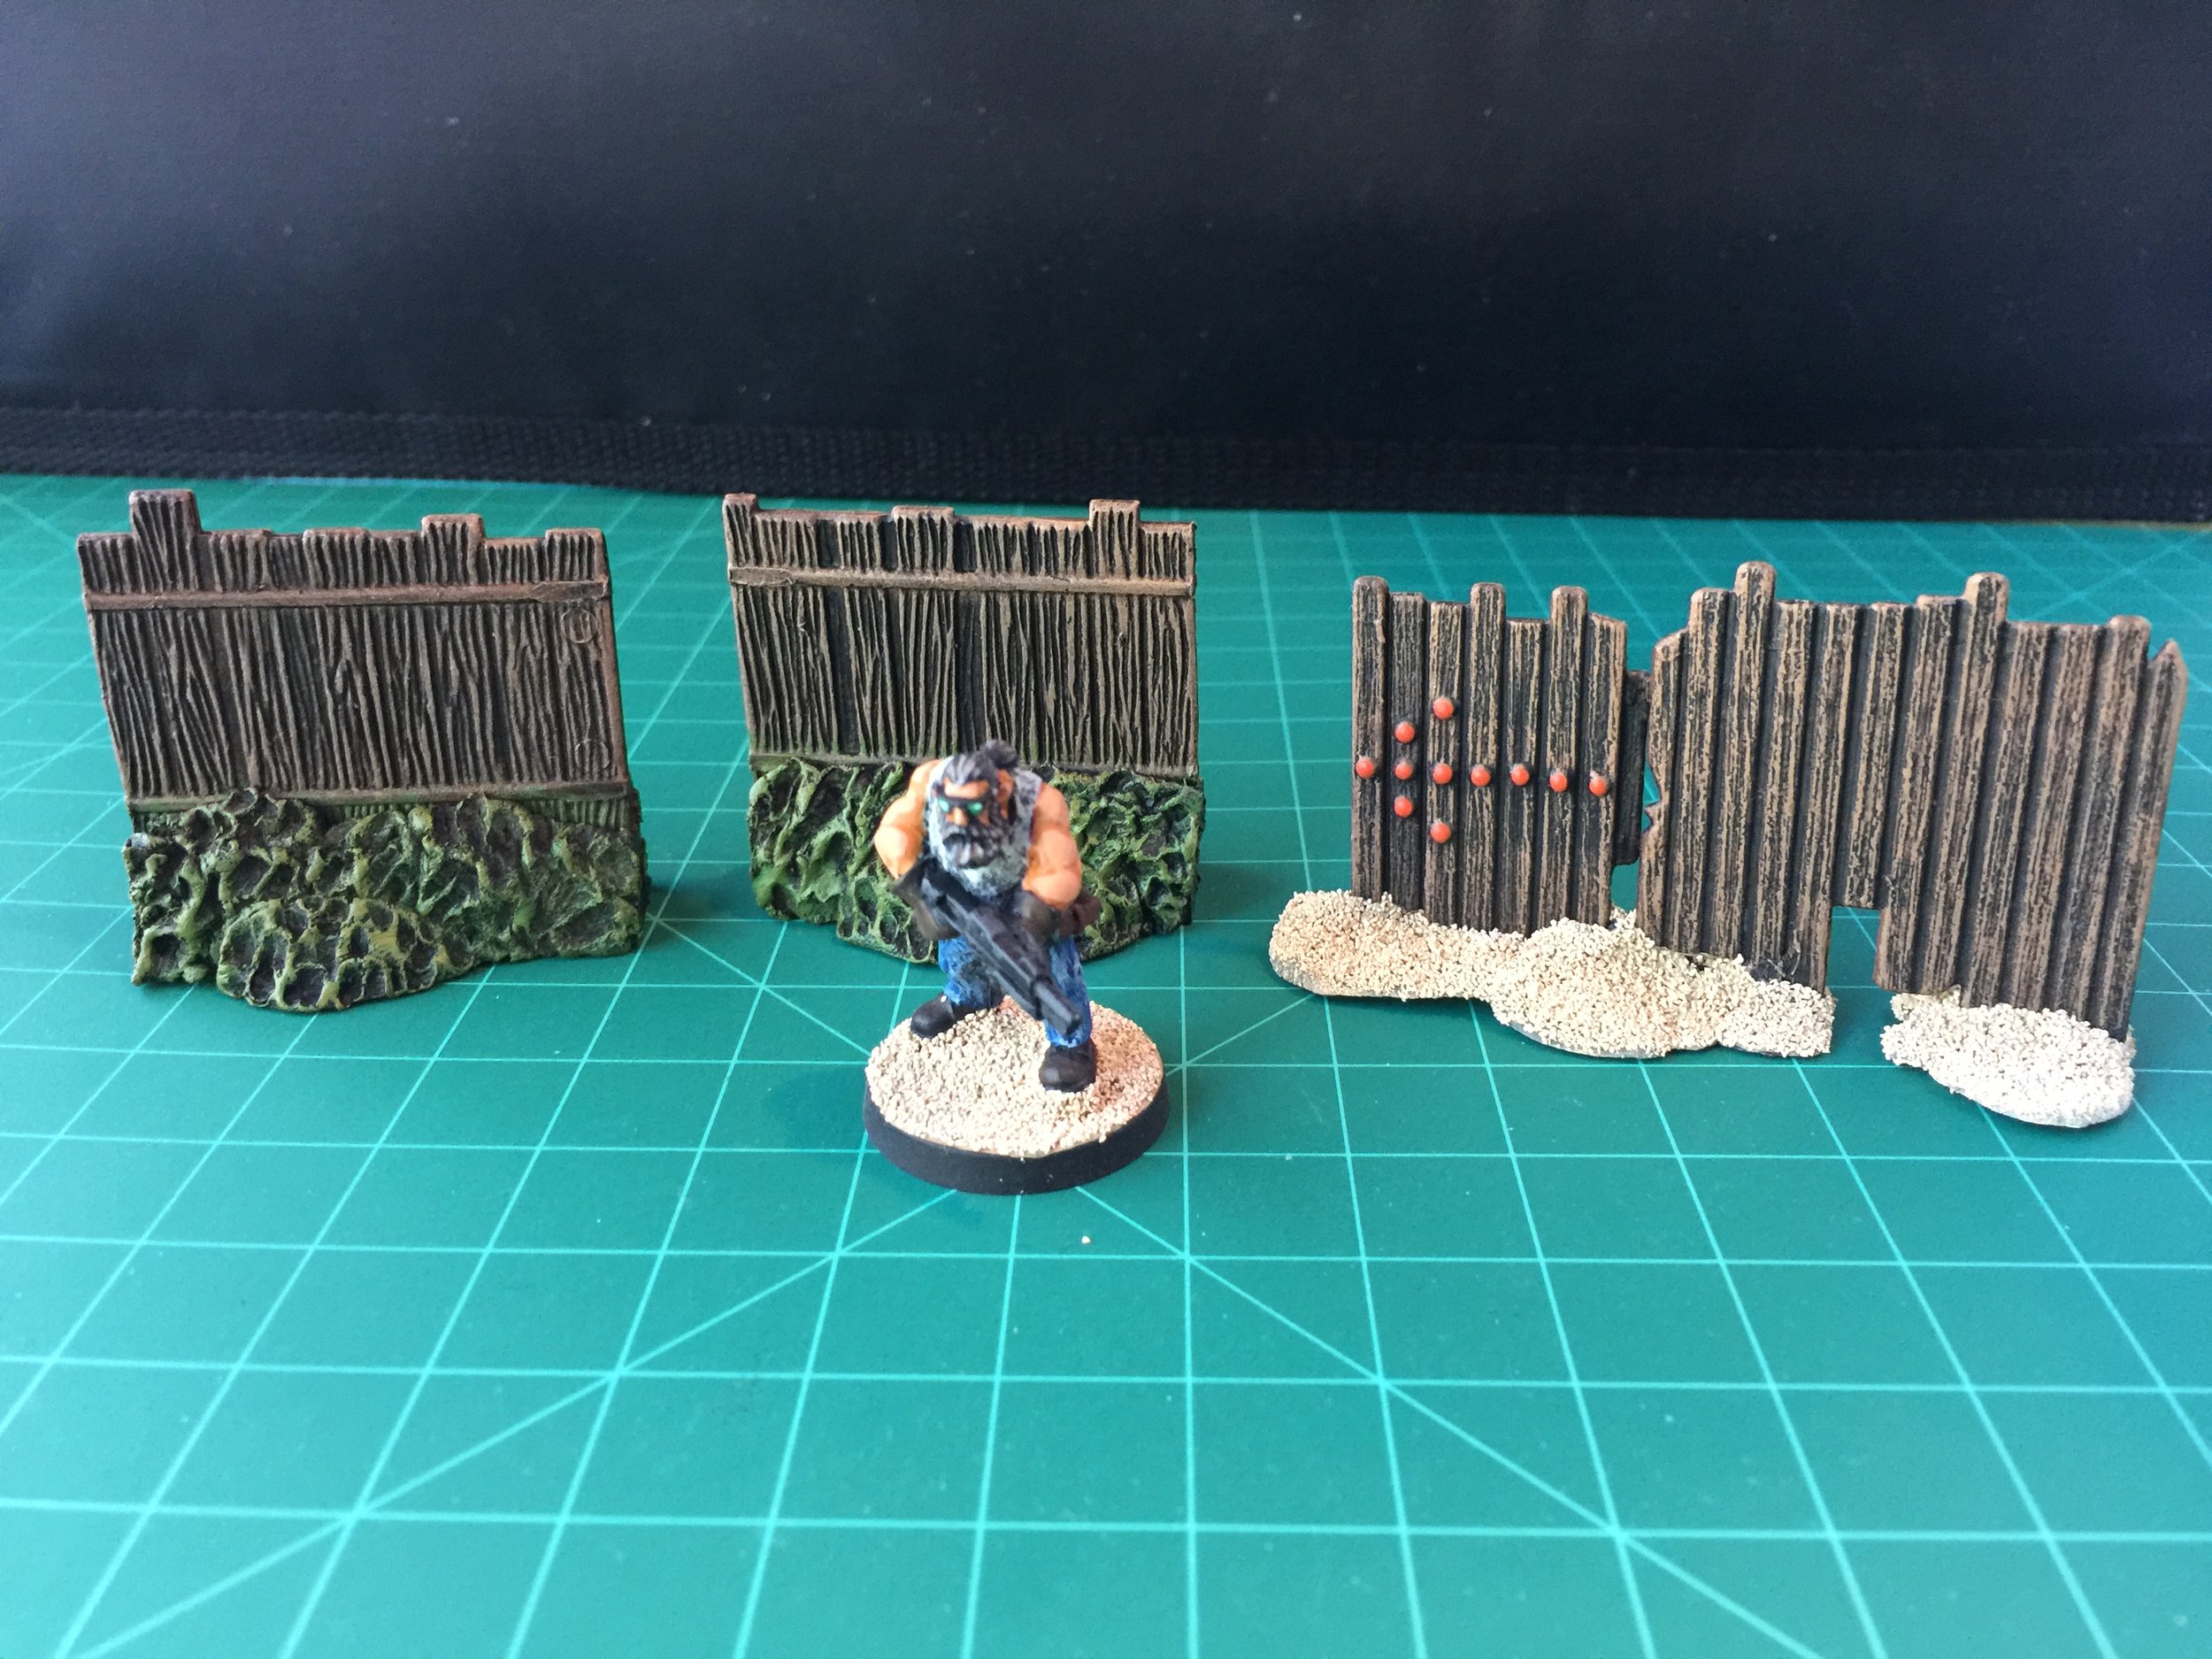
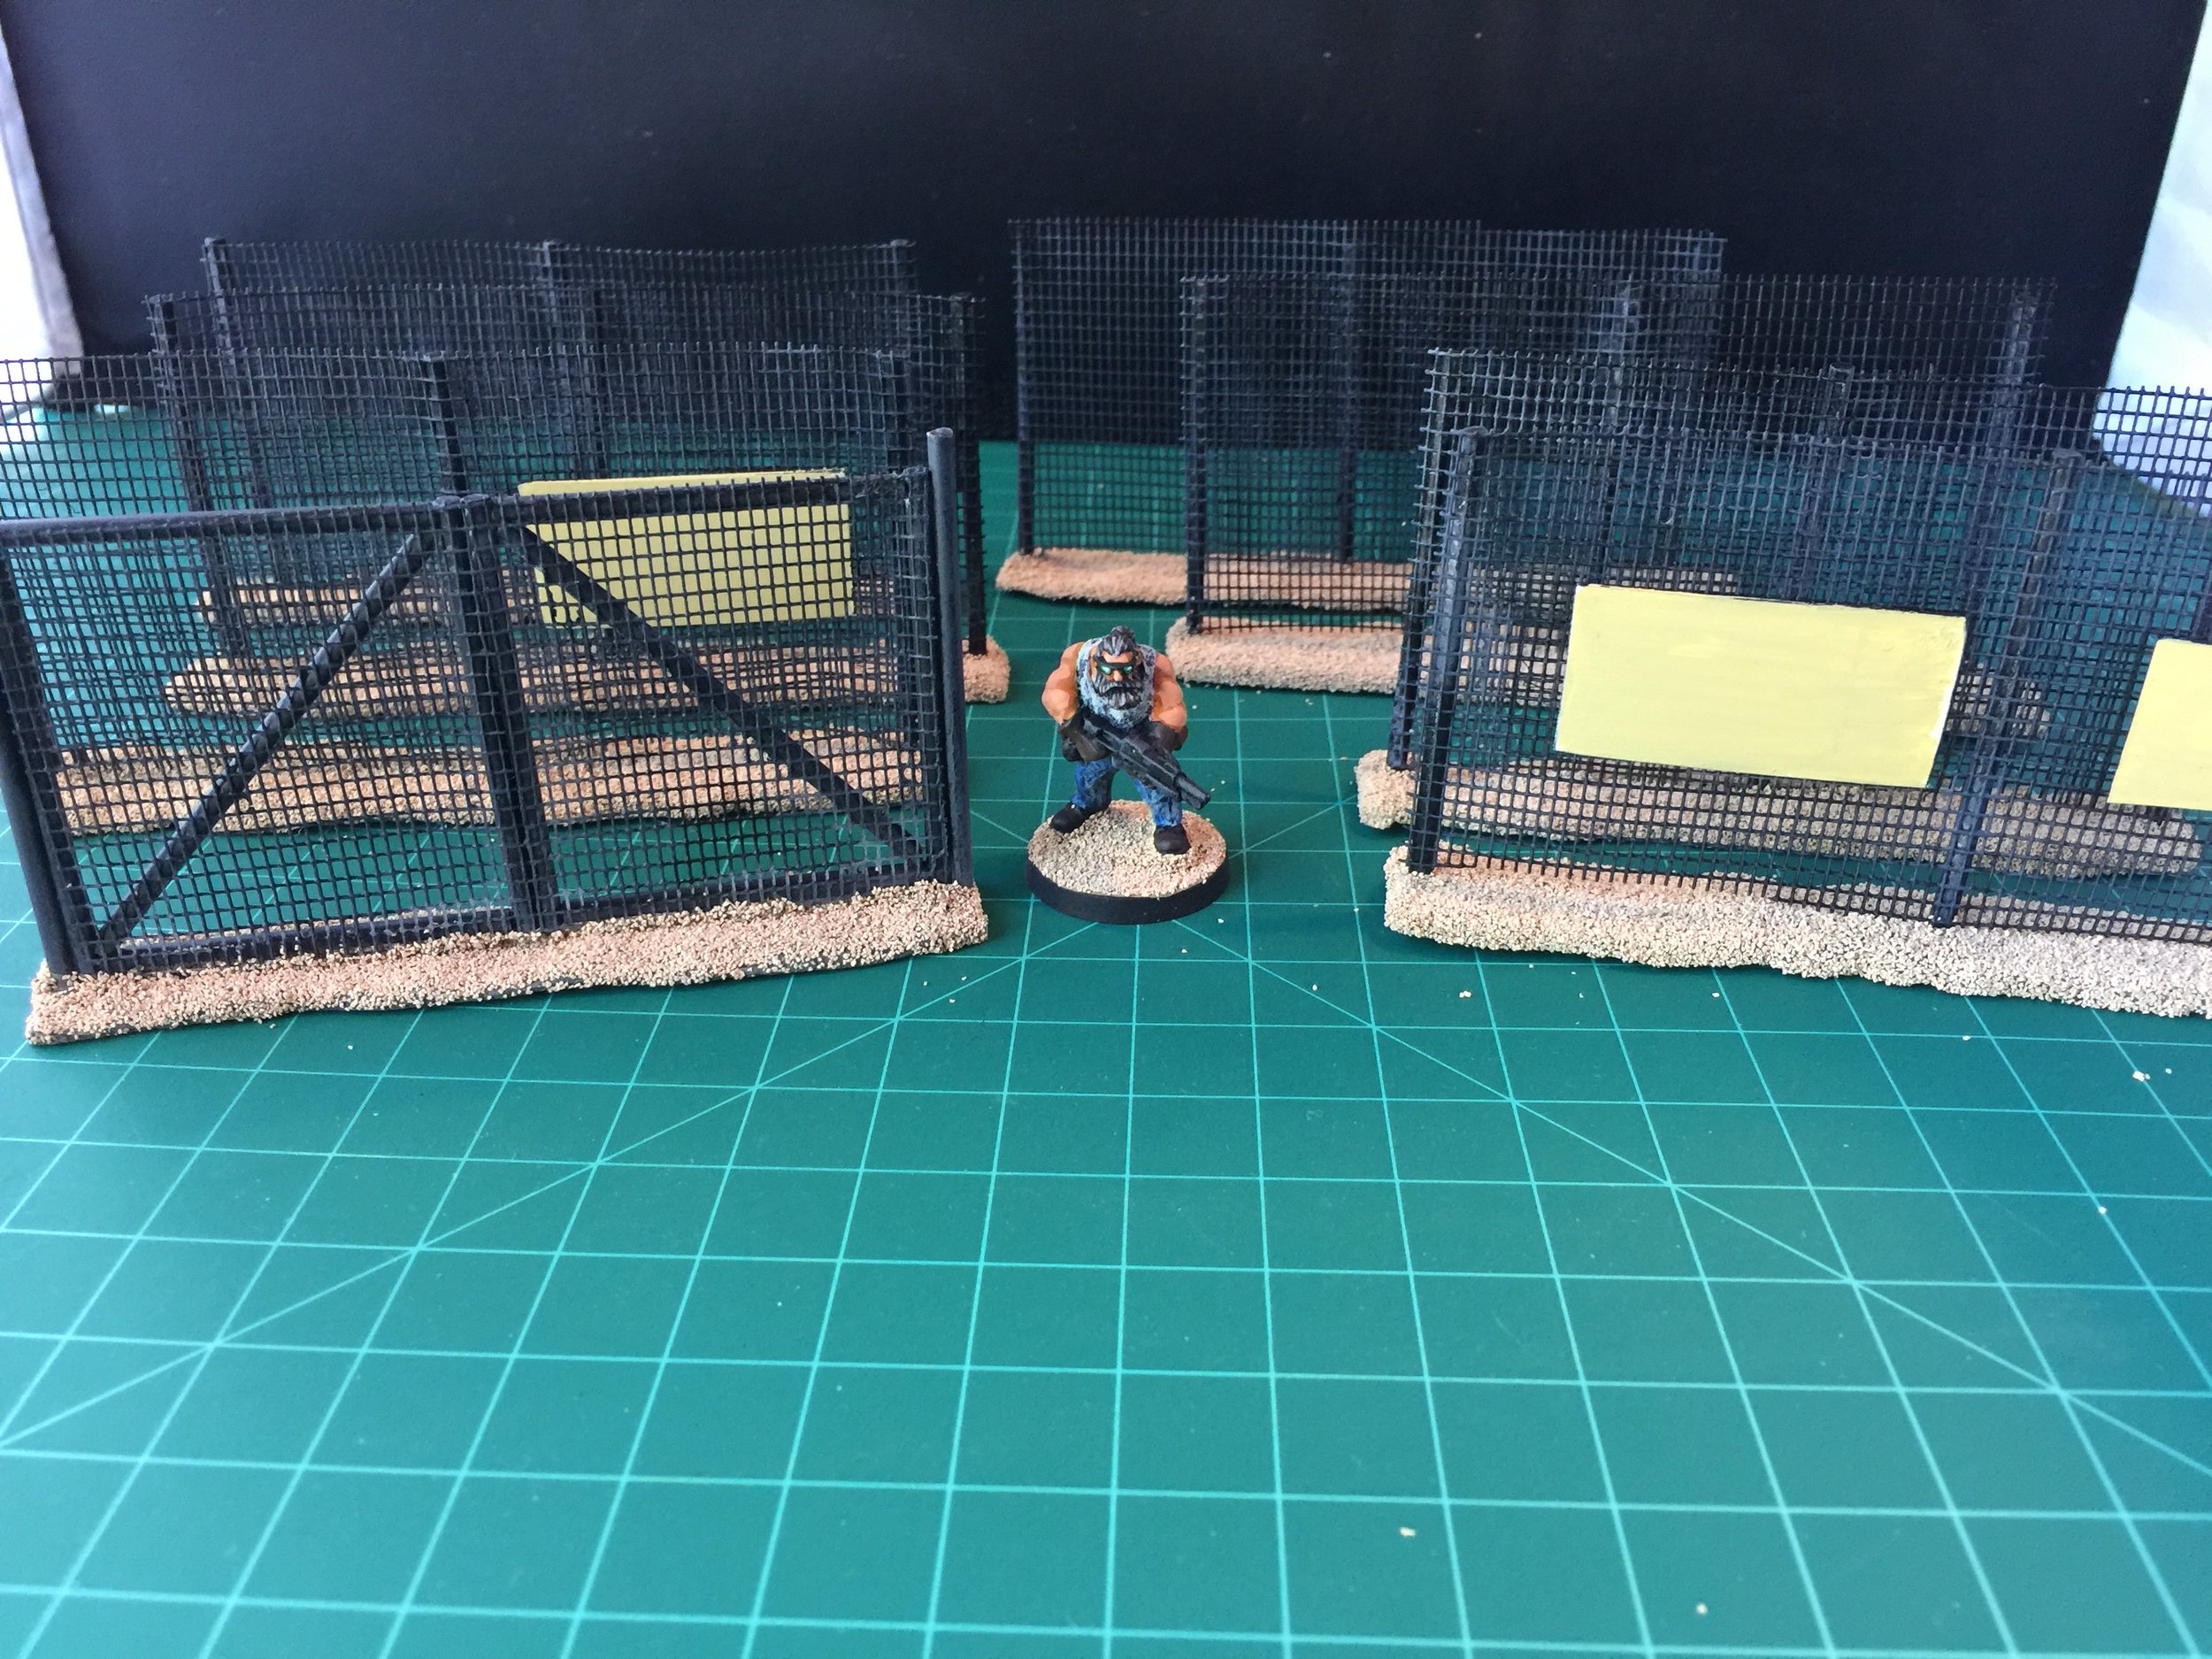
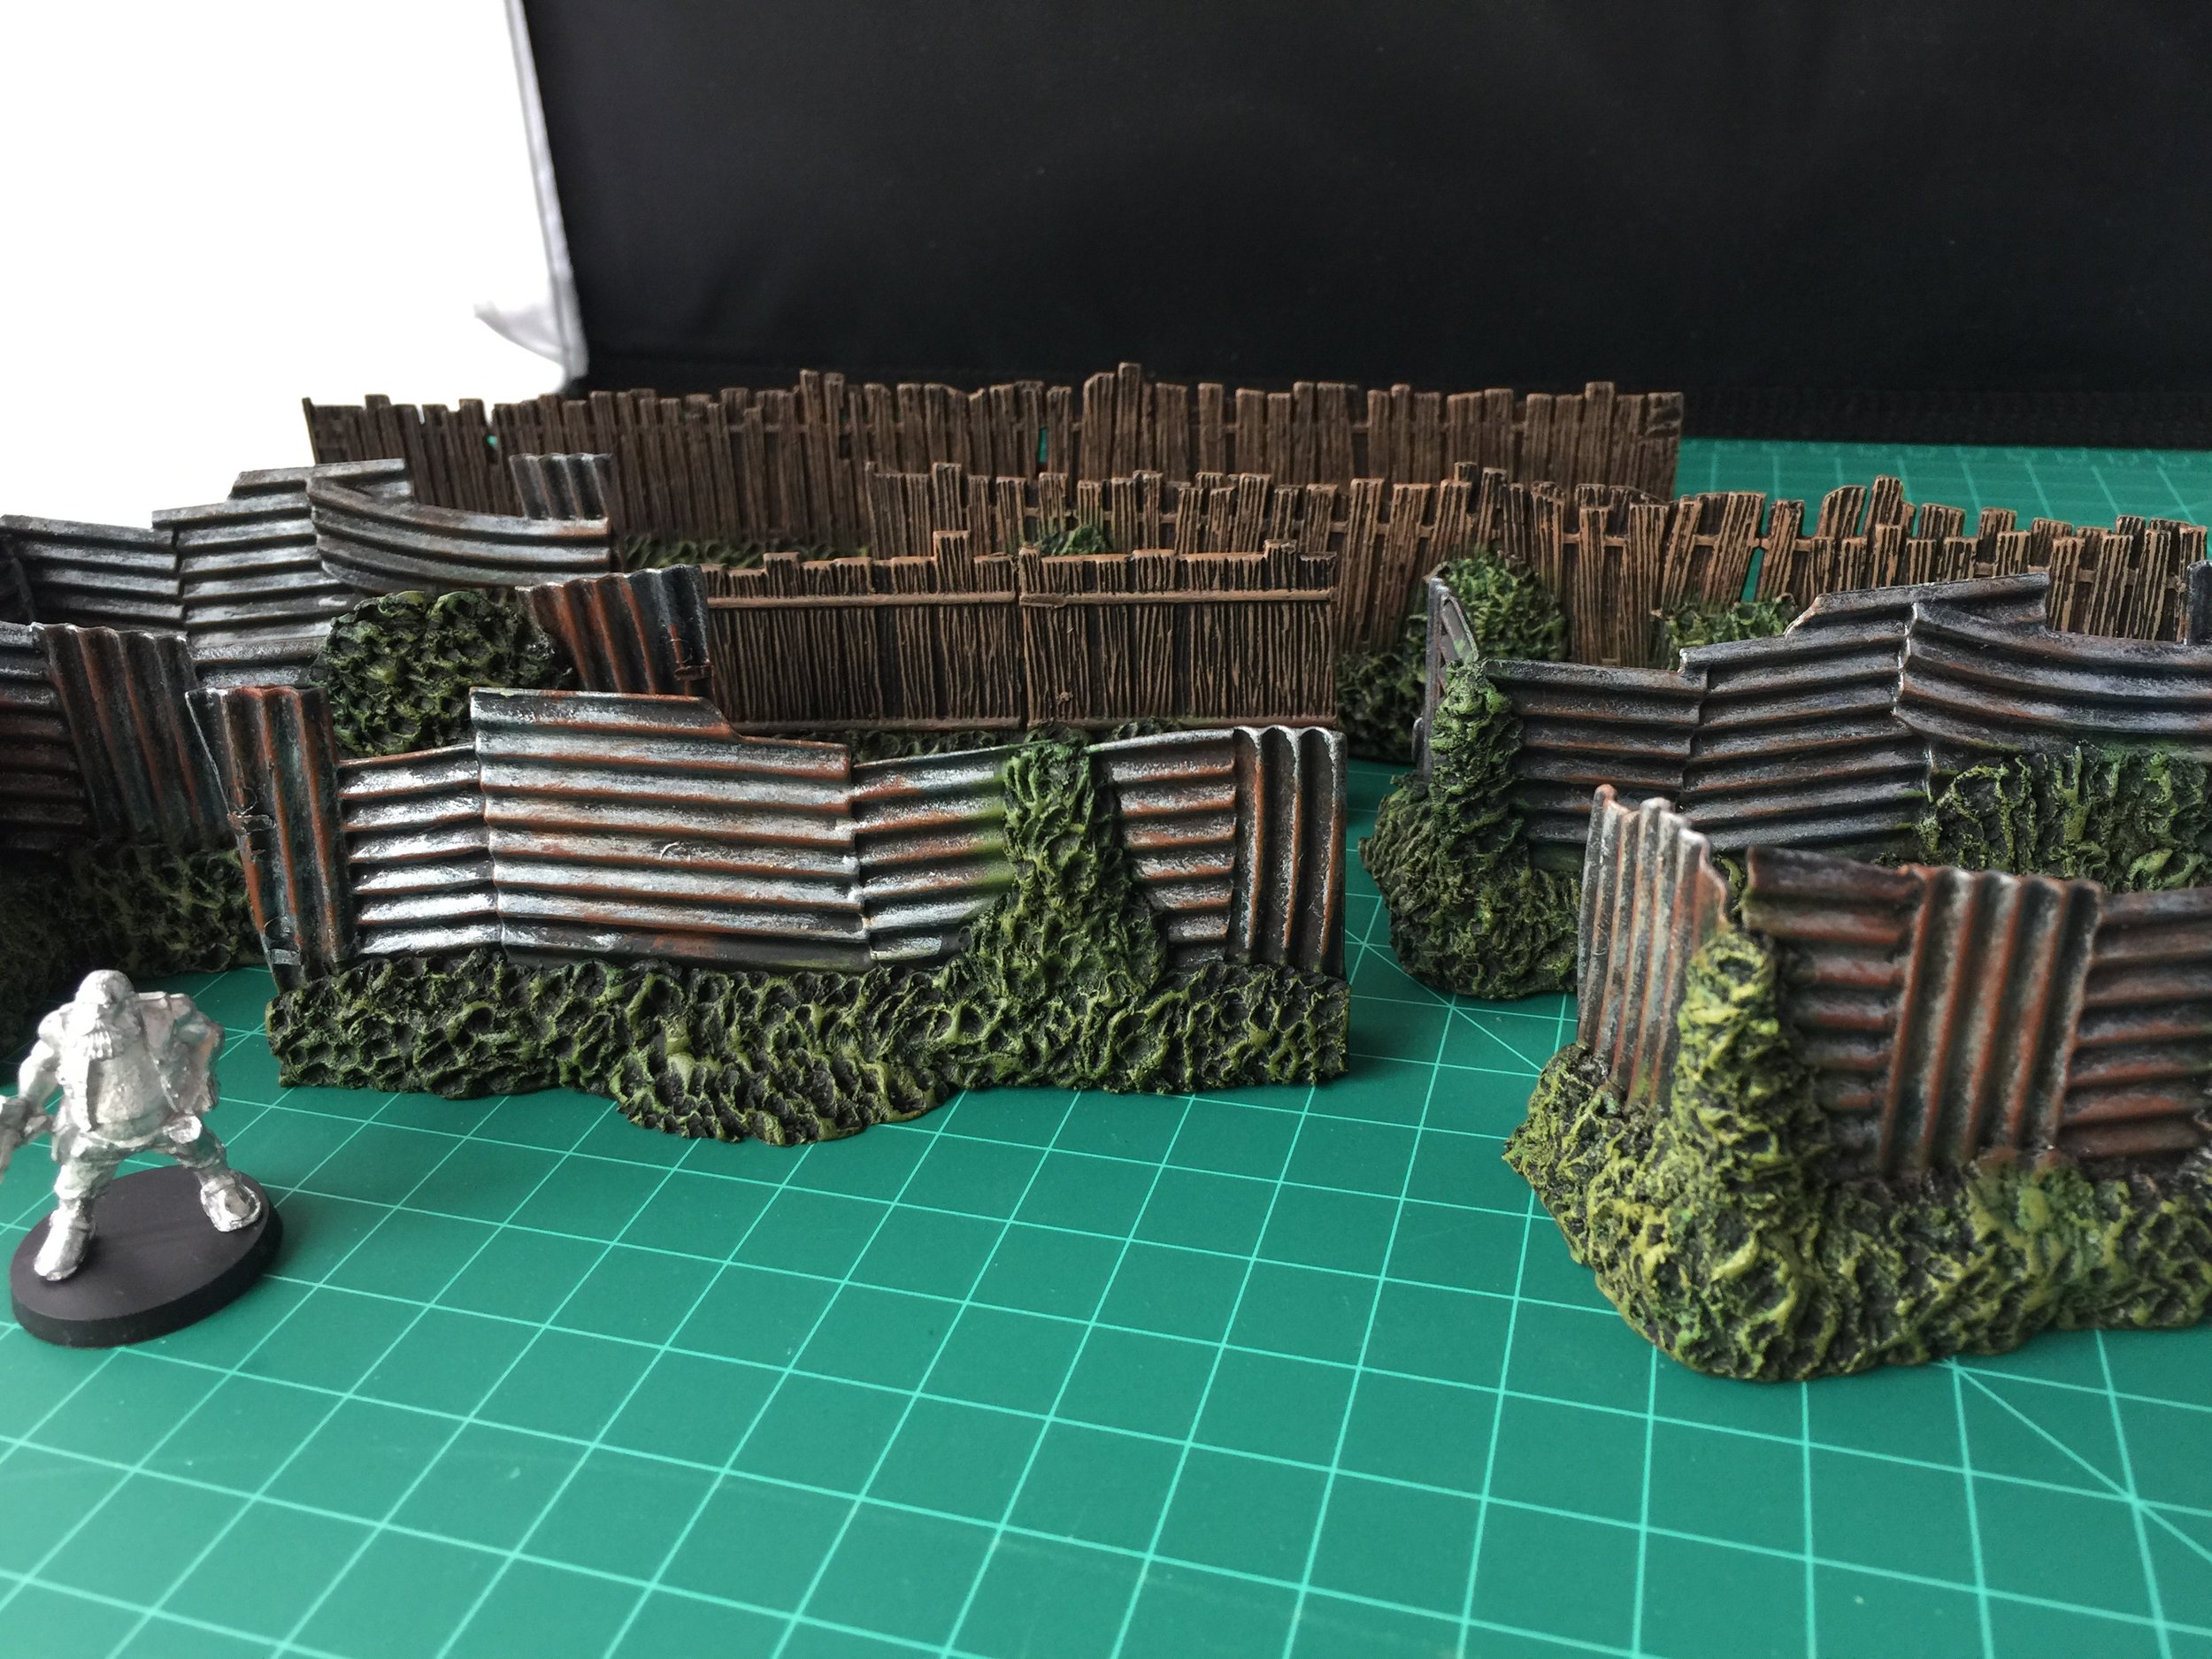
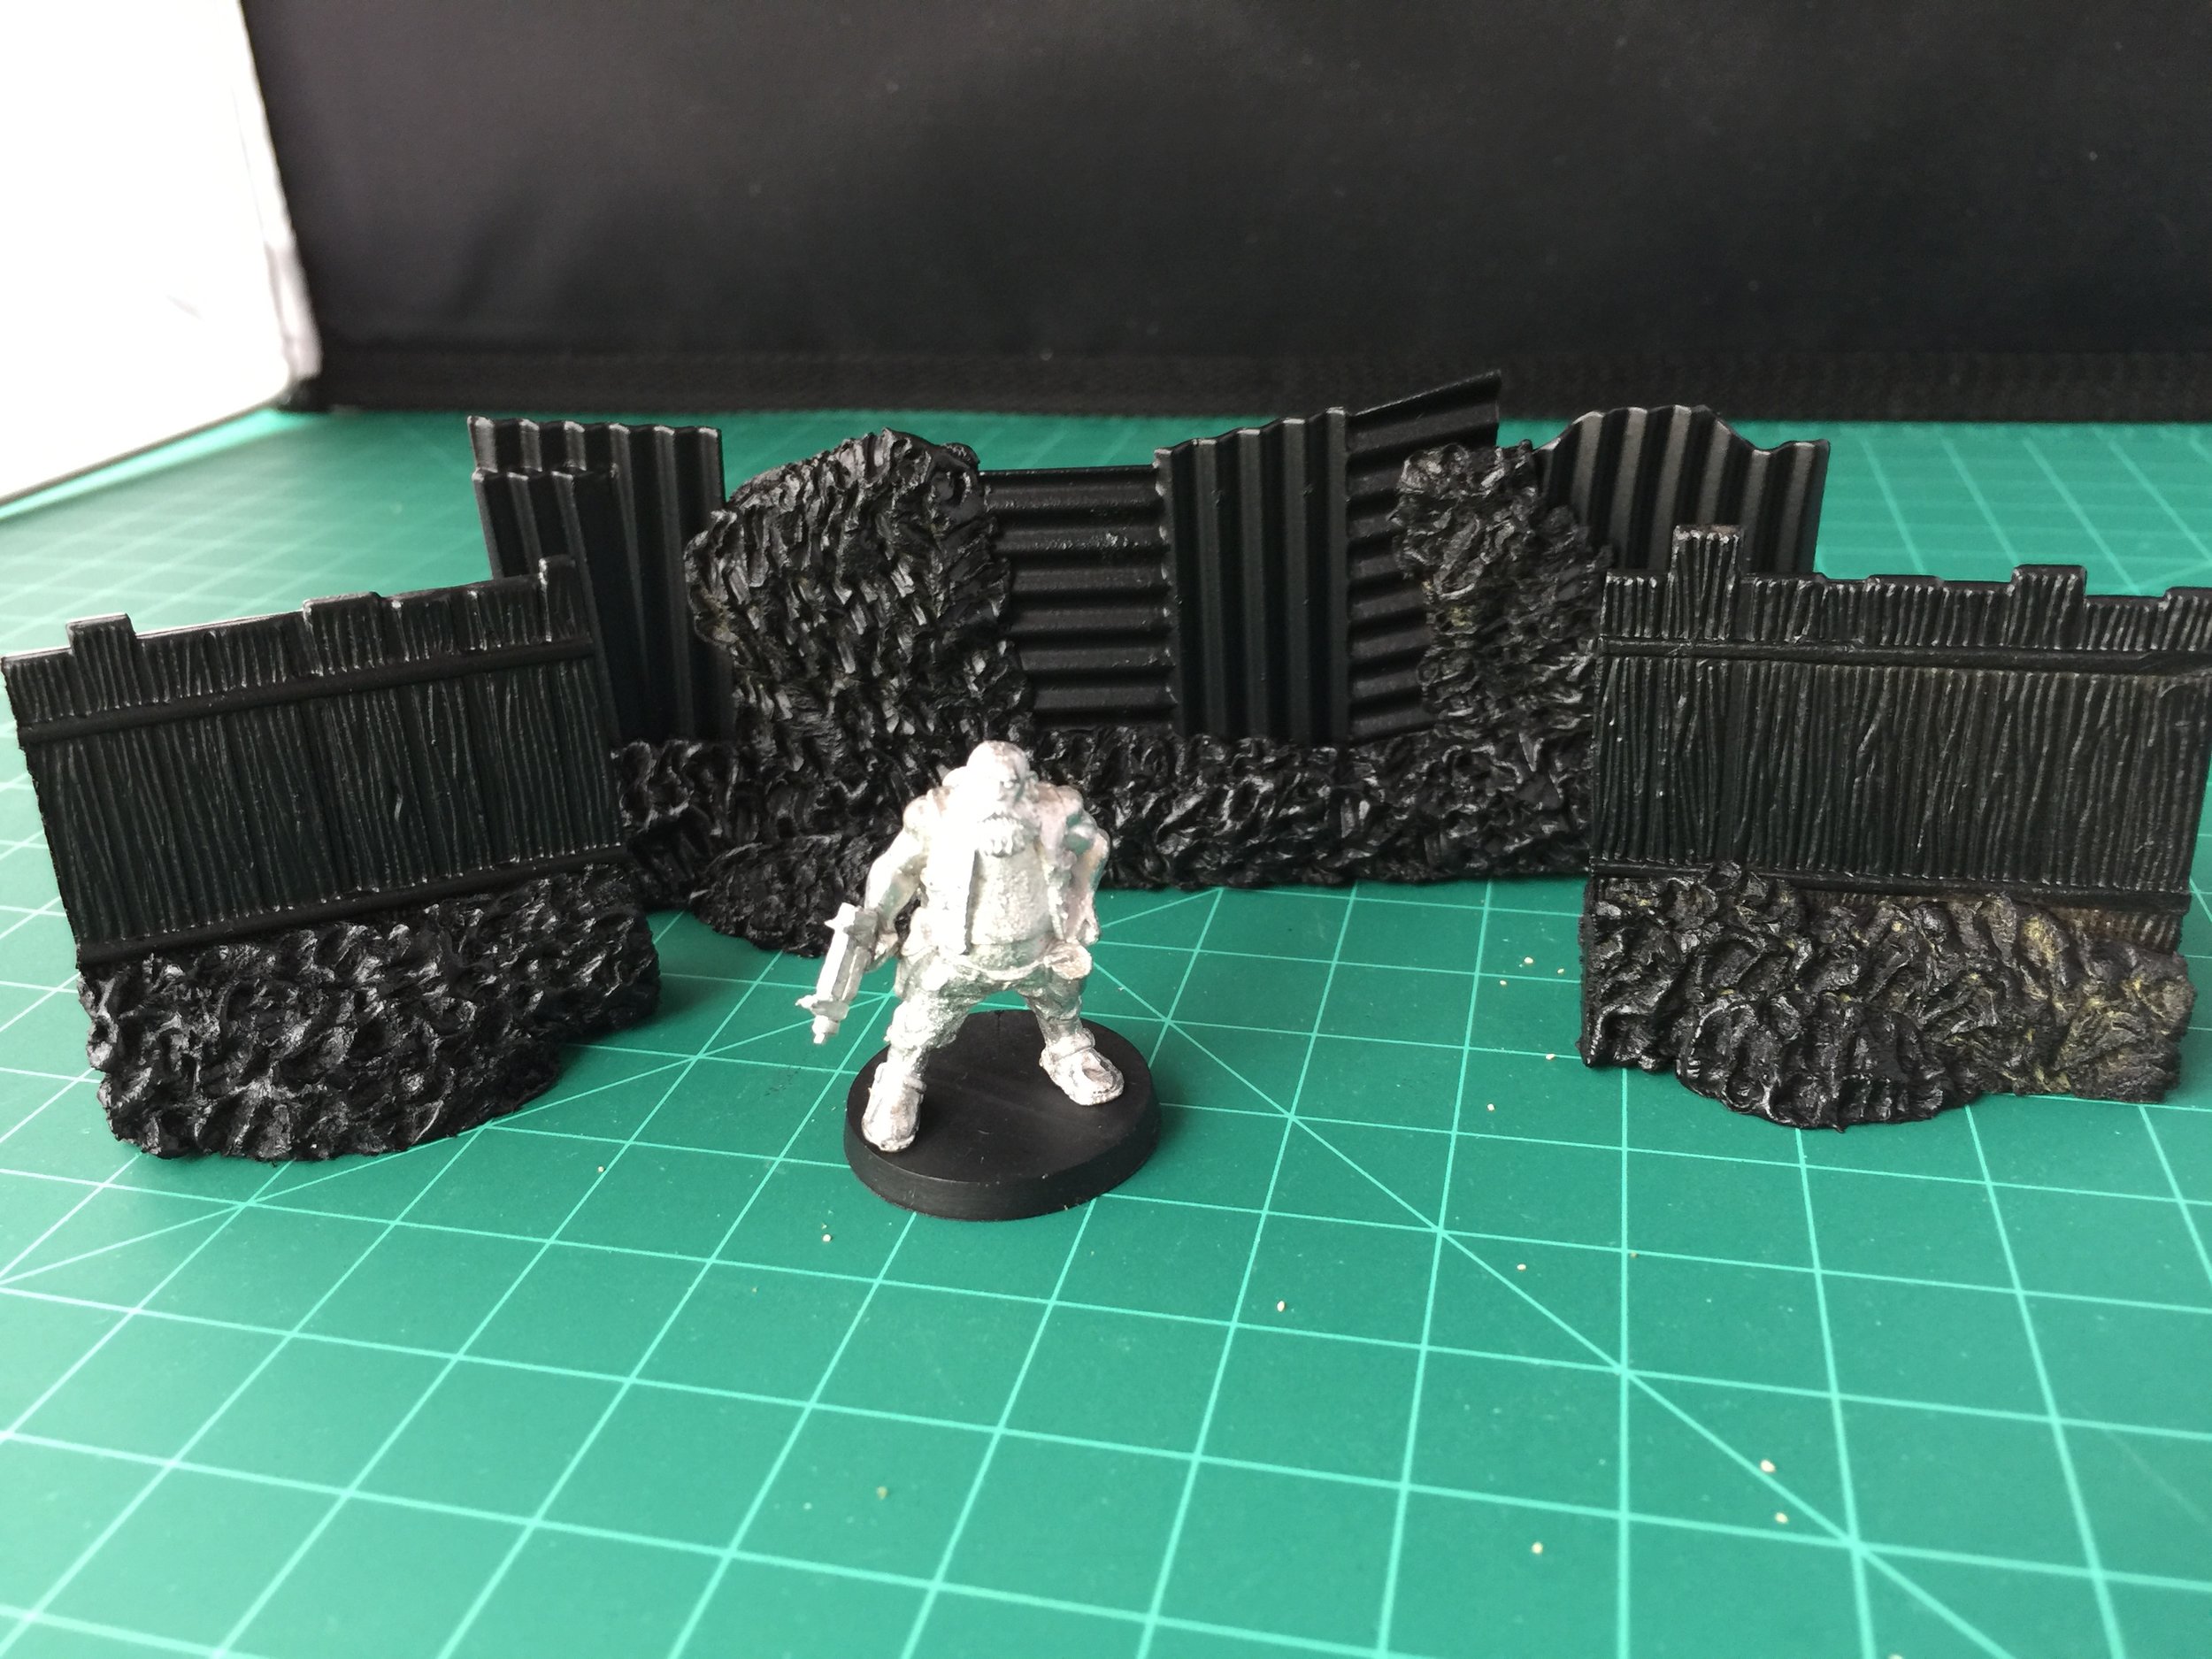
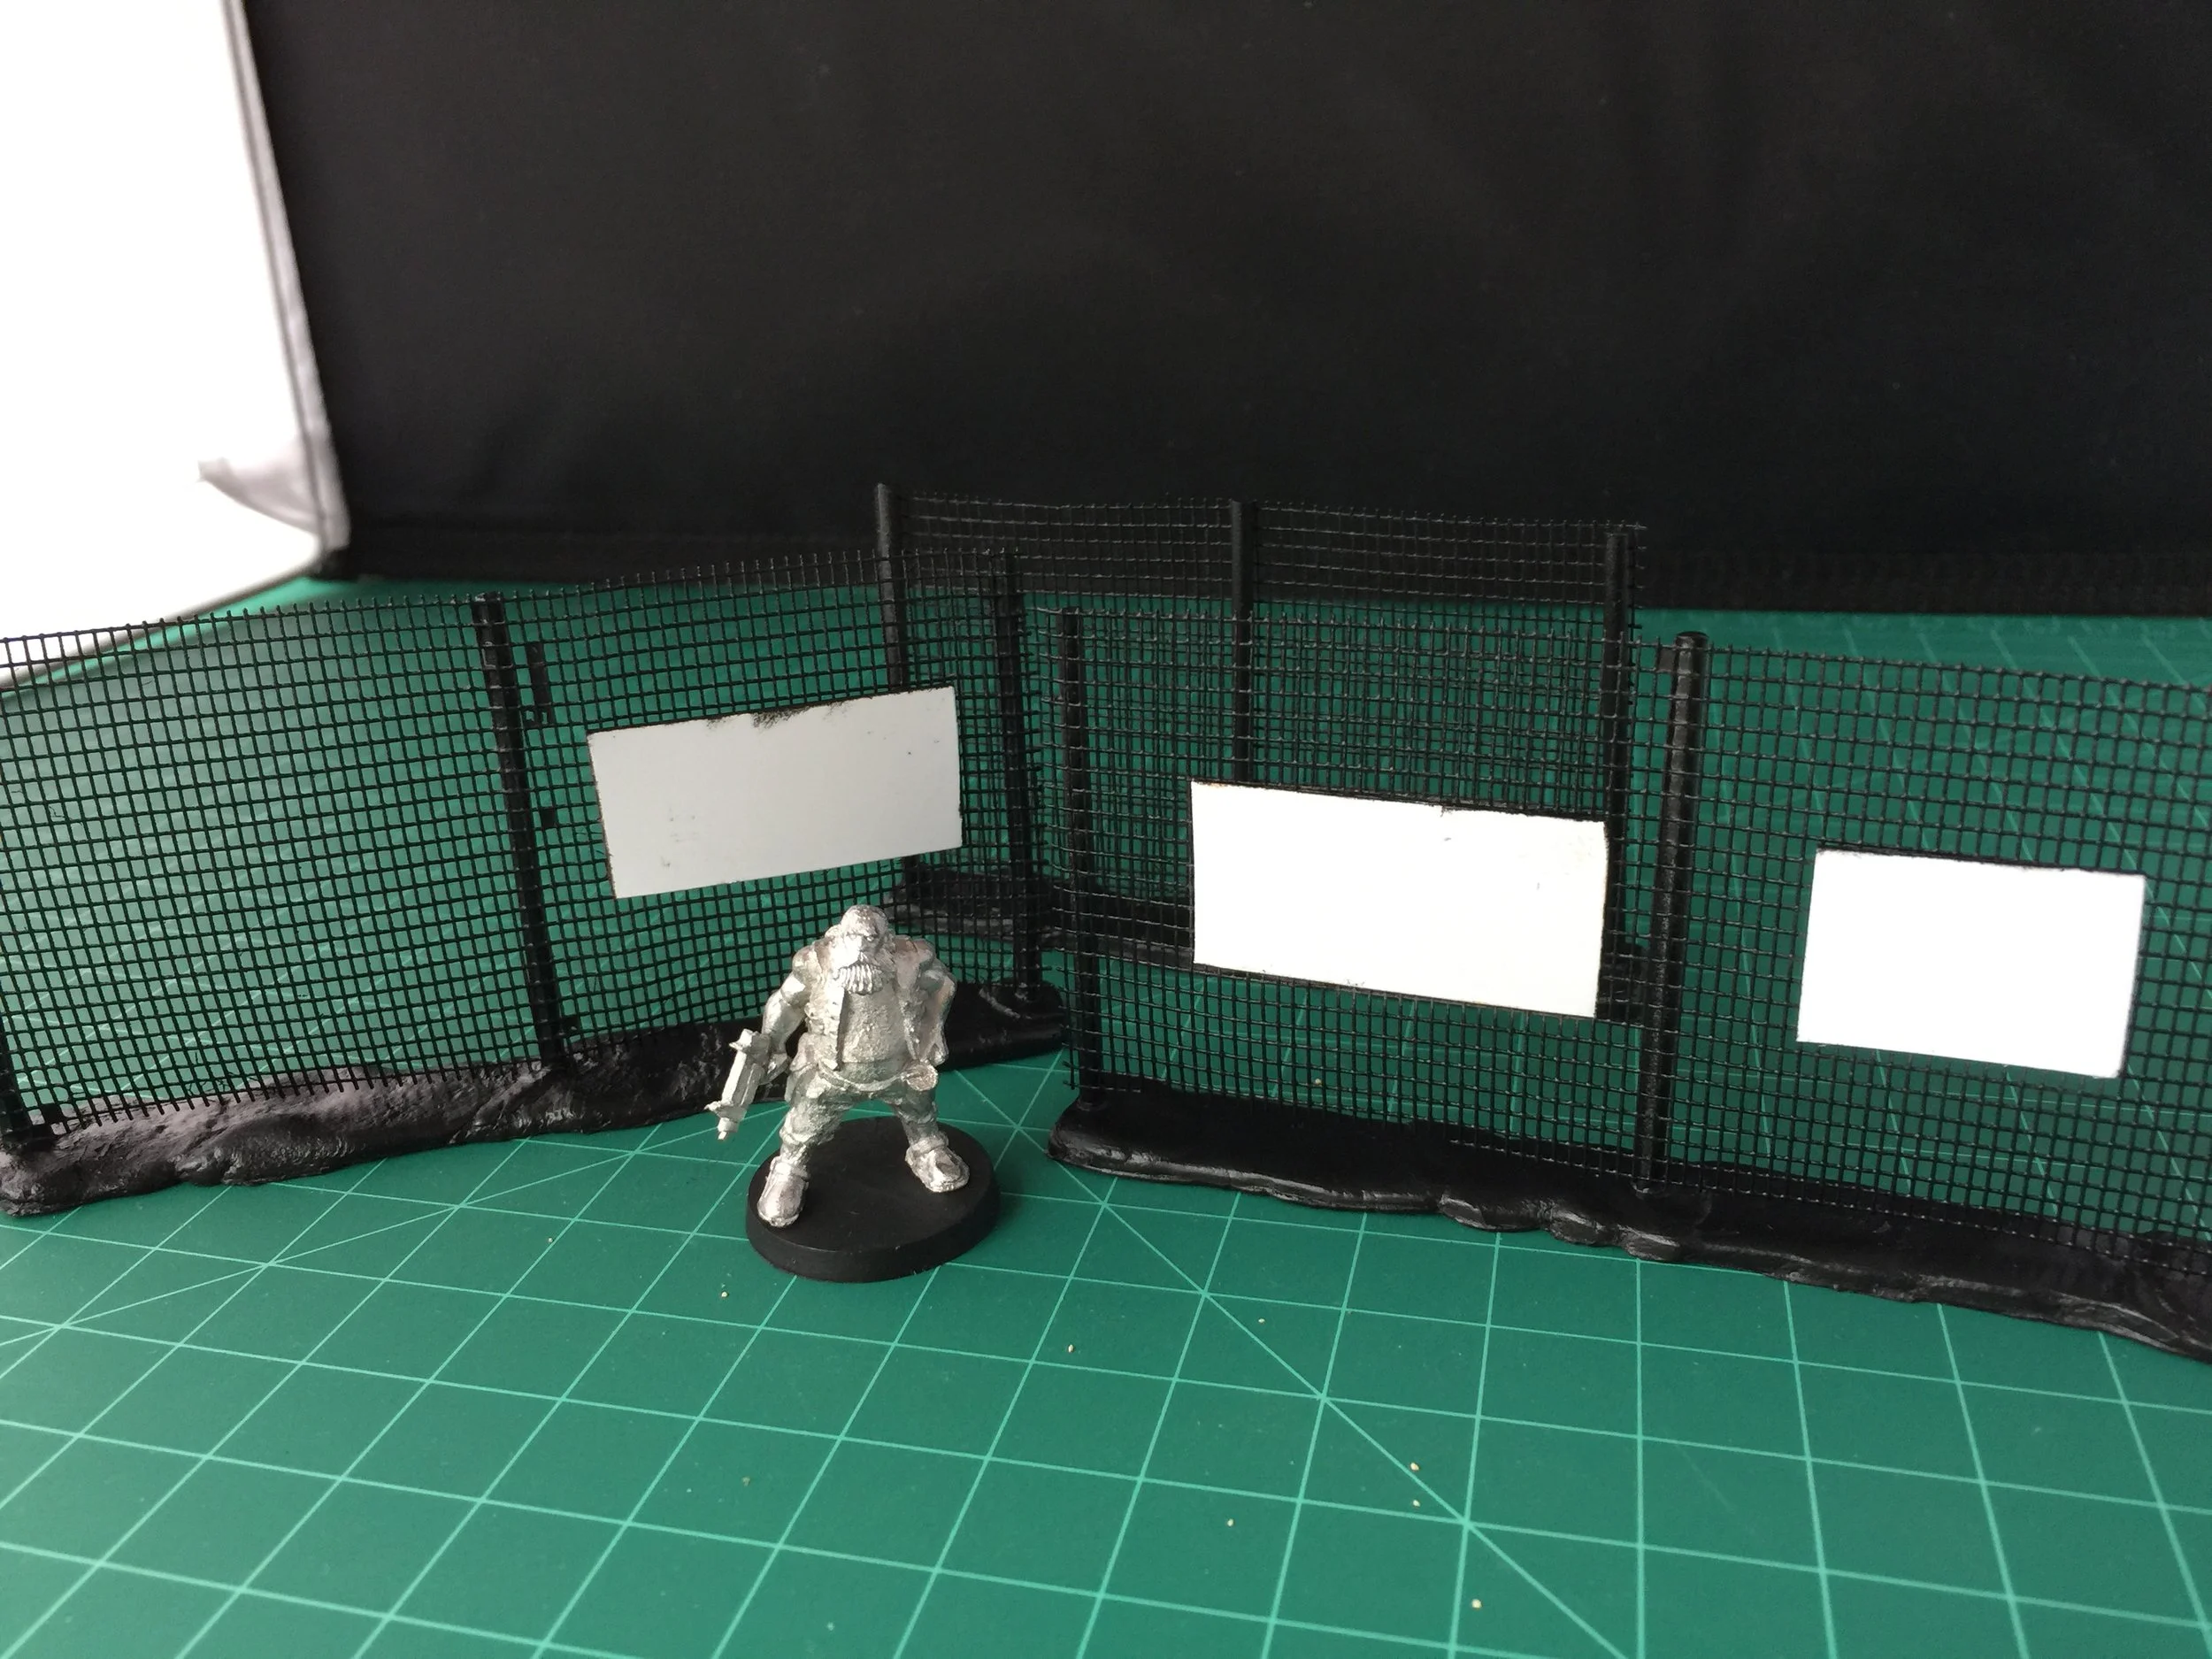
My Weekly Workbench efforts for my last posting ended with the building of the entrance to my trailer park and the sign for my junkyard. Both were built largely with Evergreen plastic and given their base coats of paint as that week ended. This past week the workbench began with the painting of the trailer park entrance and the junkyard sign. Both still need their homemade decals, but those will come soon (PARADISE ESTATES and LAST STOP JUNK & SALVAGE). I also finished the painting of a few more pieces of trailer park fence. The junkyard will be surrounded by the wire fence I used outside of the military base that was part of my spaceport collection. I did make several additional sections of that fence this week to allow the existing fence to work more effectively with the junkyard’s needs. The junkyard fence is made from Evergreen plastic poles, plastic/nylon window screen material, and a Milliput base. Decals for the signs attached to the fence are in process.
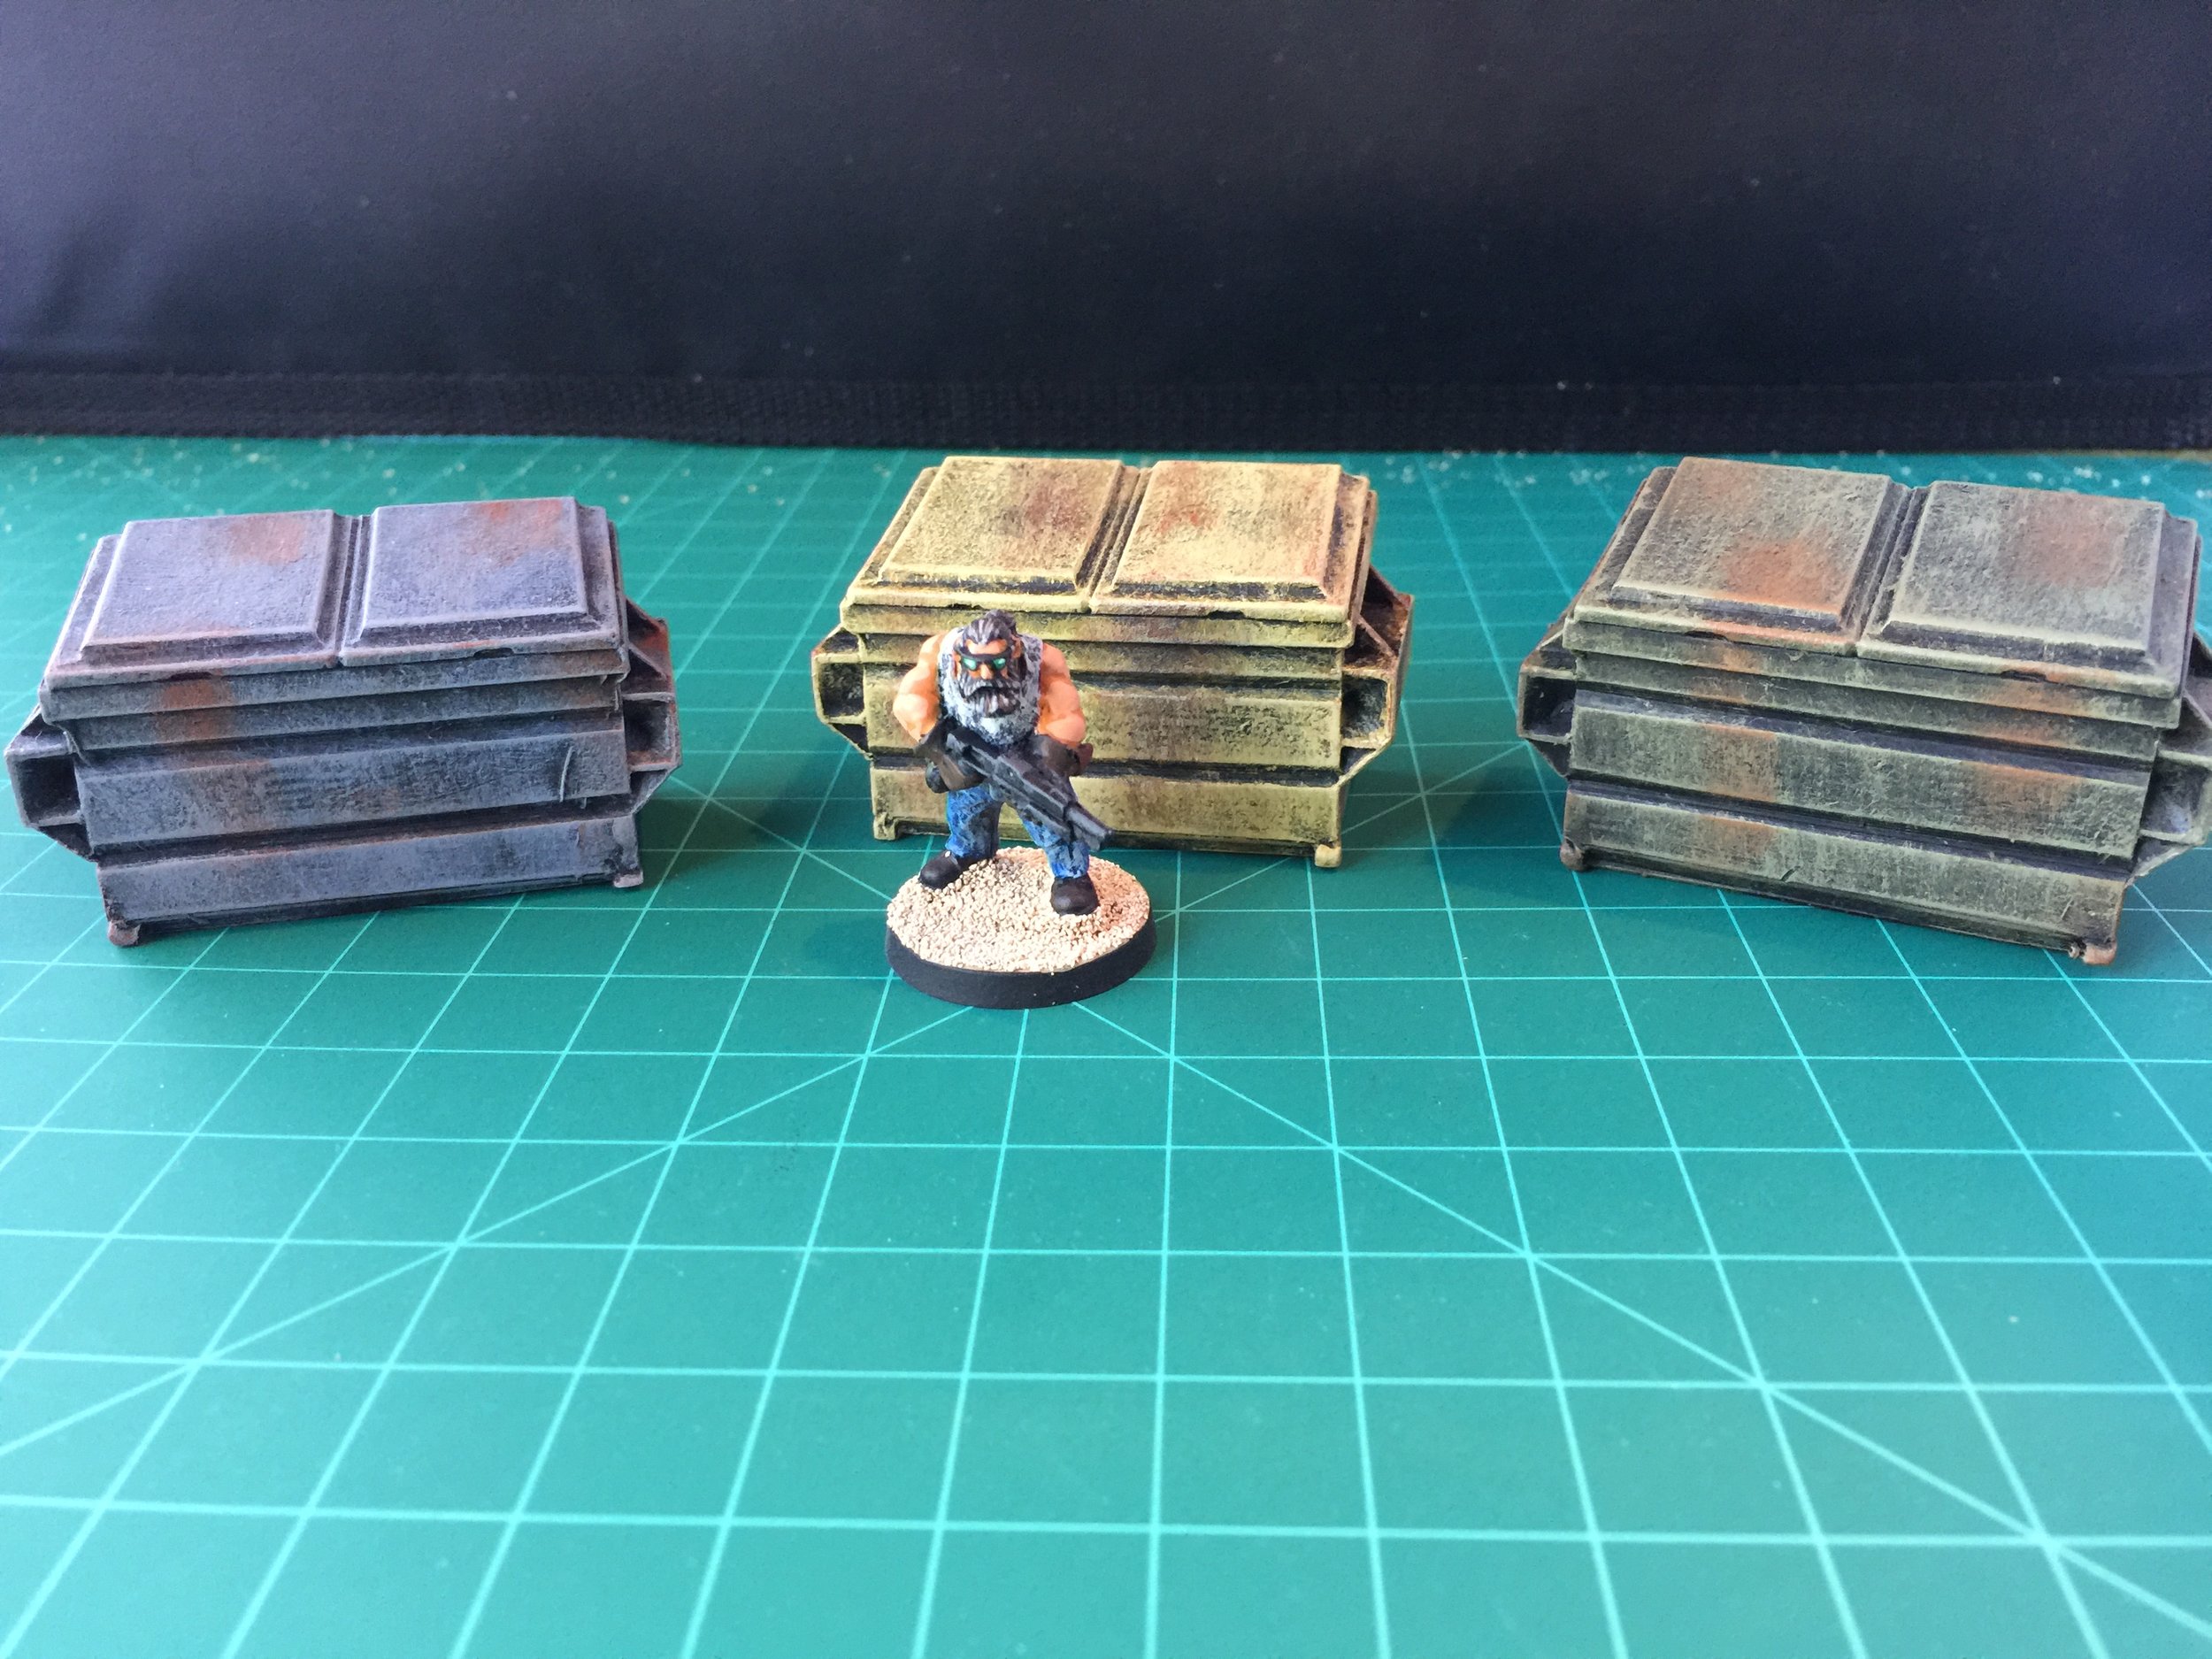
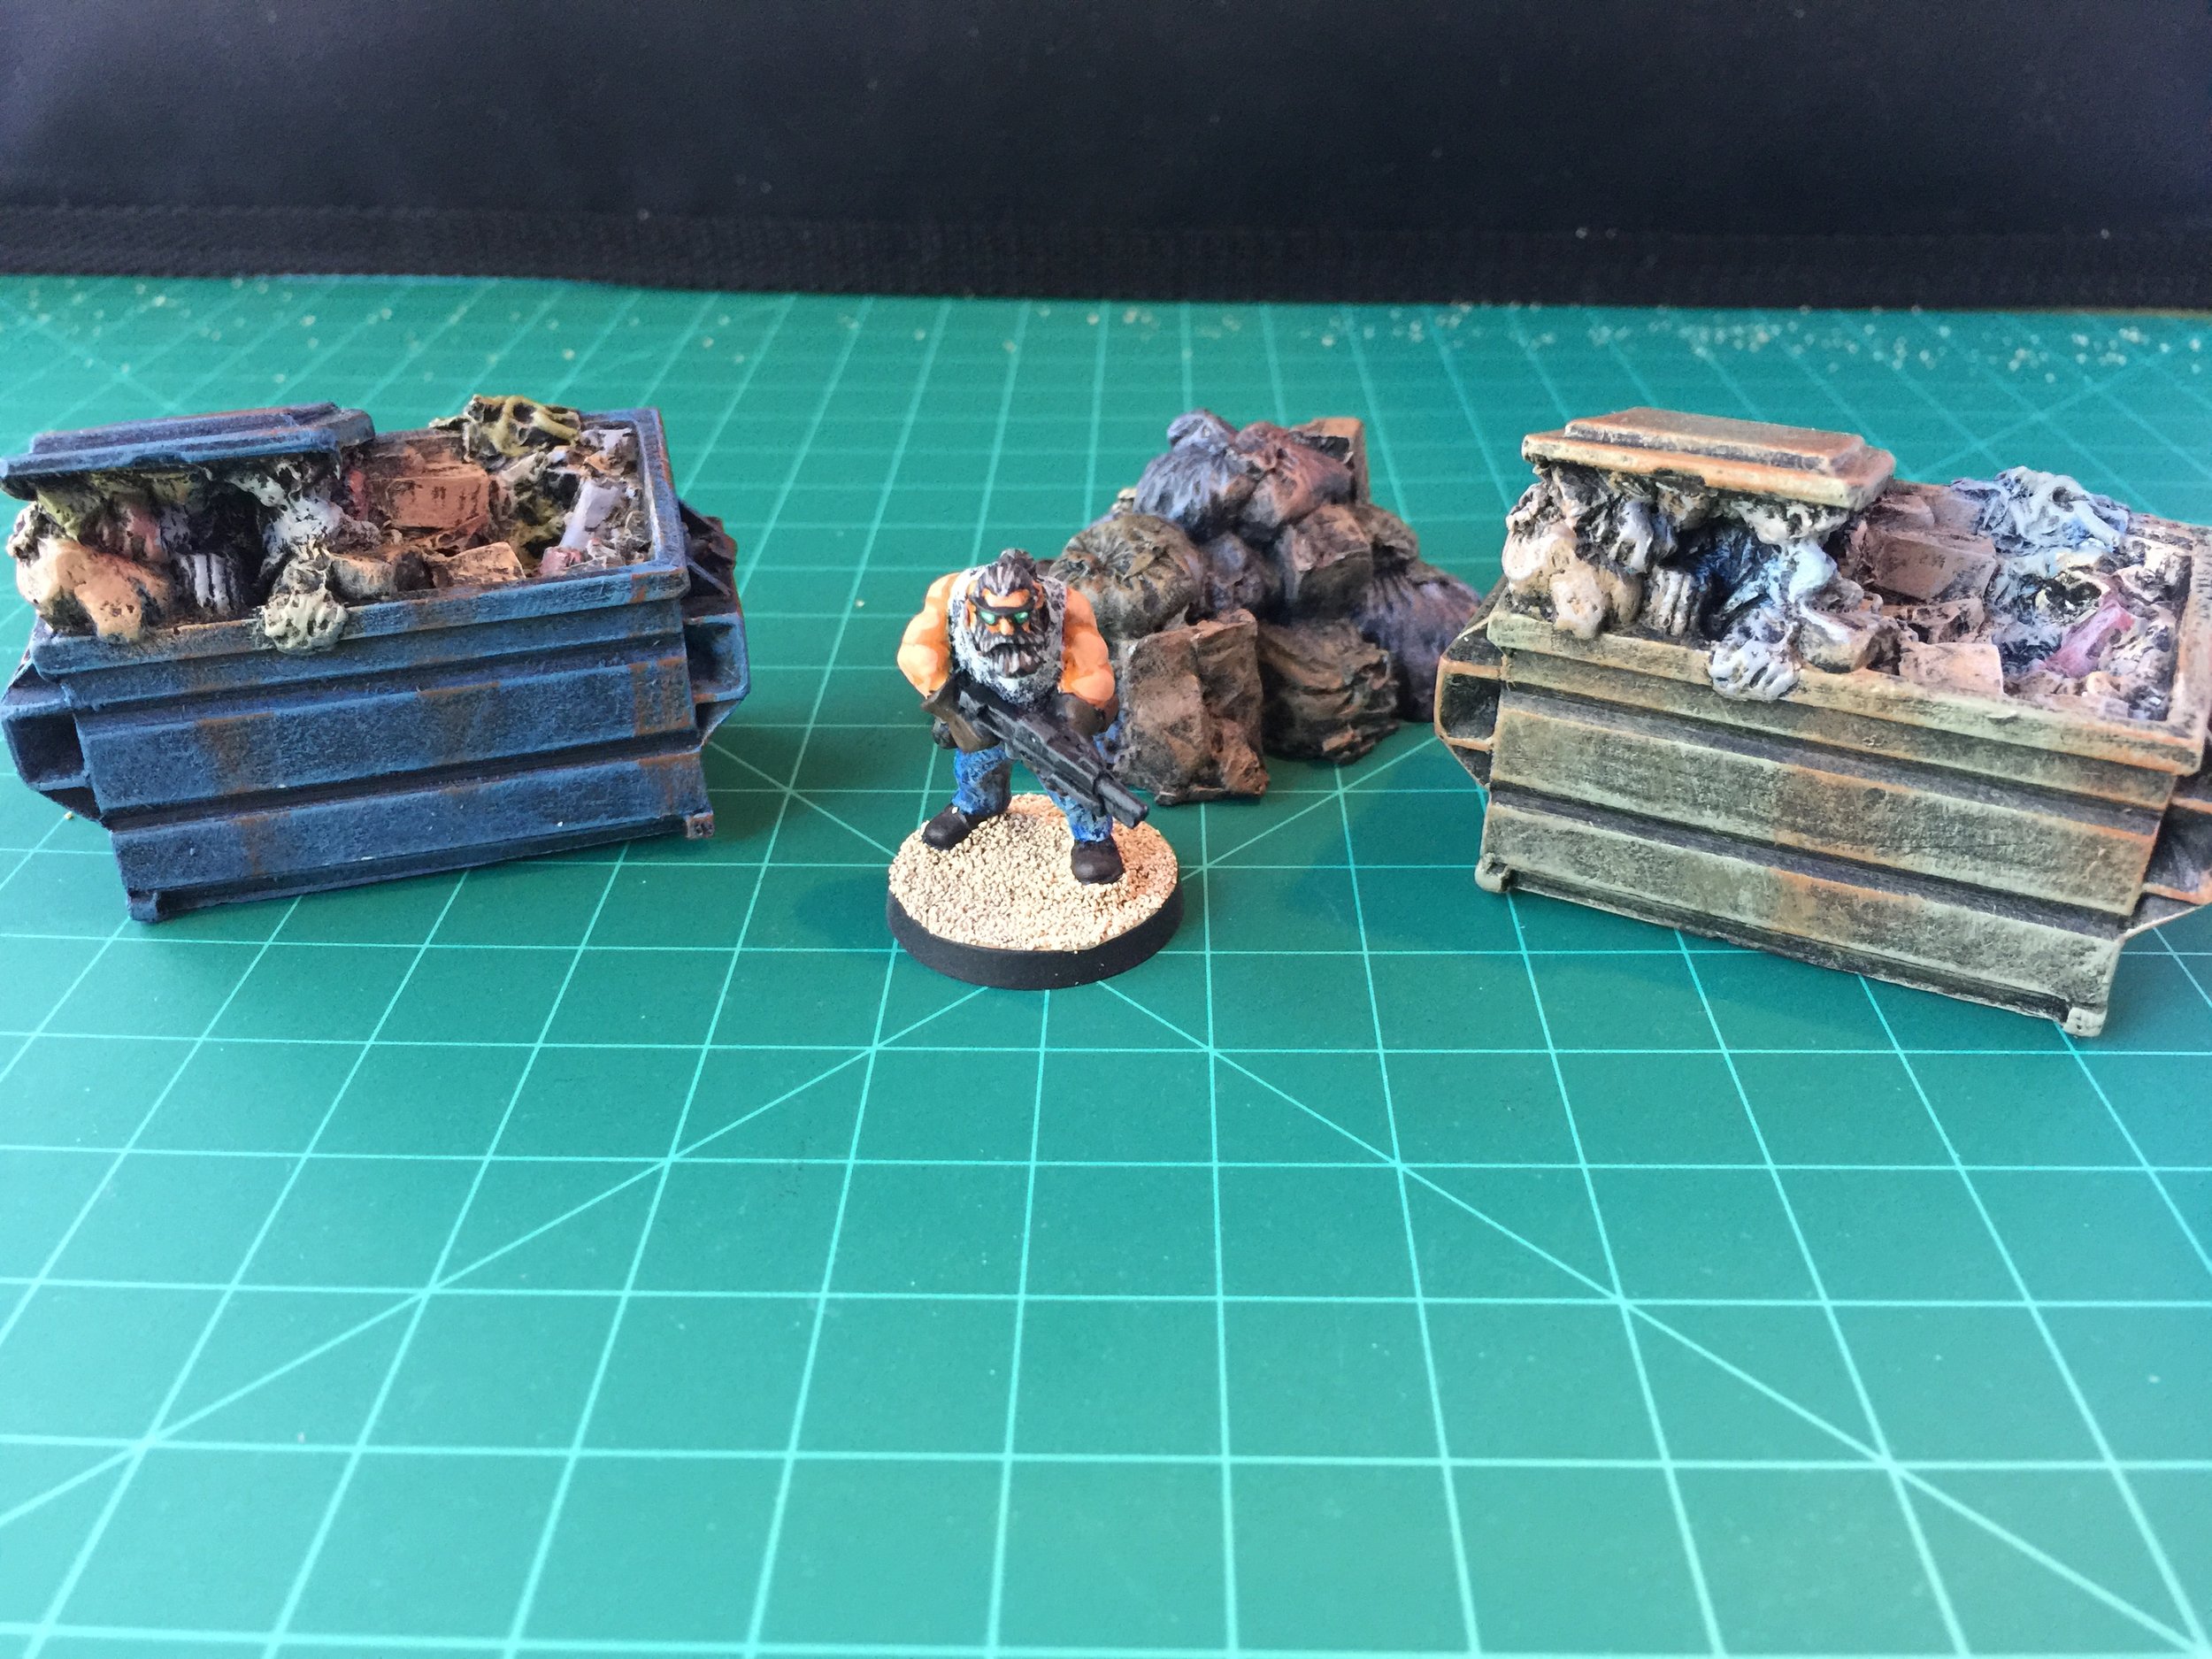
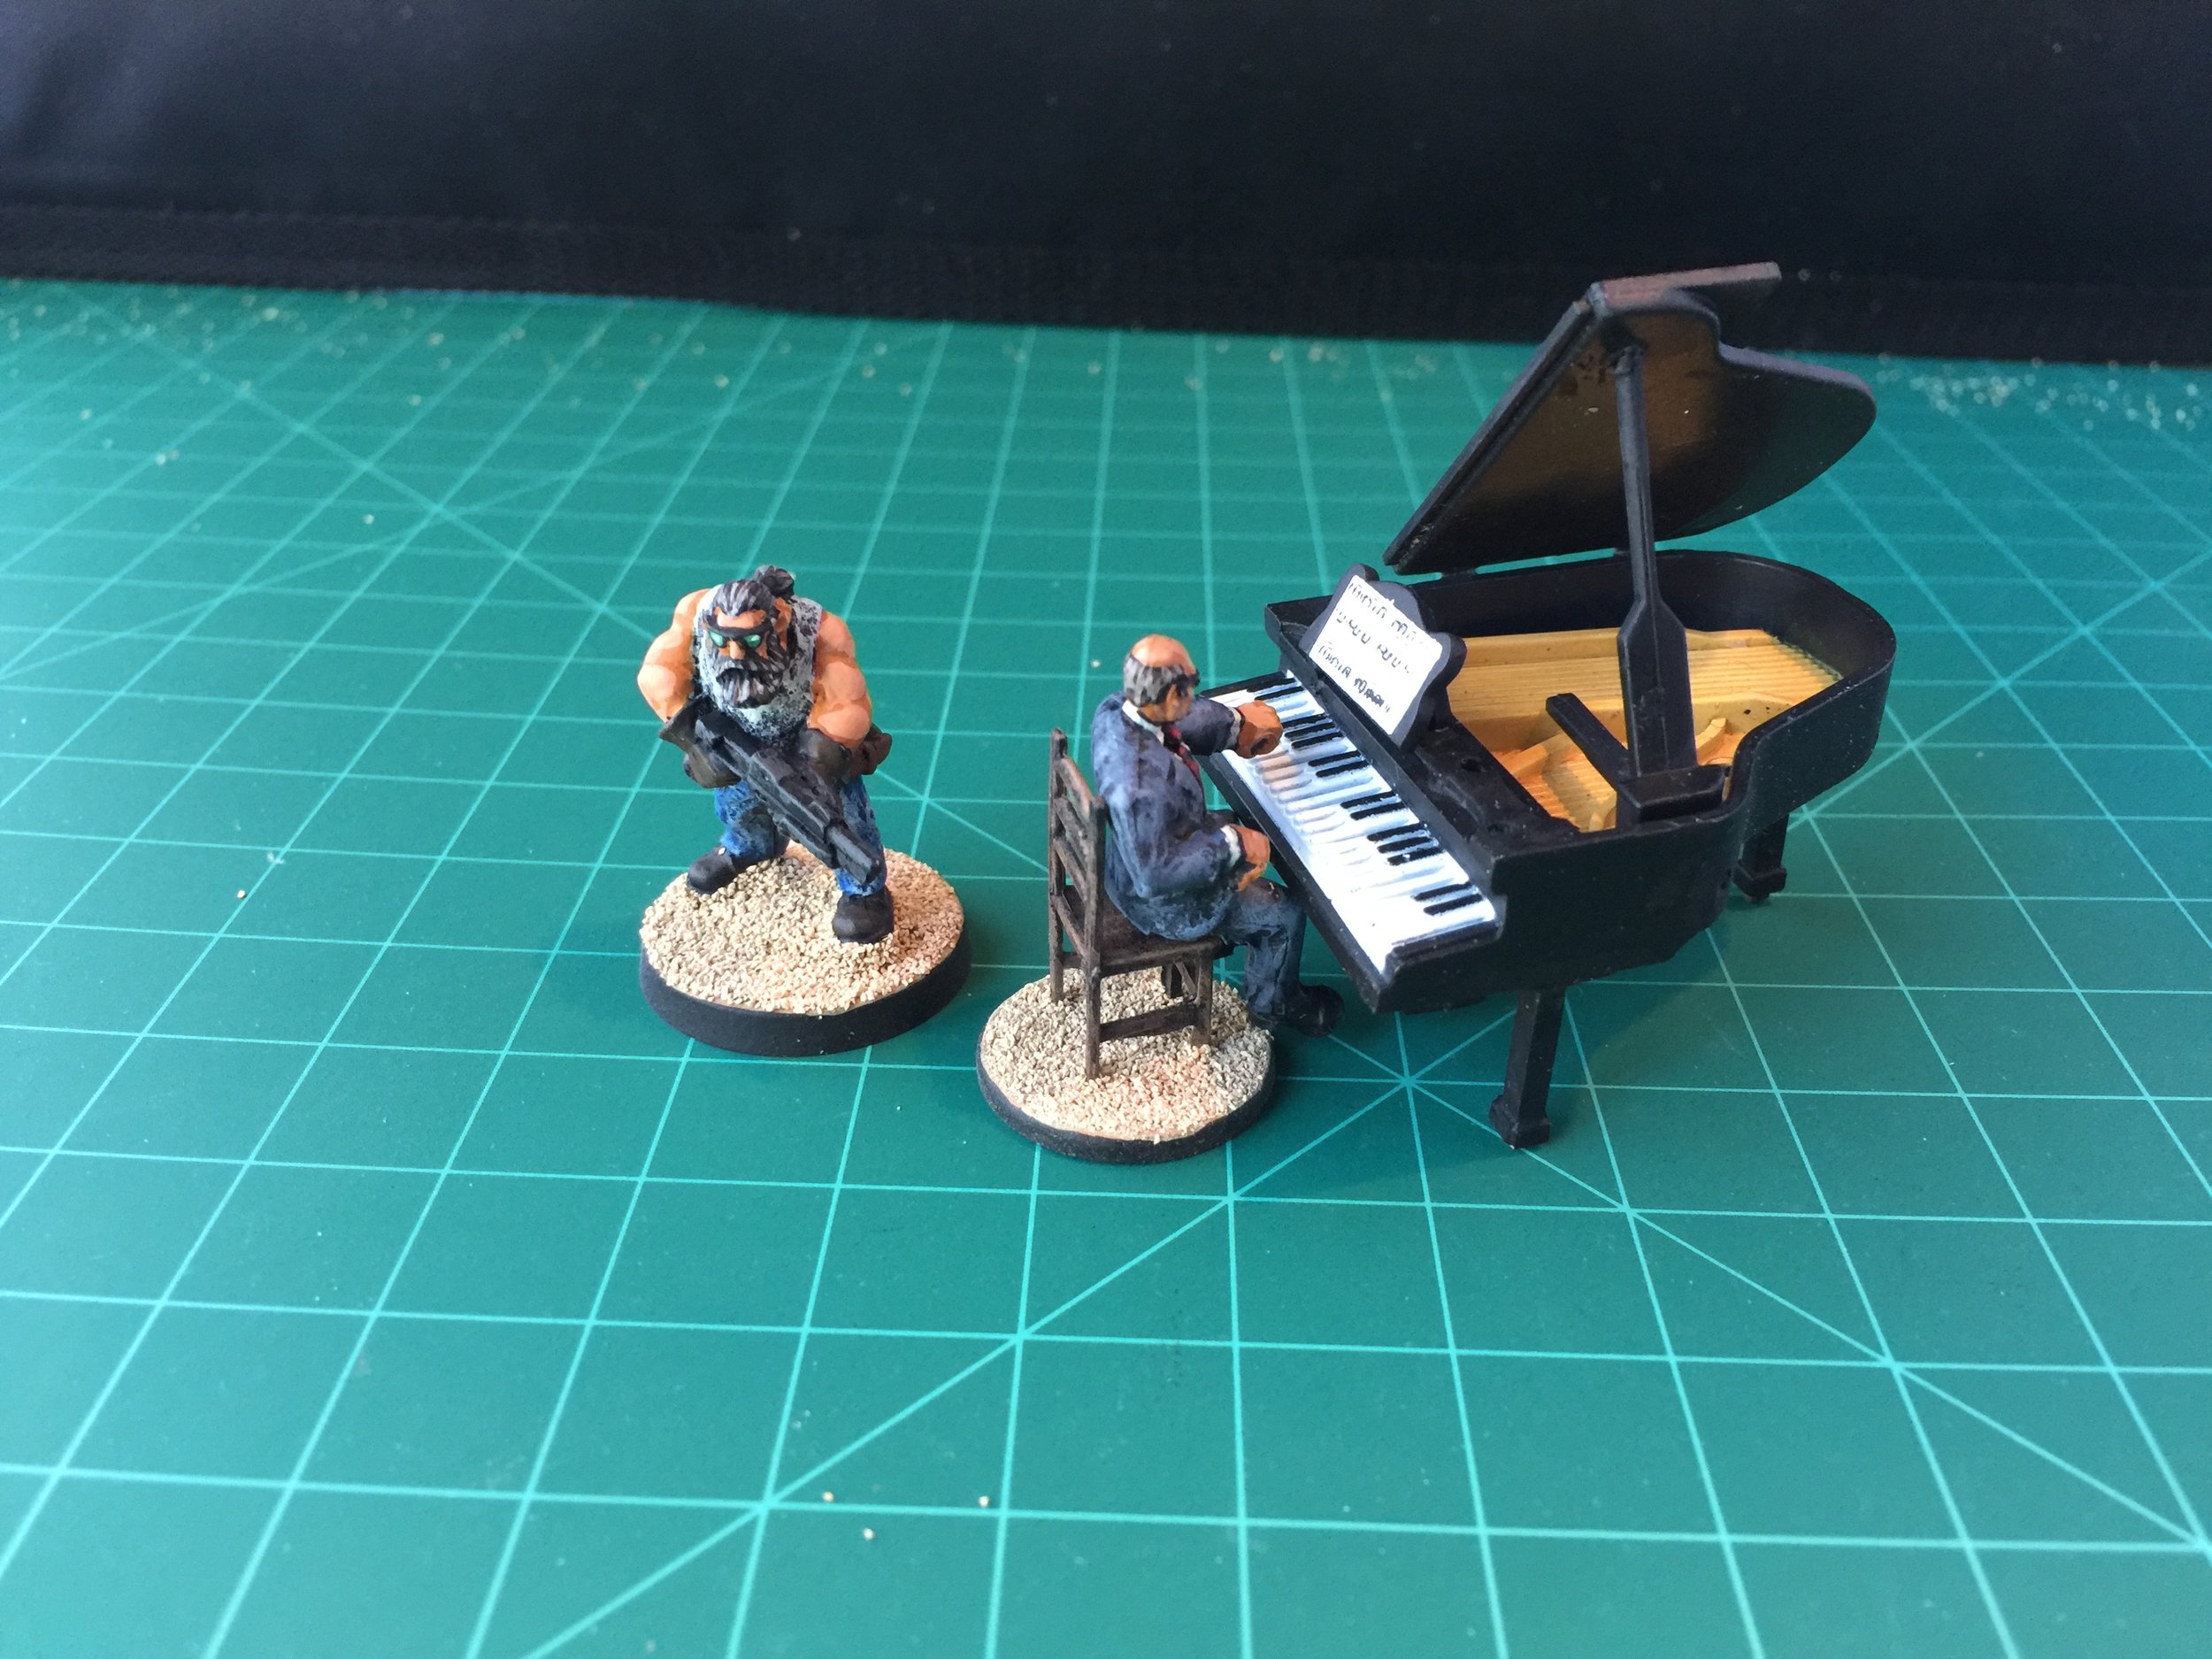
With the two types of fences needed for this project complete, I turned my attention to painting some Armorcast dumpsters and trash… nice pieces. In the middle of the week I accidented upon a broken Christmas ornament I found at the swap meet last November or December. It is a grand piano. In terms of size, it is perfect for 28mm. As you might guess it was covered with Christmas décor and unfortunately its right leg was missing. I paid 50 cents or perhaps a dollar for it, put it in a box of odds and ends, and until this week forgot about it. When it caught my attention a few days ago, I decided it would be fun to have a guy in a suit playing a grand piano in the junkyard. What I didn’t know was whether I could bring it back to life… new leg and no Christmas décor. It turned out great. I cut off the décor, filled the holes and sanded its rough areas smooth. I used several different pieces of Evergreen plastic to build a new leg and gave the body of the piano a new paint job. Because it is located in a junkyard, I used a straight back wooden chair by Aztec Miniatures (1/4” dollhouse furniture) for the piano player’s seat. I made the piano player from two Reaper Chronoscope figures pieced together for the look I was after.
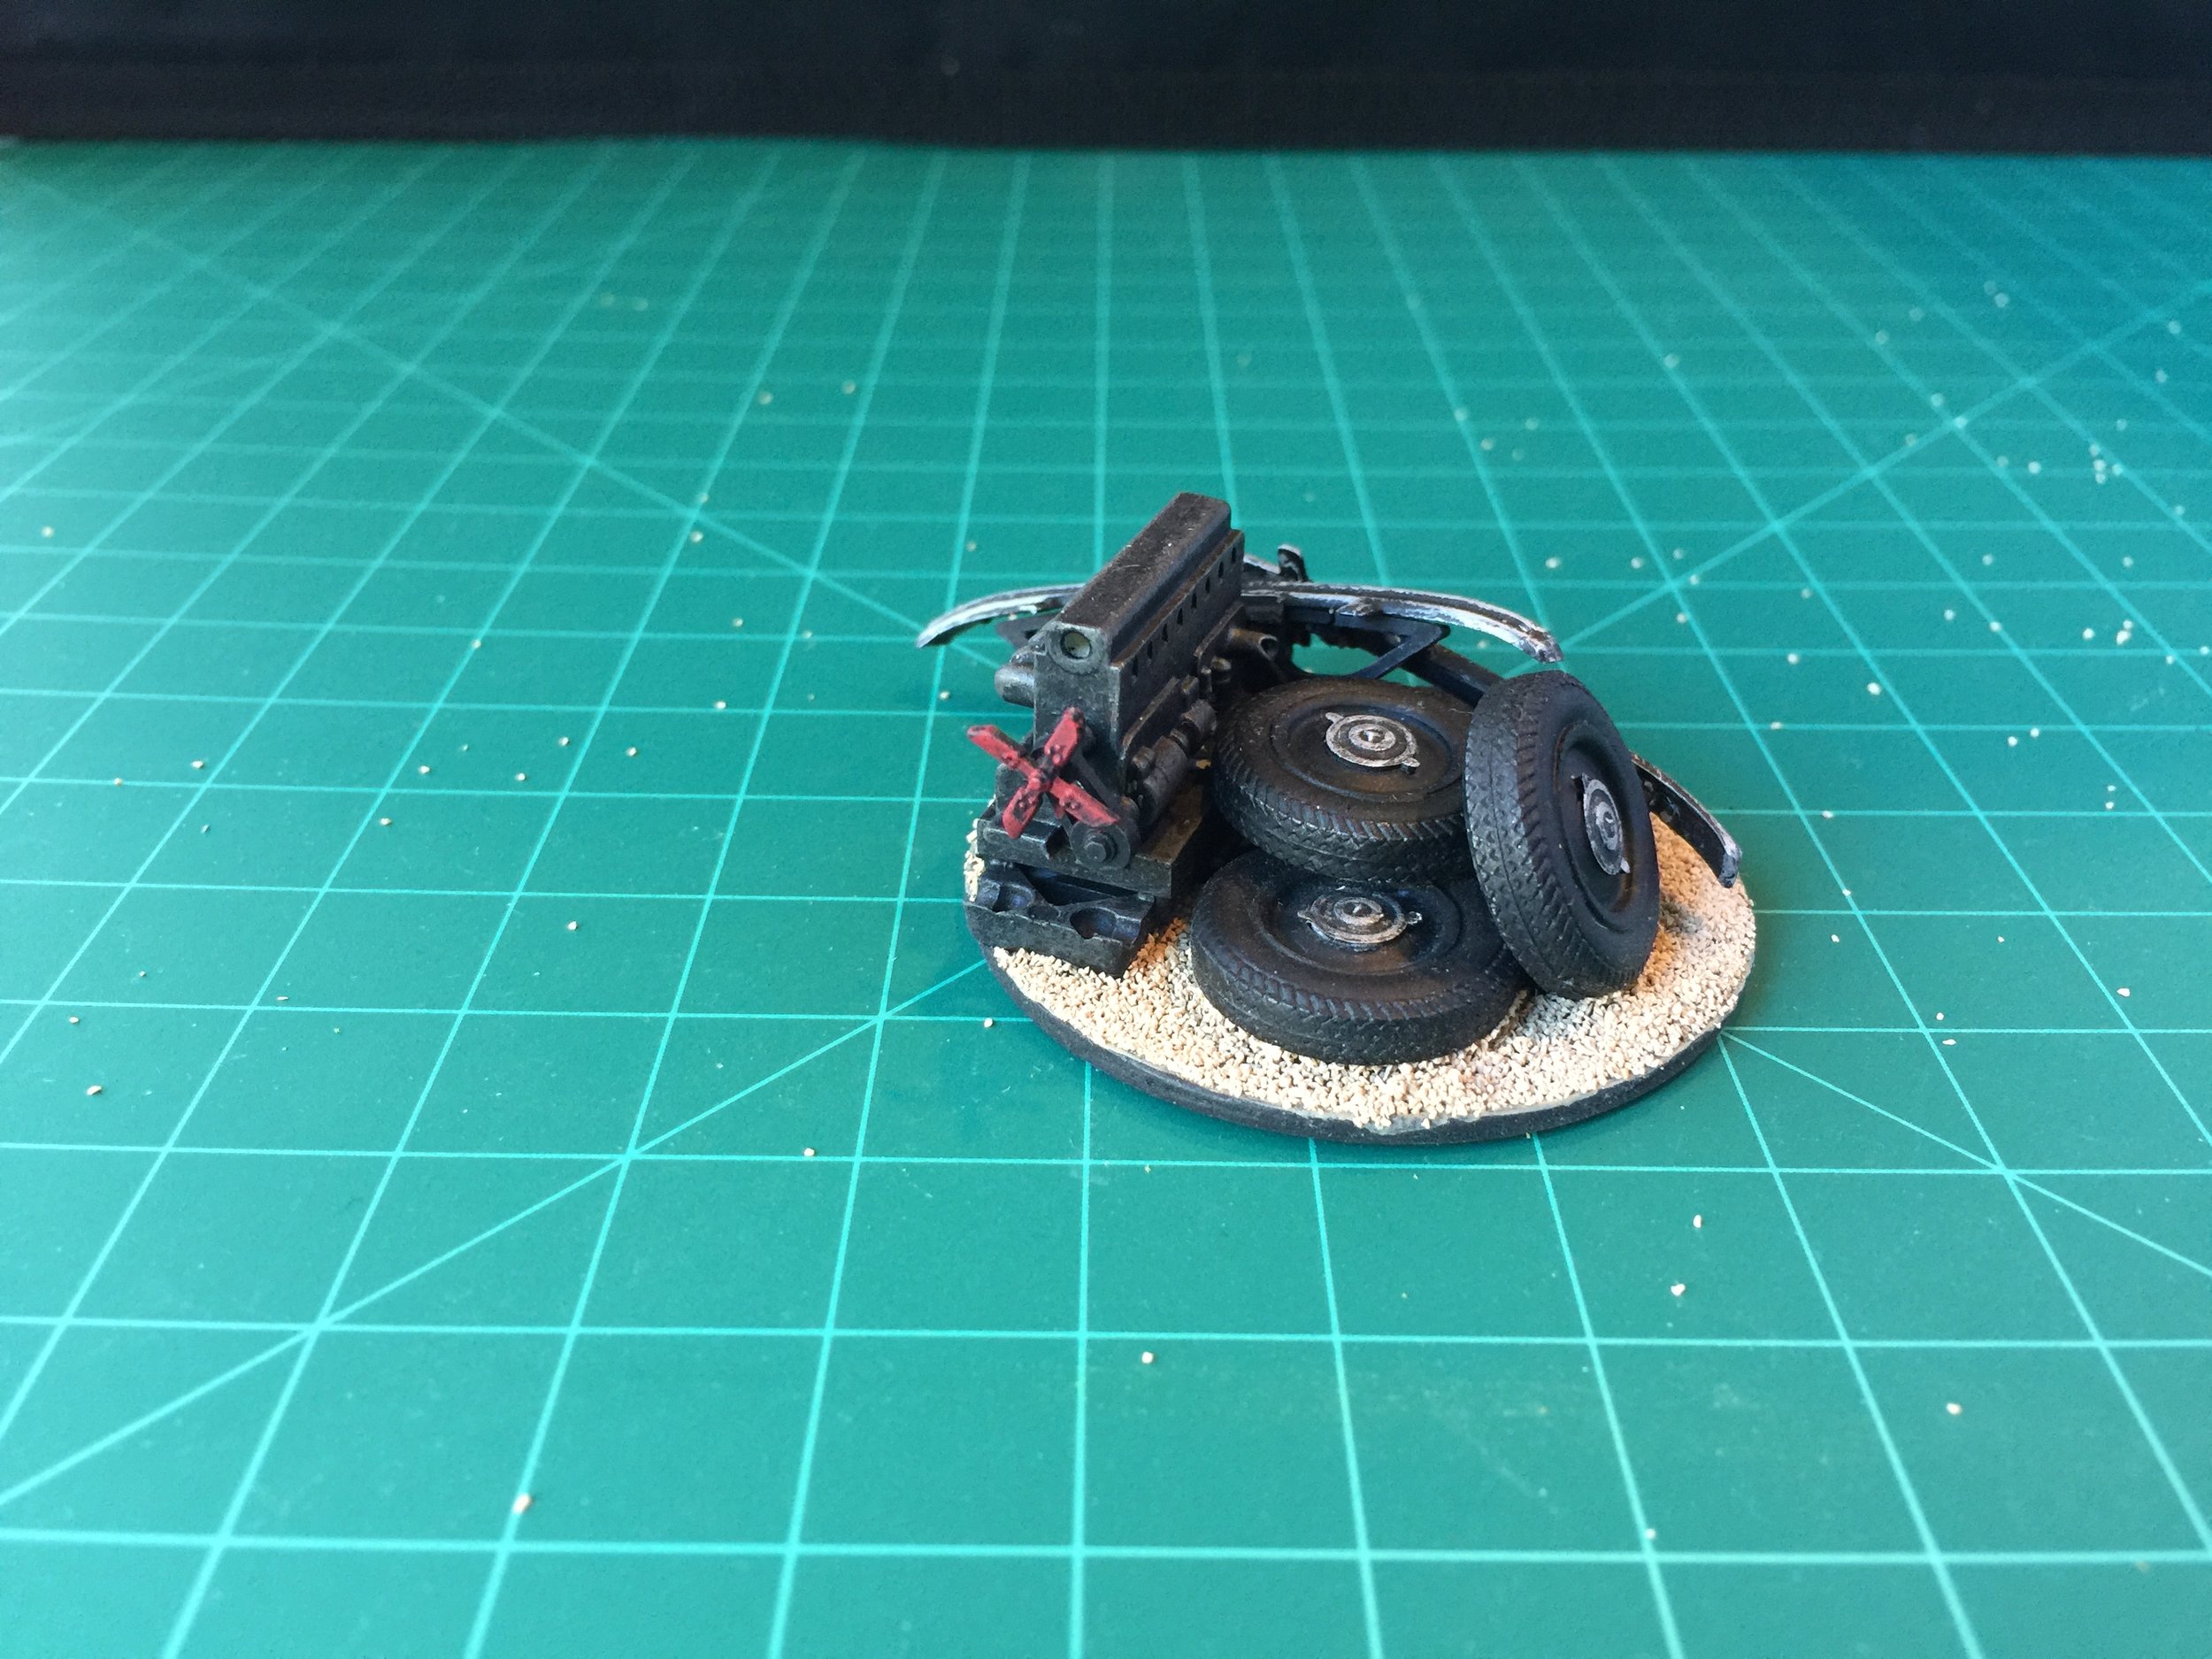
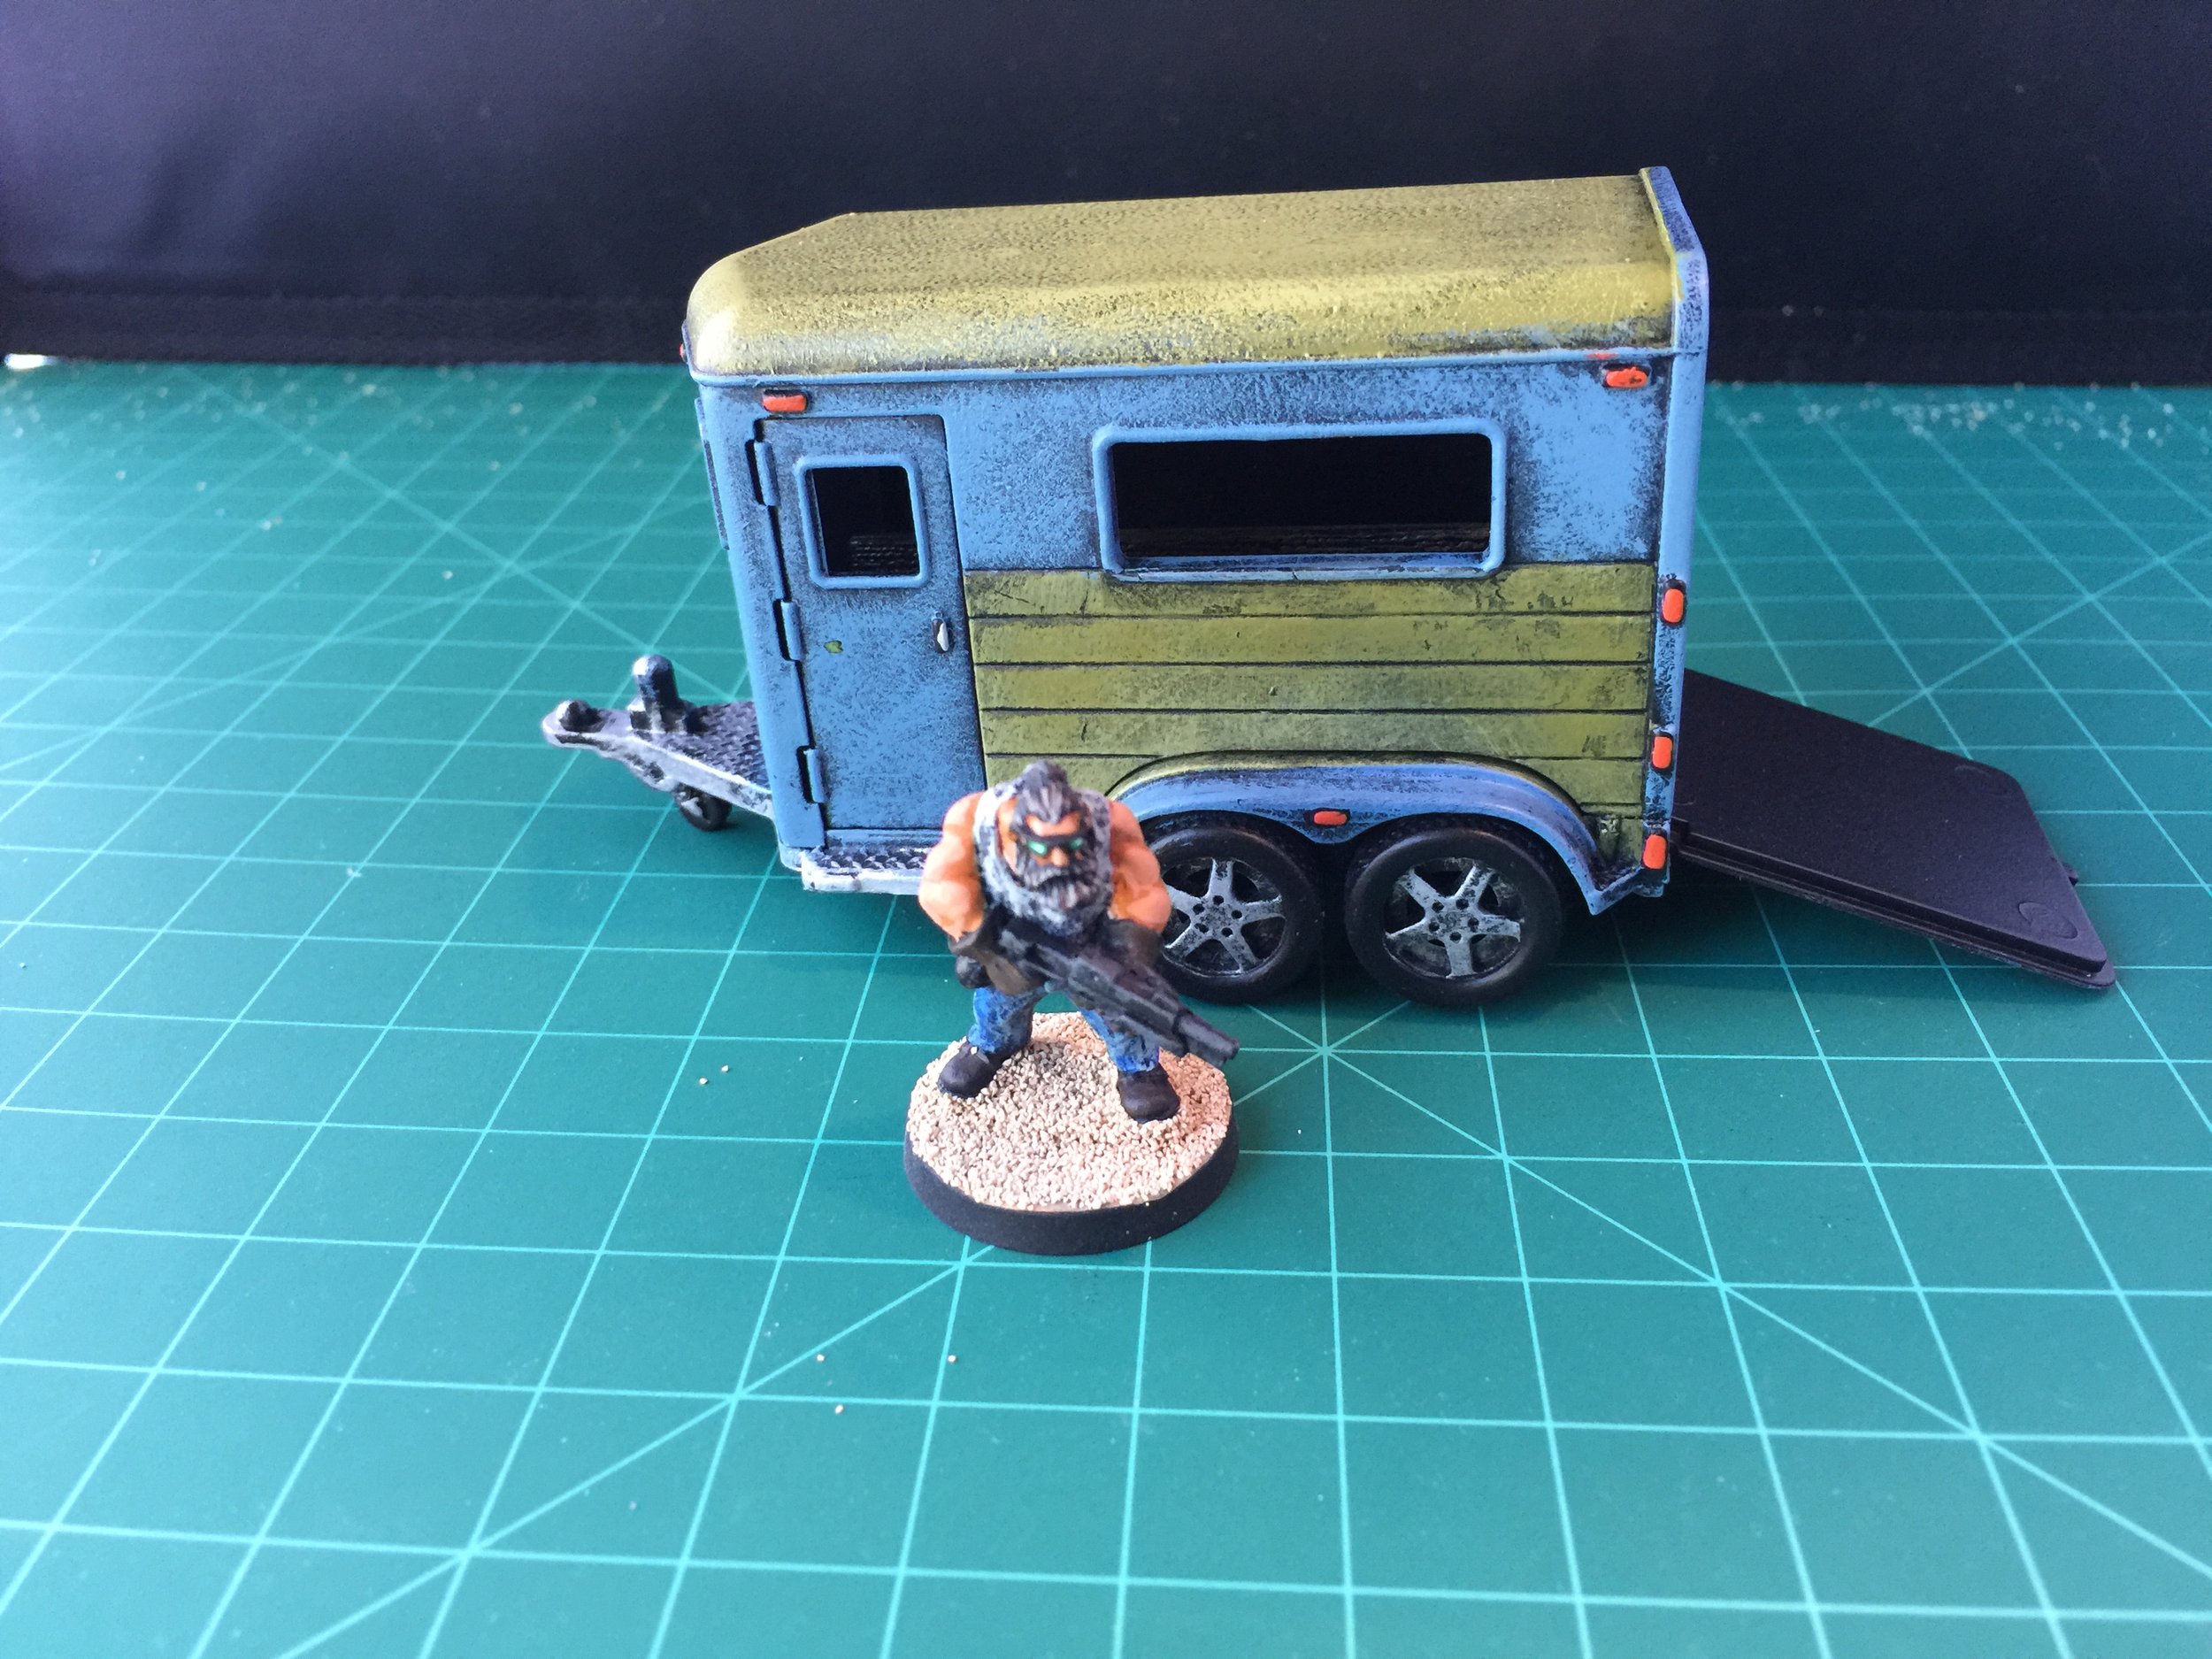
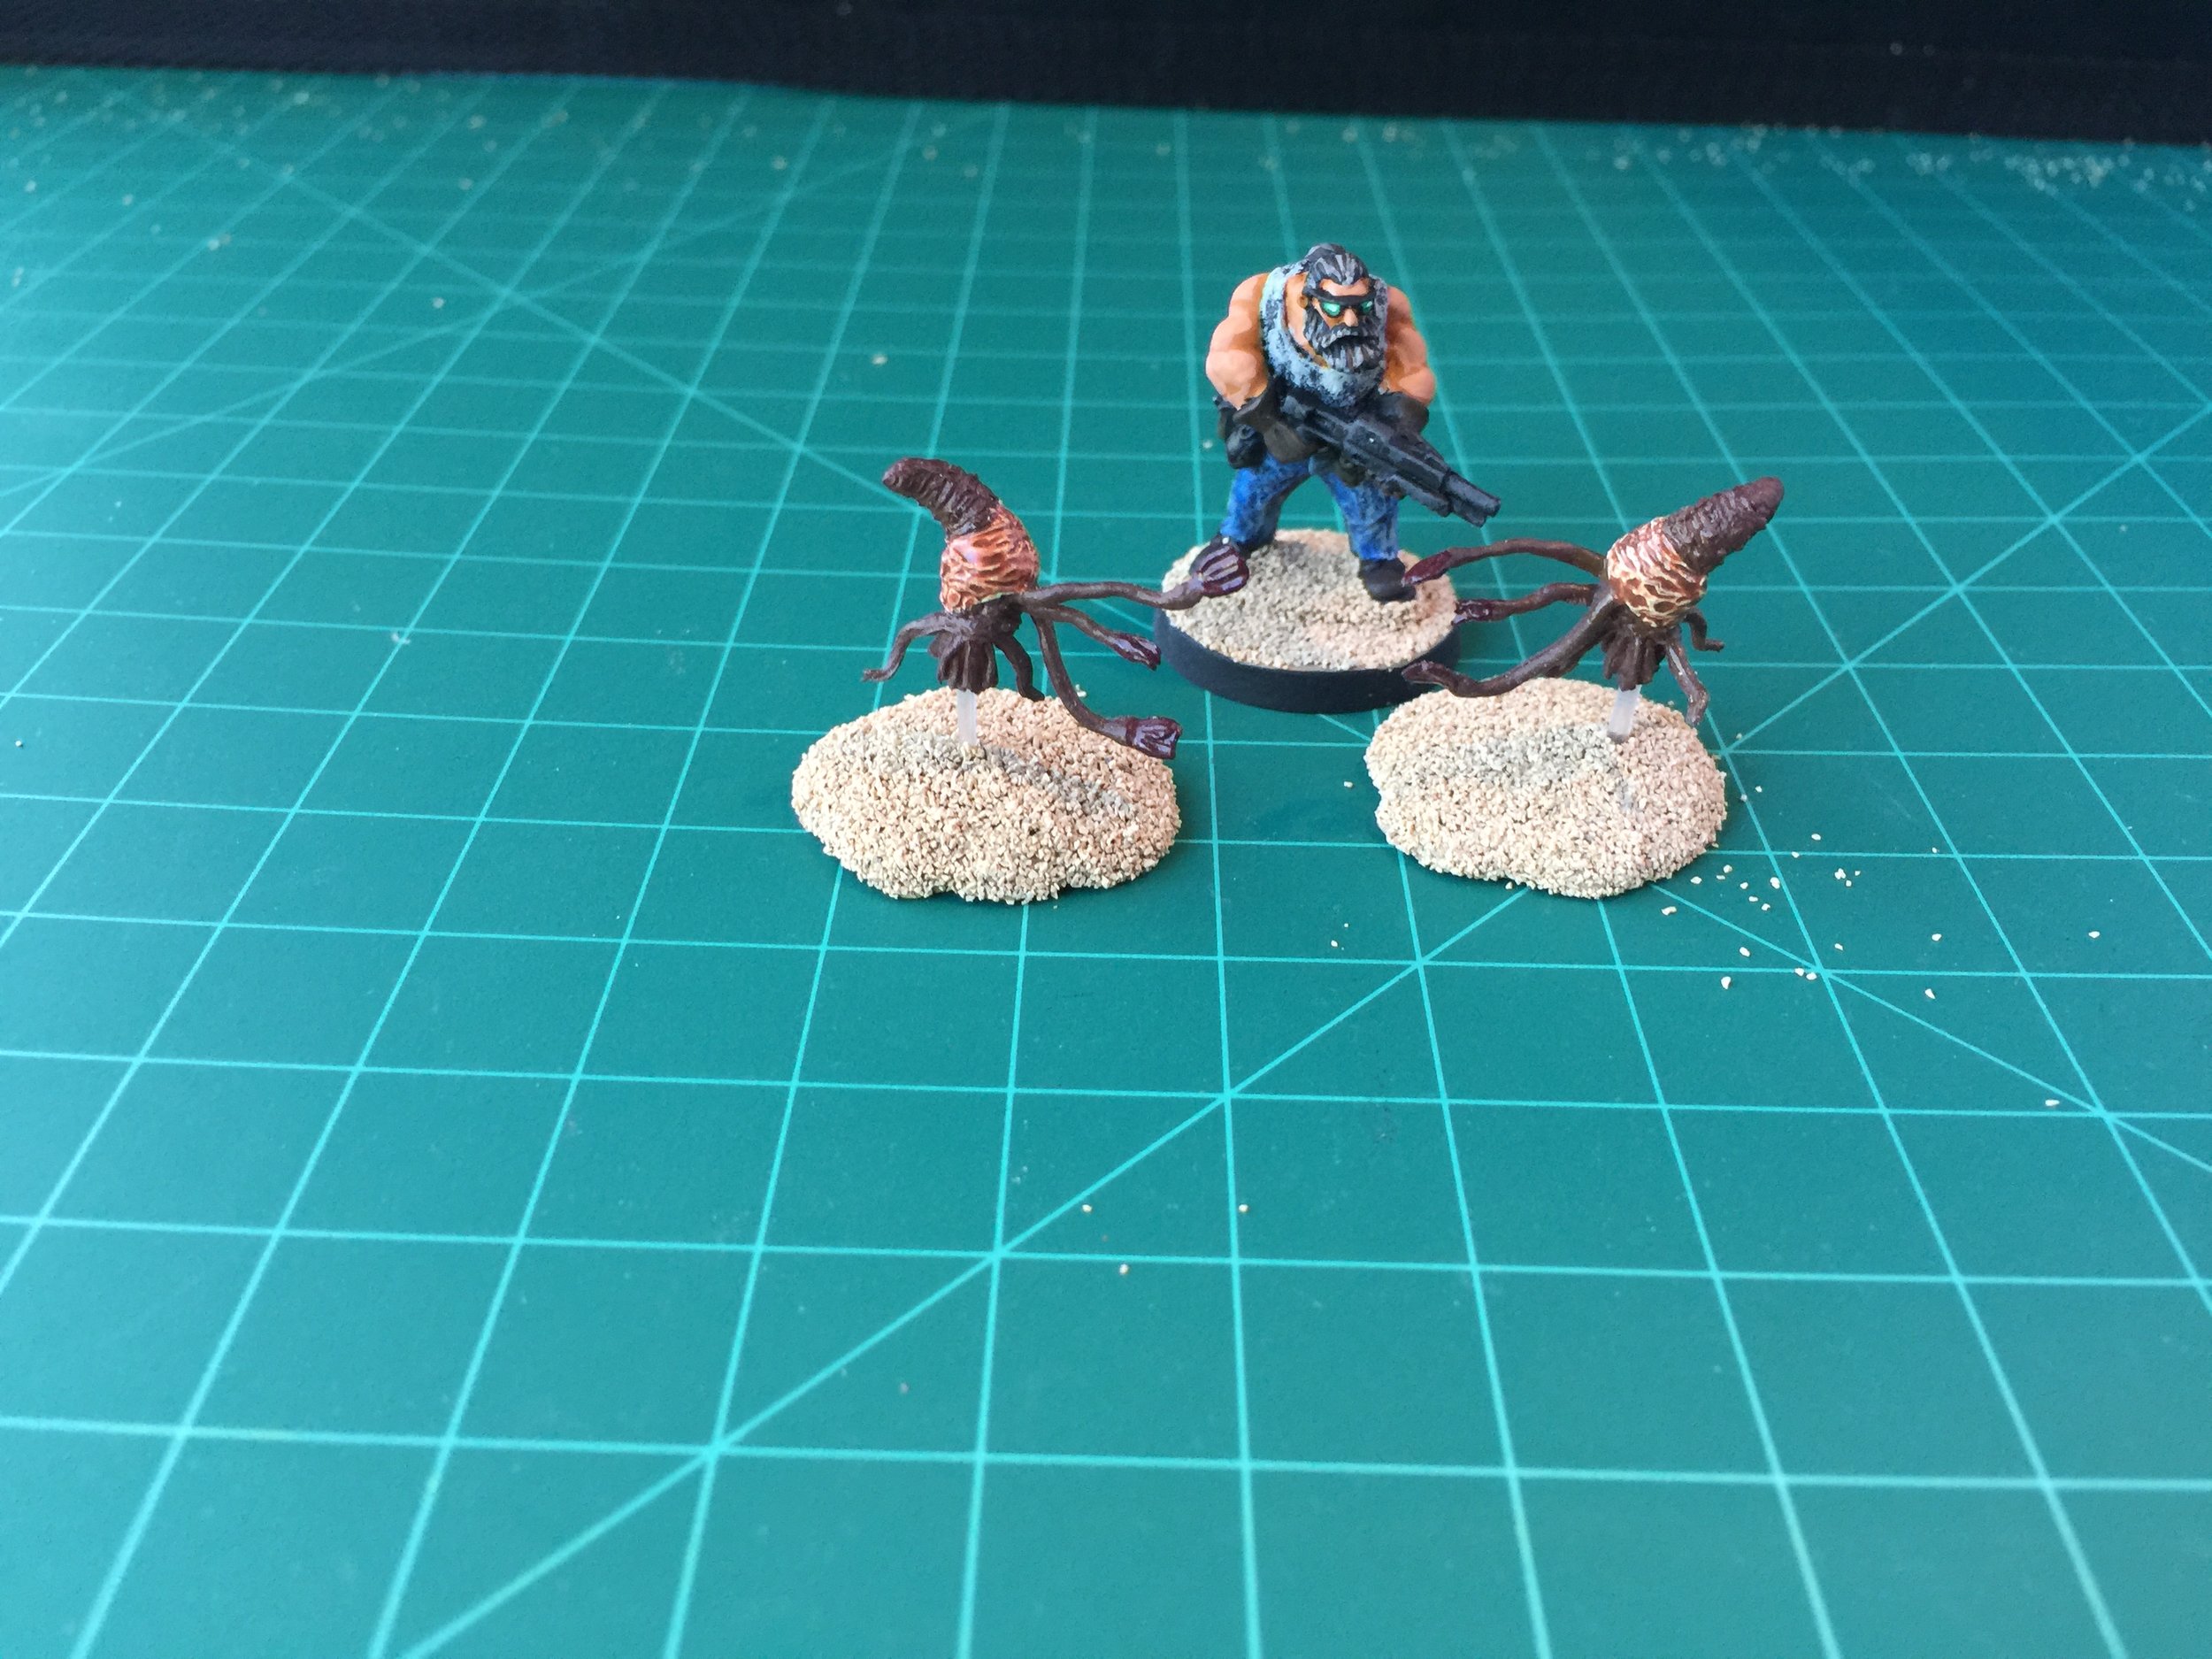
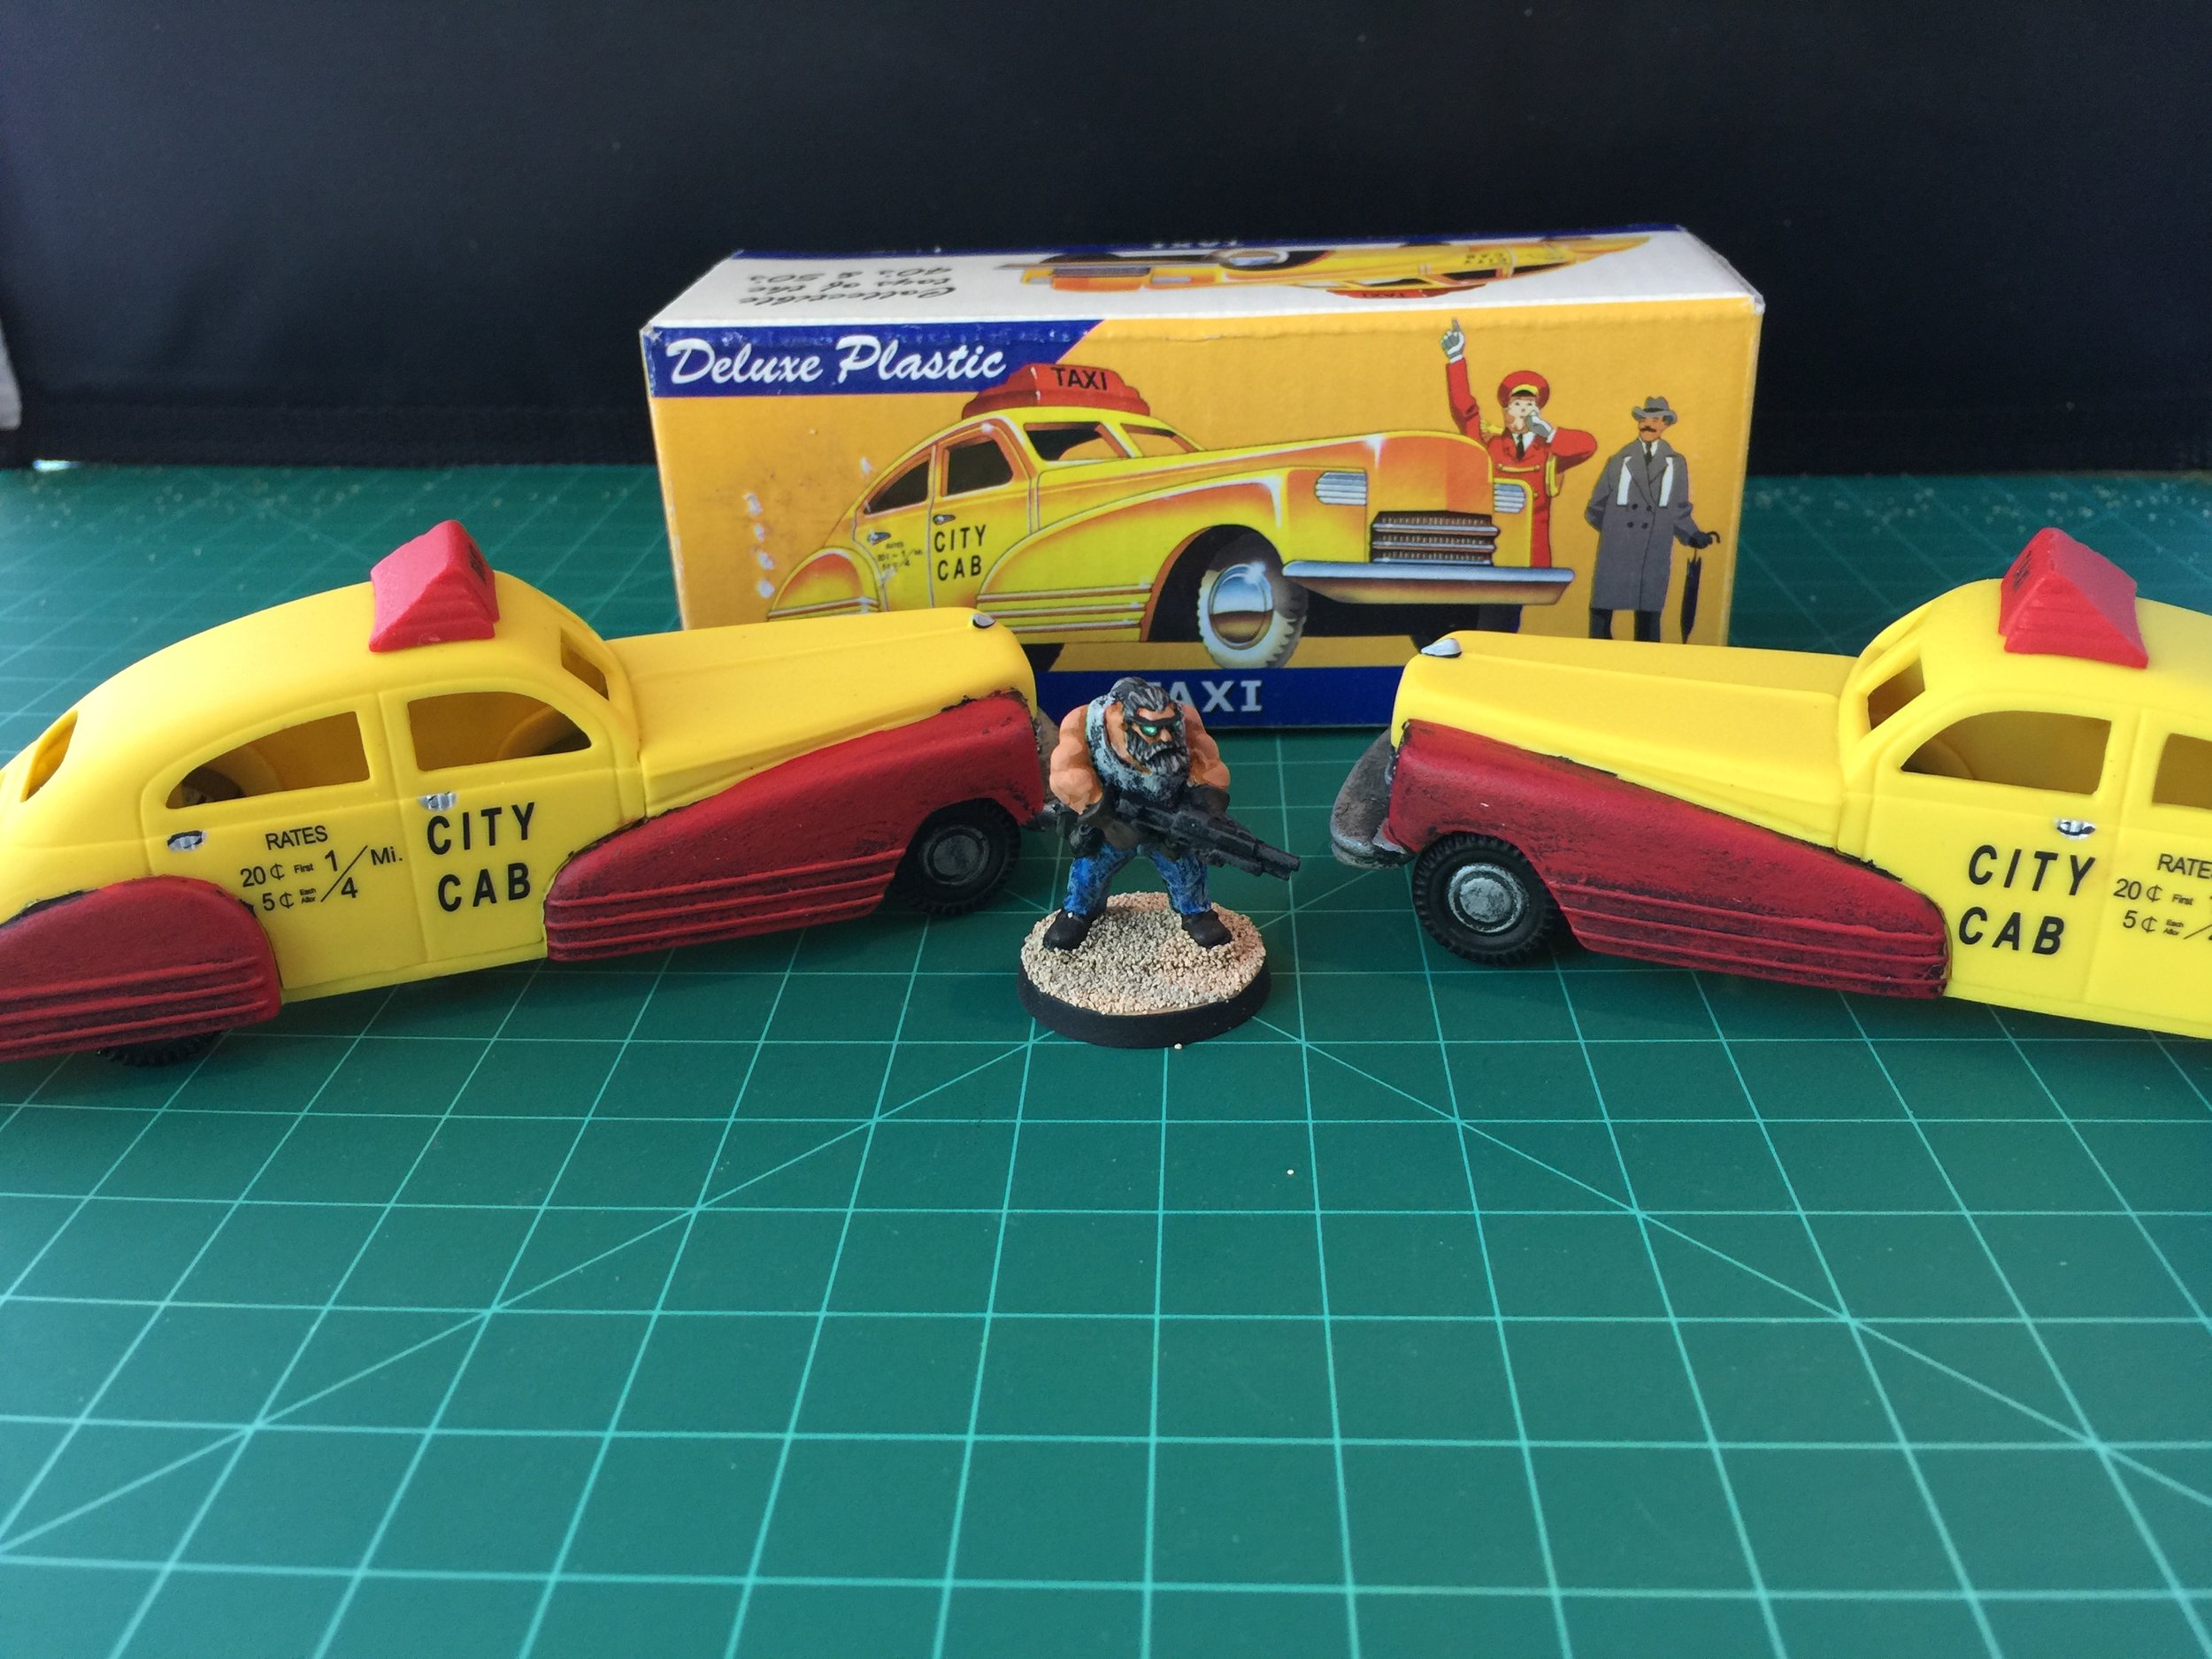
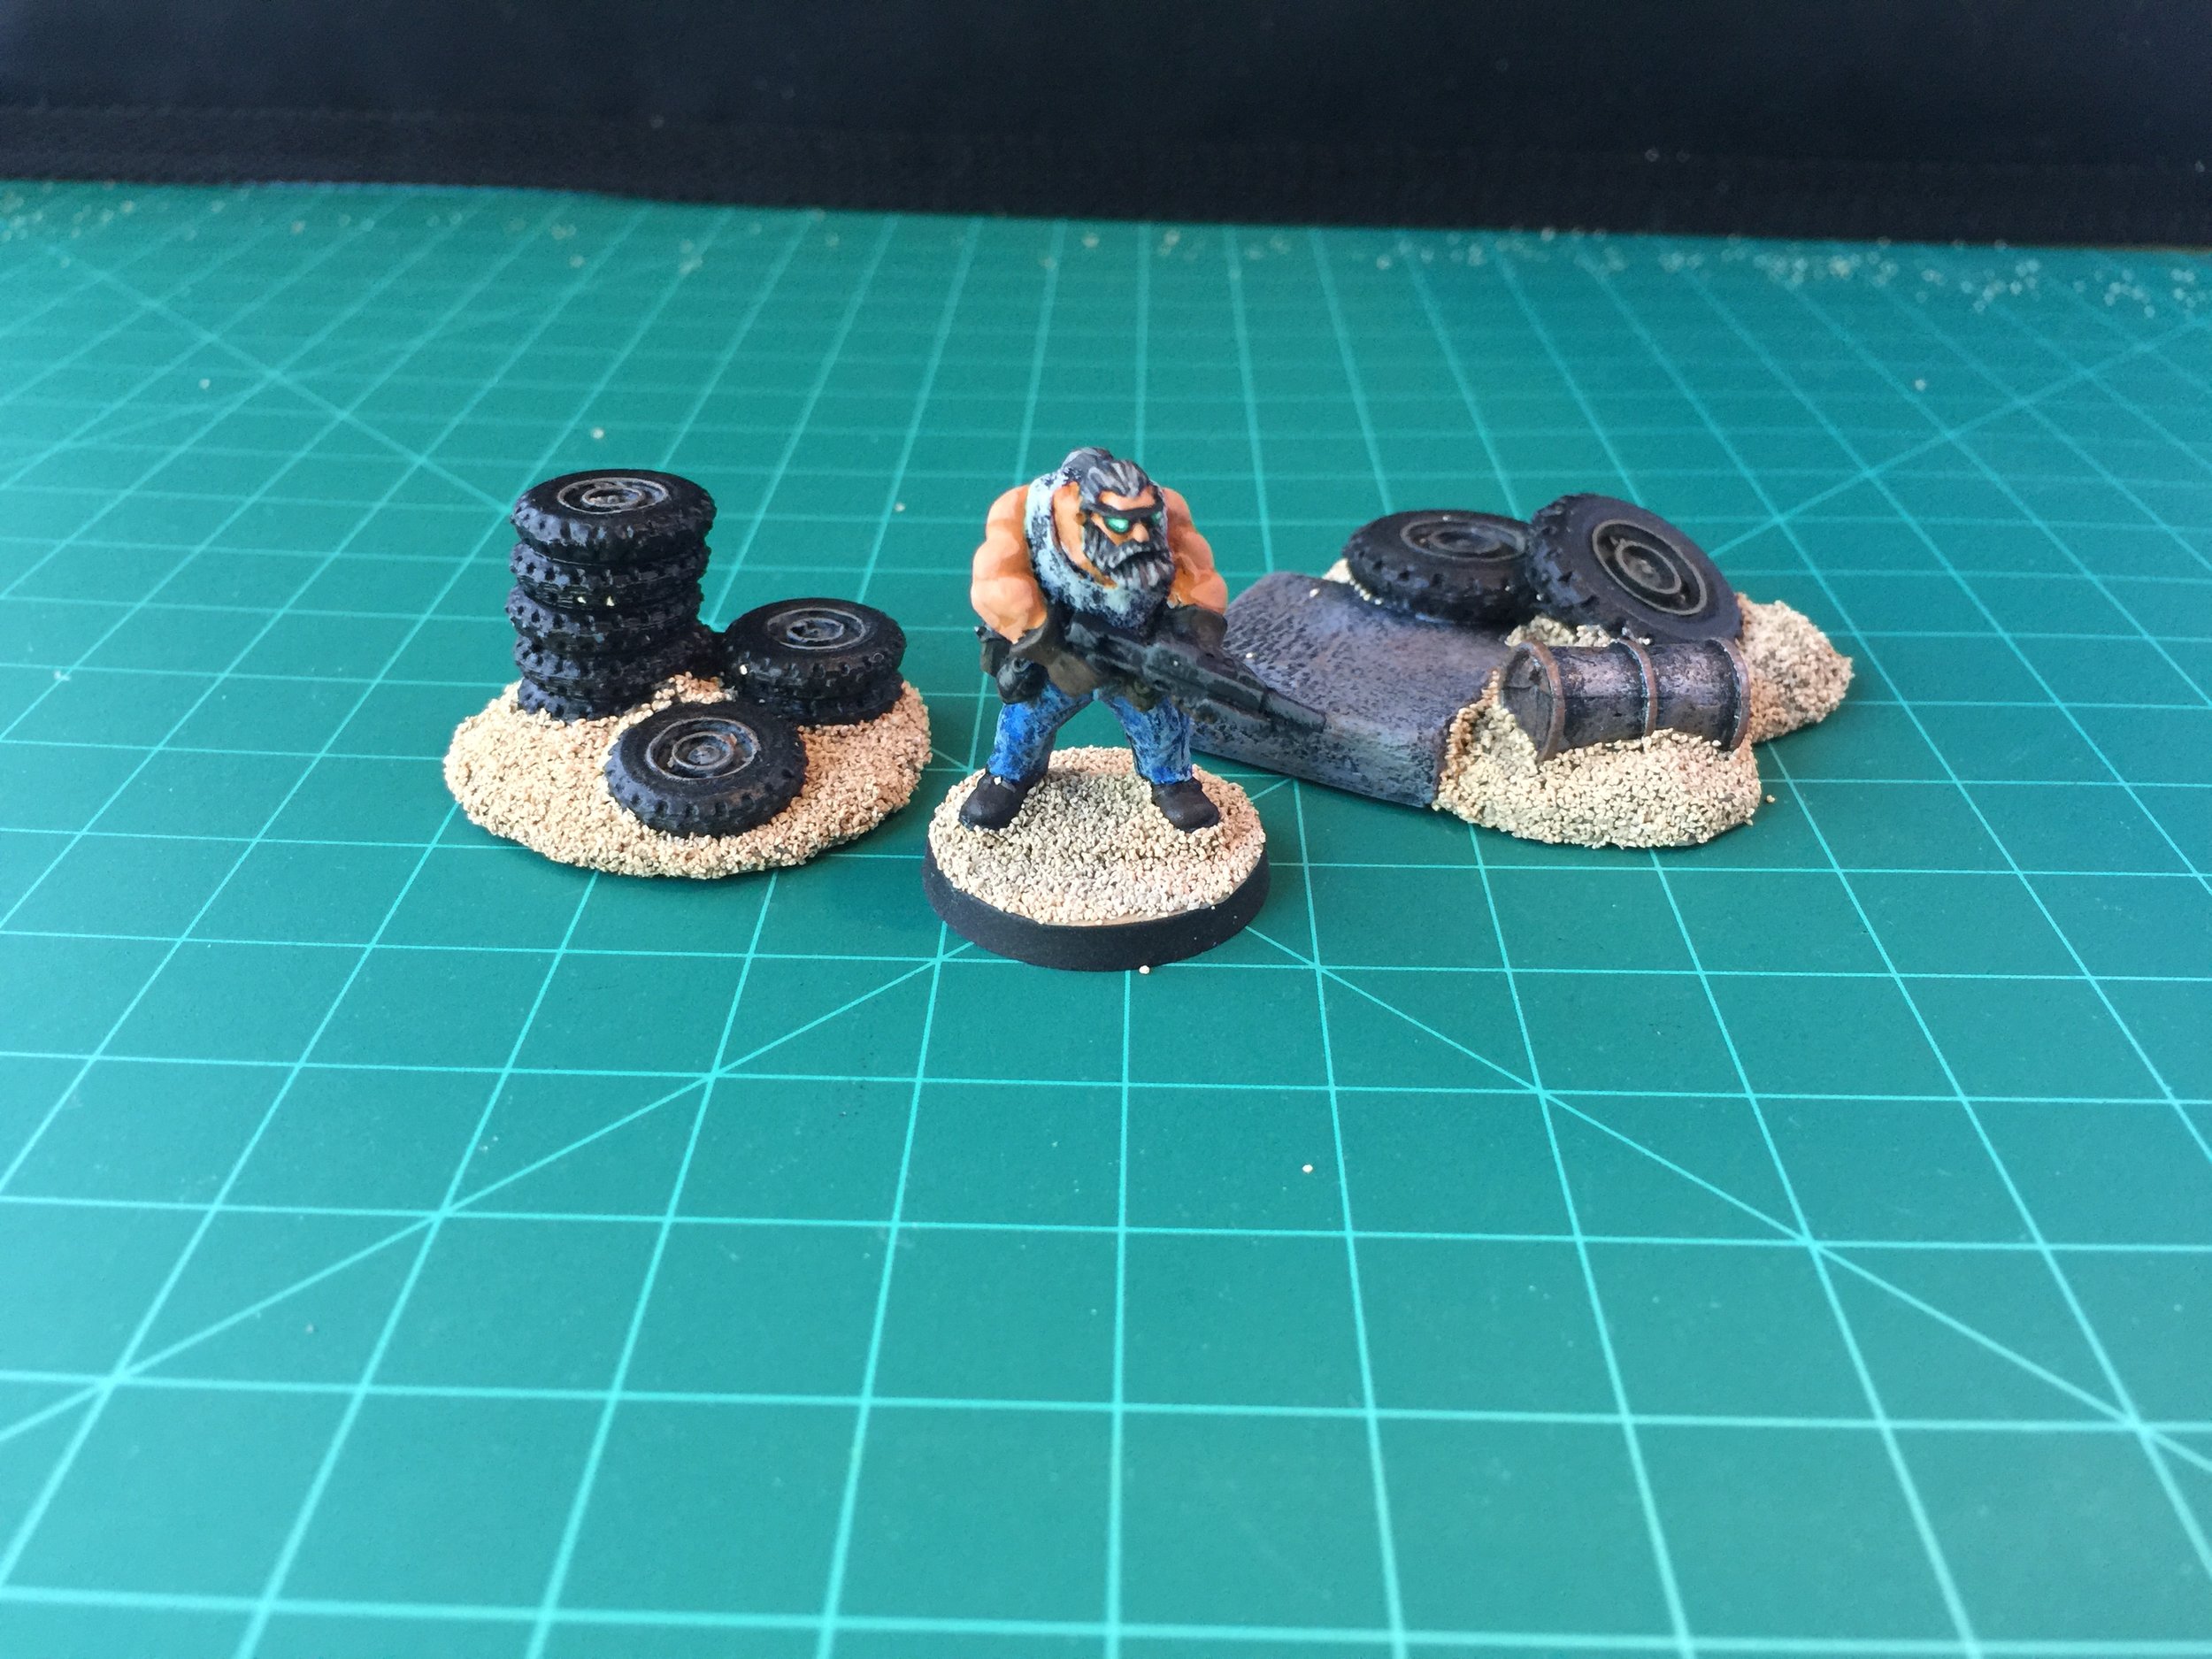
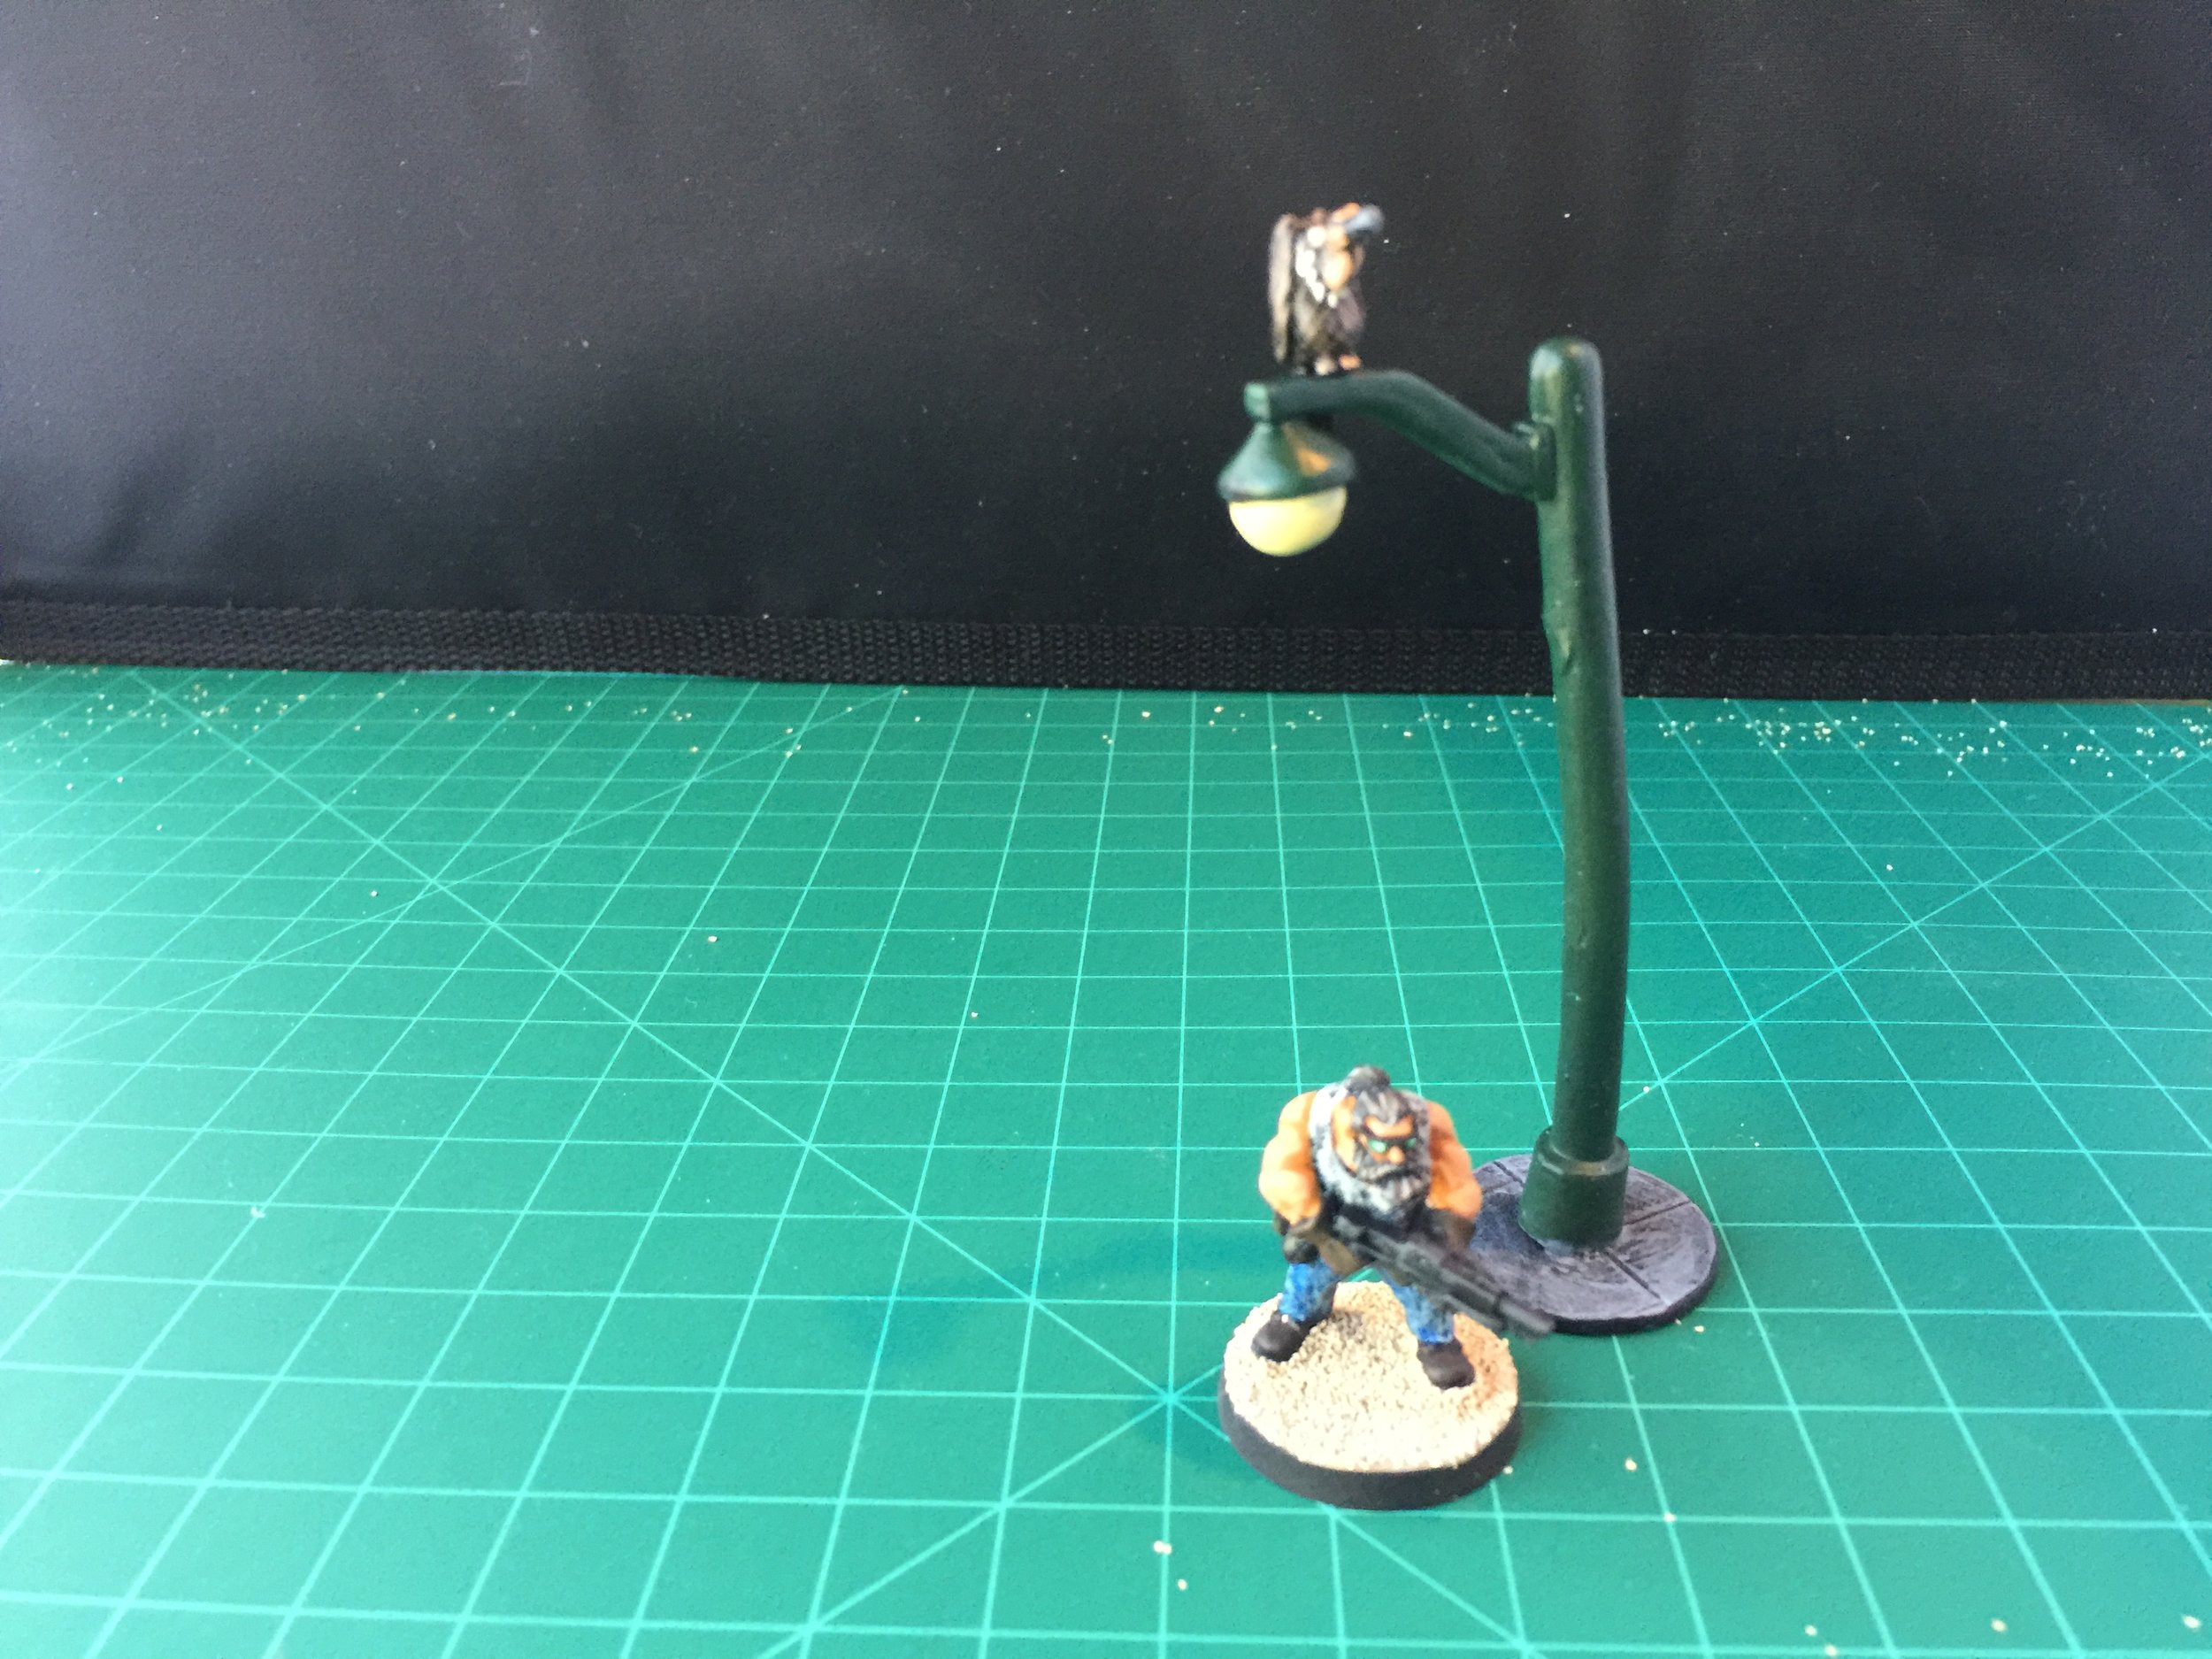
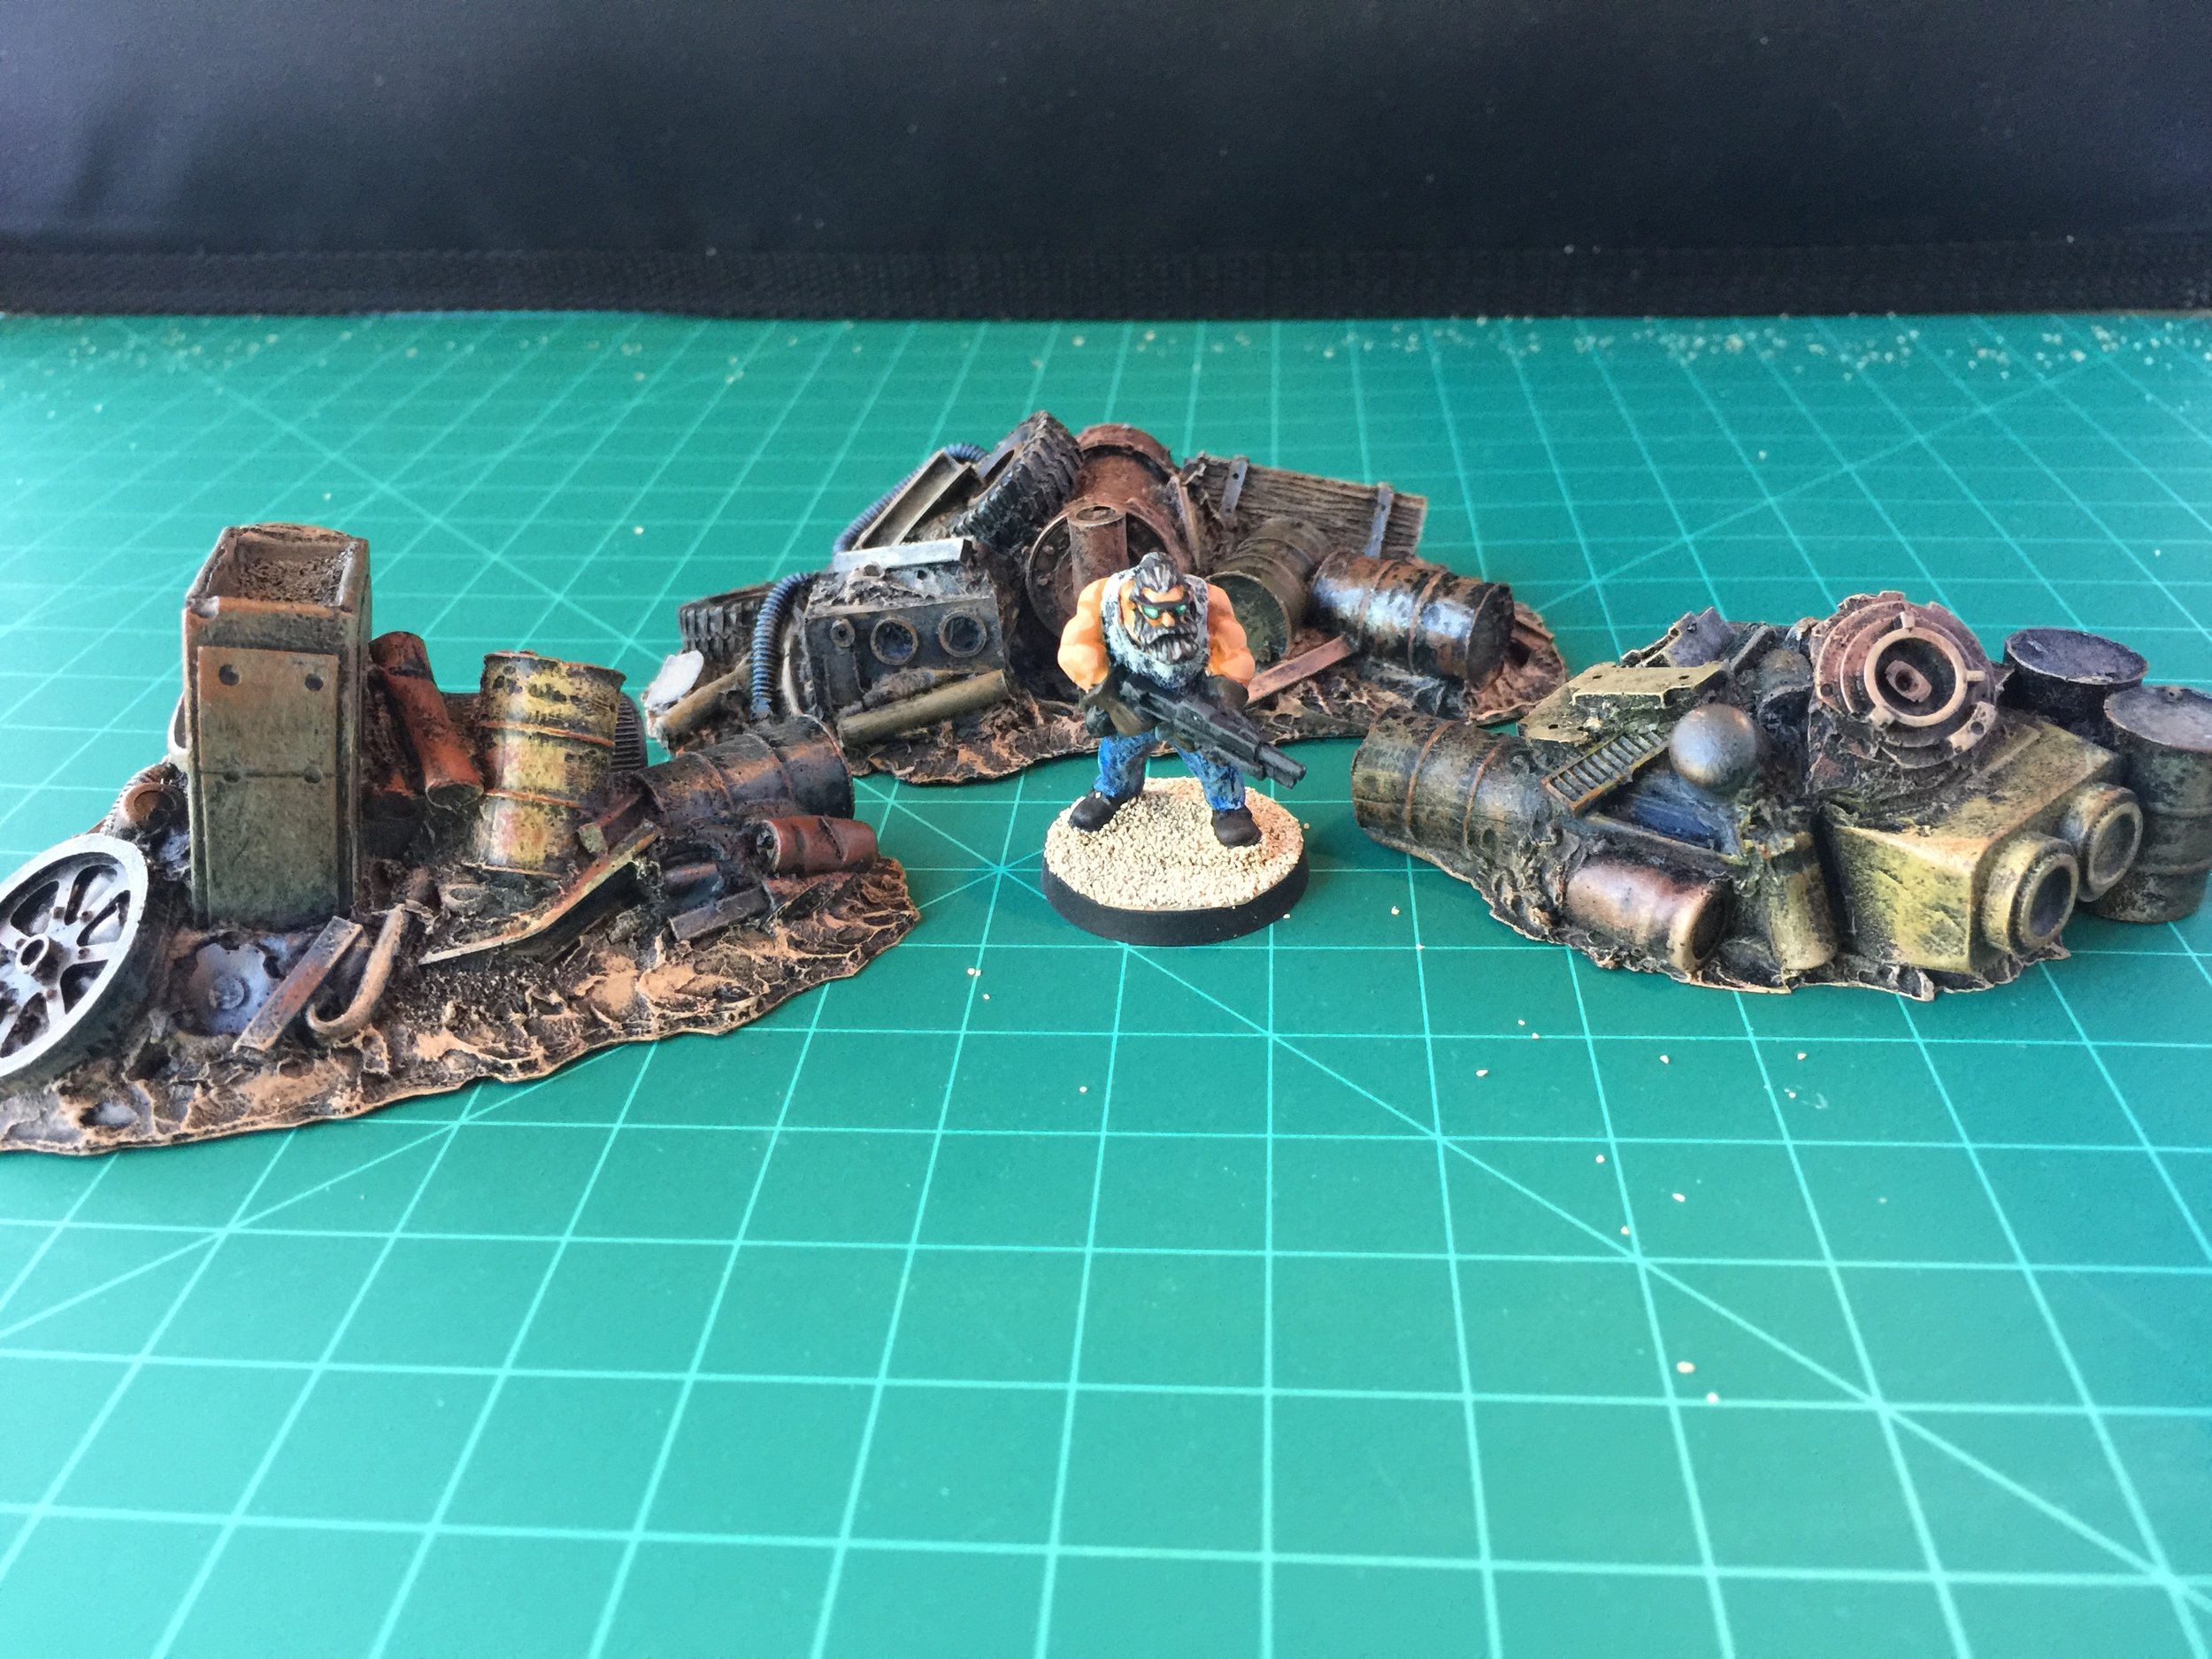
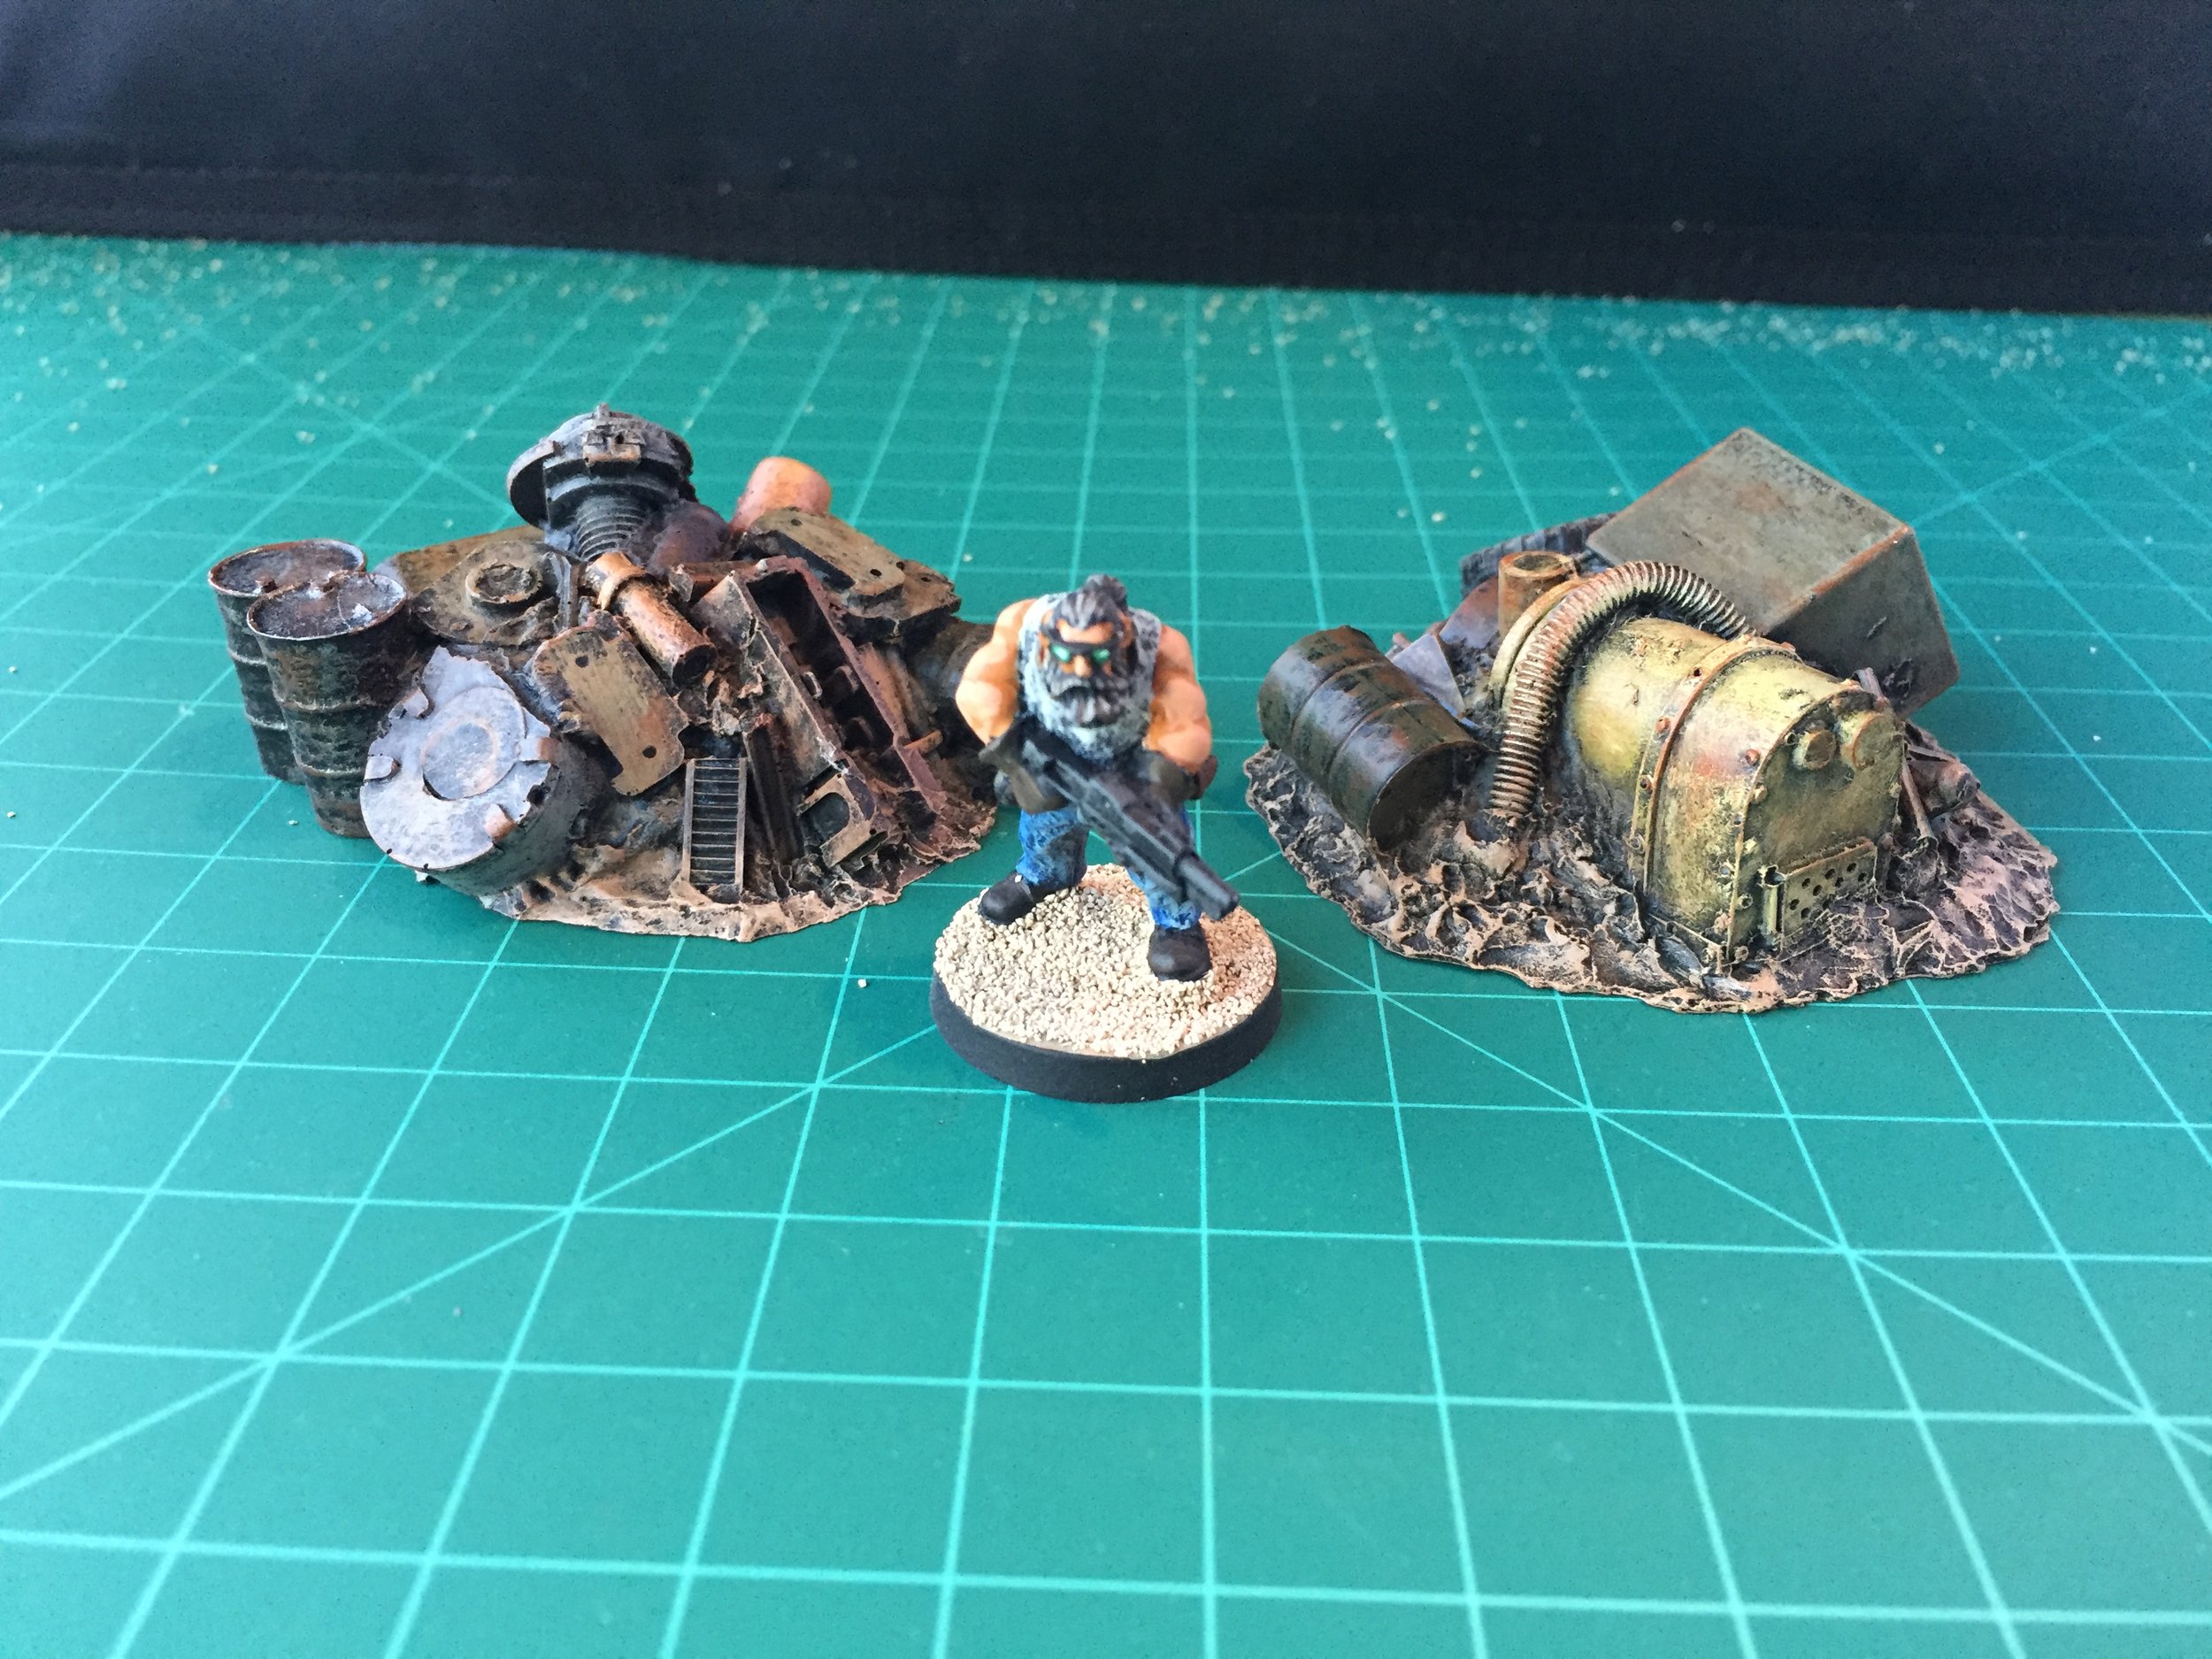
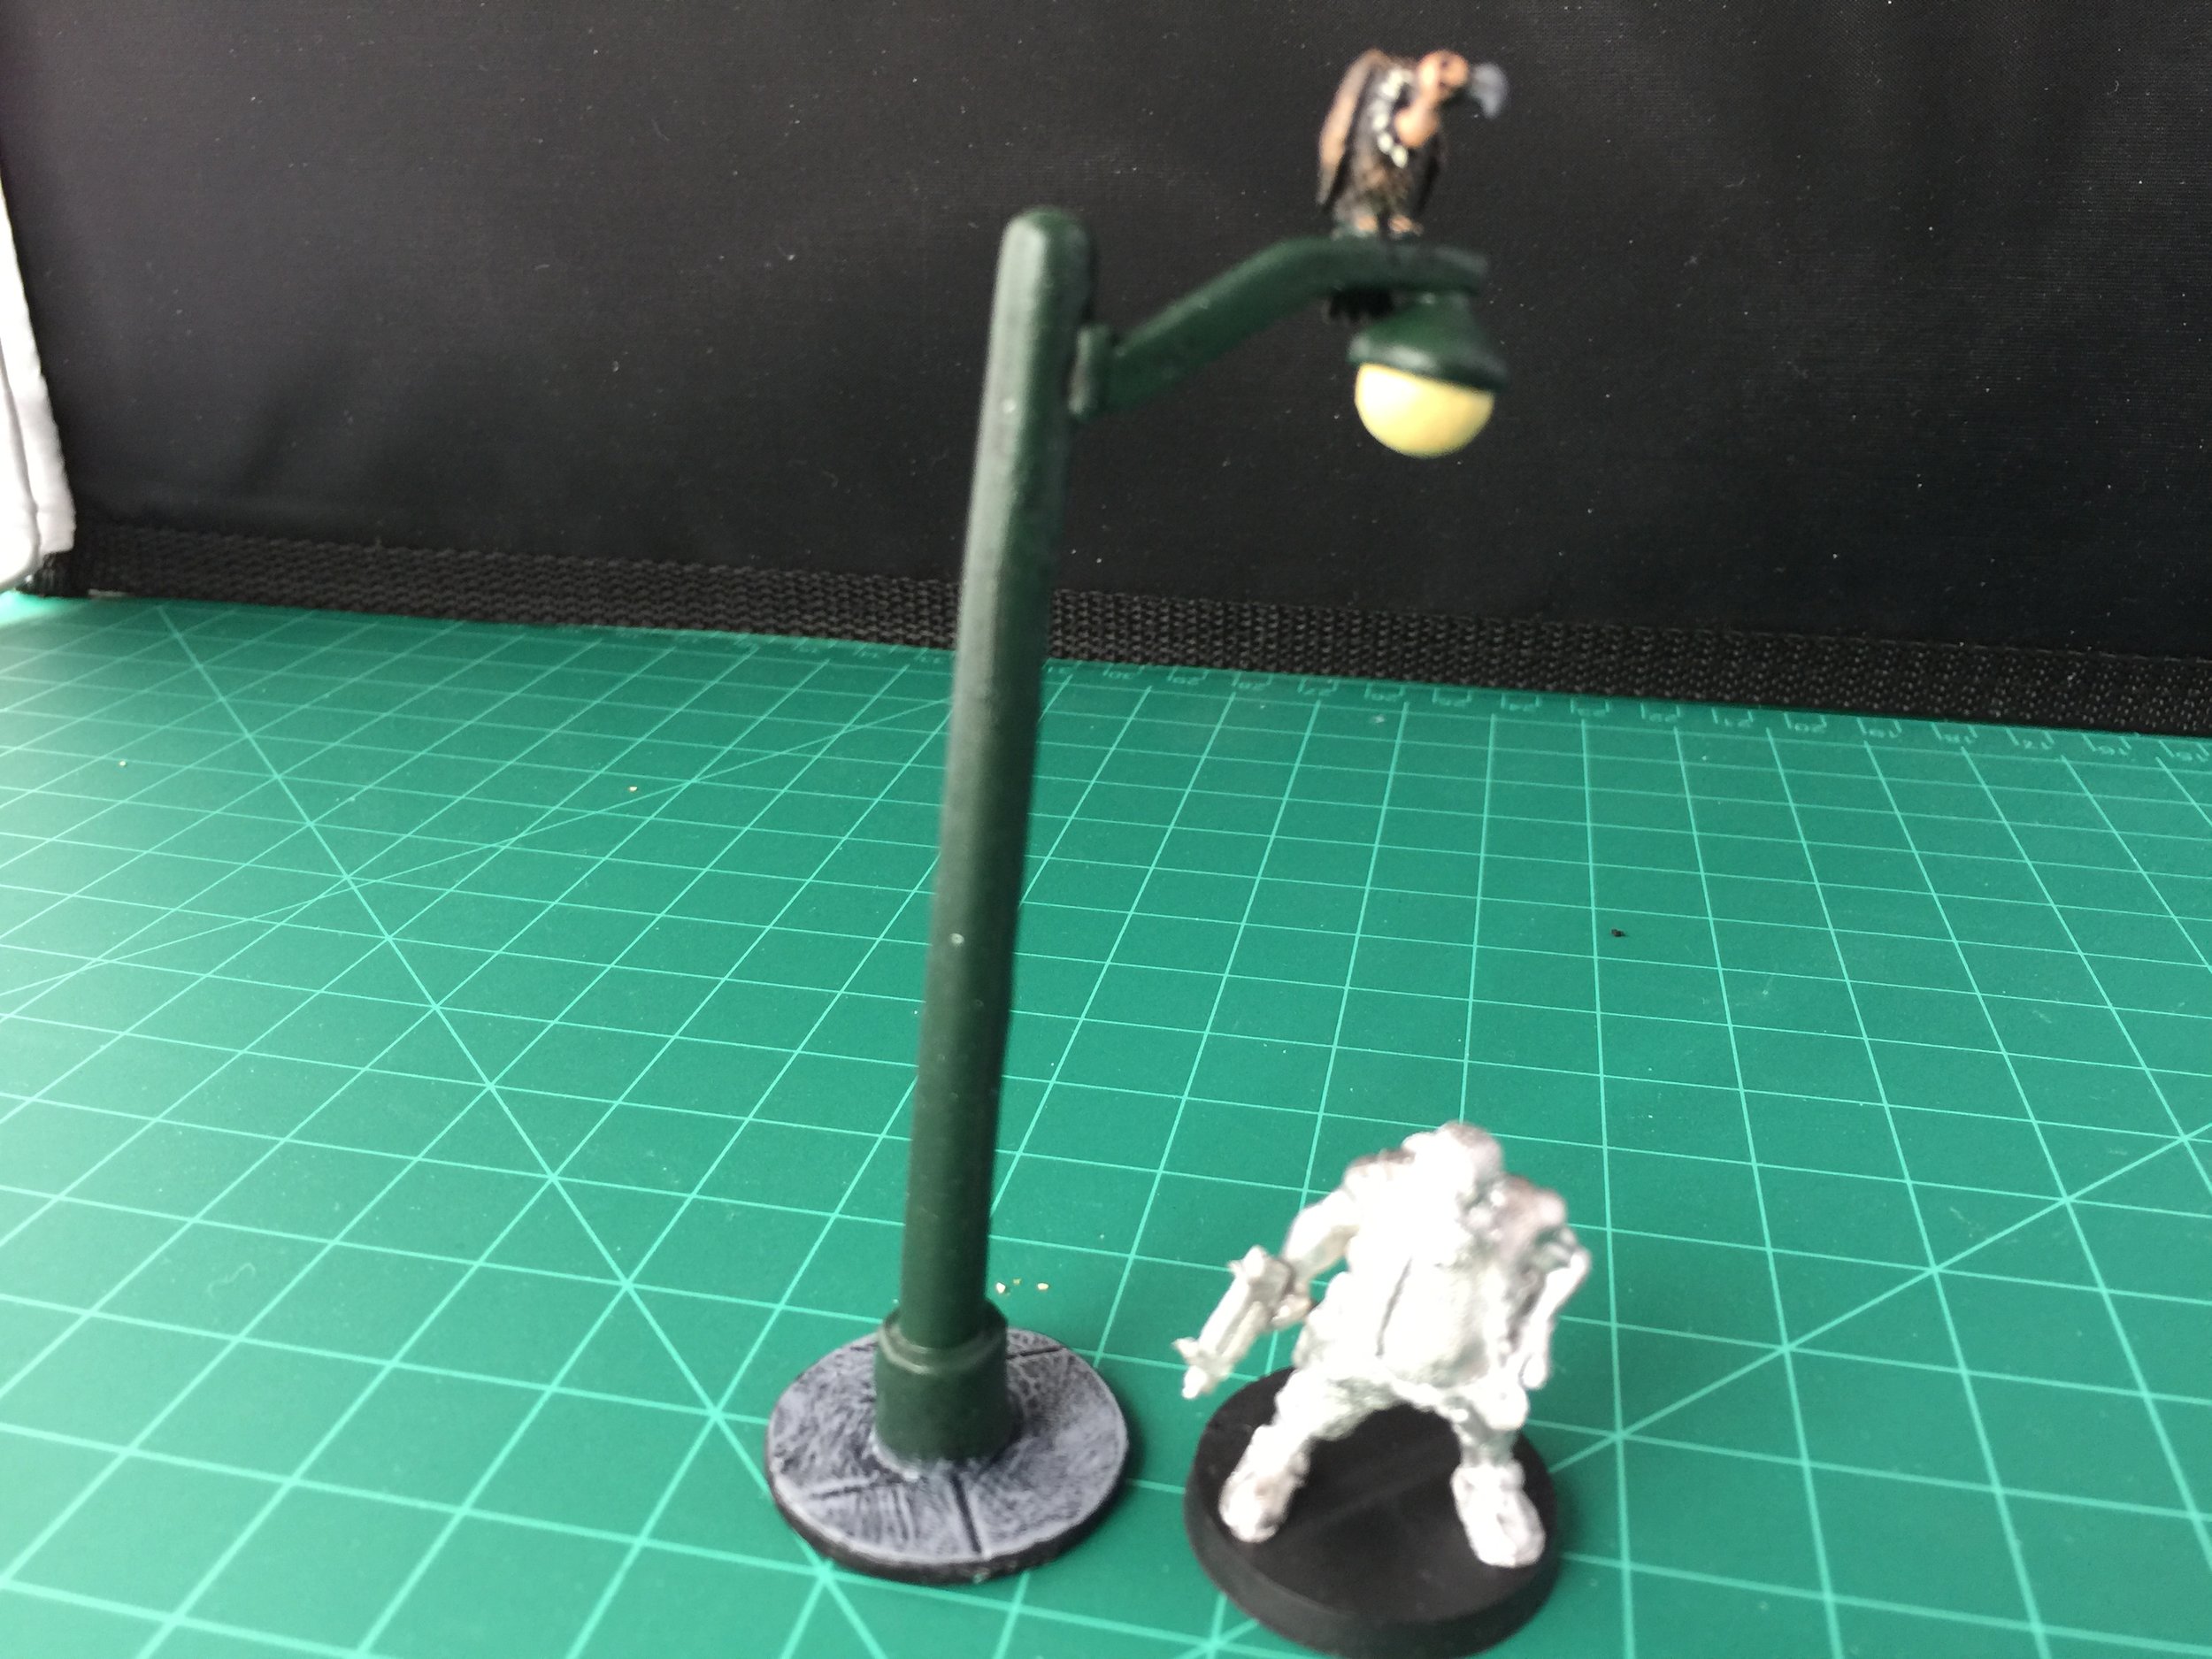
With the piano done, I painted up a couple of cast-off toy trailers from the swap meet: one a military communications trailer and the second a horse trailer. I also based two bug-like creatures from a Heroclix figure called Flood Infection and painted the last of my Heroclix Spiderman lamp poles (with another vulture). The work I did awhile back on the two Dimestore Dreams’ taxis has never made me happy… too minimal/too plastic looking. I decided I needed to spice them up a bit, so I gave them red fenders front and rear… much happier with them now. As the week drew to a close I turned my attention to junk piles for the junkyard. The tire piles I picked up at Historicon 2012 (can’t remember the manufacturer) and some very nice junk pile pieces by Crooked Dice.
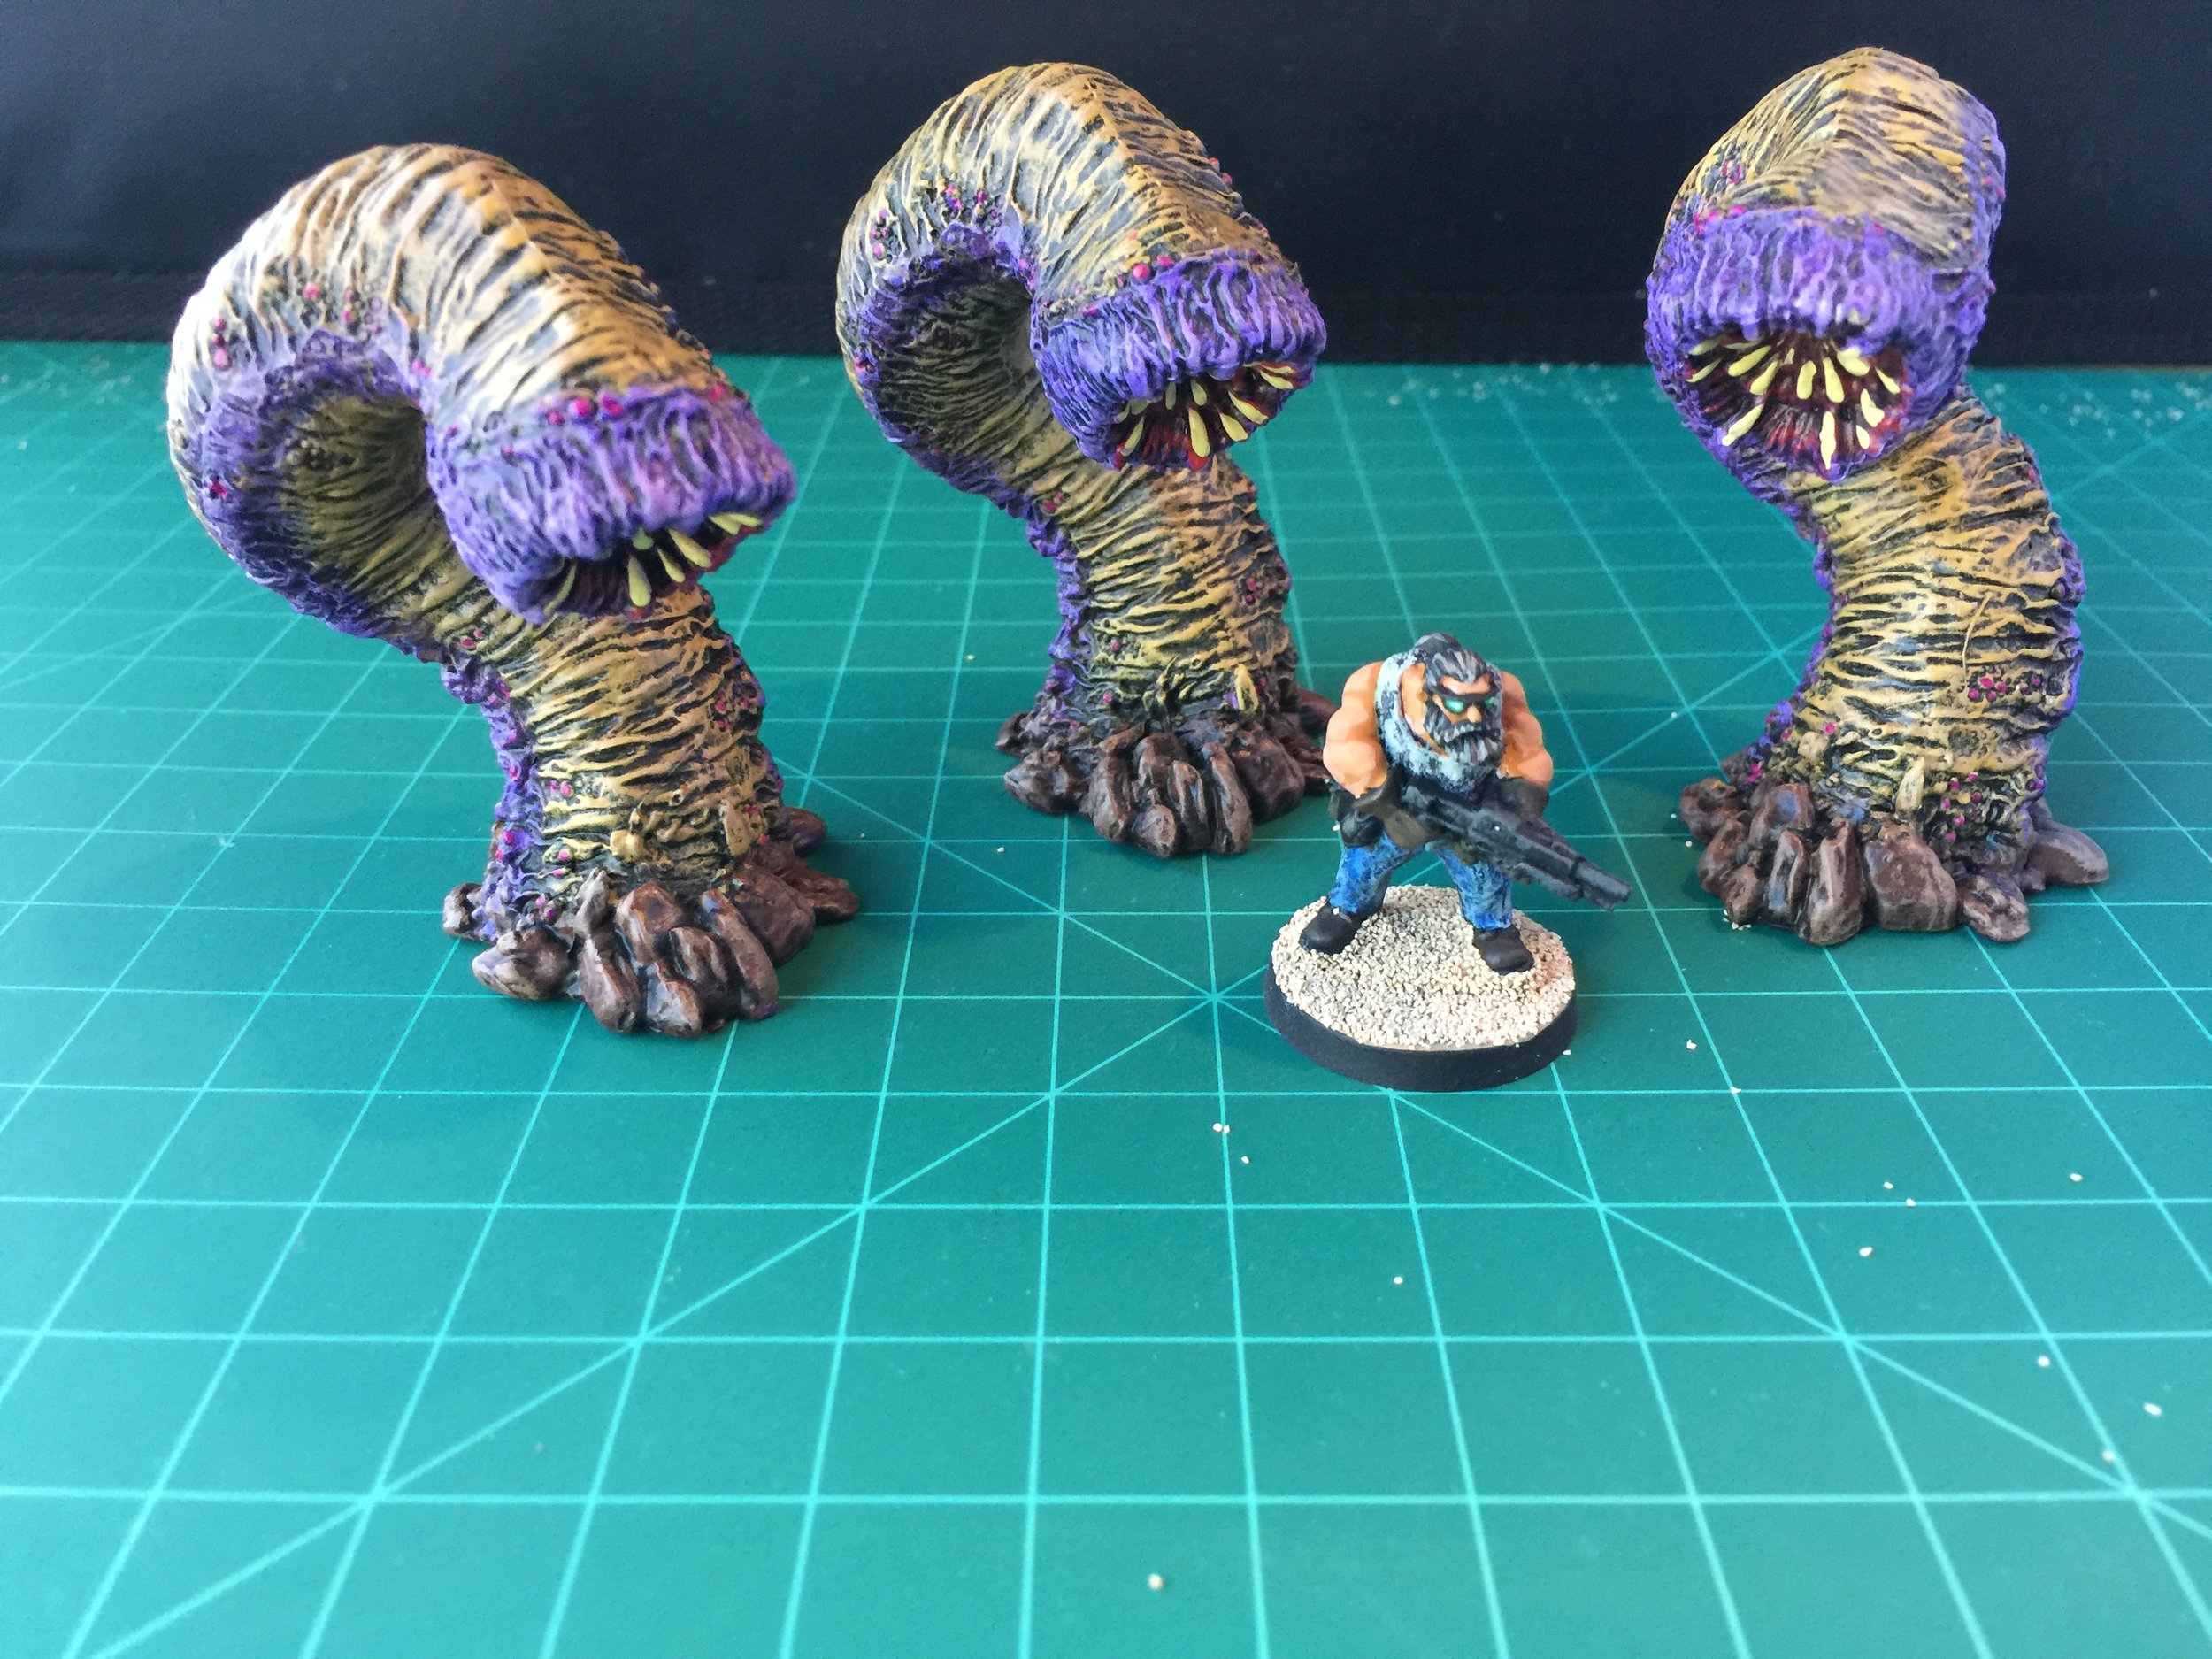
Late Friday afternoon/perhaps early evening I located (by happy accident) three more Greater Worms/Purple Worms by Reaper (the plastic versions). I was hoping I would find them in order to paint up a set in brown and purple tones rather than the green and purple I have already completed. I got them started on Friday night after my wife and I returned from dinner out. I didn’t bother to modify these because my experience with the first three I did showed me that the modification made very little difference in the way they look.
MARCH 11, 2018
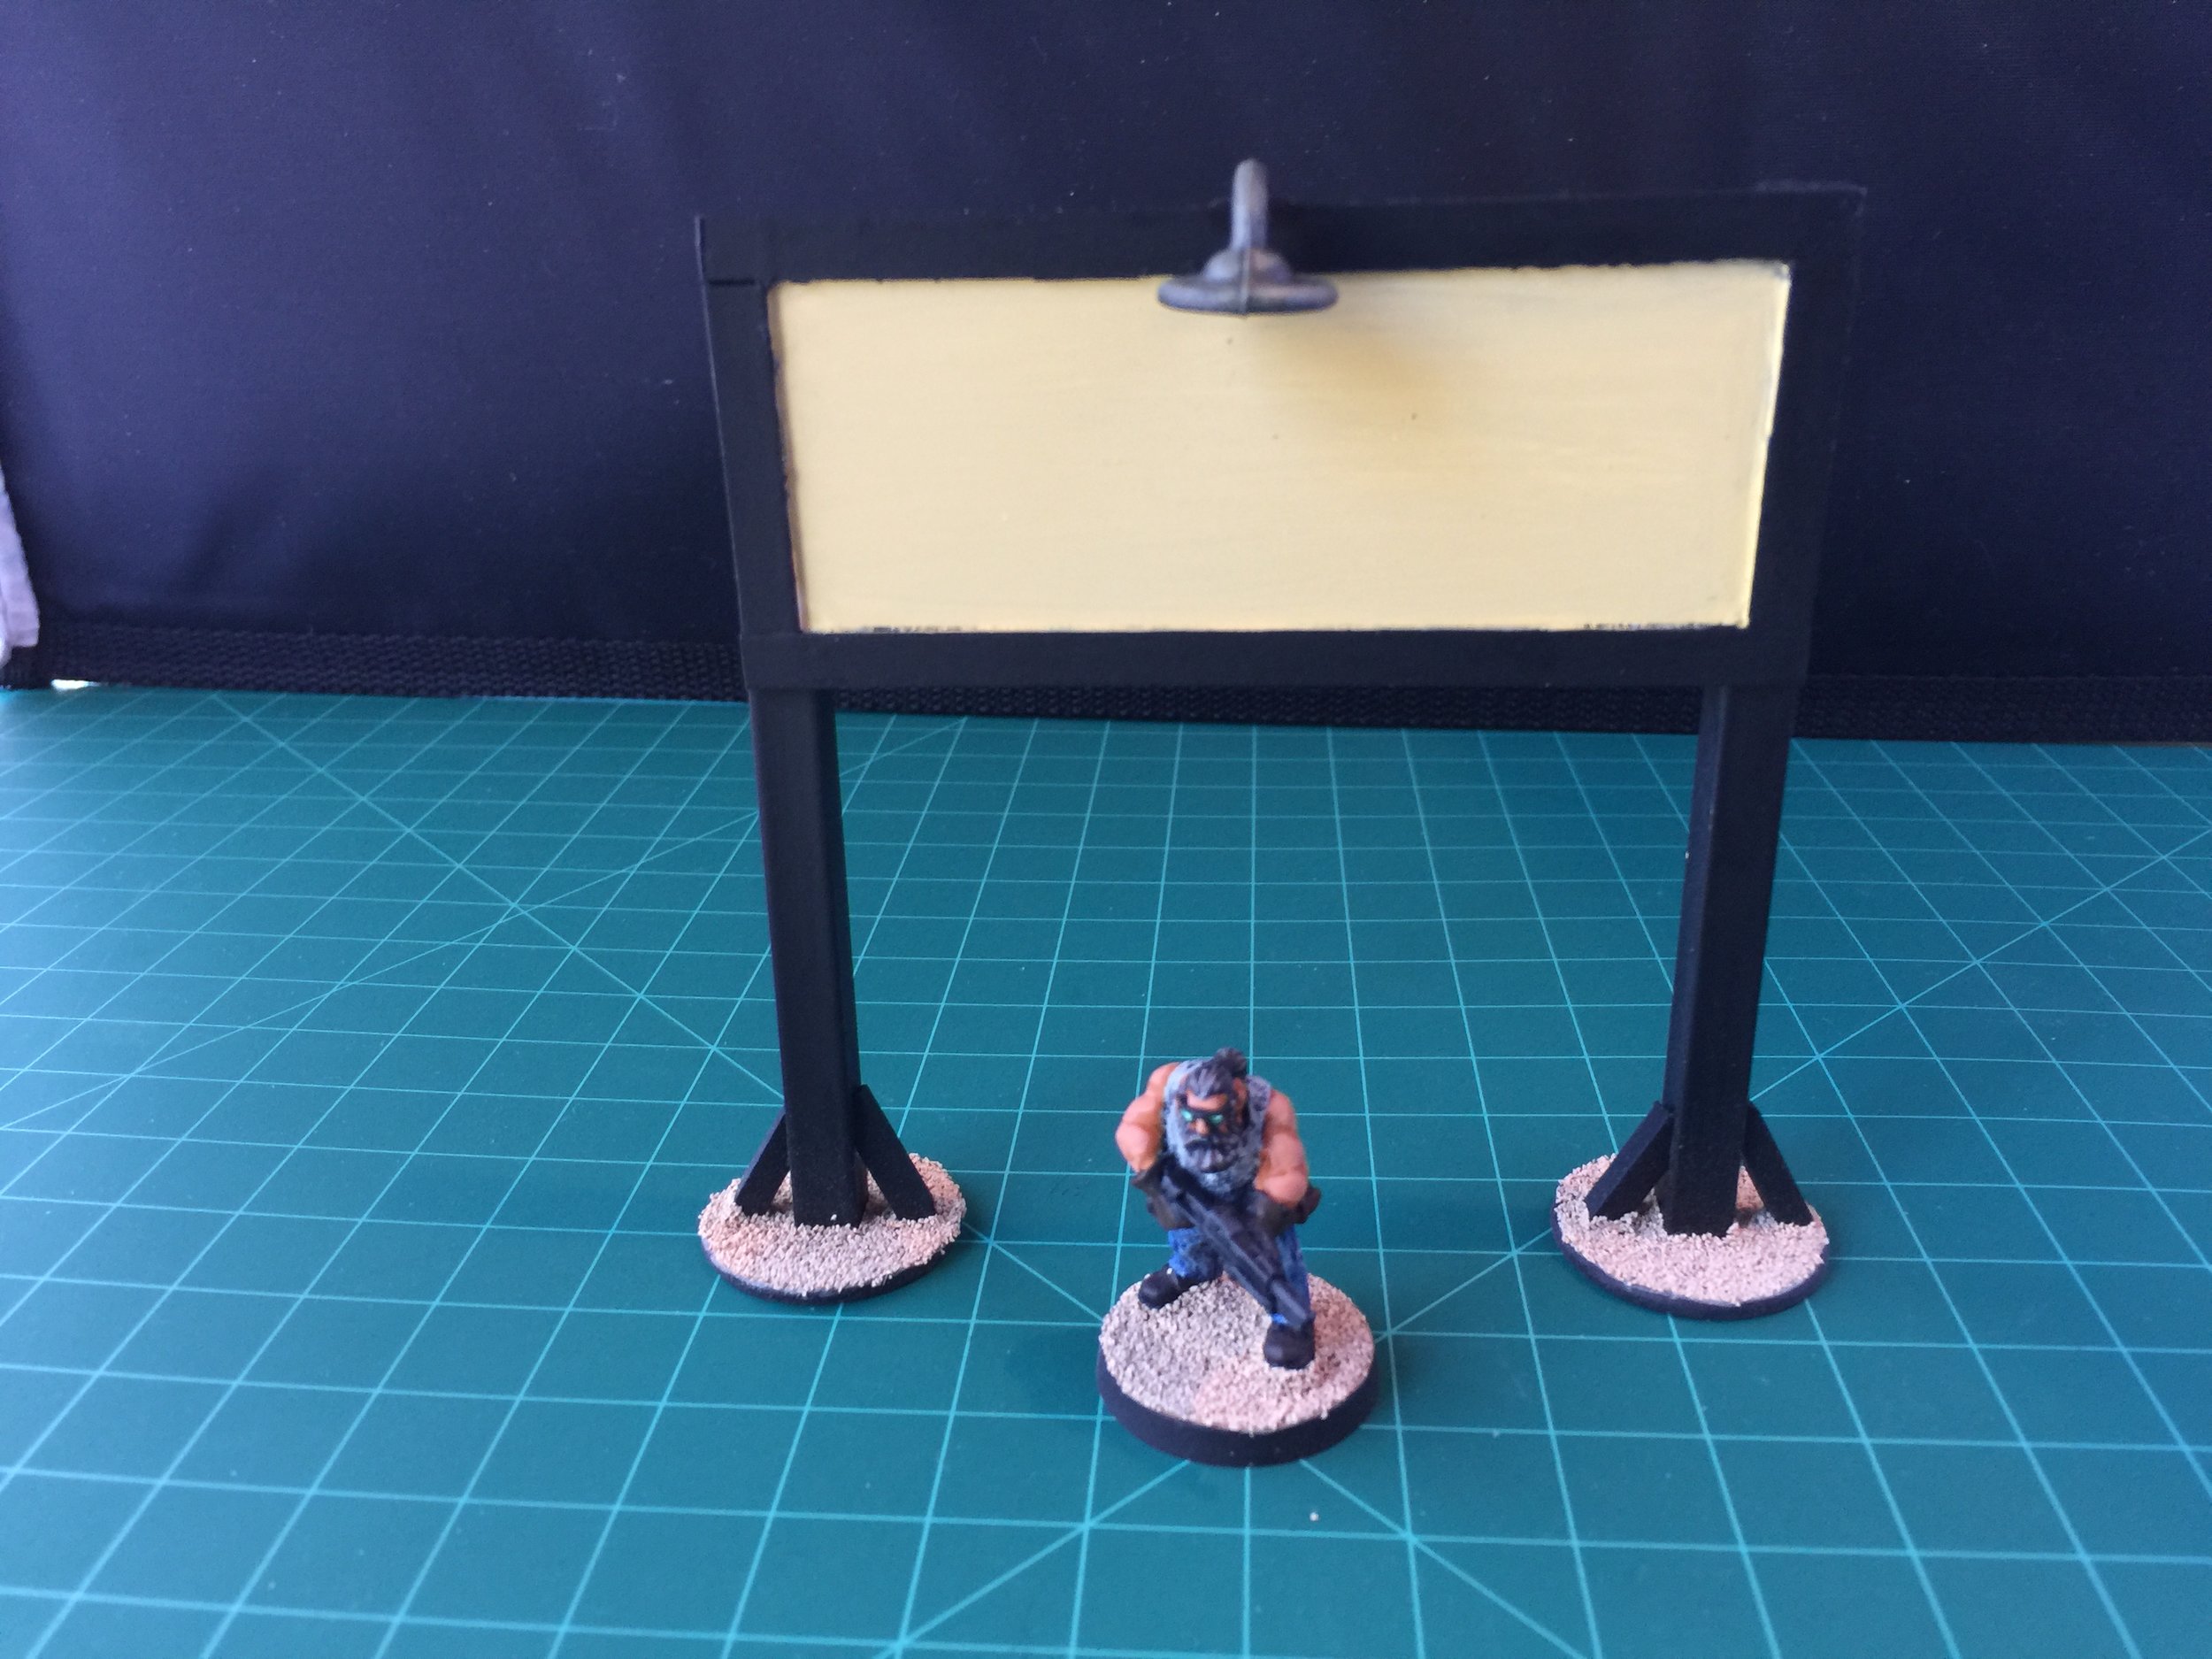
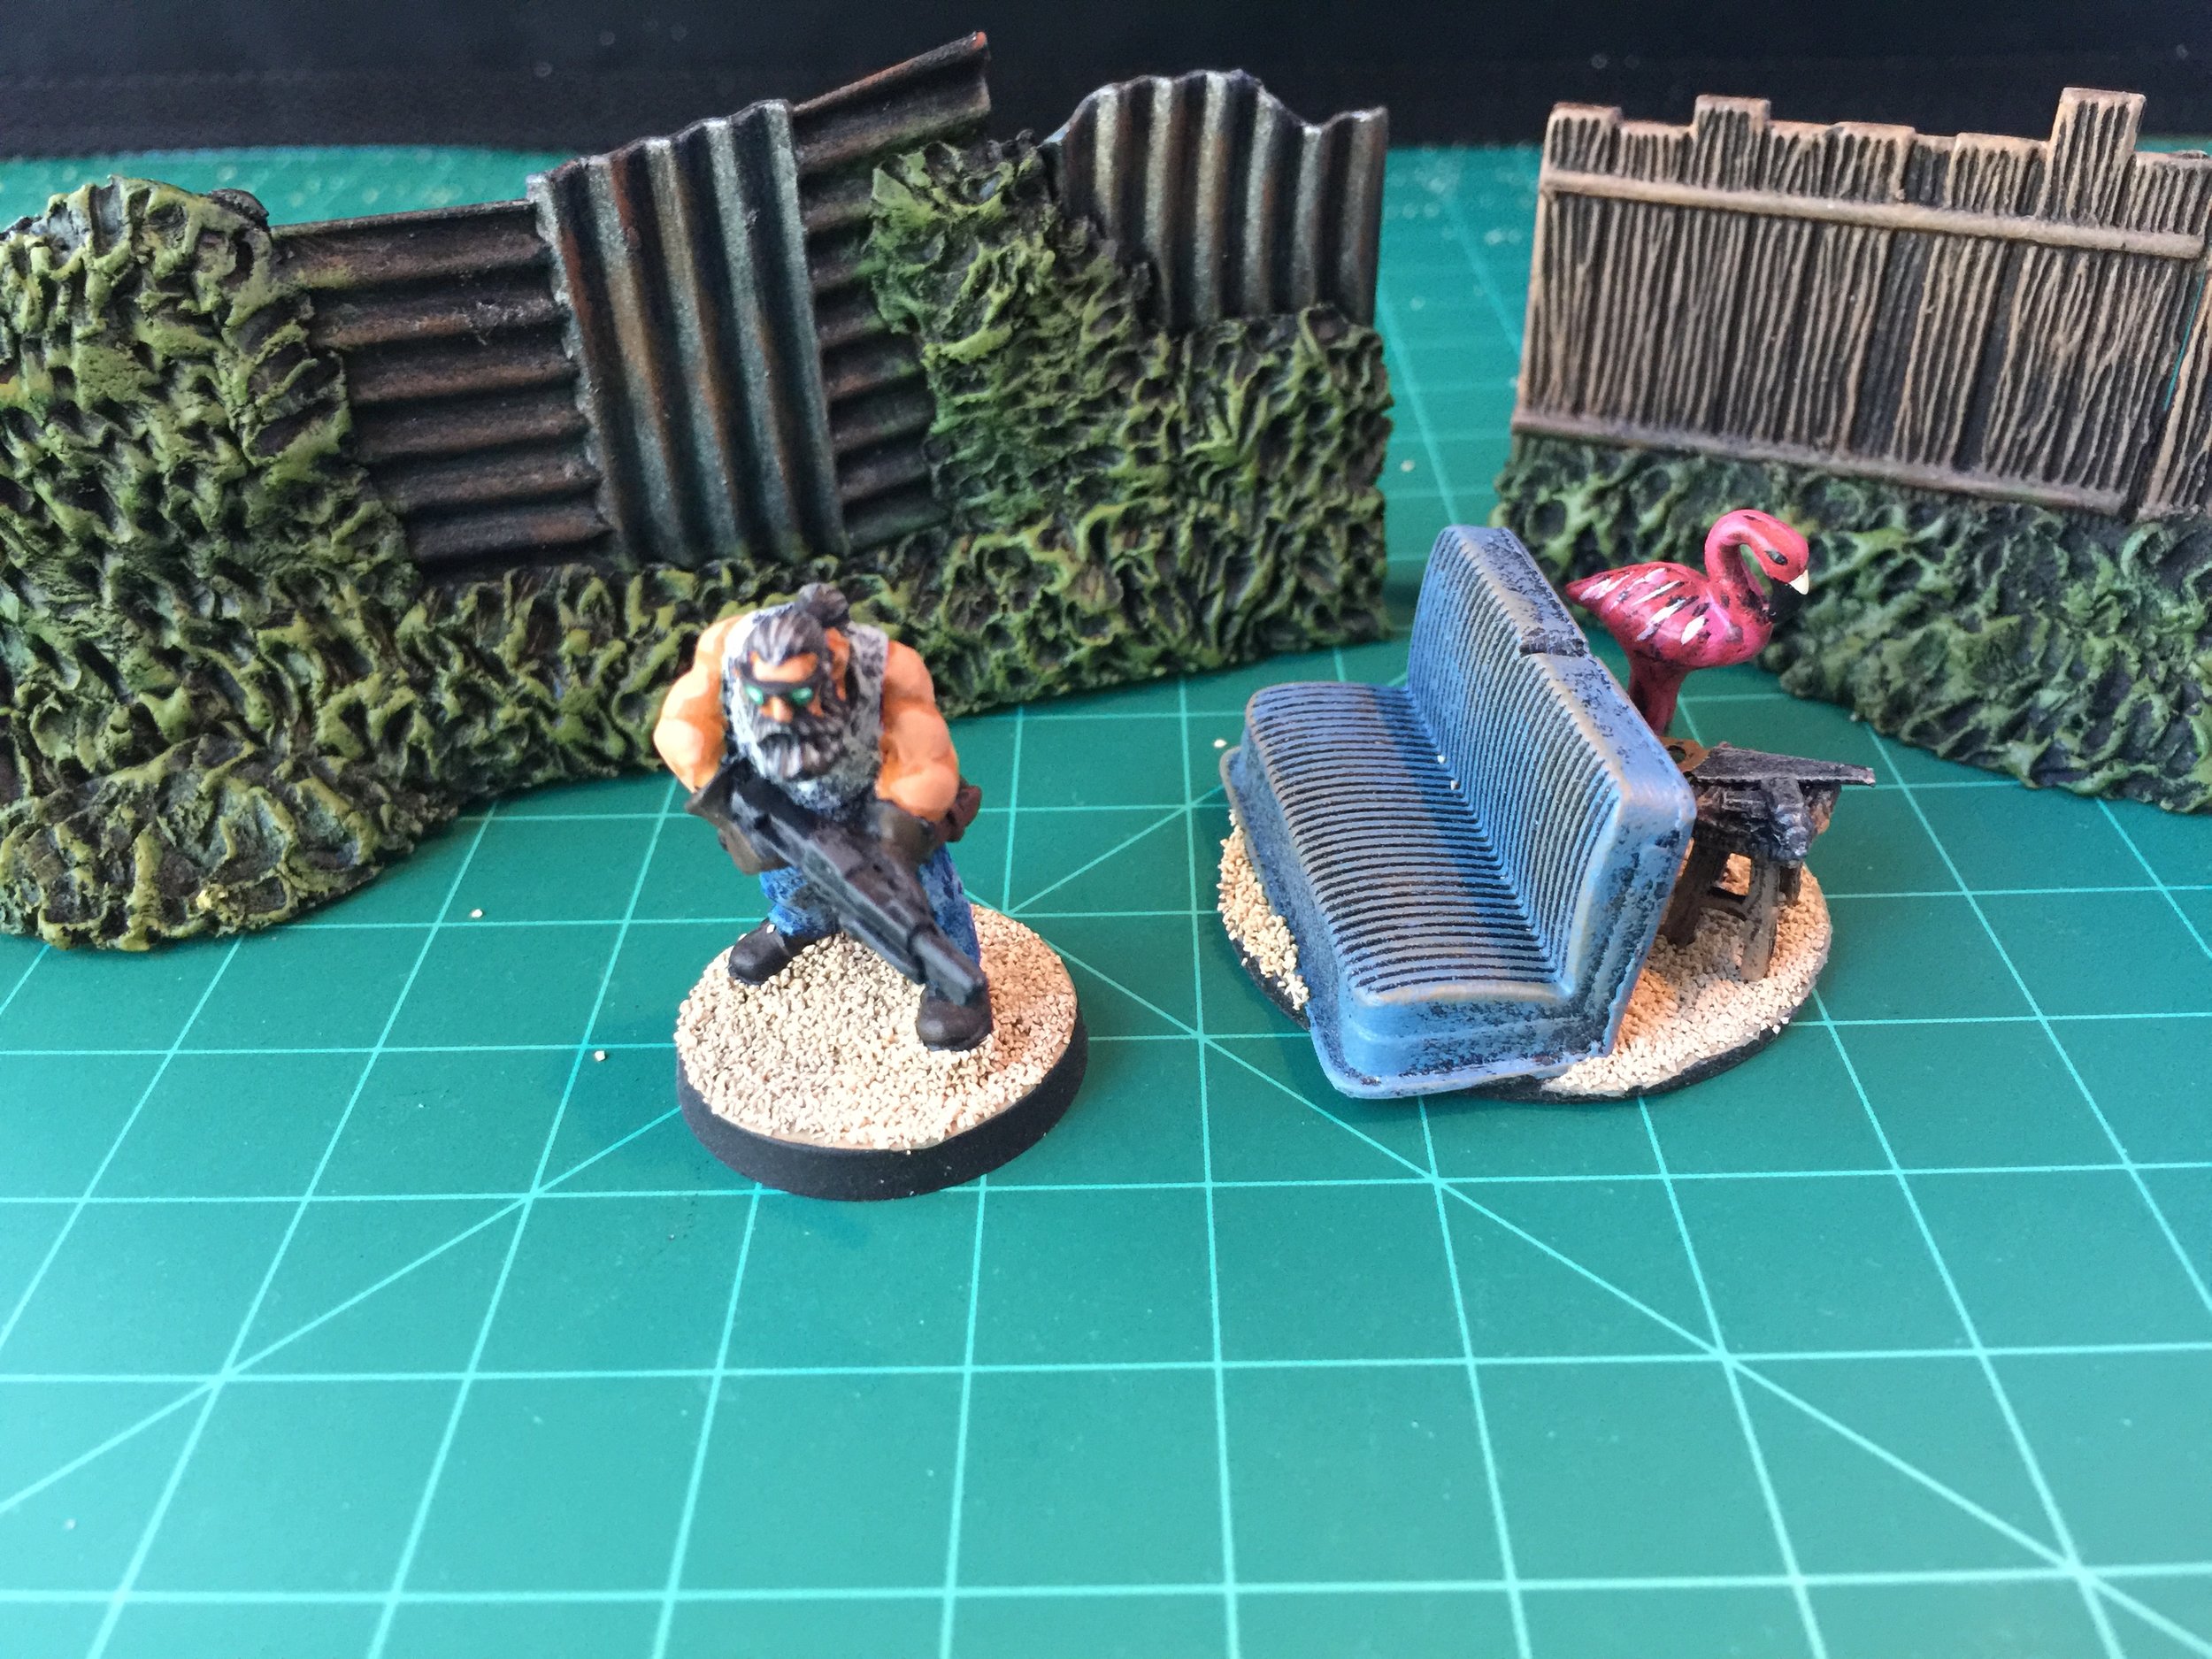
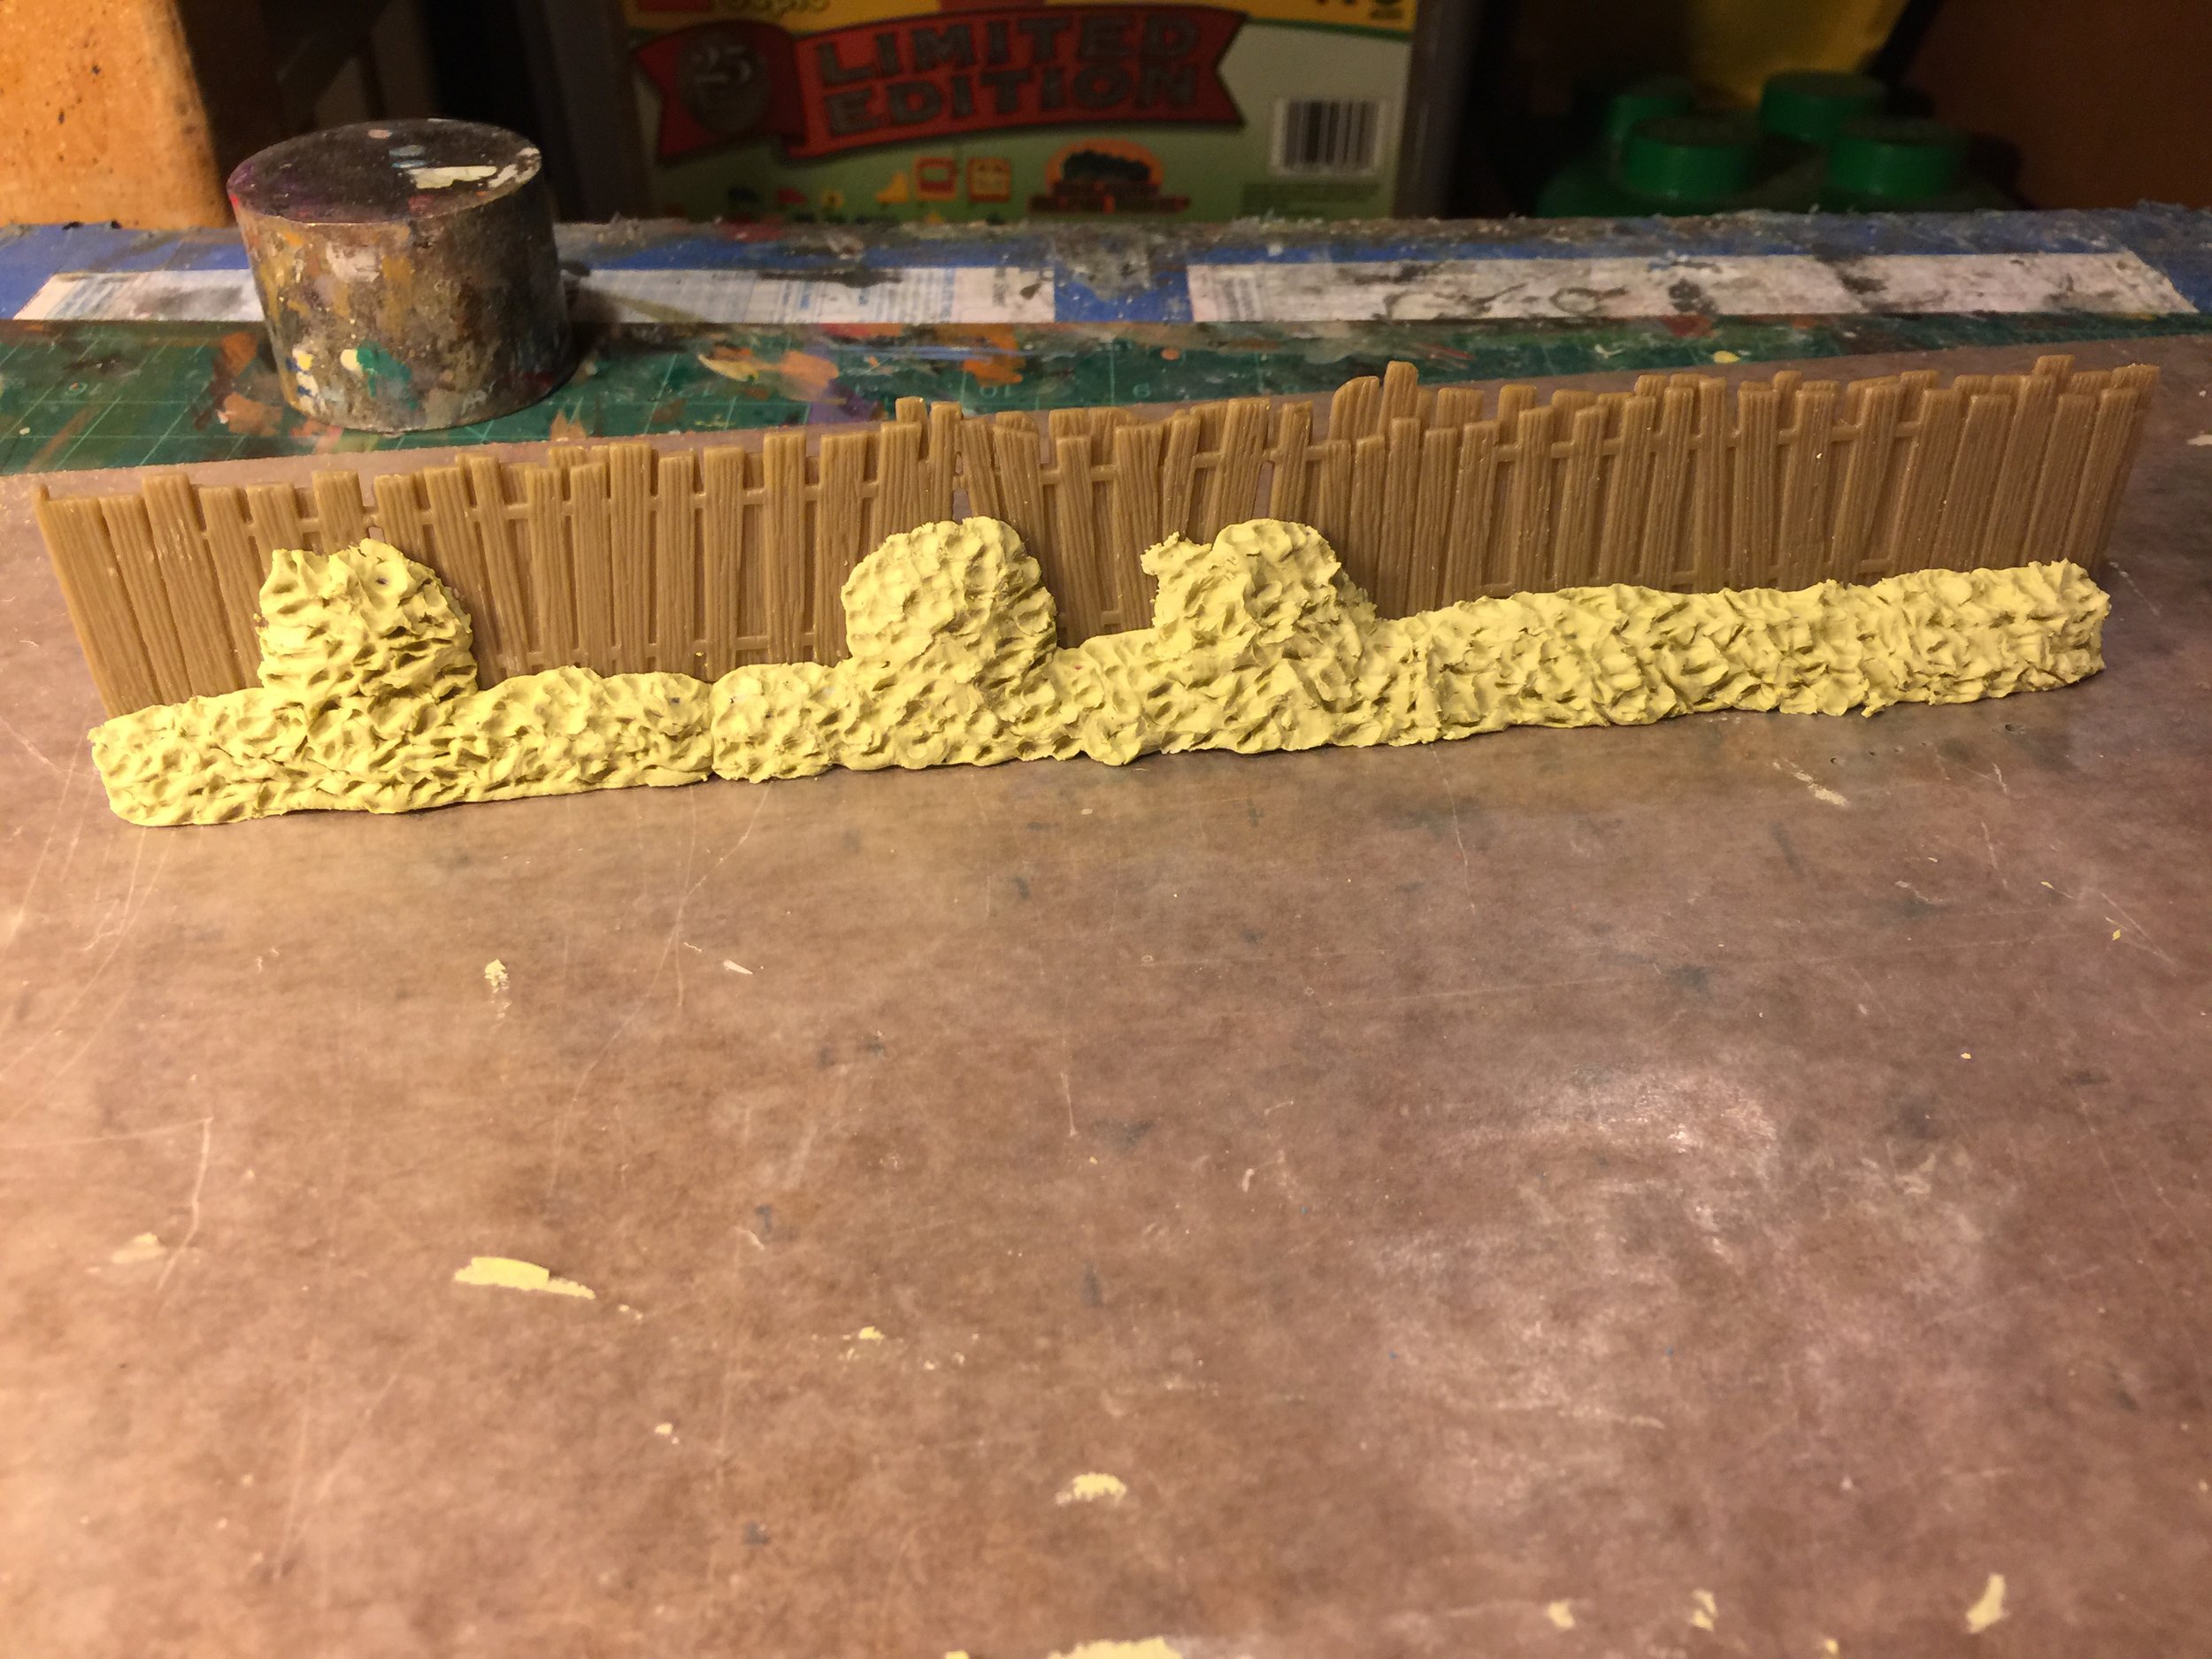
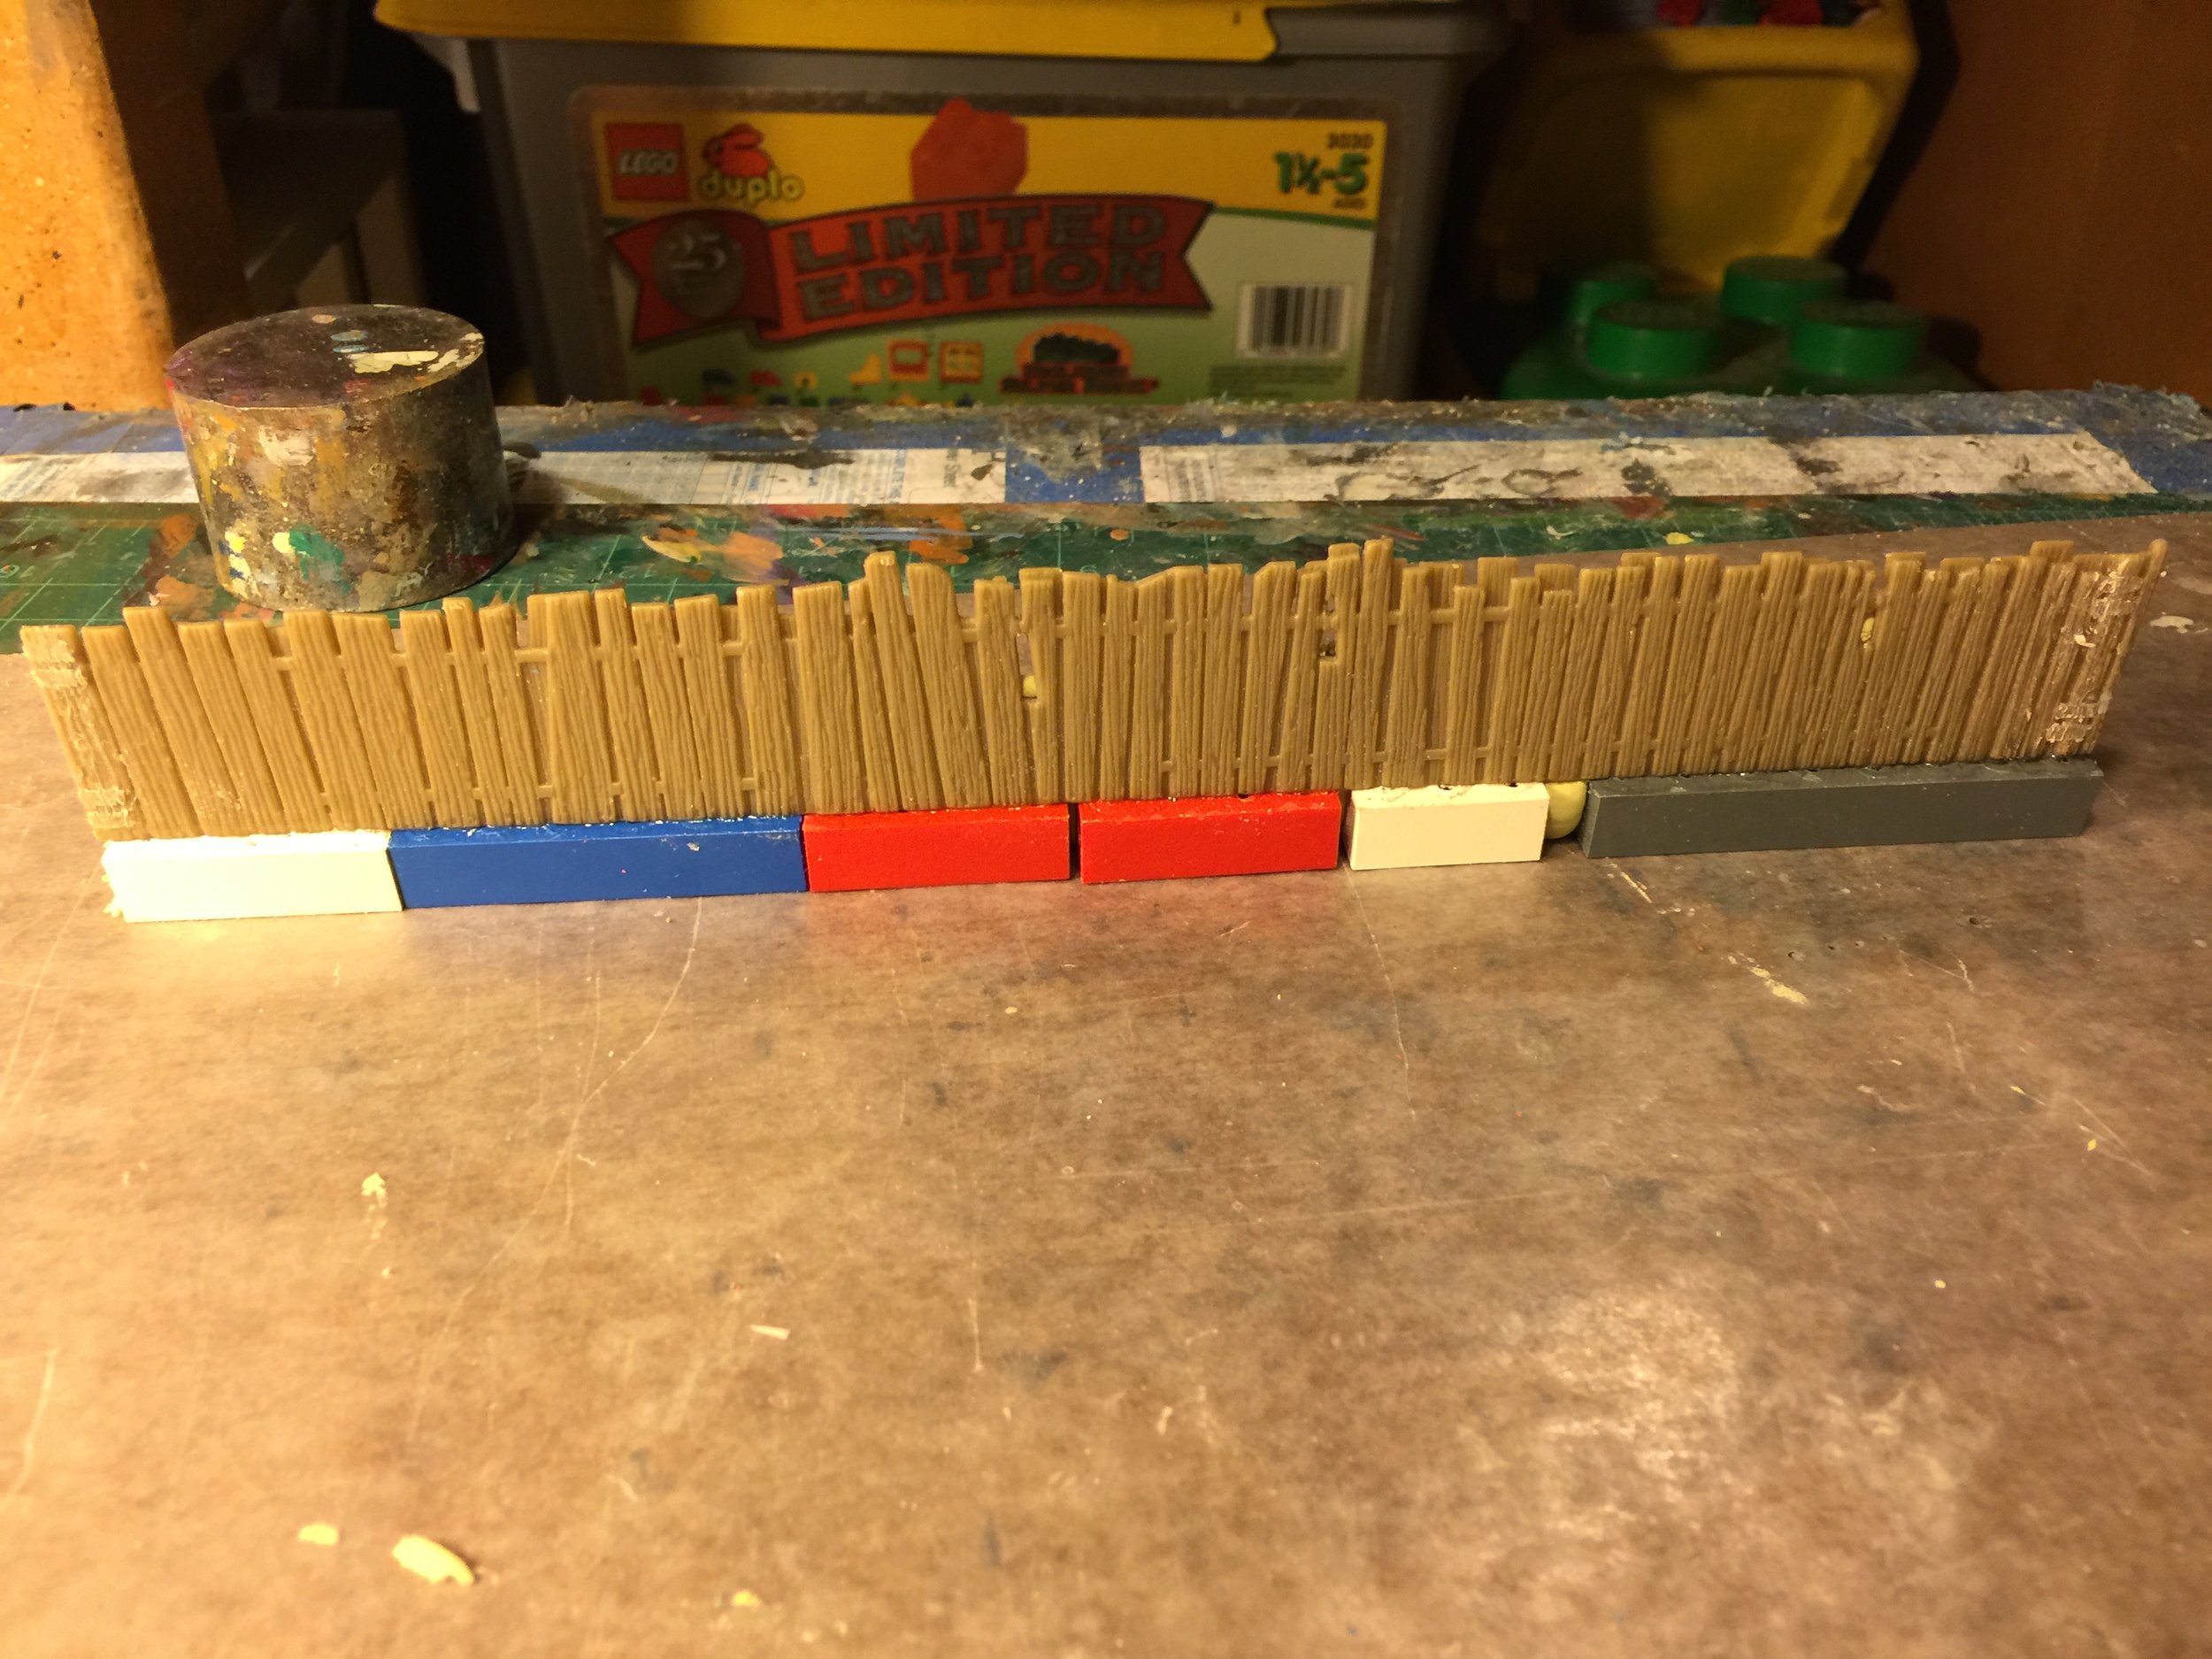
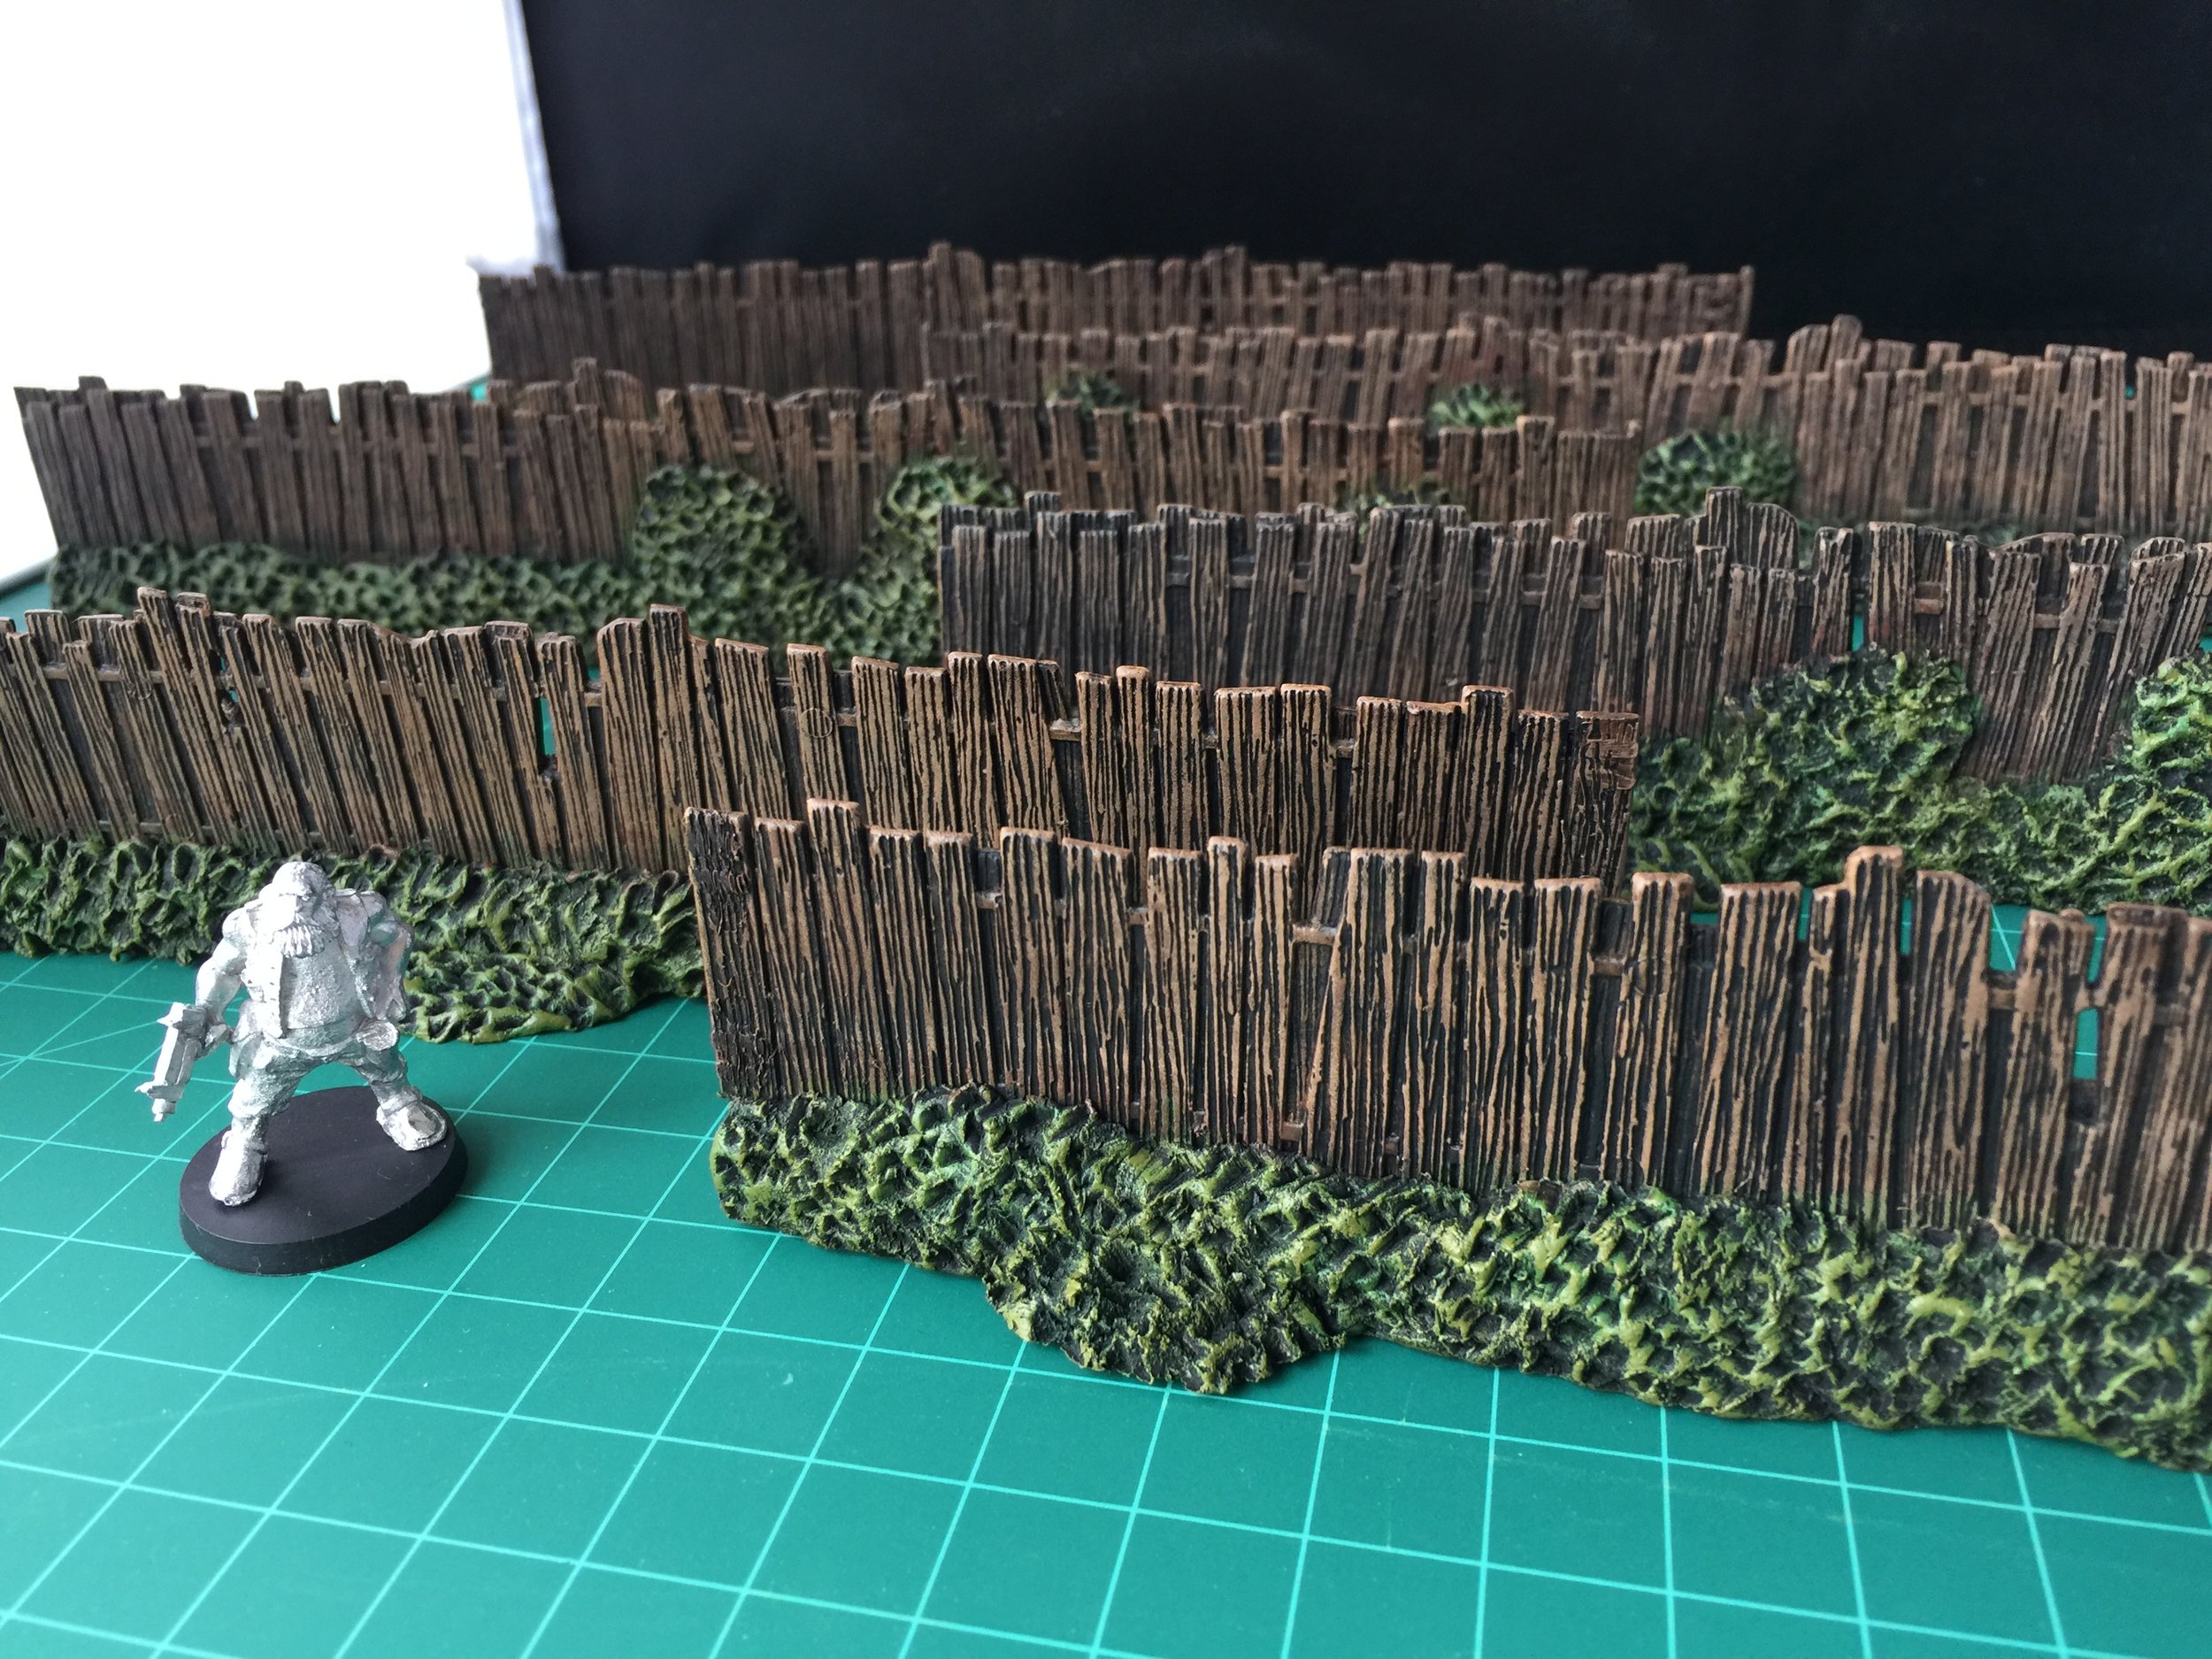
Most of this week the work on my workbench was focused on the fence that will surround my trailer park. Years ago I decided that I would buy a Disney playset for Mater’s tow yard that was marketed with the first Cars movie. That first Cars movie produced some wonderful buildings that can be effectively repurposed for use with 28mm figures. My post apoc includes two of those buildings (Flo’s V8 Café and Radiator Springs Curios), and I used two other buildings marketed with the release of the first Cars movie when I did my Gangsters and Stuff collection (Luigi’s tire shop and Ramon’s auto paint shop). Mater’s tow yard does not have a wonderful building, but it does have some great fence. Over the years I picked up three of the Mater playsets at the swap meet each for very little money (one to three dollars each) and it was my plan to use their fence to surround my junkyard. But as this project got underway my plan changed, and I decided to surround the junkyard with the scratch-built wire fence I used with the military base in my spaceport collection, and use the Mater fence to surround my trailer park. The big problem with the Mater fence is that it is too short, so to solve that problem I glued the fence to one level of Legos and hid the Legos under a cover of Milliput scored to look like bushes. It was a lot of work, but I think it came out great.
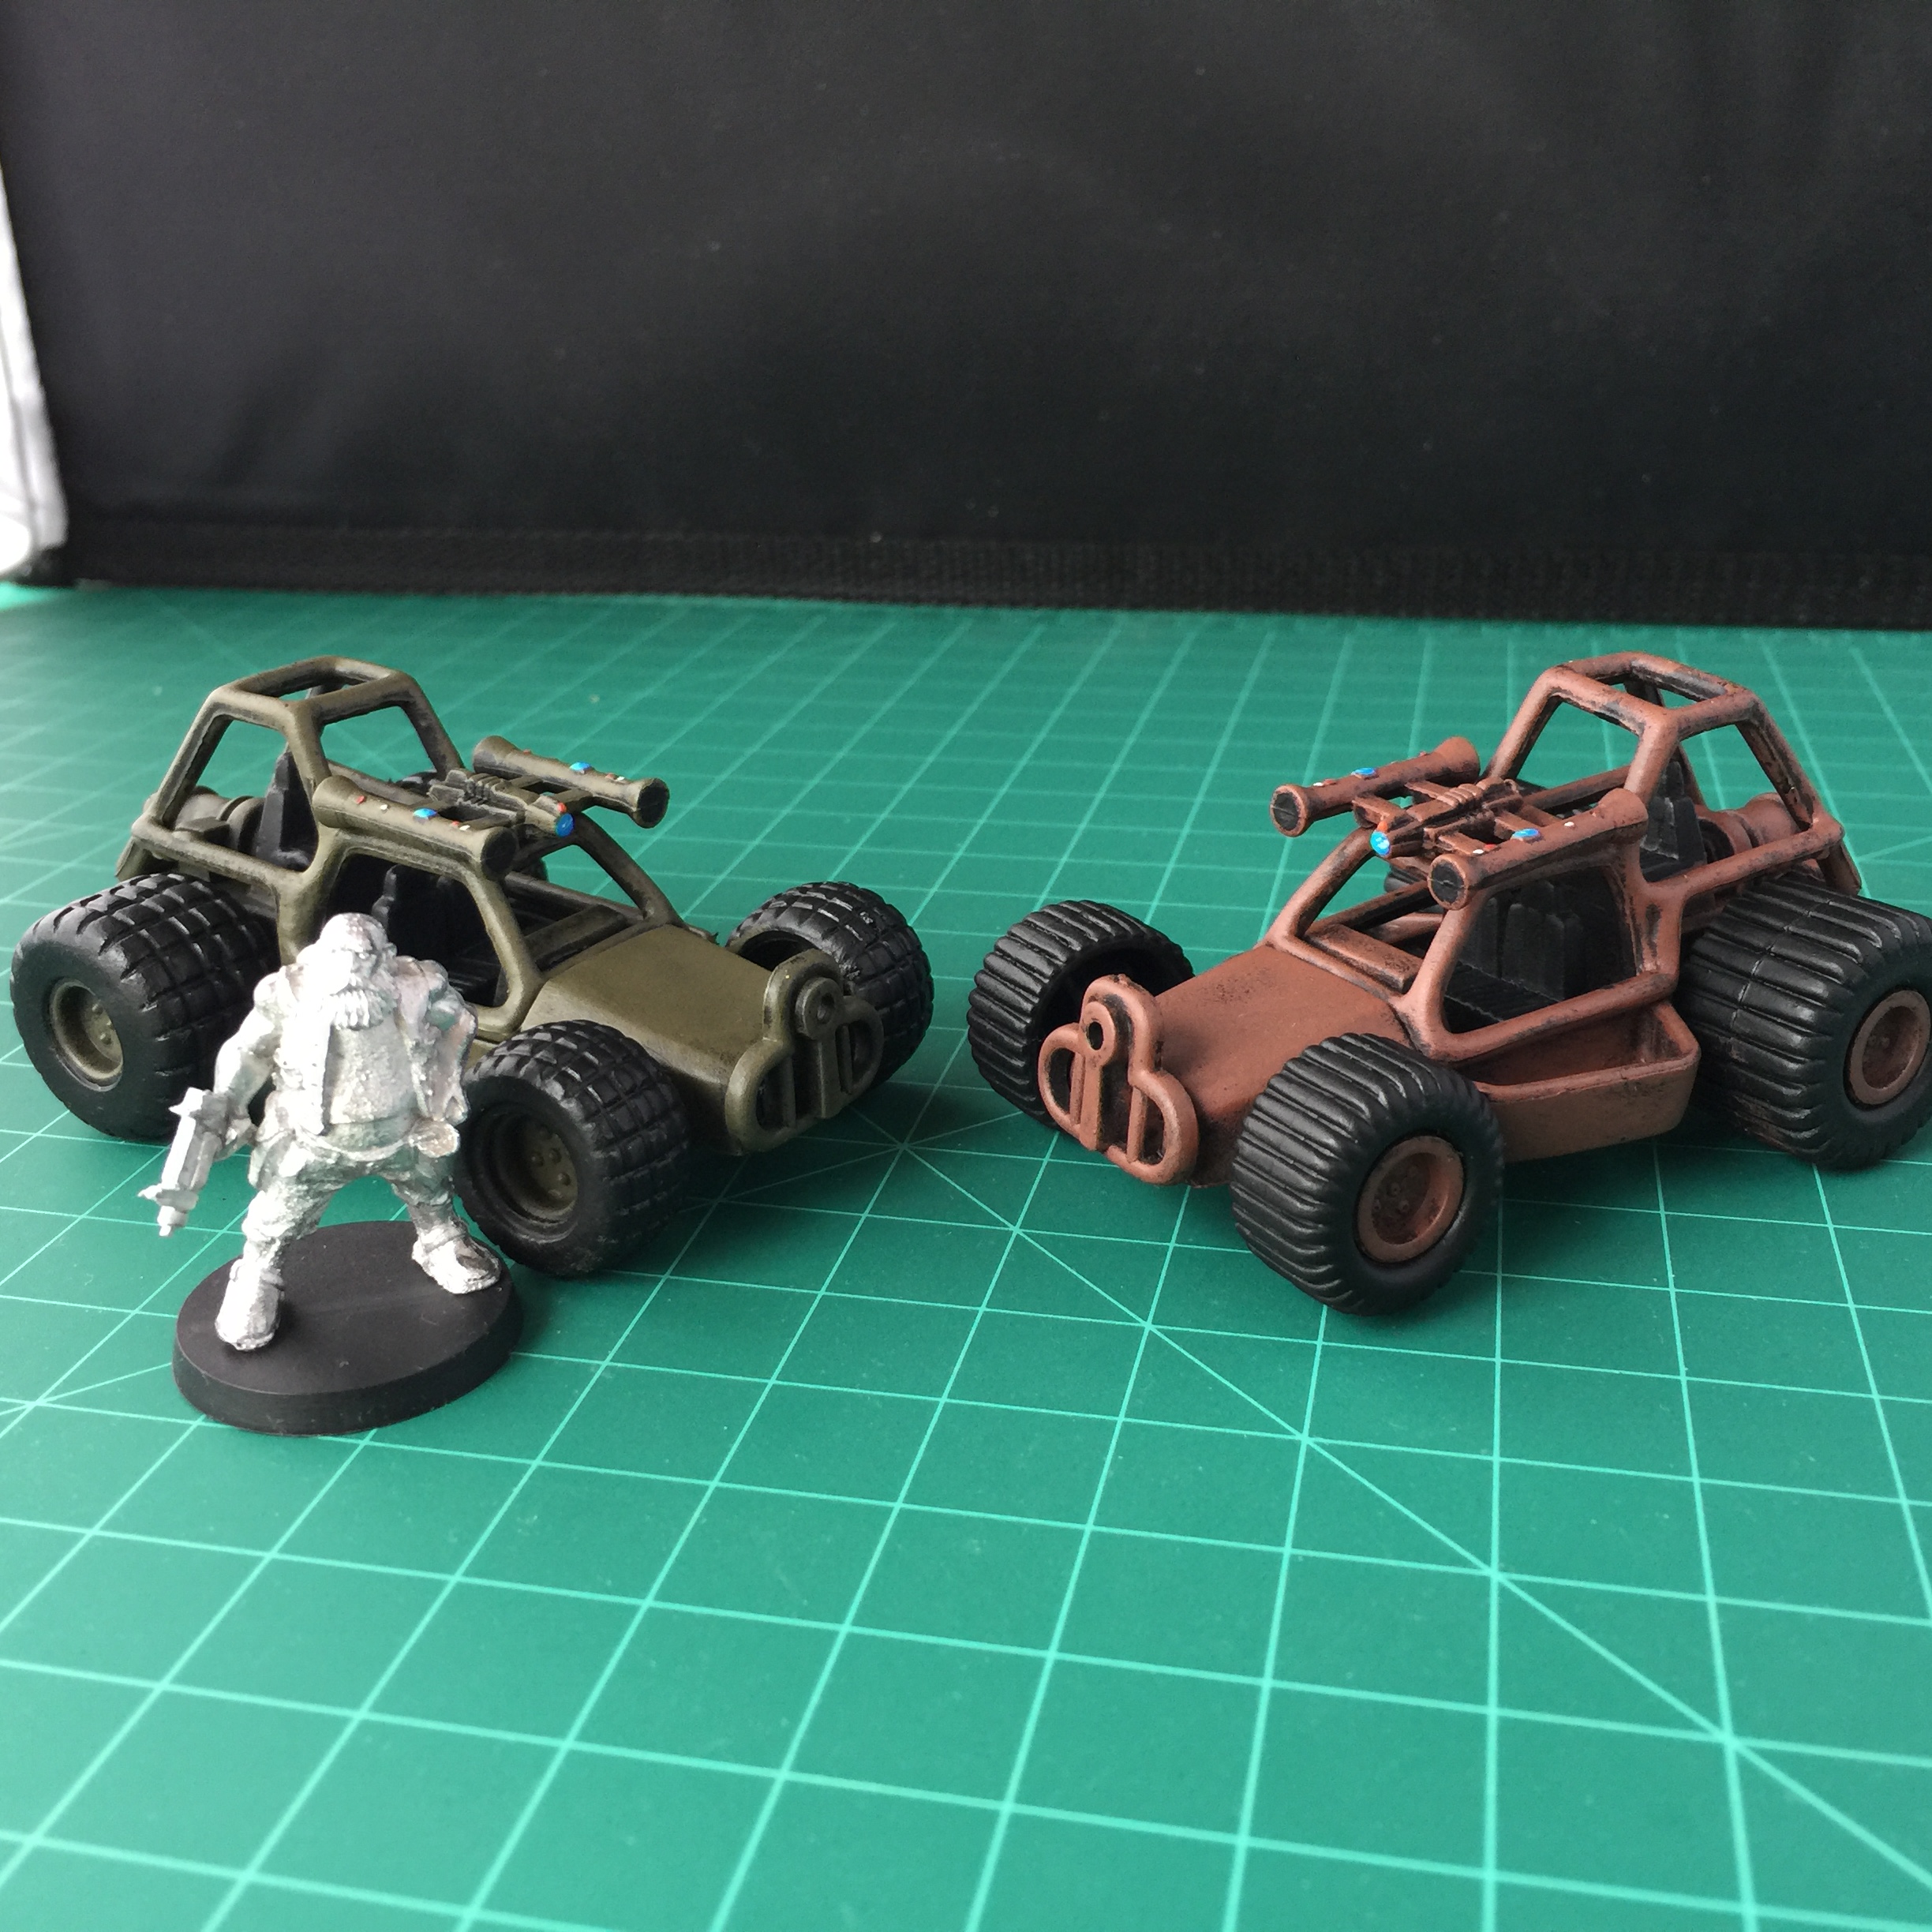
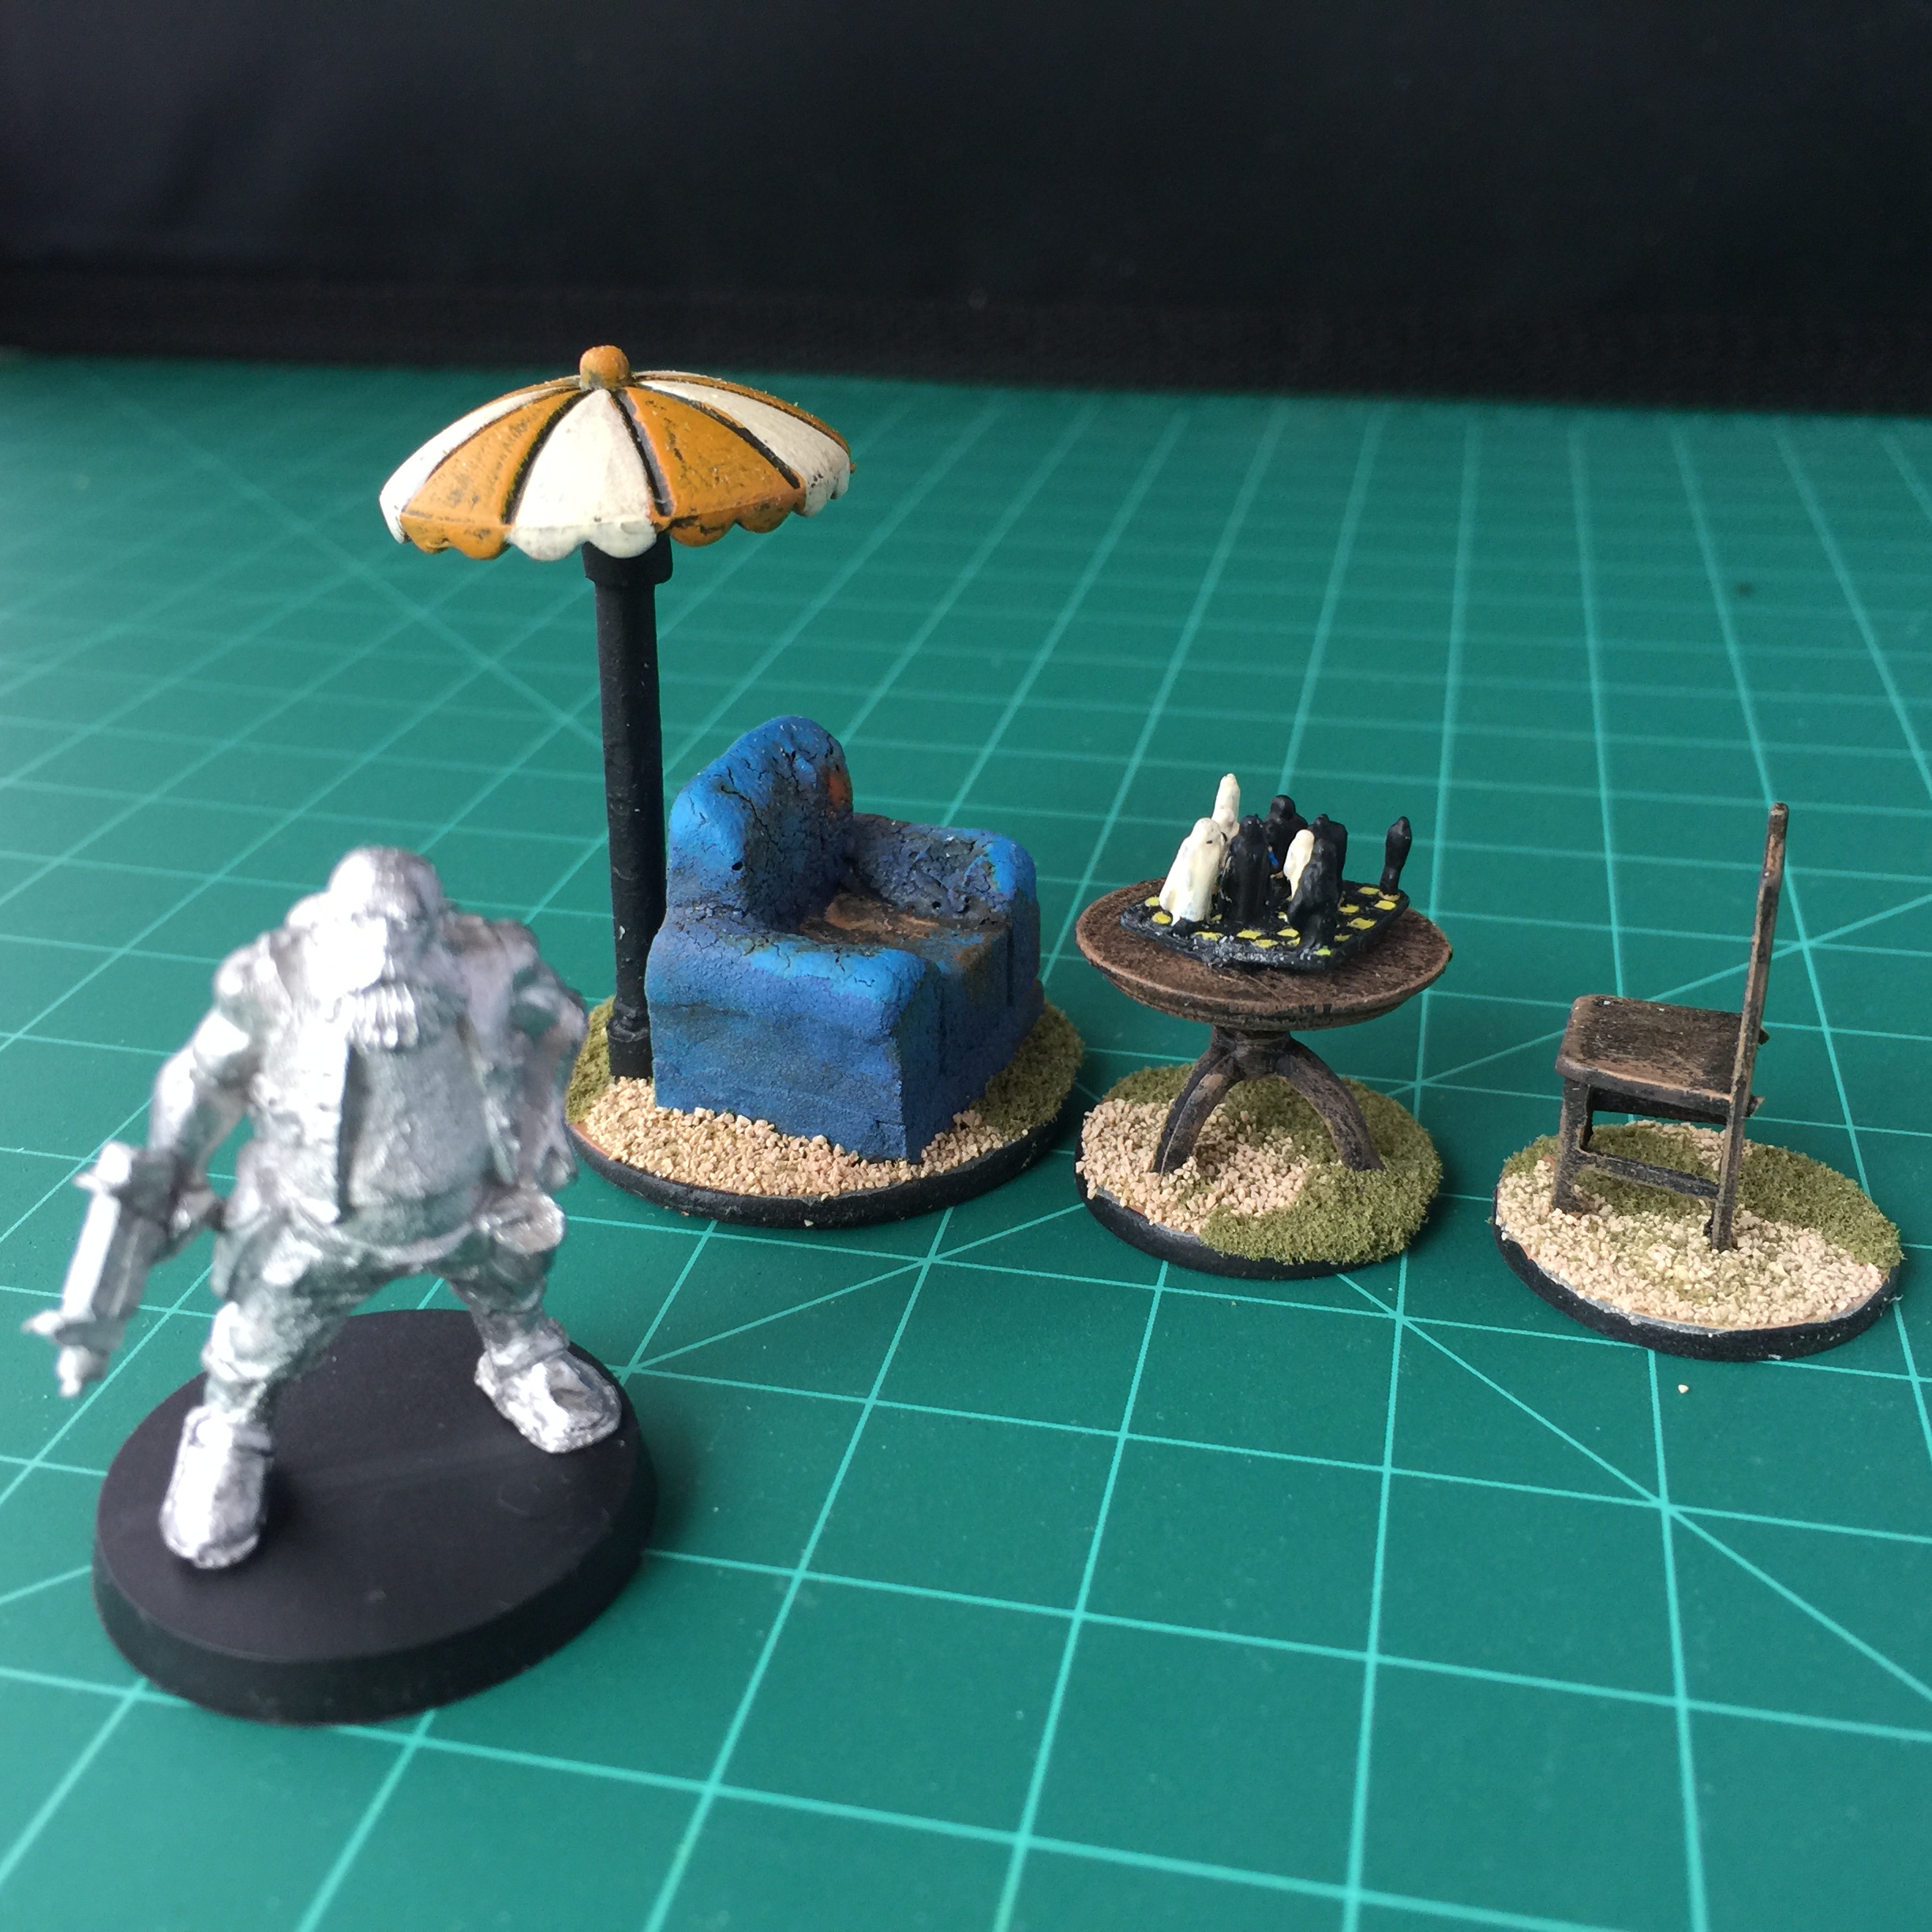
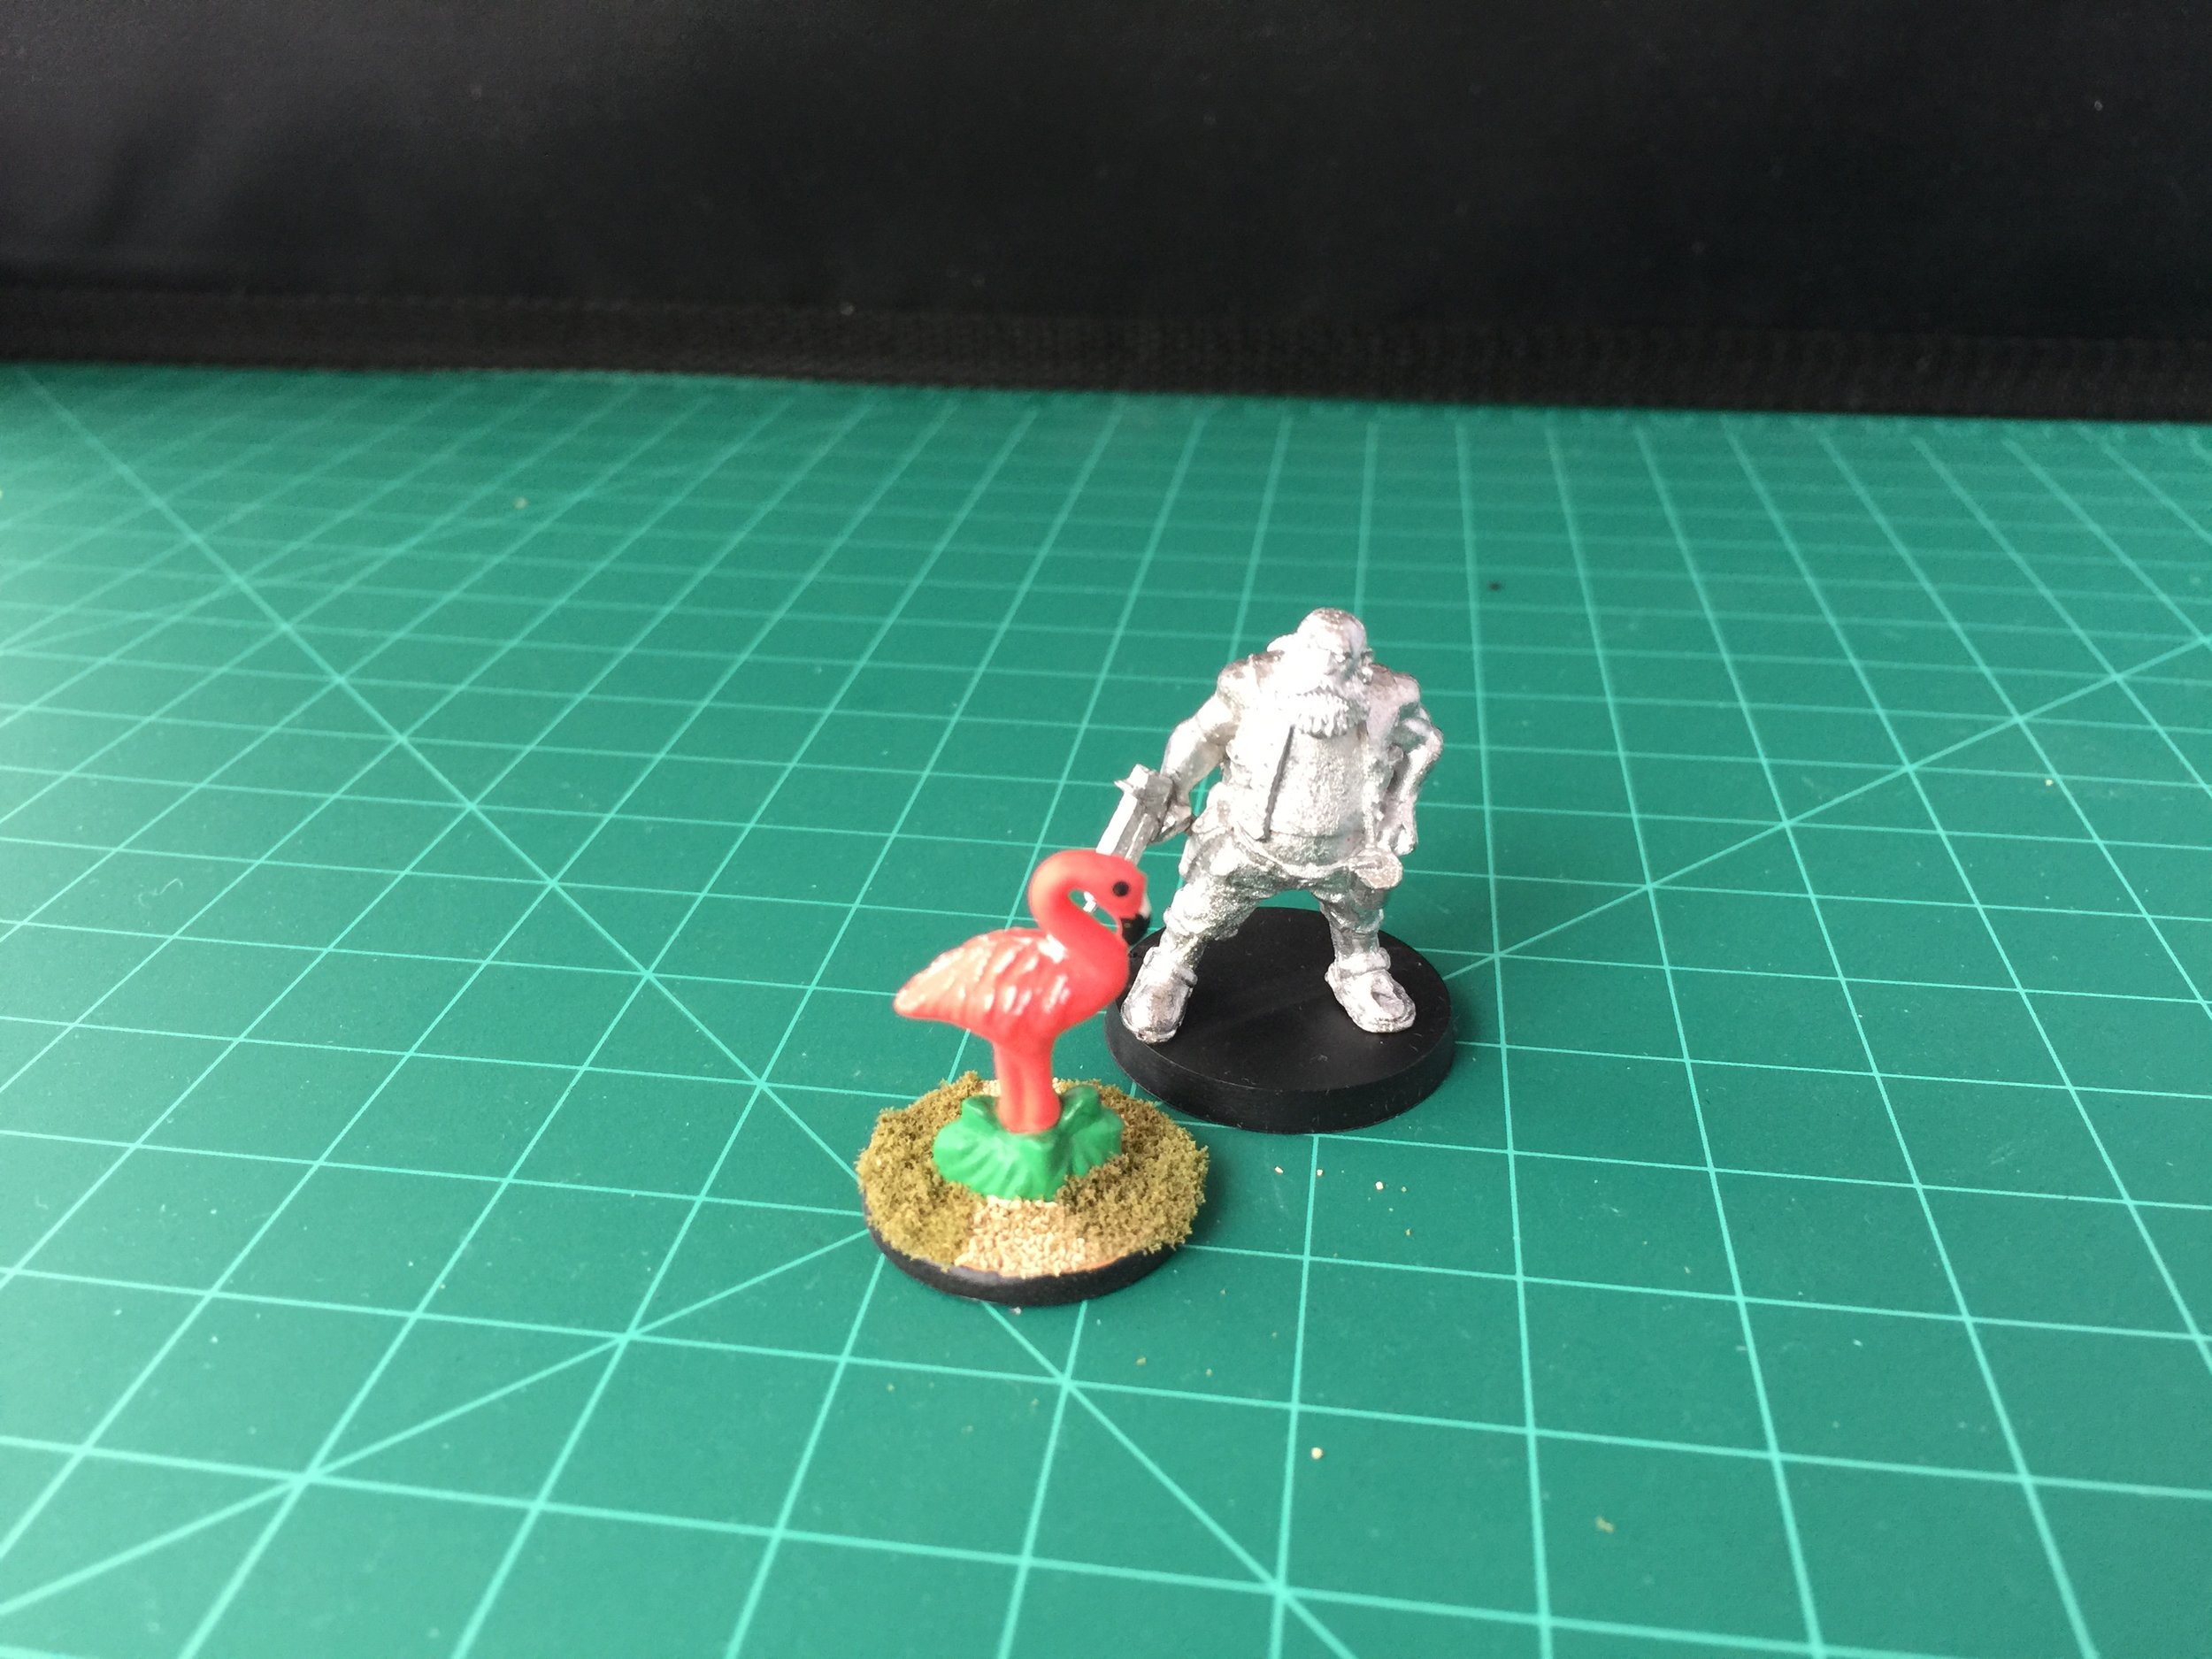
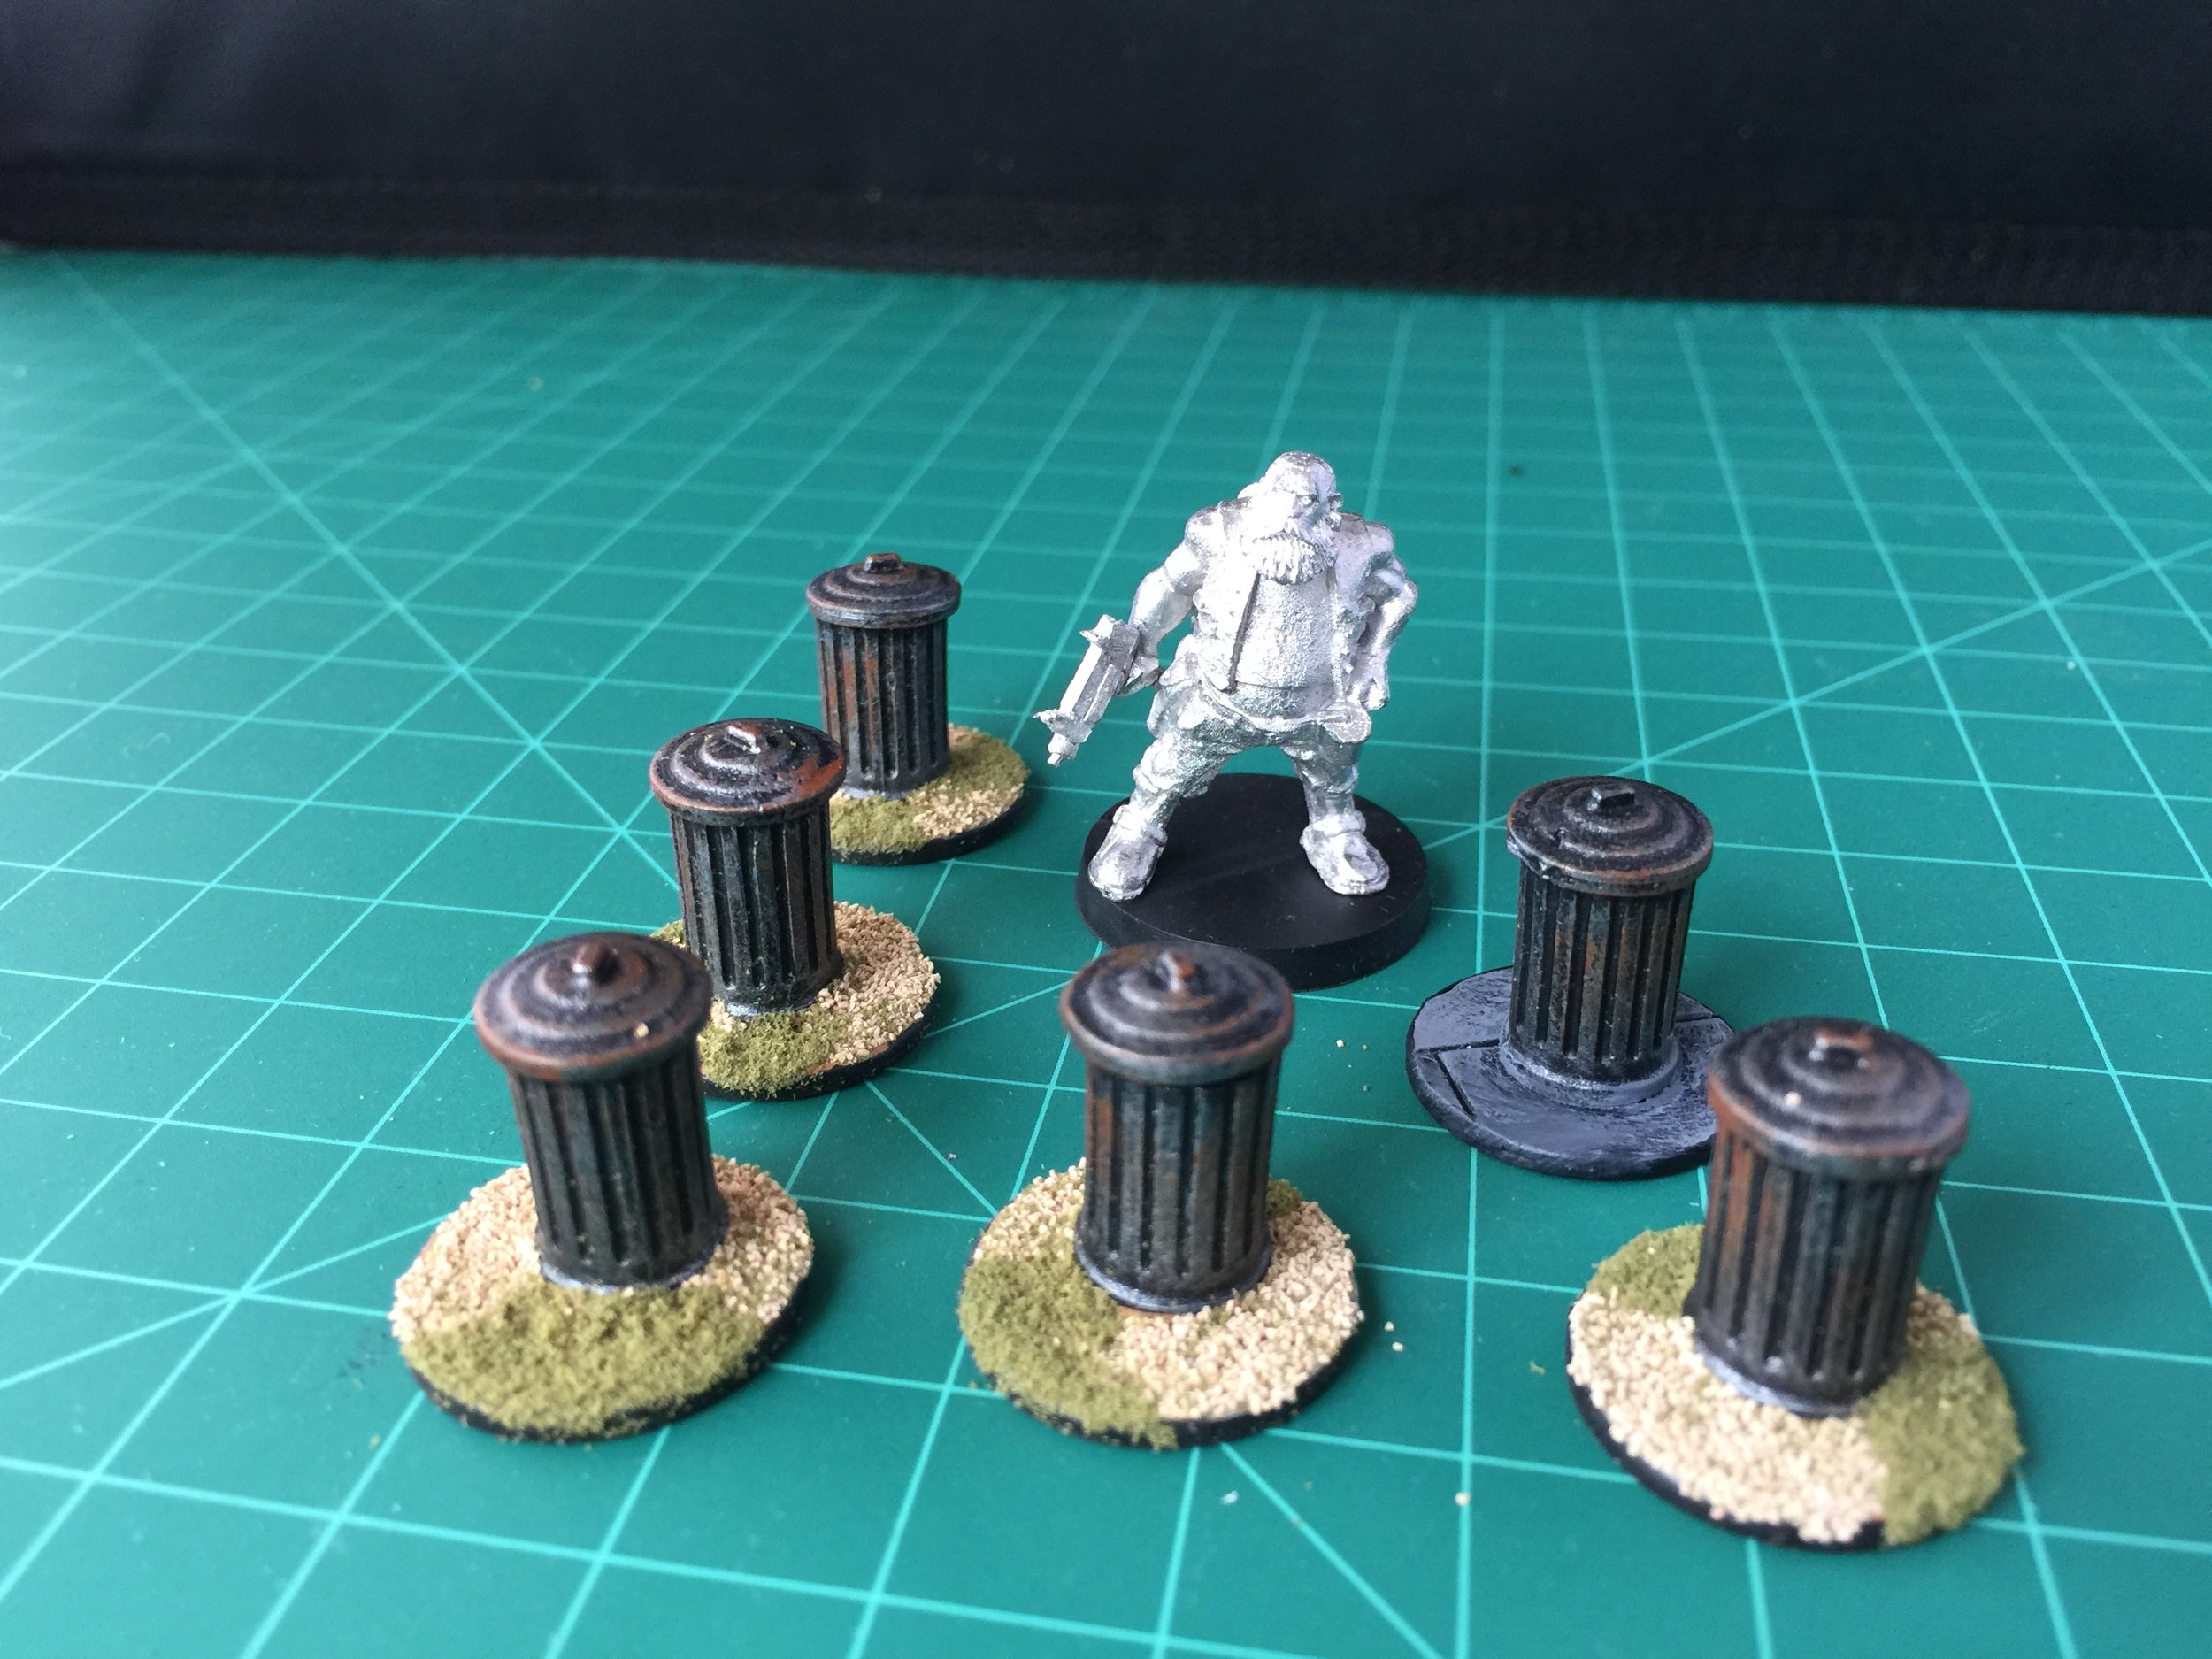
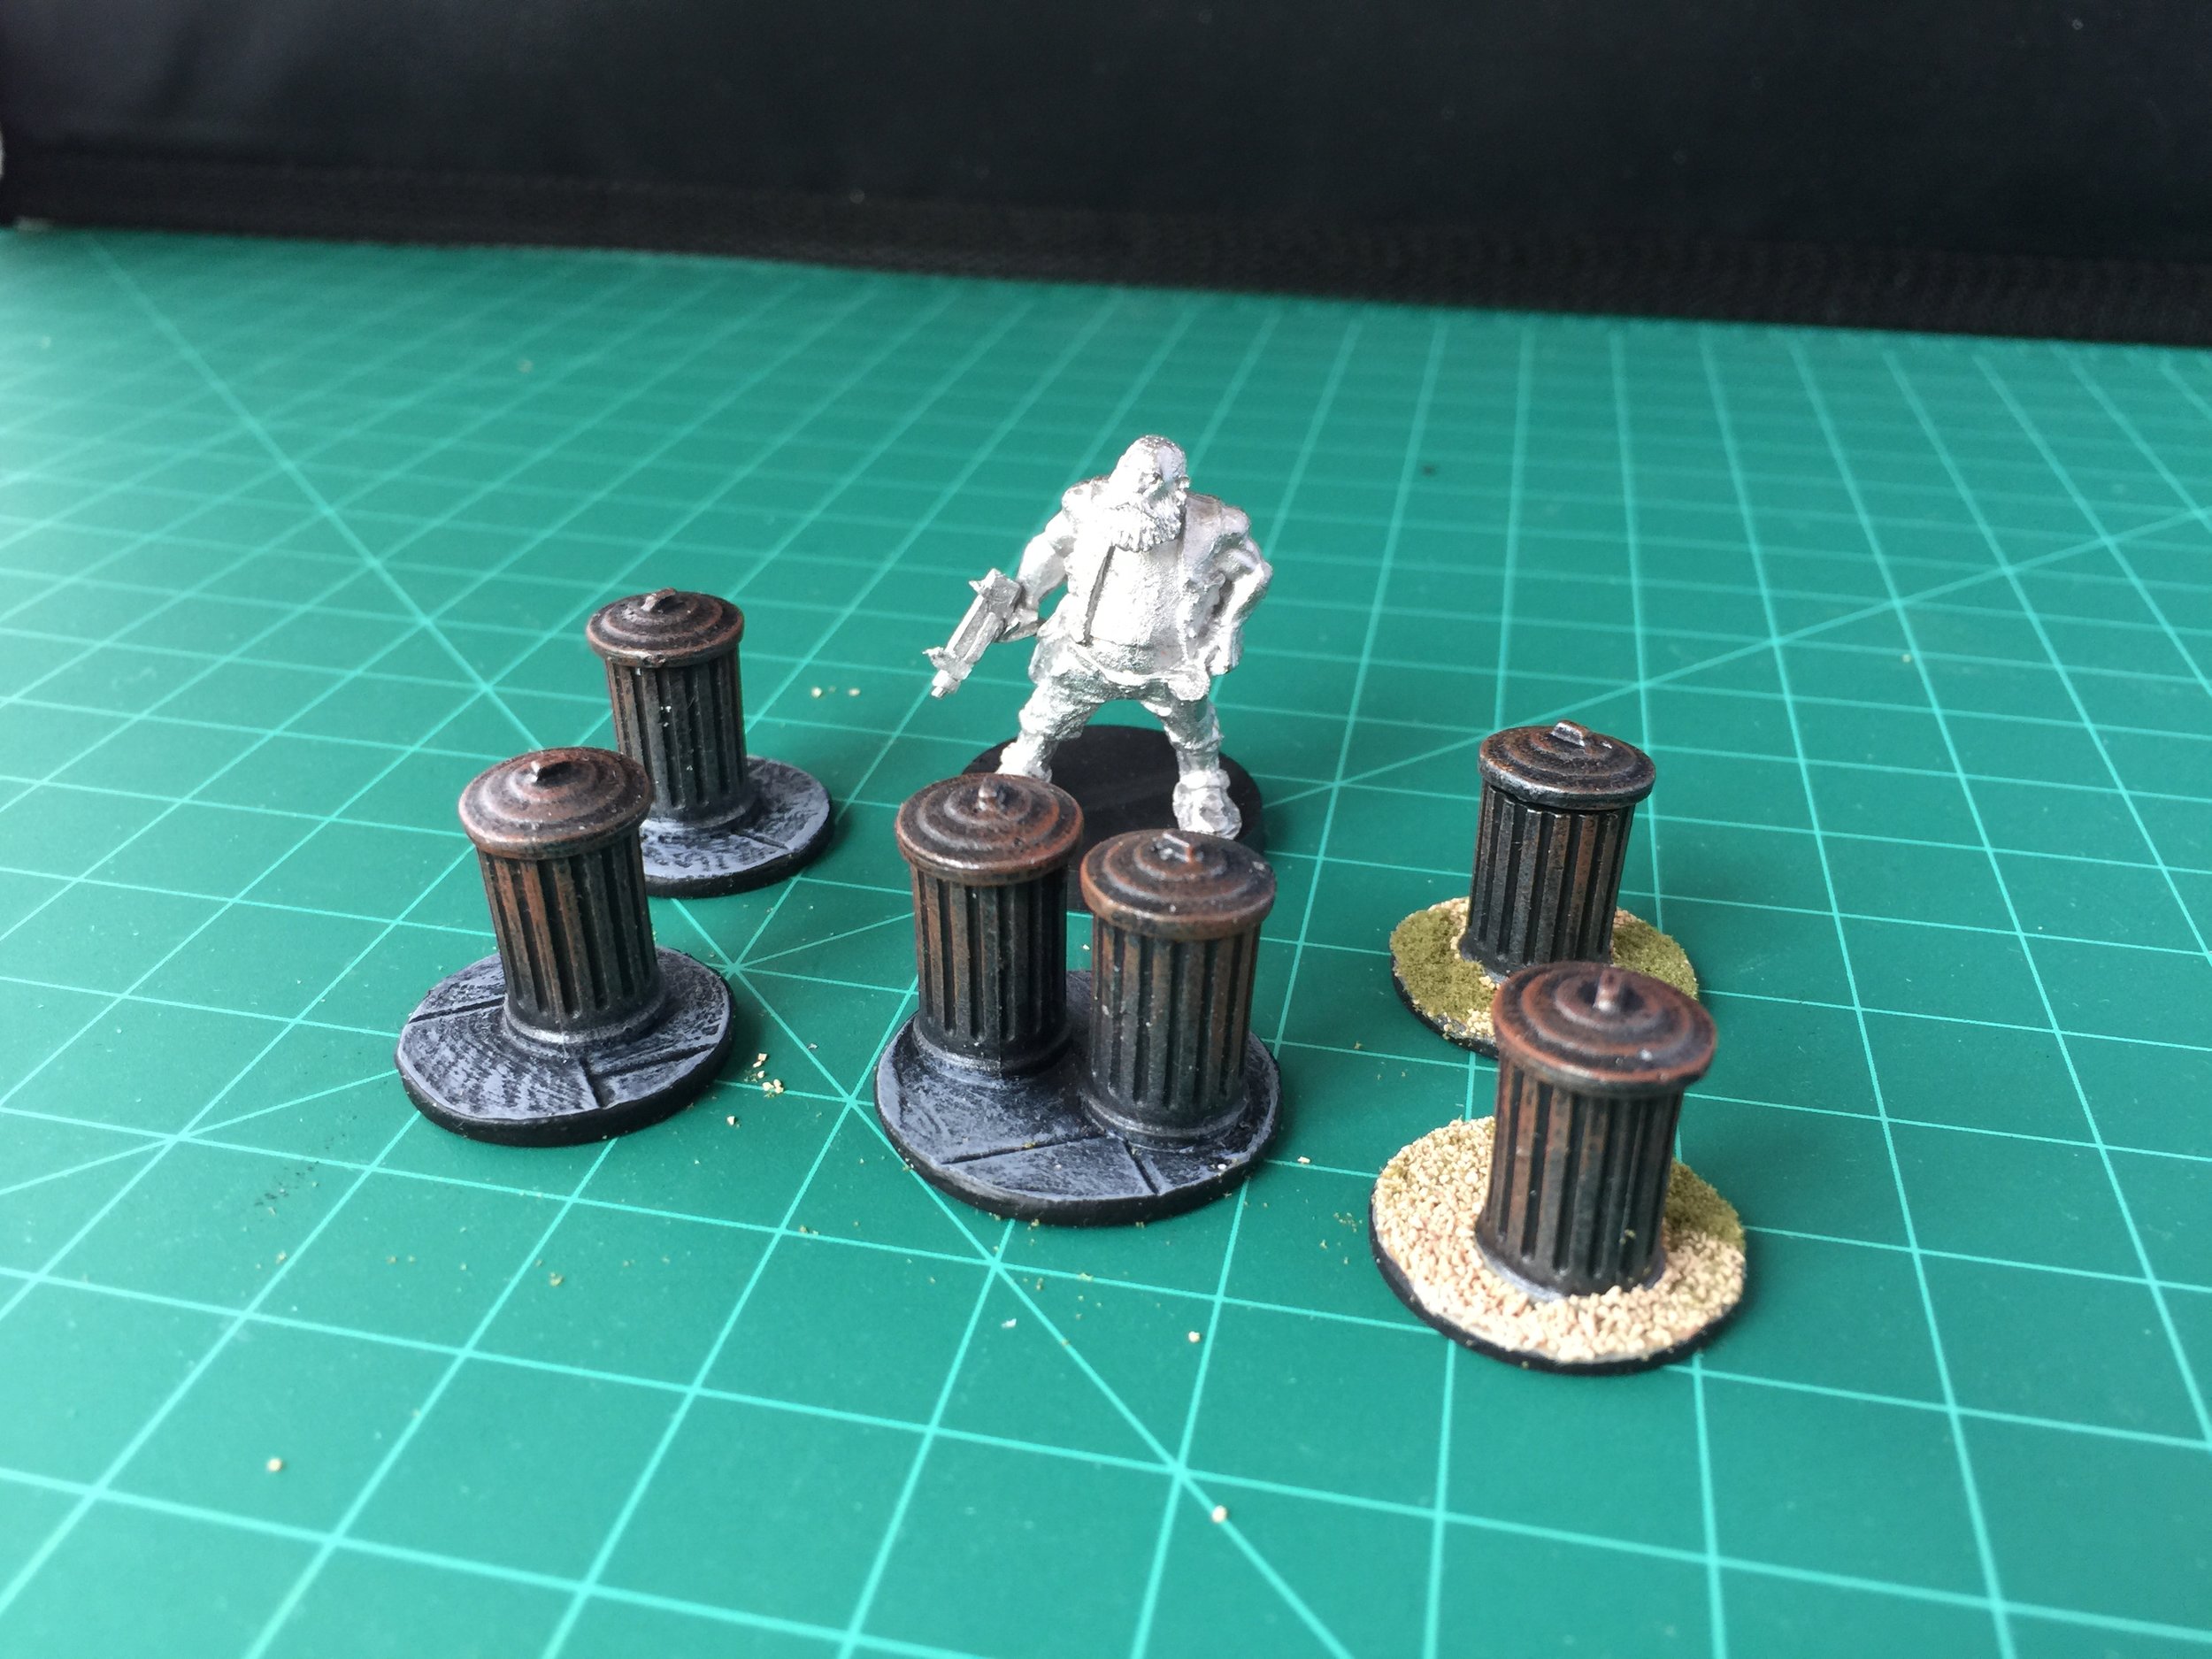
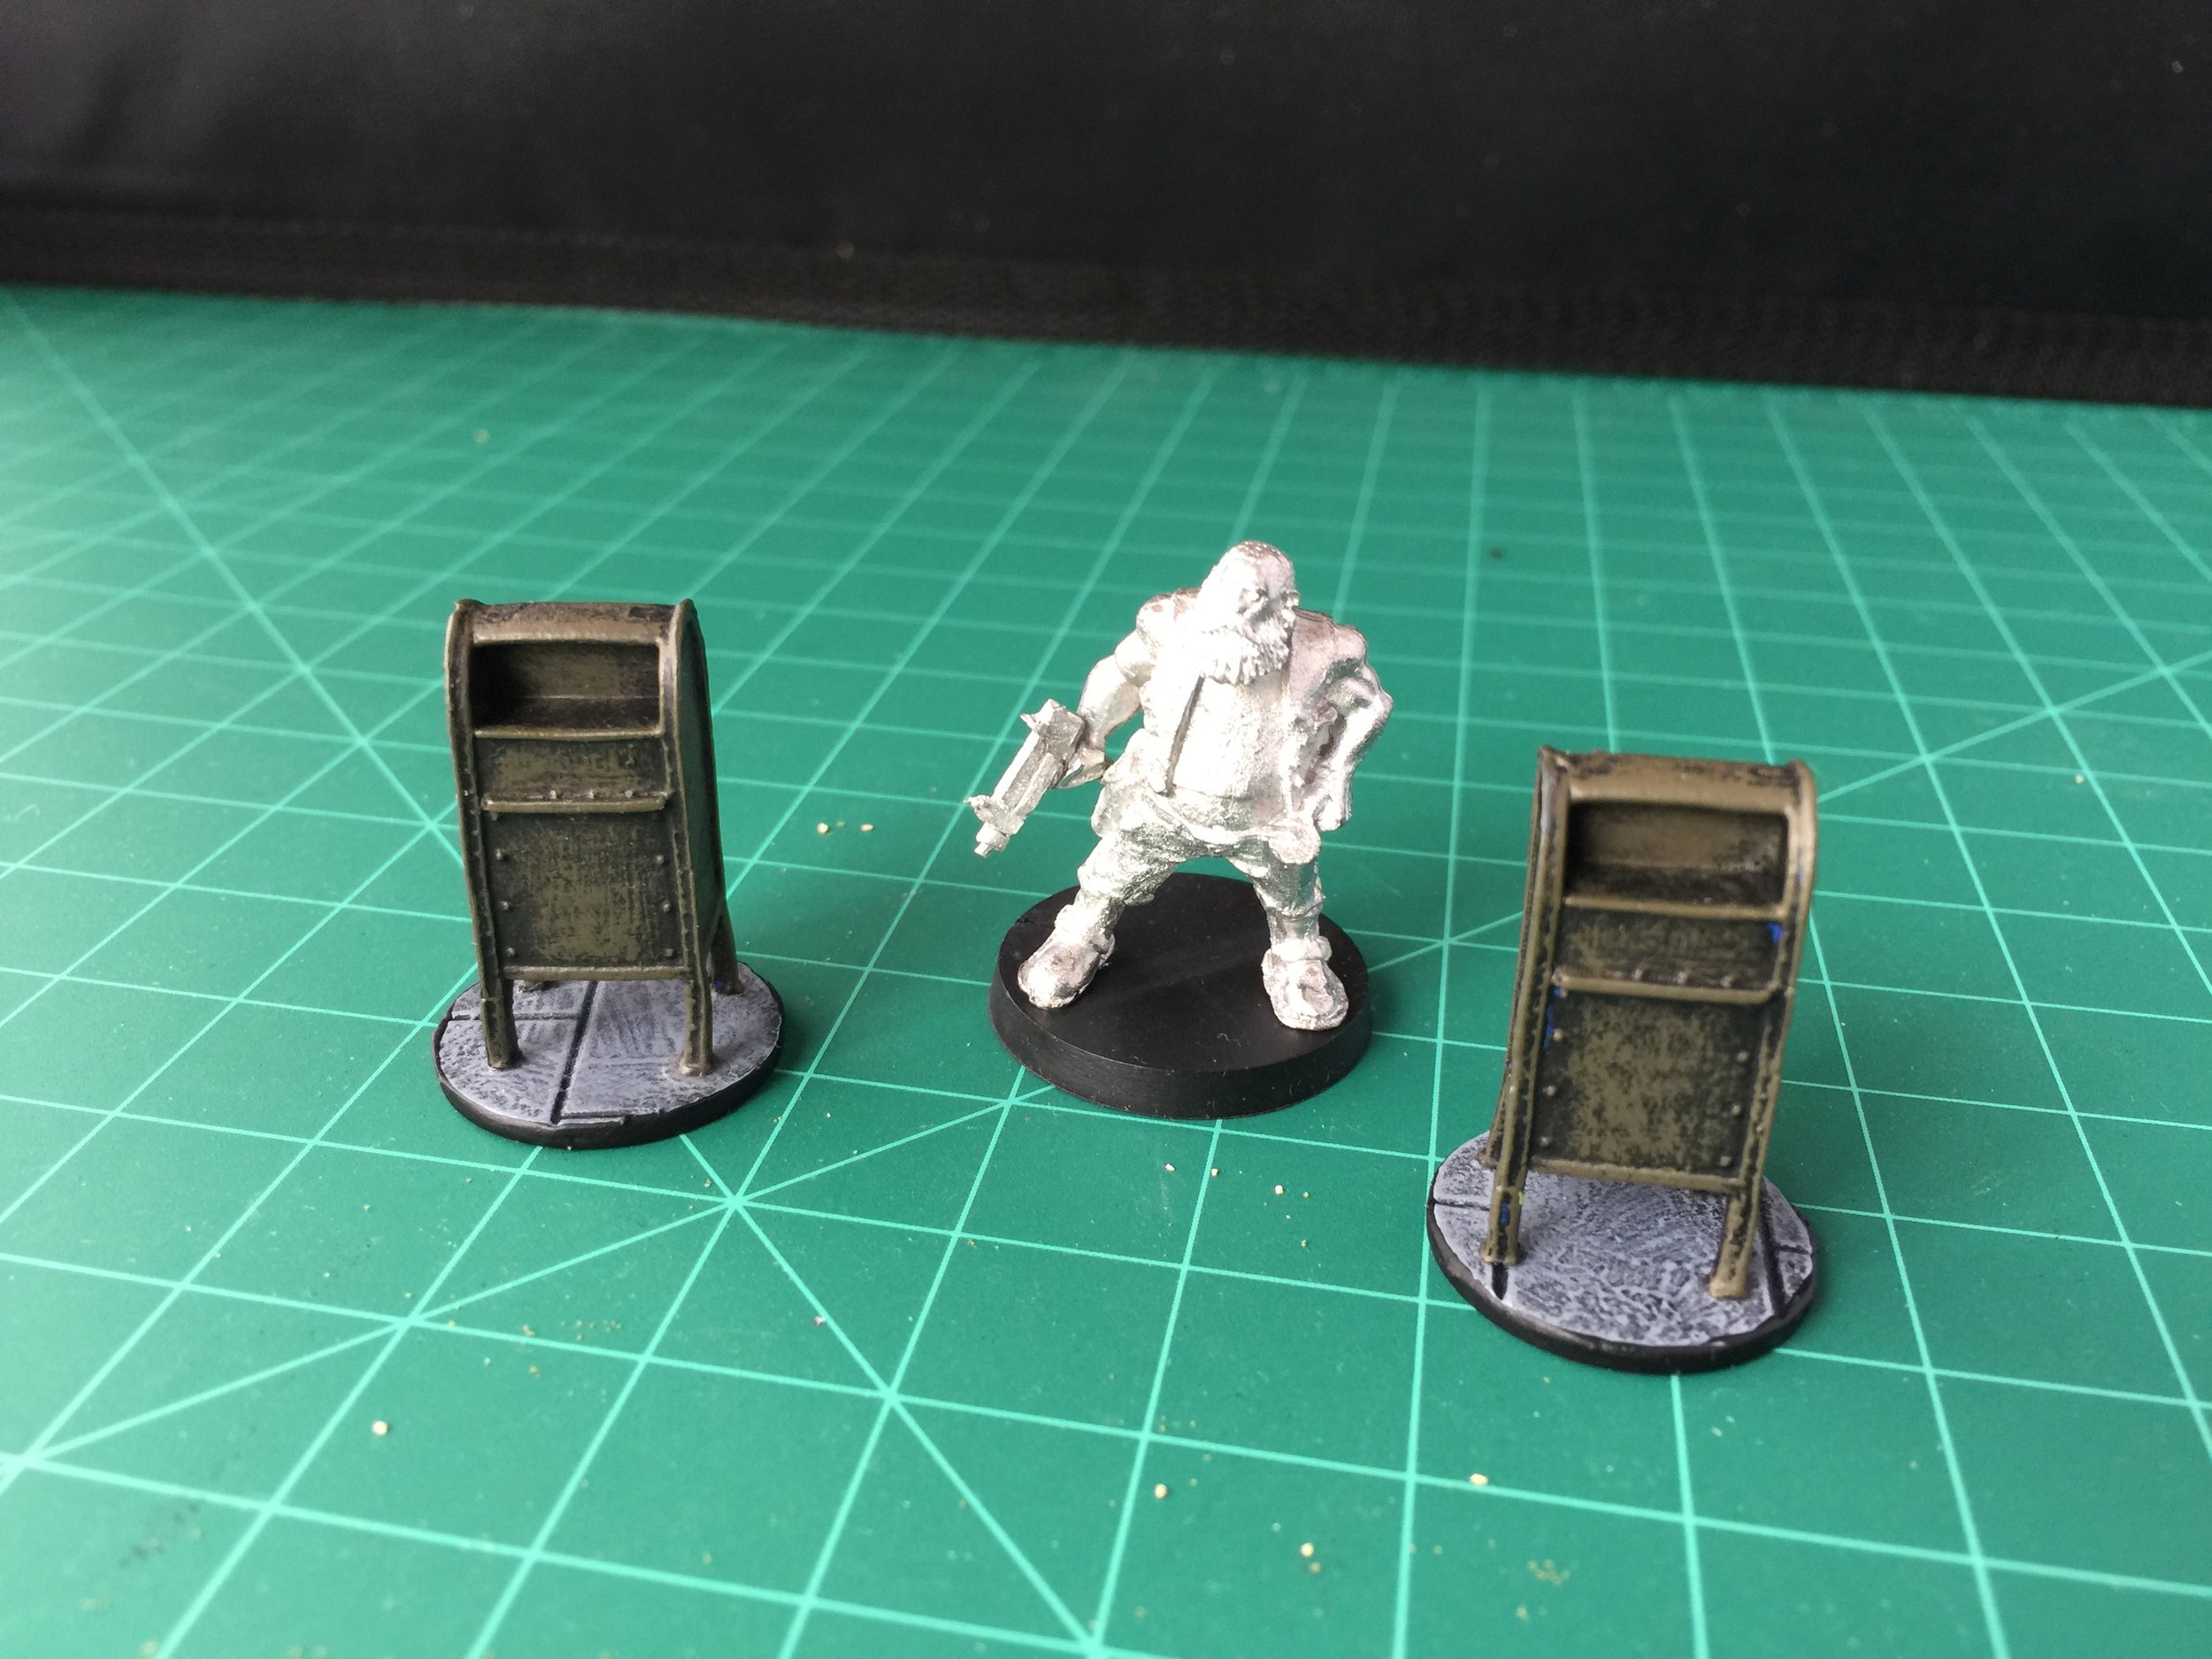
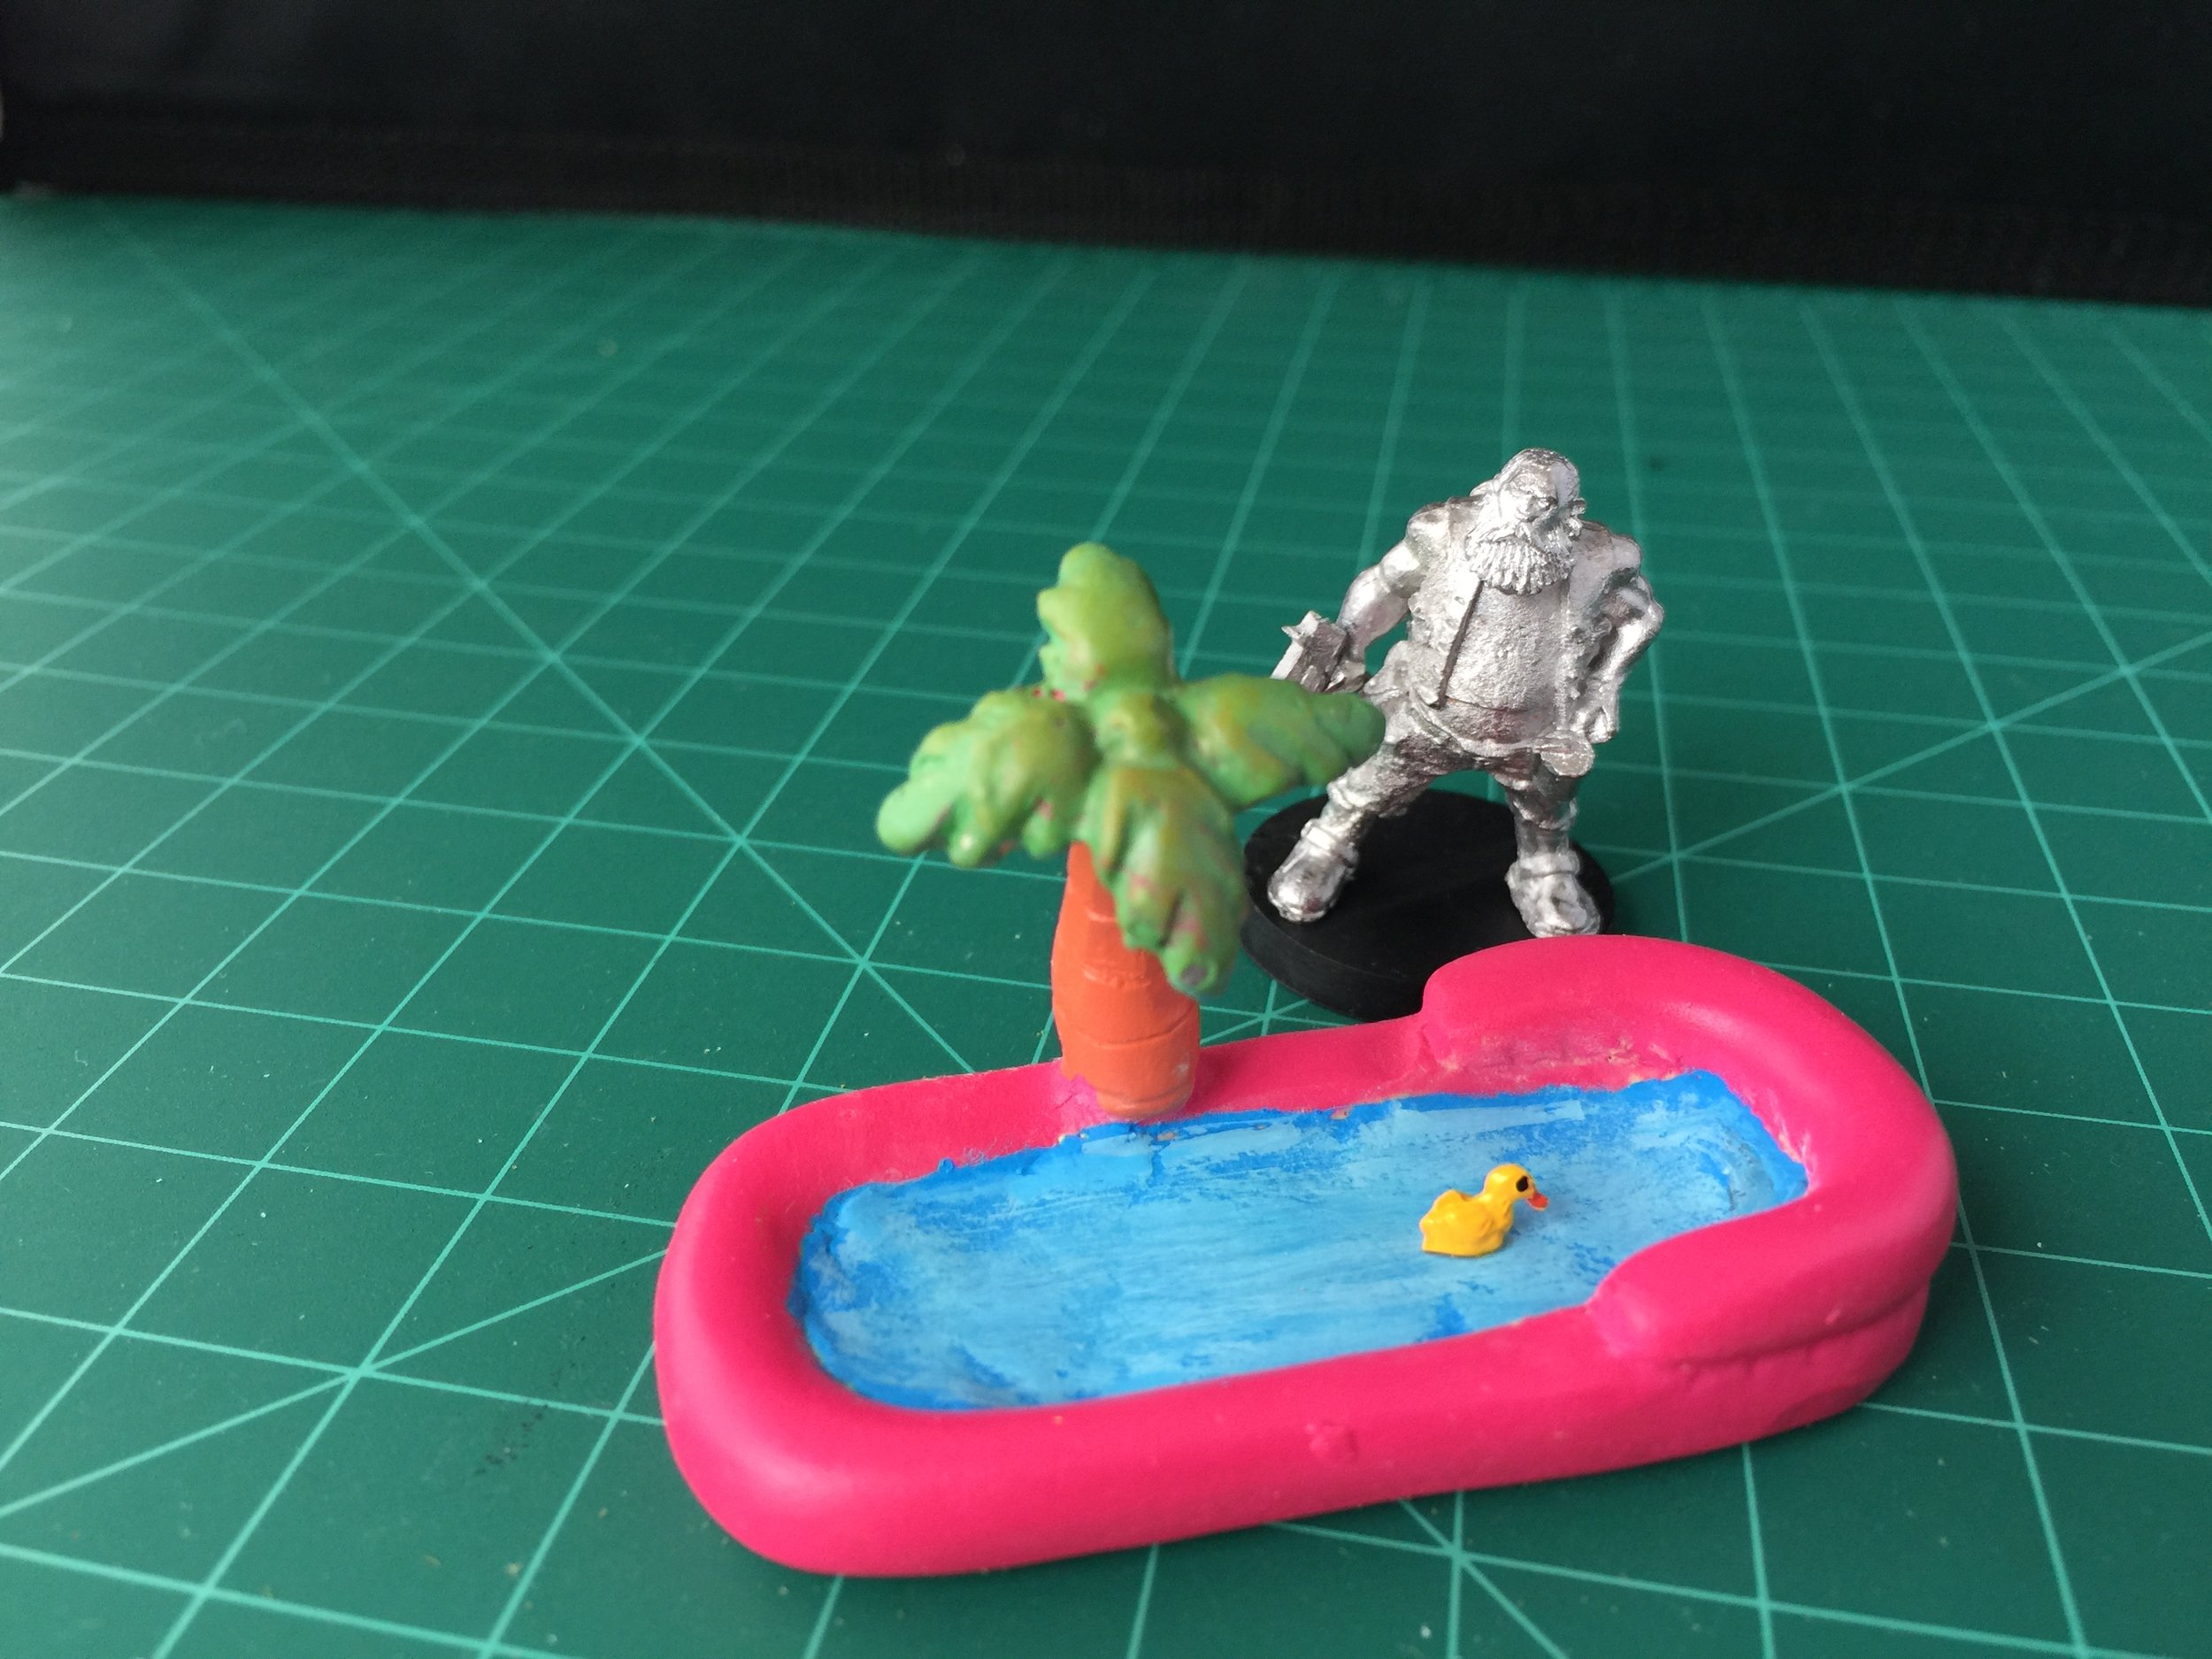
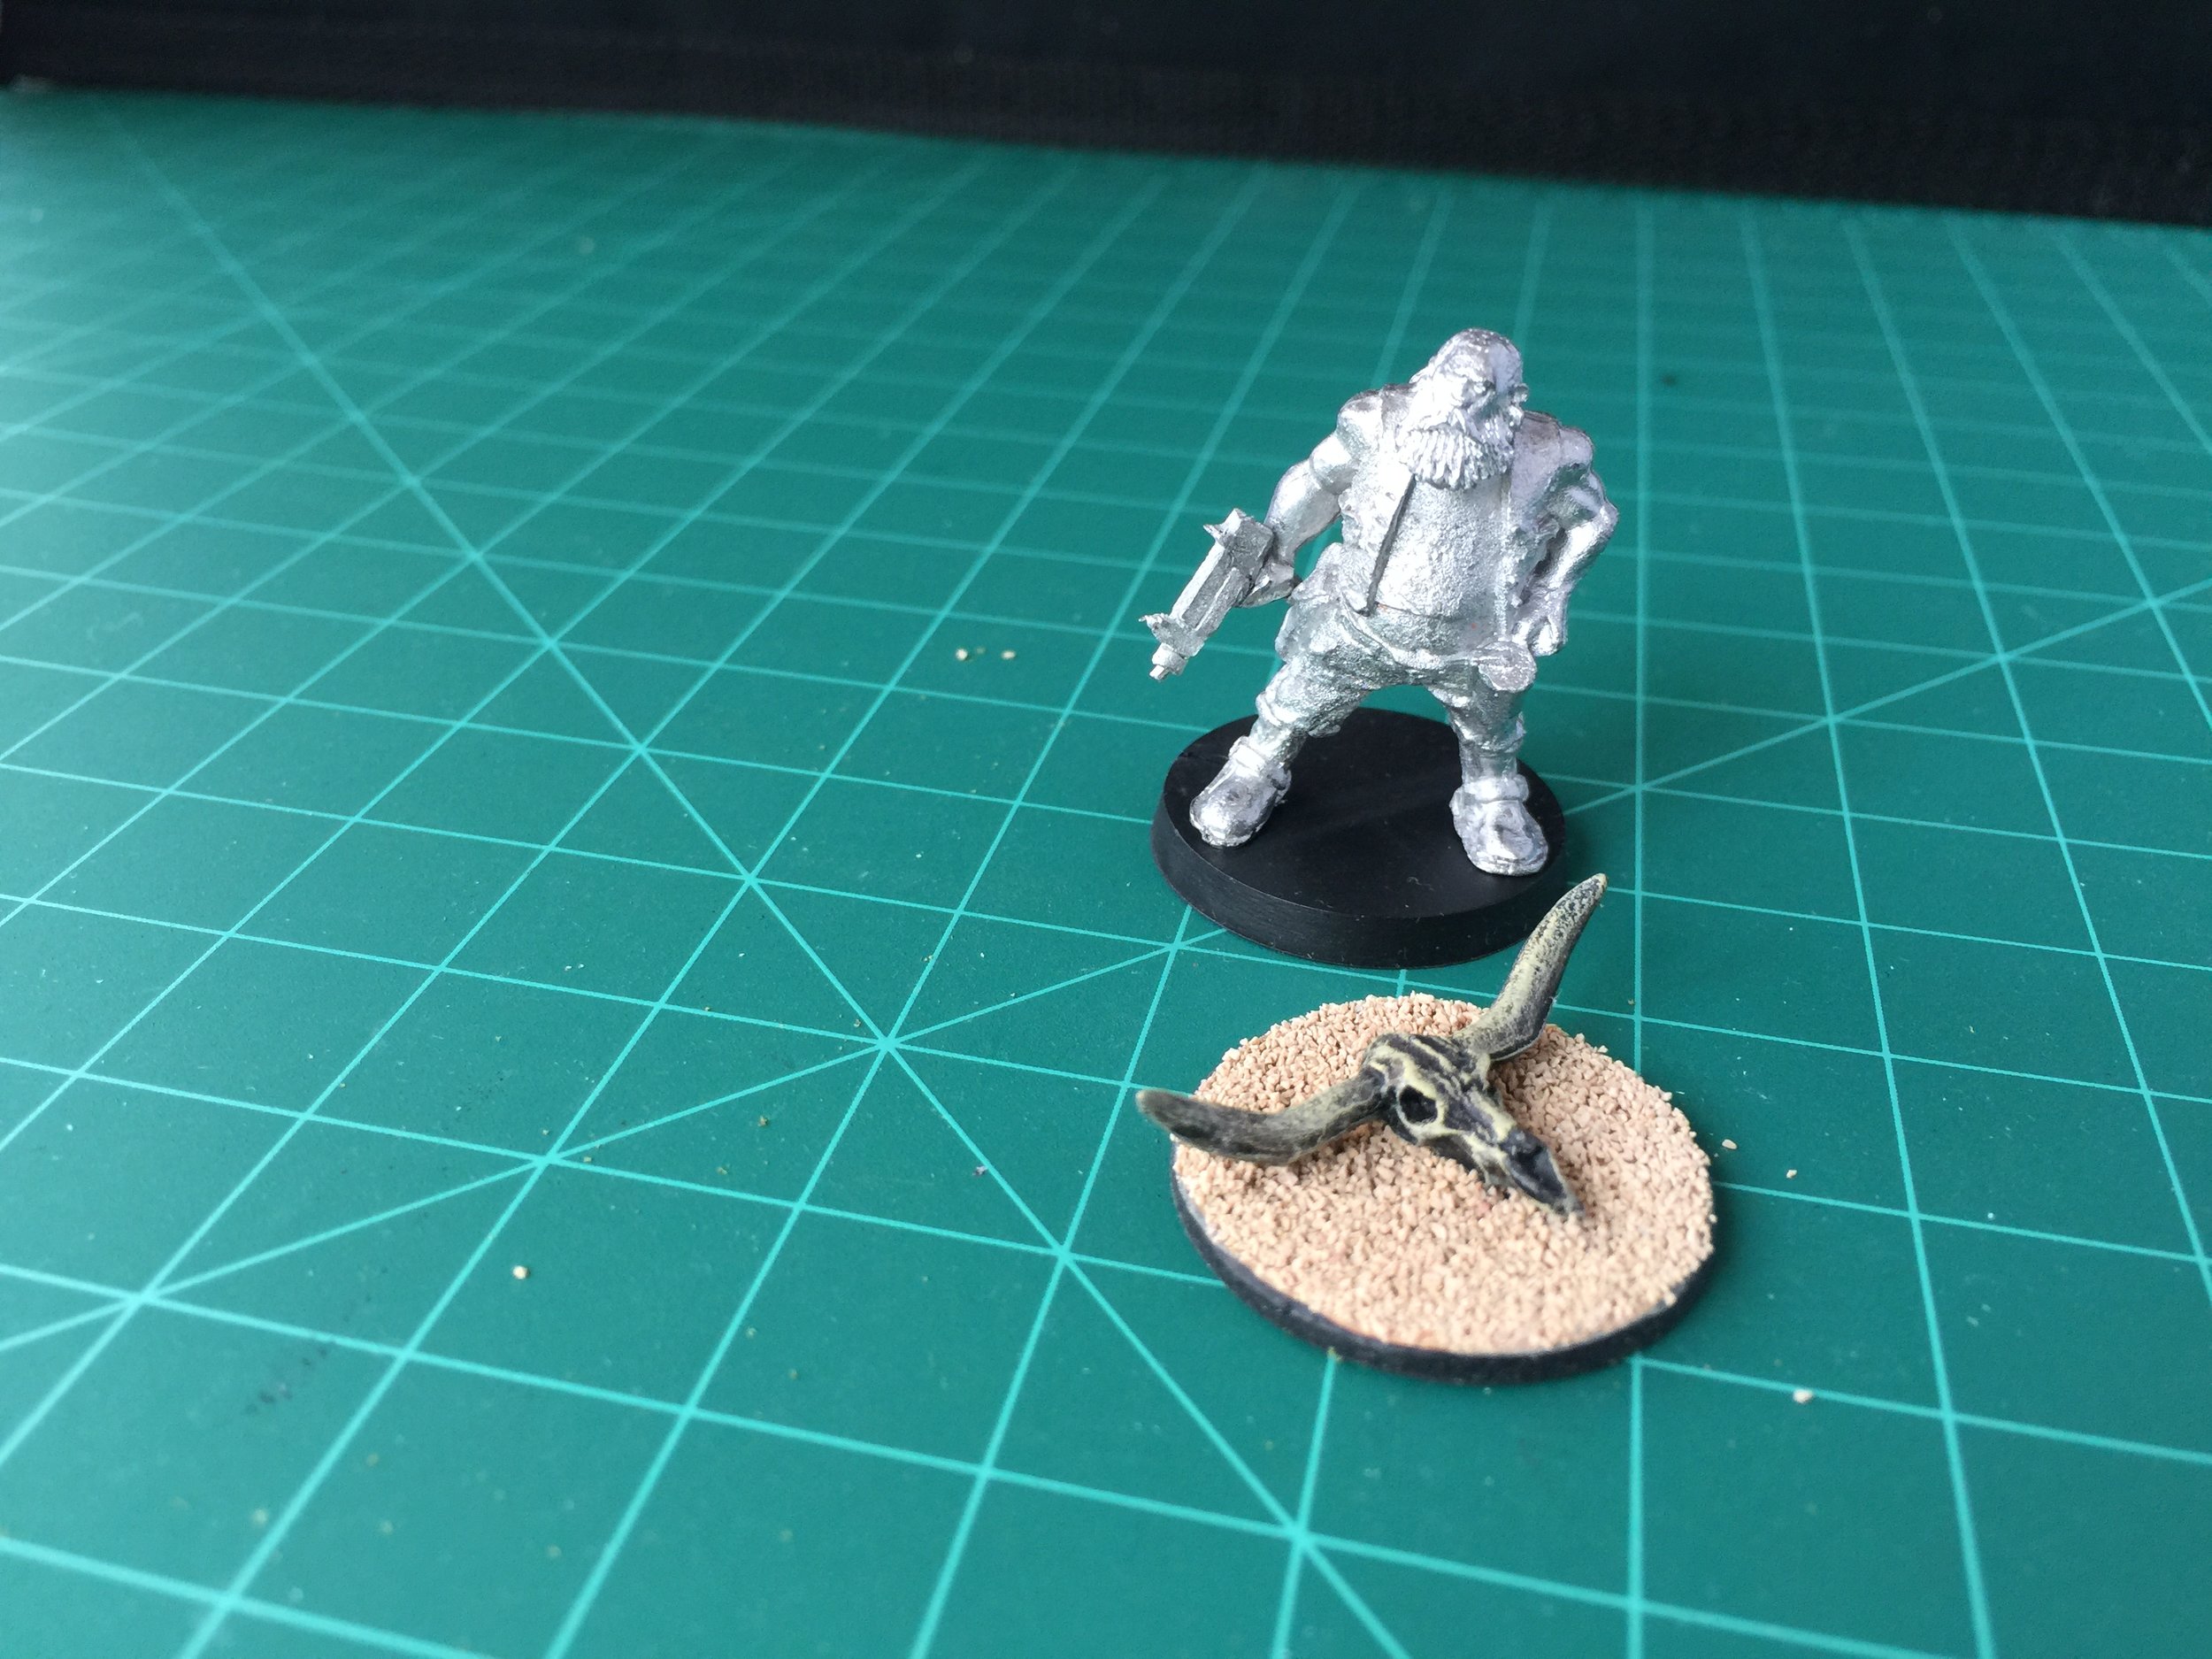
Once that was done, I took a break from the fence work, and painted up a couple of off-road vehicles I picked up at the swap meet a couple years ago for 50 cents each. When those were done I based and painted another Heroclix lamp pole and added a Reaper vulture to it… love those vultures. I based and painted up some Keil-Line Products’ trash cans, and a cow skull from Wyrd Miniatures’s Malifaux collection (got that very cheap at Brookhurst Hobbies’ Bring-and-Buy a couple weeks ago). I next painted a couple of chairs for my trailer park… one a beat-up overstuffed chair and the other a straight back chair from Aztec Miniatures ¼” scale dollhouse collection. On top of one of the Aztec Miniatures tables (I cut it down a bit), I attached the game board from the Heroclix figure Despero… I love that figure and have used the game board with several of my collections; 28mm game boards are hard to find. The yard flamingo and the umbrella are pieces I picked up at the swap meet… broken toys. I also repurposed, based and painted two mailboxes from the Heroclix figure Blue Beetle… great mailboxes and Blue Beetle on the mailbox is a 50 cents to $1 figure. On Friday I saw that Michael’s Arts and Crafts was have a 40% off sale on their Tiny Treasures miniatures plus another 20% off of any purchase so I went over to see what they had. I found a resin inflatable pool “bed” (not sure what it really is) with an inflatable palm tree on one side. I decided it would be a great trailer park yard pool for a little kid. I also got lucky and found one with the palm leaves broken from the tree truck so I got an additional 10% off for that… it glued back on with no problem. I smoothed a layer of Milliput in the bottom of the inflatable whatever it is/pool to serve as water and added a yellow rubber ducky taken from a Heroclix Molly Hayes.
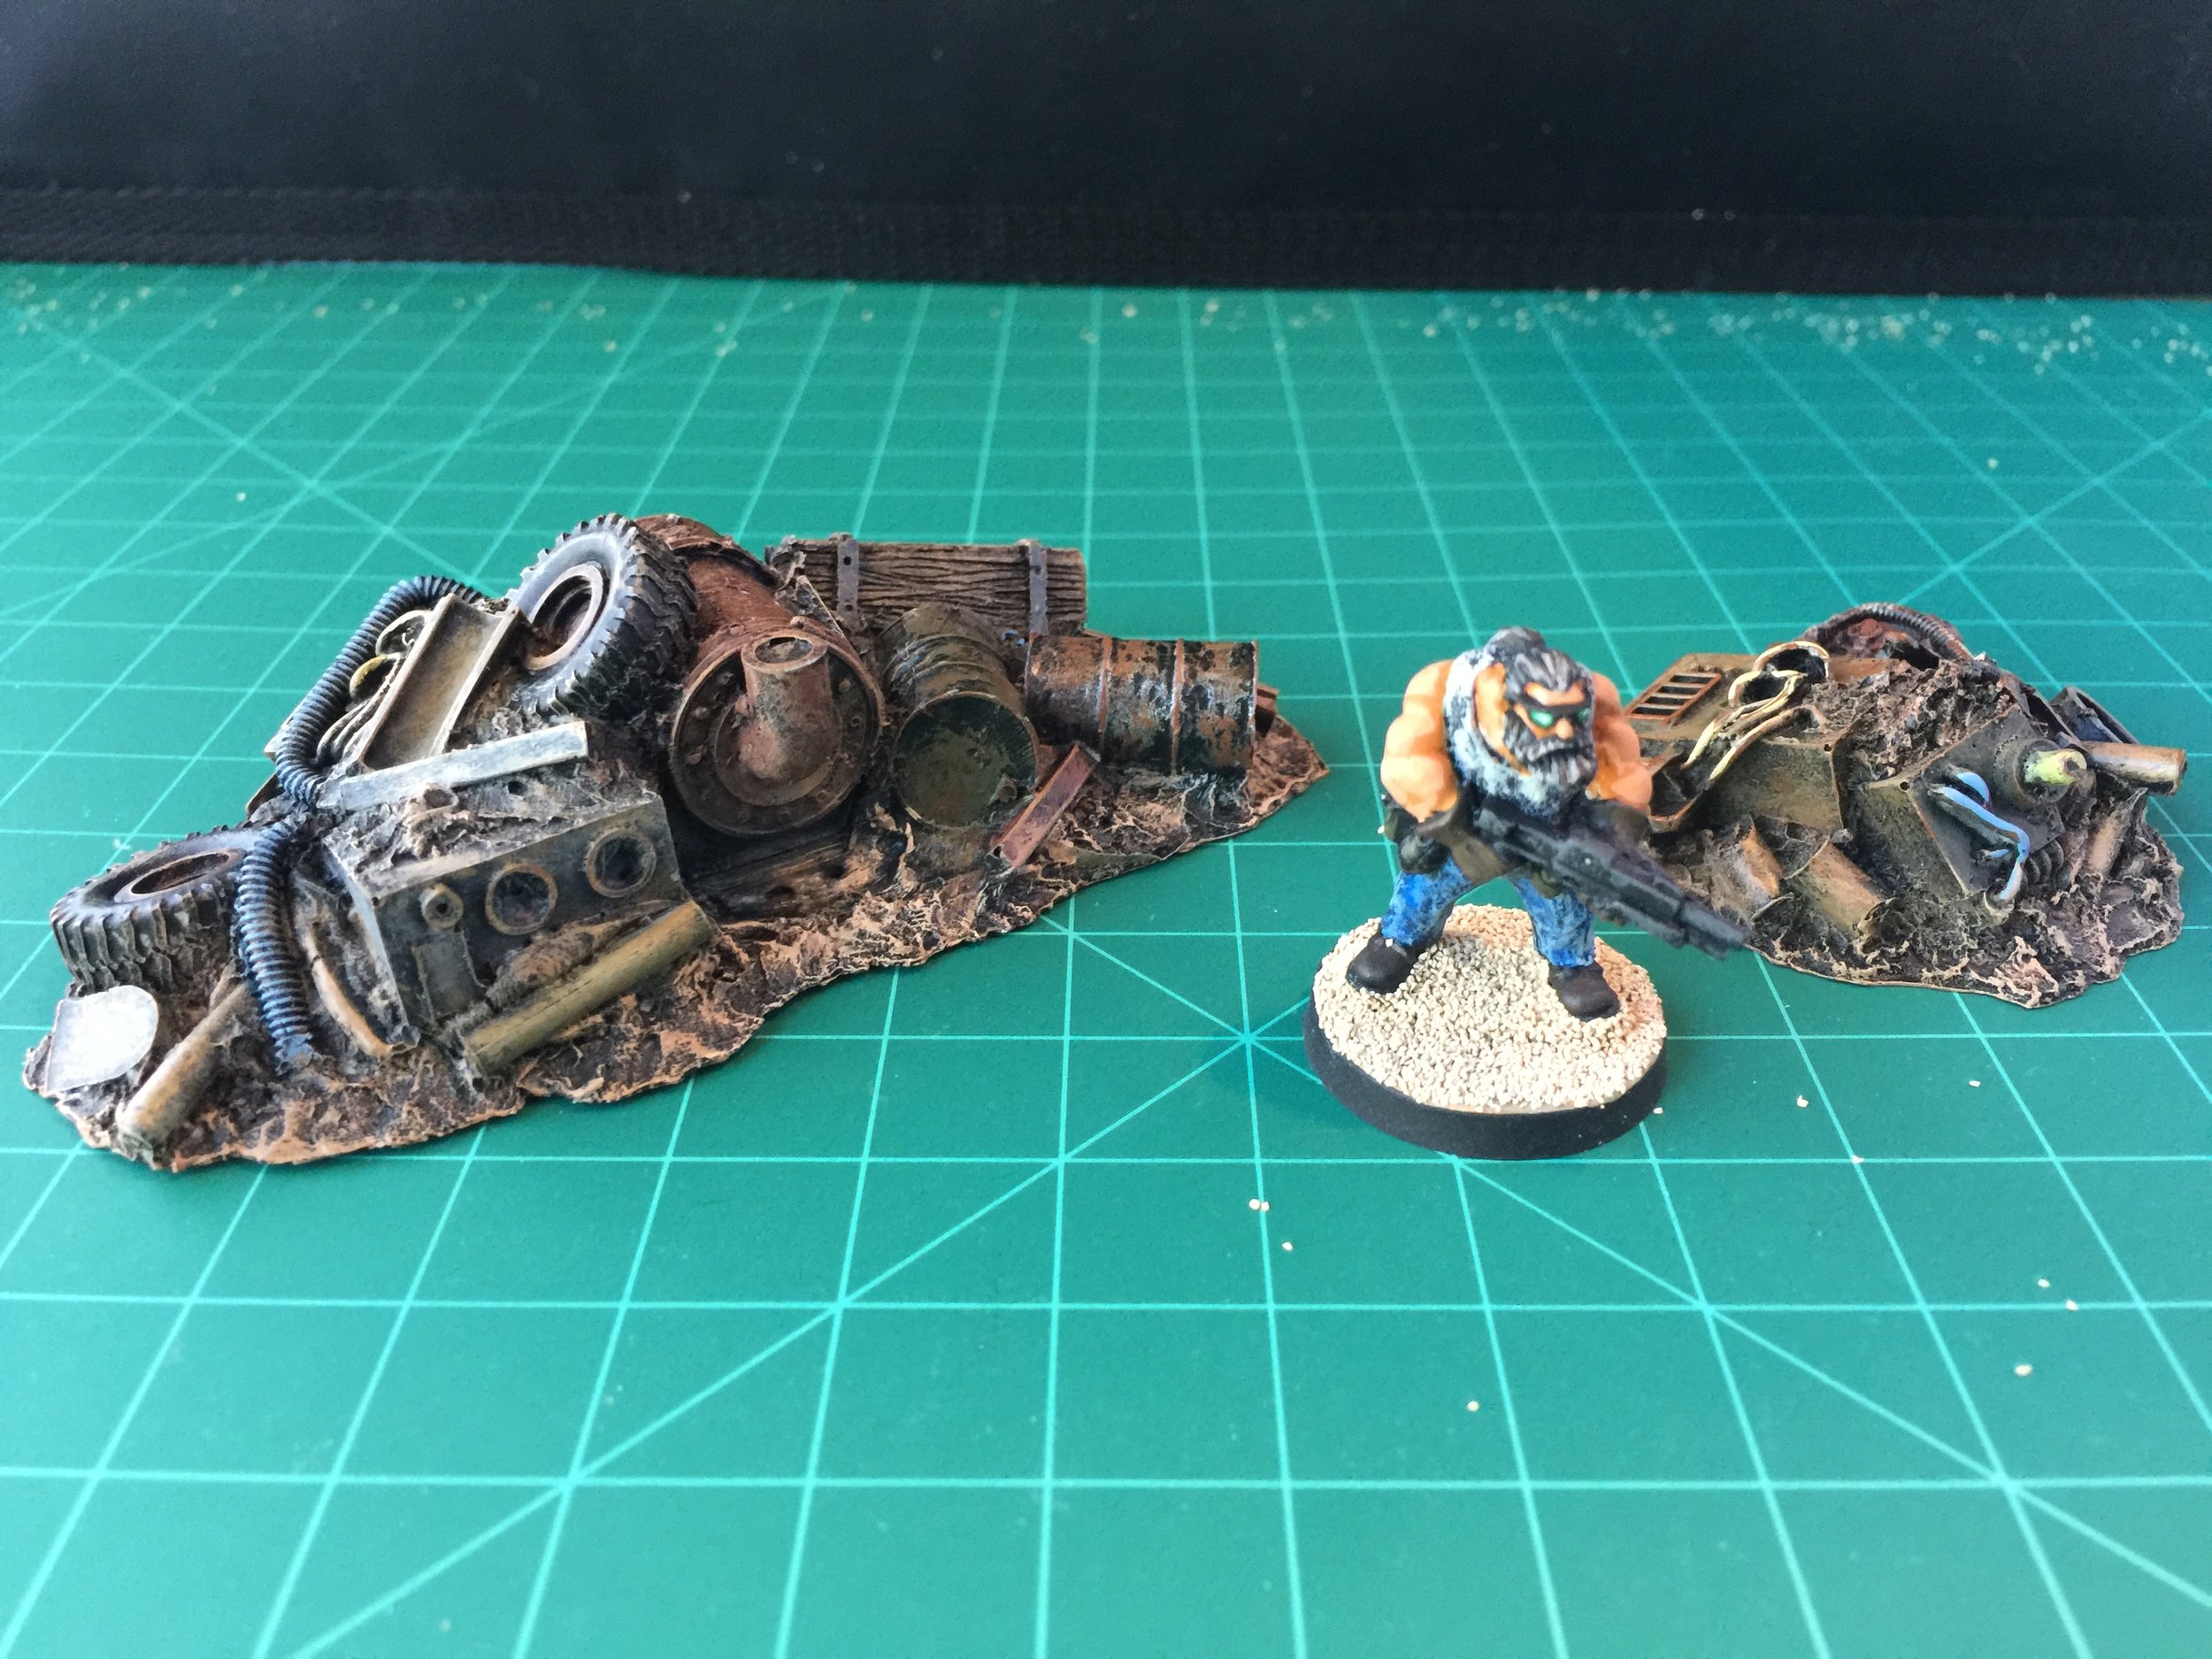
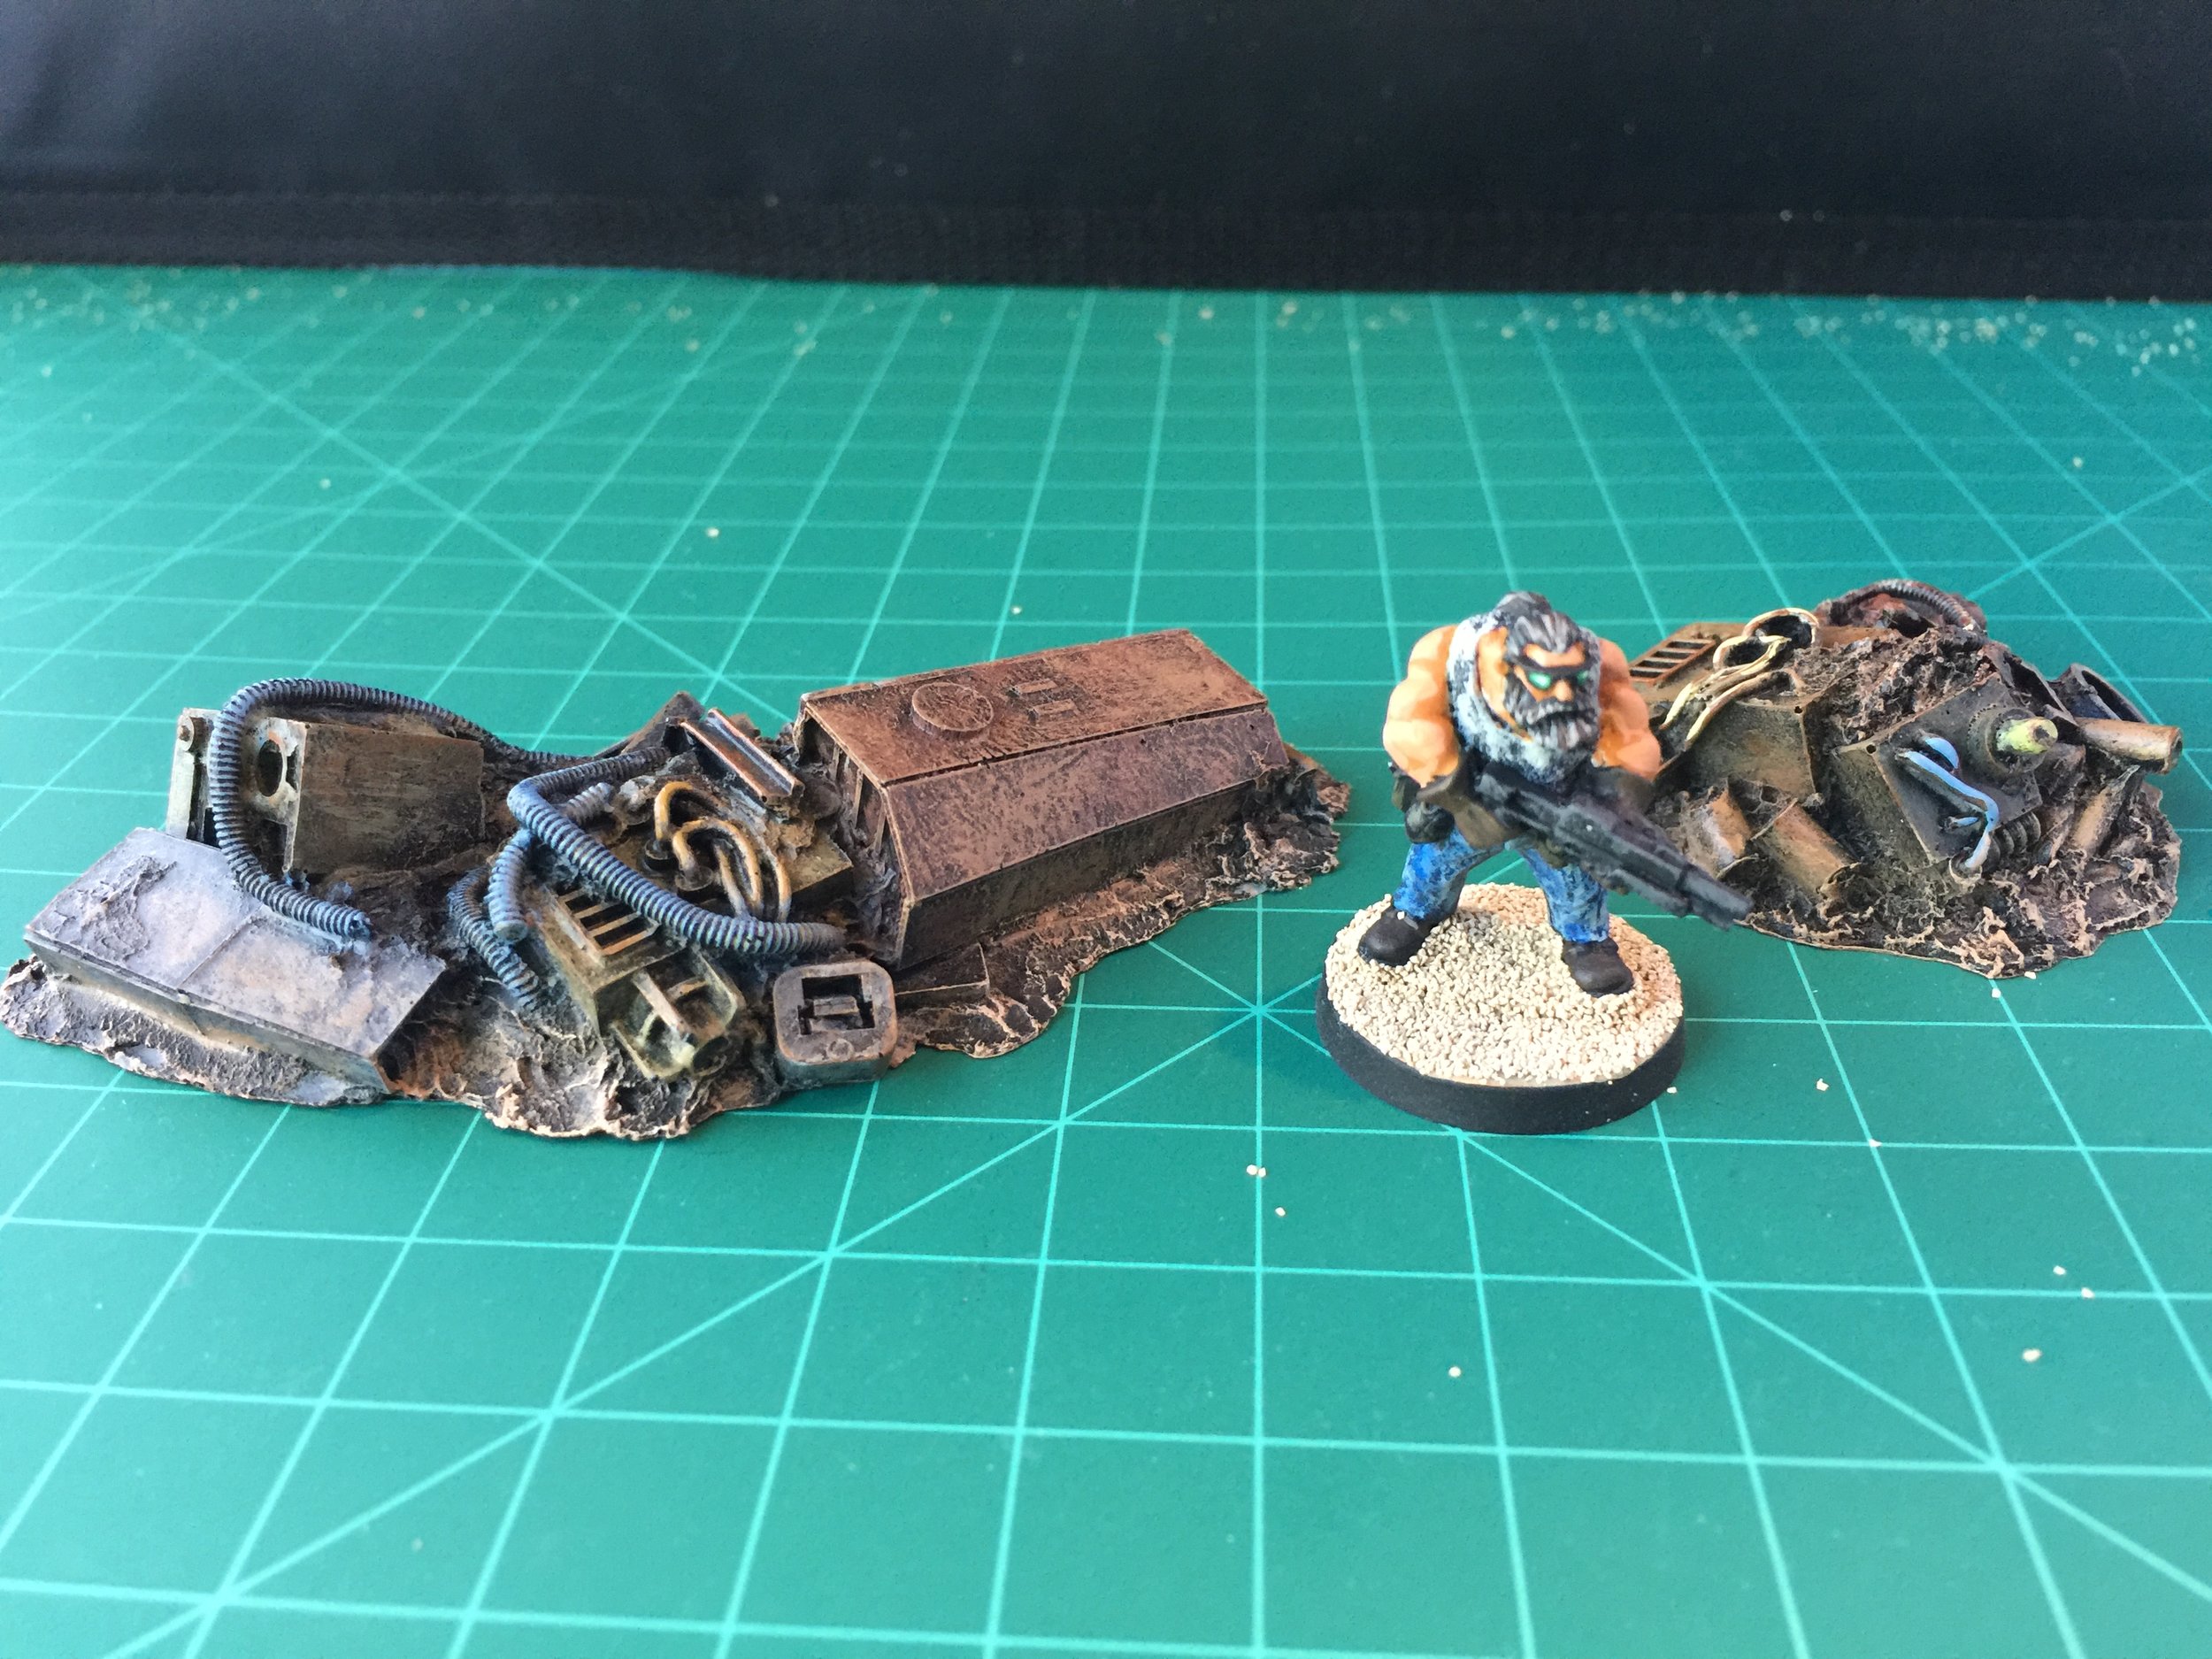
Once all these nice little detail pieces were done, I returned to fences. I built an entrance for my trailer park made from Evergreen plastic, Milliput, and a couple of small sections of the Cars’ fence. I also made a sign for my junkyard using Evergreen plastic. I finished repurposing a few odds and ends pieces of Cars’ fence and built three new sections of wire fence for the junkyard using Evergreen posts, Milliput for the base and plastic/nylon window screen material from Home Depot for the wire. I finished off the week by giving them a base coat of black spray. They will get painted this coming week. Almost forgot, this week the mail delivered me an eBay purchase of the Copplestone Castings Future Wars’ Bikers. I found them very cheap on eBay and it looked like one of the figures was missing his weapon… a miscast. I bought the pack because I wanted the Bikers; they were very cheap, and I believed I had the ability and materials to give my biker the weapon he was missing. Turned out to be a pretty easy fix at a great price. The unpainted figure shown in some of this week’s pictures is that repaired biker.

MARCH 4, 2018
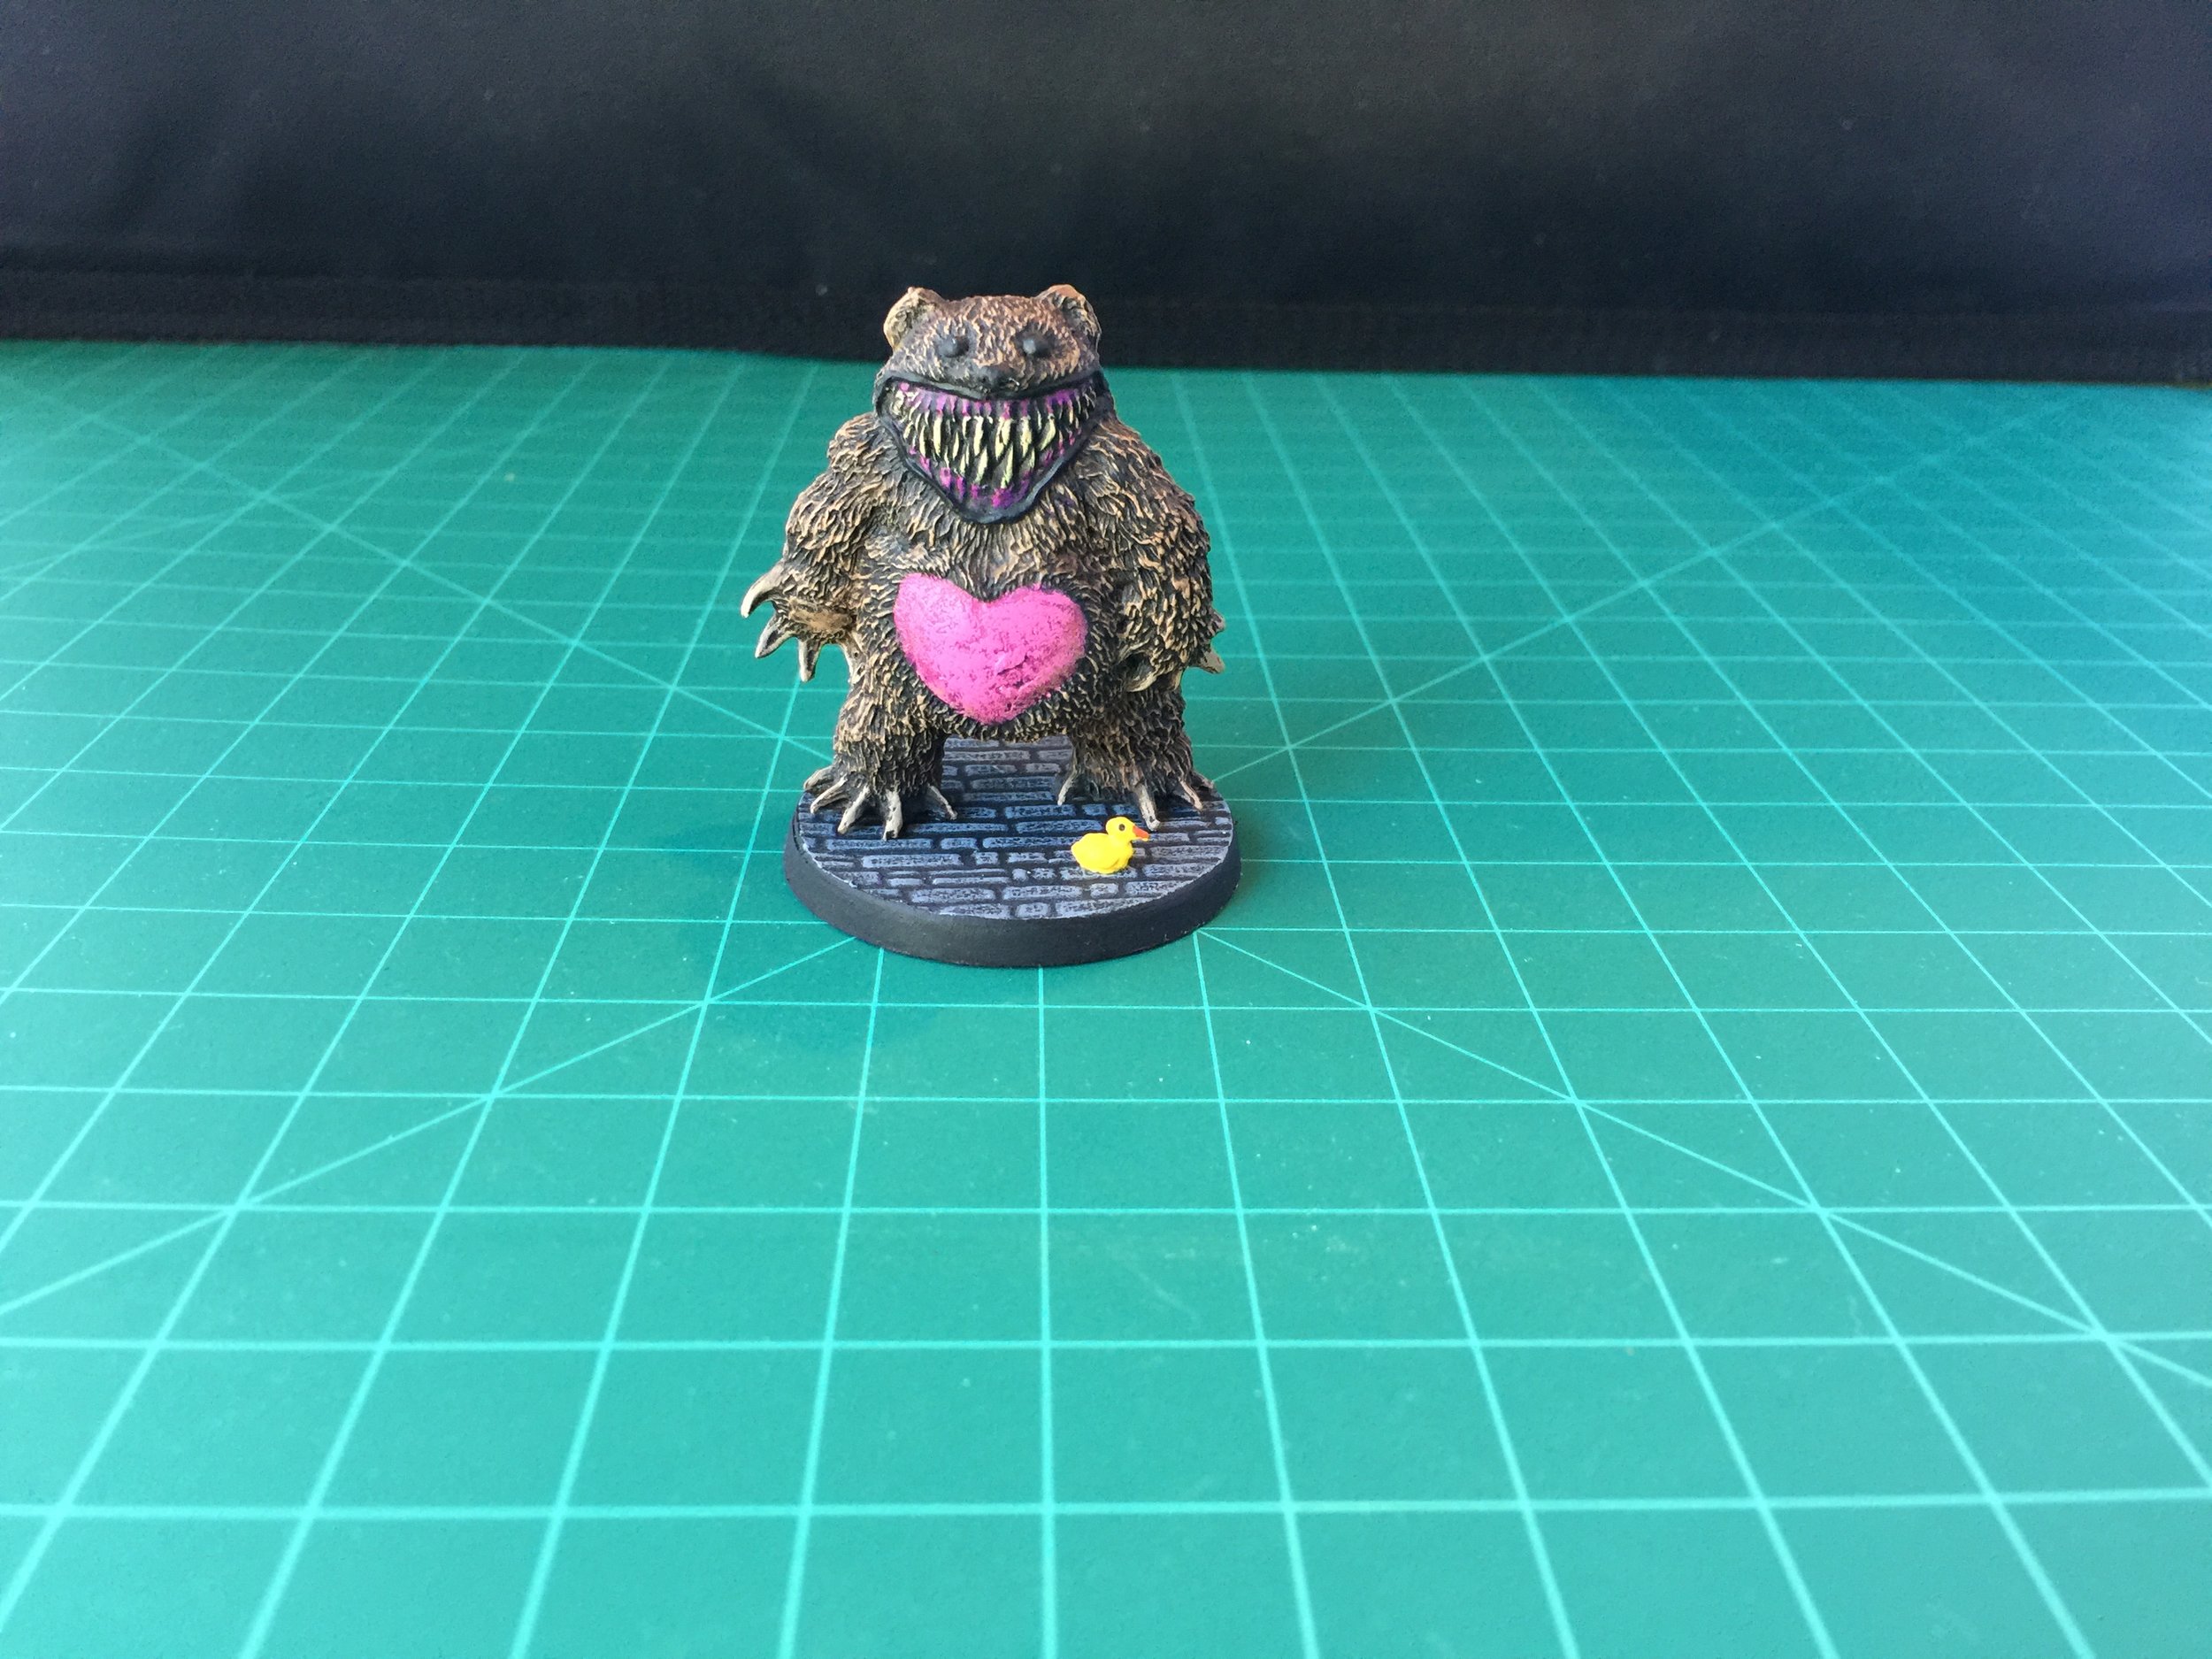
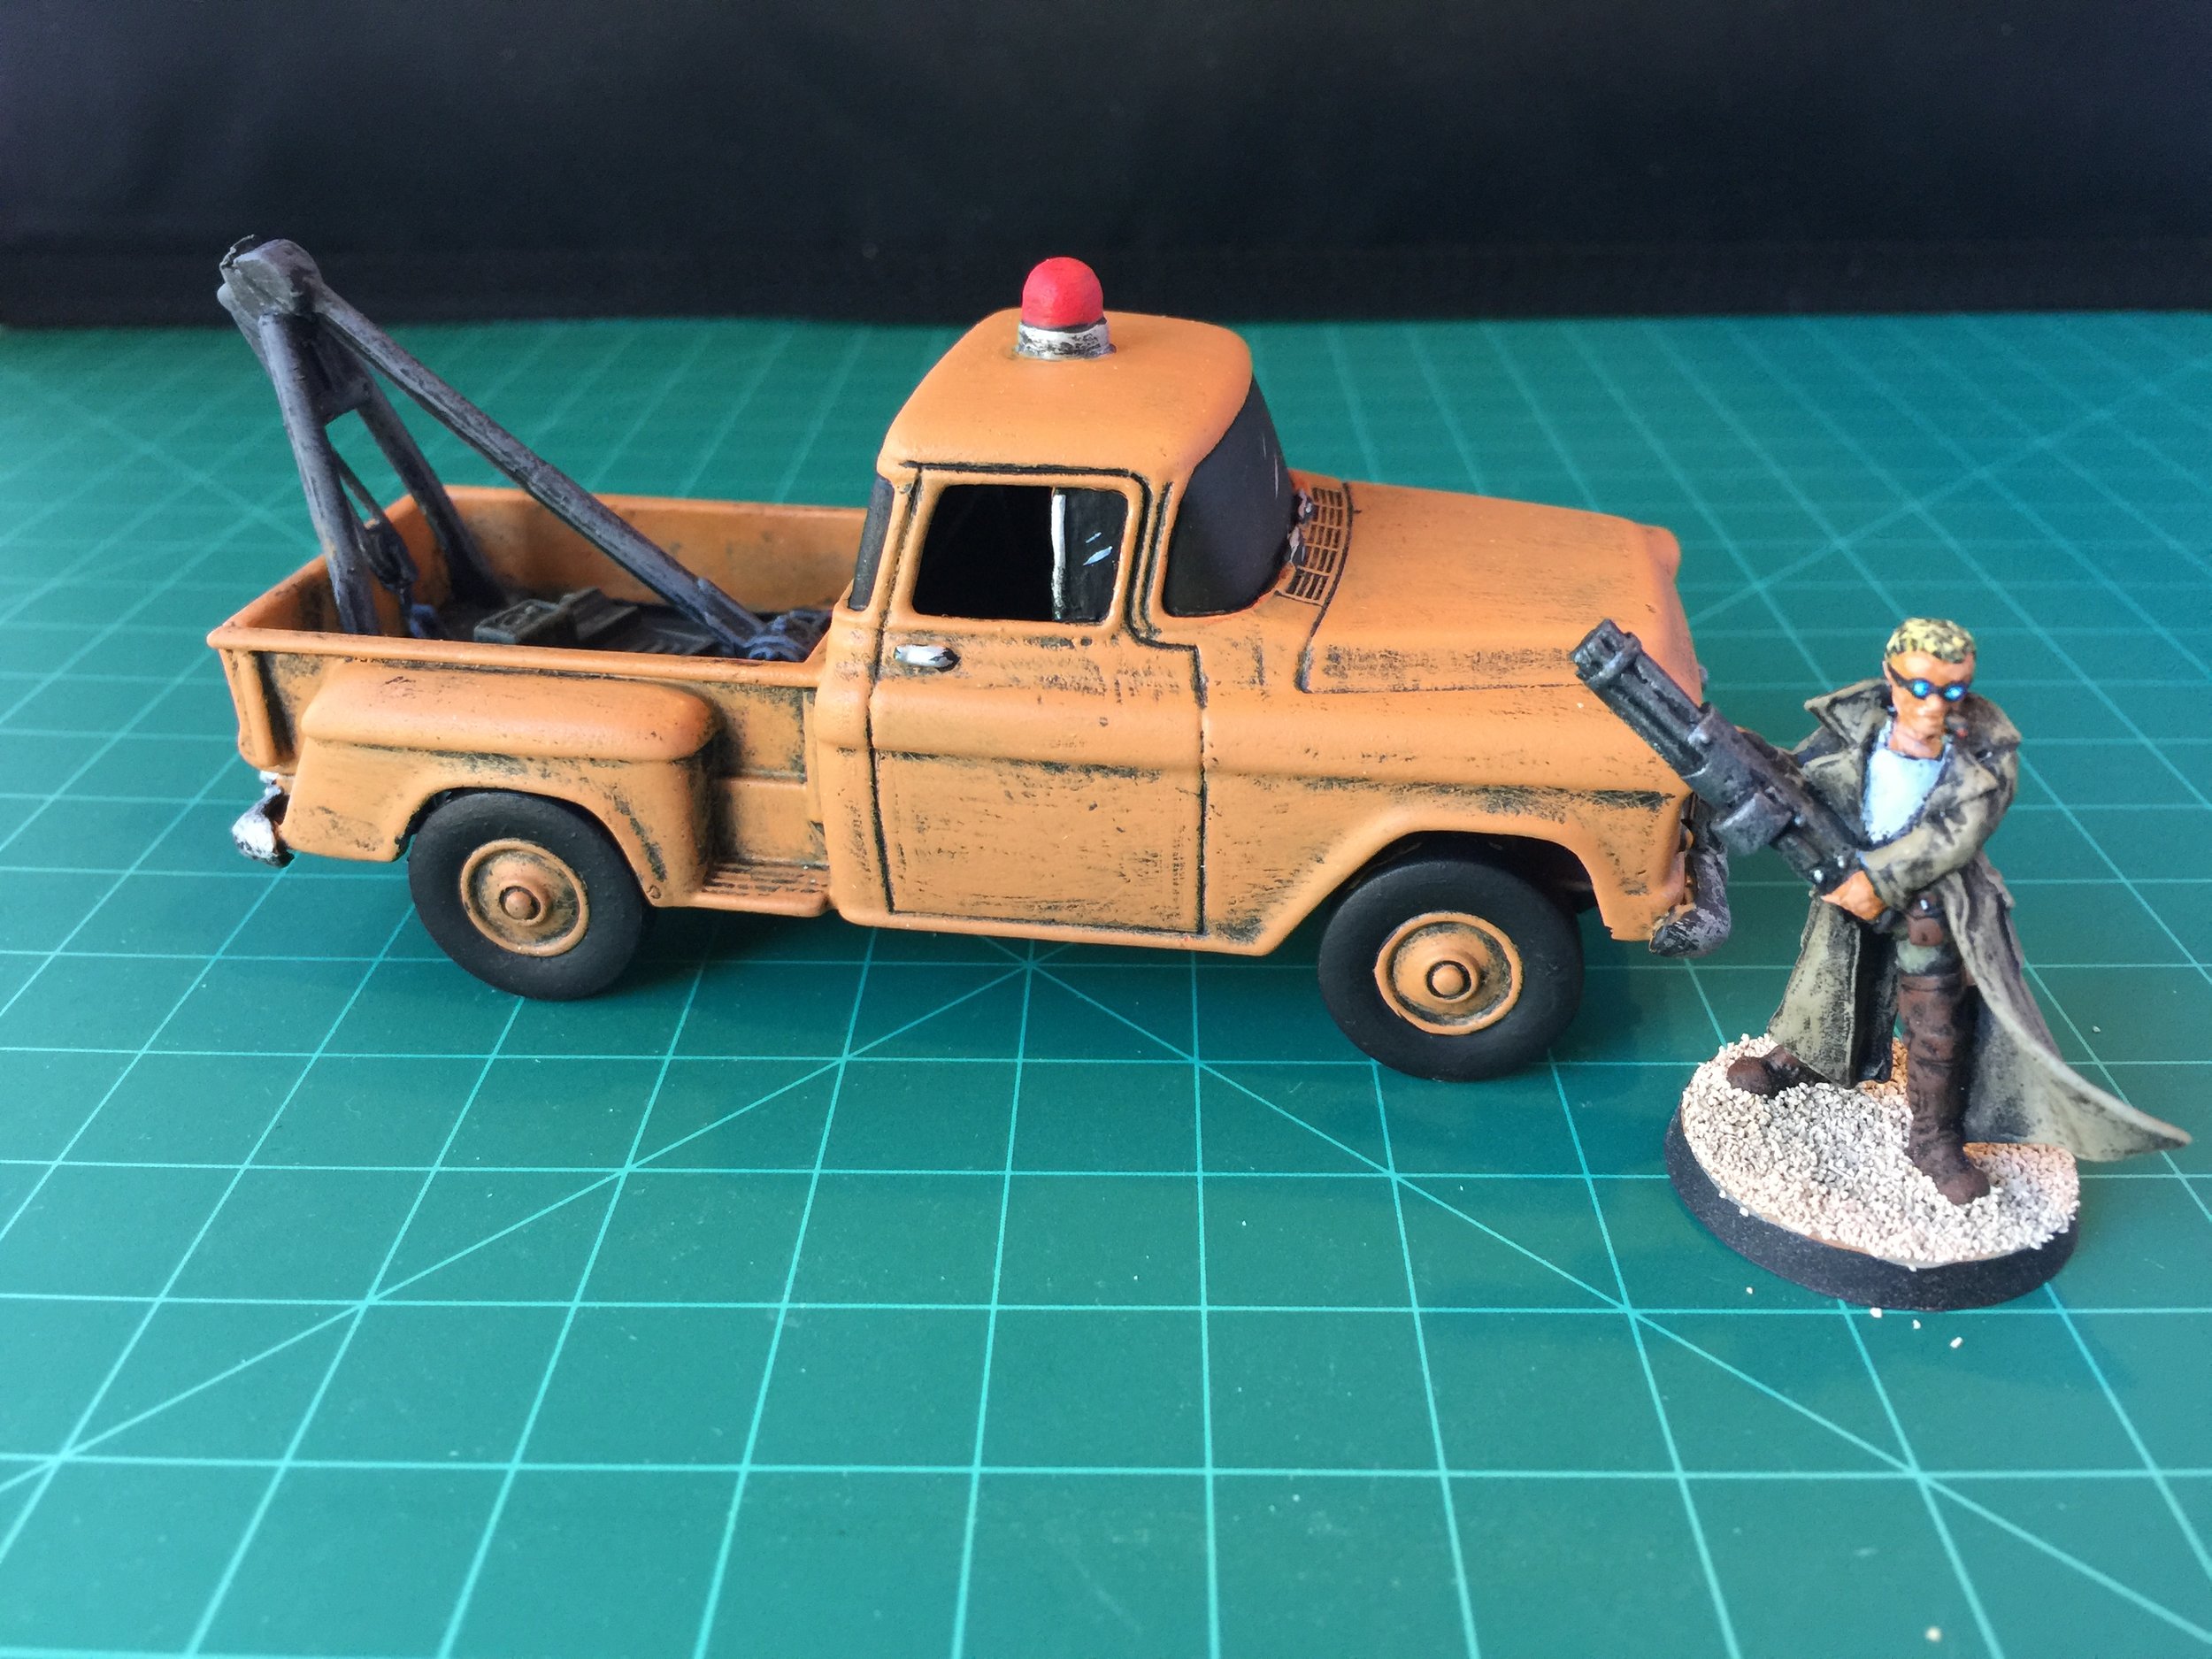
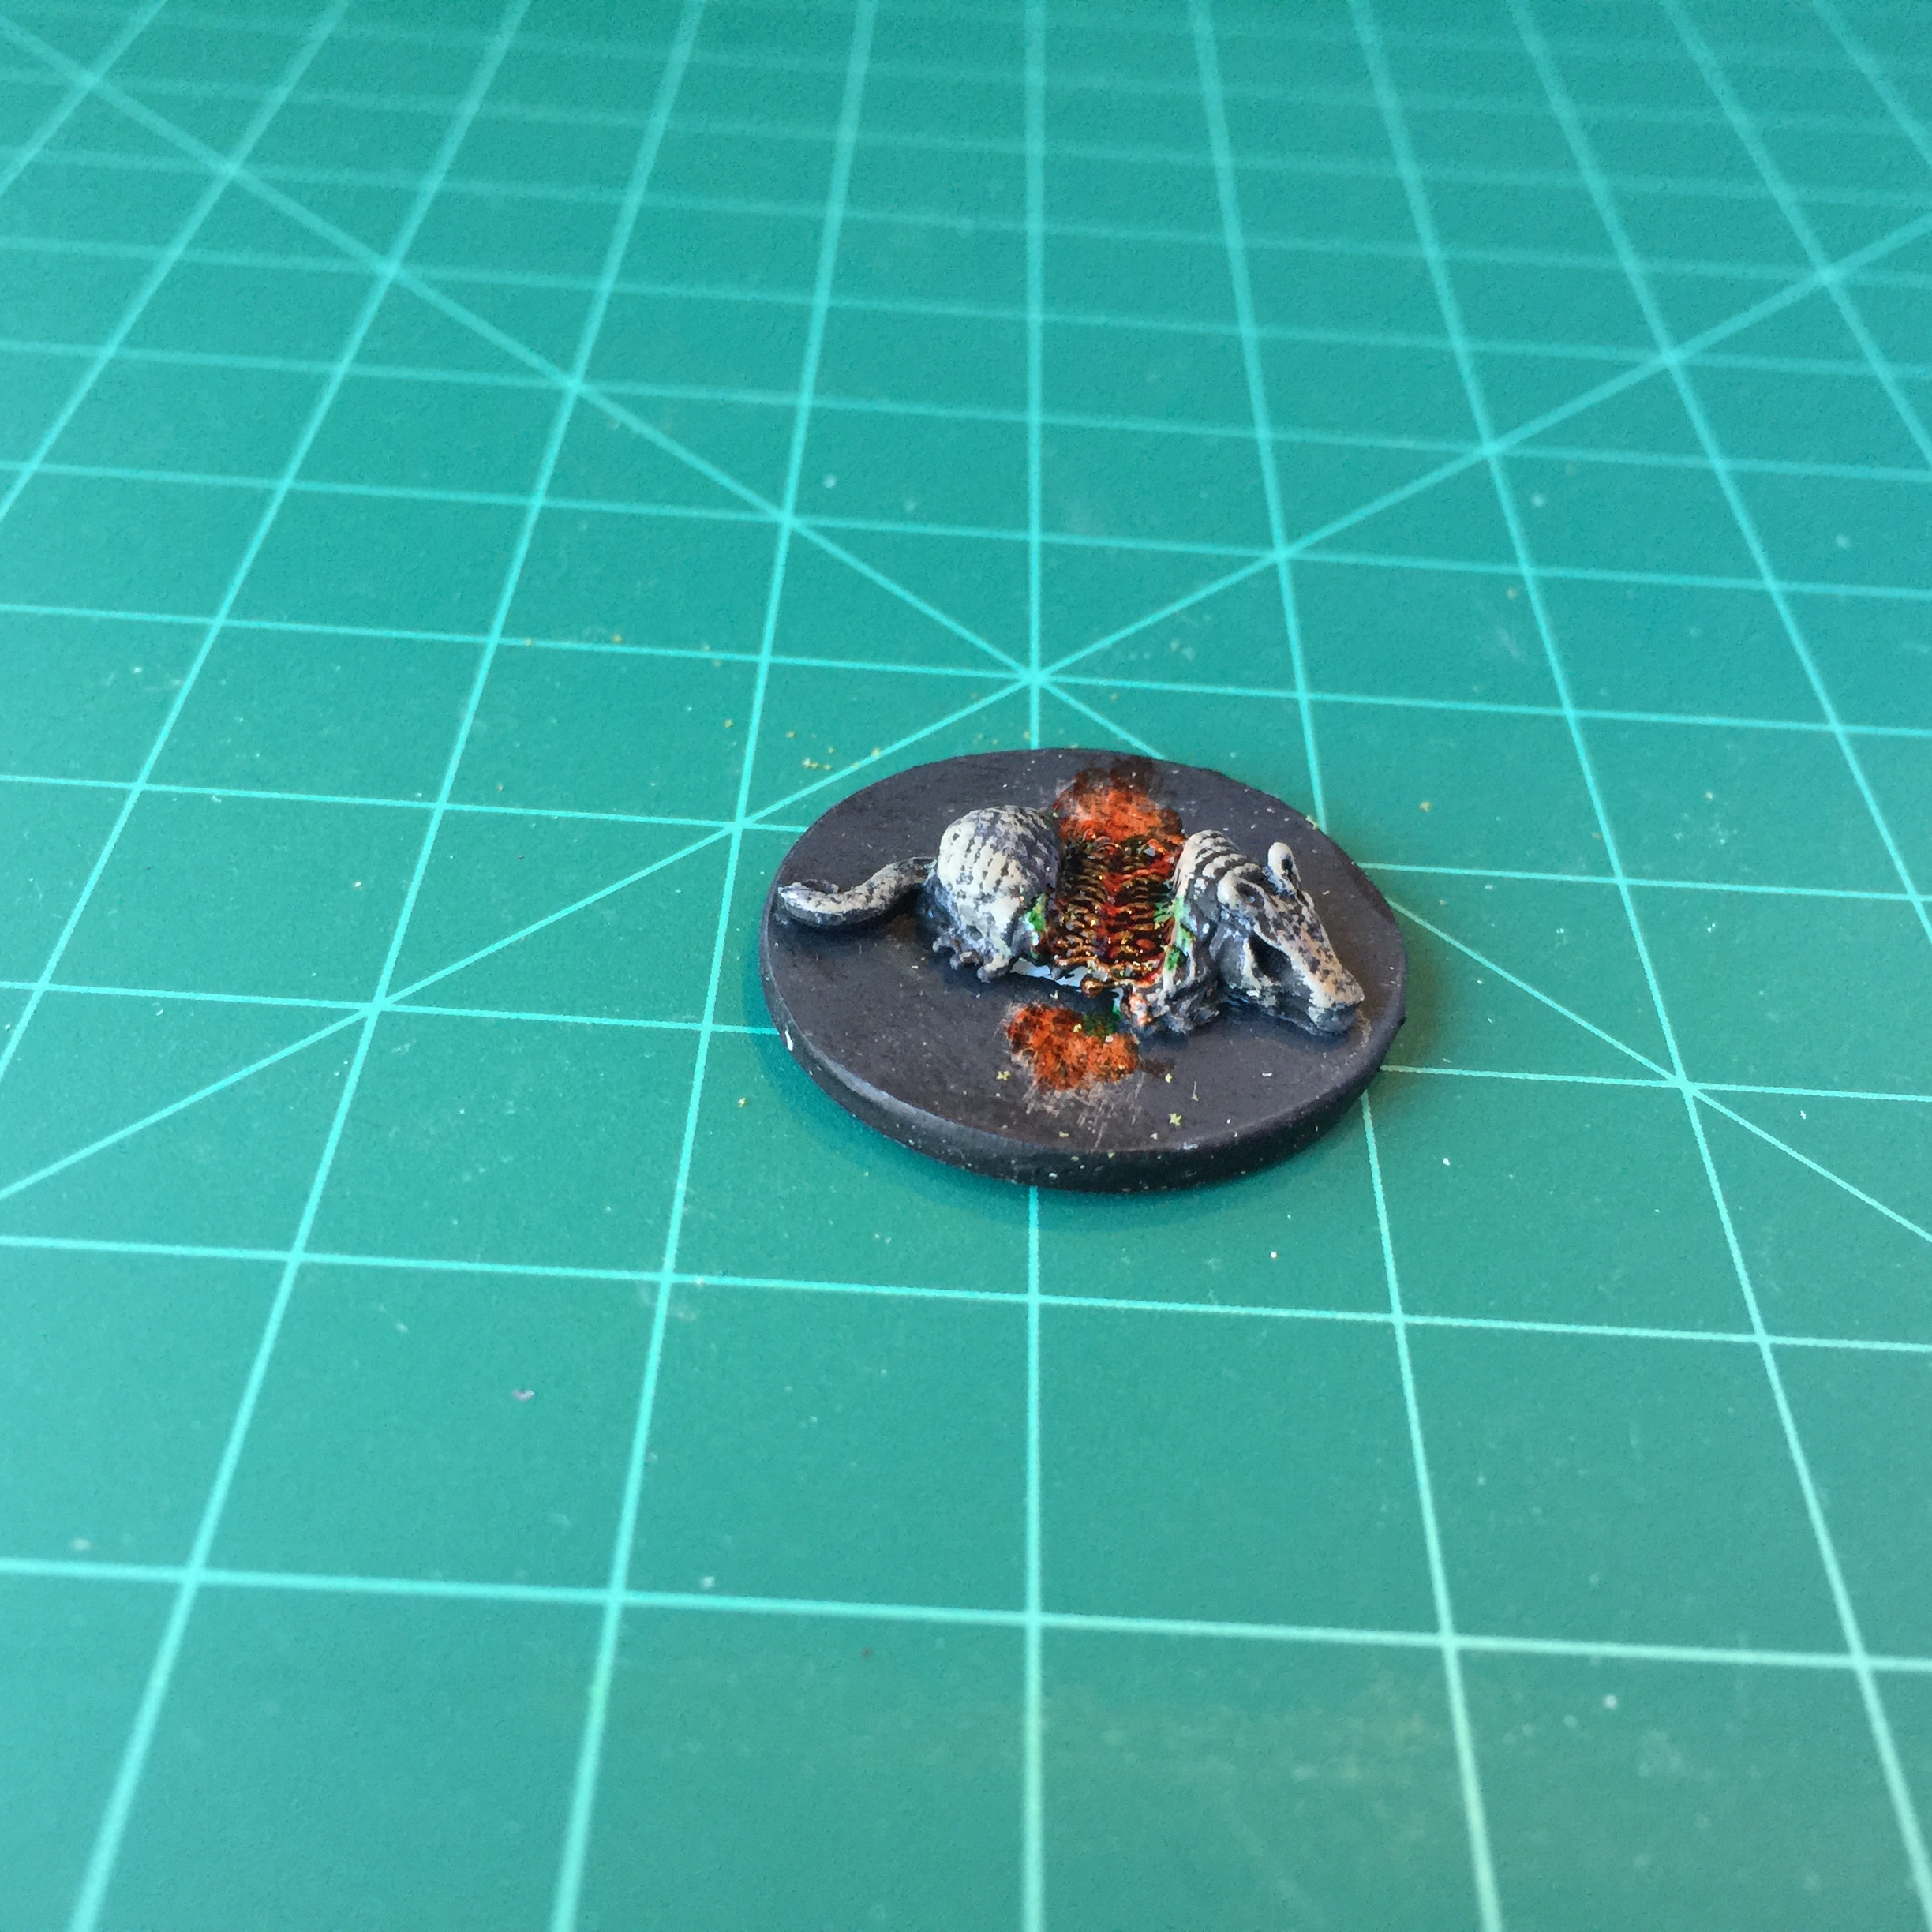
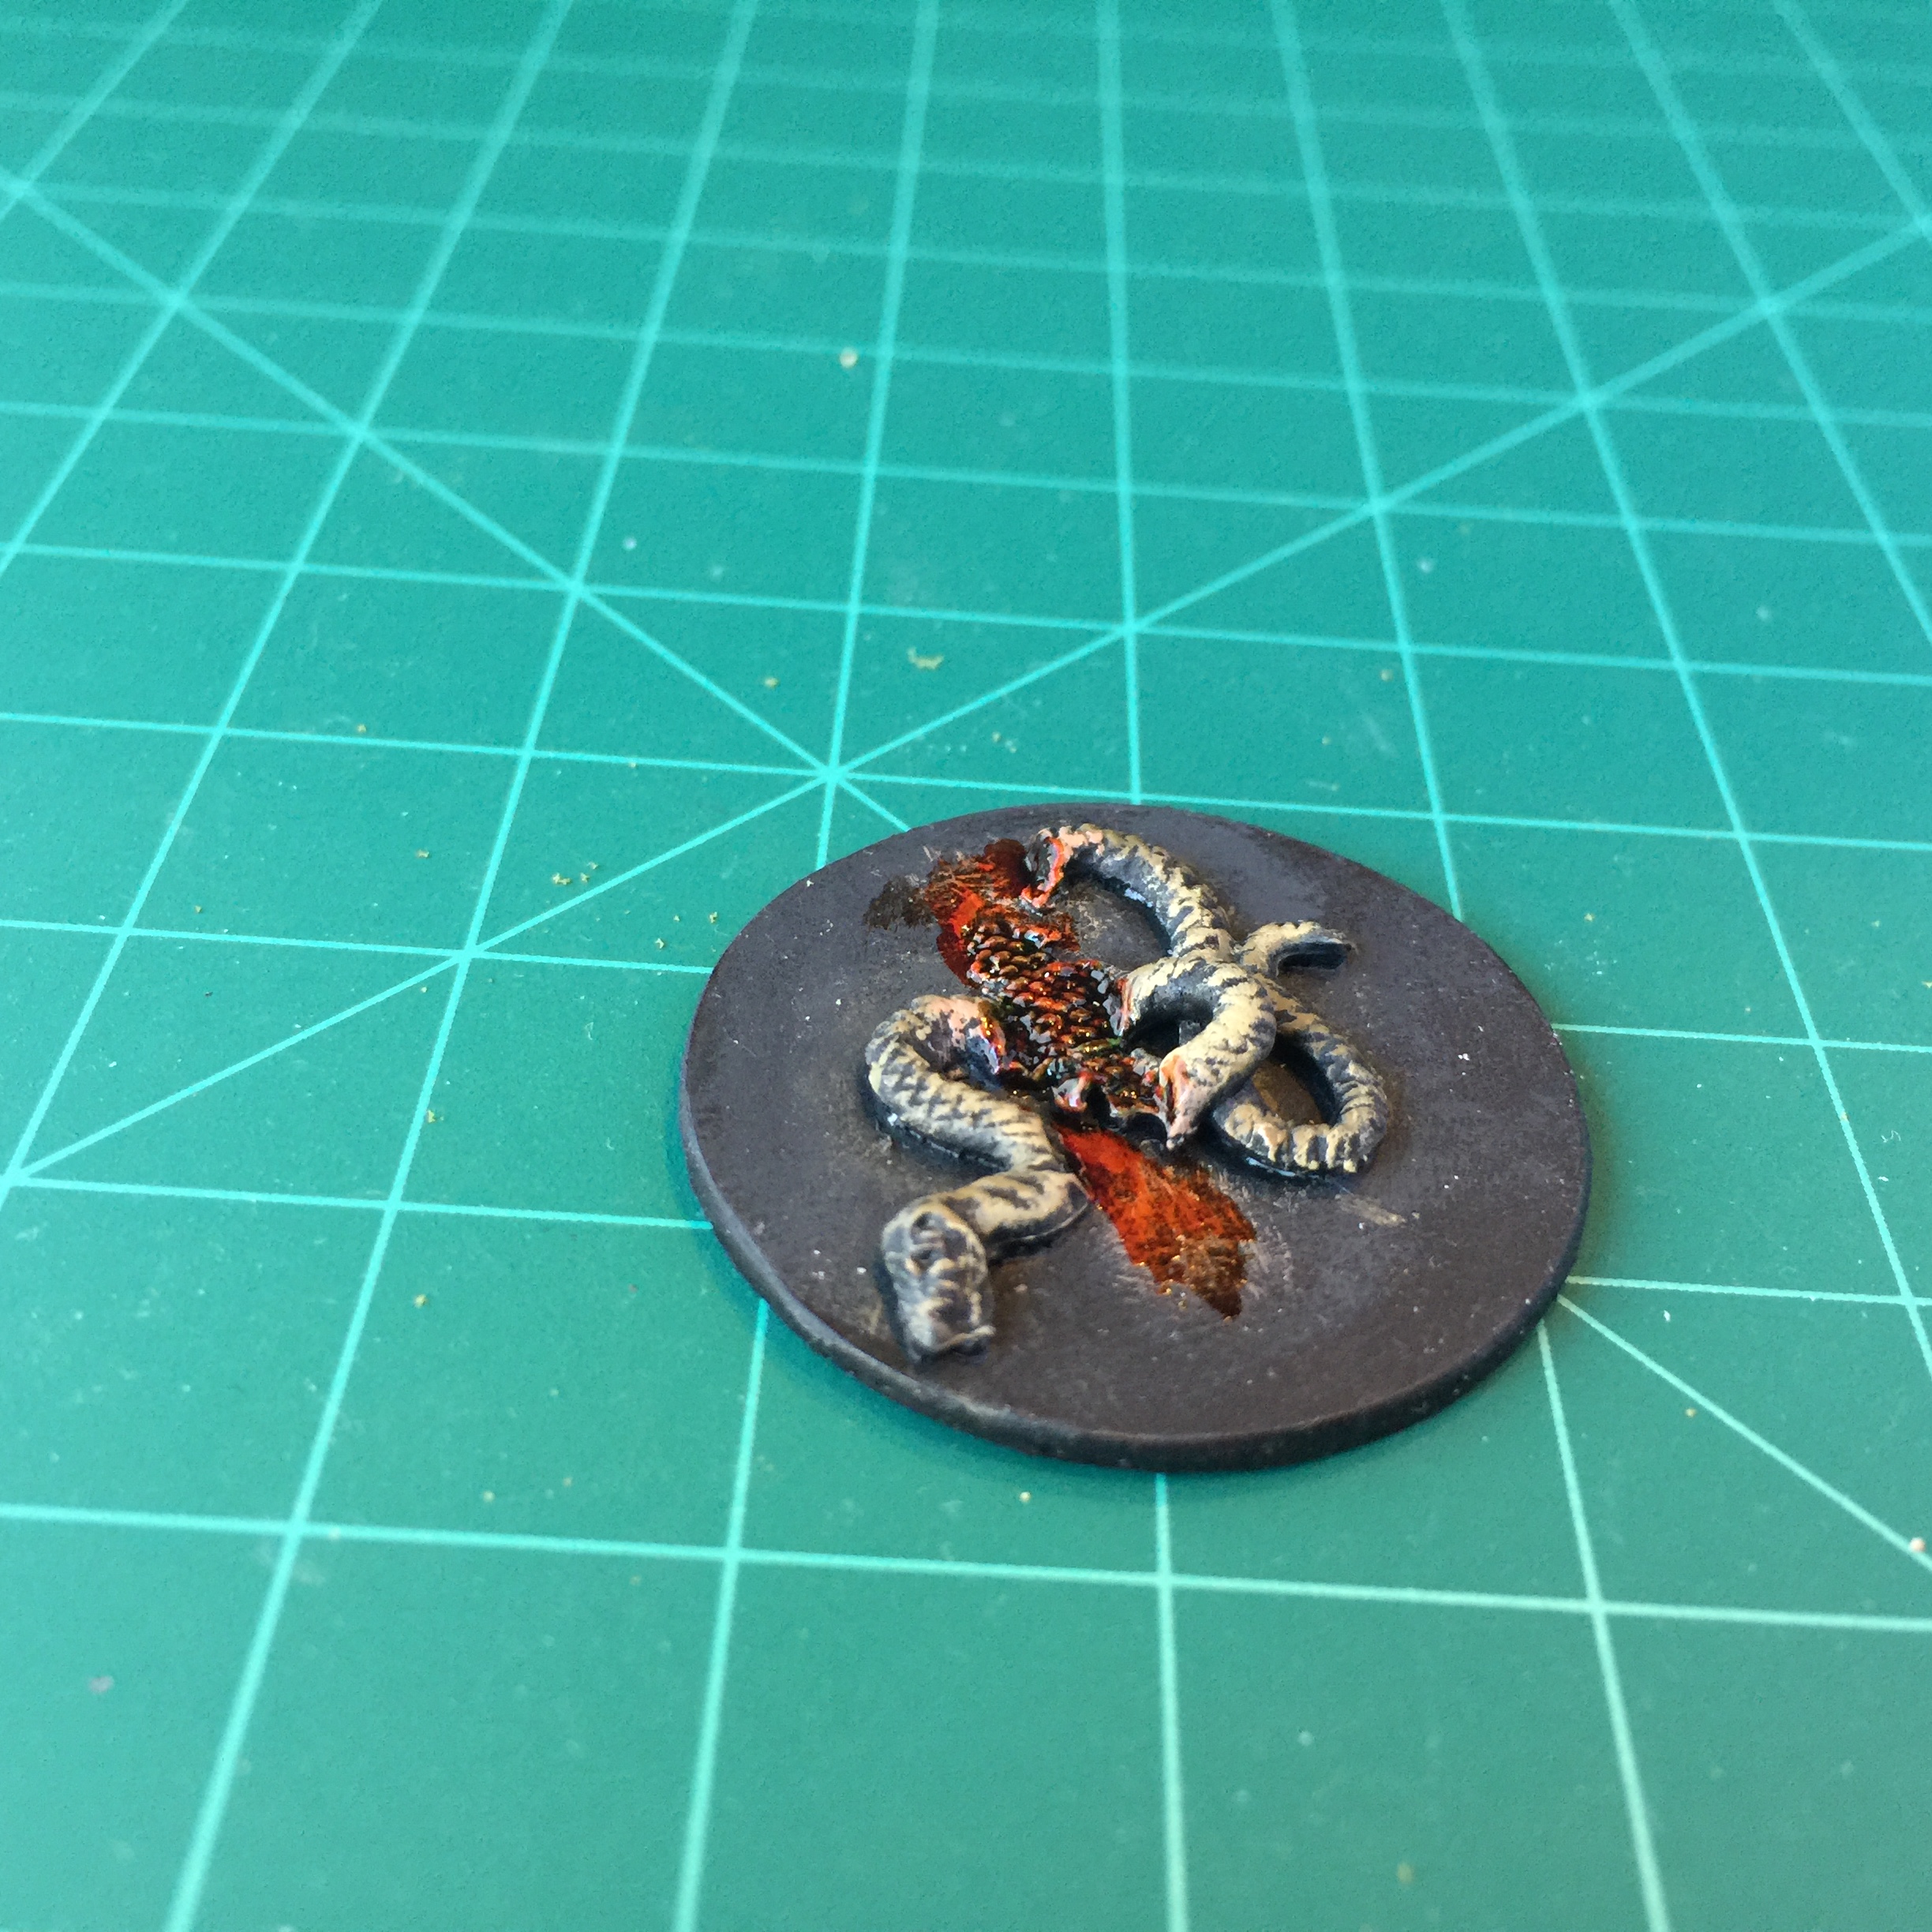
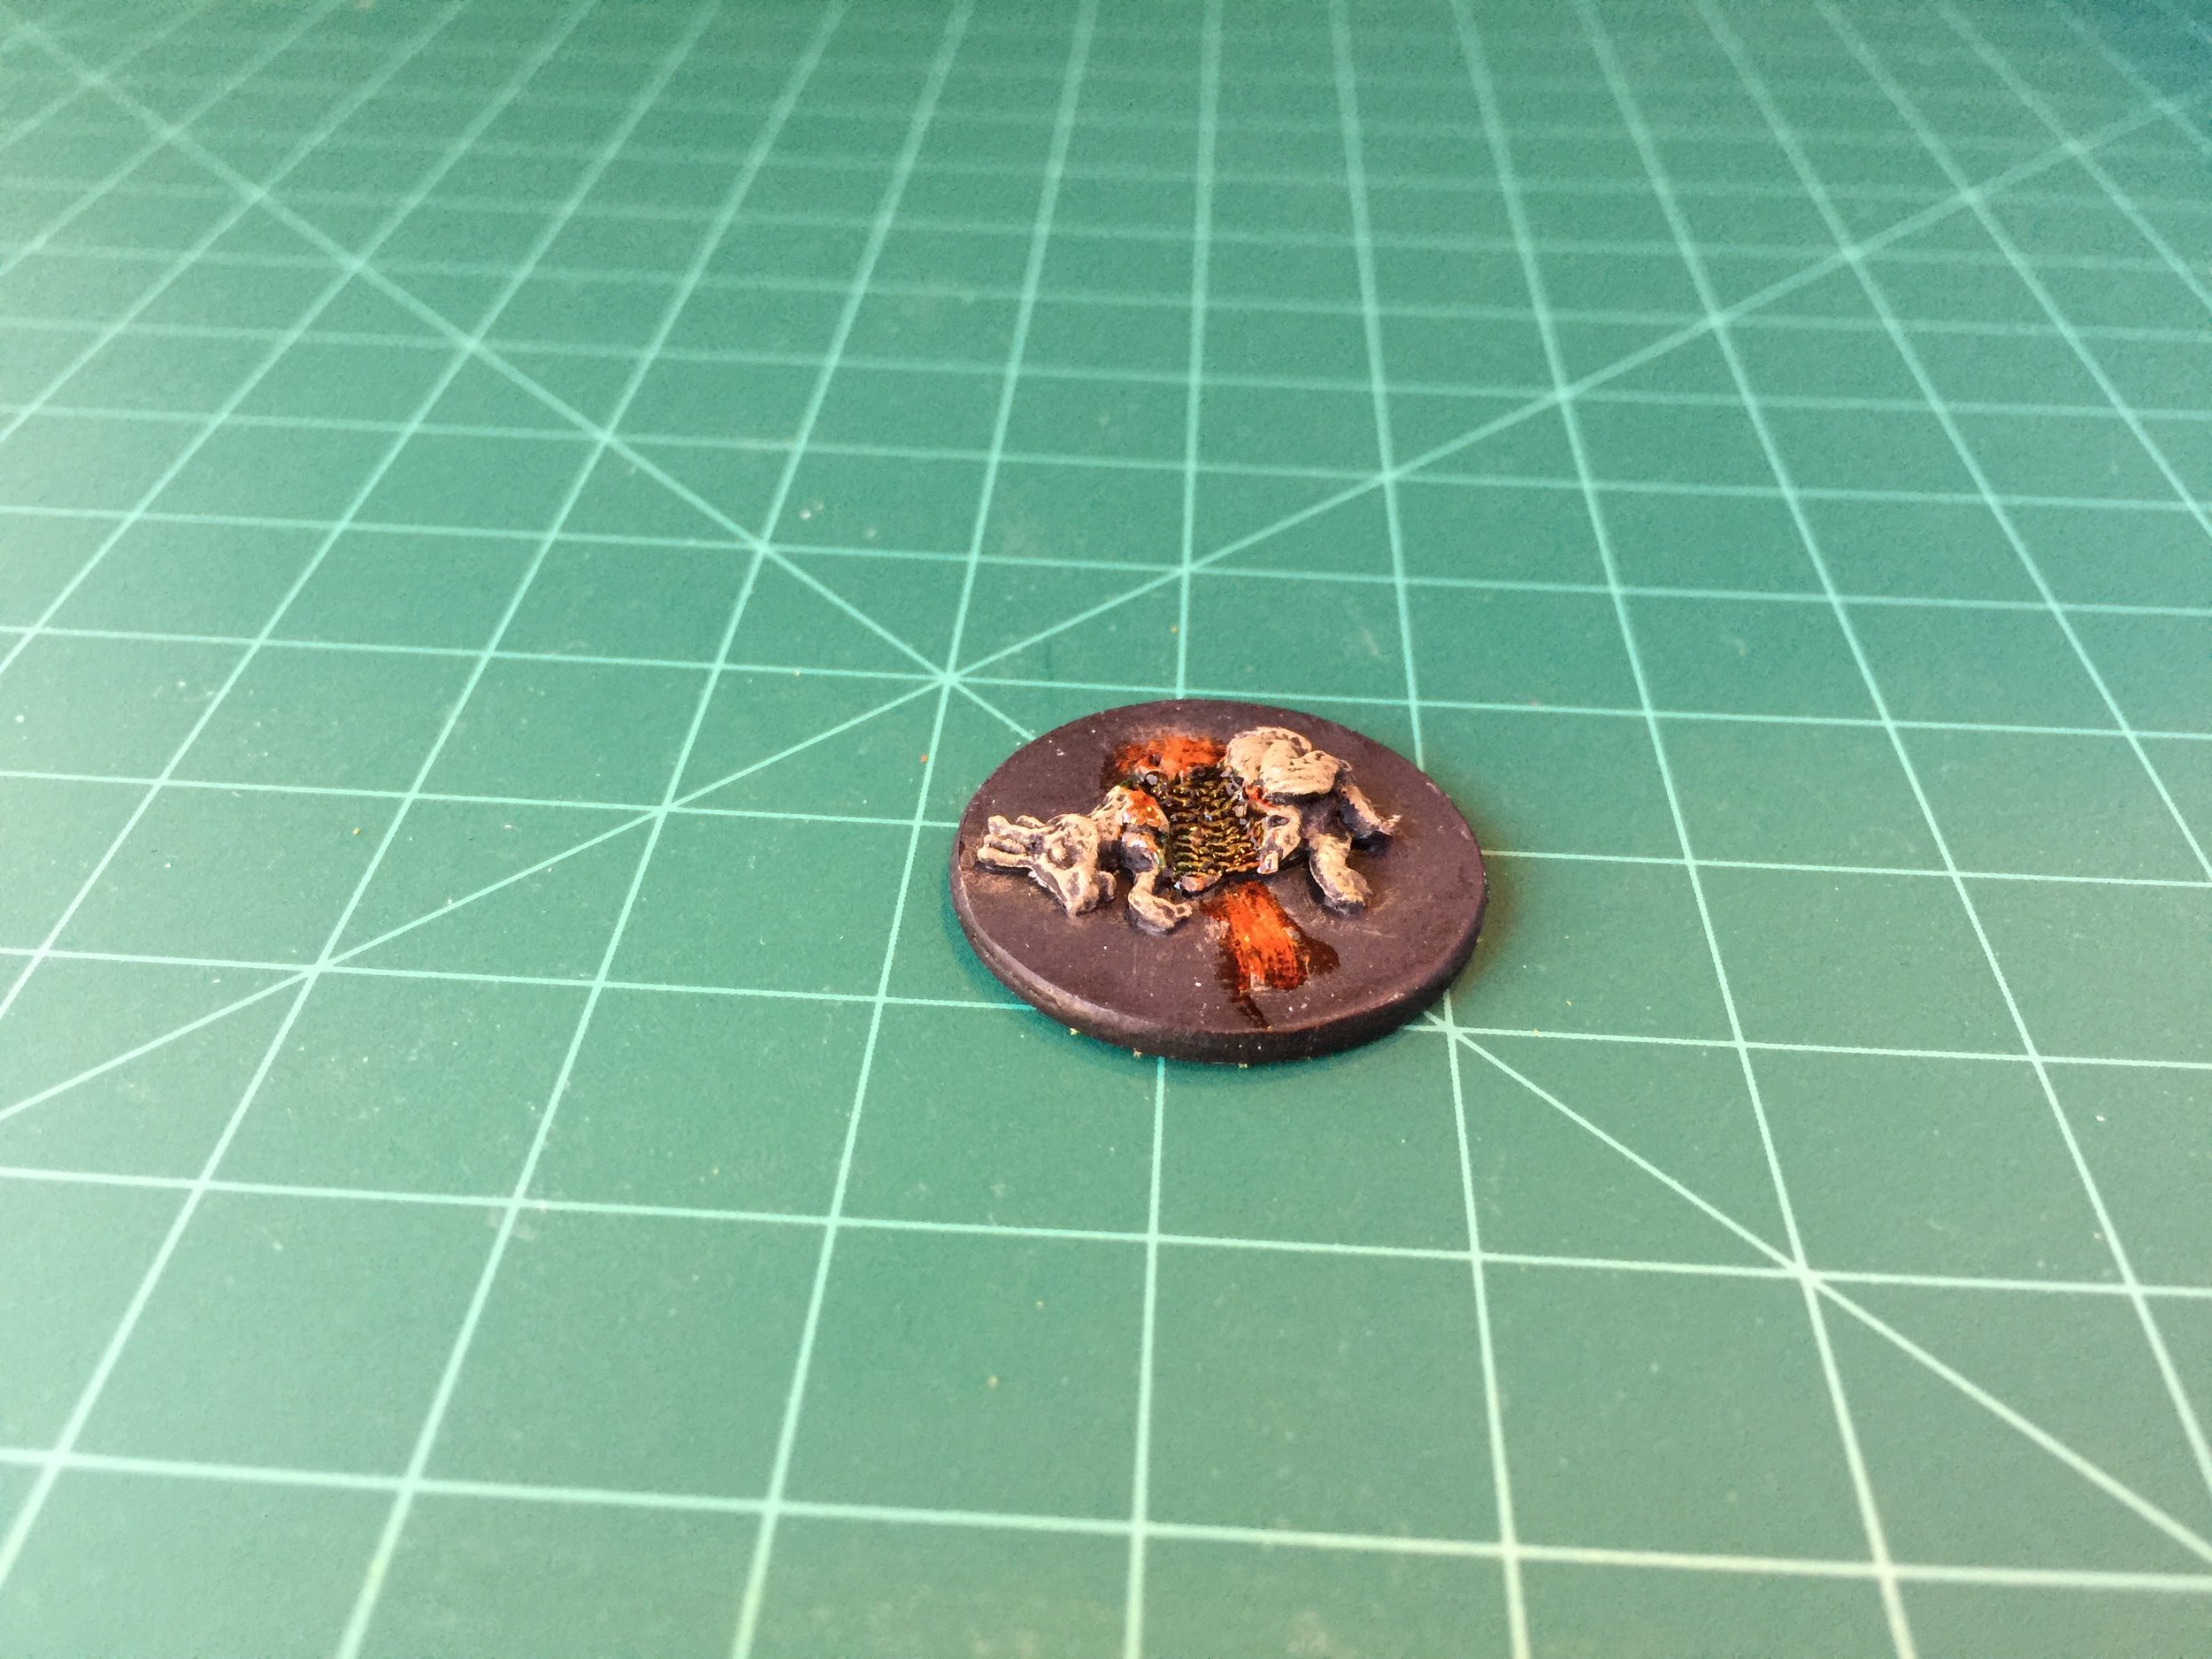
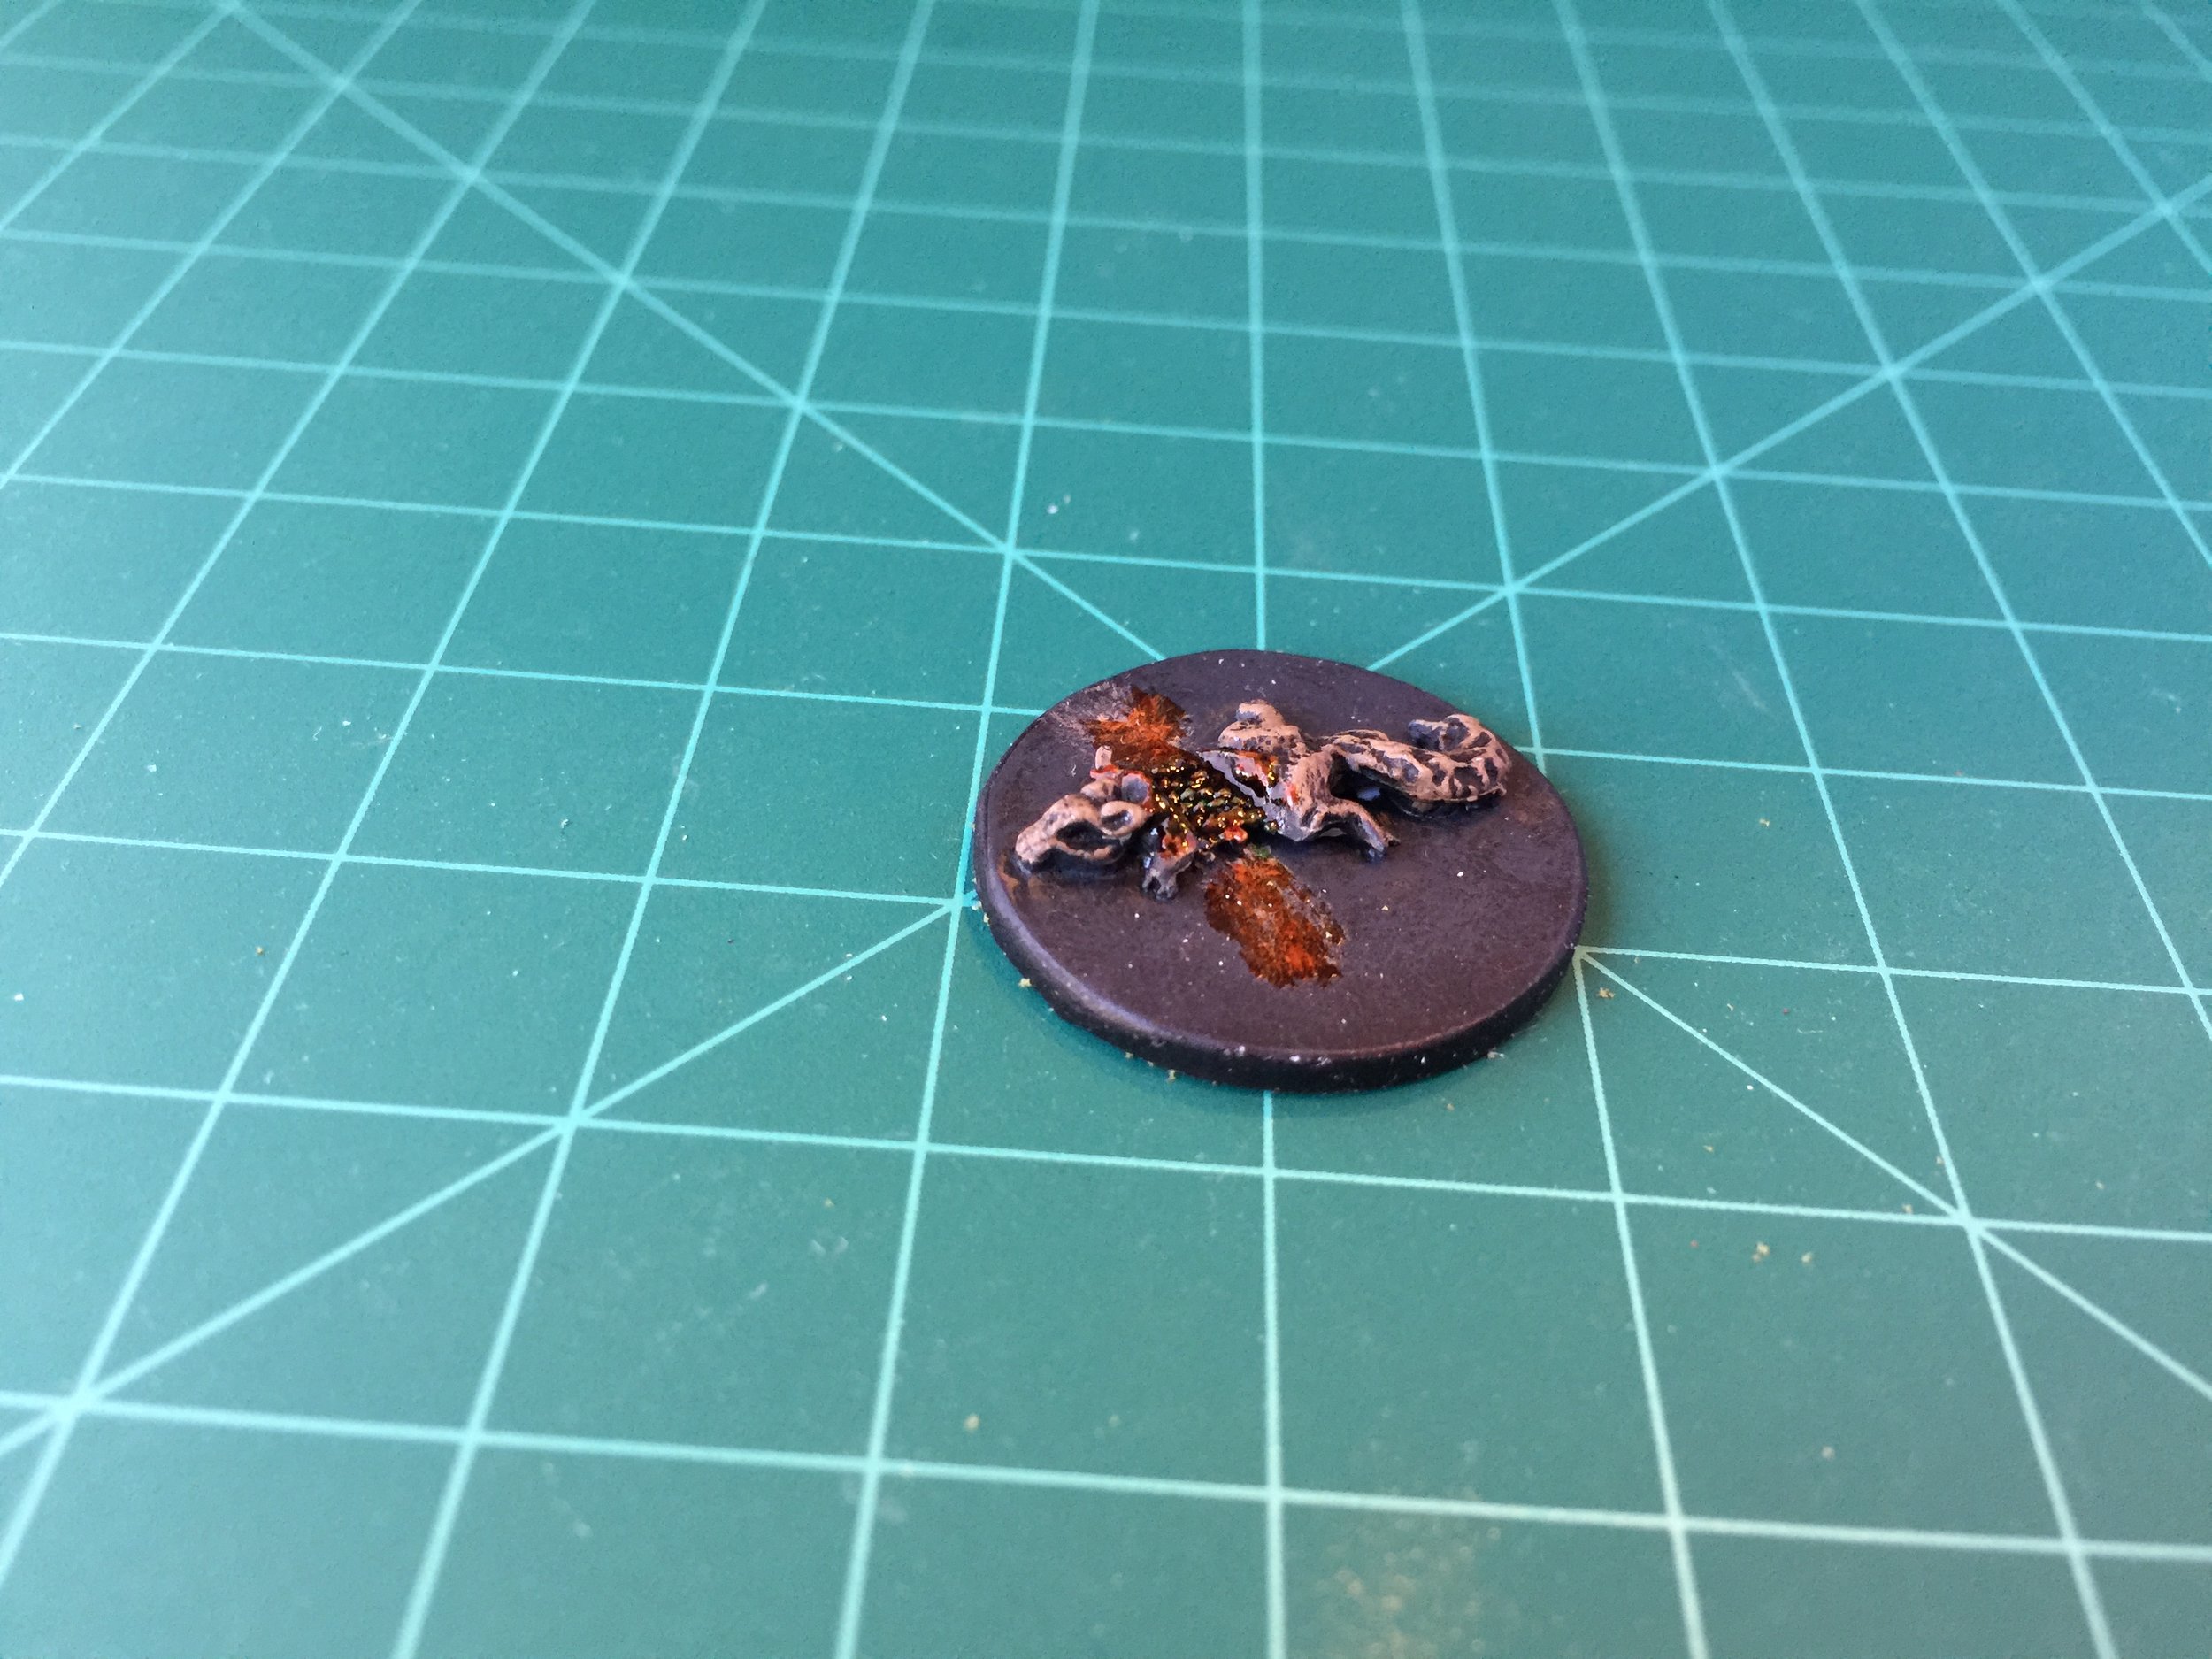
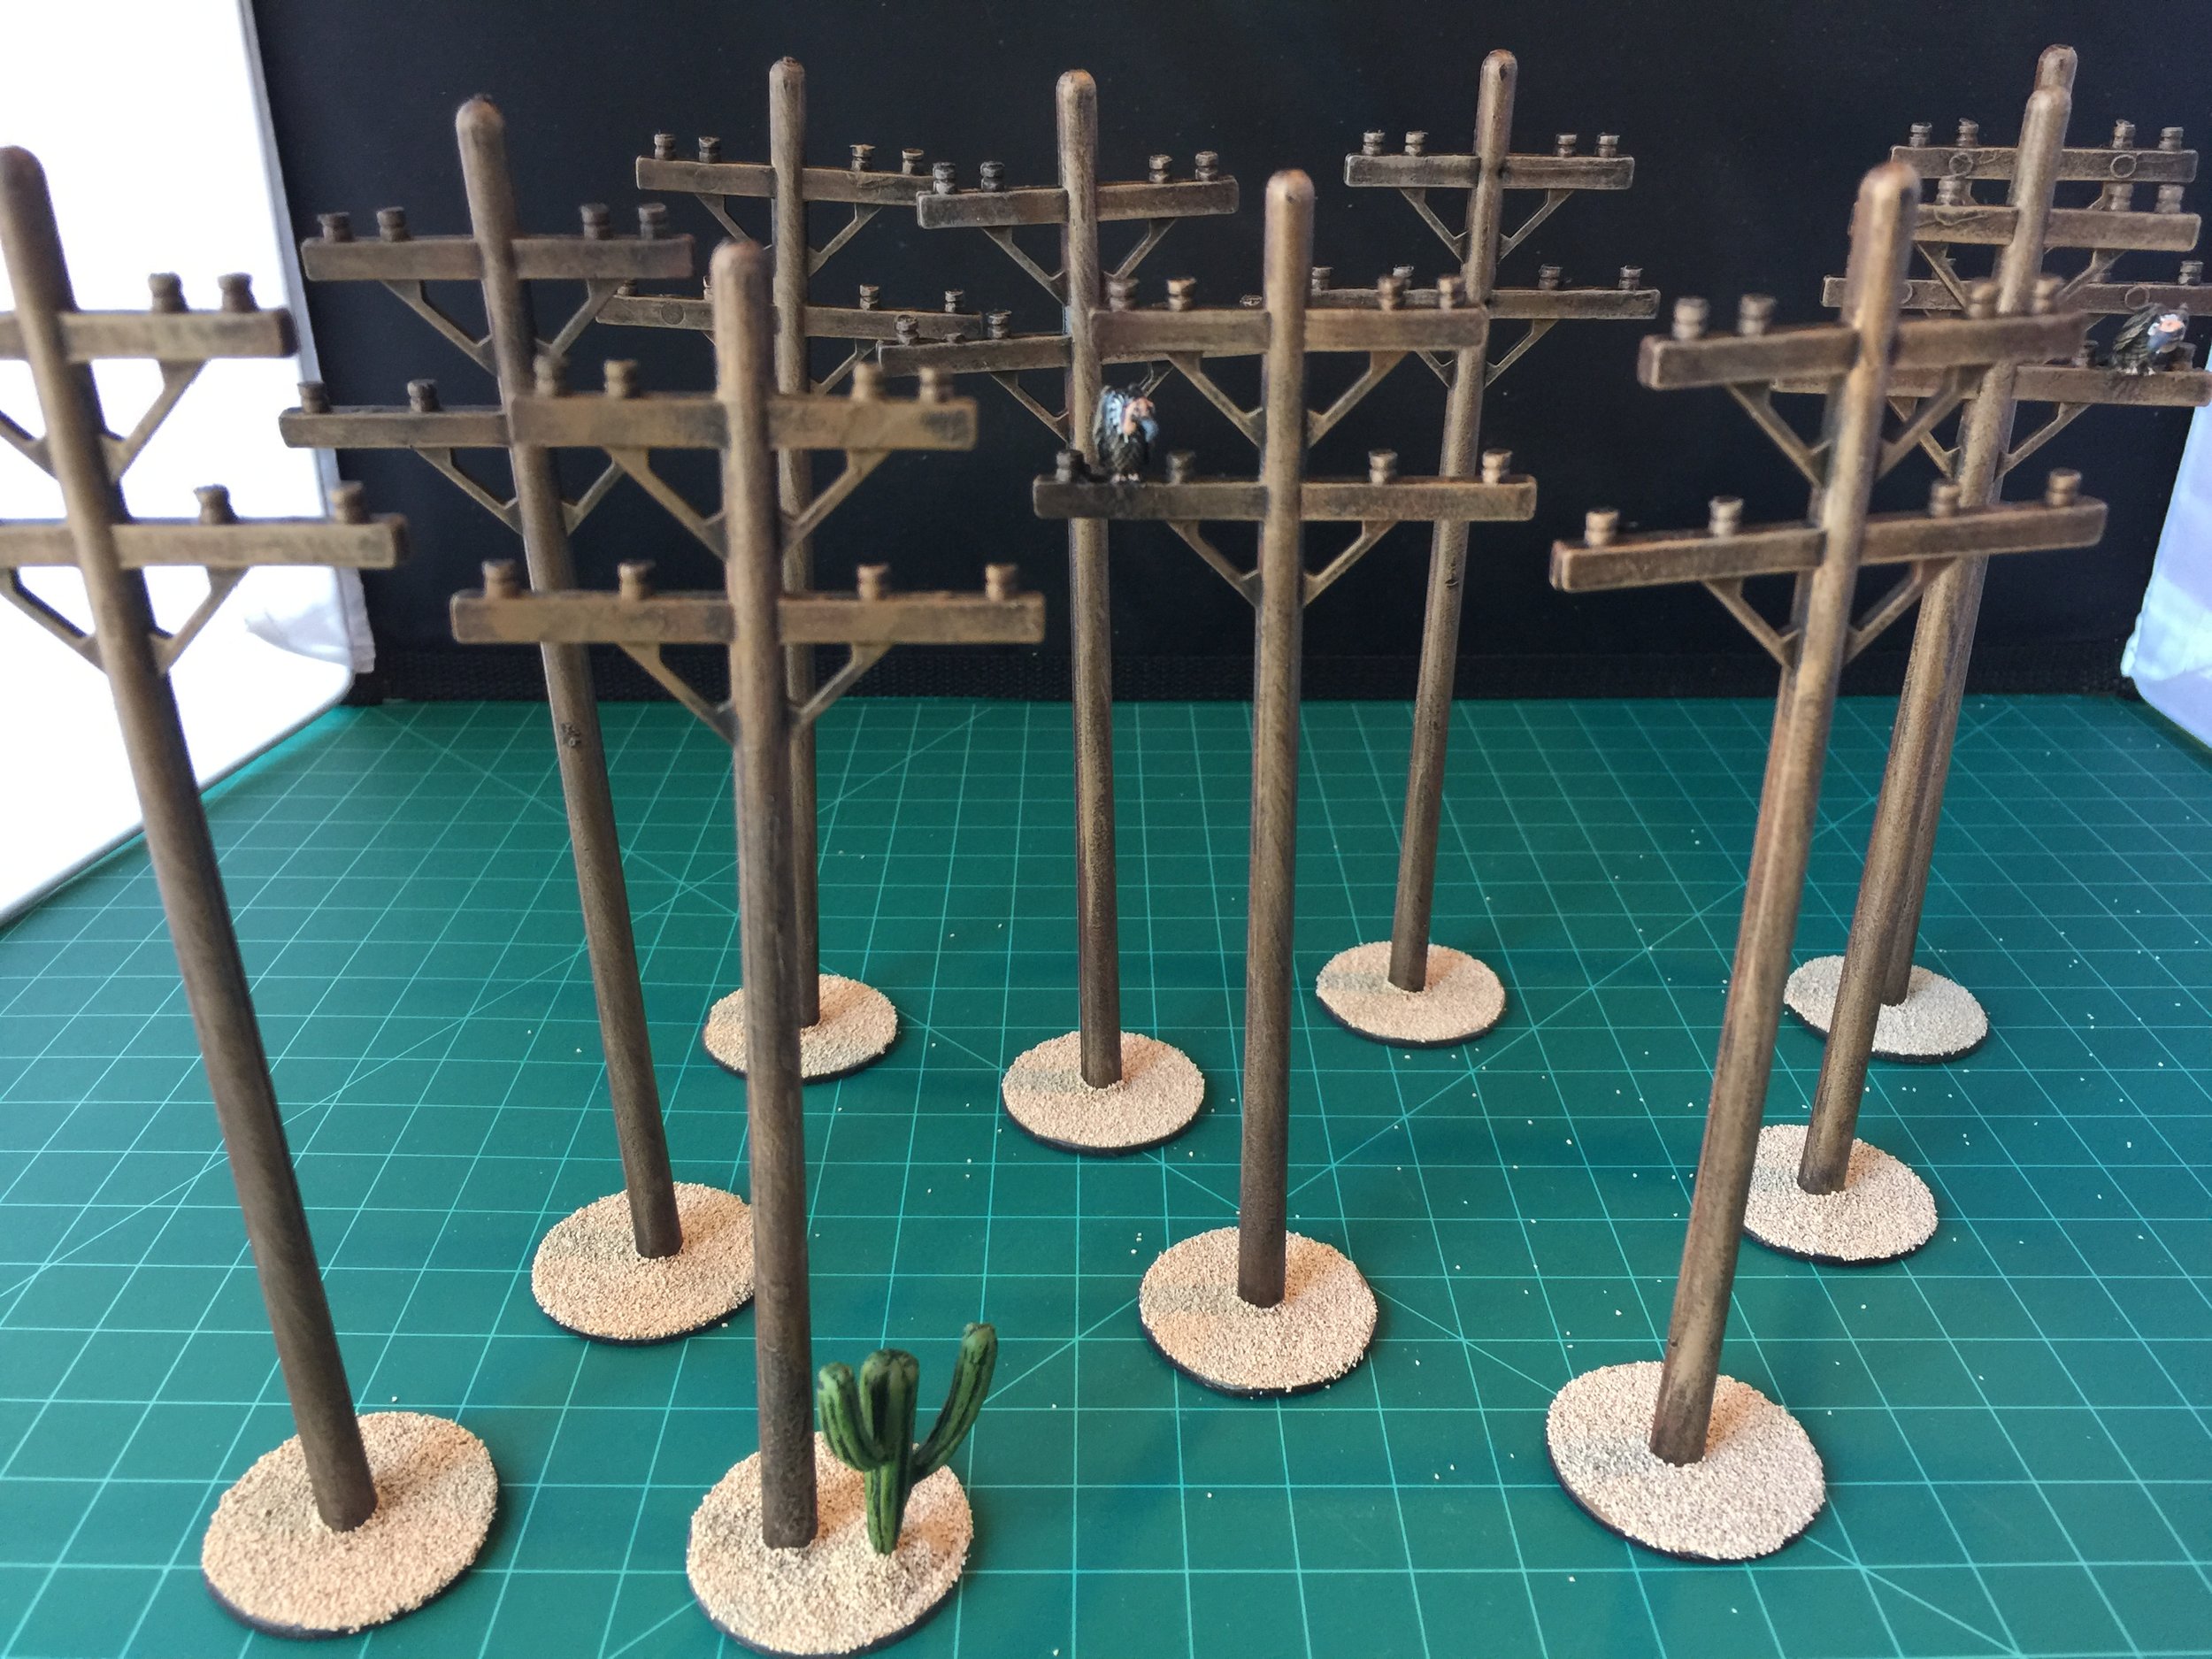
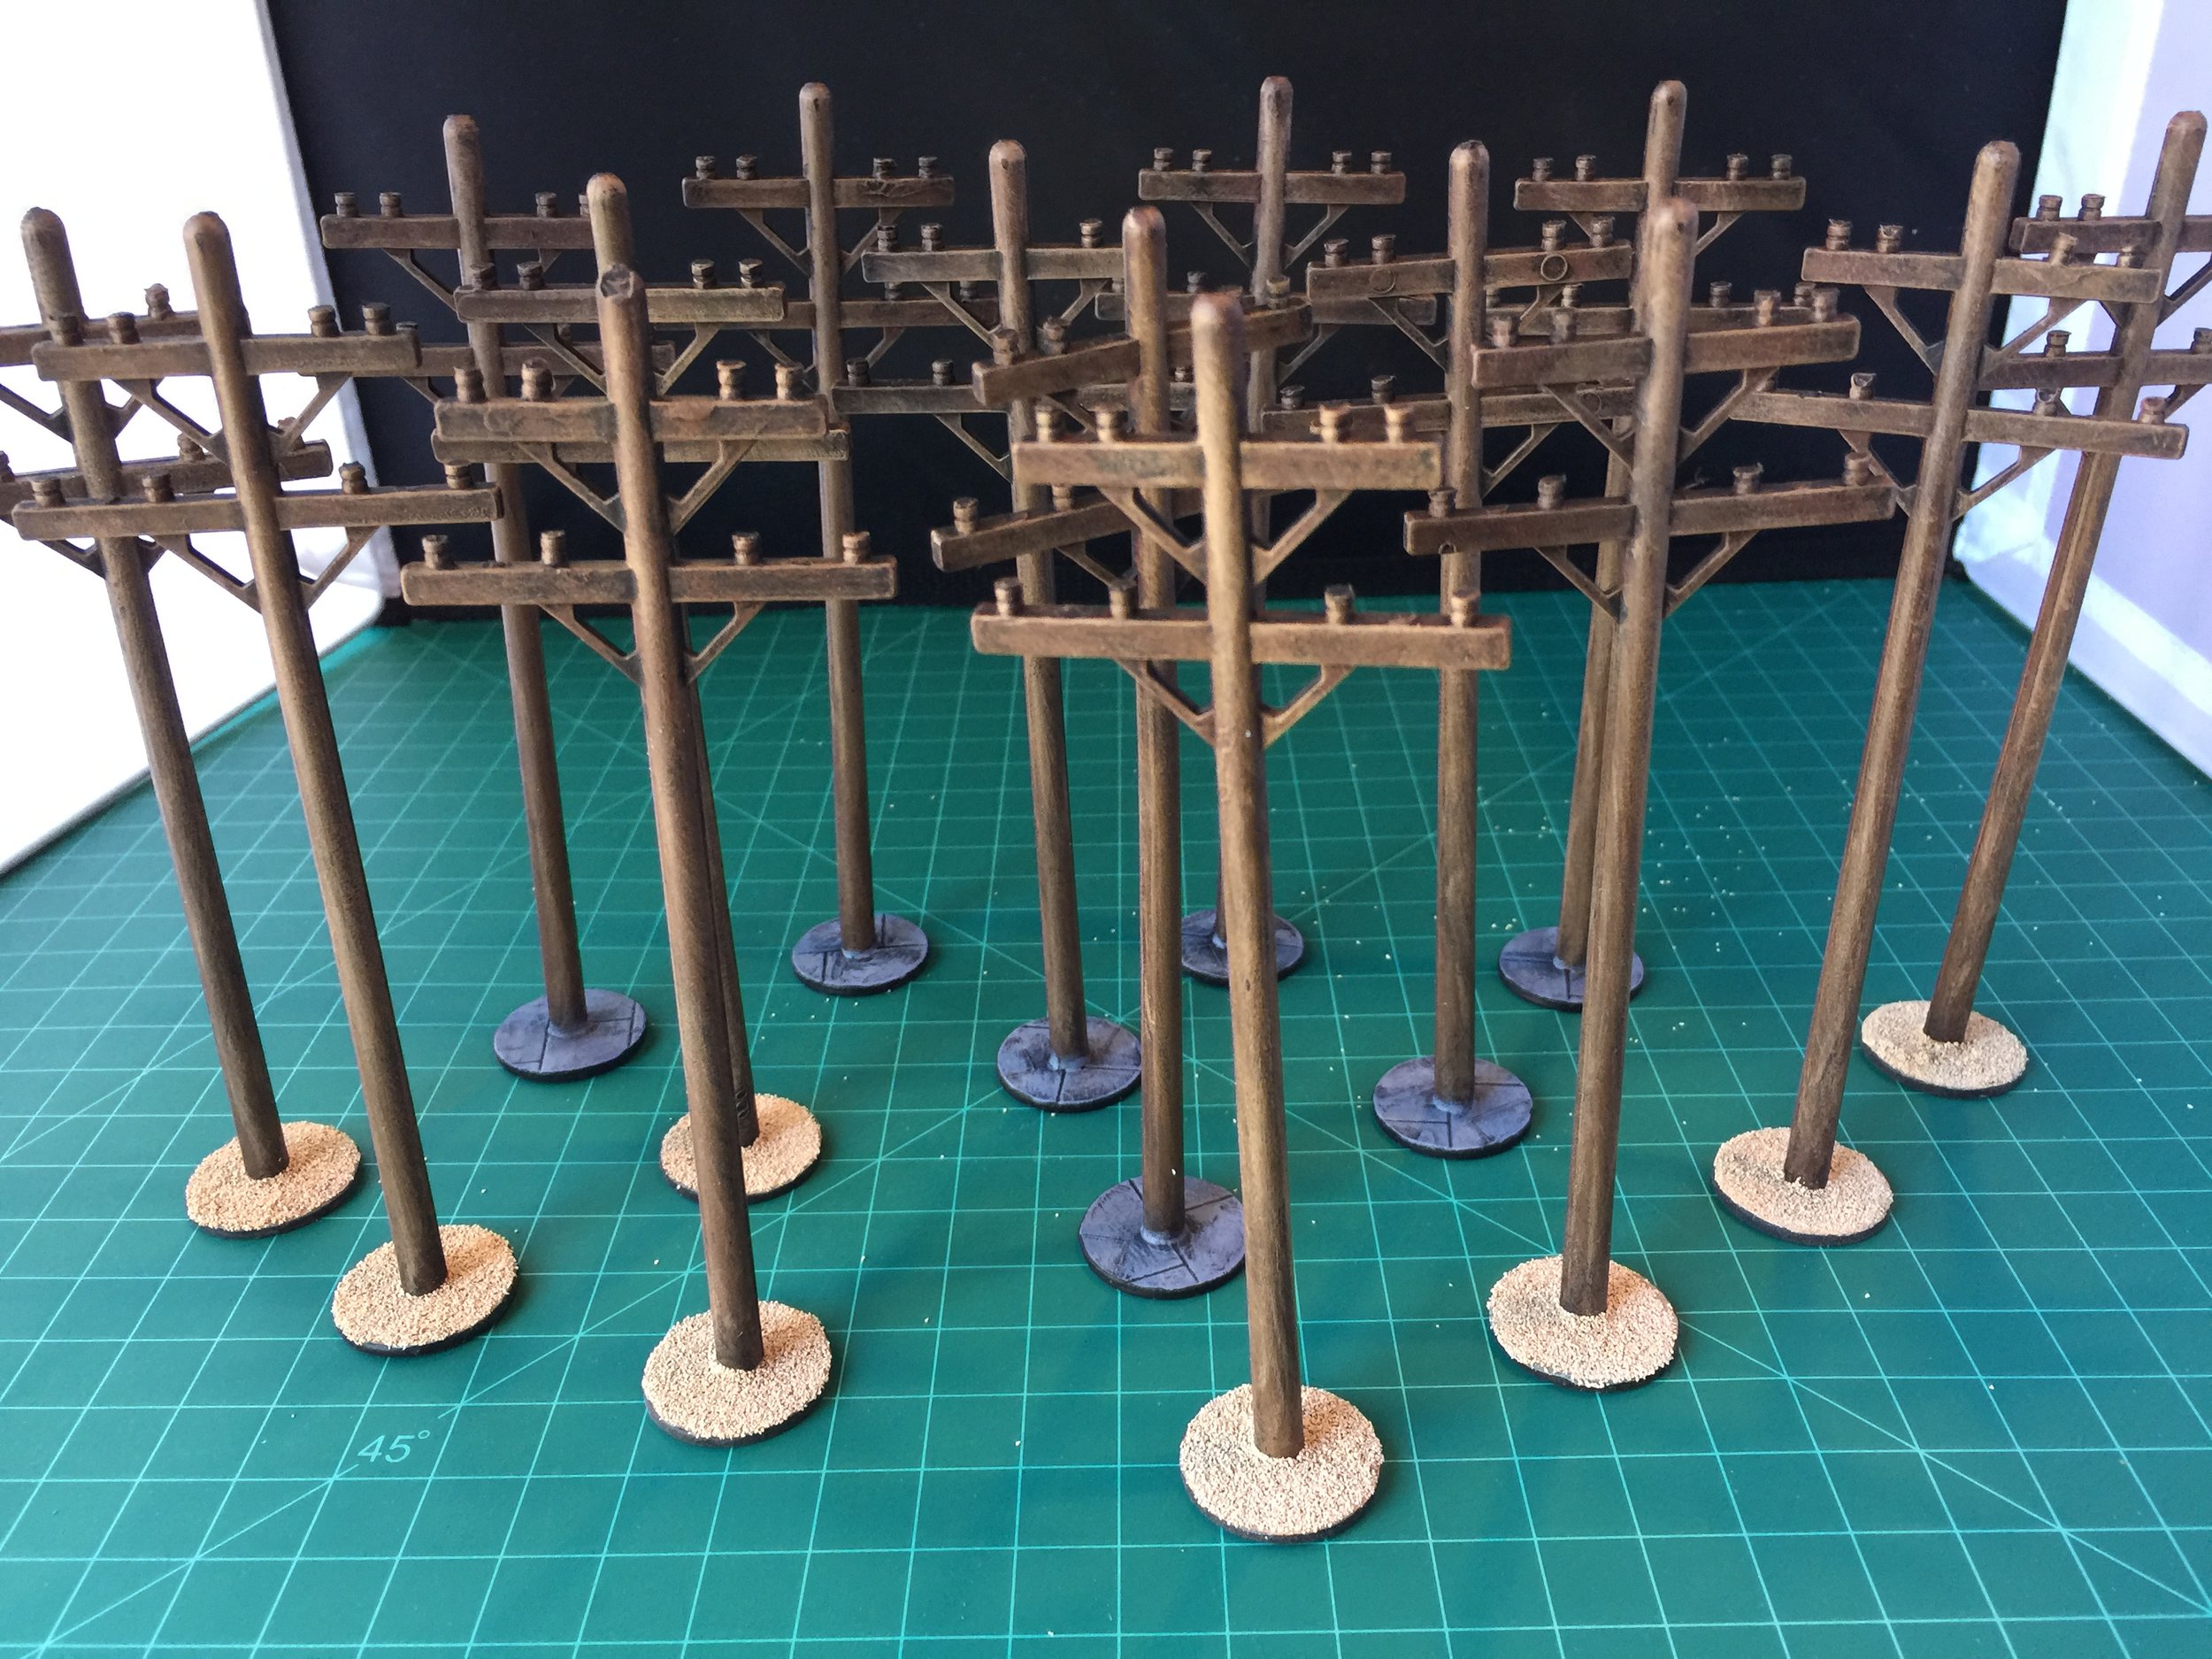
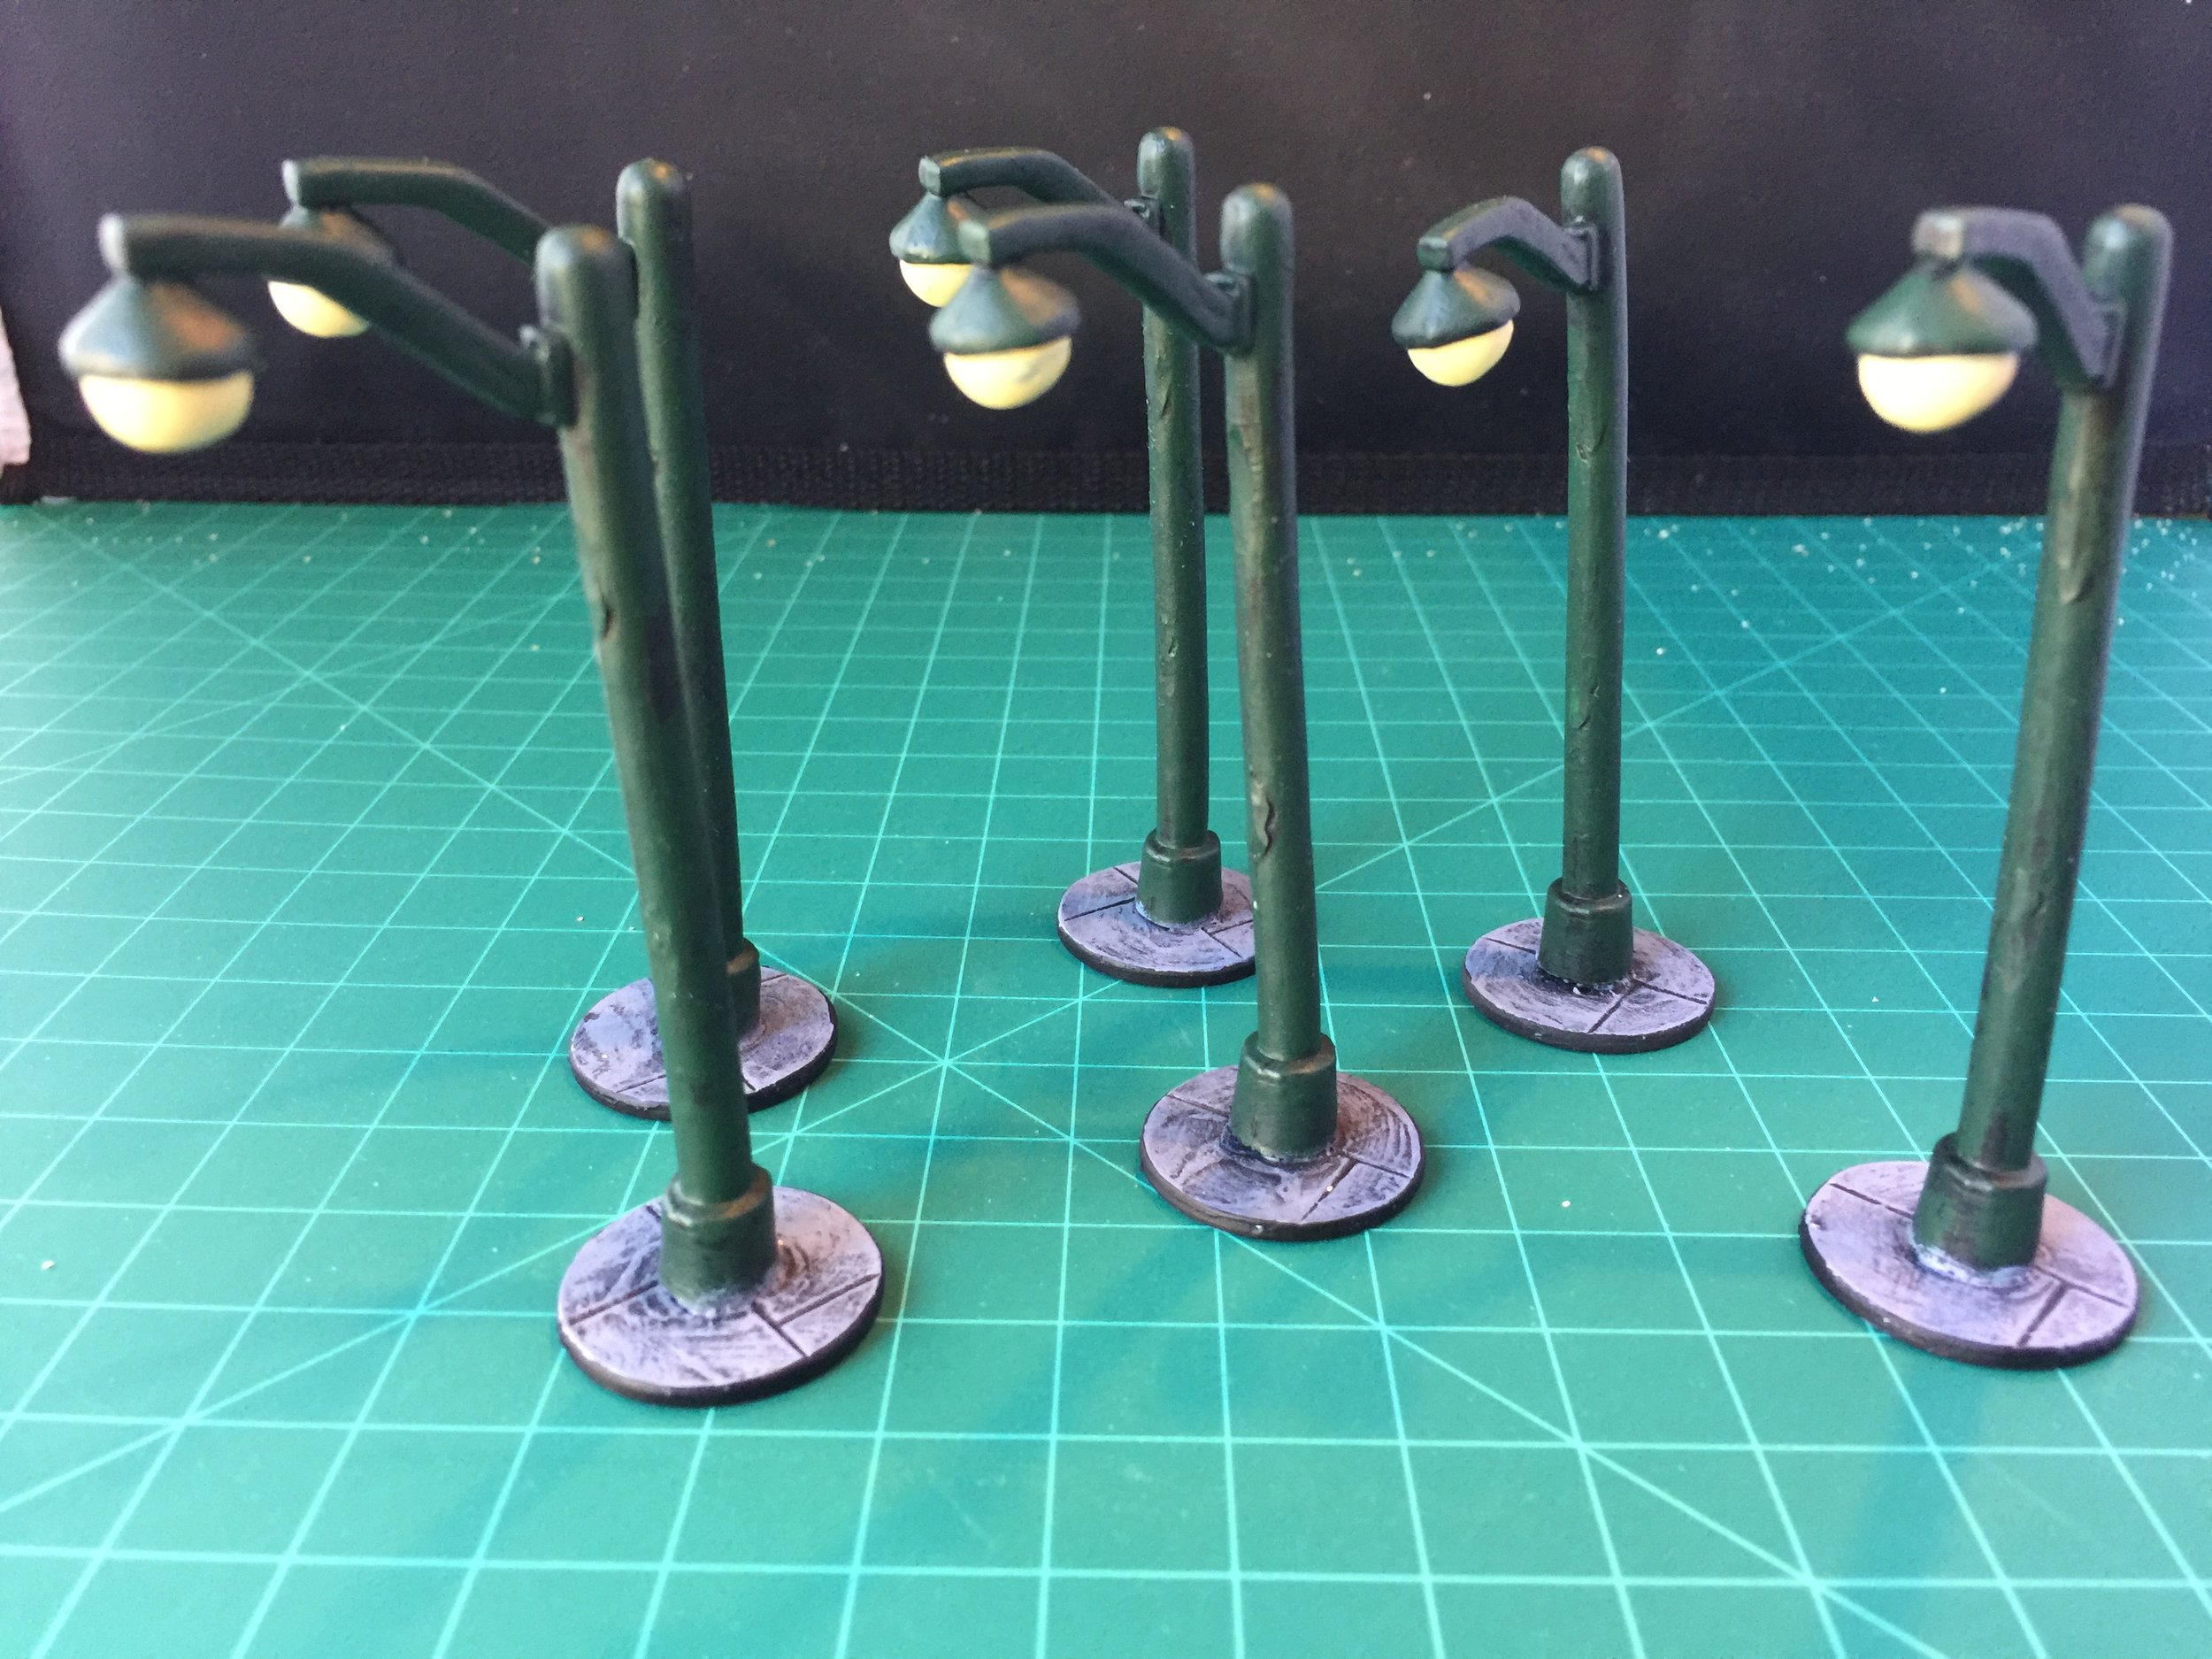
This week my Weekly Workbench began with a figure that has nothing to do with my post apoc collection… the Wyrd Malifaux teddy. I’ve wanted this figure for awhile, but Wyrd Malifaux can be extremely expensive, and I have no immediate purpose for teddy so buying it has not been a priority. Fortunately for me I found this teddy for about $6 at the Brookhurst Bring-and-Buy a couple weeks ago. The one I bought is the early, metal version. It was fun to paint, and I based it for use with my Victorians (on cobblestones) and added a yellow, rubber duck to the base for a little humor. The duck was one that I cut off the Molly Hayes Heroclix base. My next workbench project this week was another tow truck. I then rebased one of the Horrorclix waitresses for use in the interior of my post apoc ice cream parlor. I also painted a zombie for use in the interior of my ice cream parlor. I should note that the interior furnishings (tables, chairs, counter and cold storage units) were purchased several years ago at the swap meet as part of a small vignette that I then reproduced in resin and painted about a year ago. One of the sets of figures that I have been looking forward to adding to my post-apoc collection is the Mega Minis’ road-kill figures (a snake, a rabbit, an armadillo and a squirrel). Fortunately I purchased this set of figures years ago before Mega Minis went out of business. Like the telephones, I based them on metal washers surfaced with Evergreen plastic. With those items completed my workbench attention returned to O-gauge telephone poles (Marx/modified and I added a couple more Reaper vultures) for my post apoc collection. One of the main reasons I decided to include telephone poles with this collection is because one of the two 5 ft. x 7 ft. tables I will be using will have only one building on it (the Cars Movie Radiator Springs Curio shop) and I just felt that having the telephone poles running along the road on that table would add to the feeling of emptiness of the surrounding land. On the base of one of these poles I added a Malifaux cactus that I picked up at the Brookhurst Bring-and-Buy at the same time I bought teddy. While working on the poles I also put together a pile of car parts for my junkyard. The real thread of my workbench efforts this week and in the coming weeks is on the small details like fire hydrants (unknown manufacturer), streetlights (Heroclix/Spiderman), telephone poles and mailboxes (Heroclix/Blue Beetle). Over the years and completed galleries I have come to believe that little the details really bring my galleries to life.