September 27, 2020
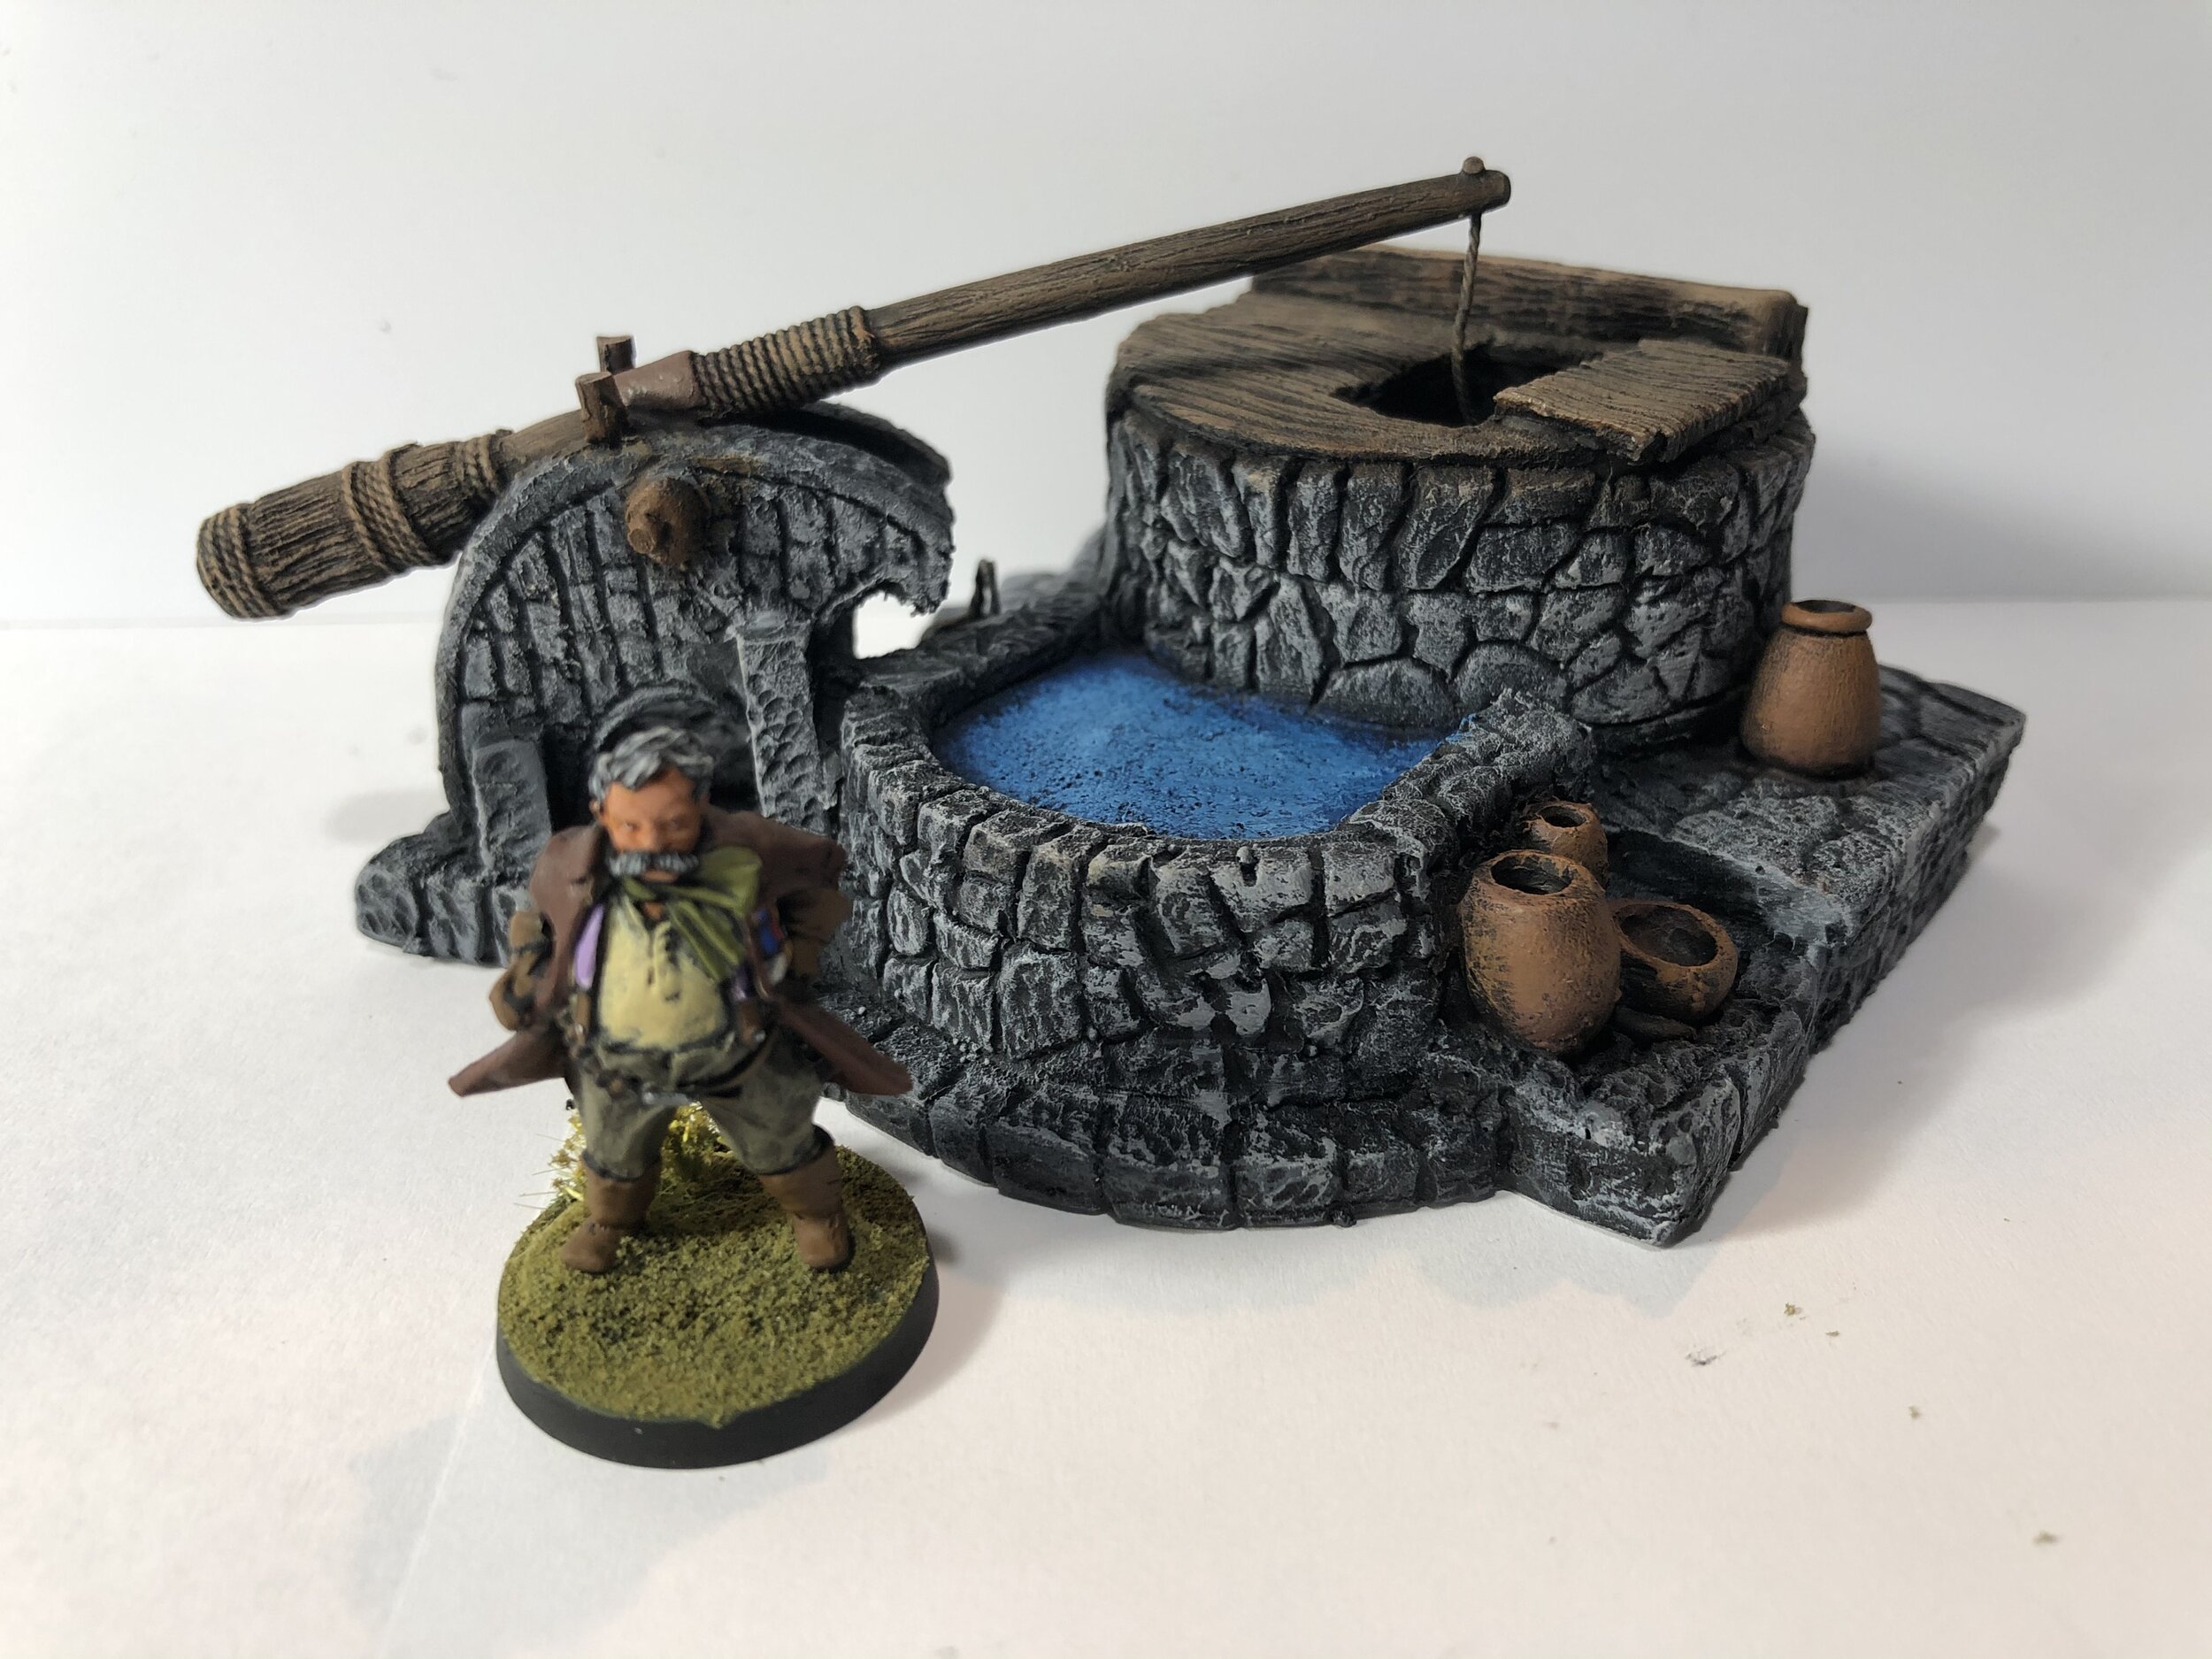
This week began with the painting of a well by Kobblestone Miniatures. I have one used previously with my Egyptian collection… painted in tan and brown tones, but I did this one in grays.
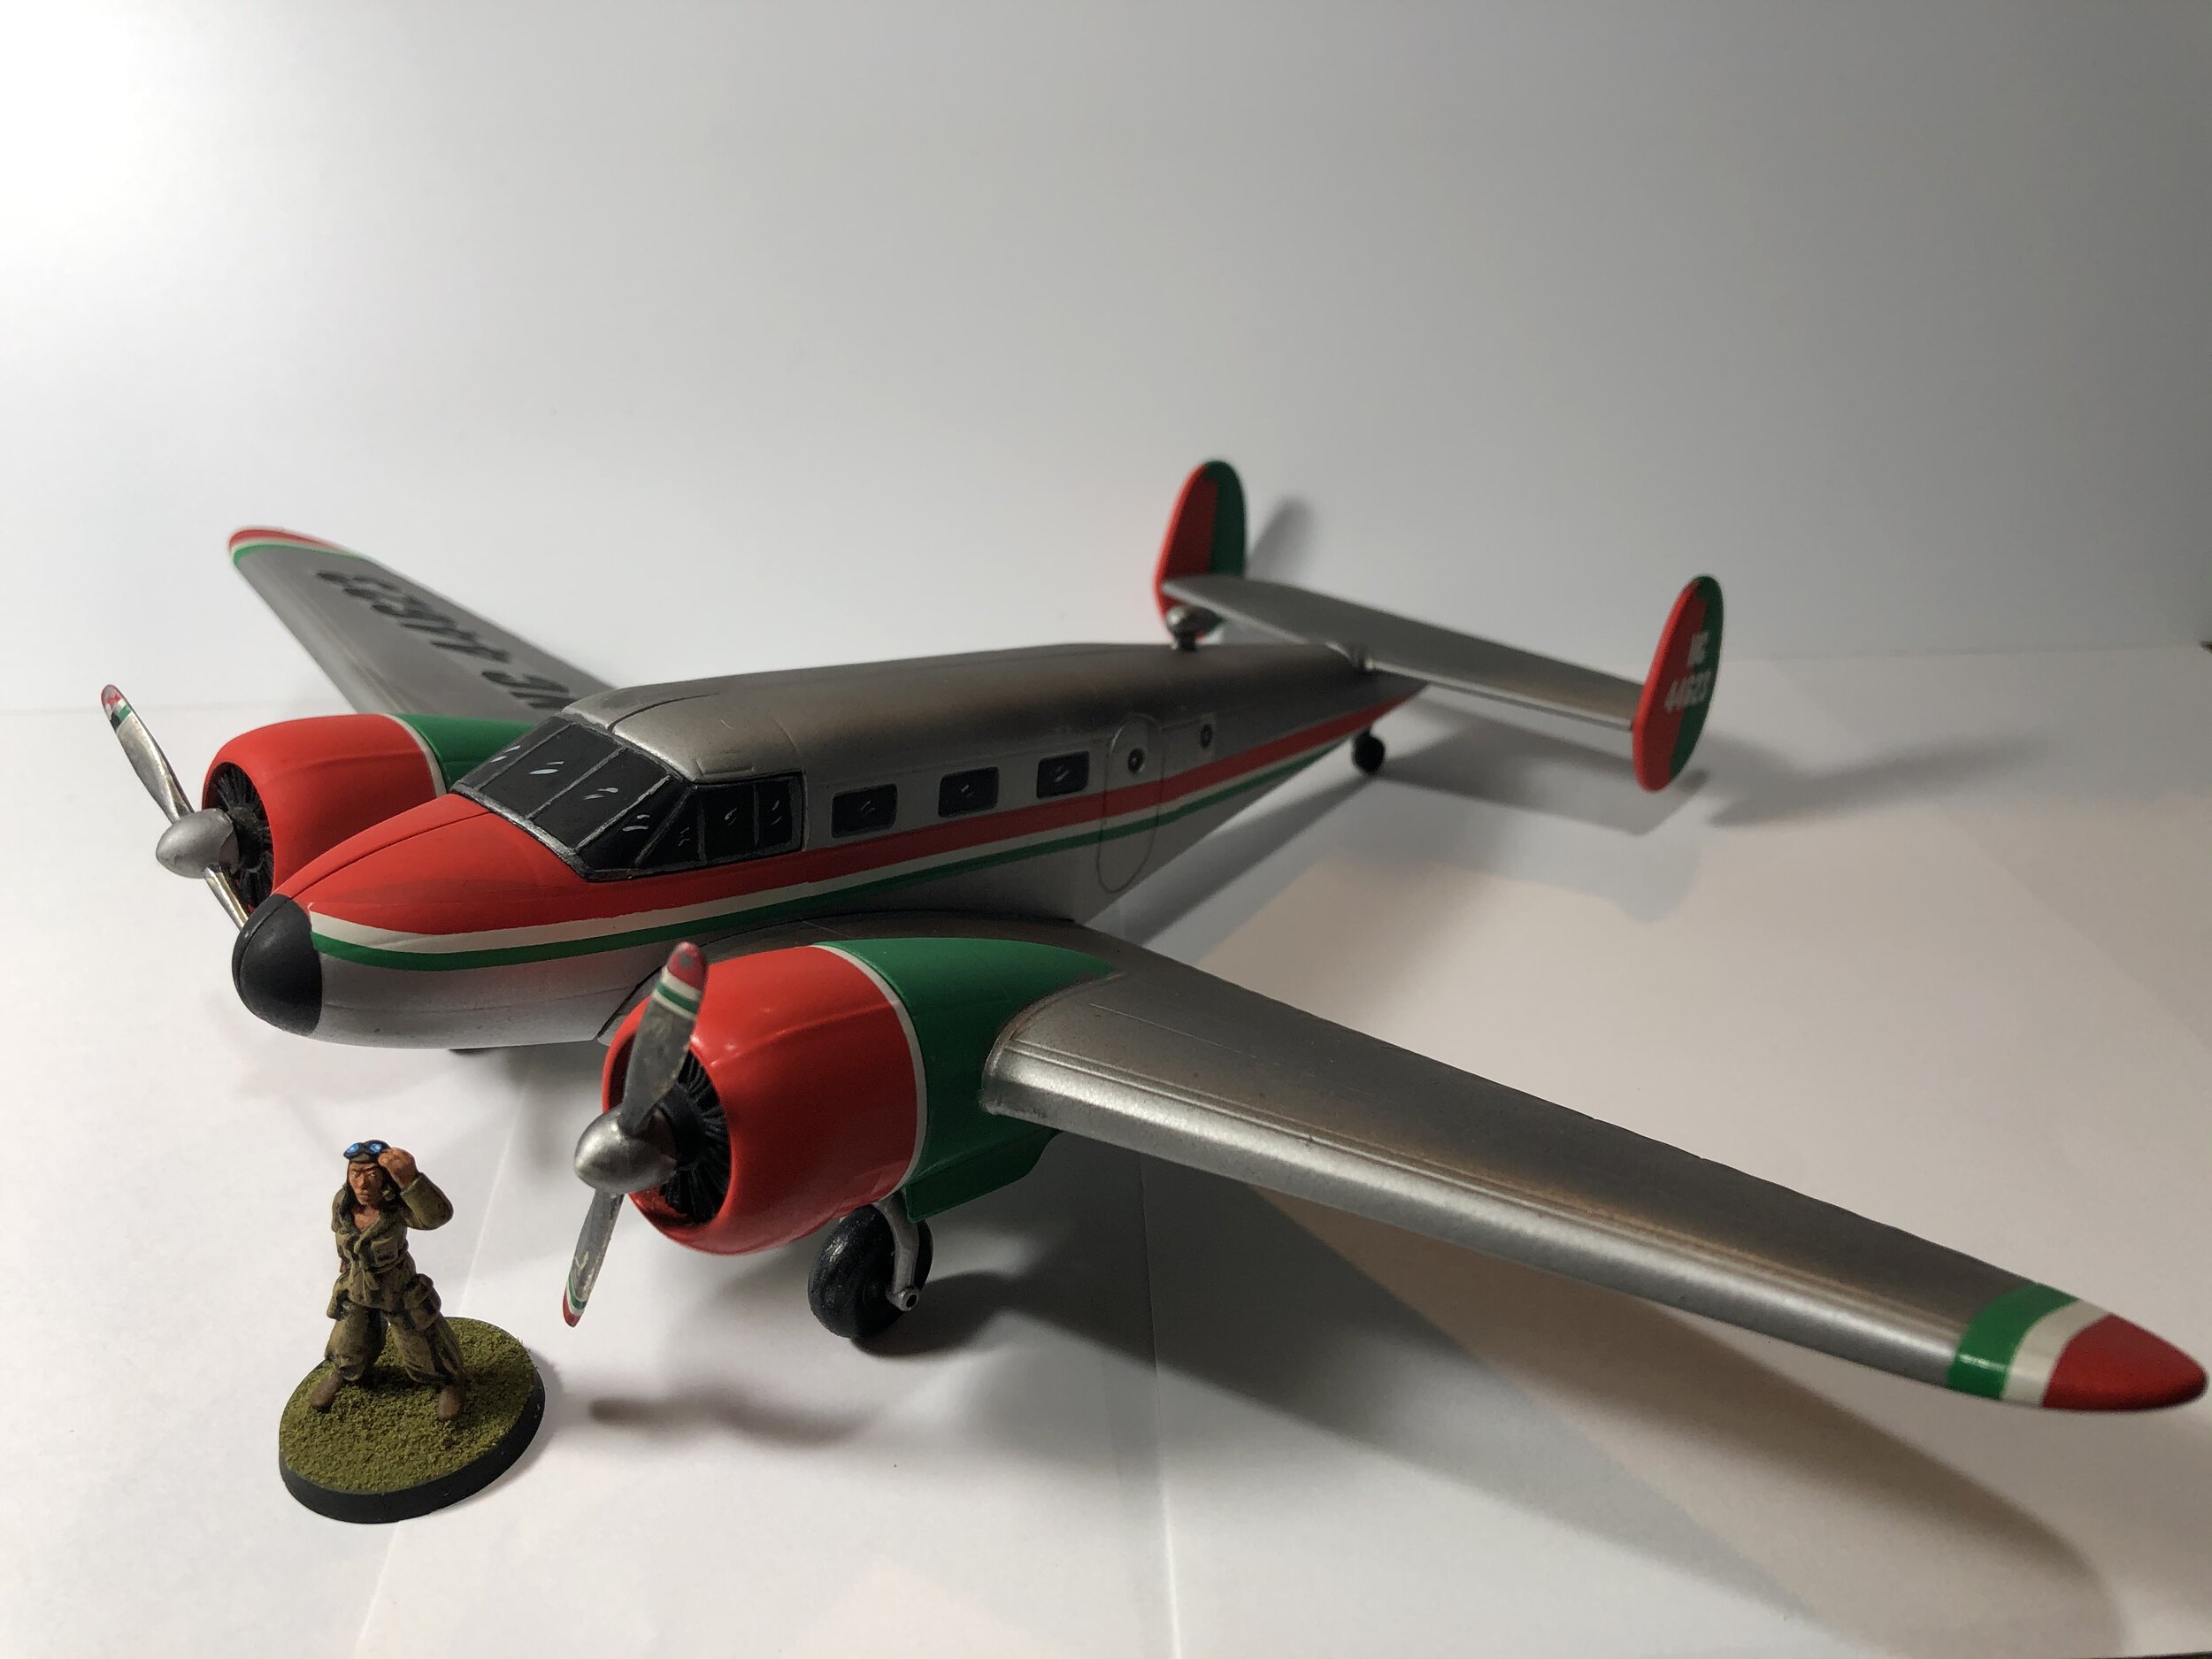
I went back to learning about my airbrush. Clogging had been a problem… I was using water to cut the paint just as I do when I brush paint. I called up Brookhurst Hobbies and talked with one of the guys who knows his stuff about airbrushing and he told me to use the thinner rather than water (60% paint/40% thinner) and to add a drop of retarder to the paint bowl. I went back to clean up some problems with my Beechcraft 18. The new process worked like a drean.
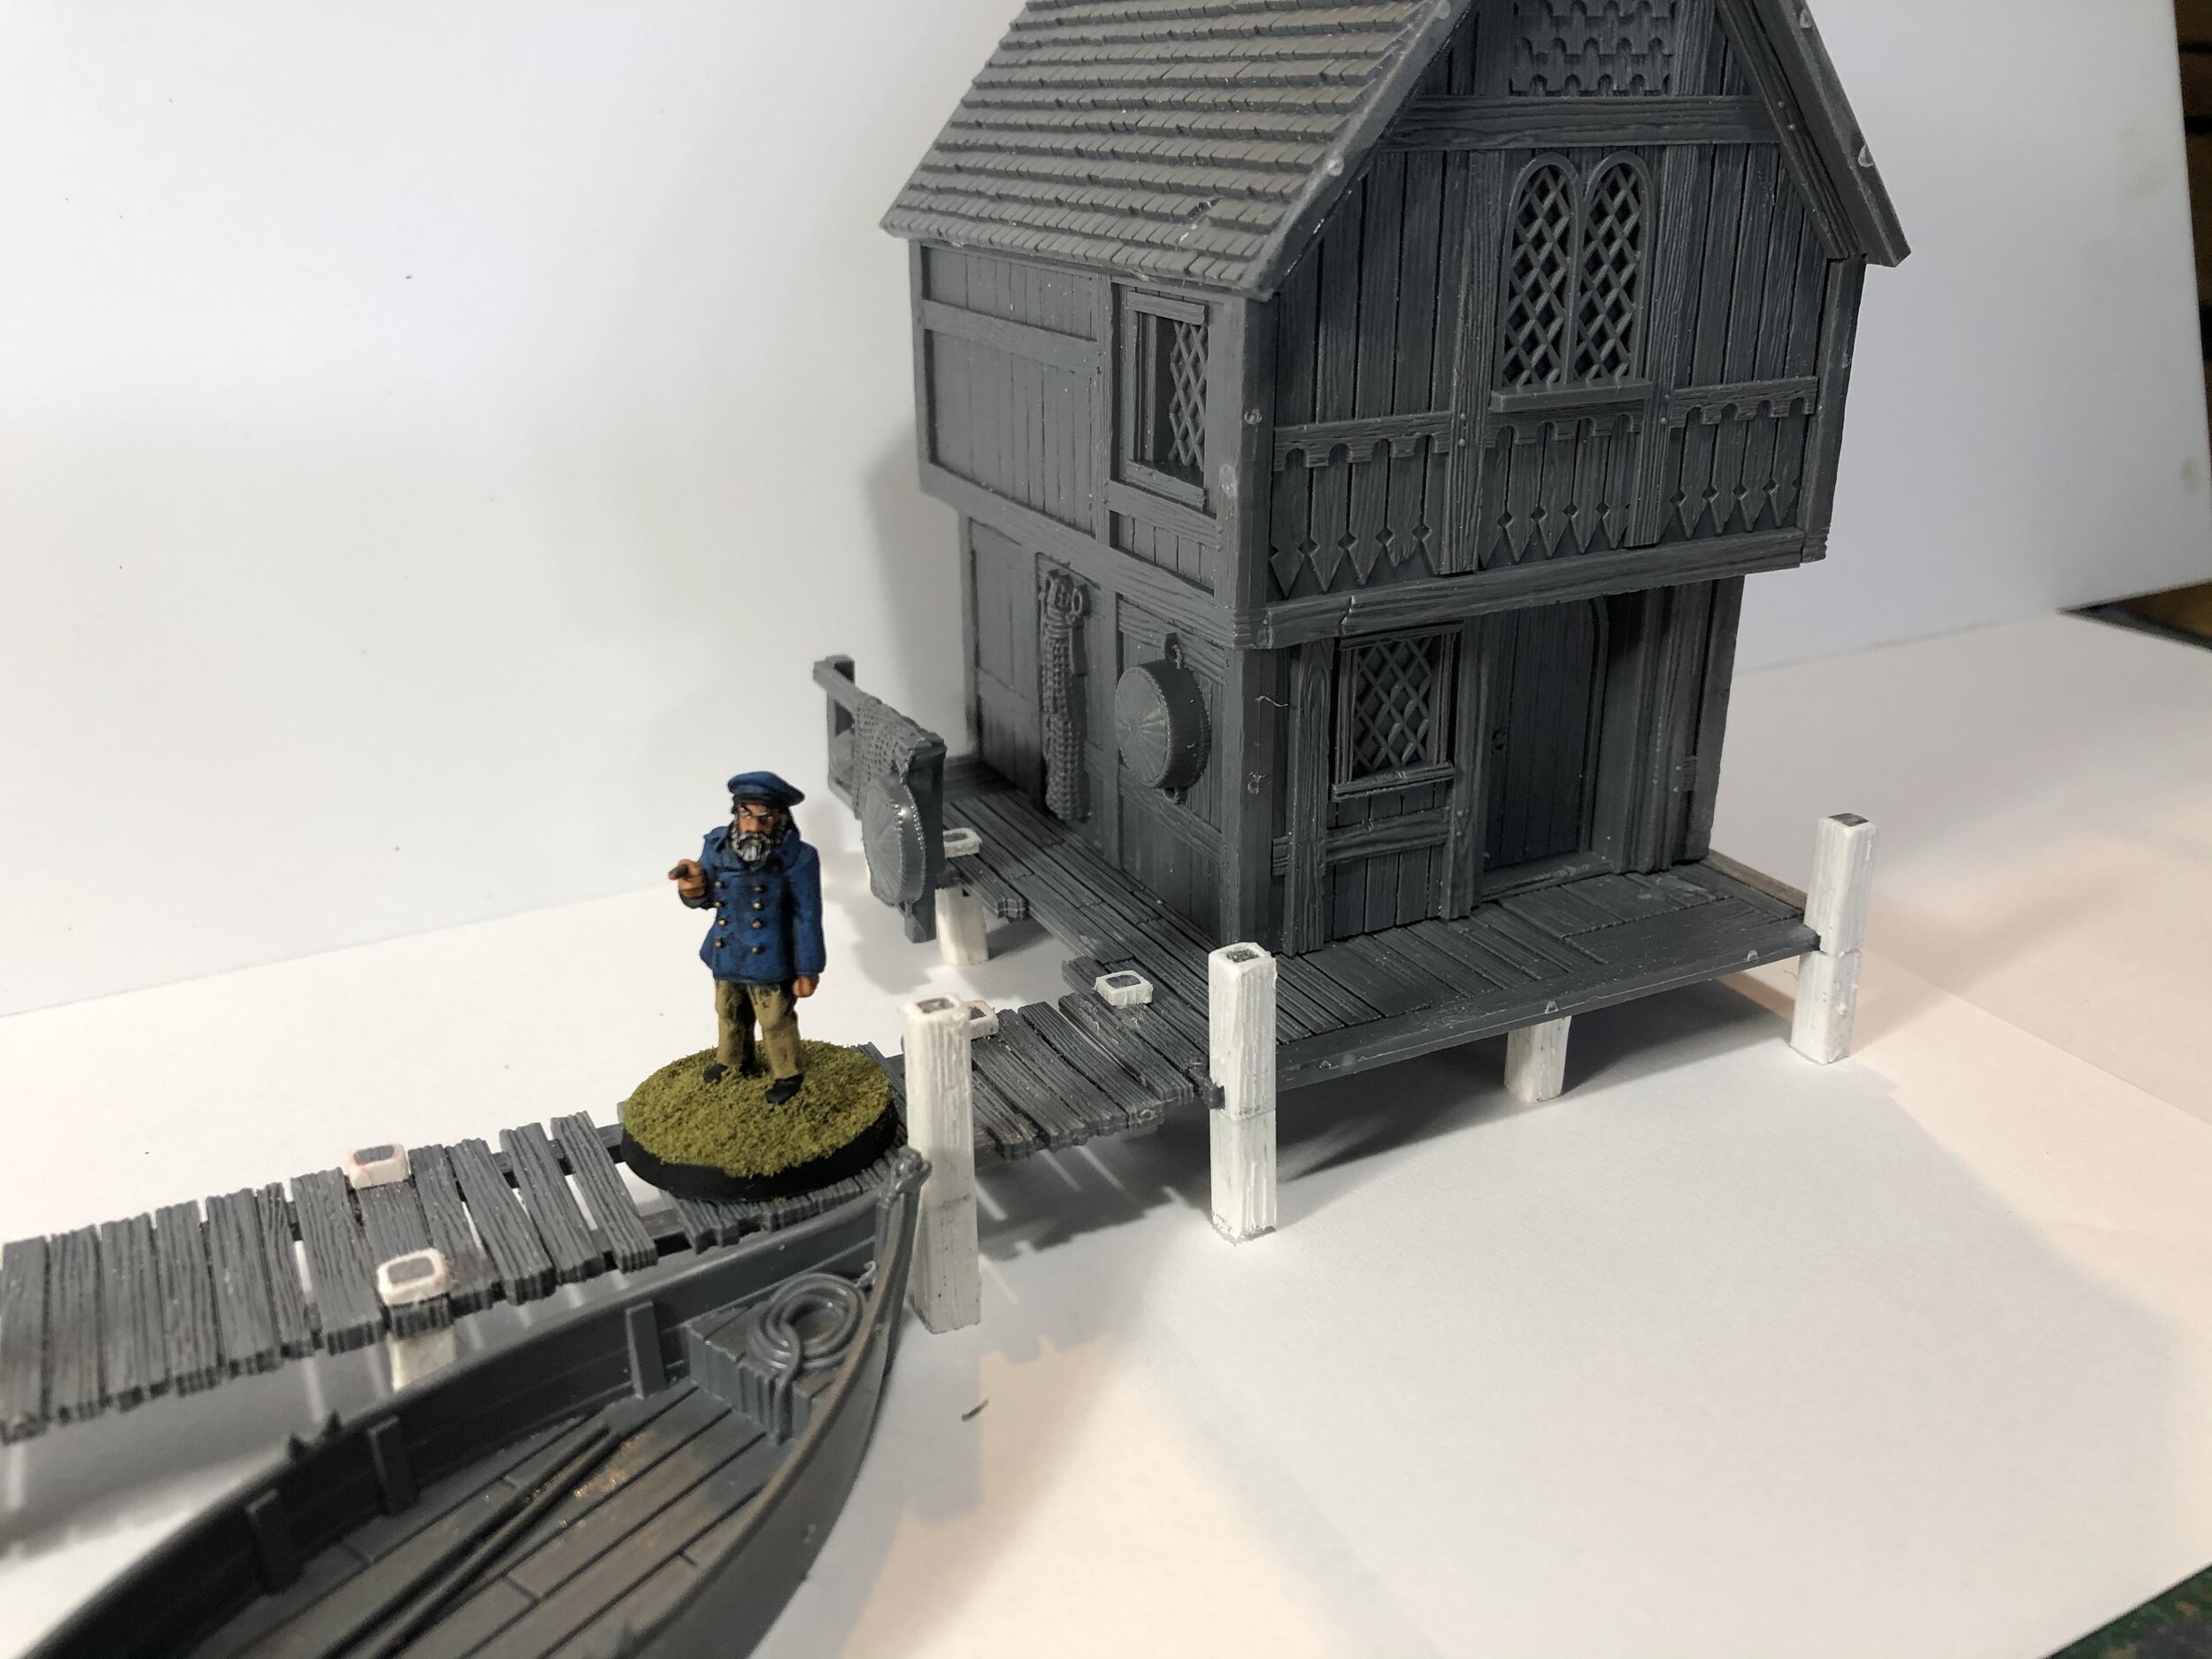
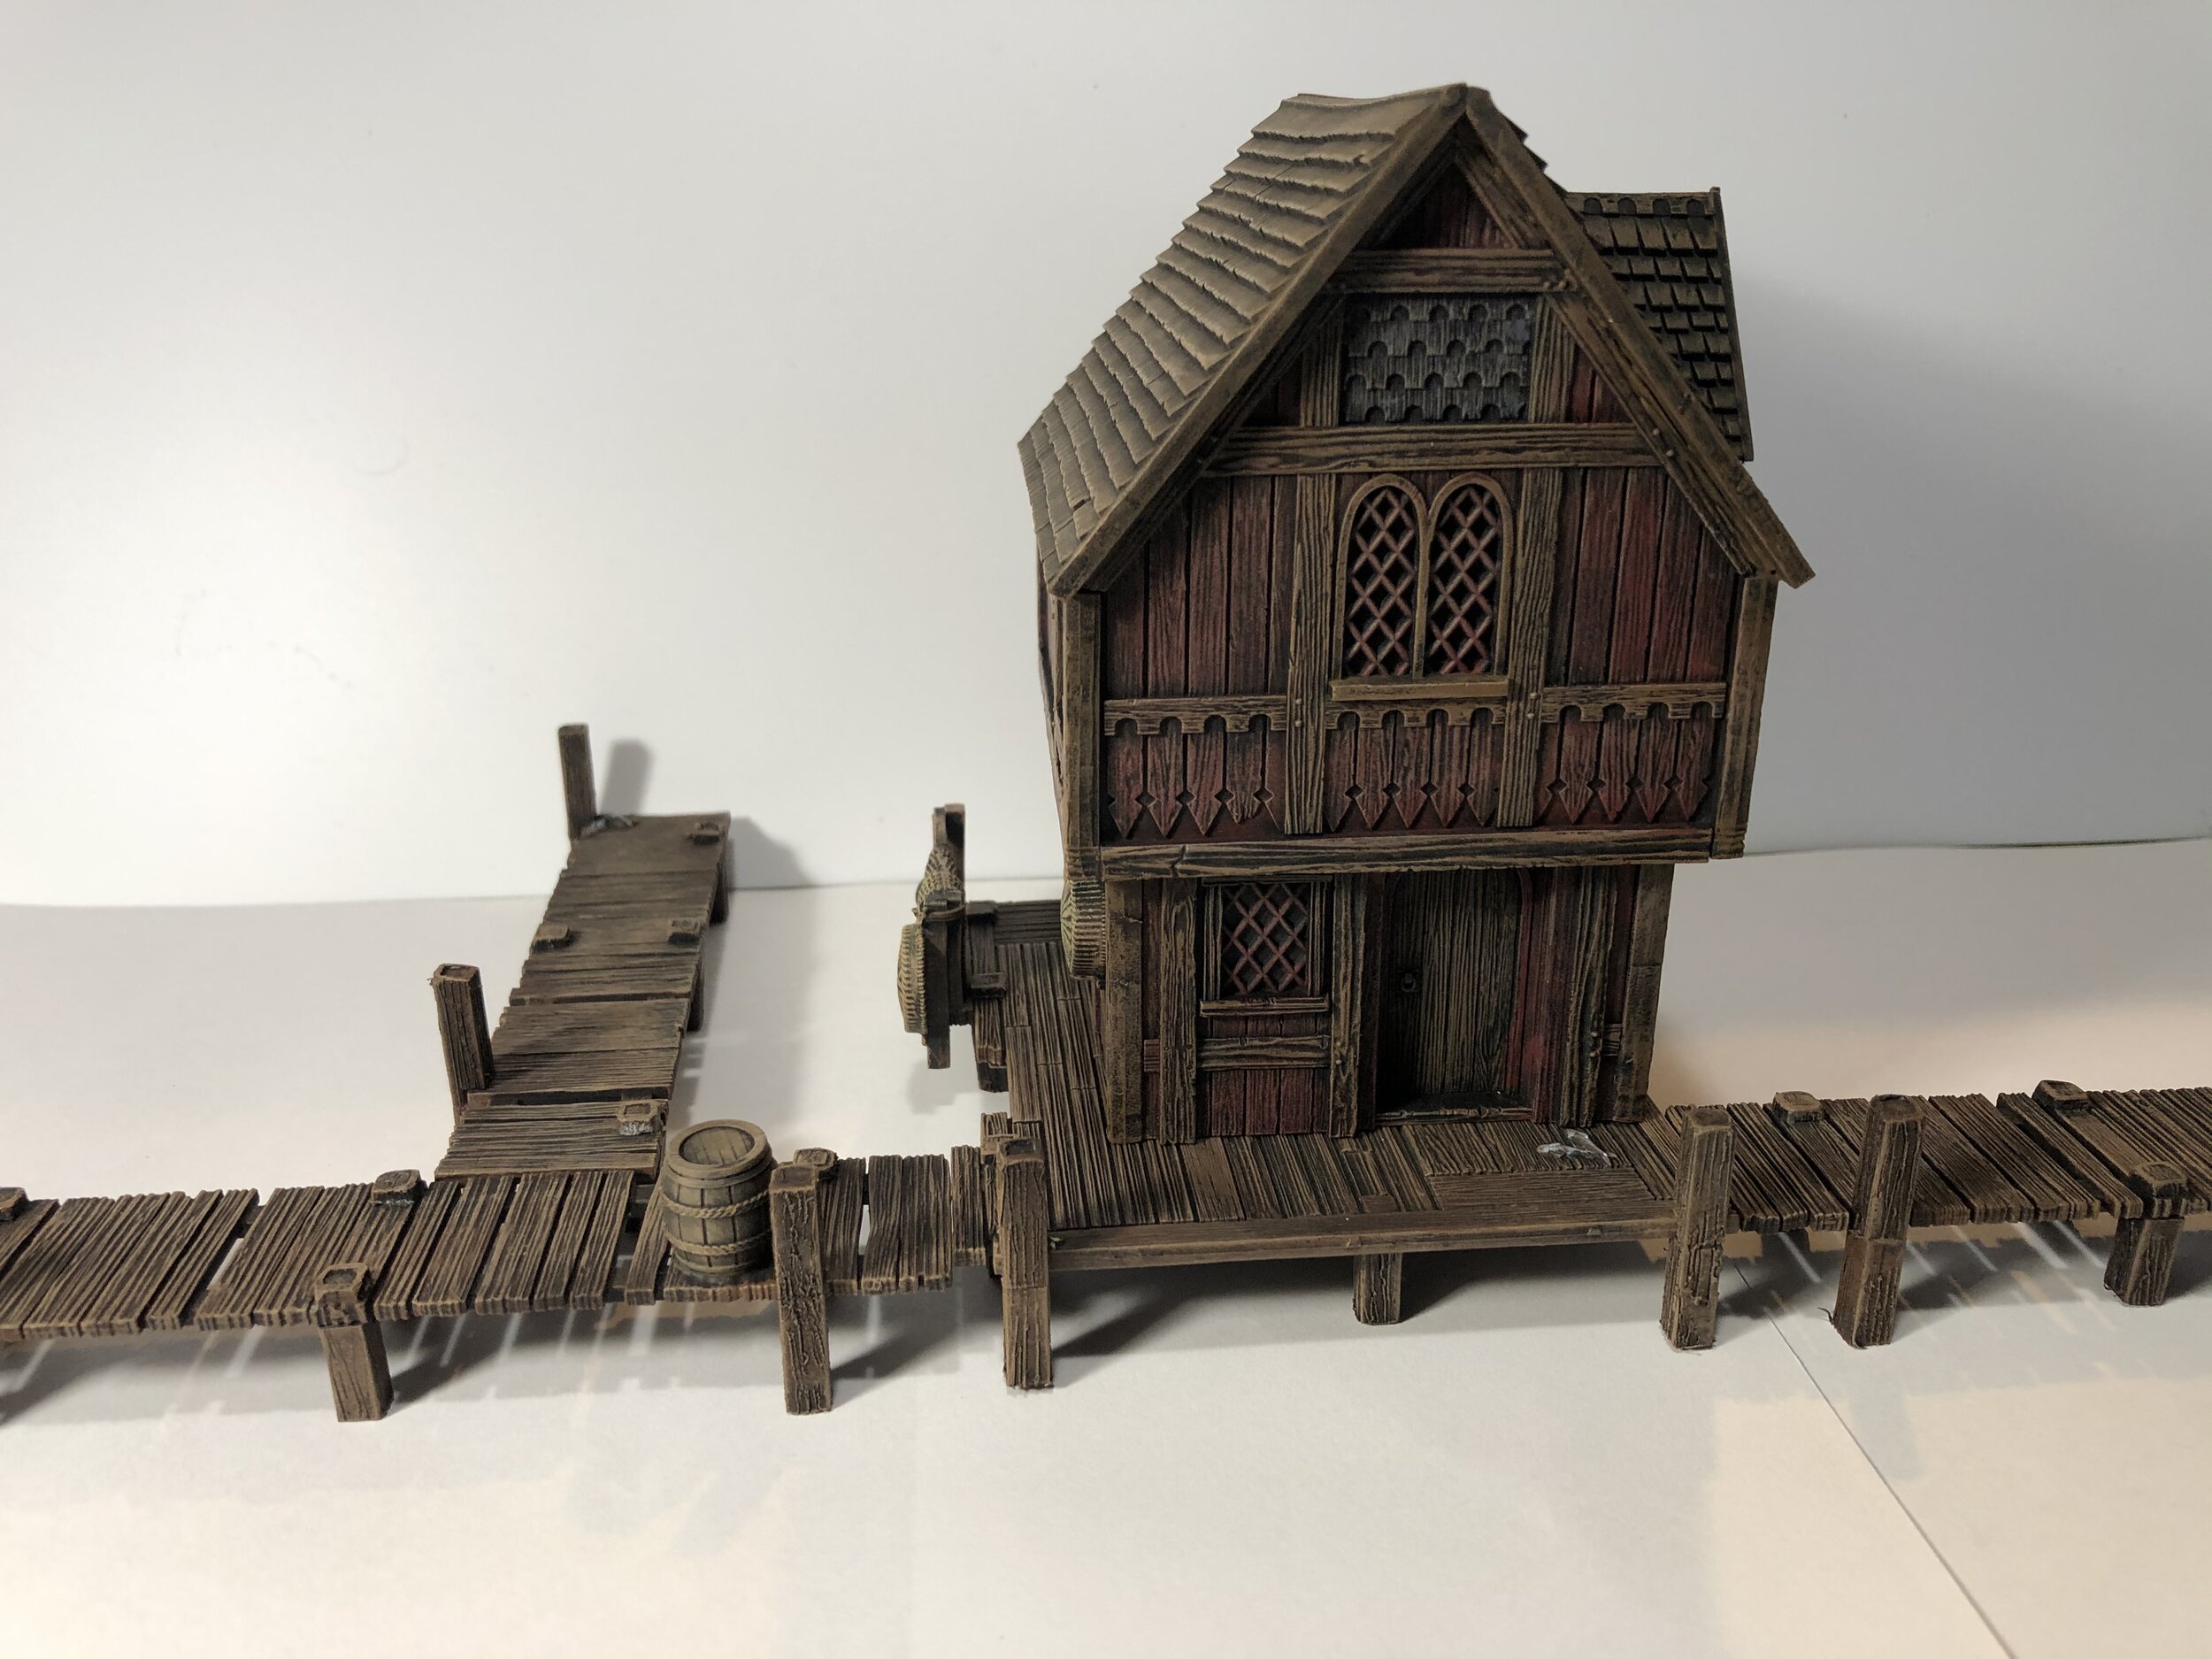
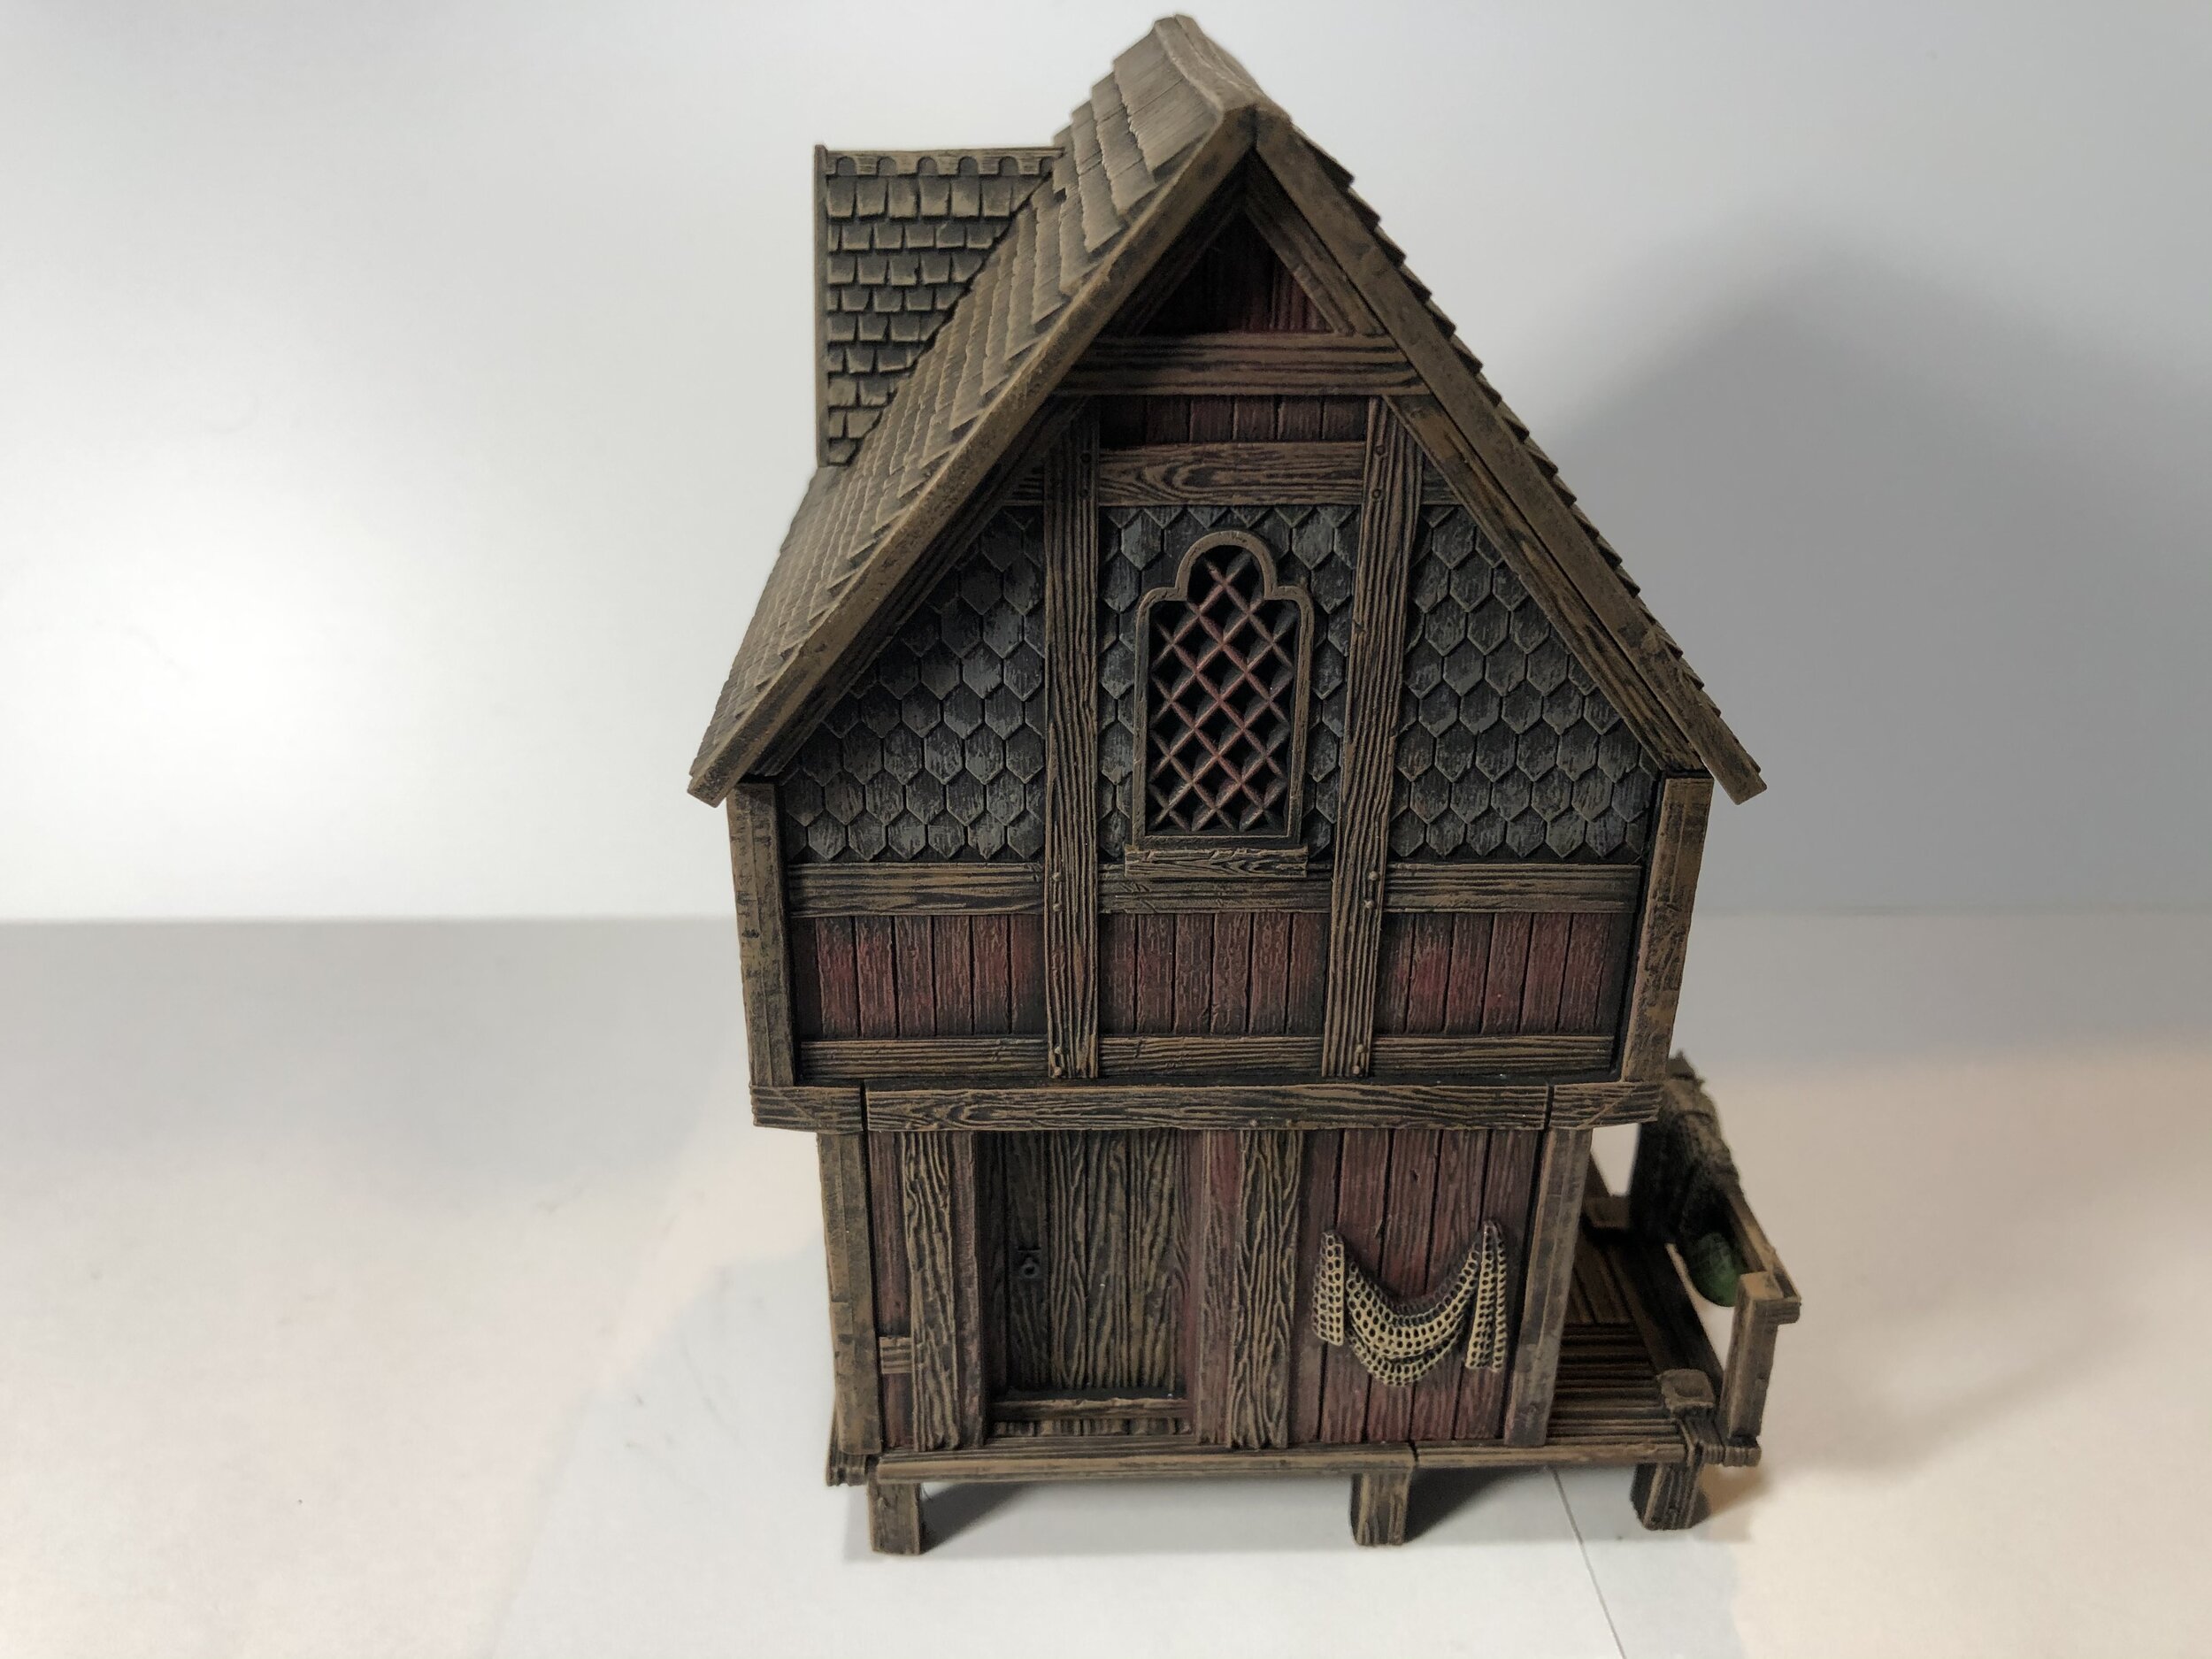
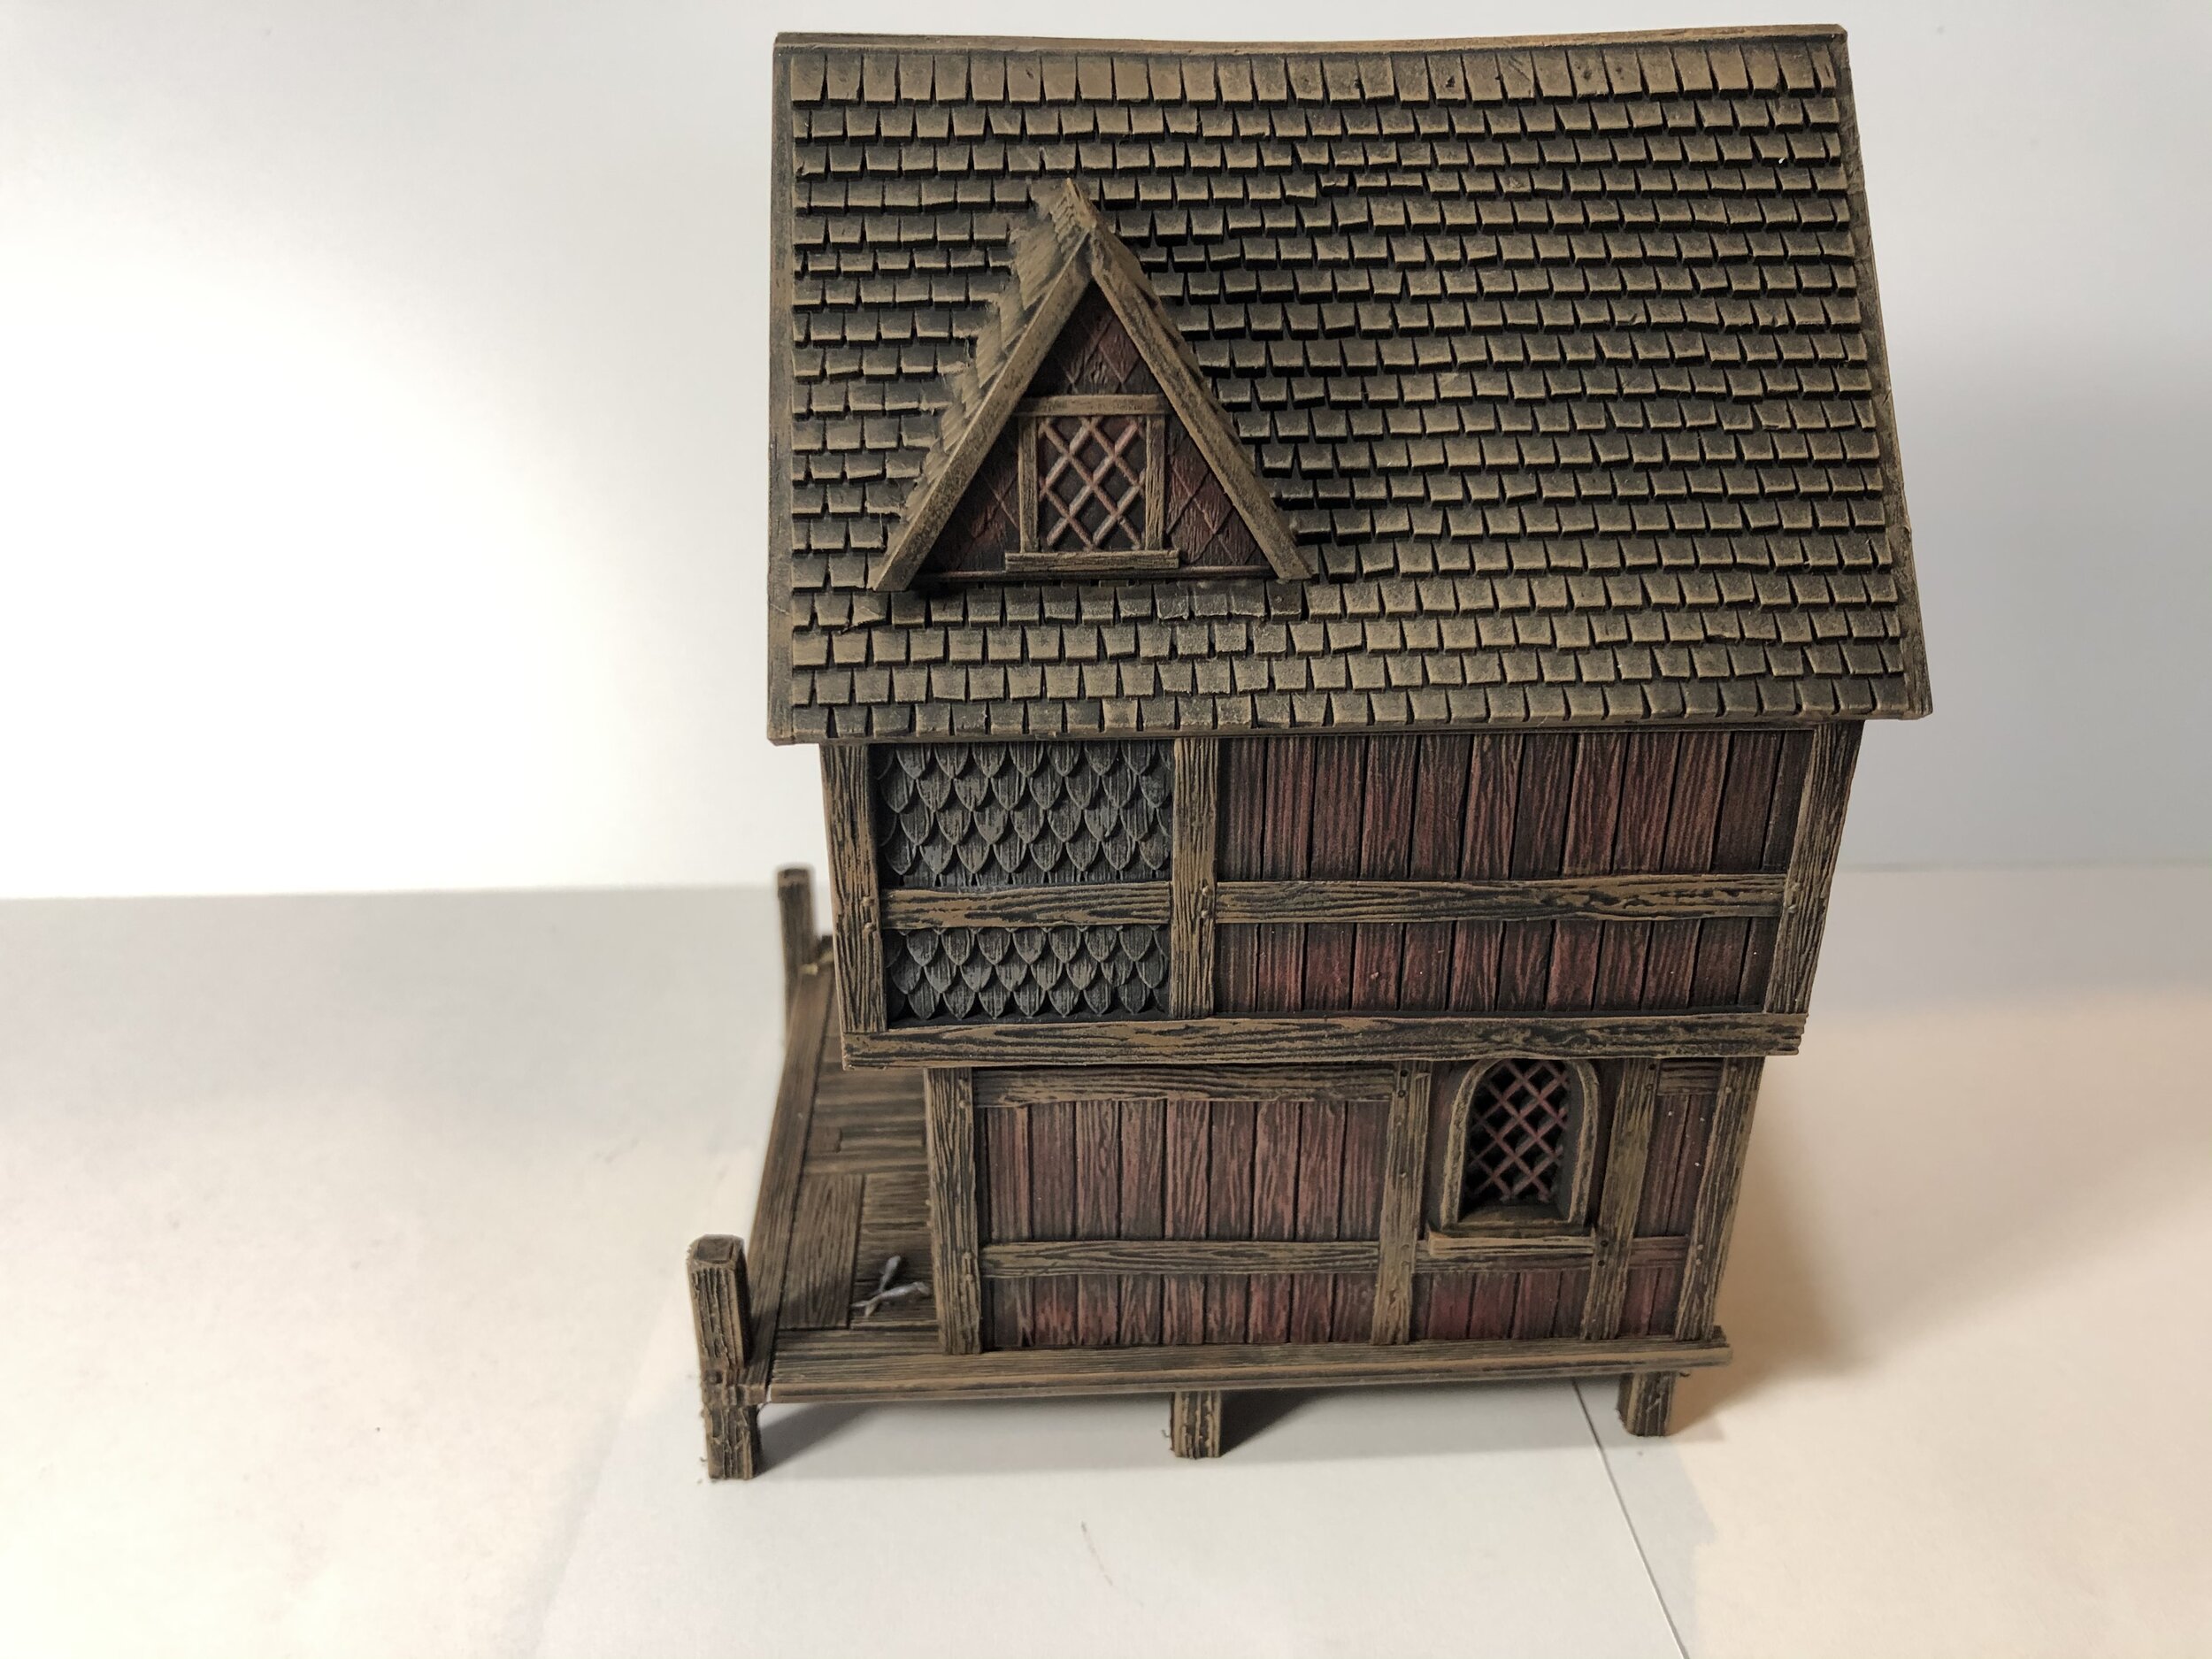
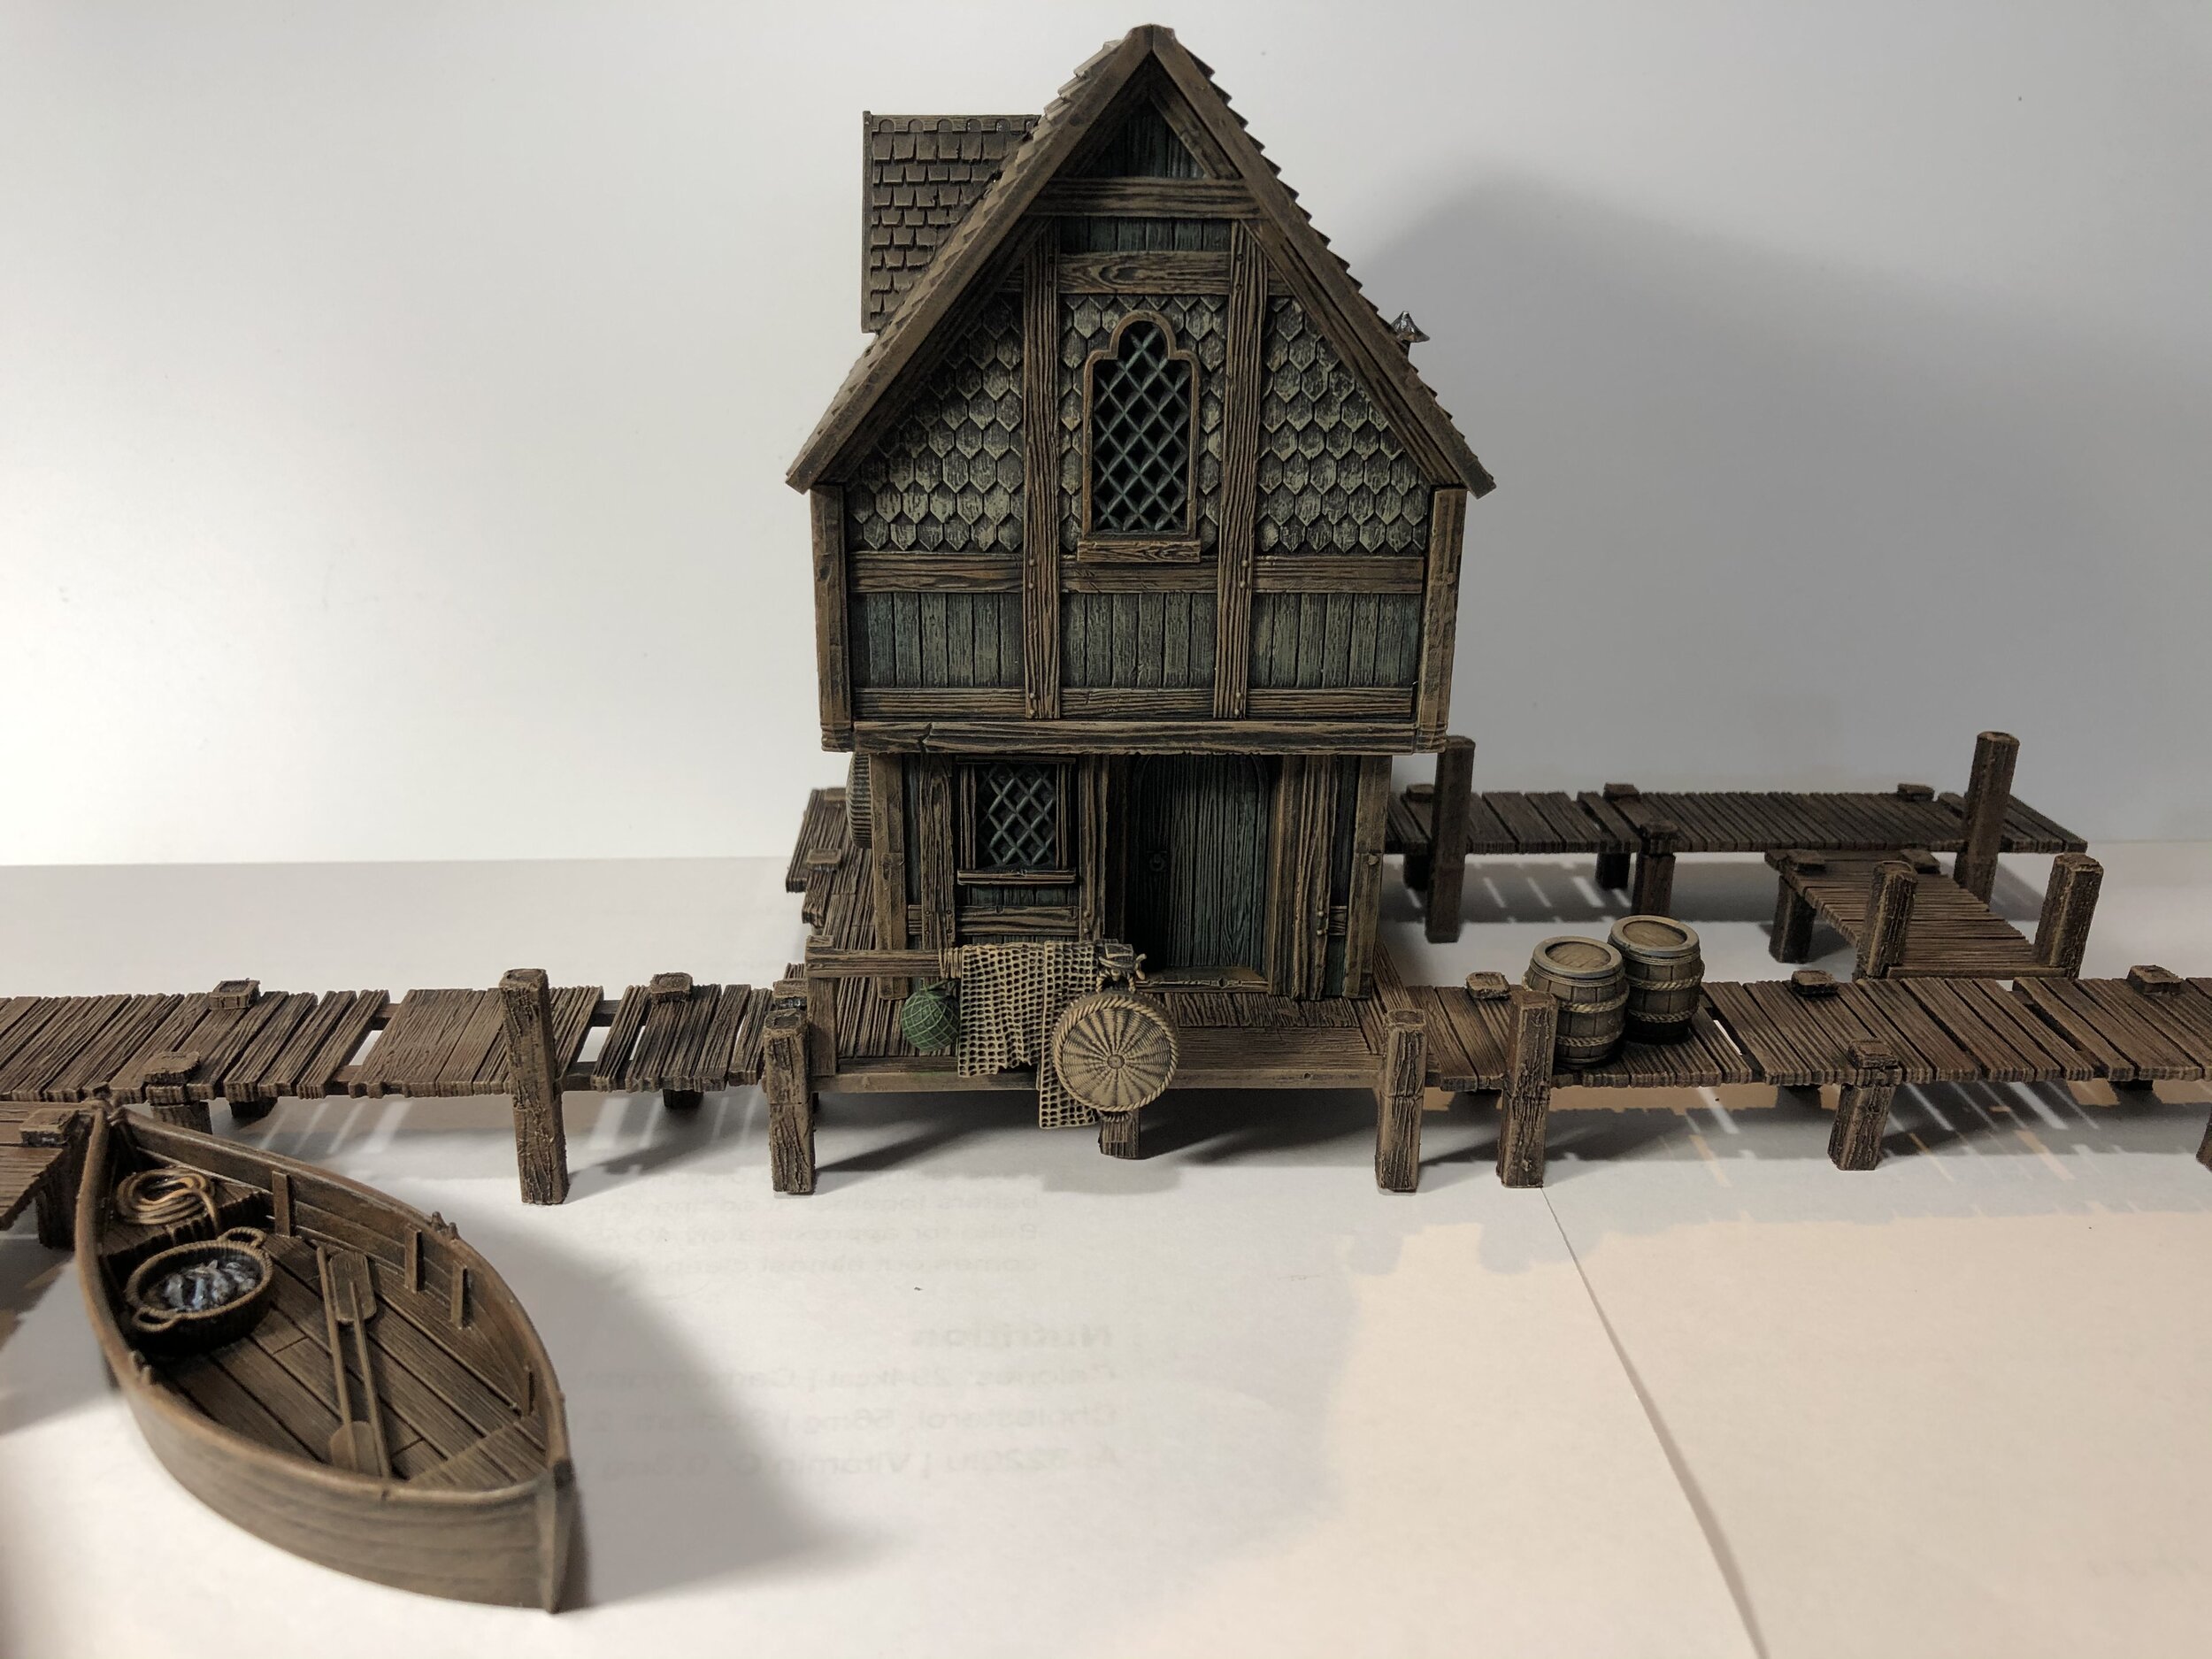
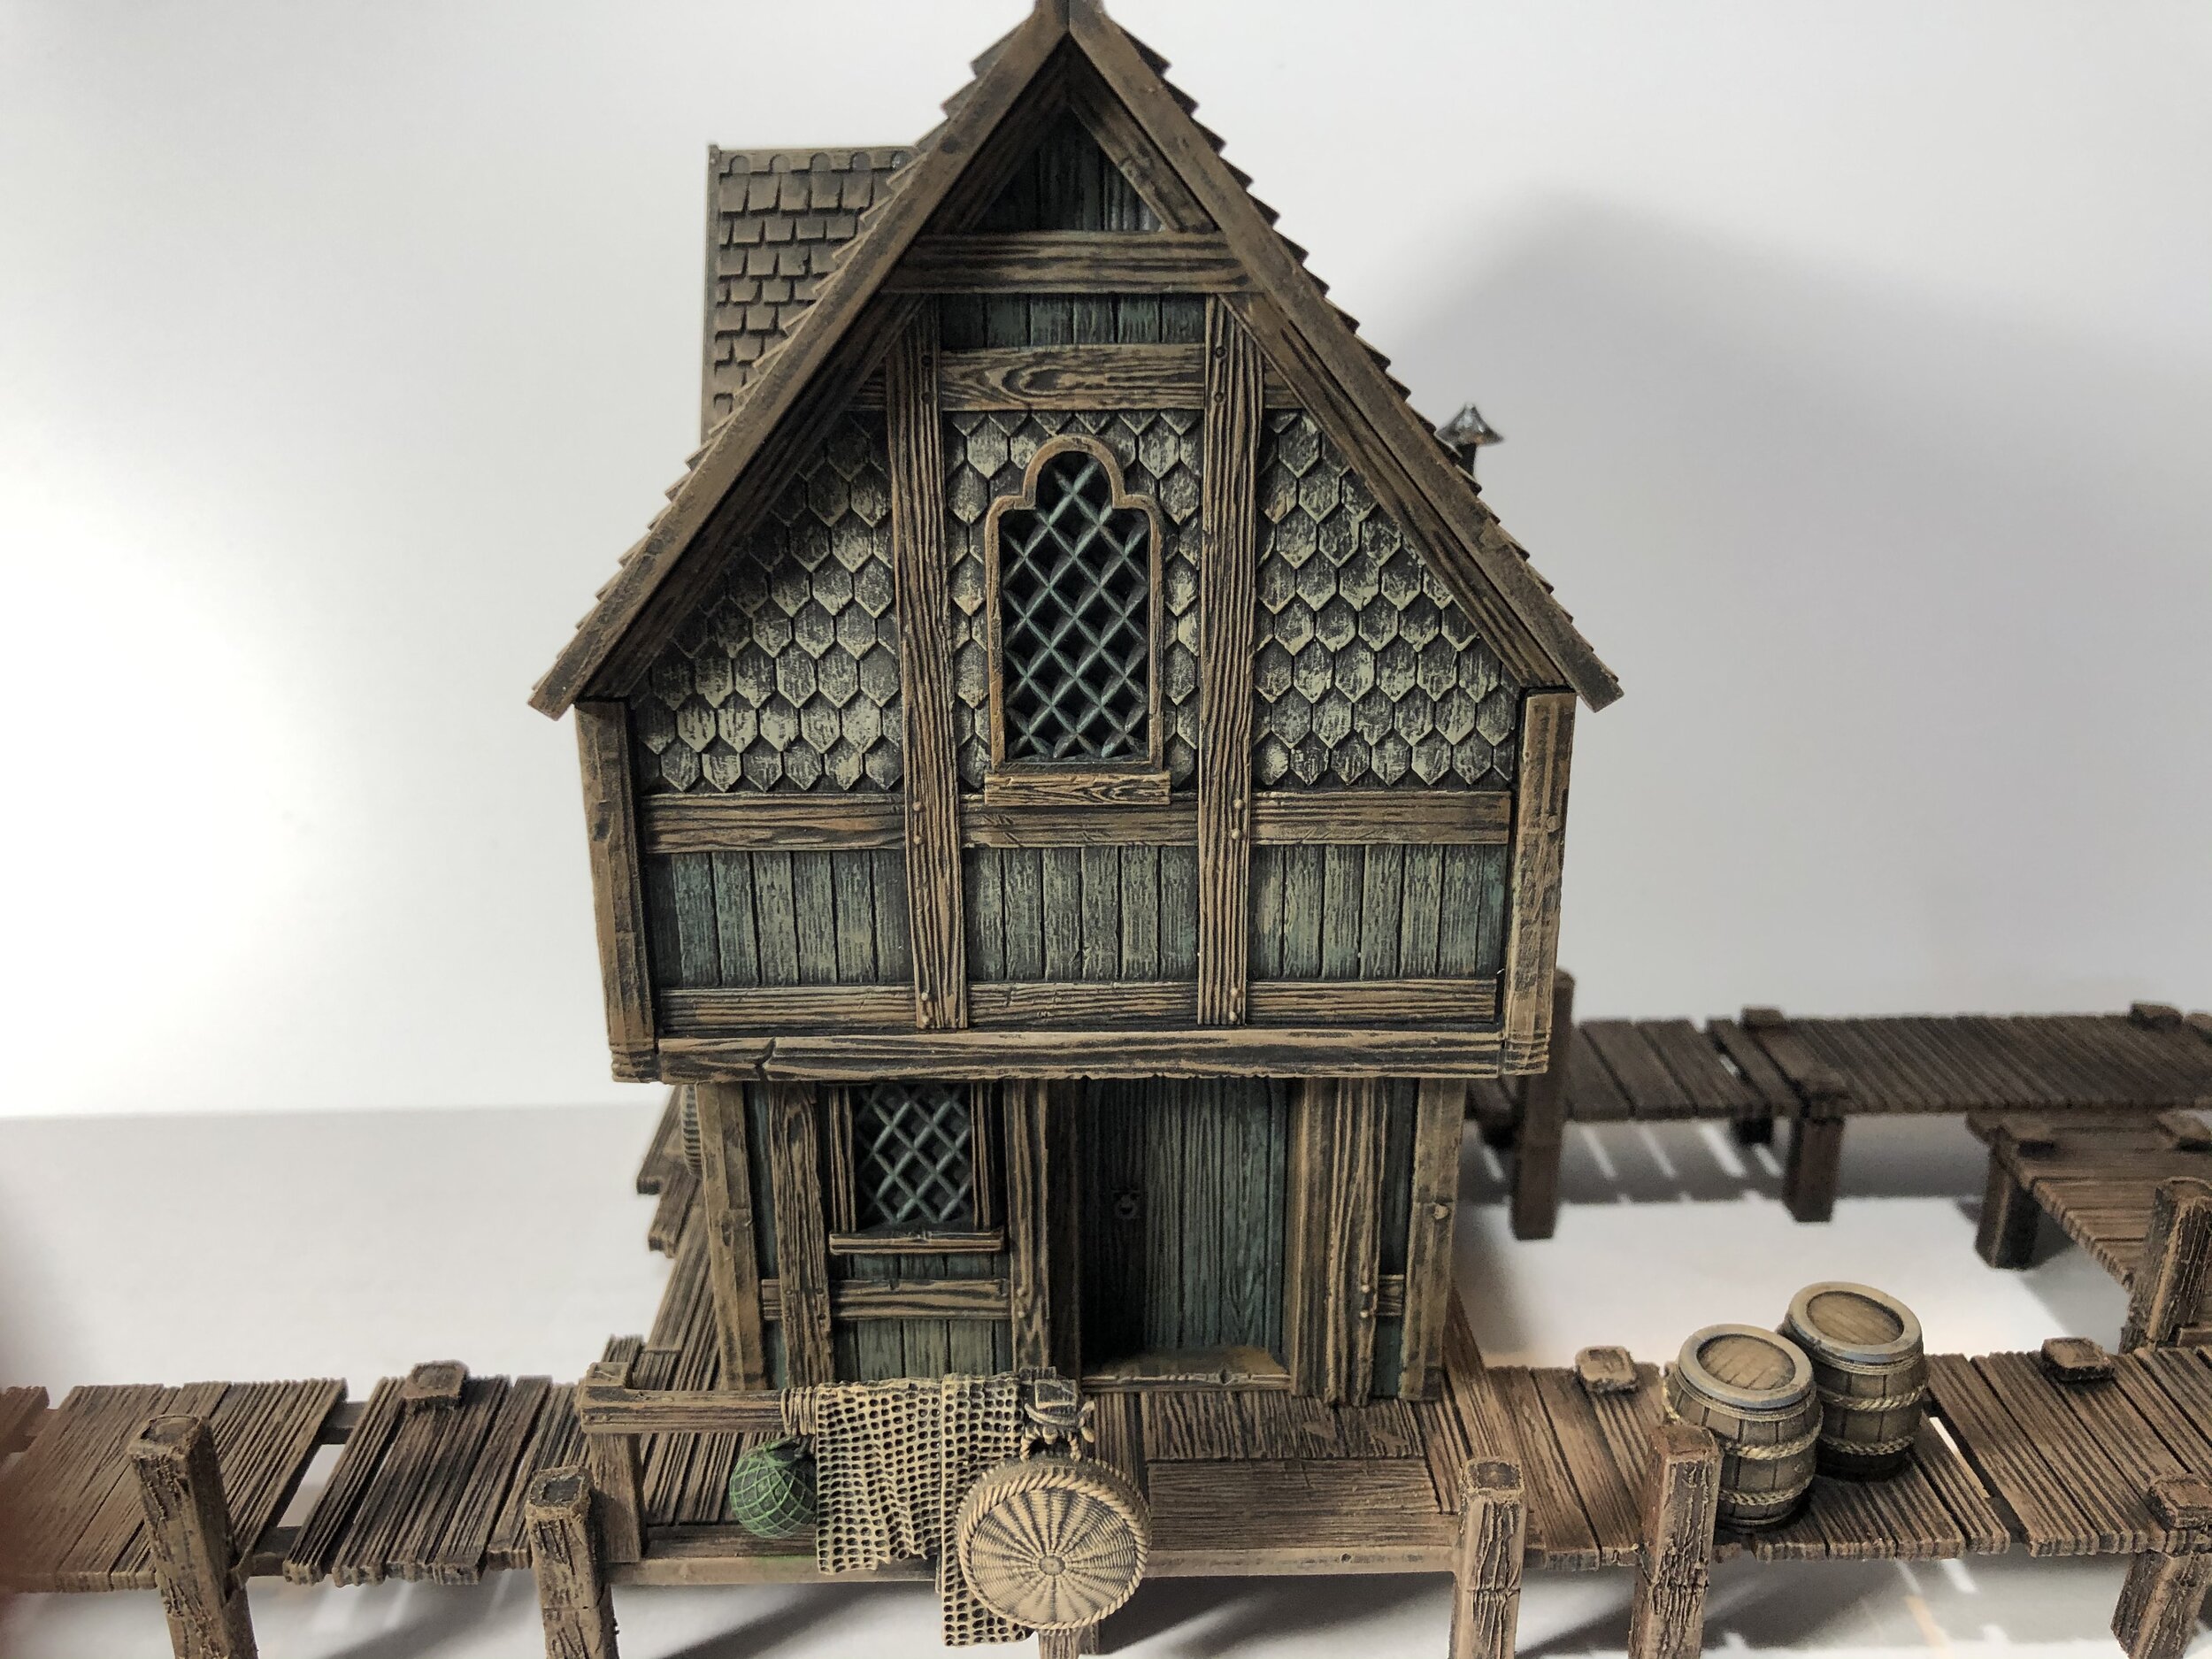
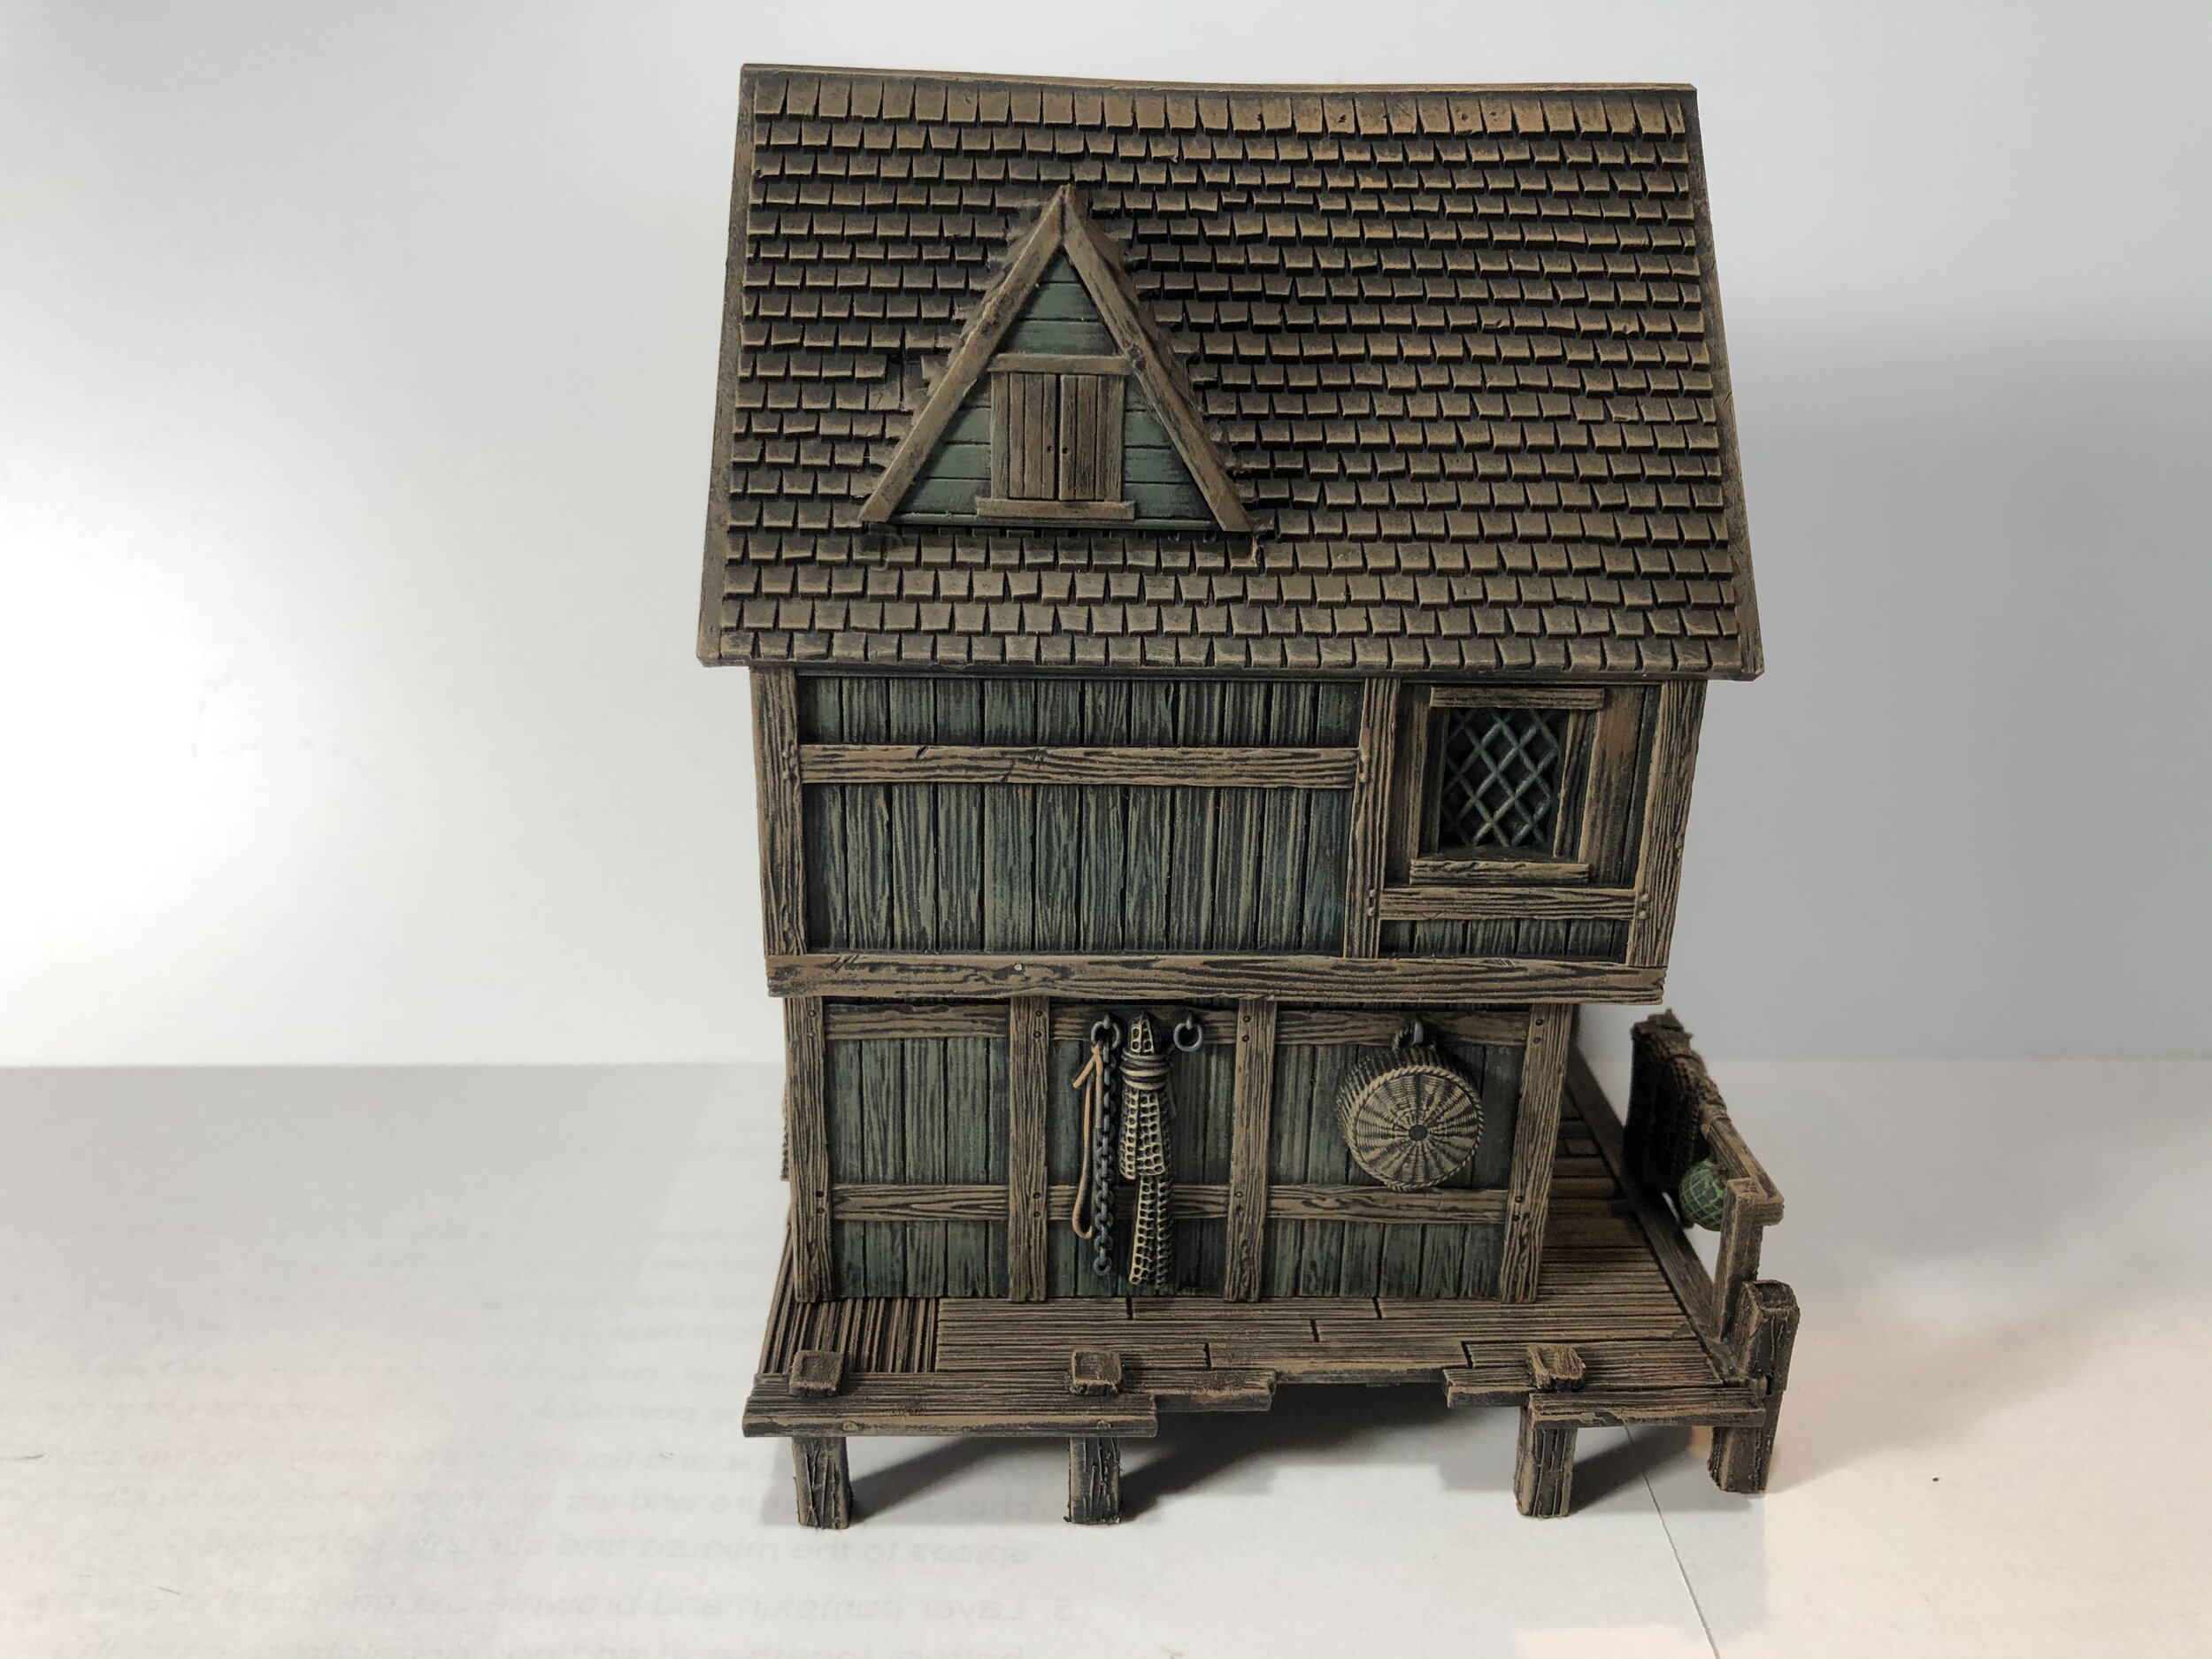
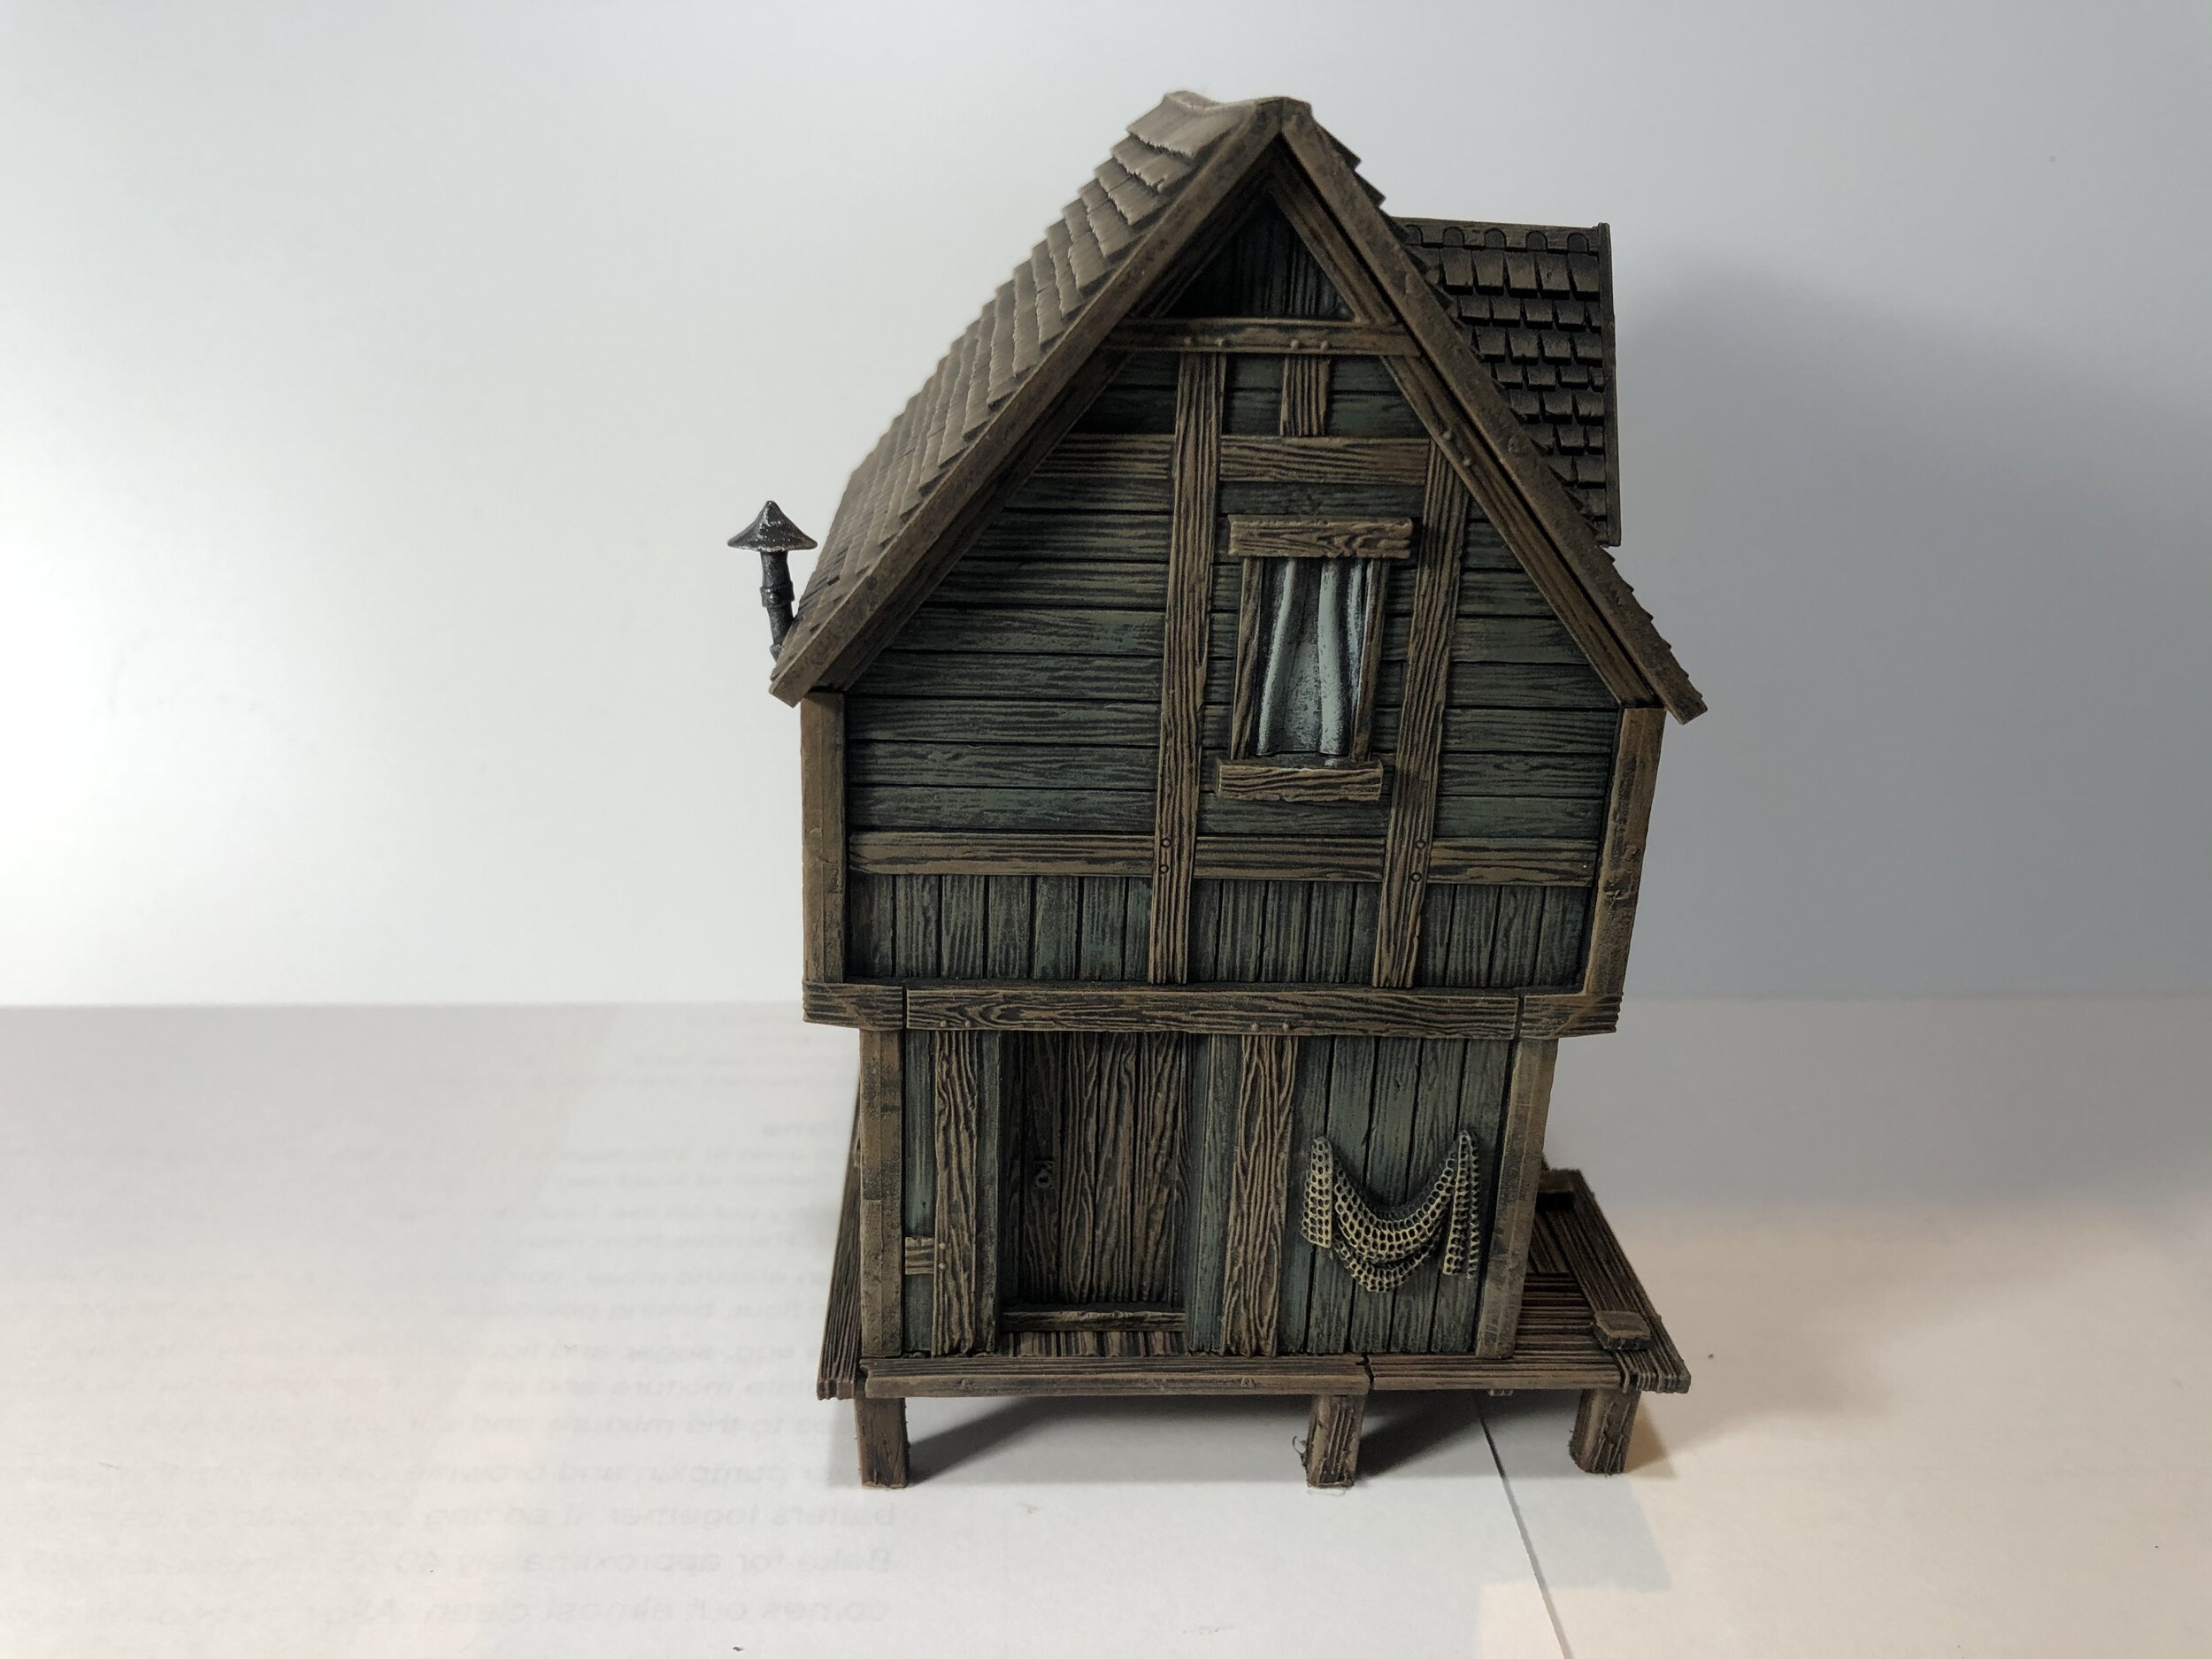
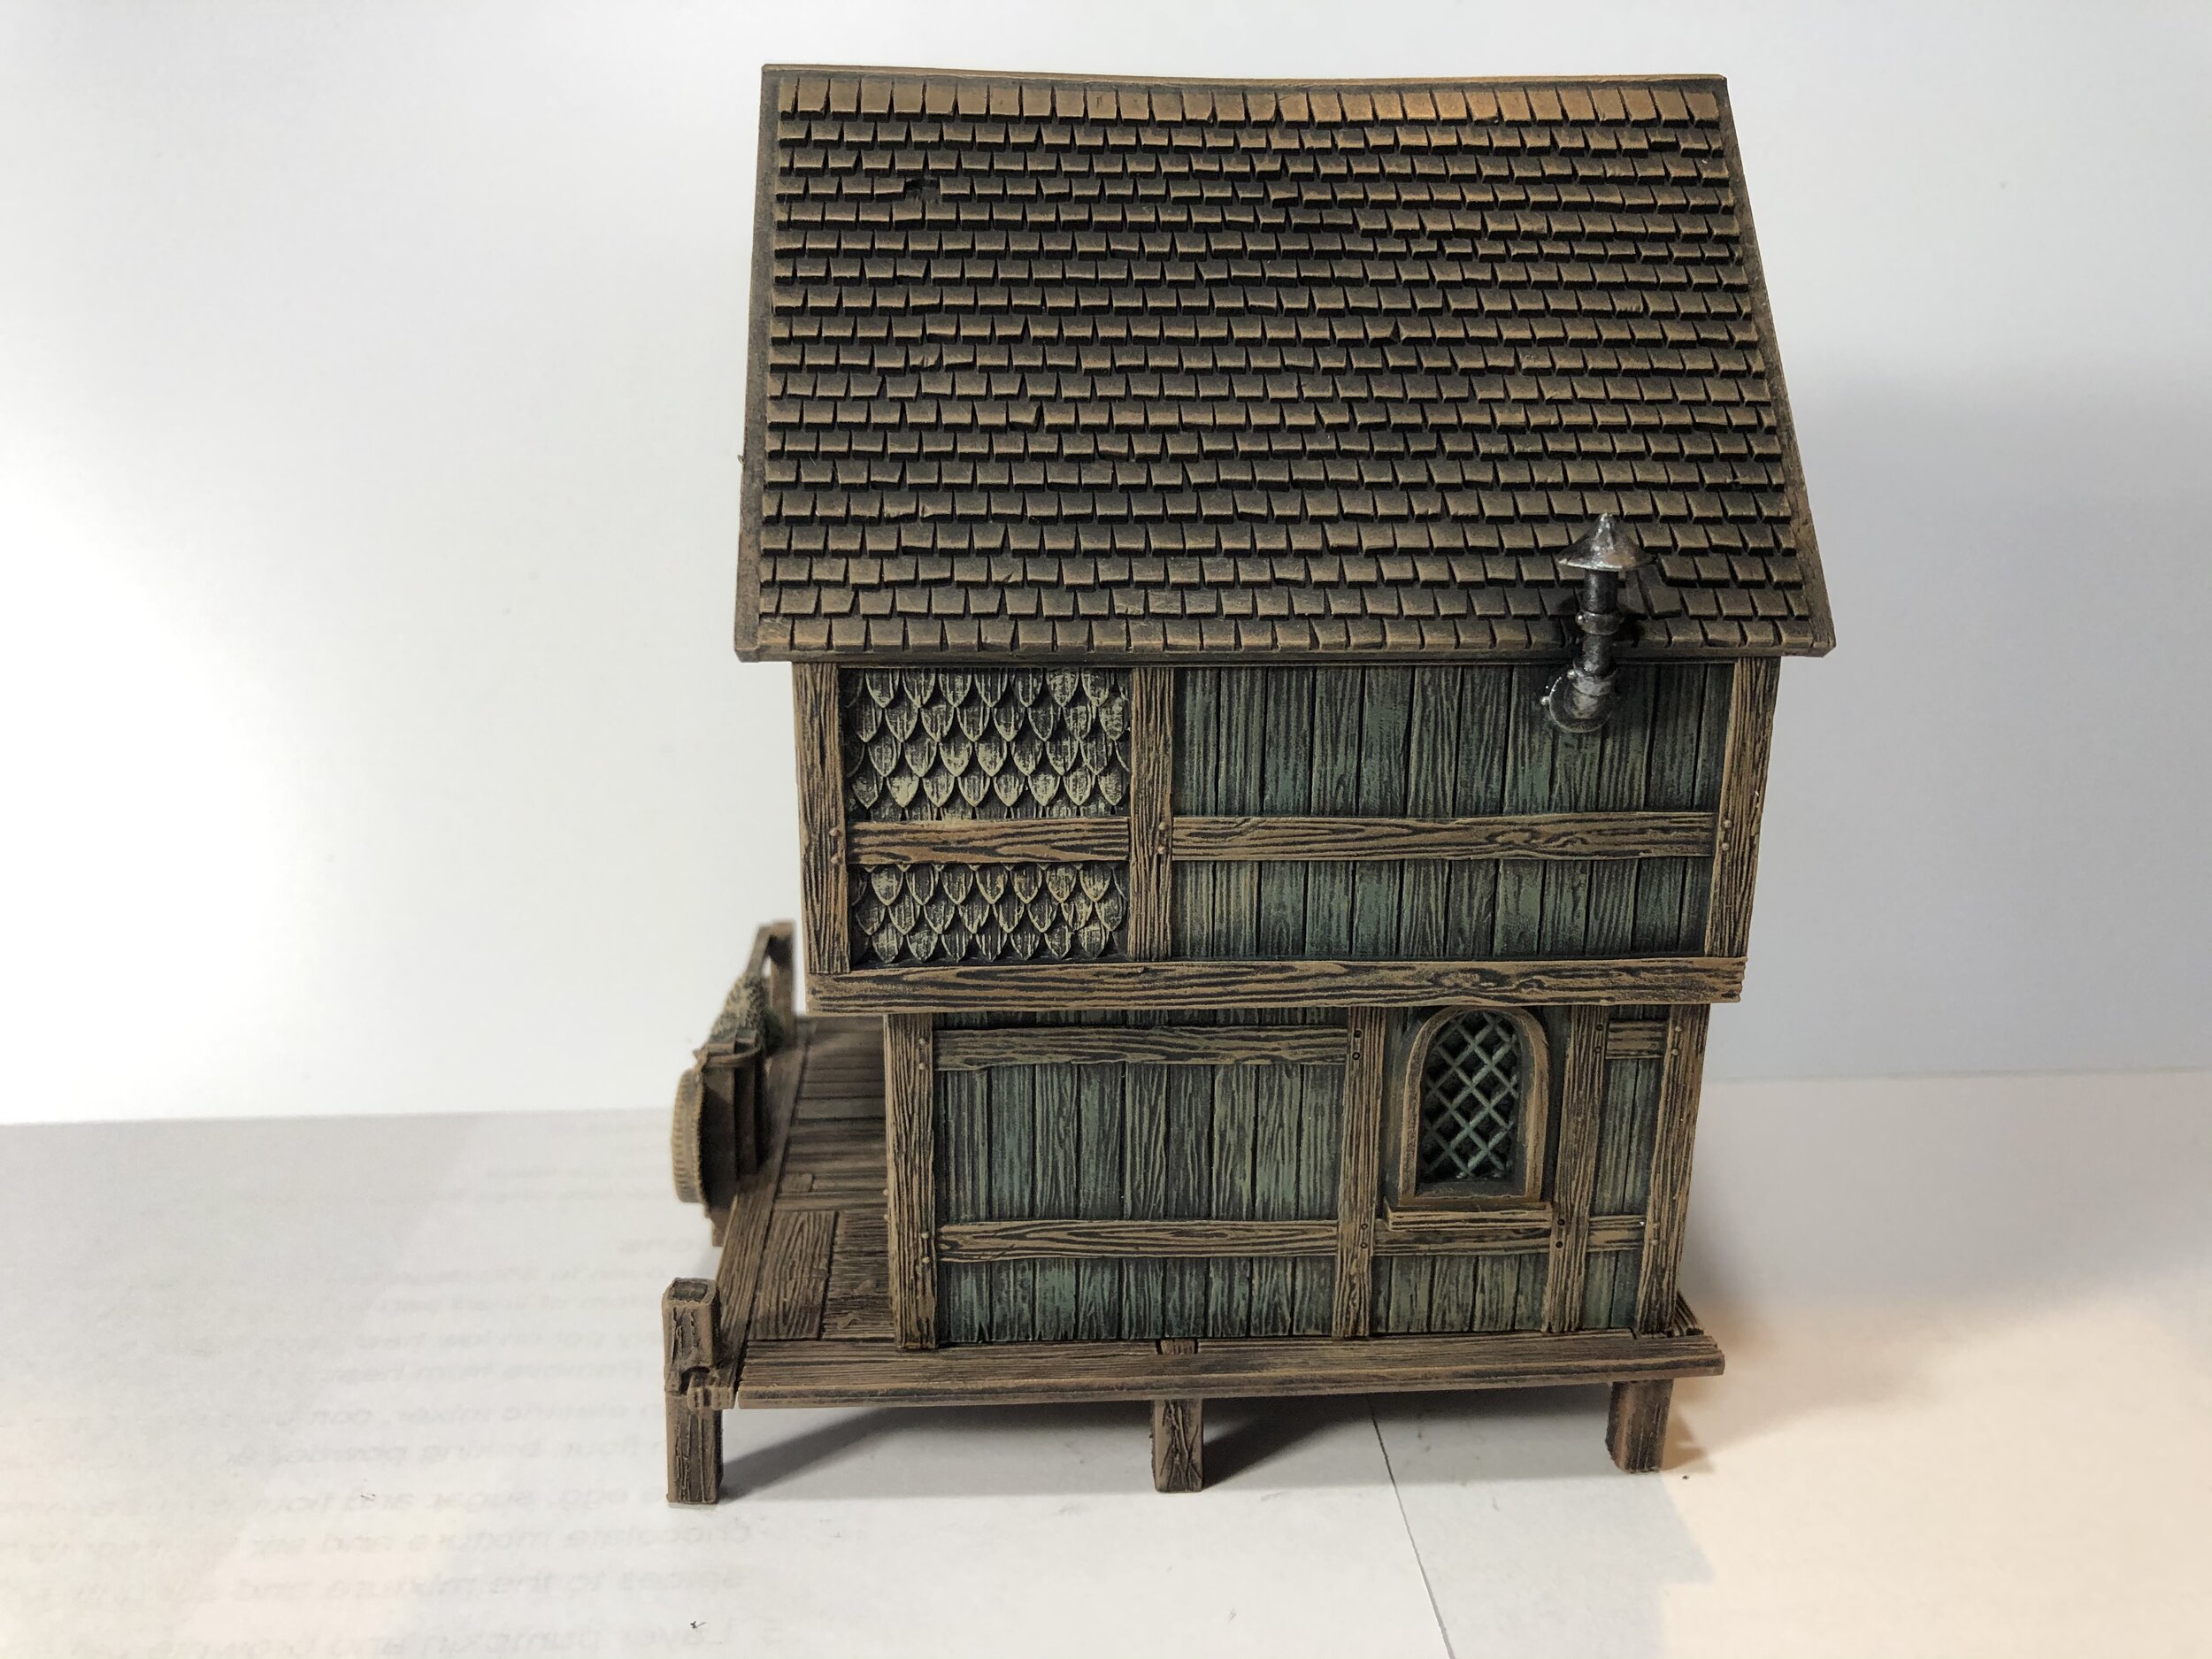
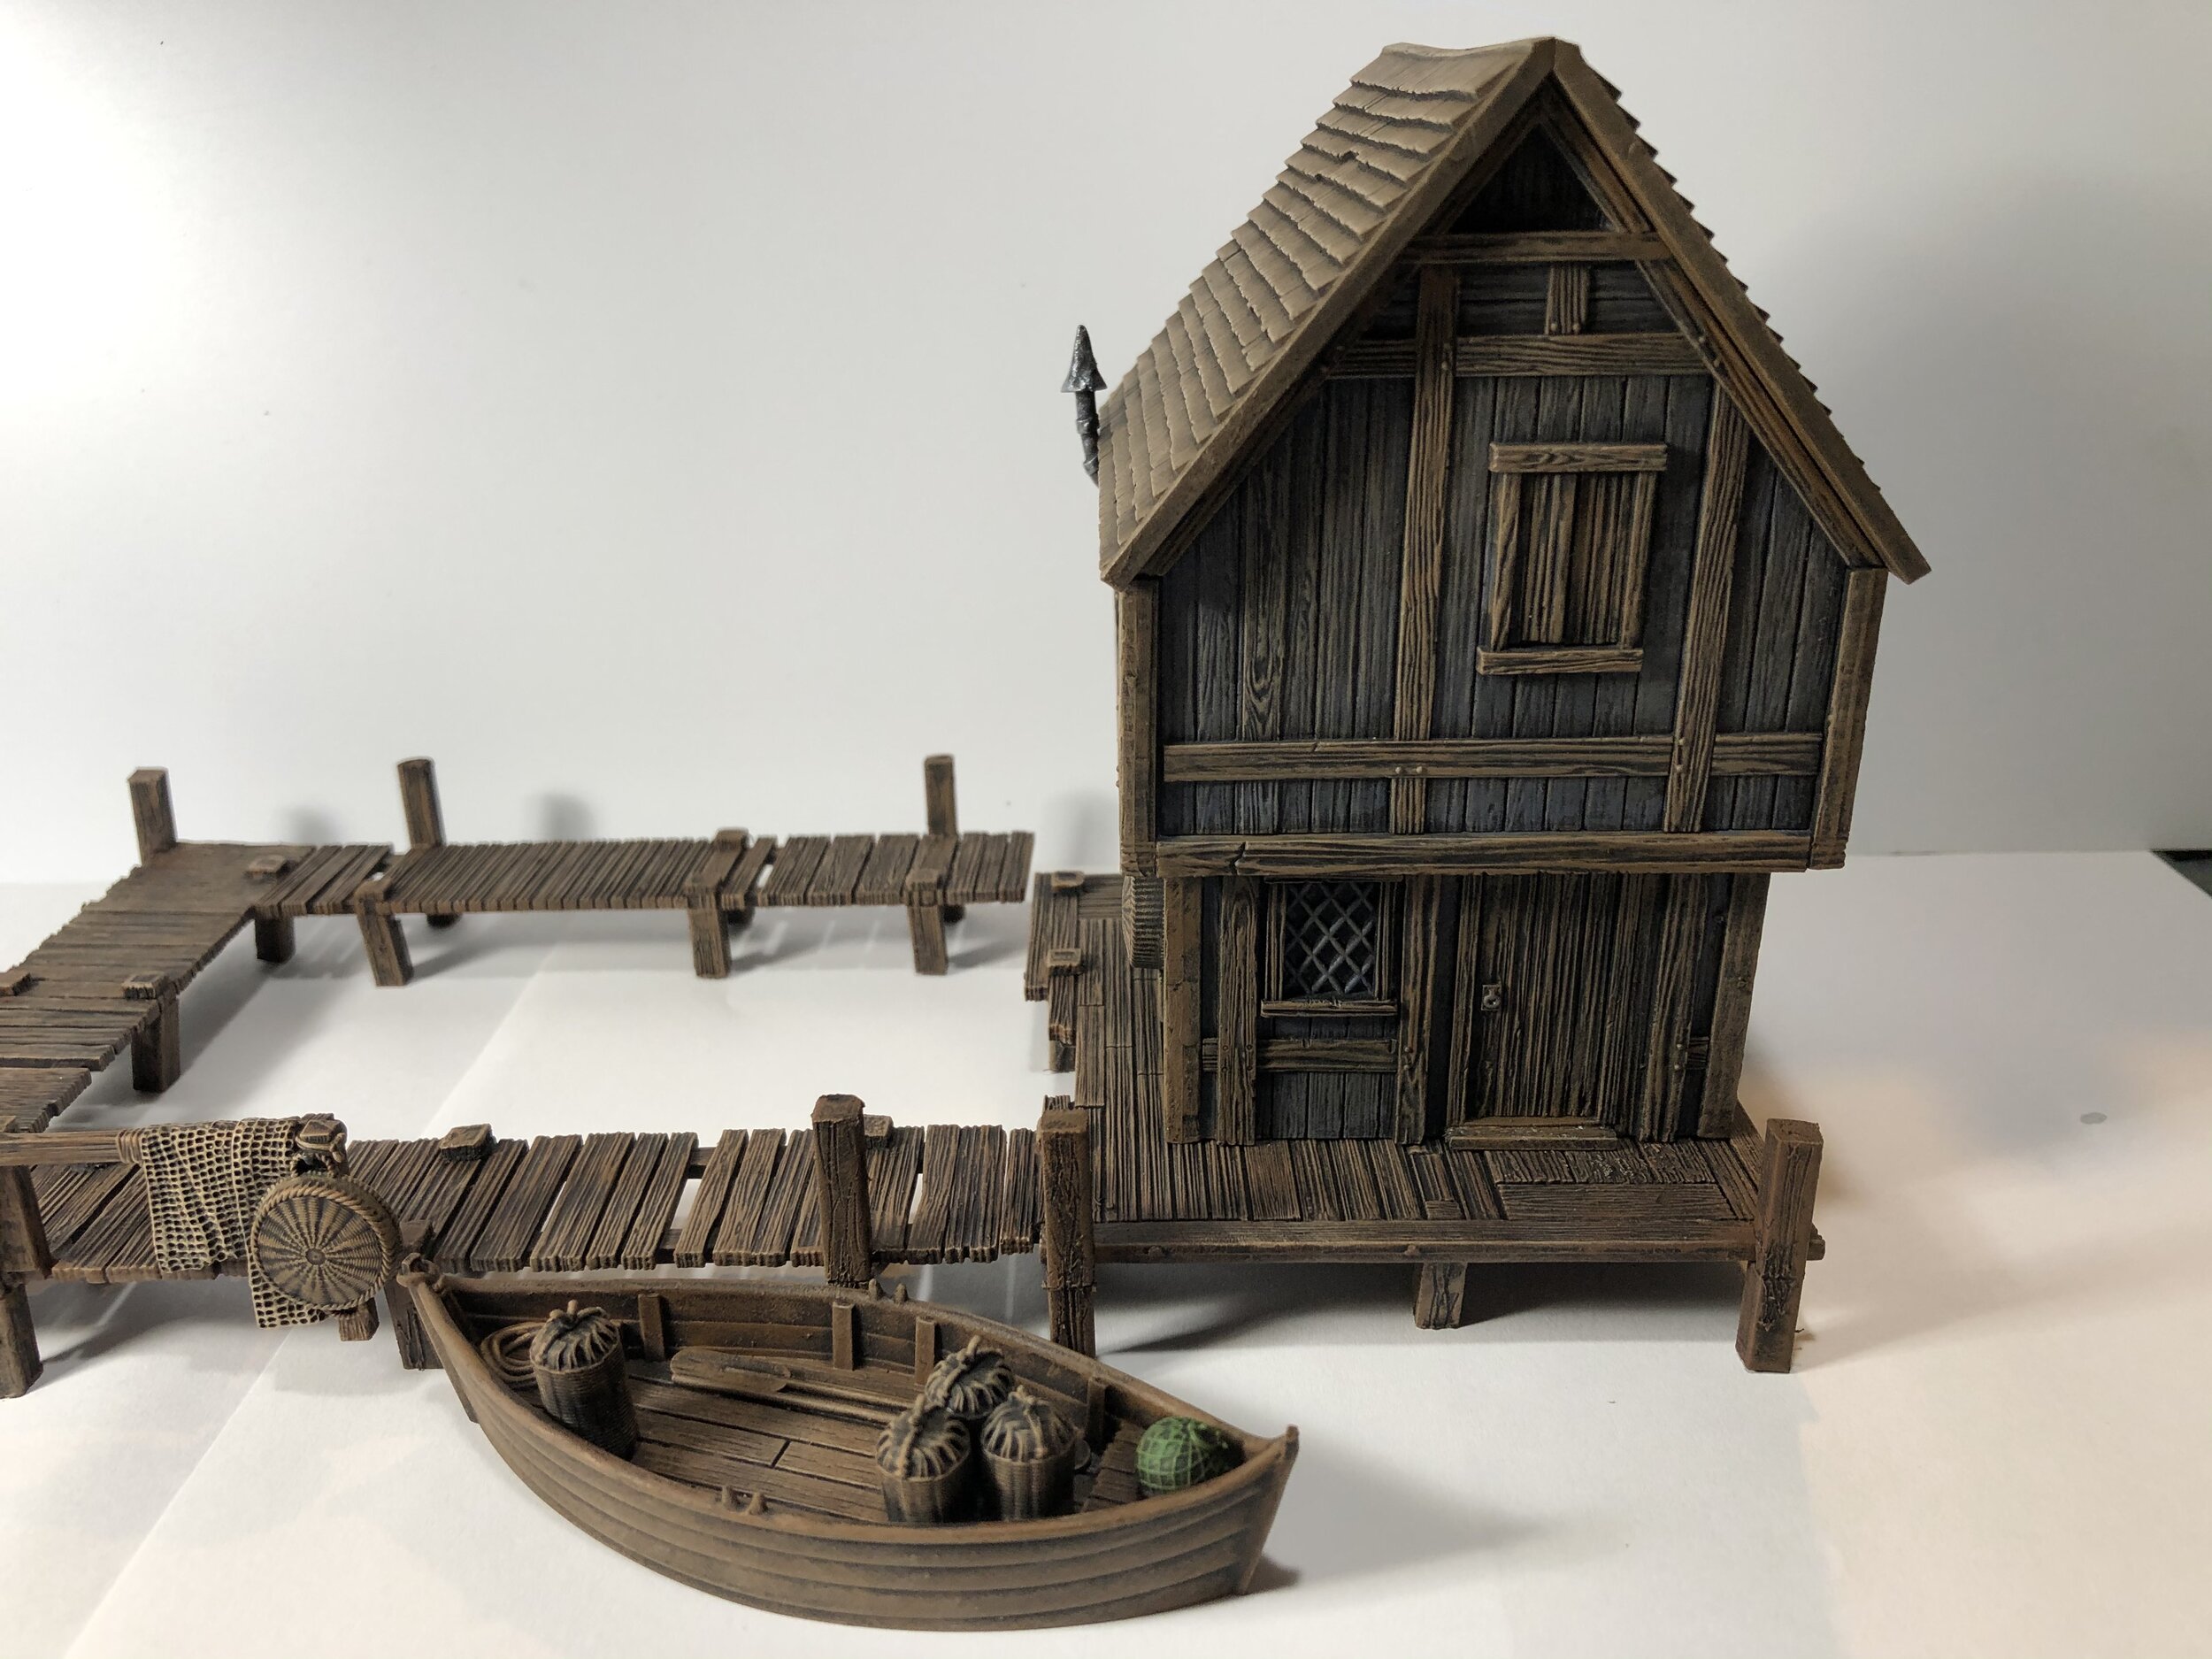
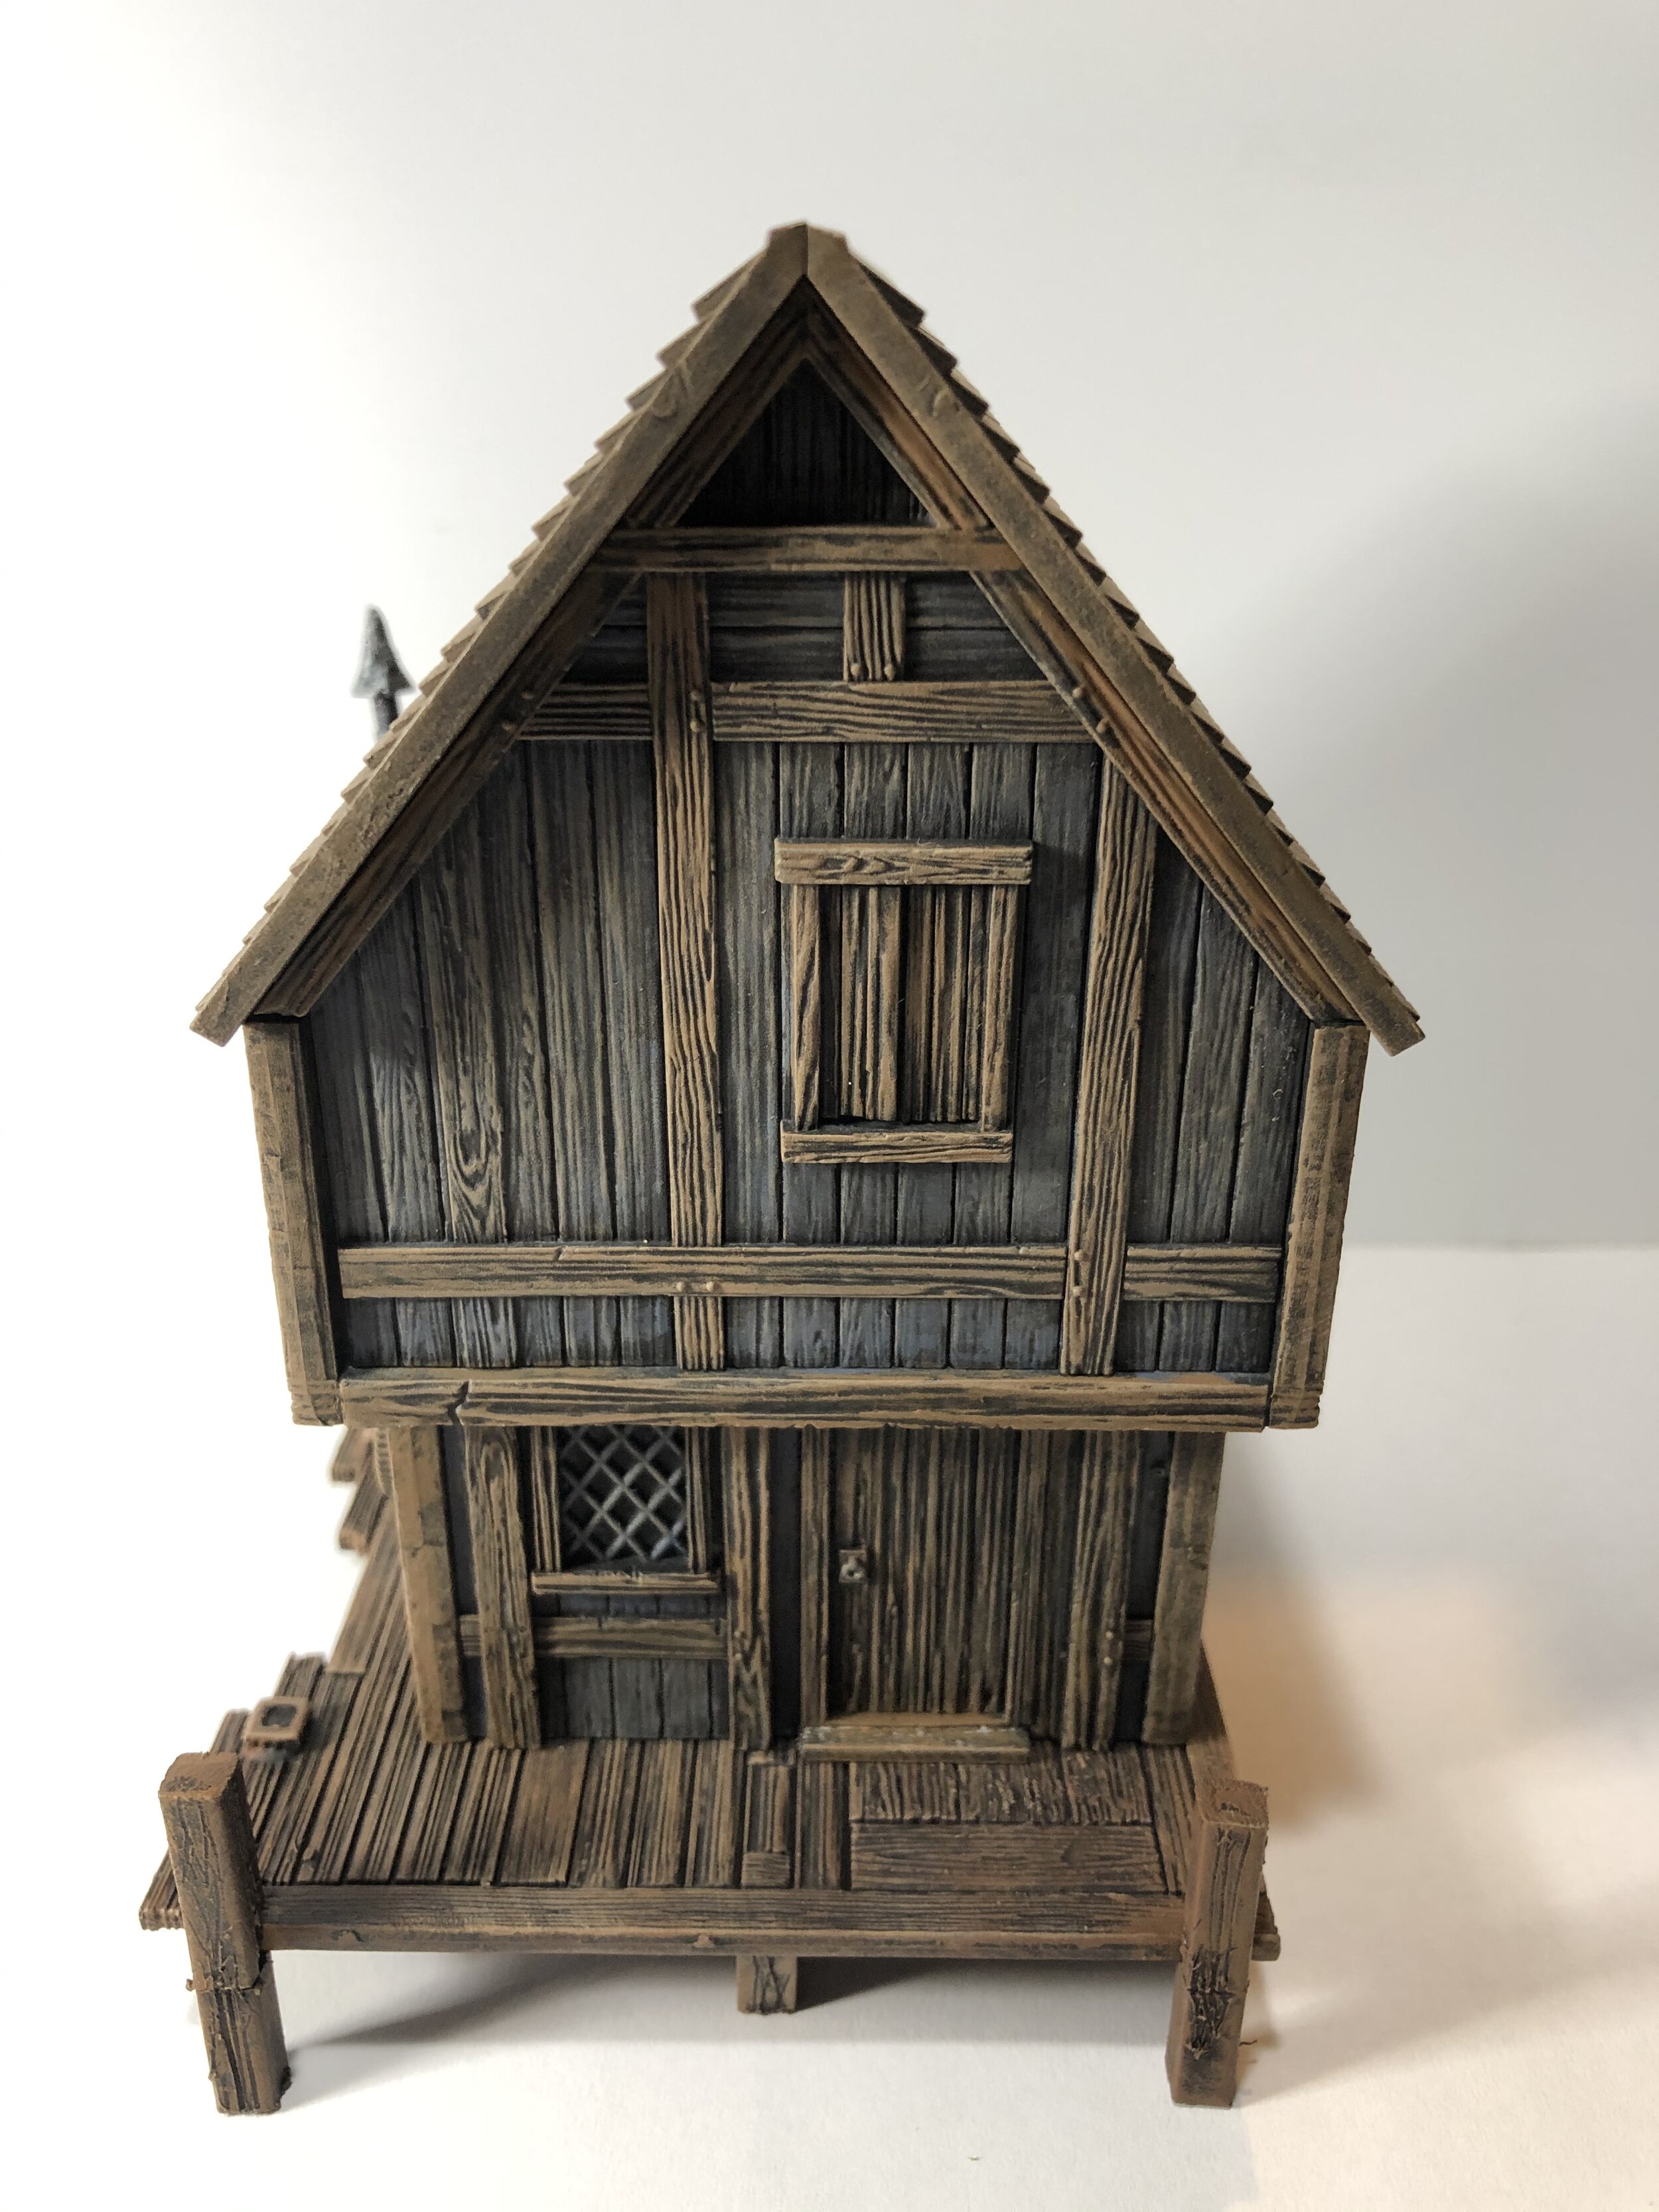
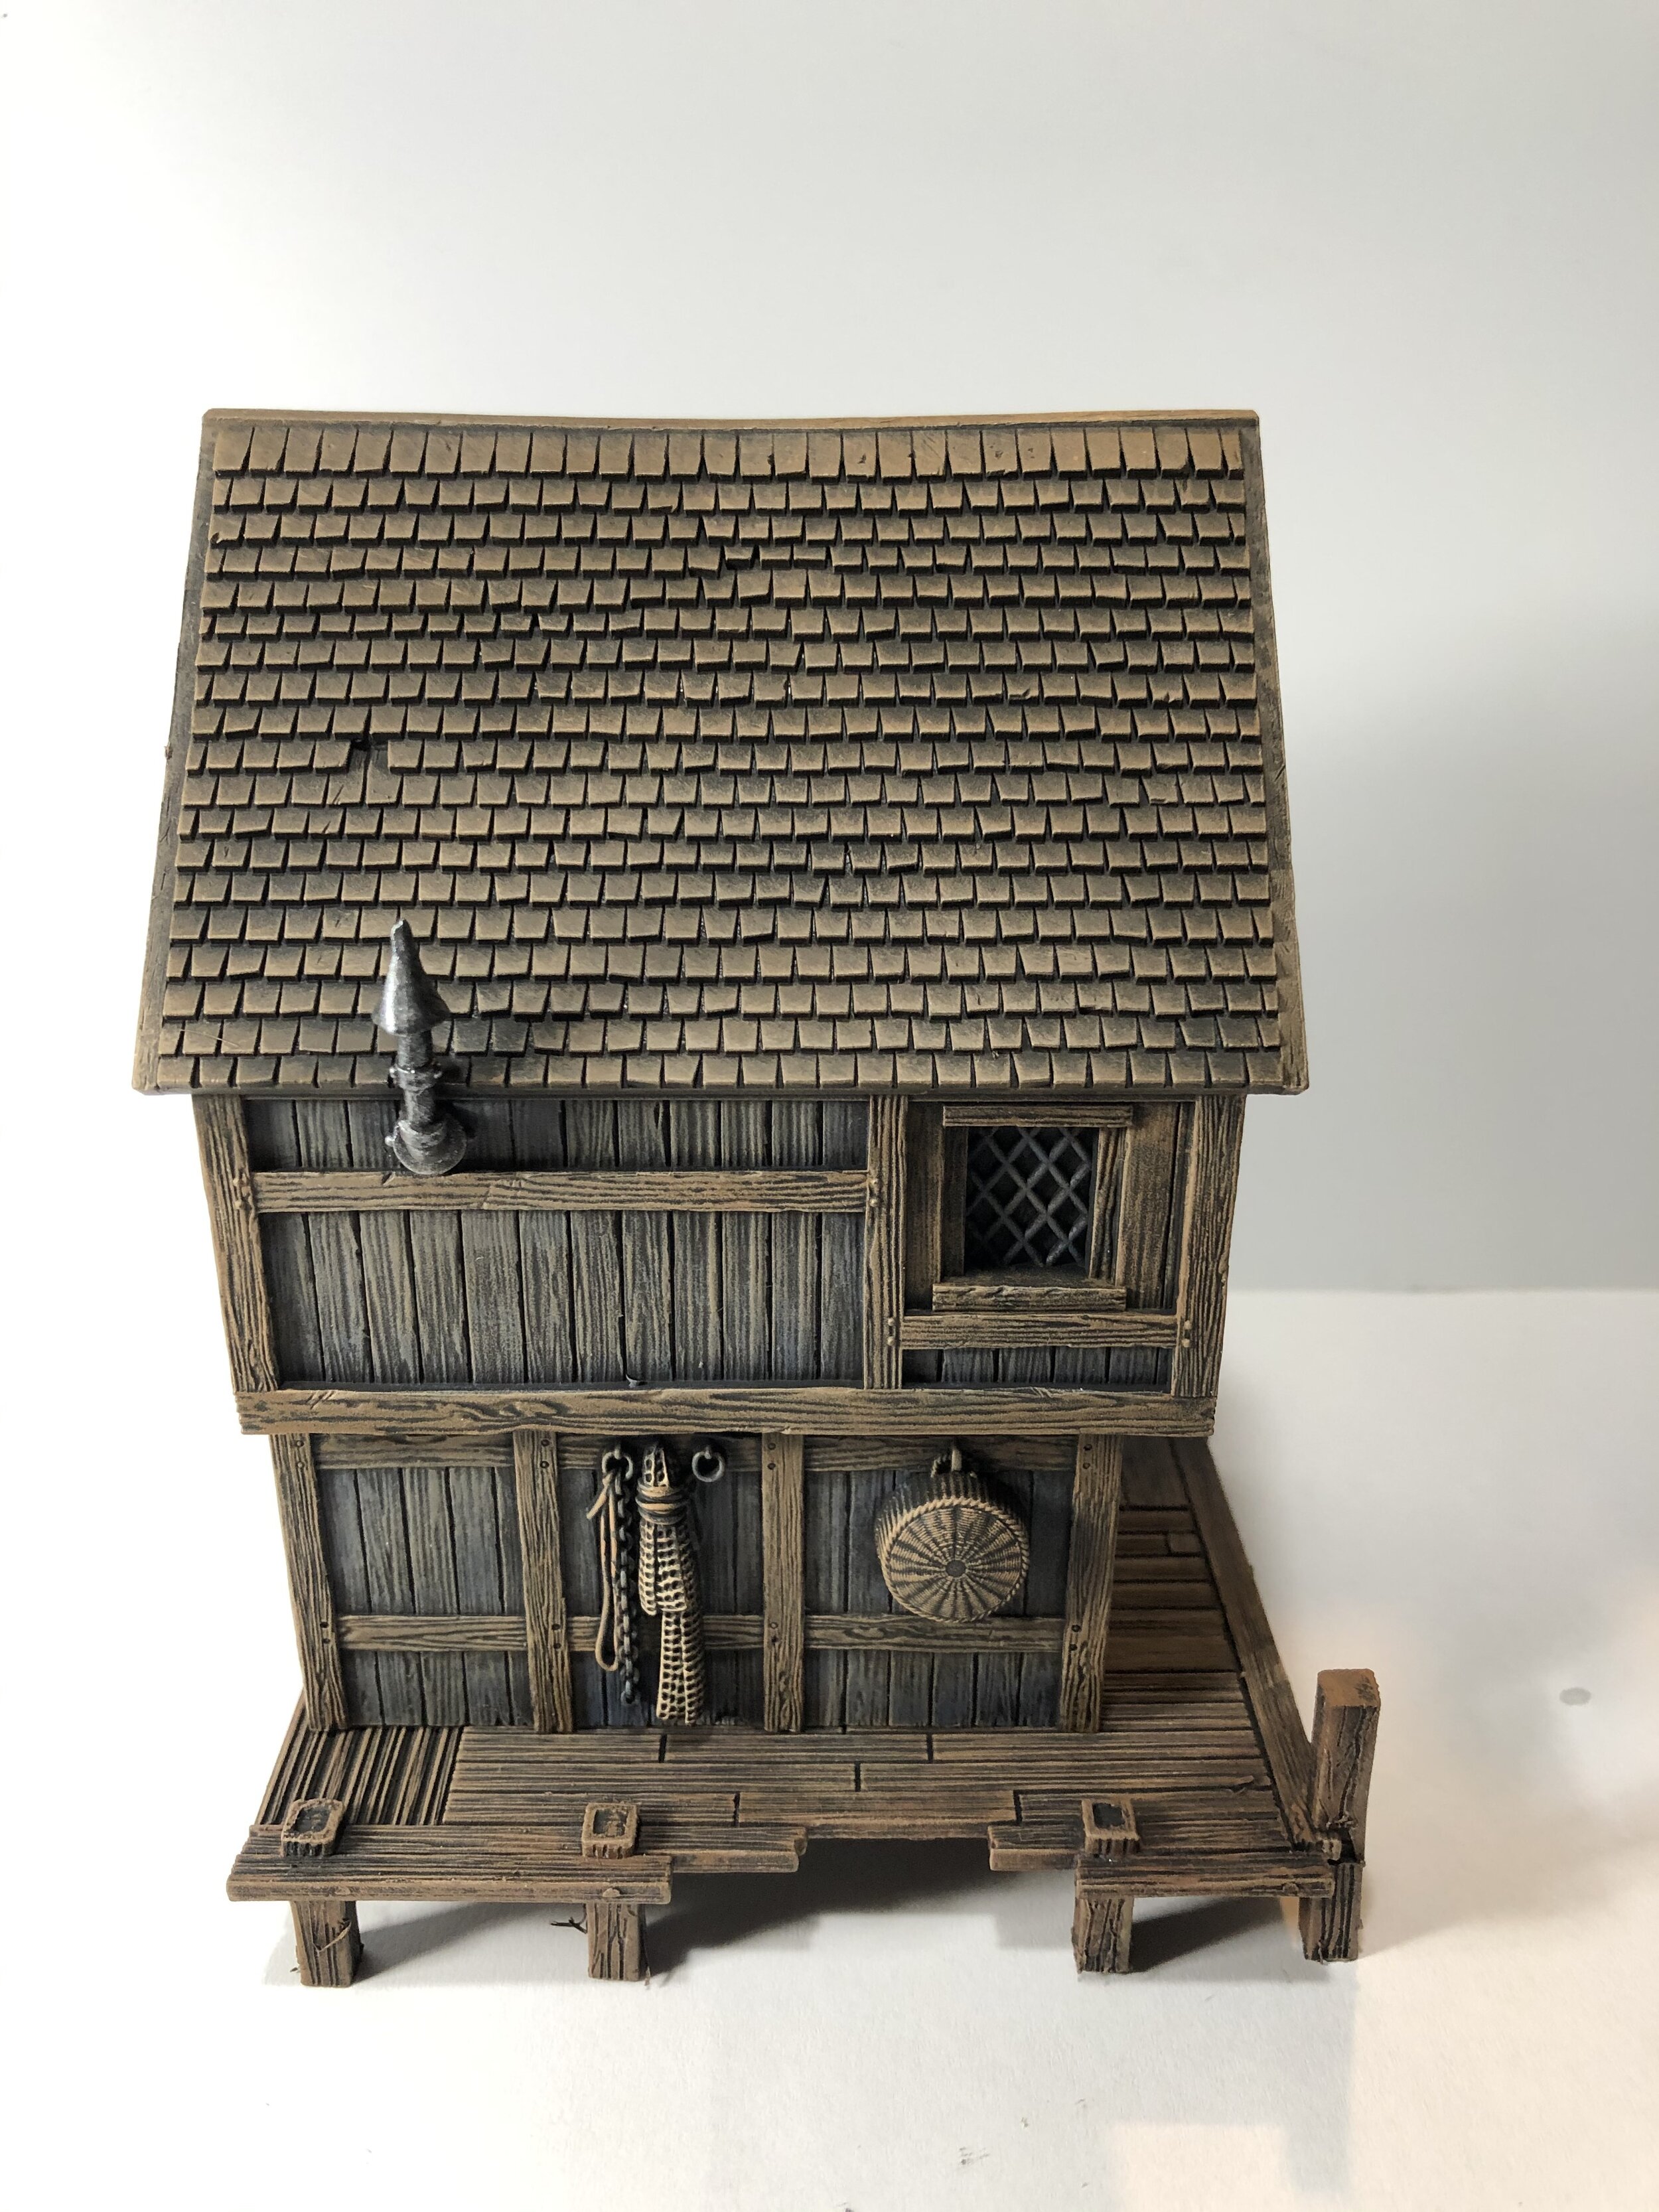
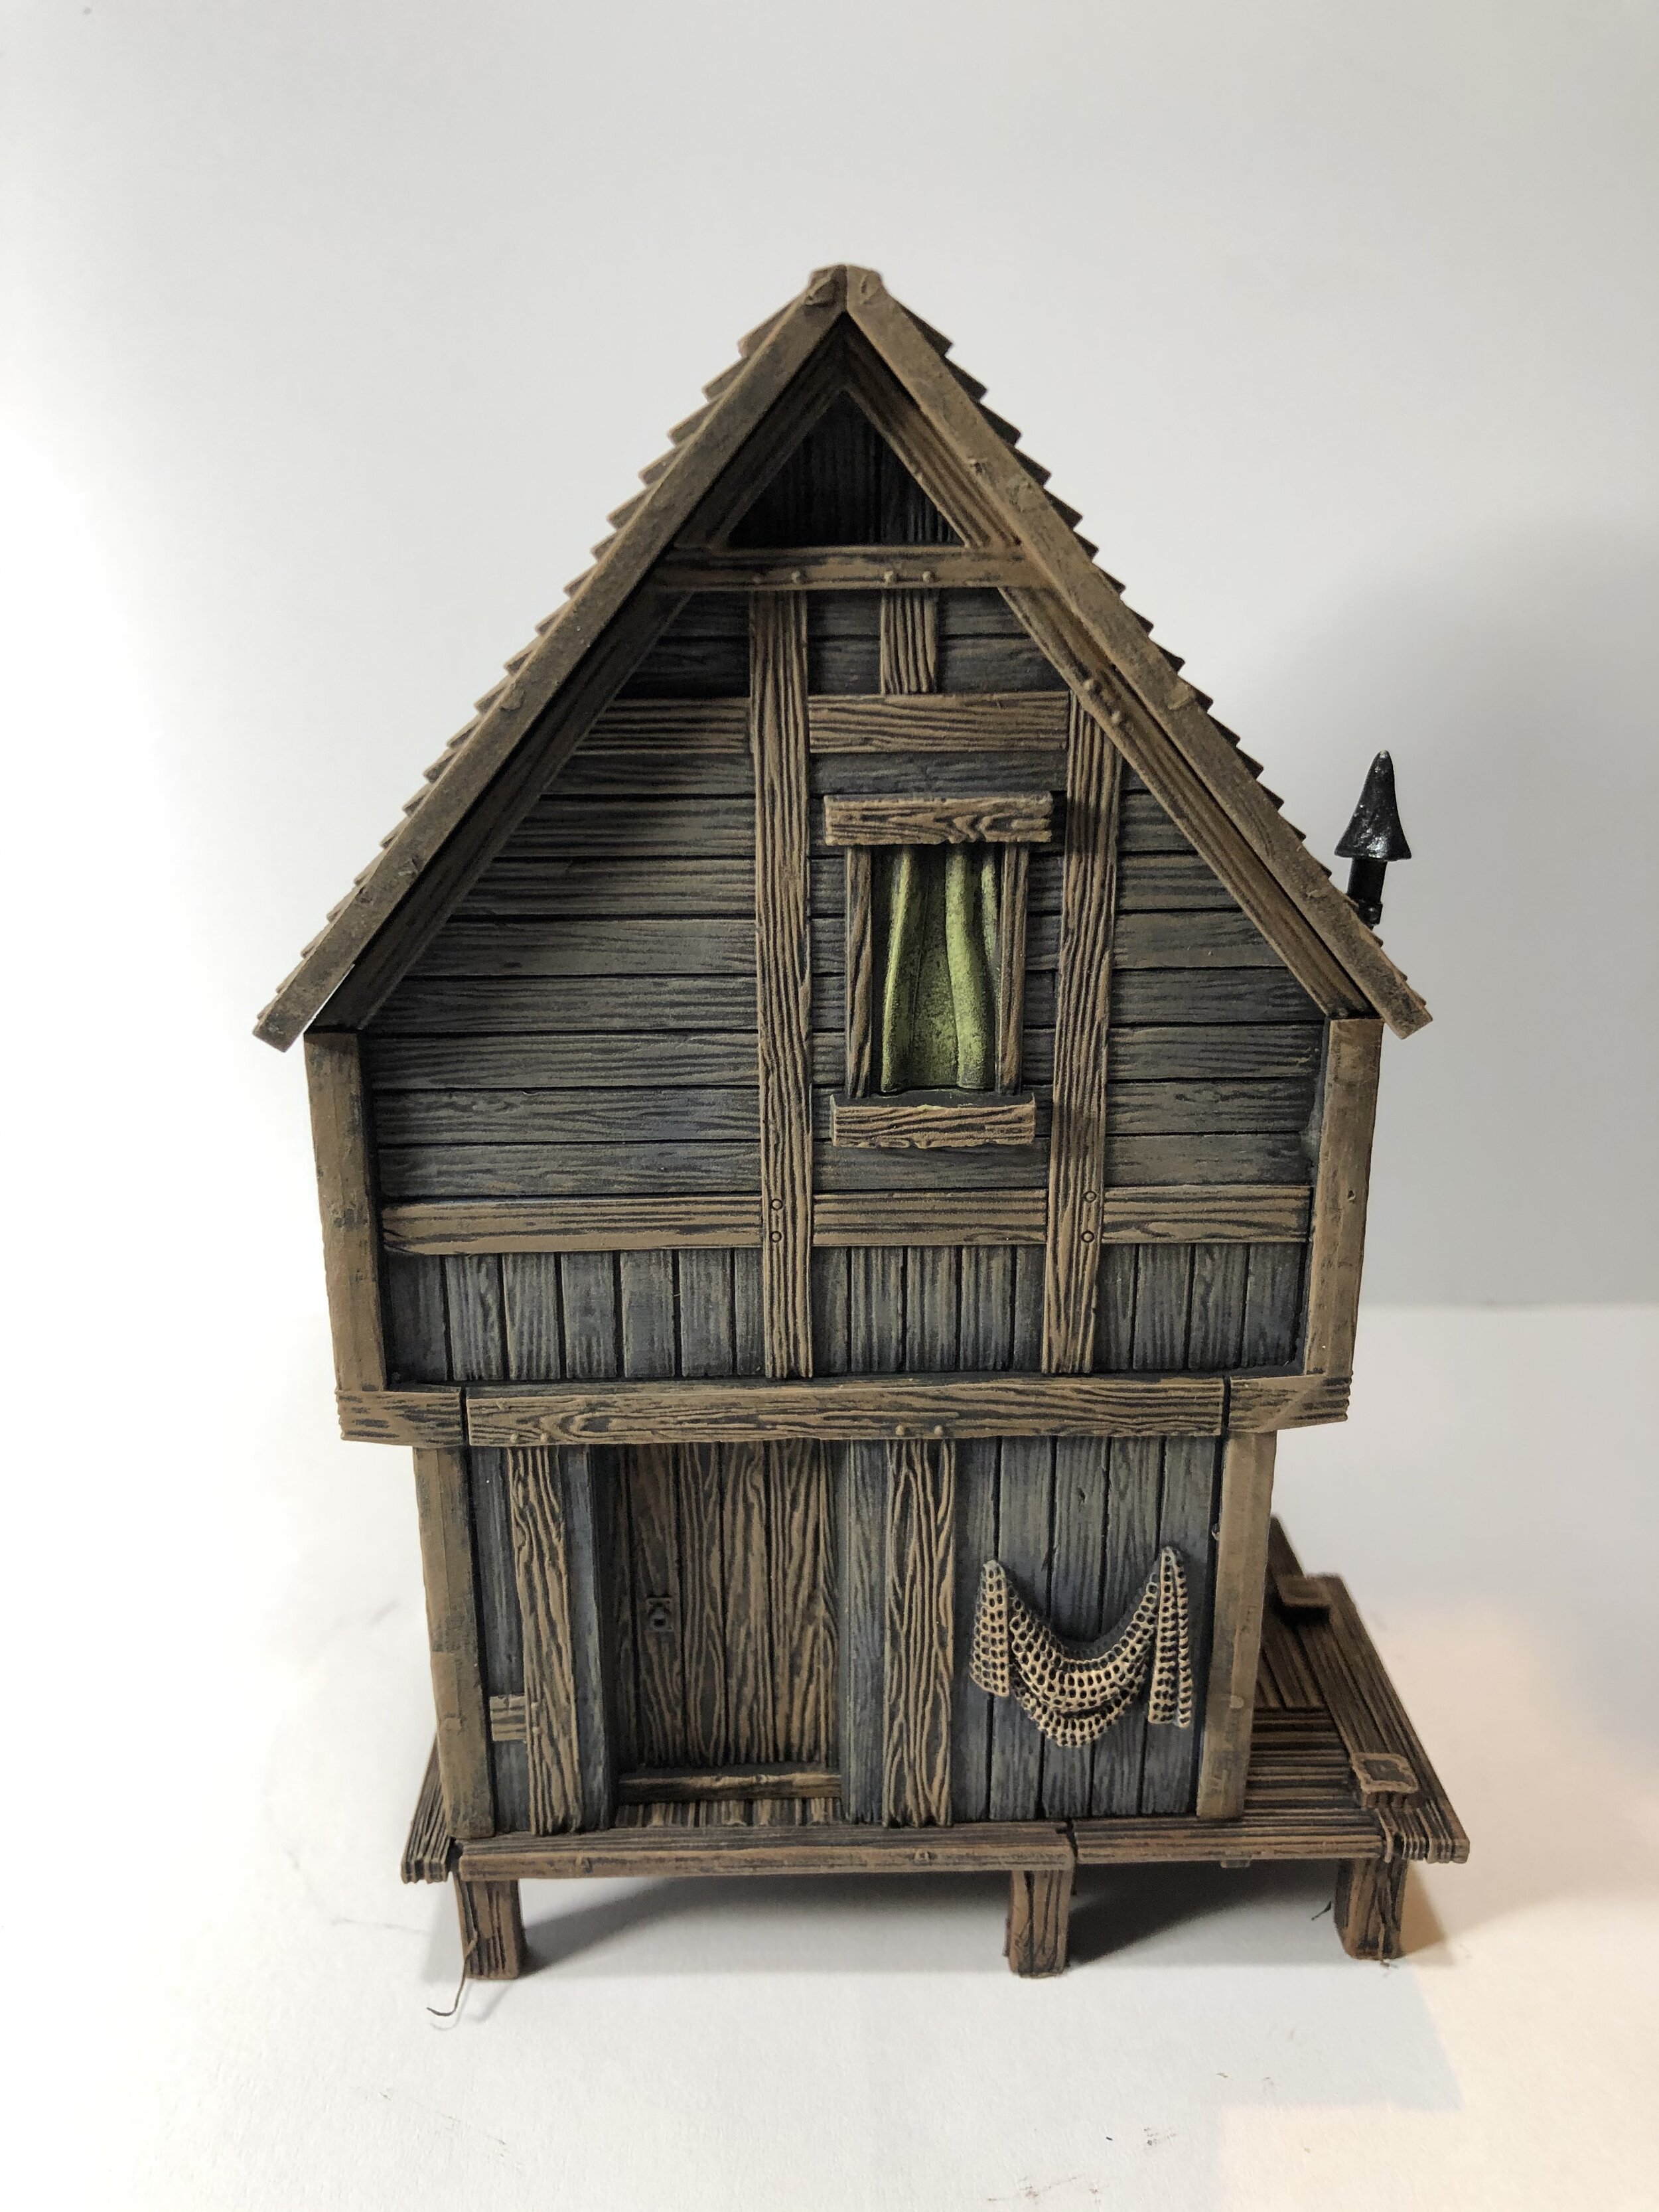
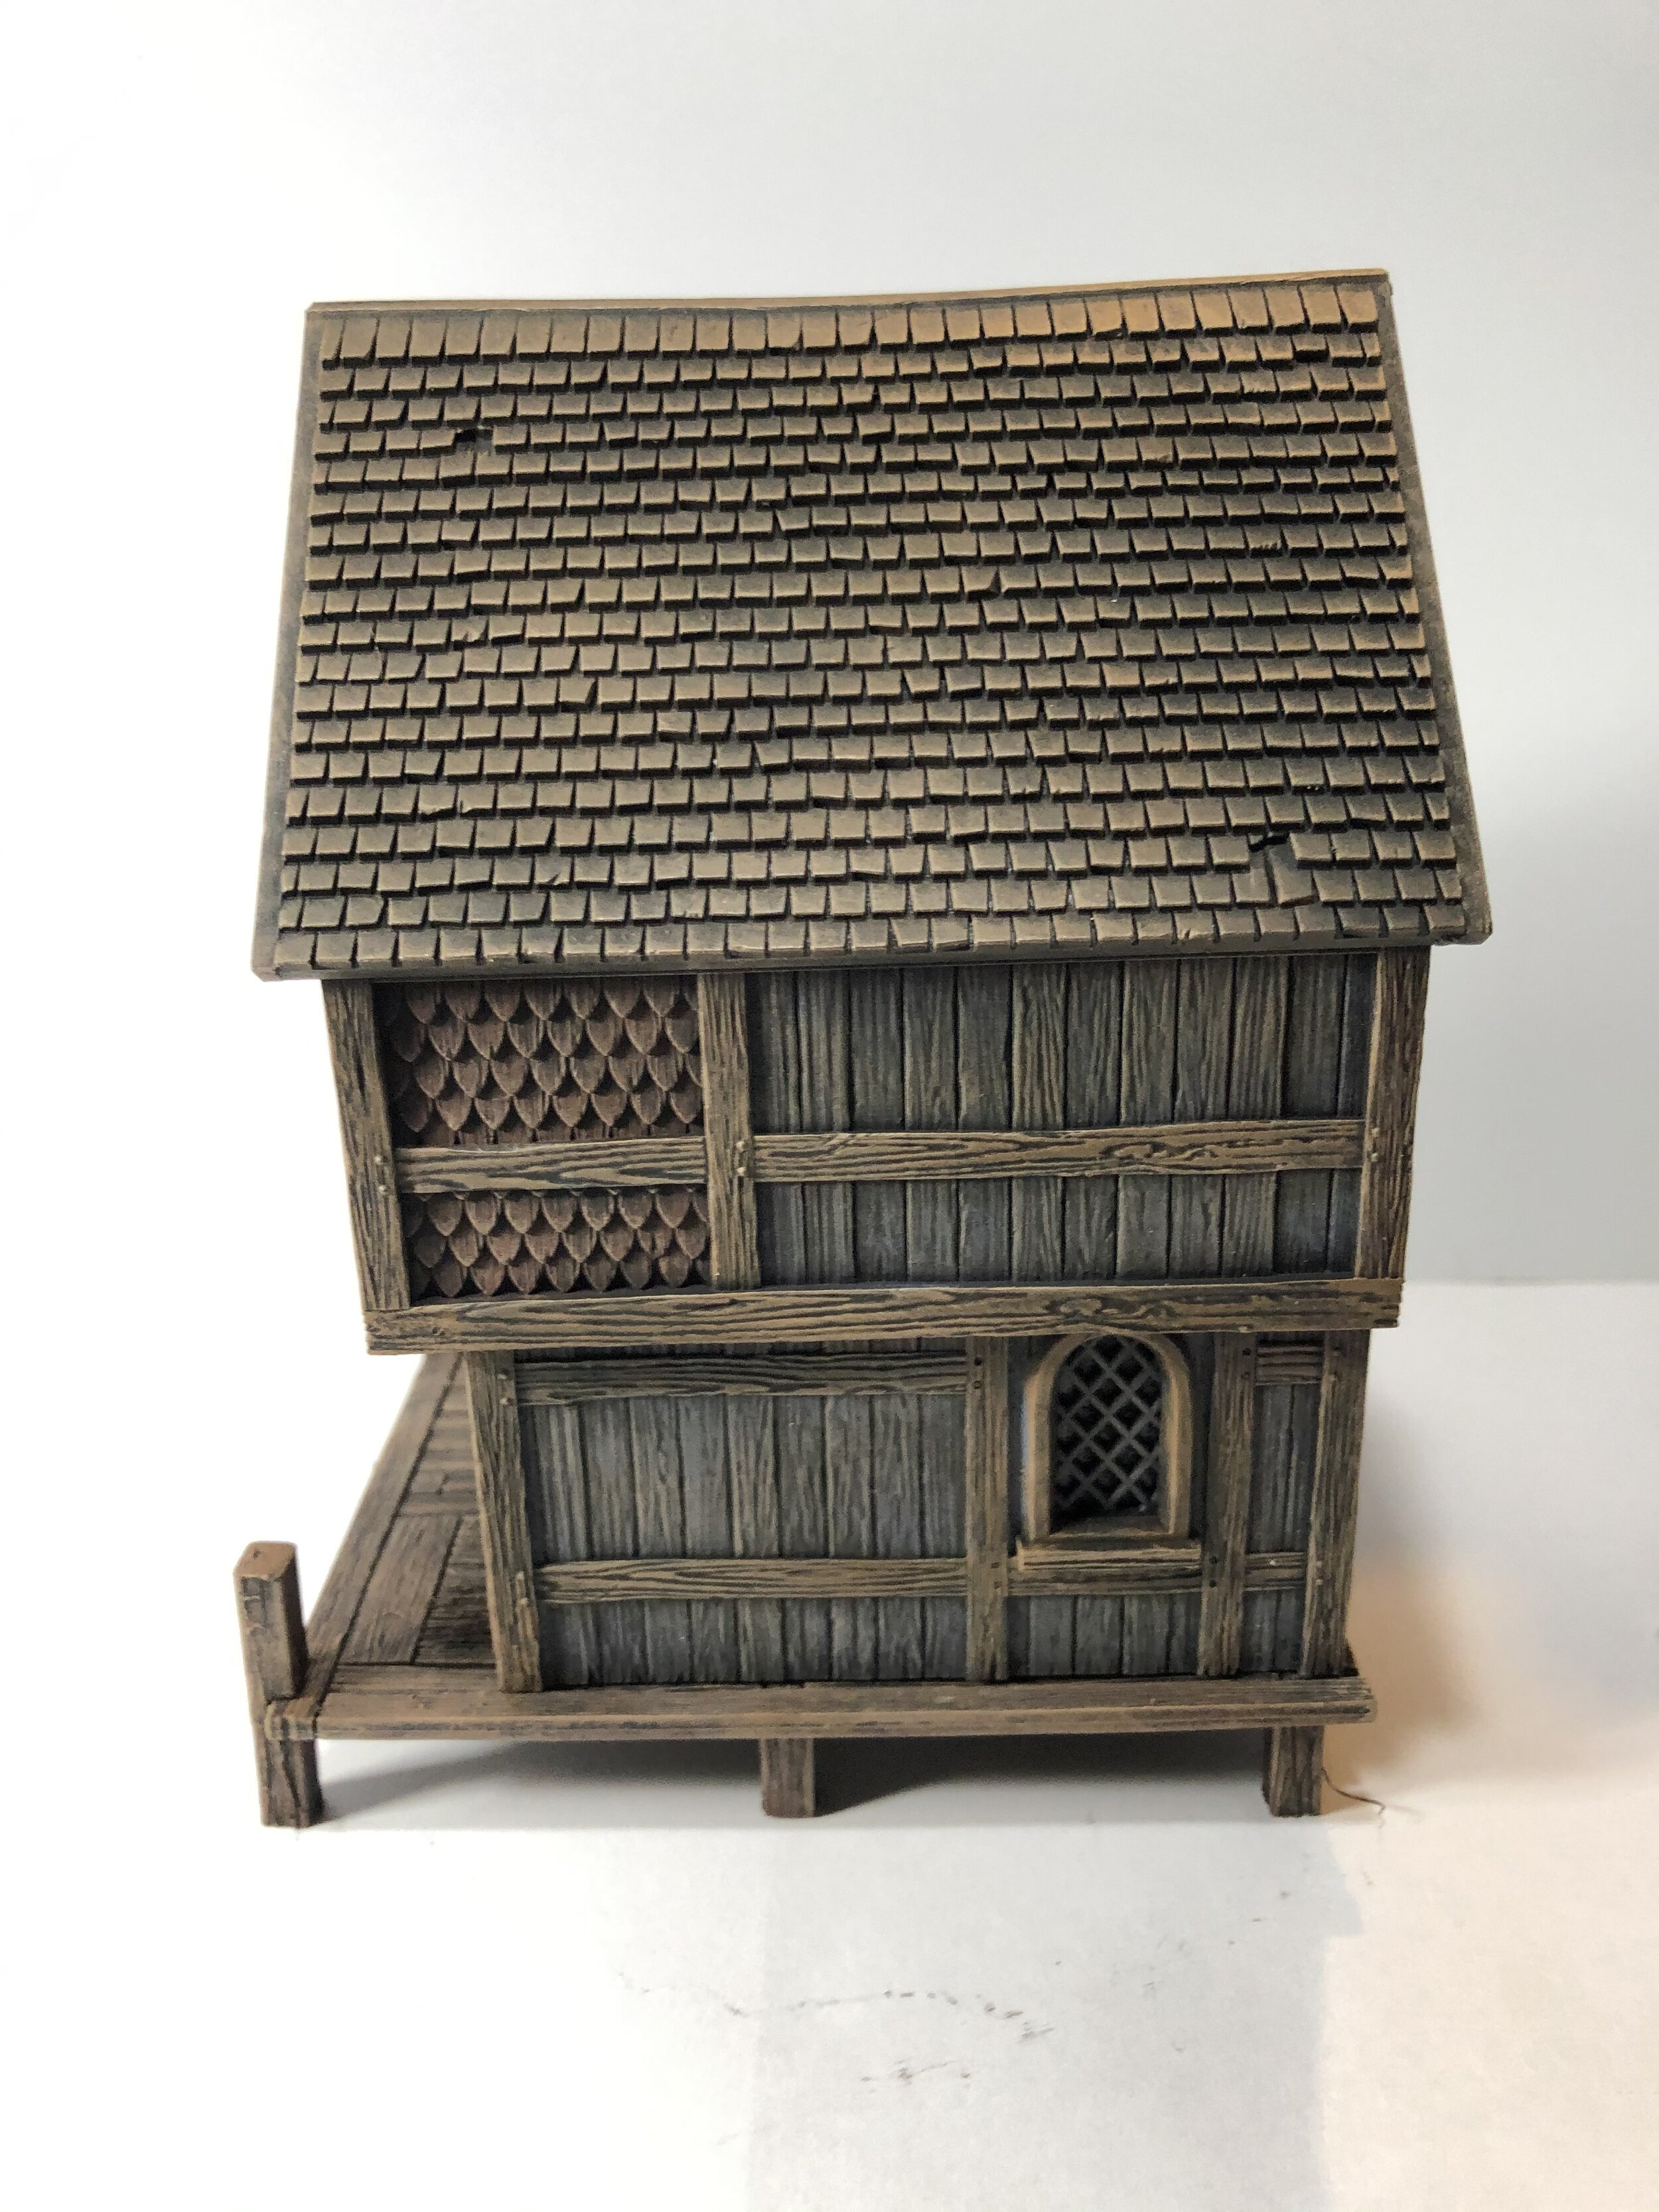
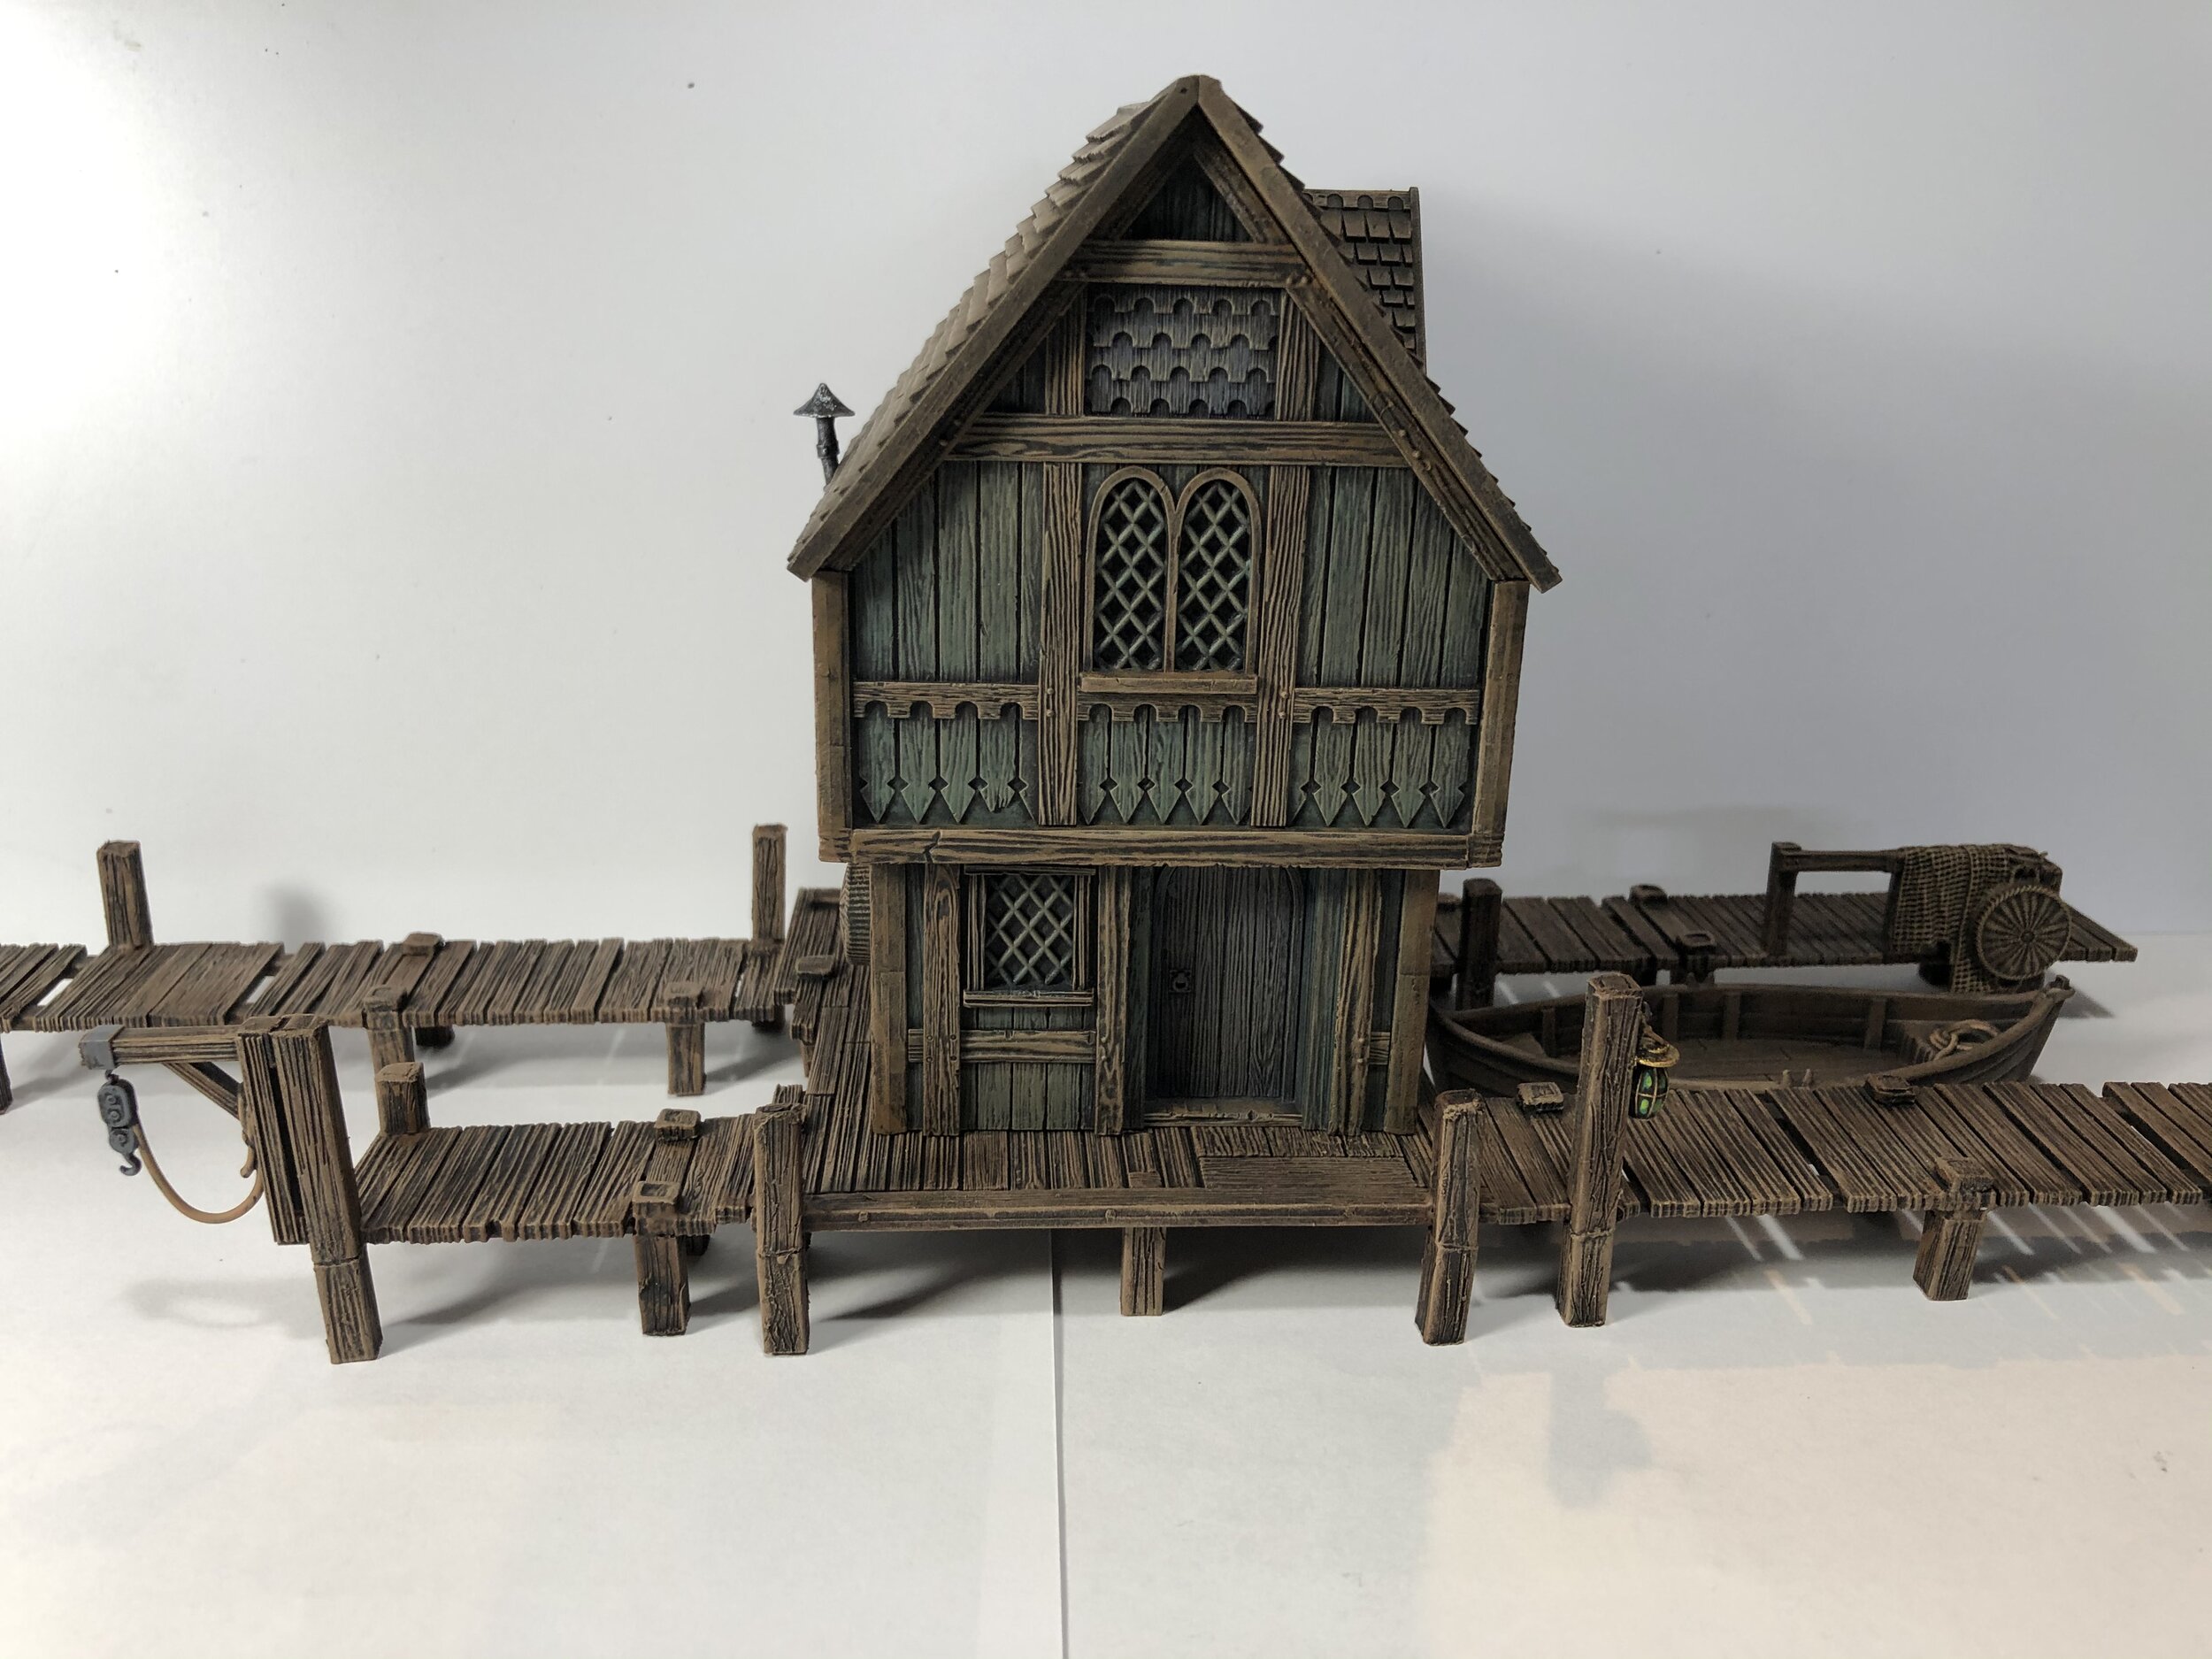
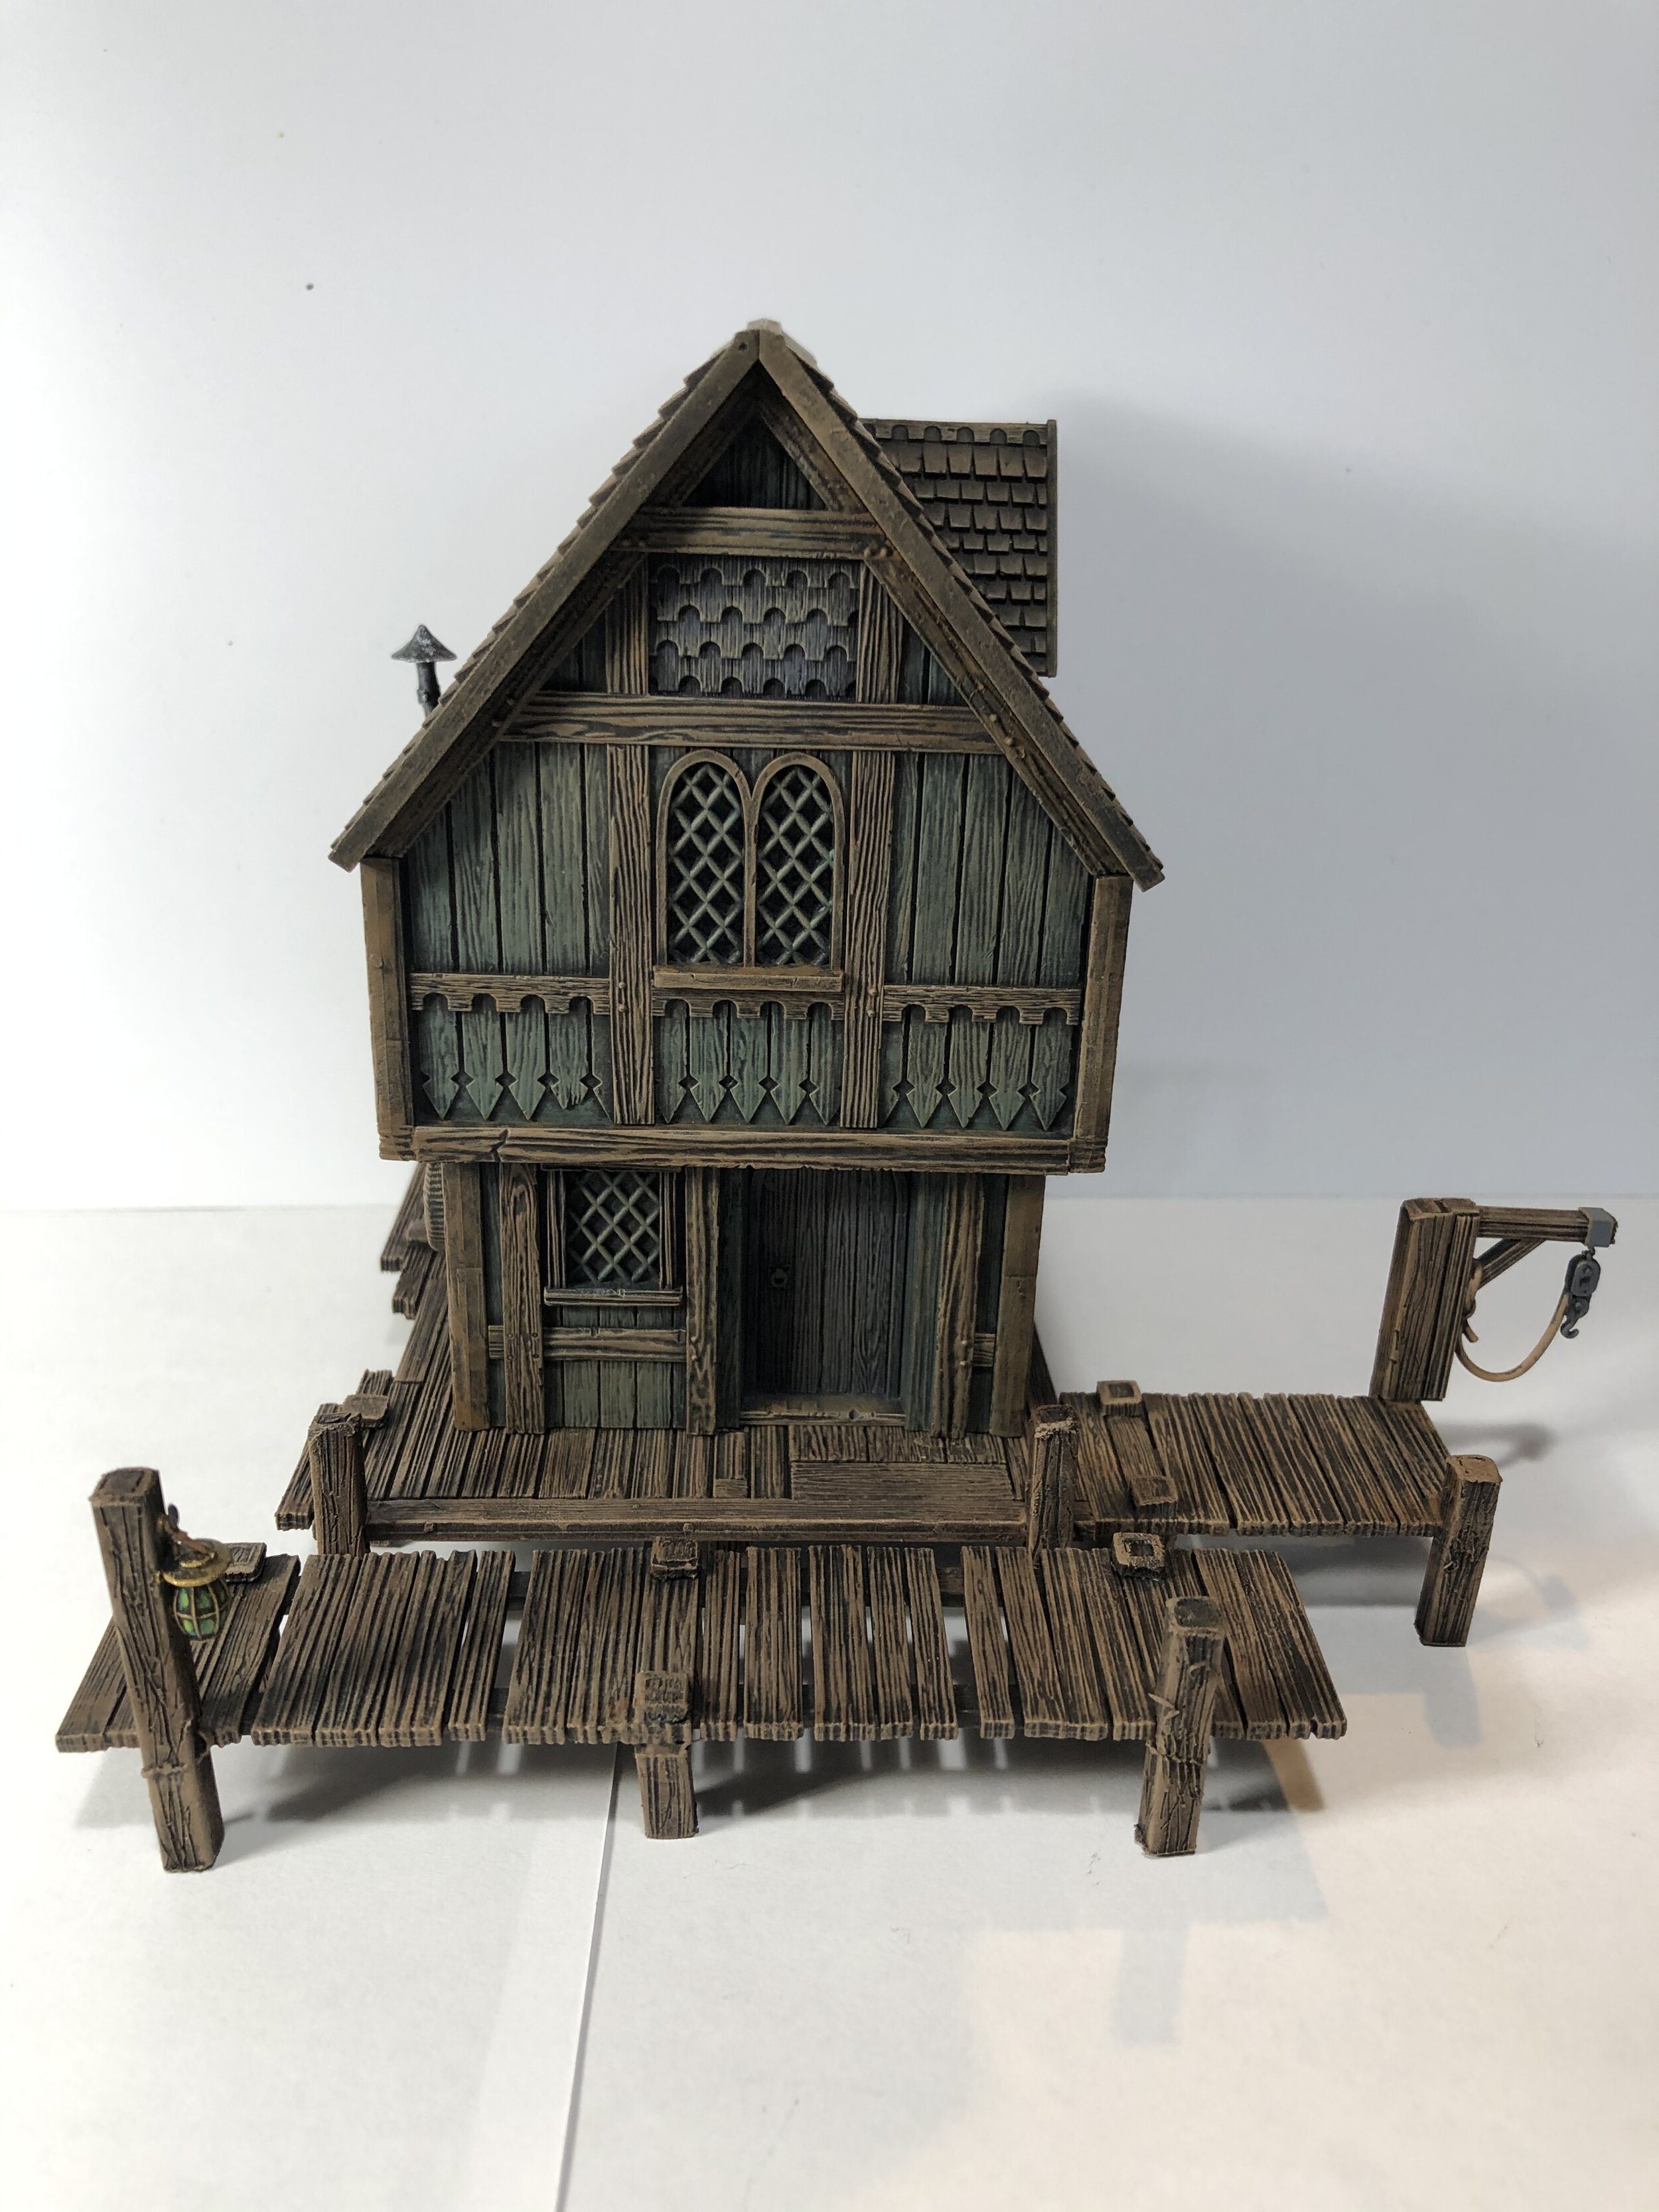
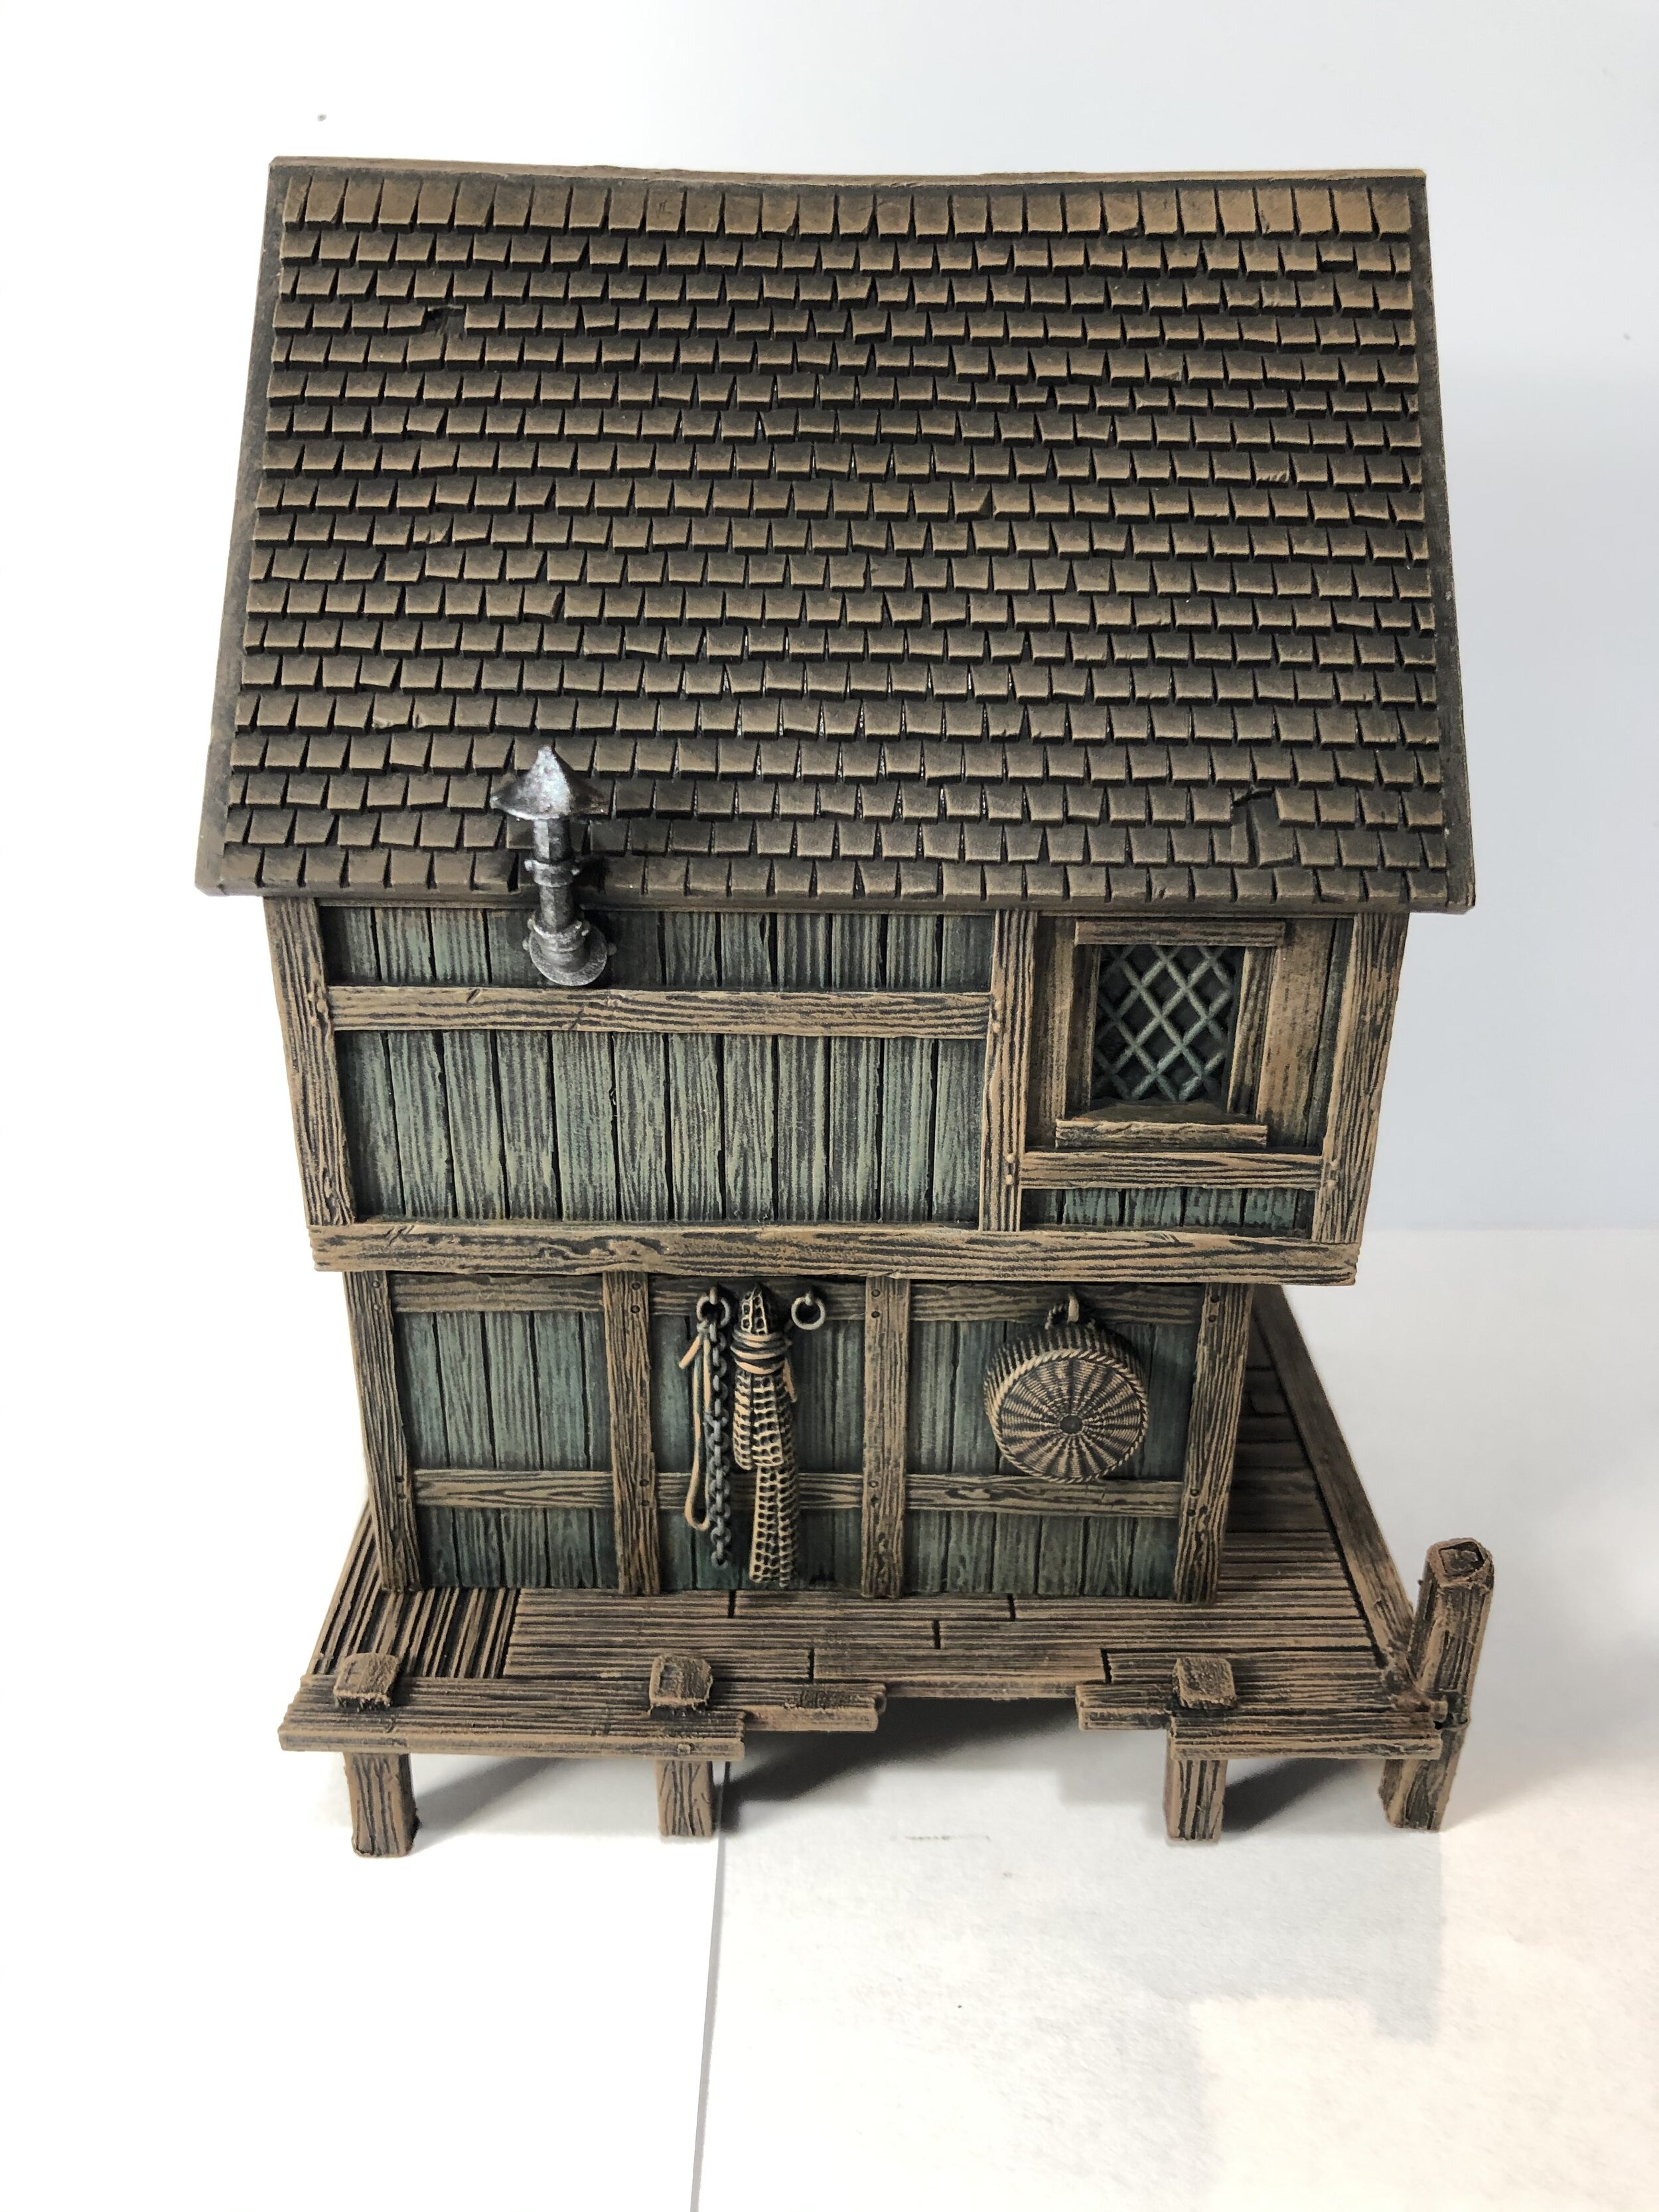
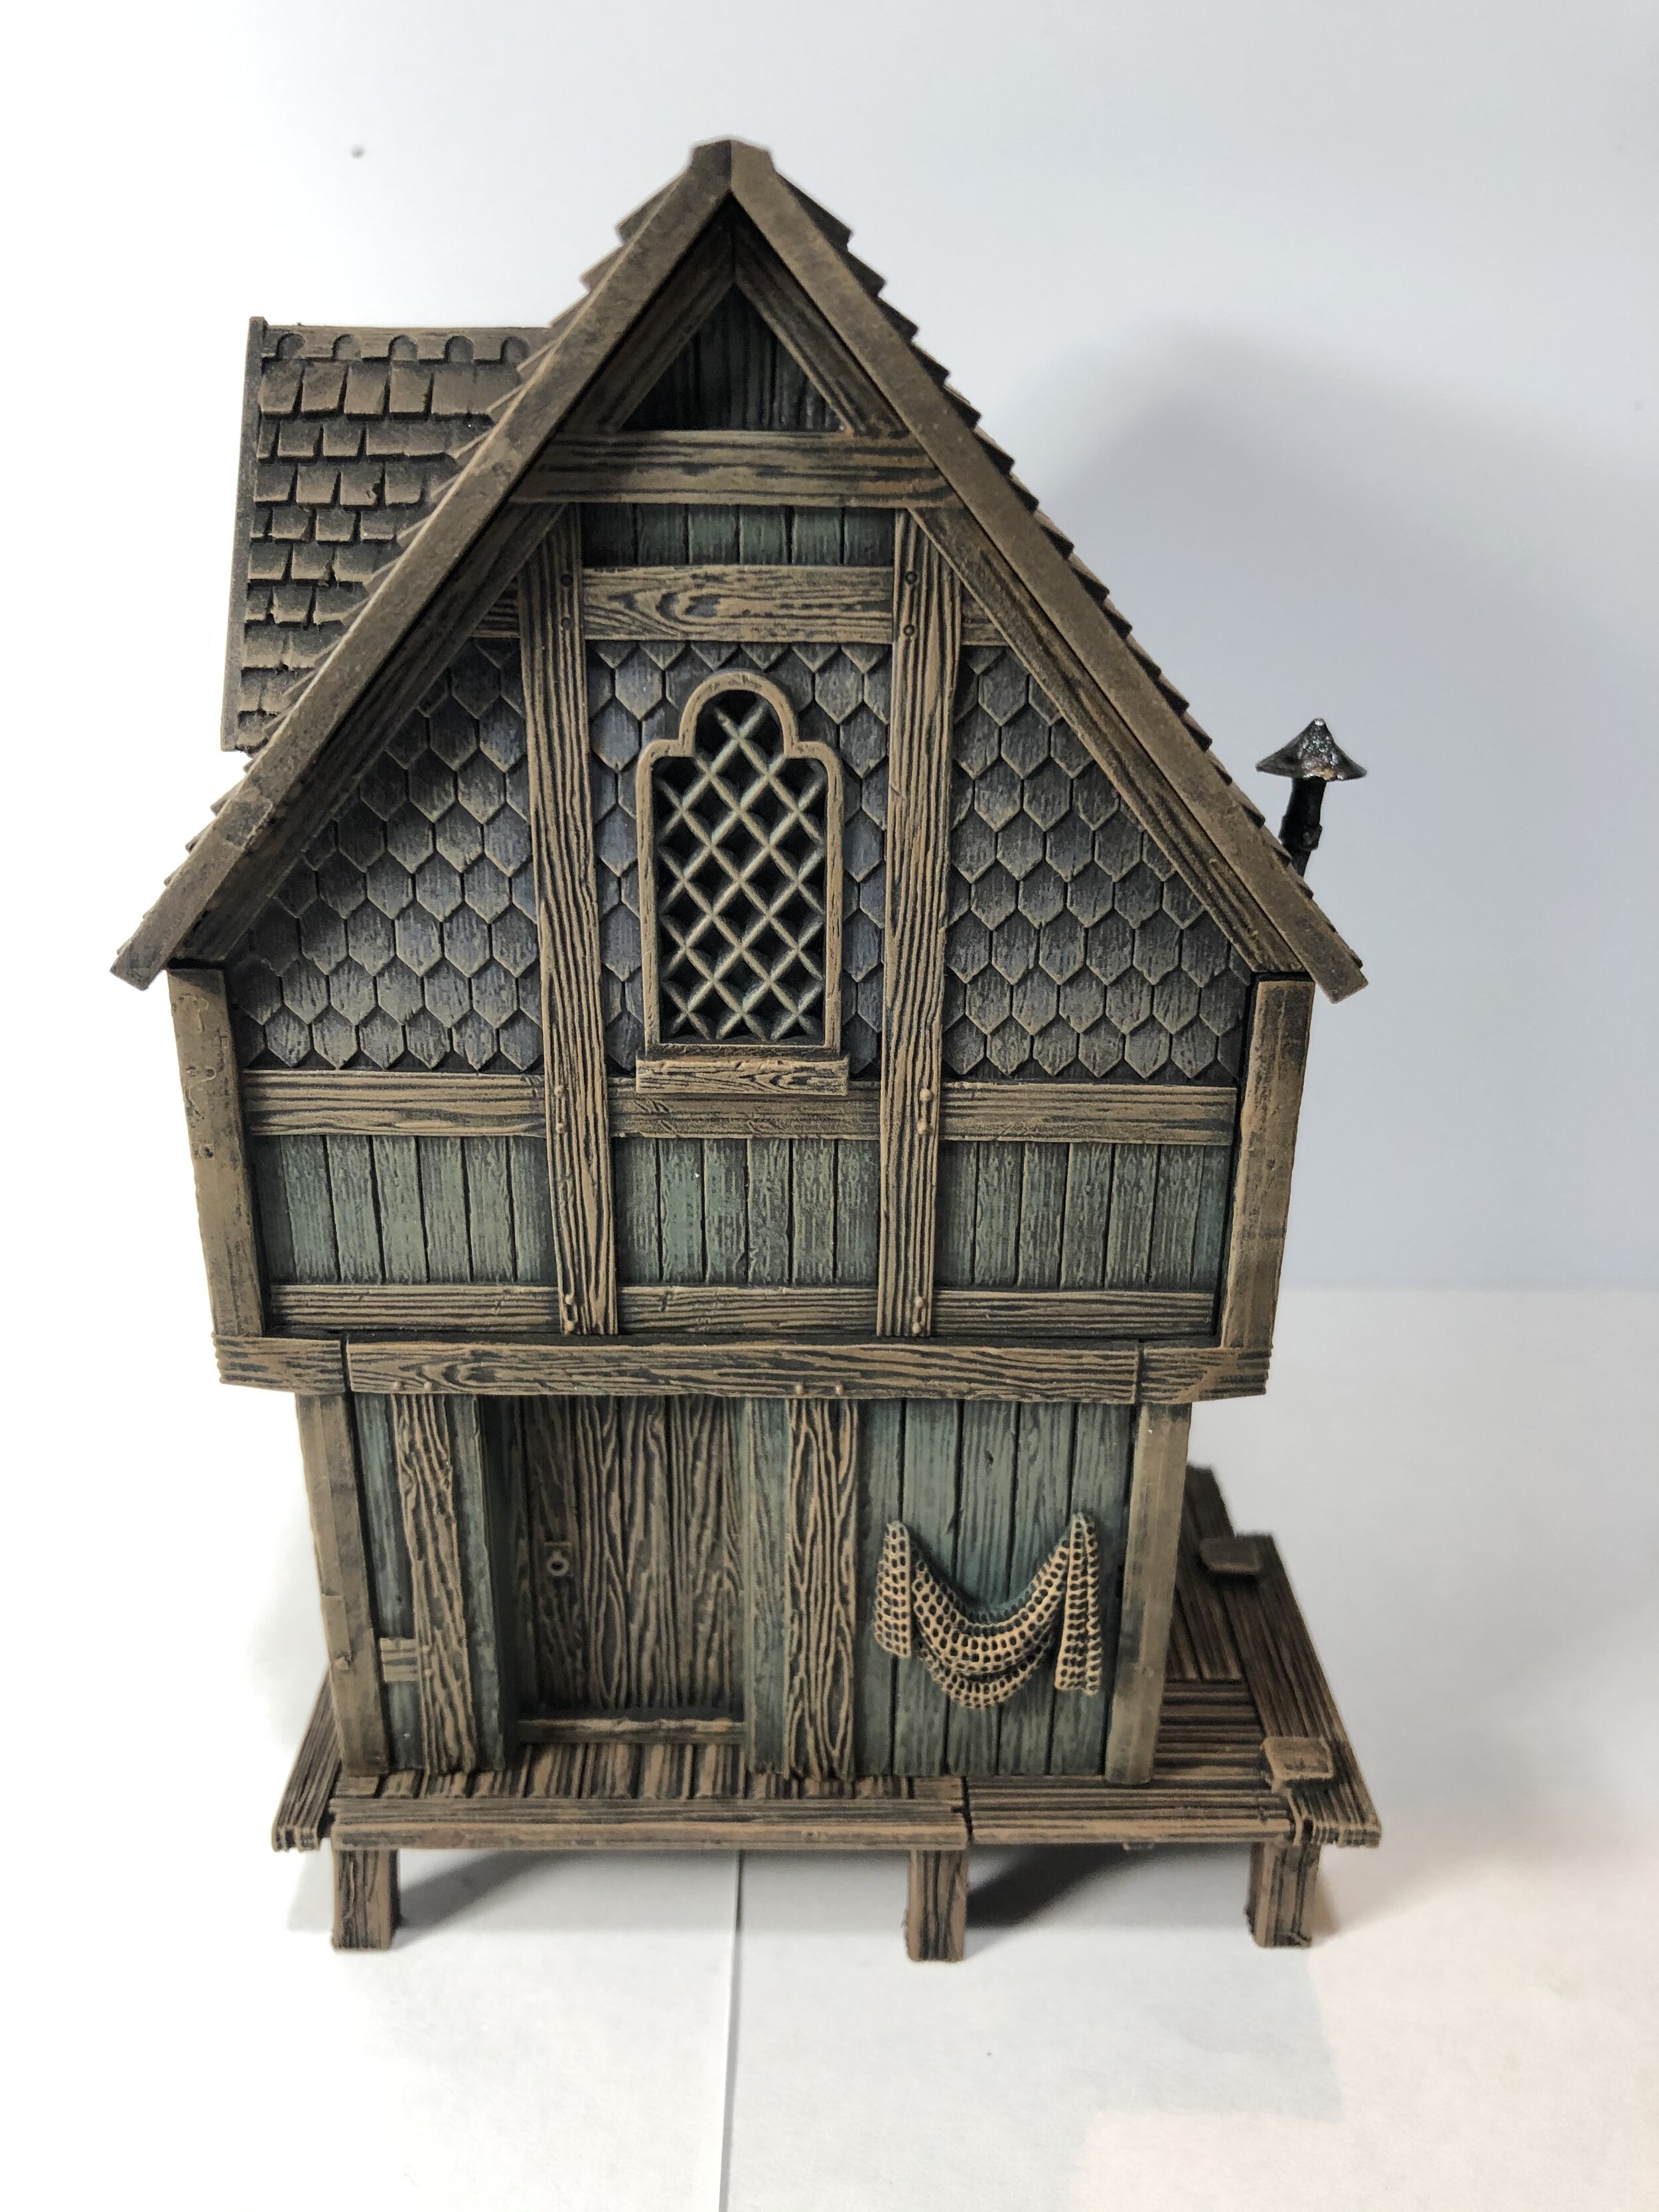
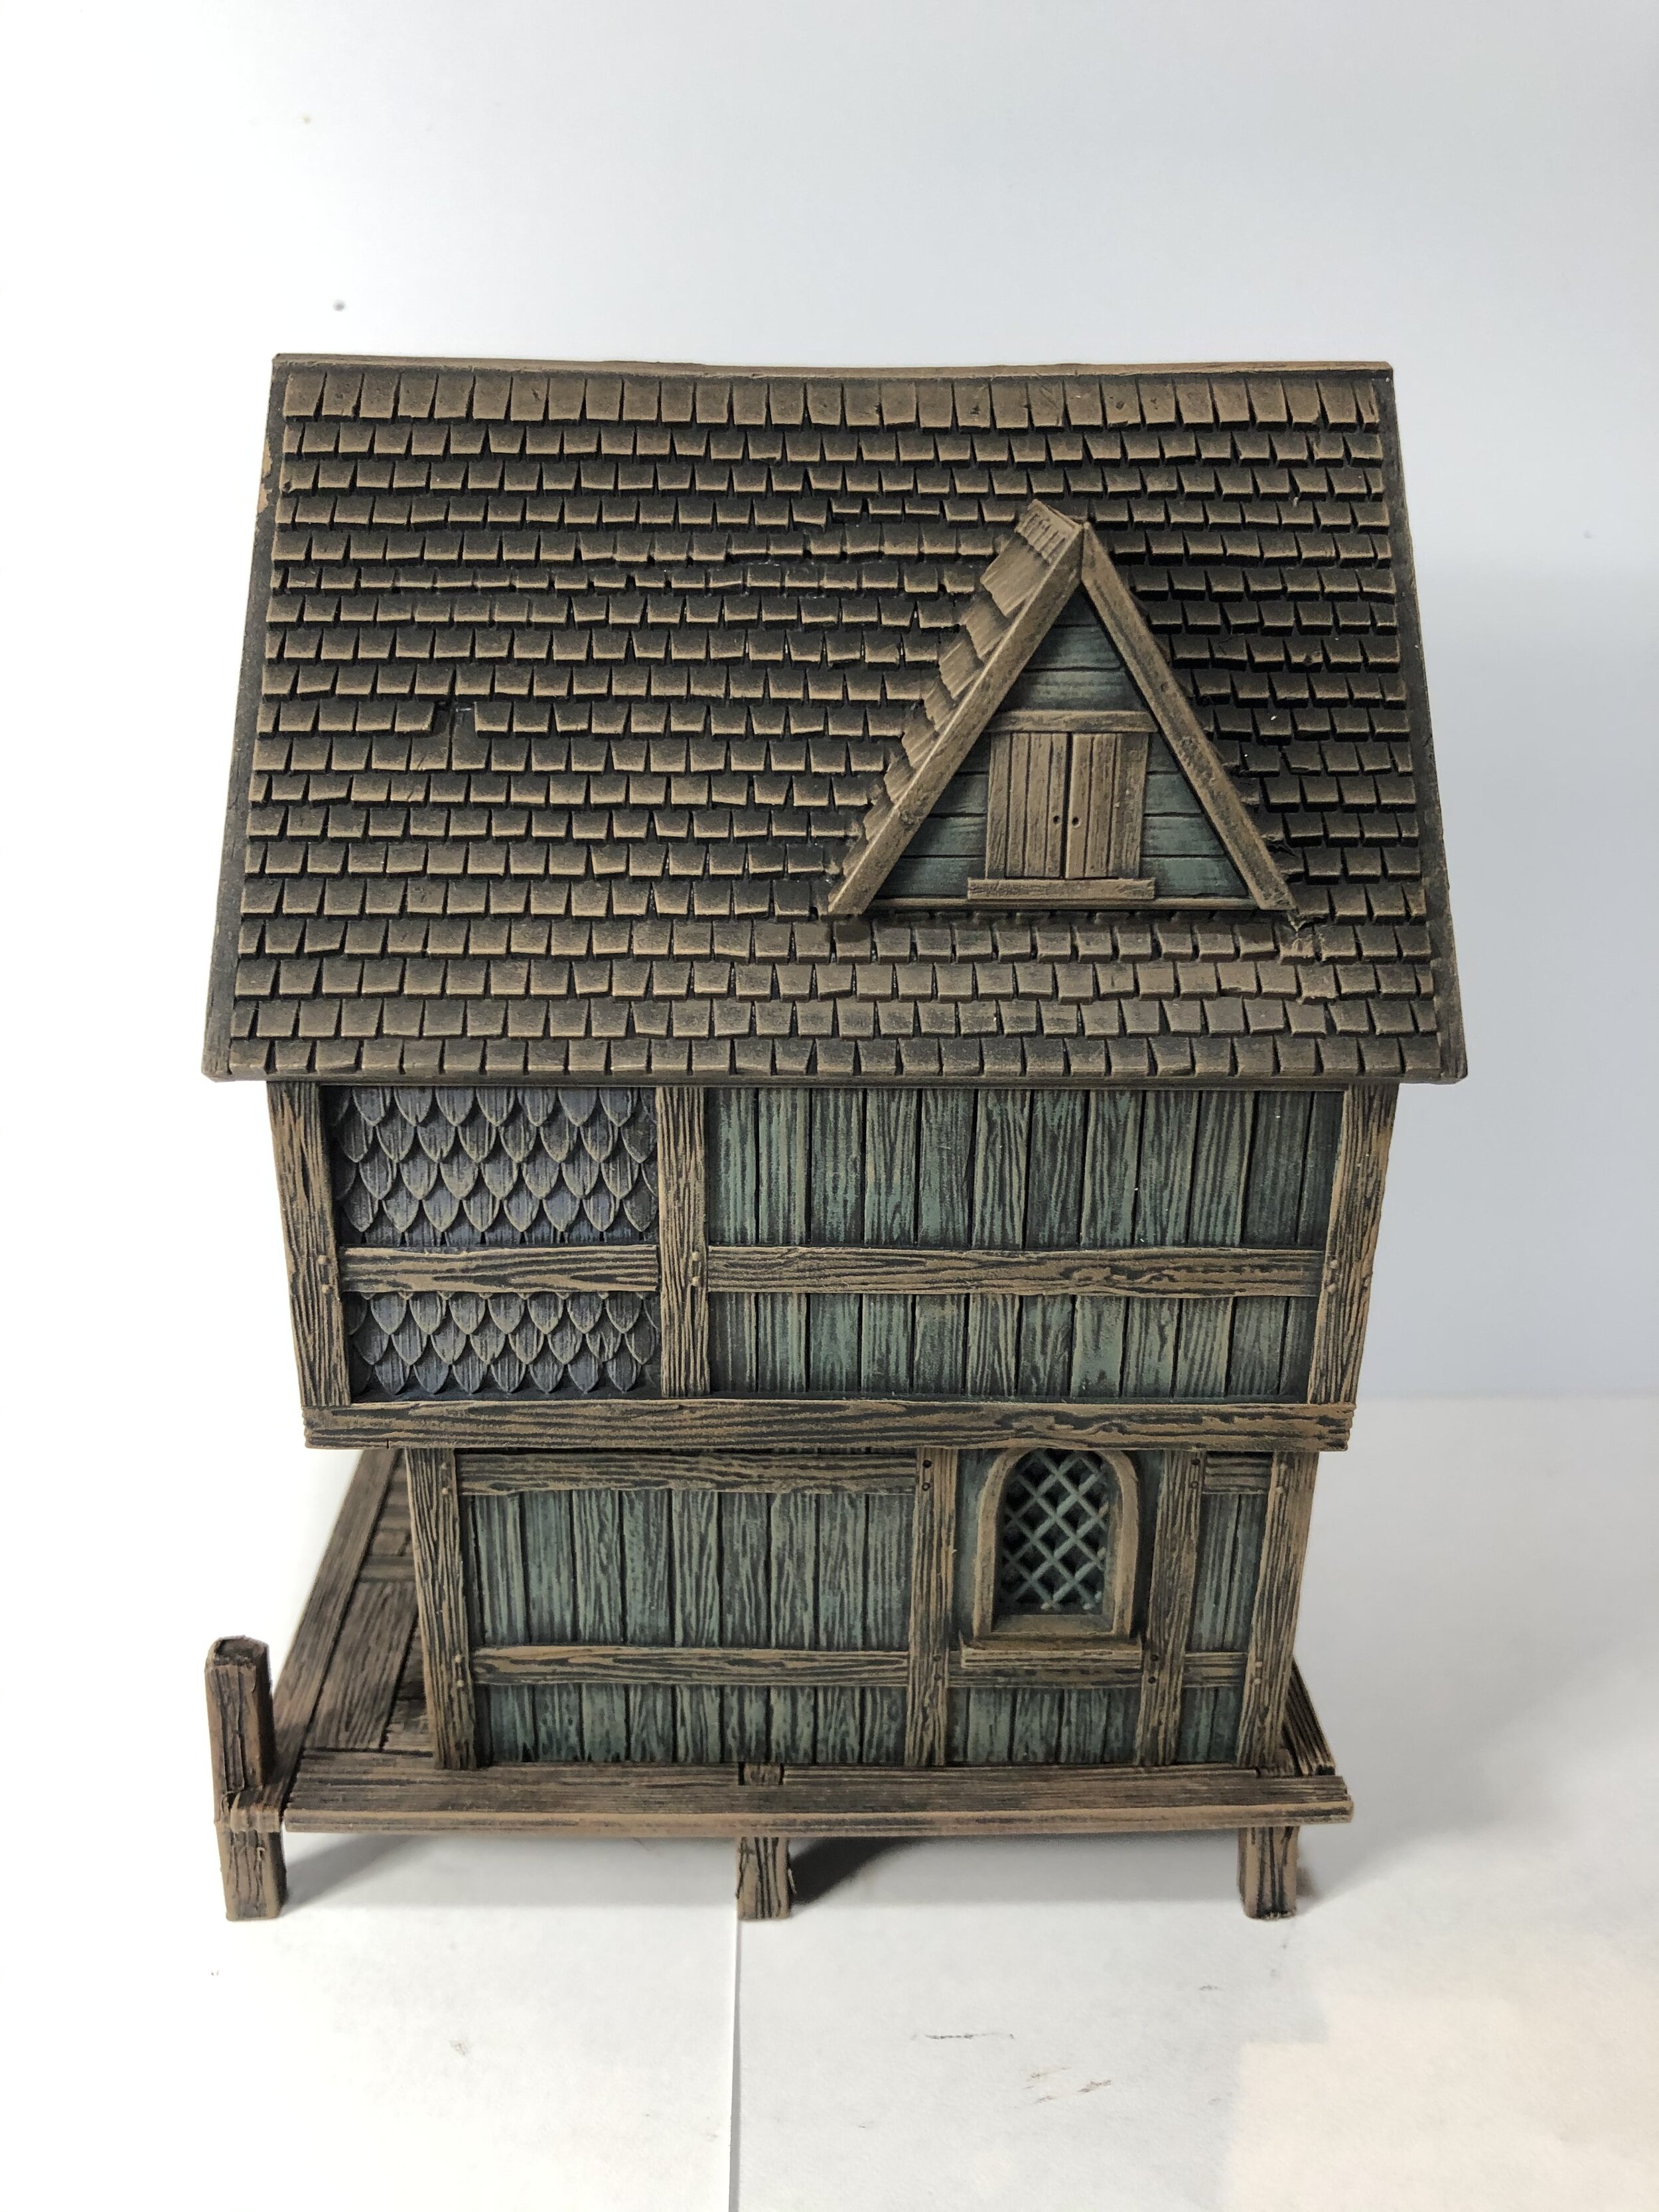
In continuing the work on my Gordon Institute Loch Ness project, I began construction of the Citadel Lake Town Houses. The first thing that I noticed was that the pilings supporting the decking/docks were shorter than what I wanted. In order to raise the level of the decking, I decided to sheath the original pilings with Evergreen 3/16” square tube (#253). It proved to be a perfect fit and allowed me to raise the deck height to ½” rather than the original ¼”. The modifying of the pilings was the most time consuming and difficult part of the project. The model itself is well designed and simple to put together. I should note that before this project is over, I will be making additional decking that is significantly wider than what came with the model to give me more use options. To do this I will be using Evergreen V-groove (#4125) for the decking and solid 3/16” Evergreen square rods (#196) for the pilings. I used a hobby blade to score the plastic to provide the look of wood grain. By week’s end I completed four of the Citadel Lake Town Houses. Because they come with some options for small variations in the structure of the buildings, no two are structurally exactly alike. The color schemes are intentional dull… they are wooden houses sitting next to/actually on water. The colors are Burnt Red, German uniform green, and Luft grey. The beams that run across and up and down the building are Flat Earth, the roof is Burnt Umber, under German Cam Medium Brown. Everything was given a dry brush highlight of Earth Tan. The docks are a mix of Flat Brown and Flat Earth highlighted with Earth Tan.


September 20, 2020
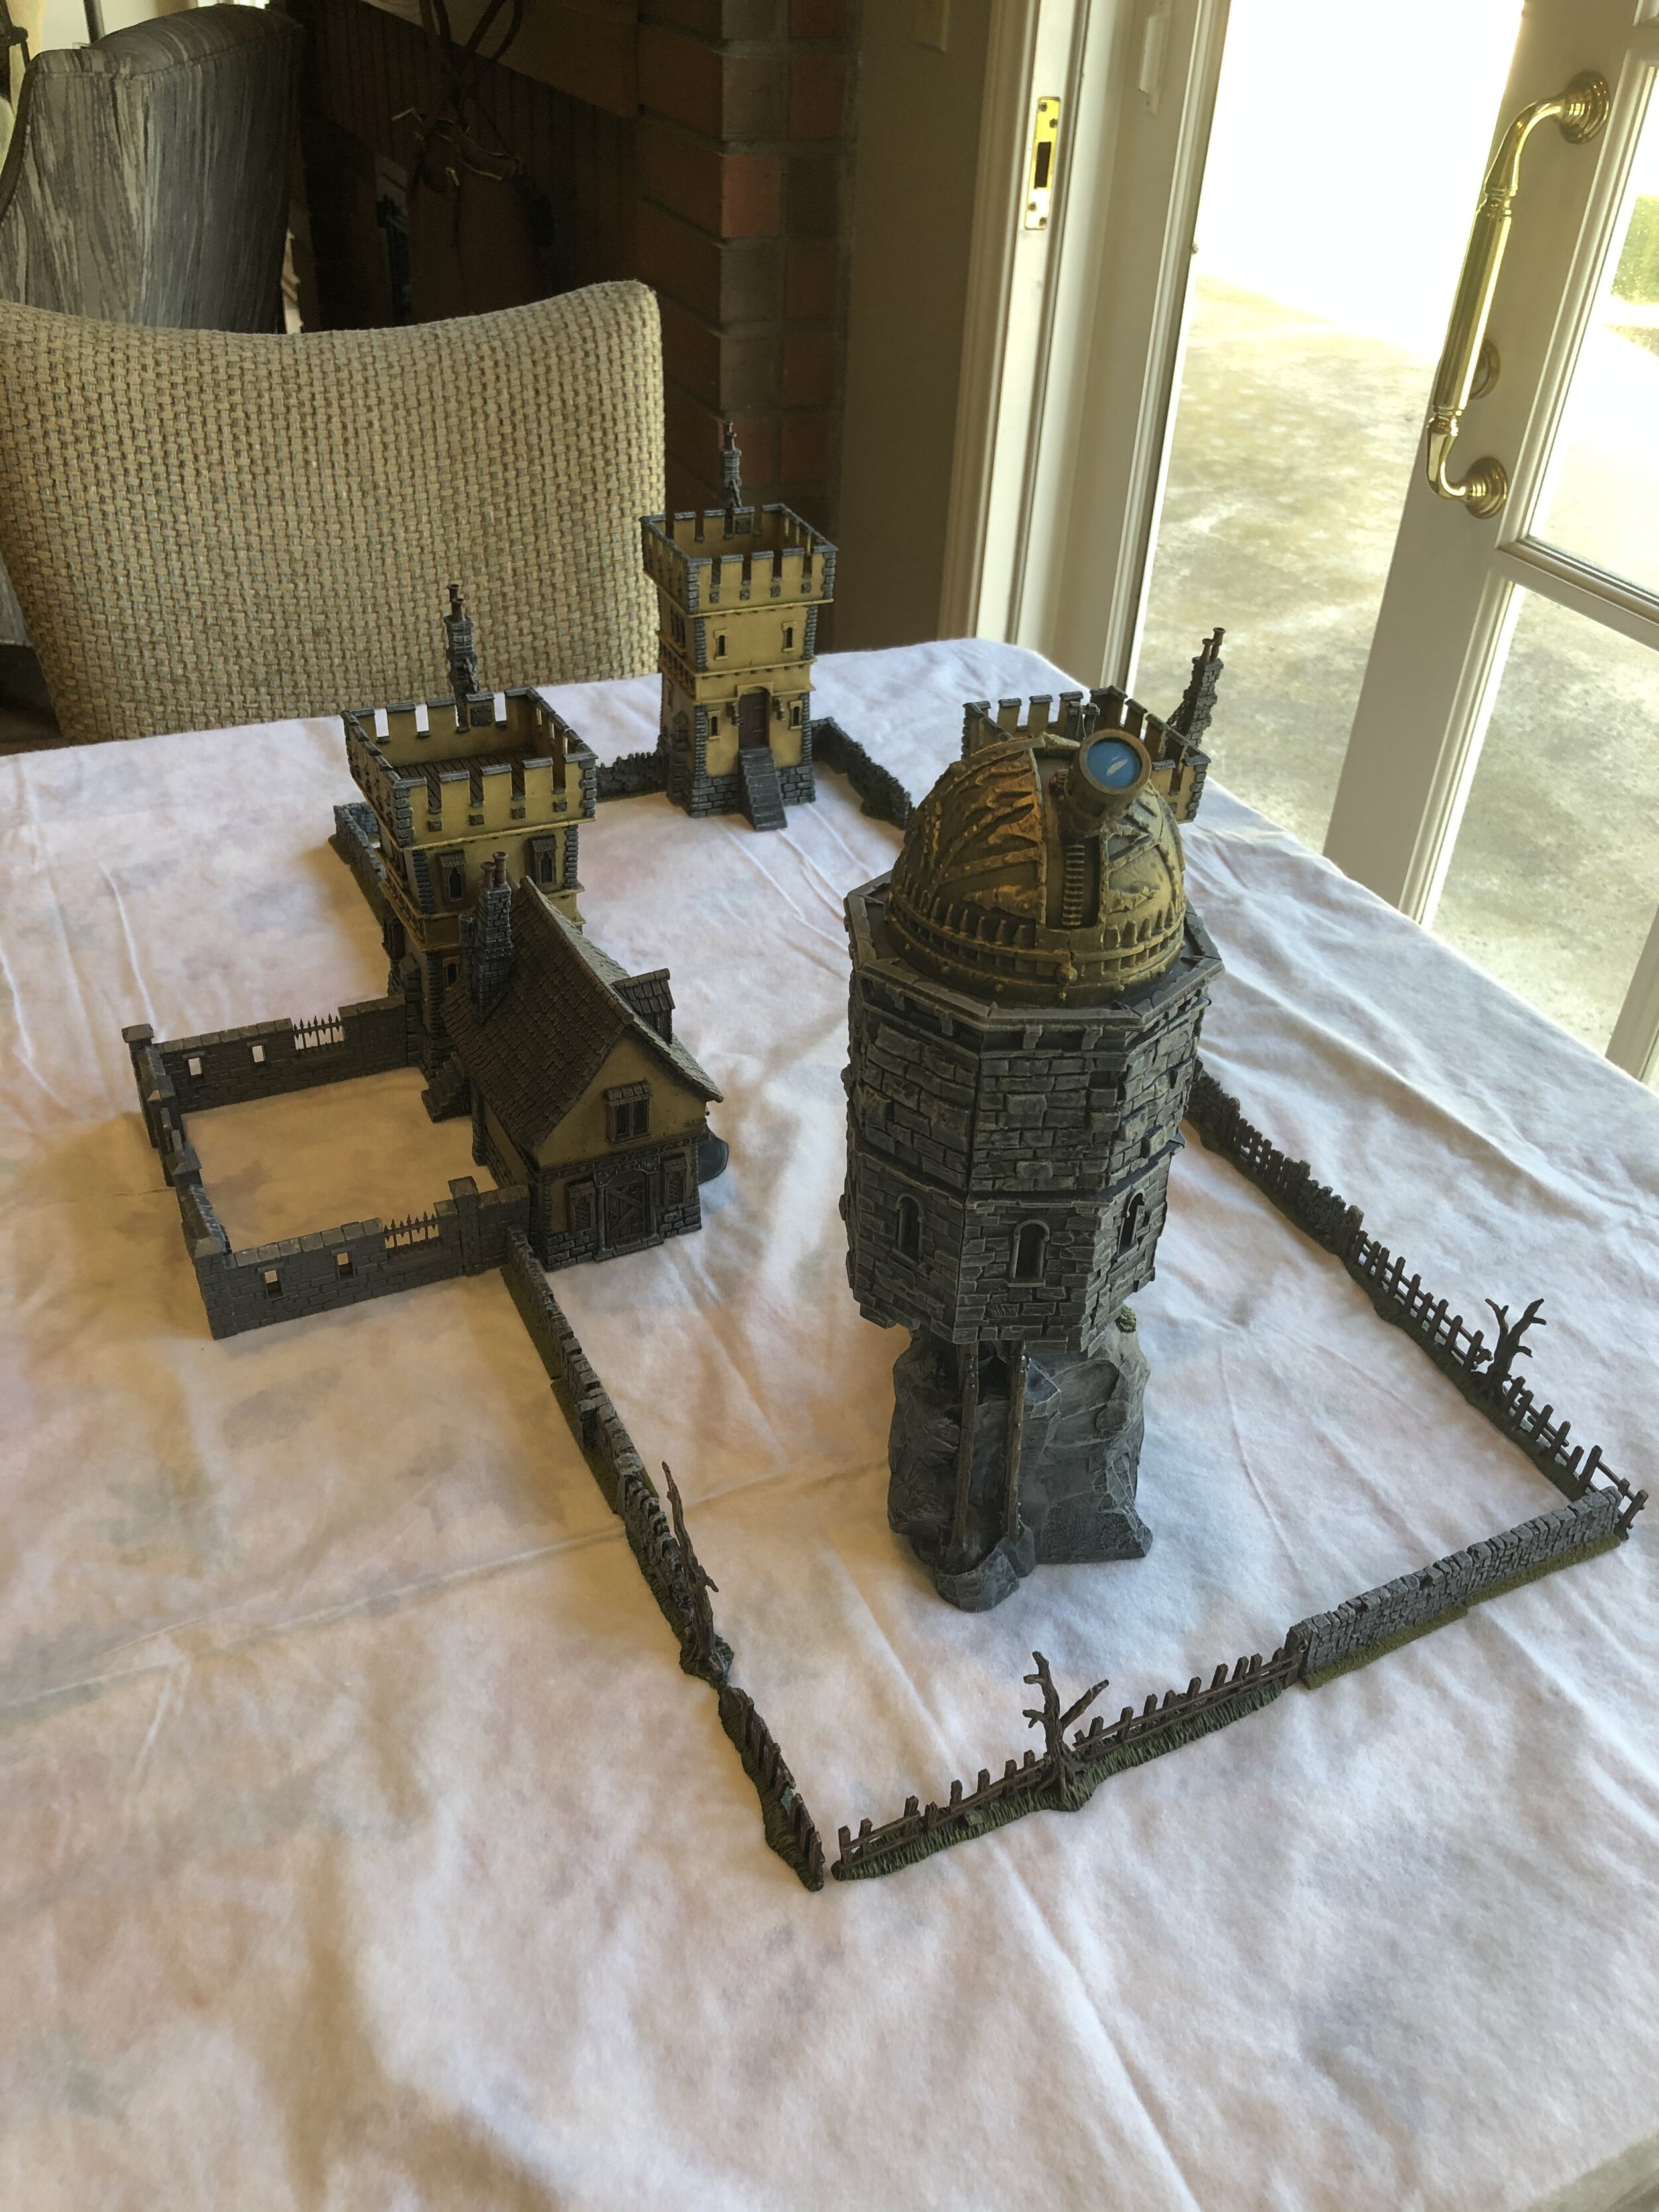
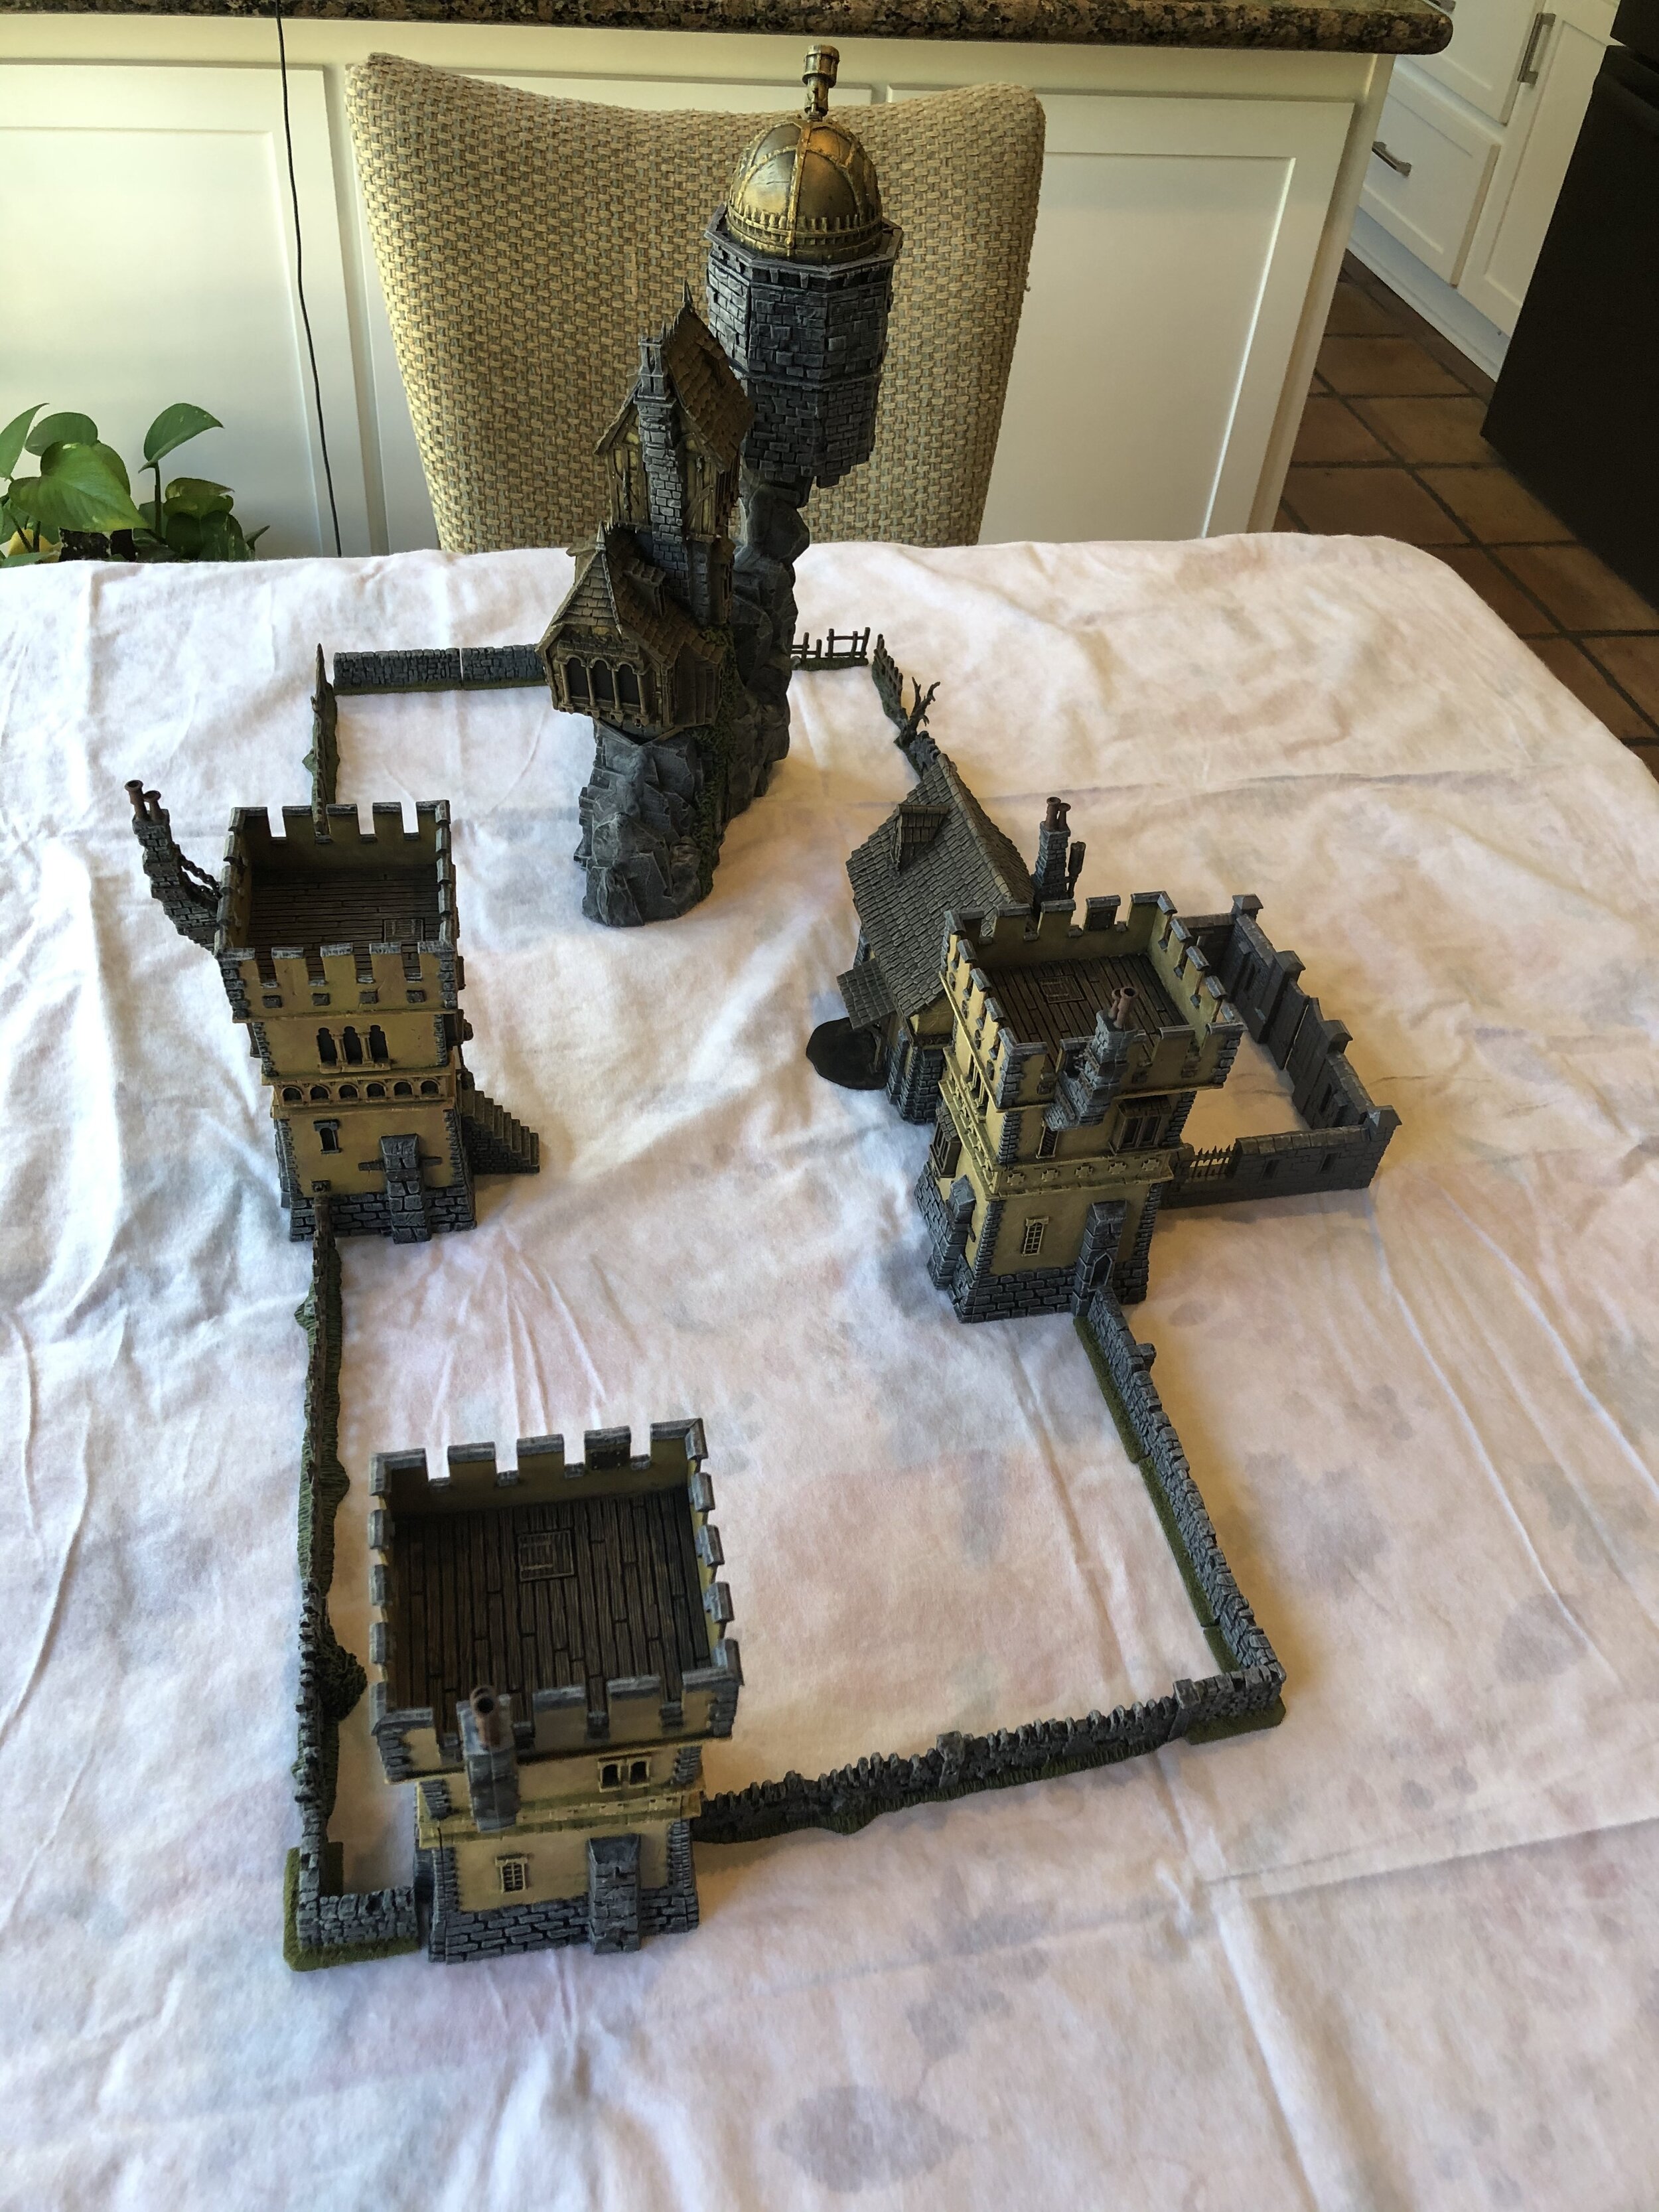
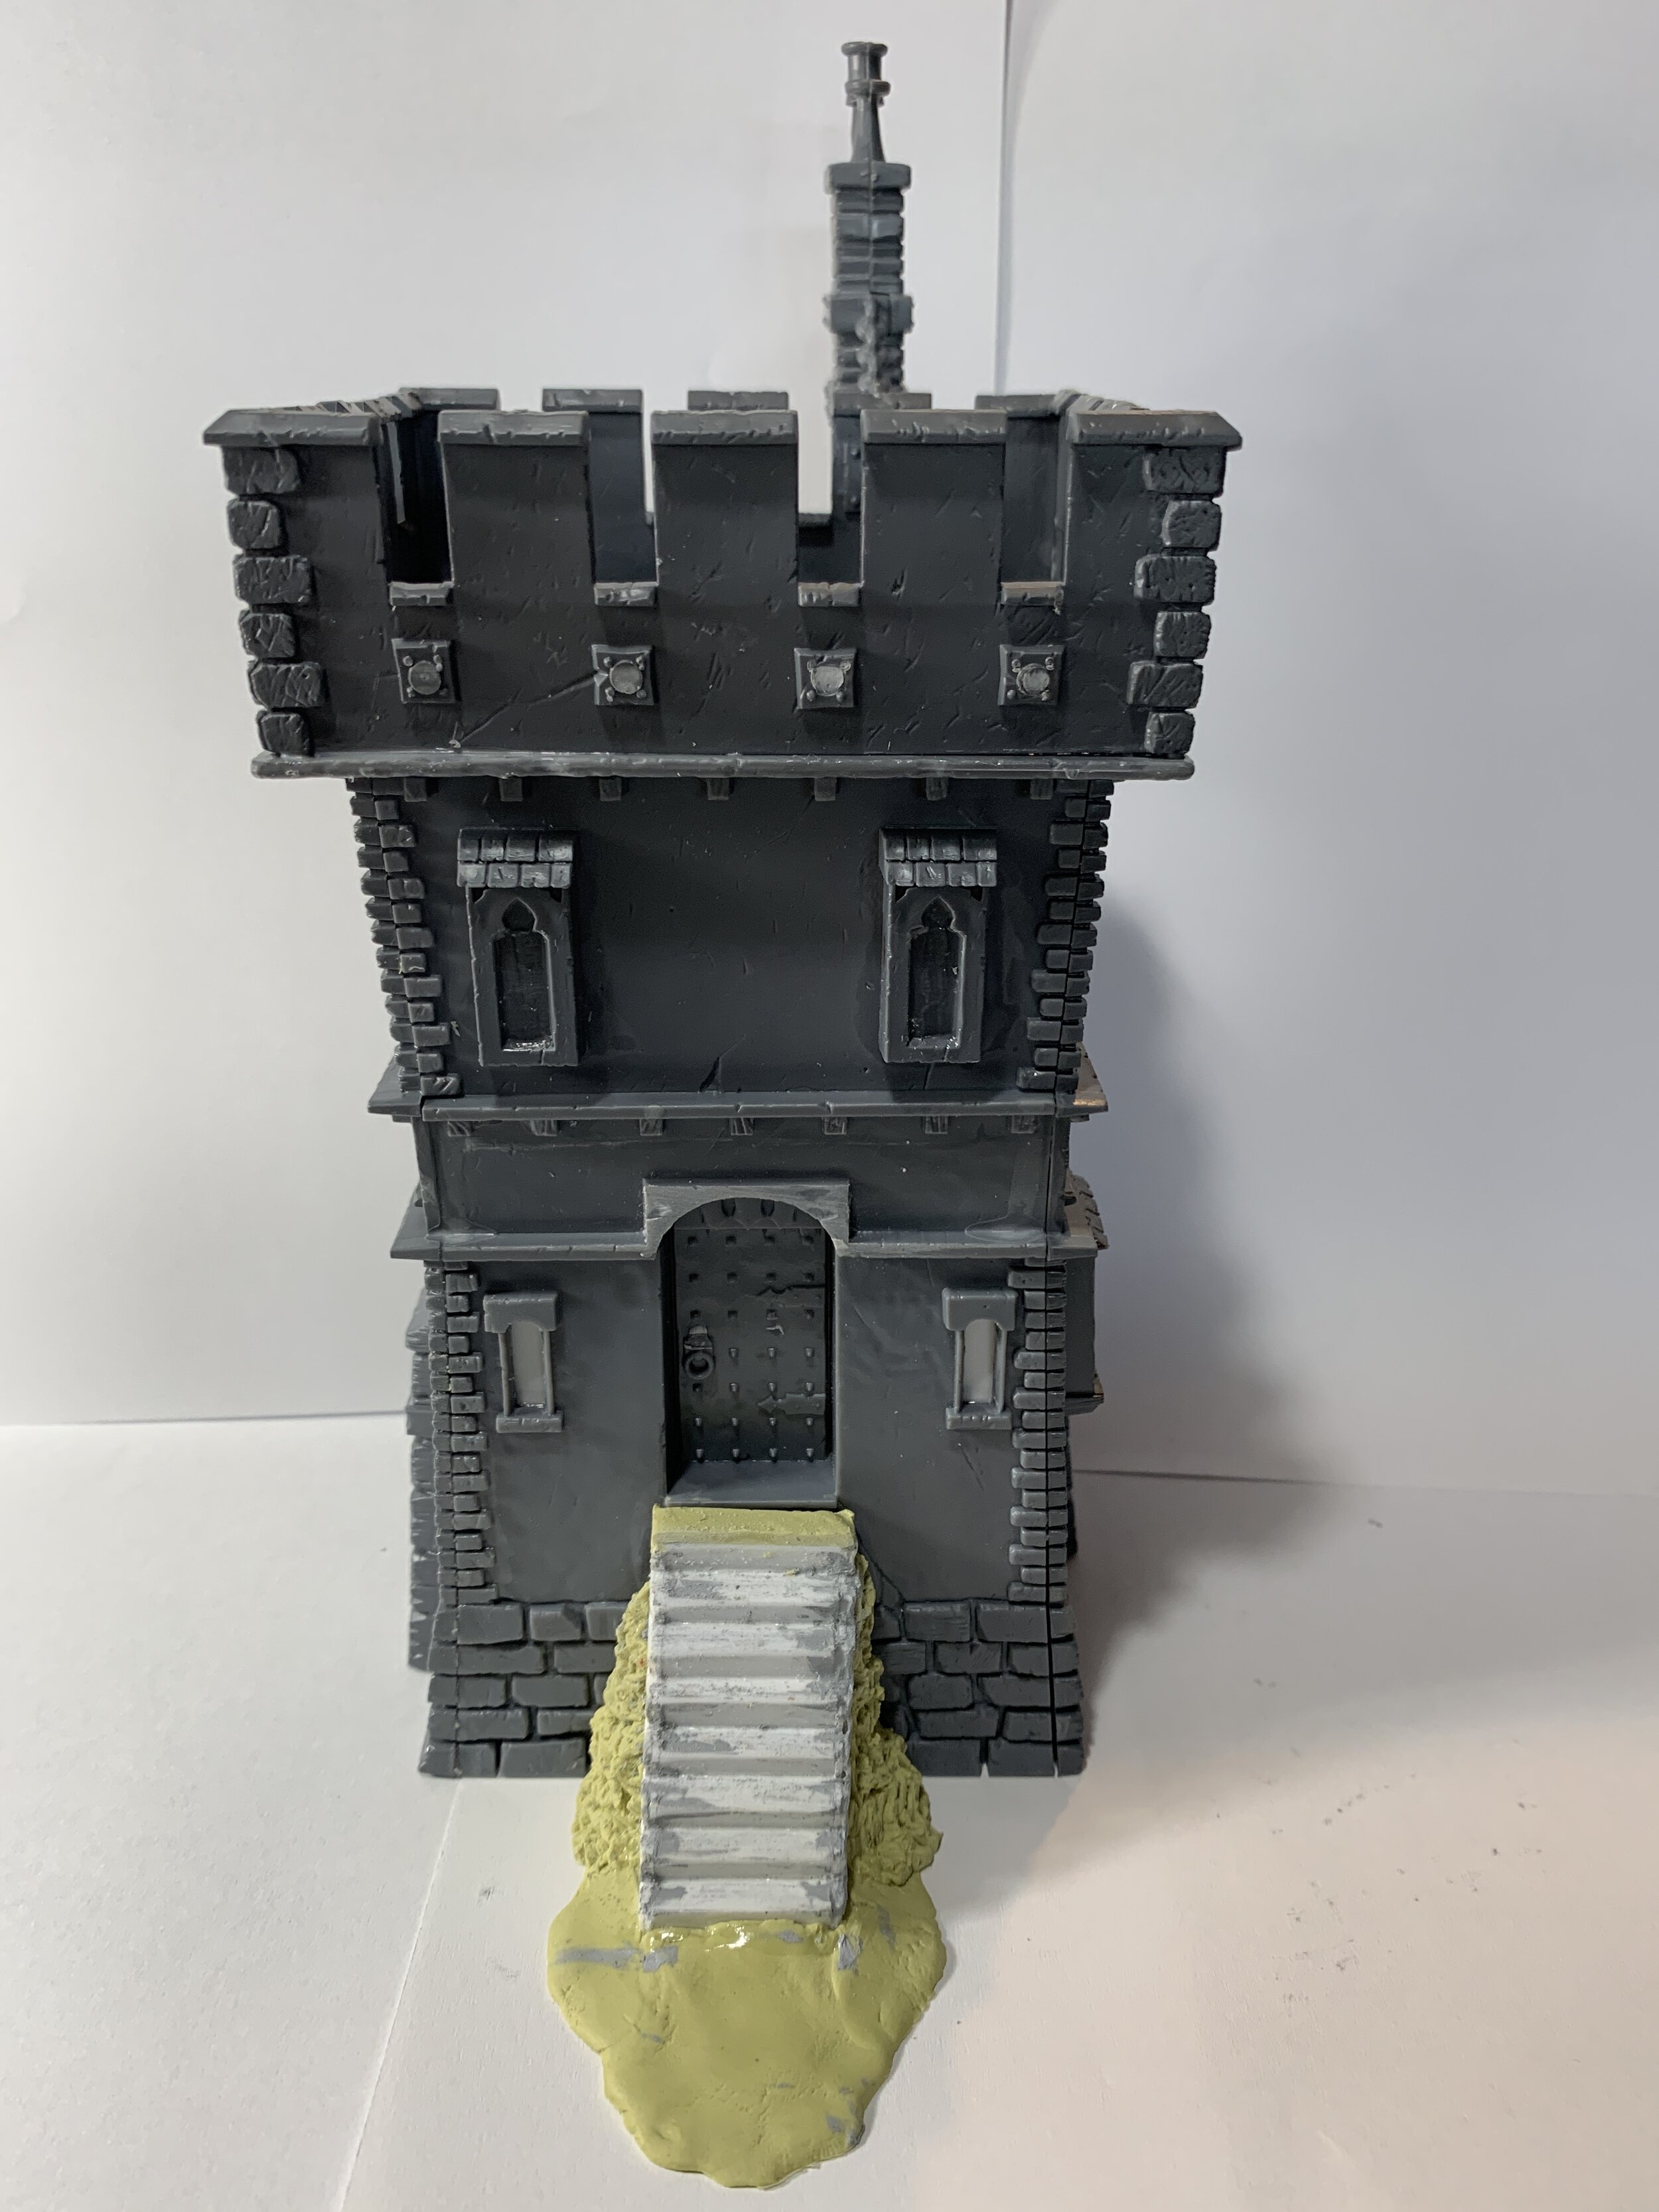
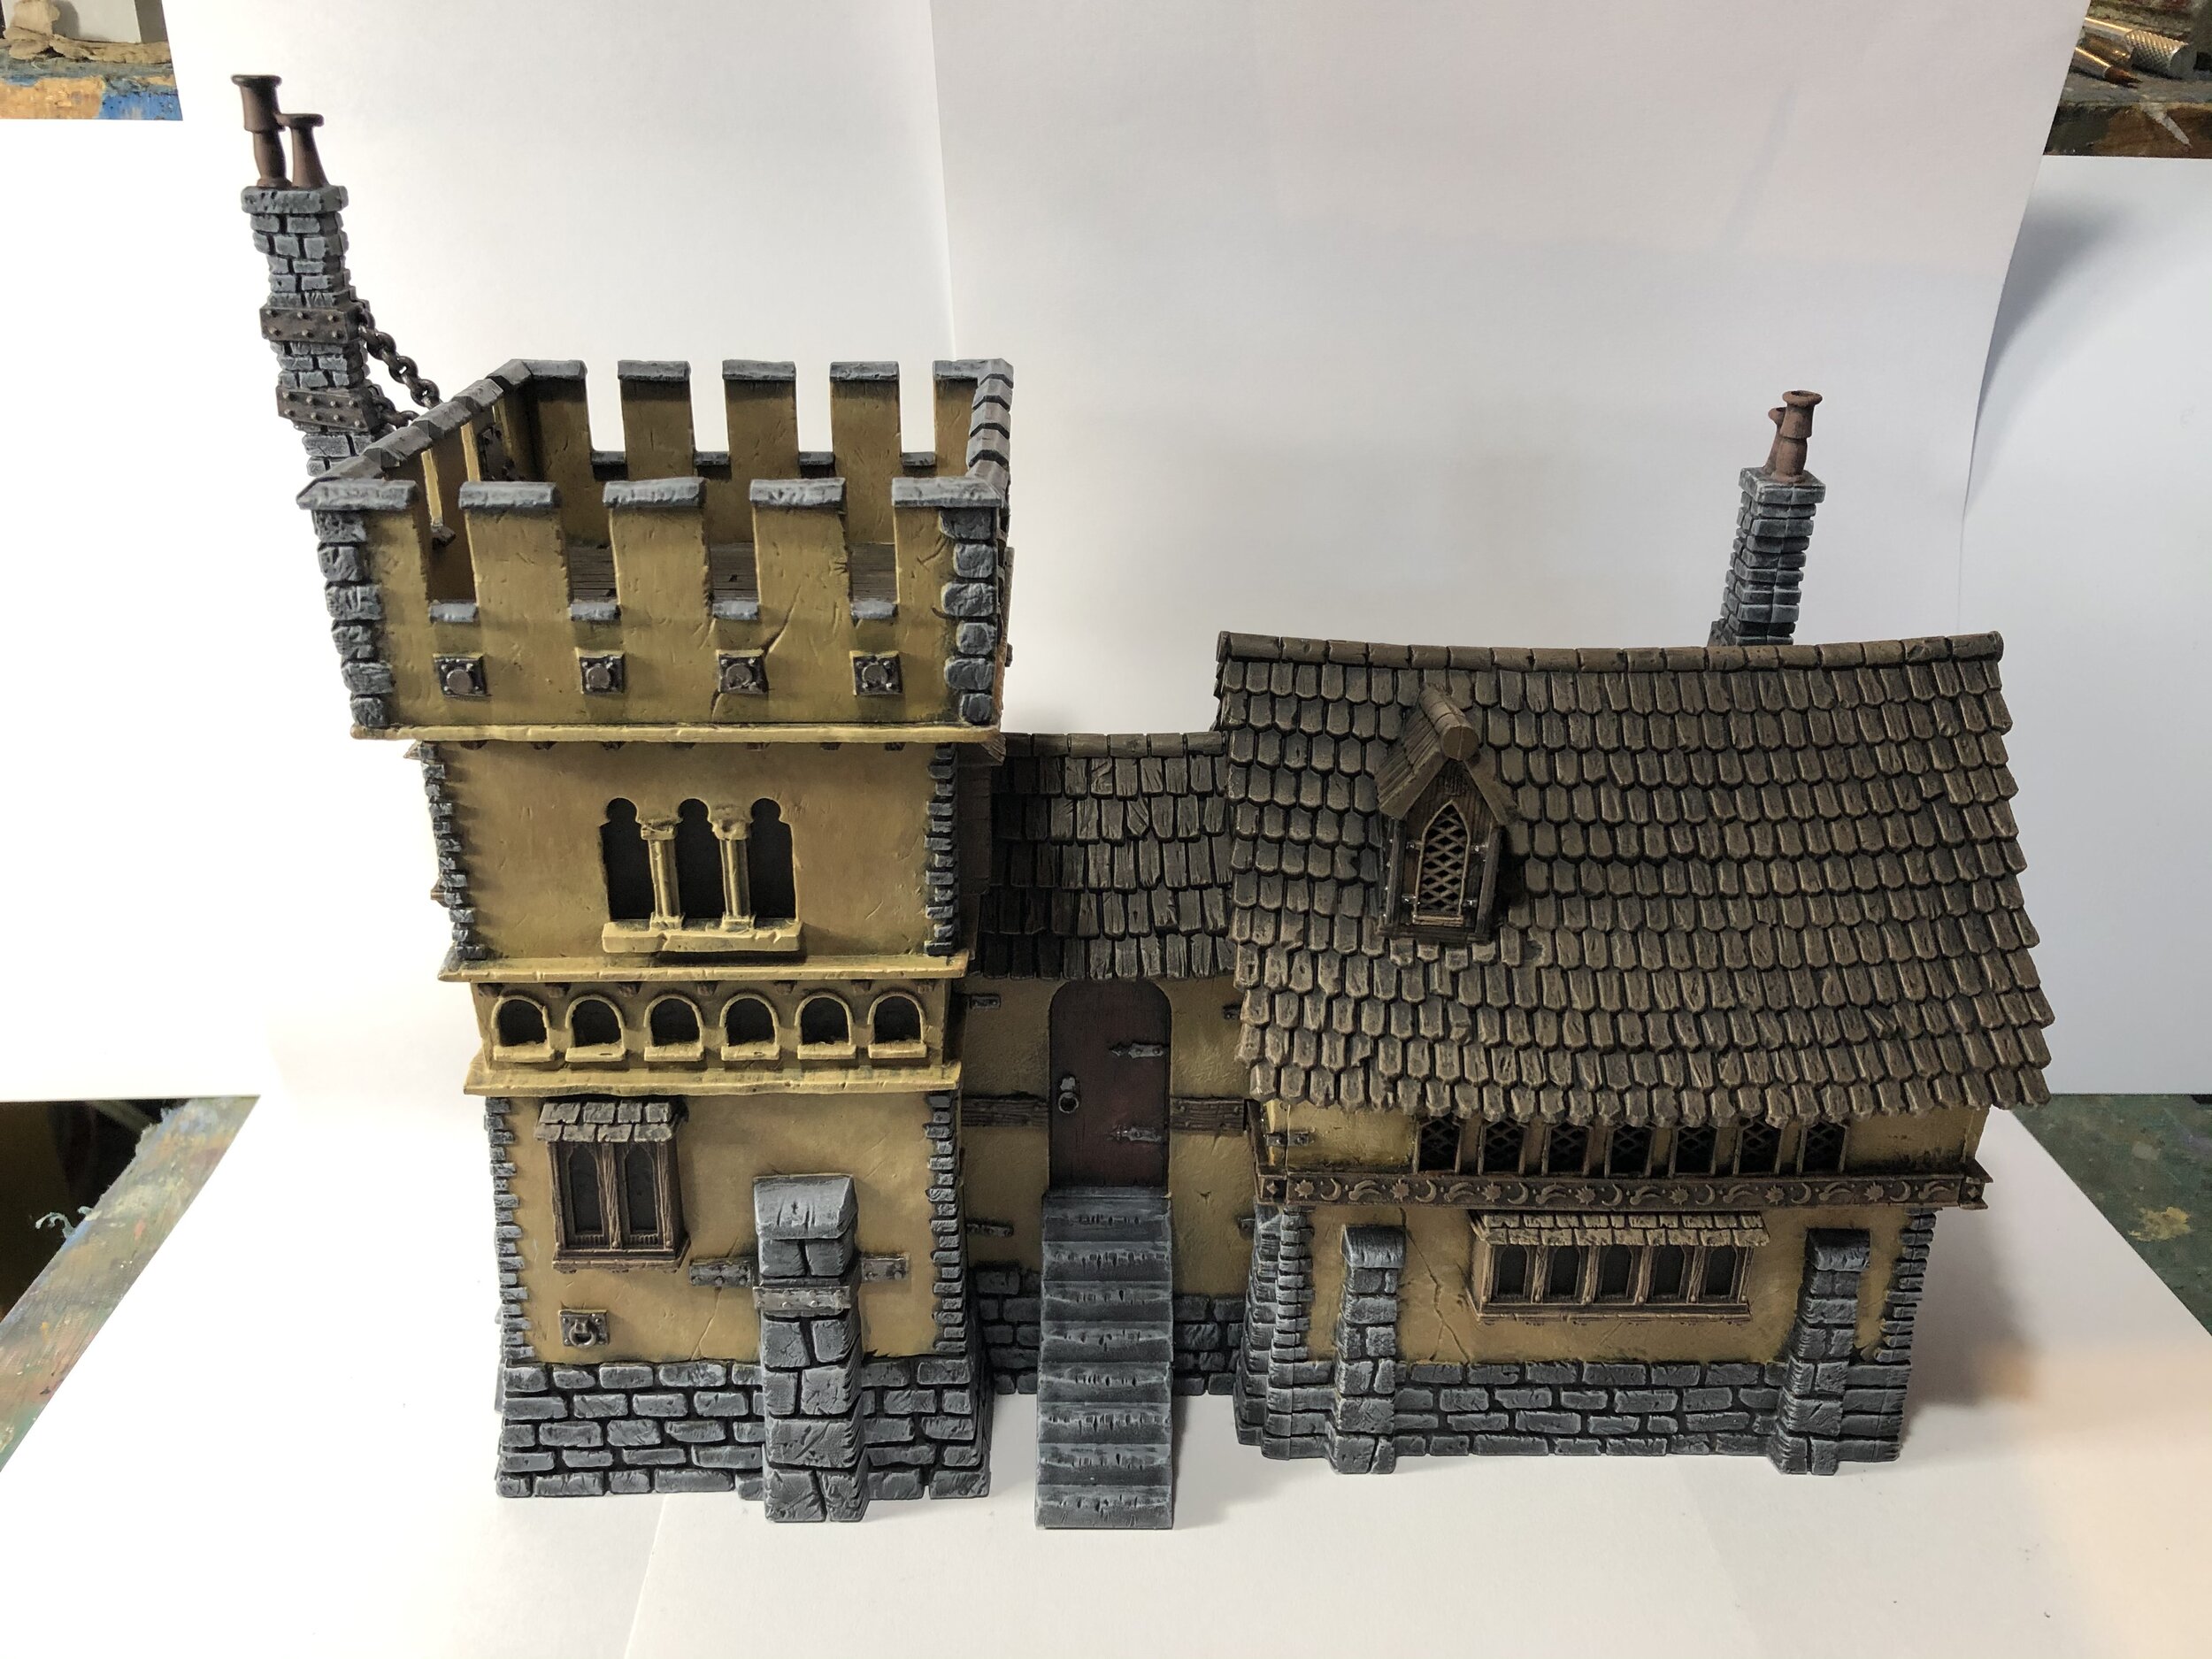
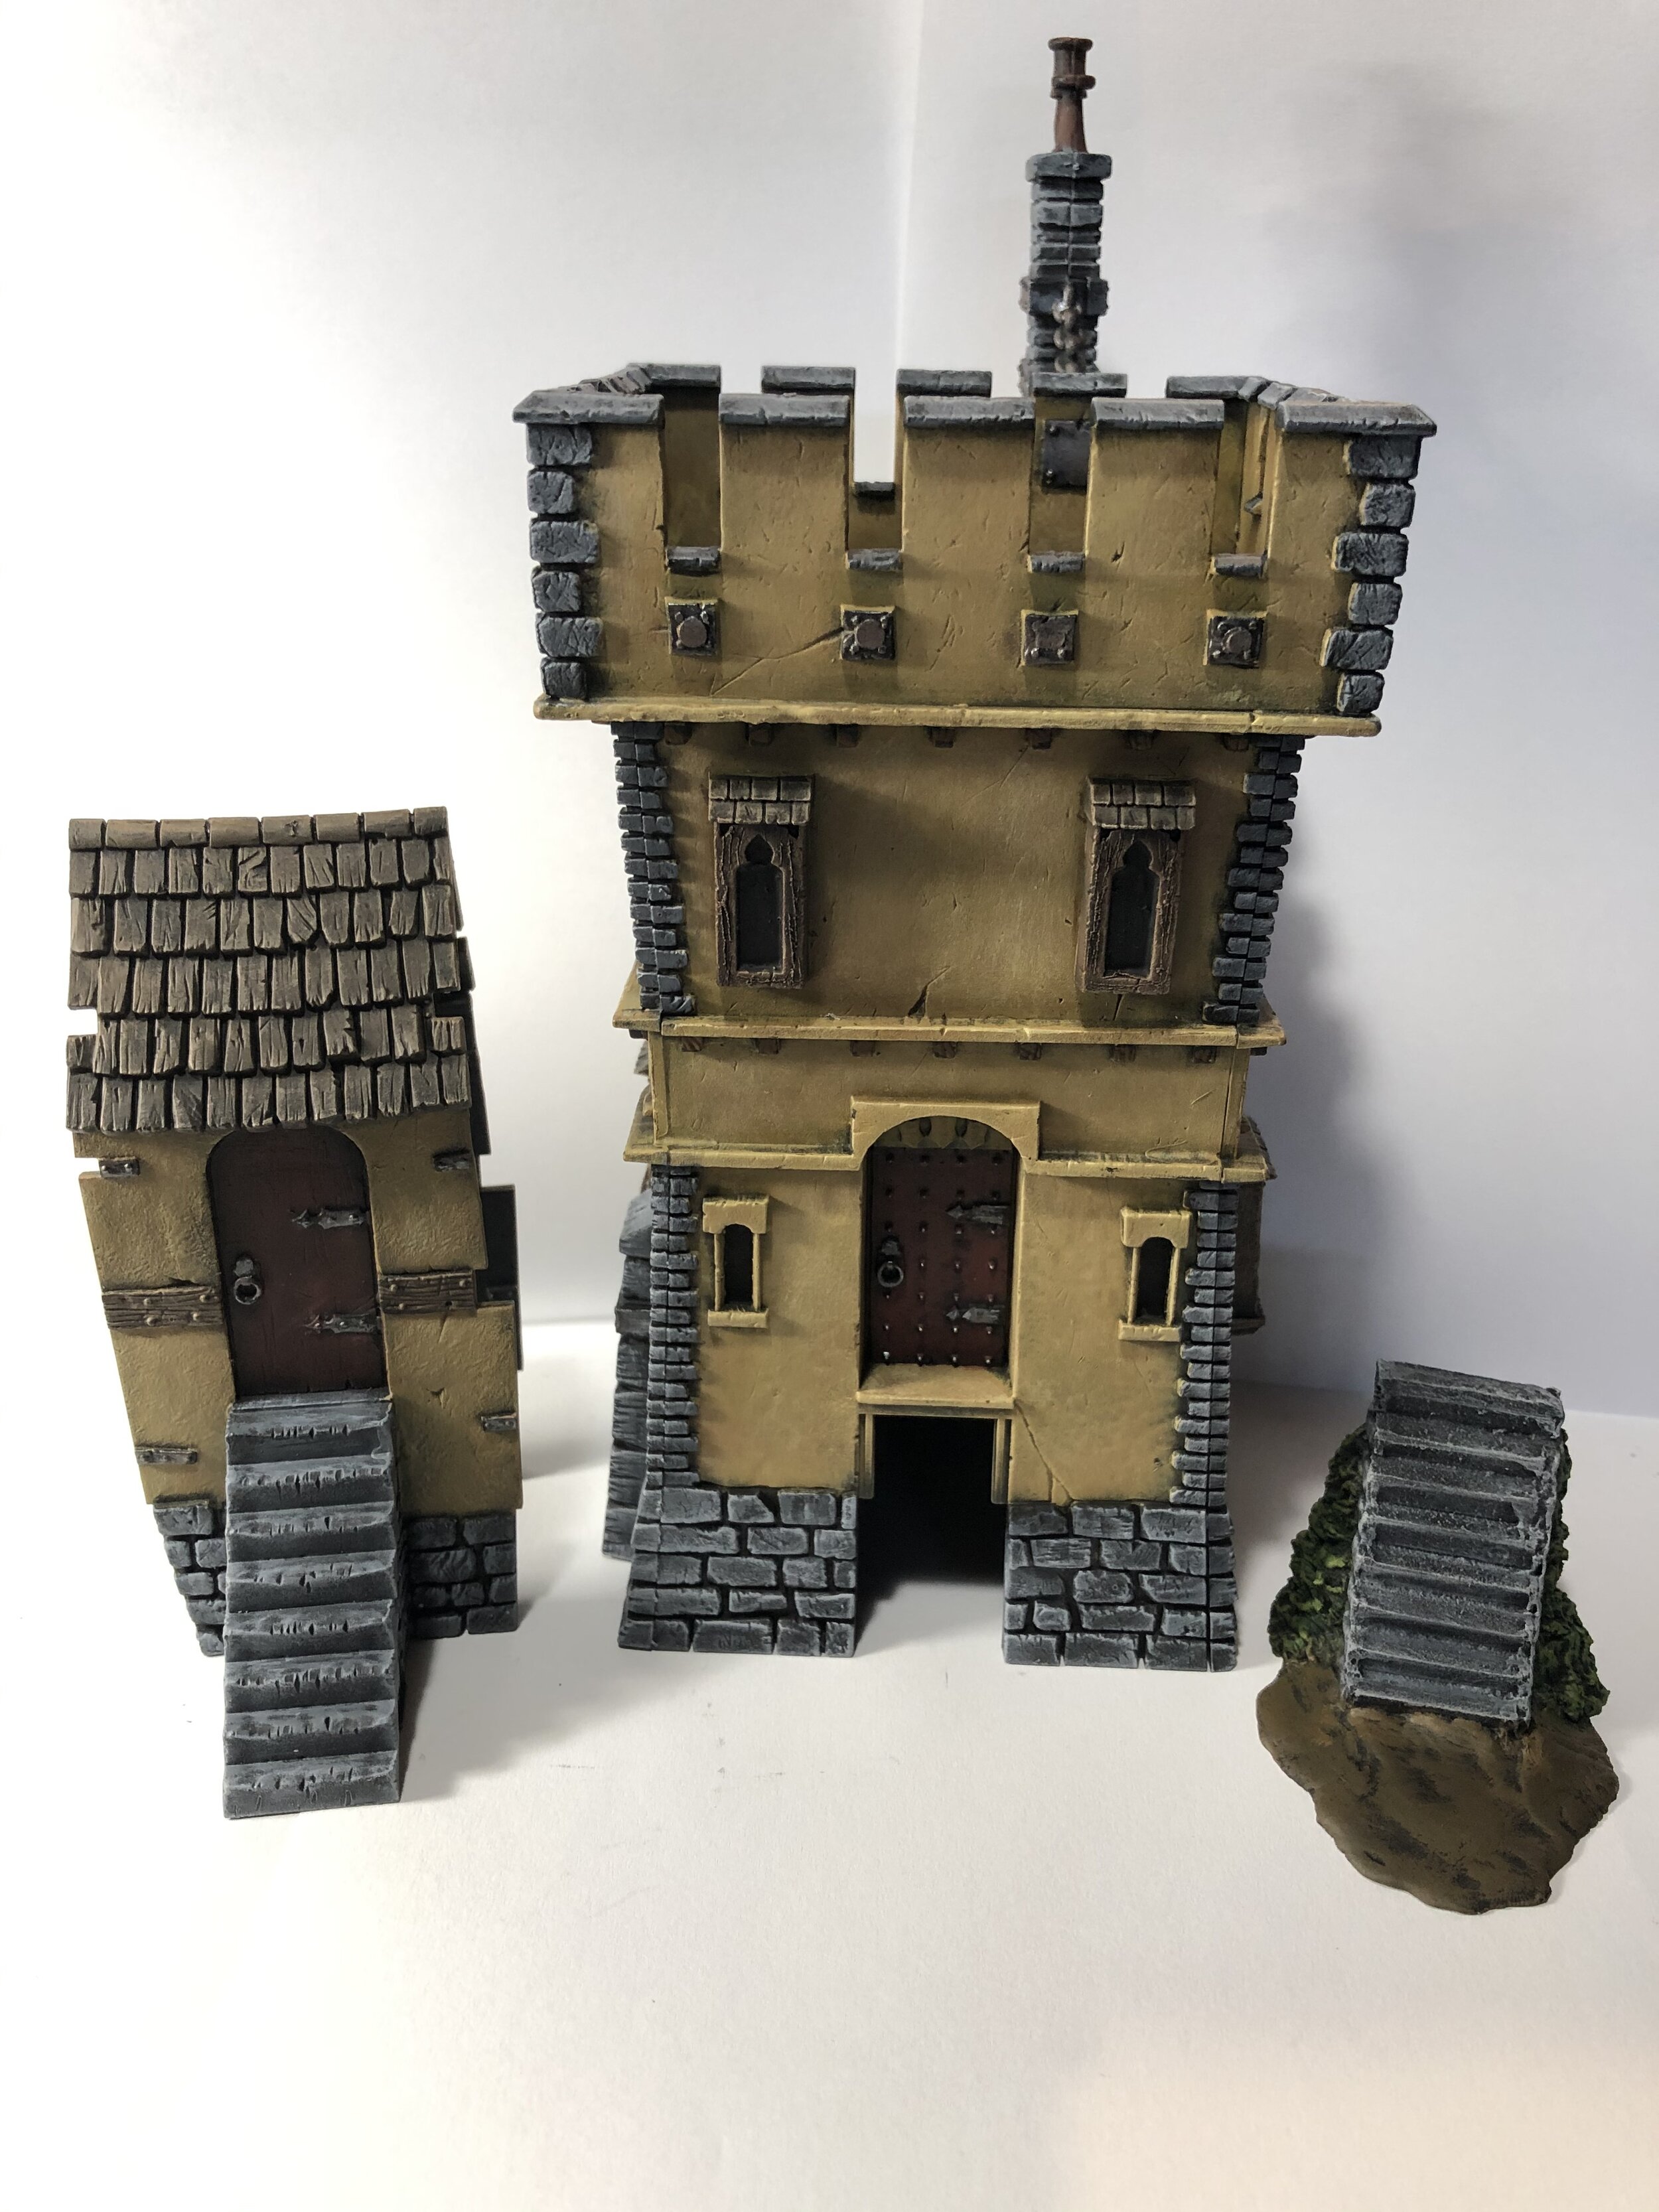
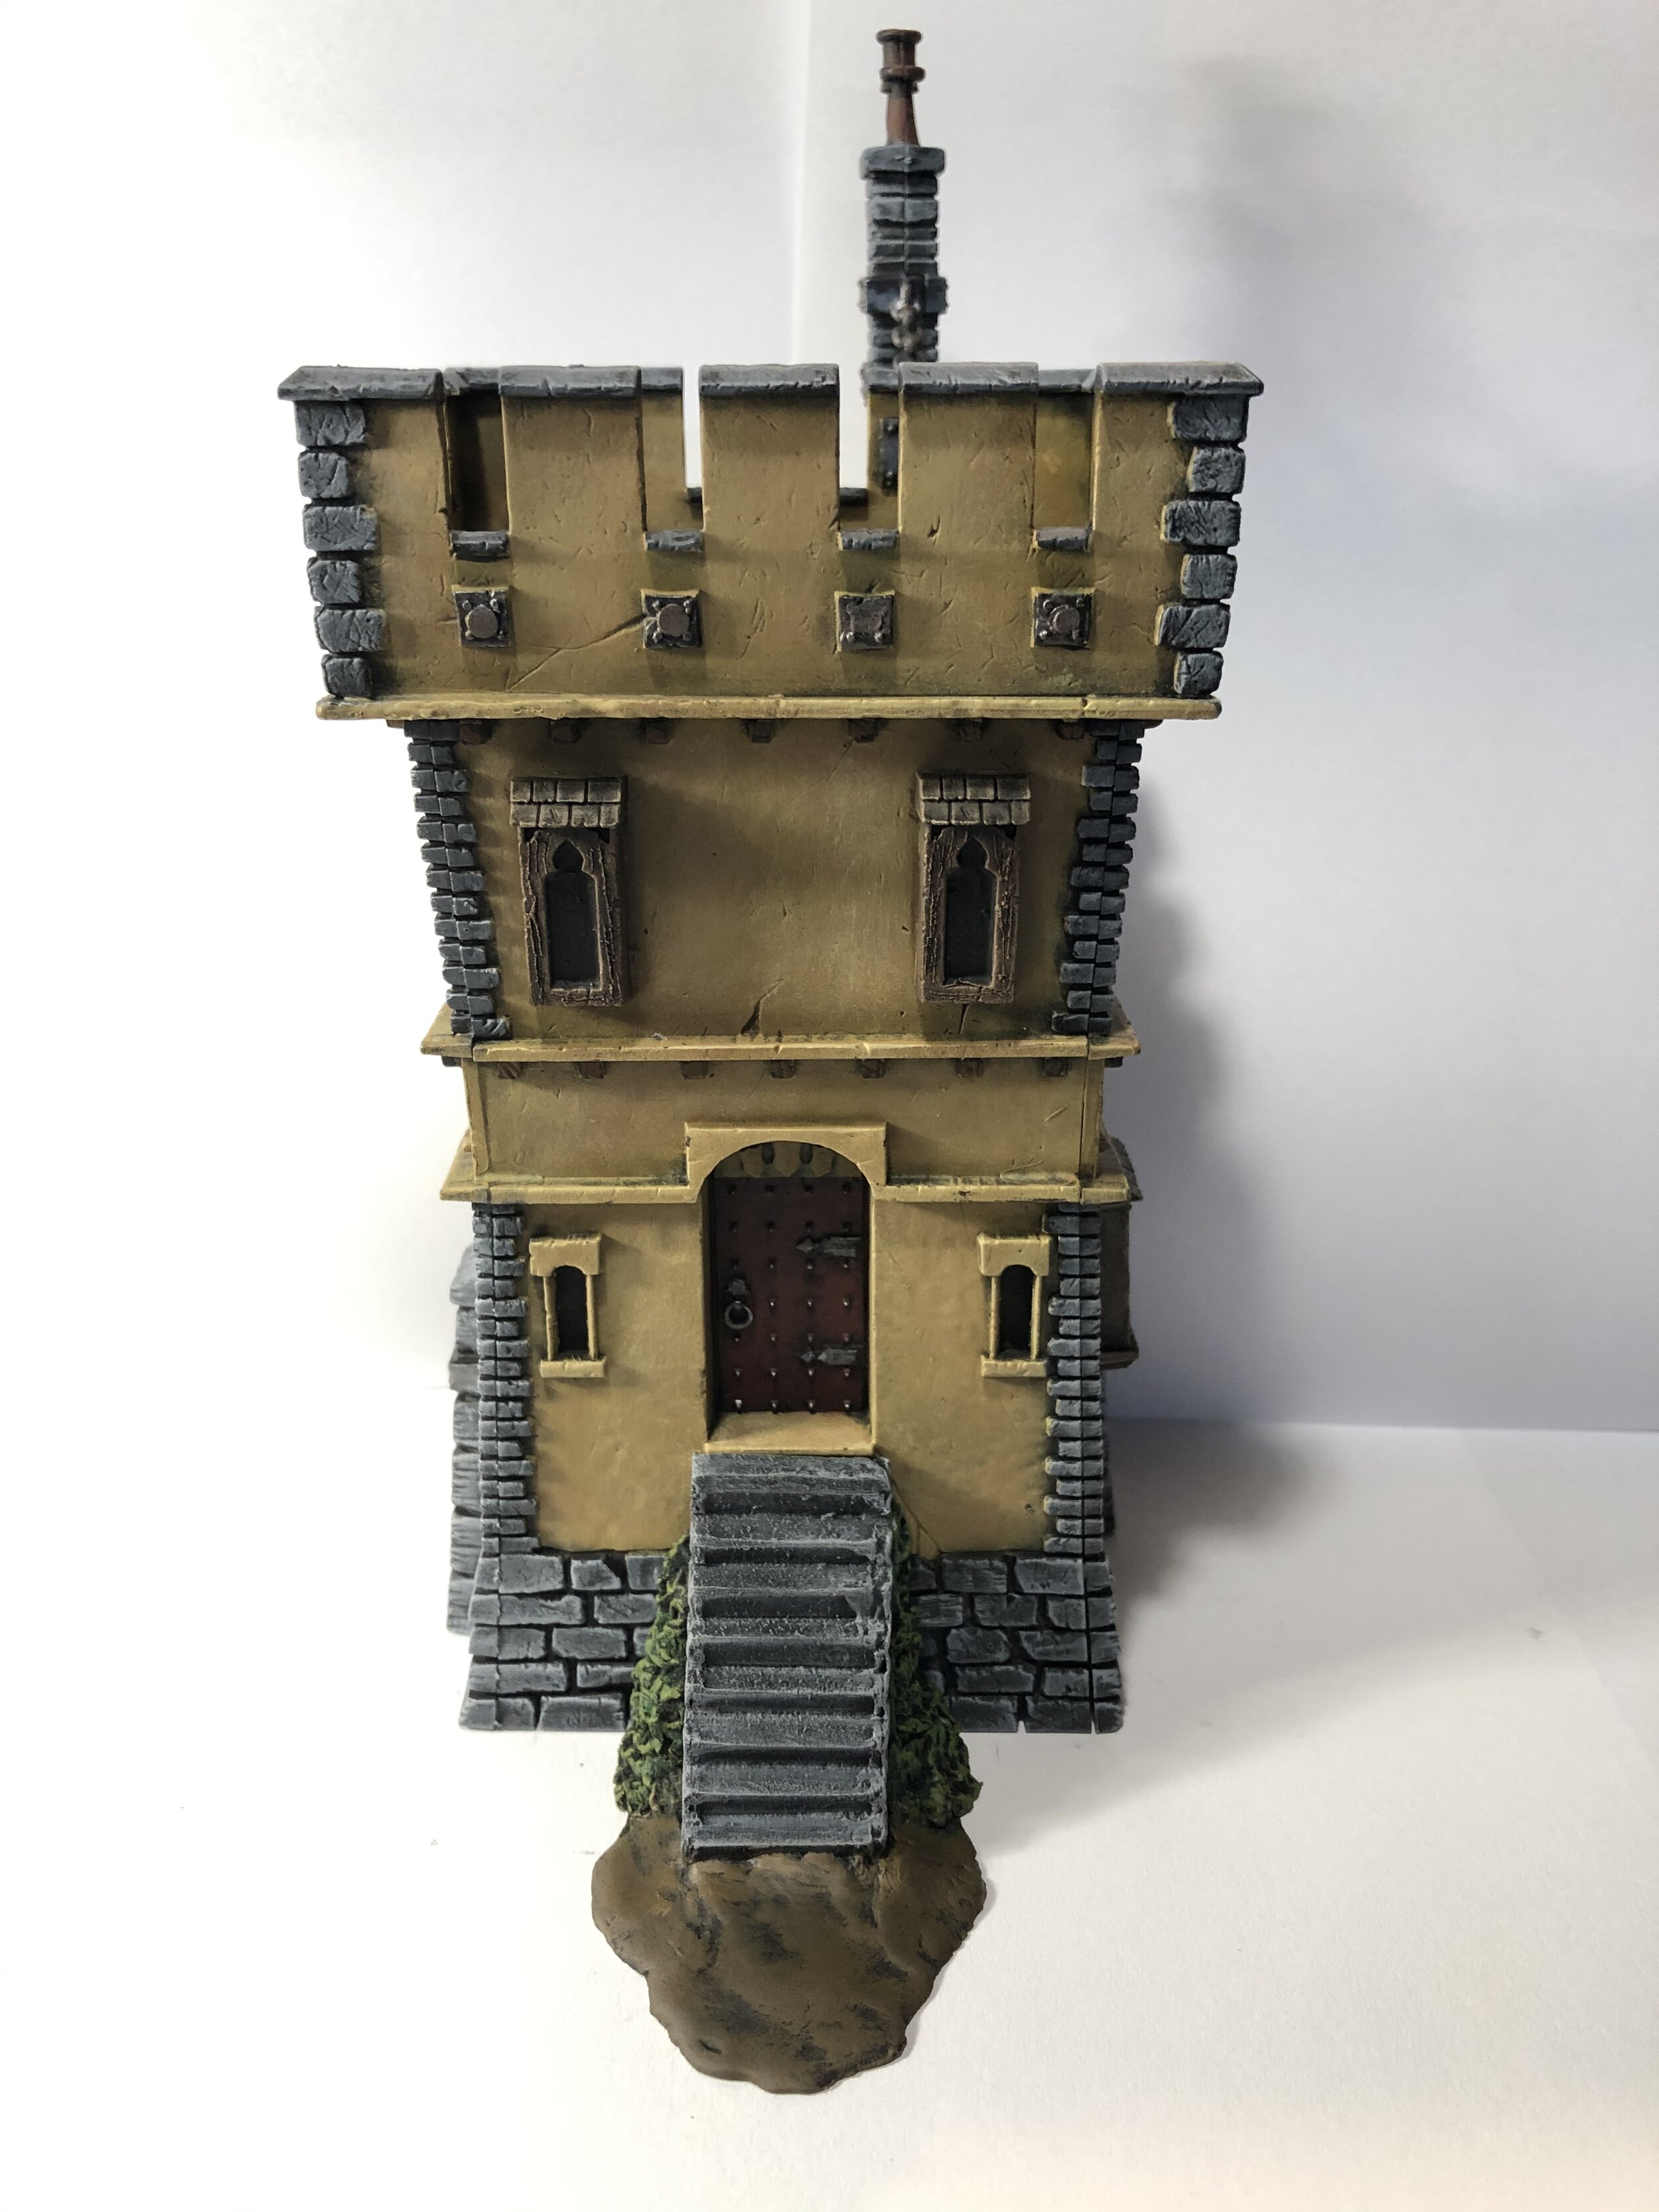
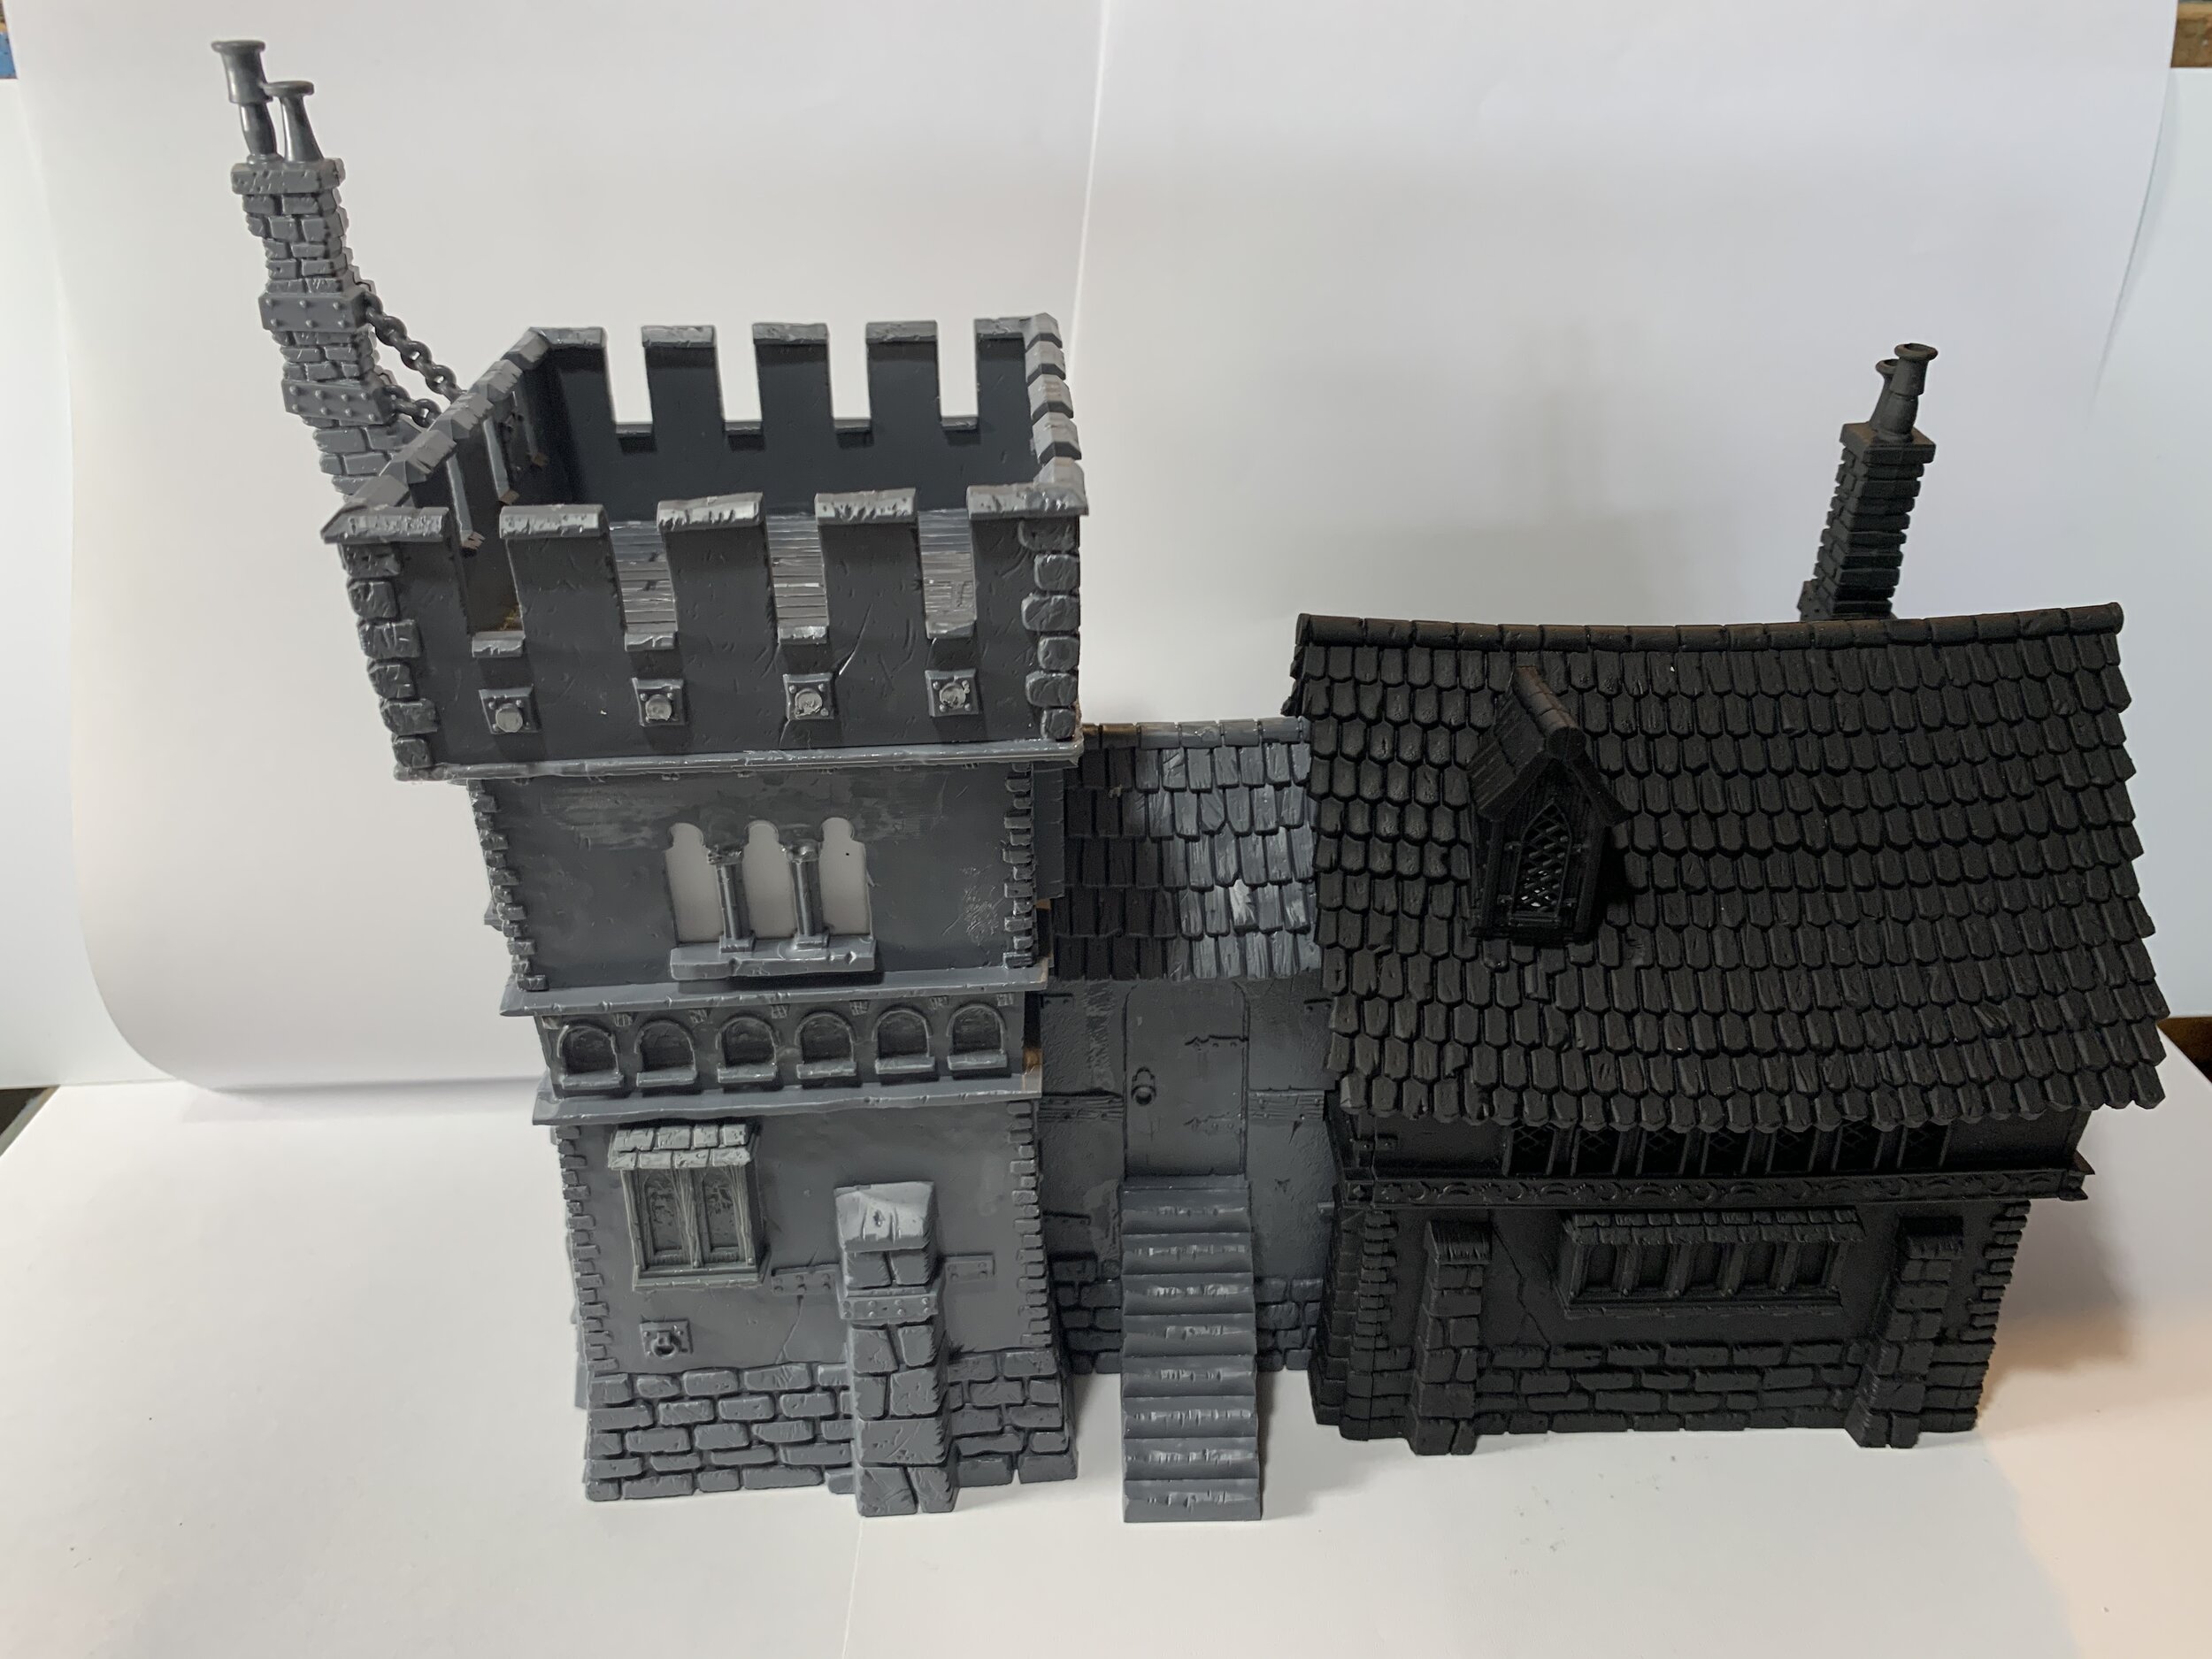
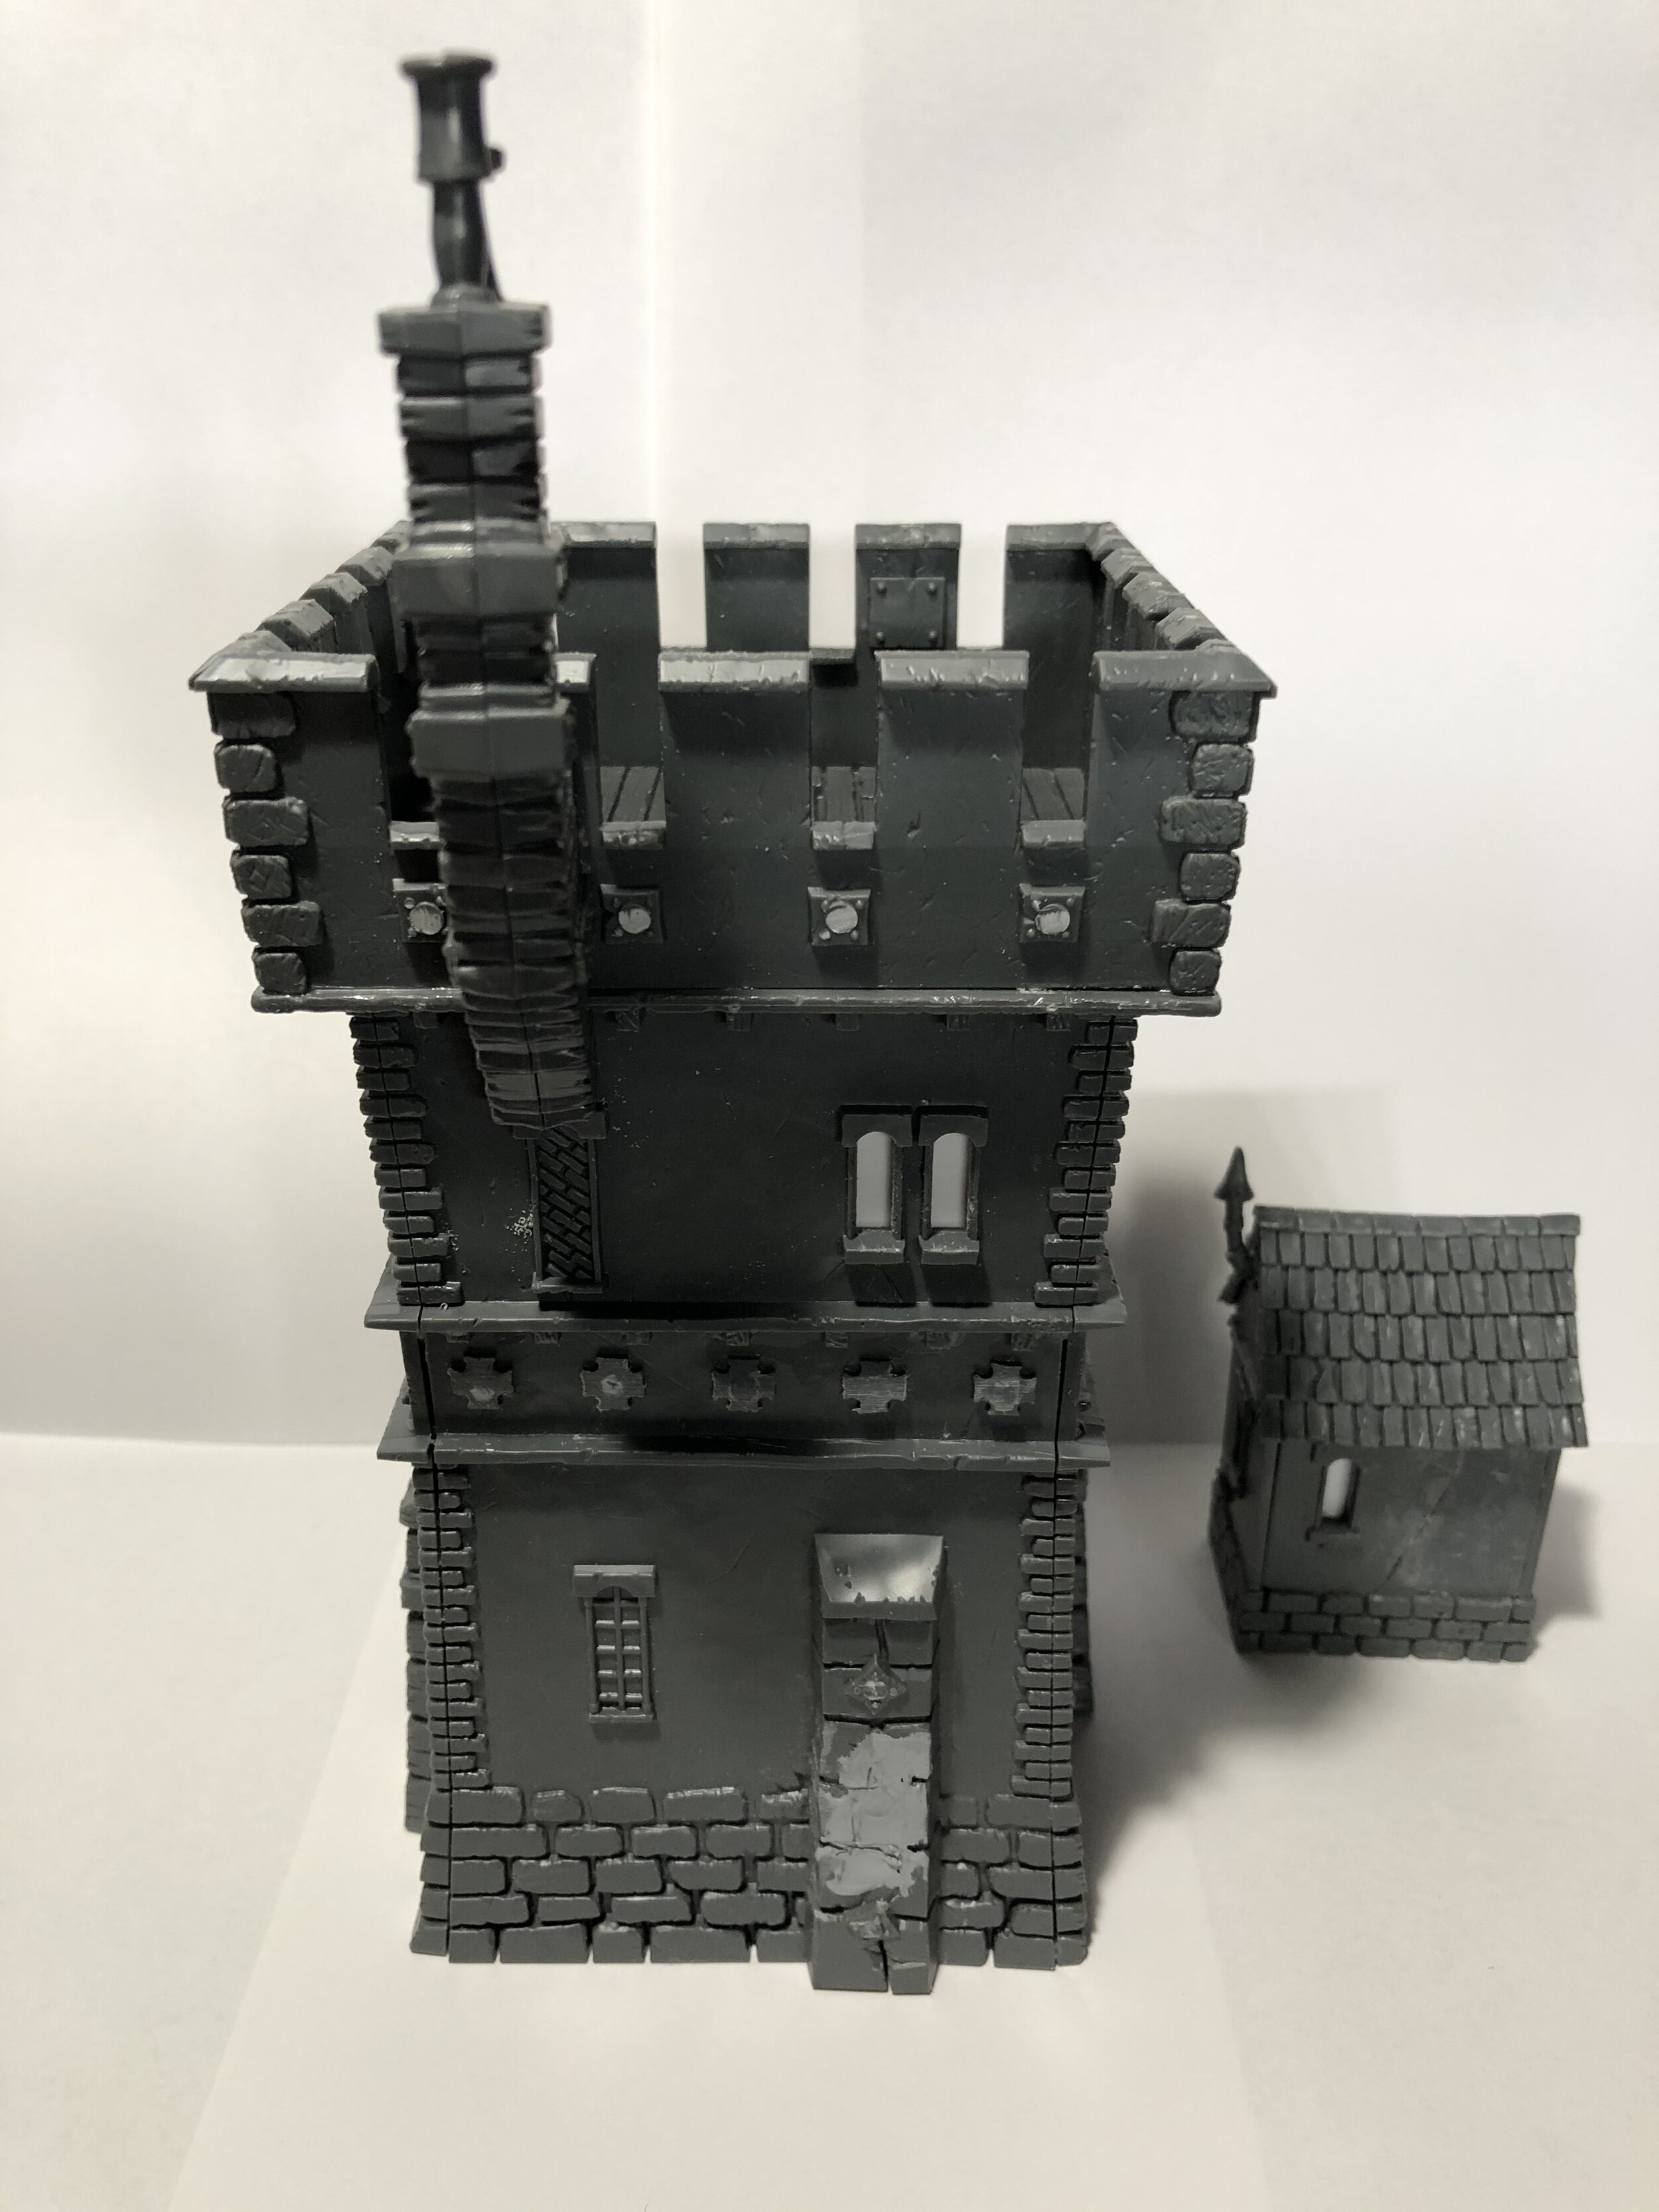
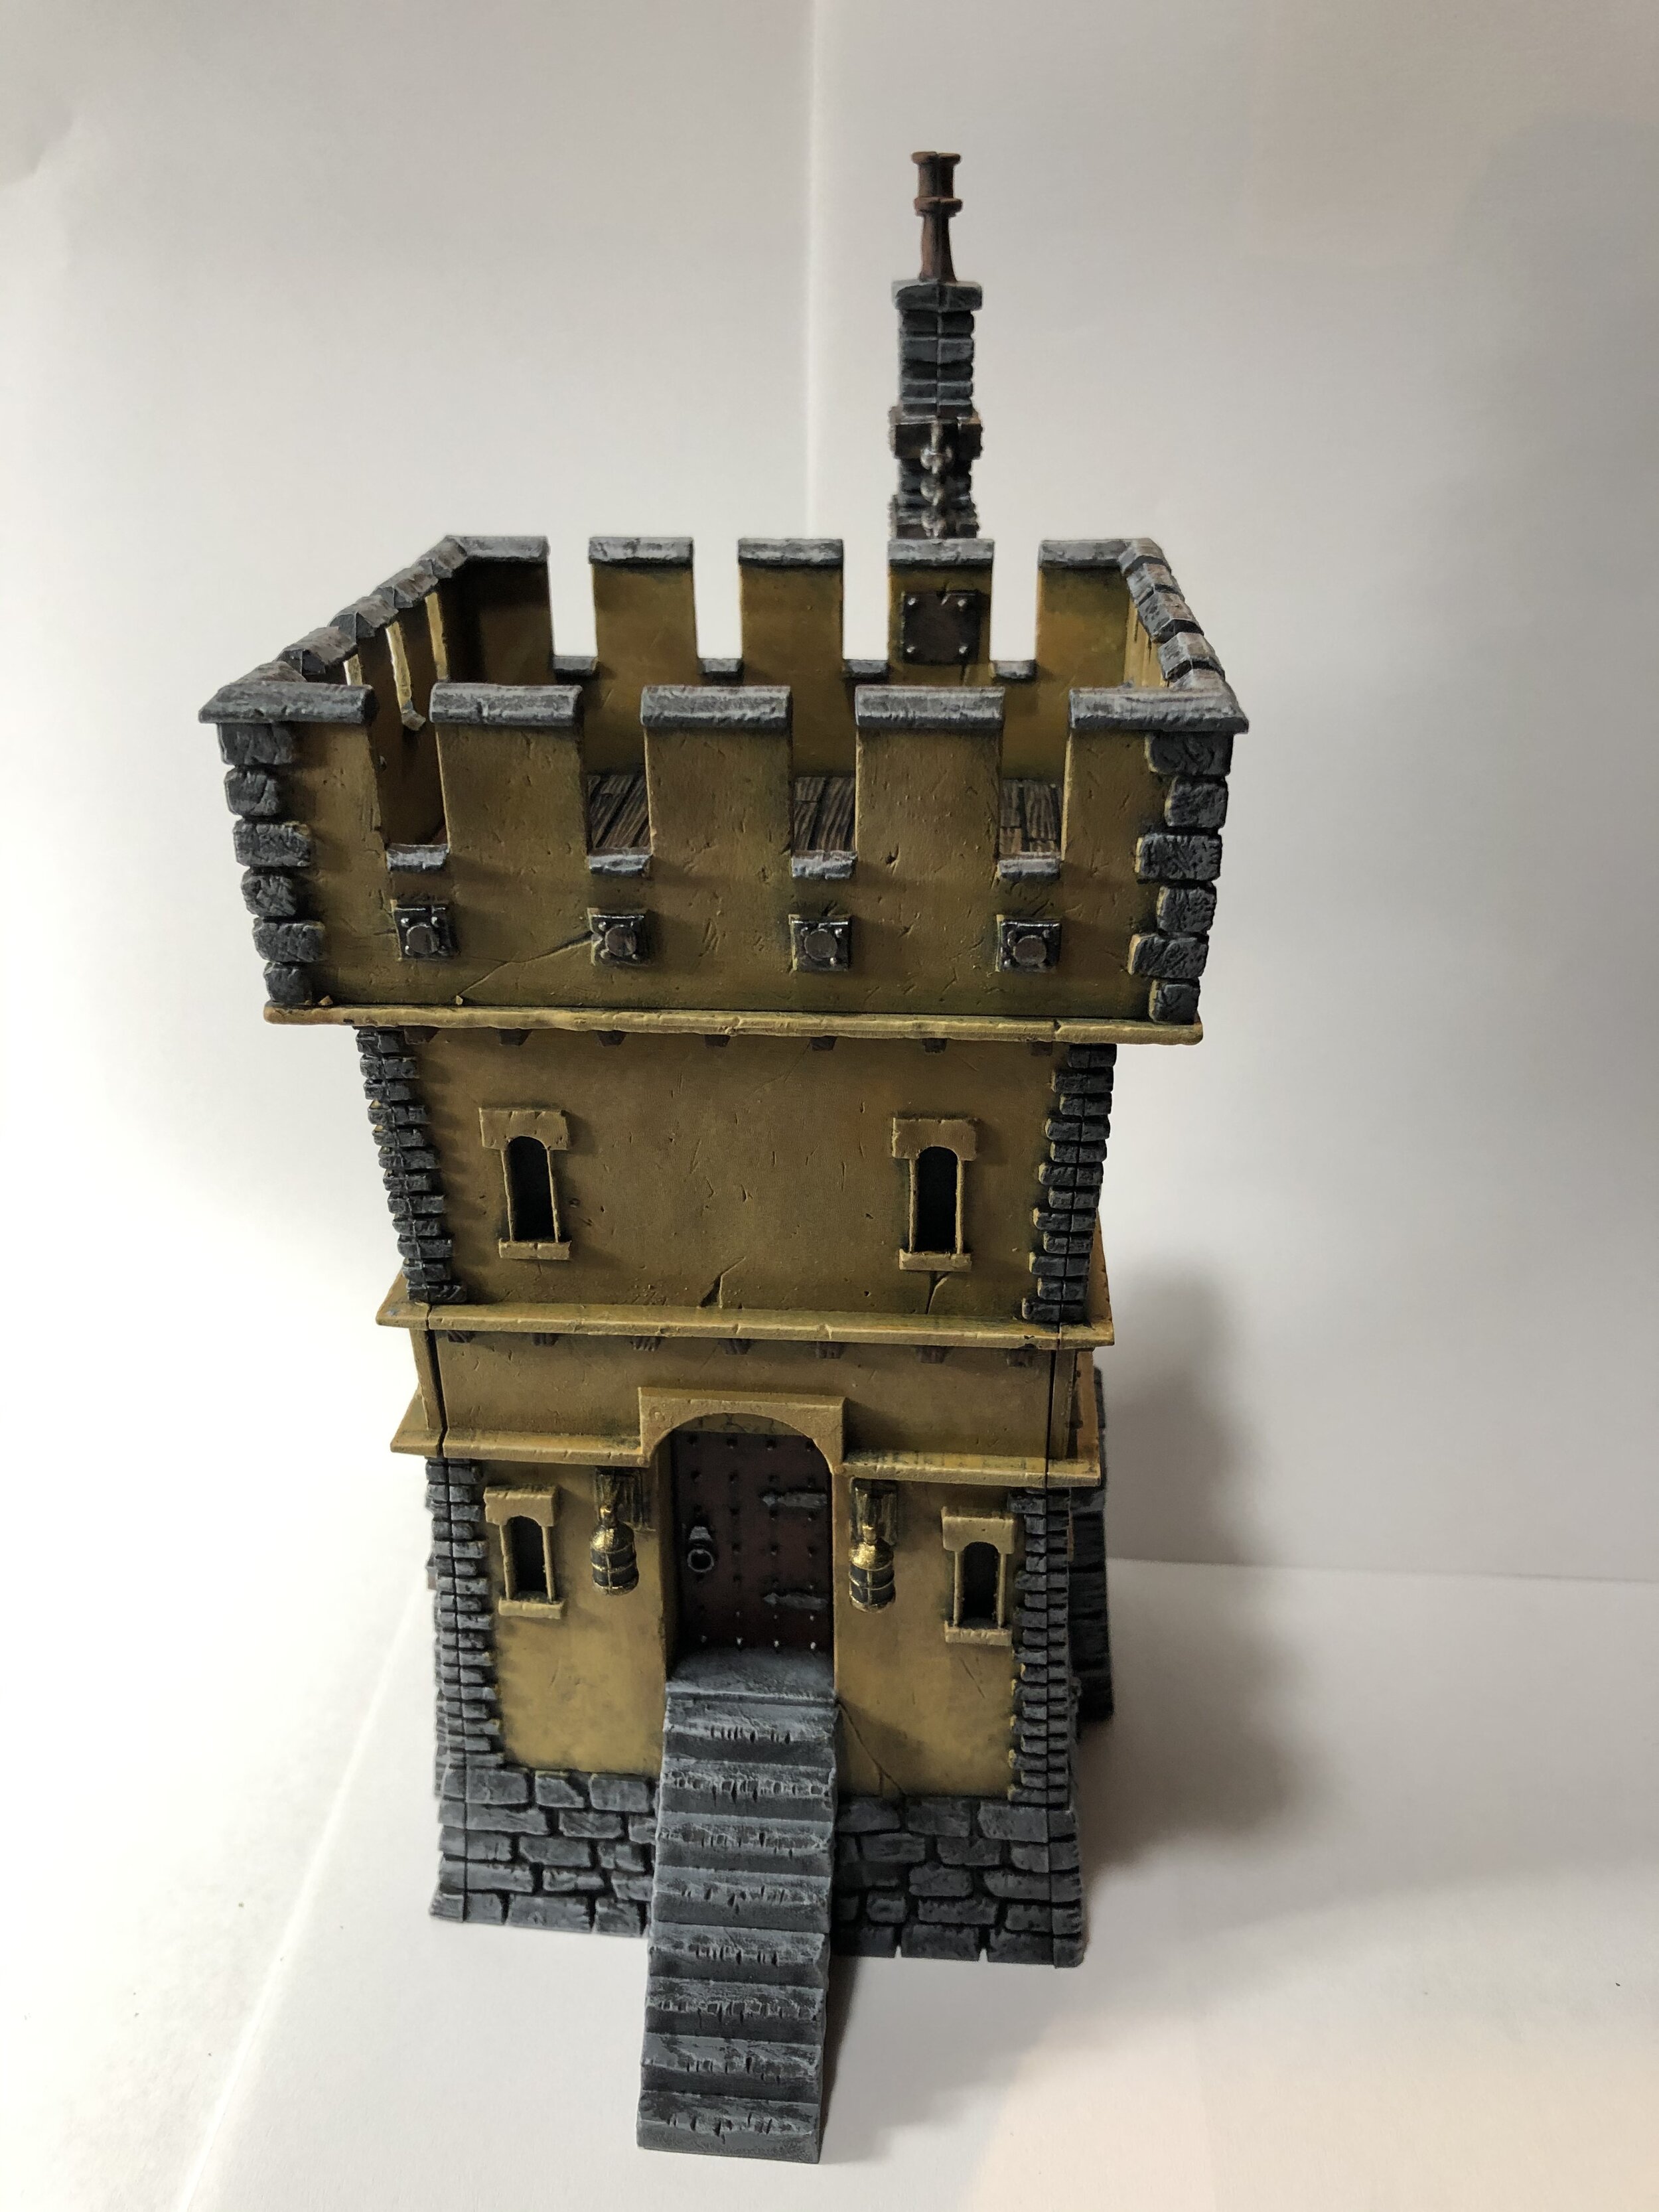
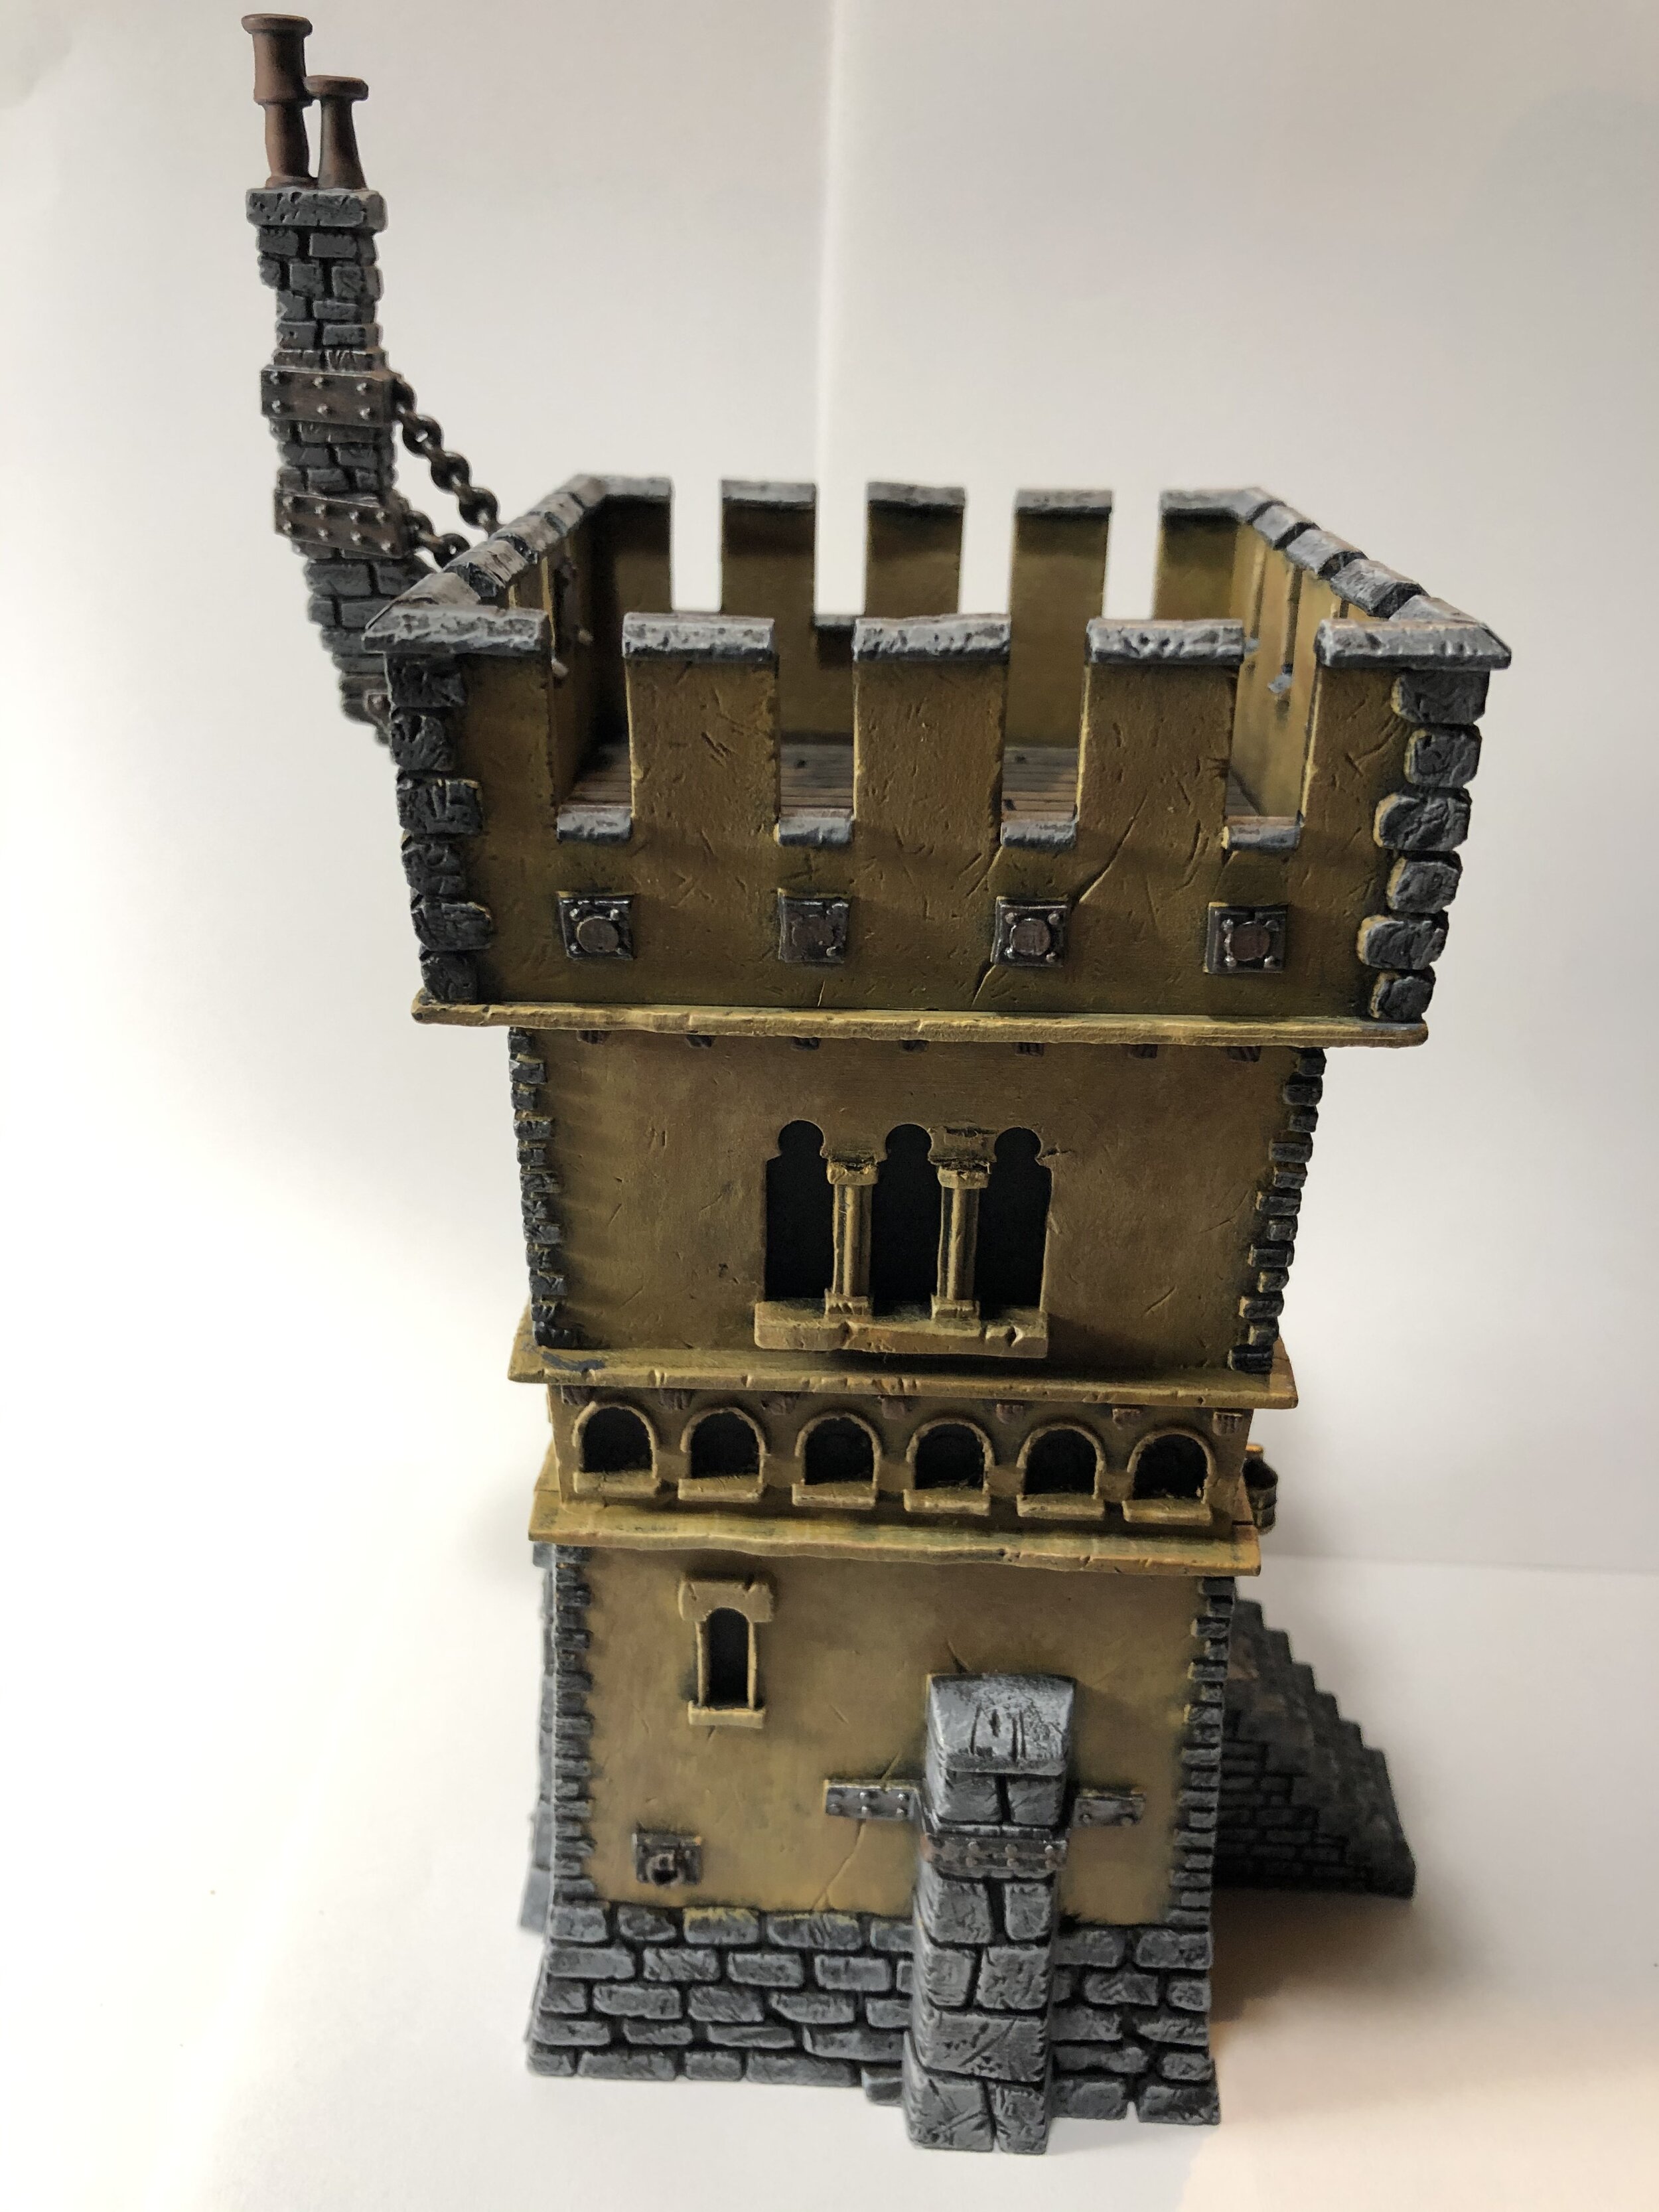
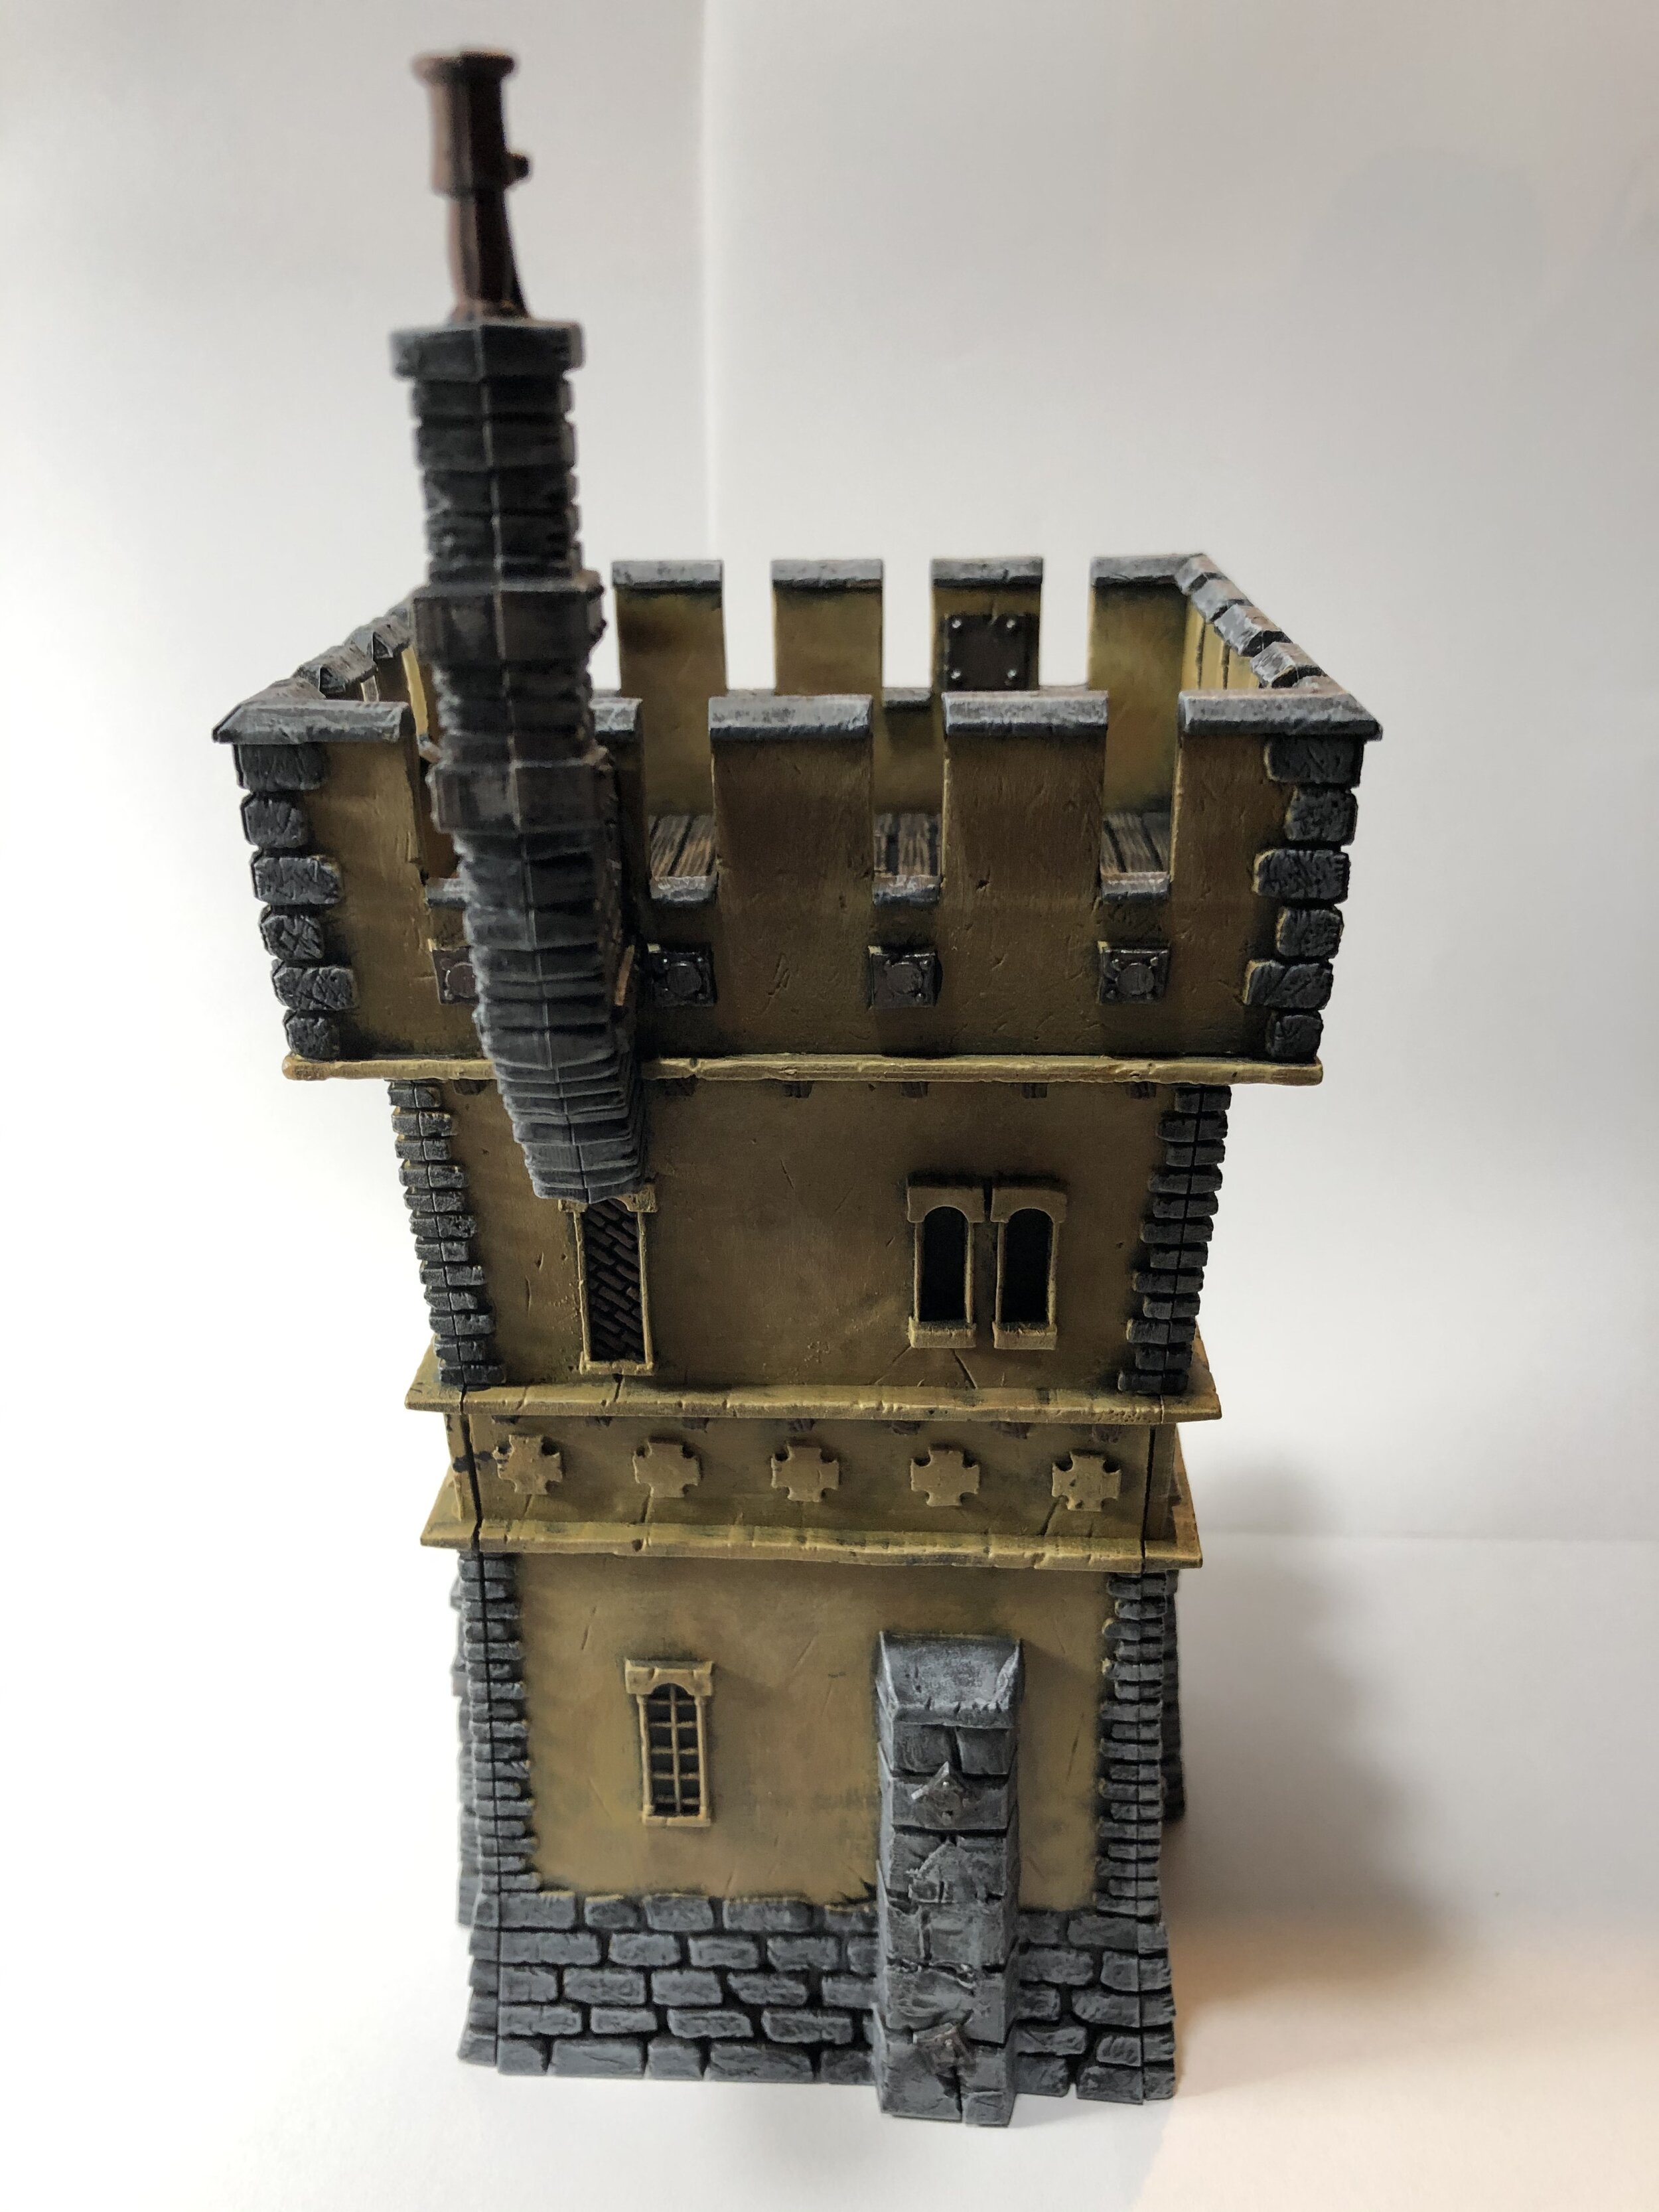
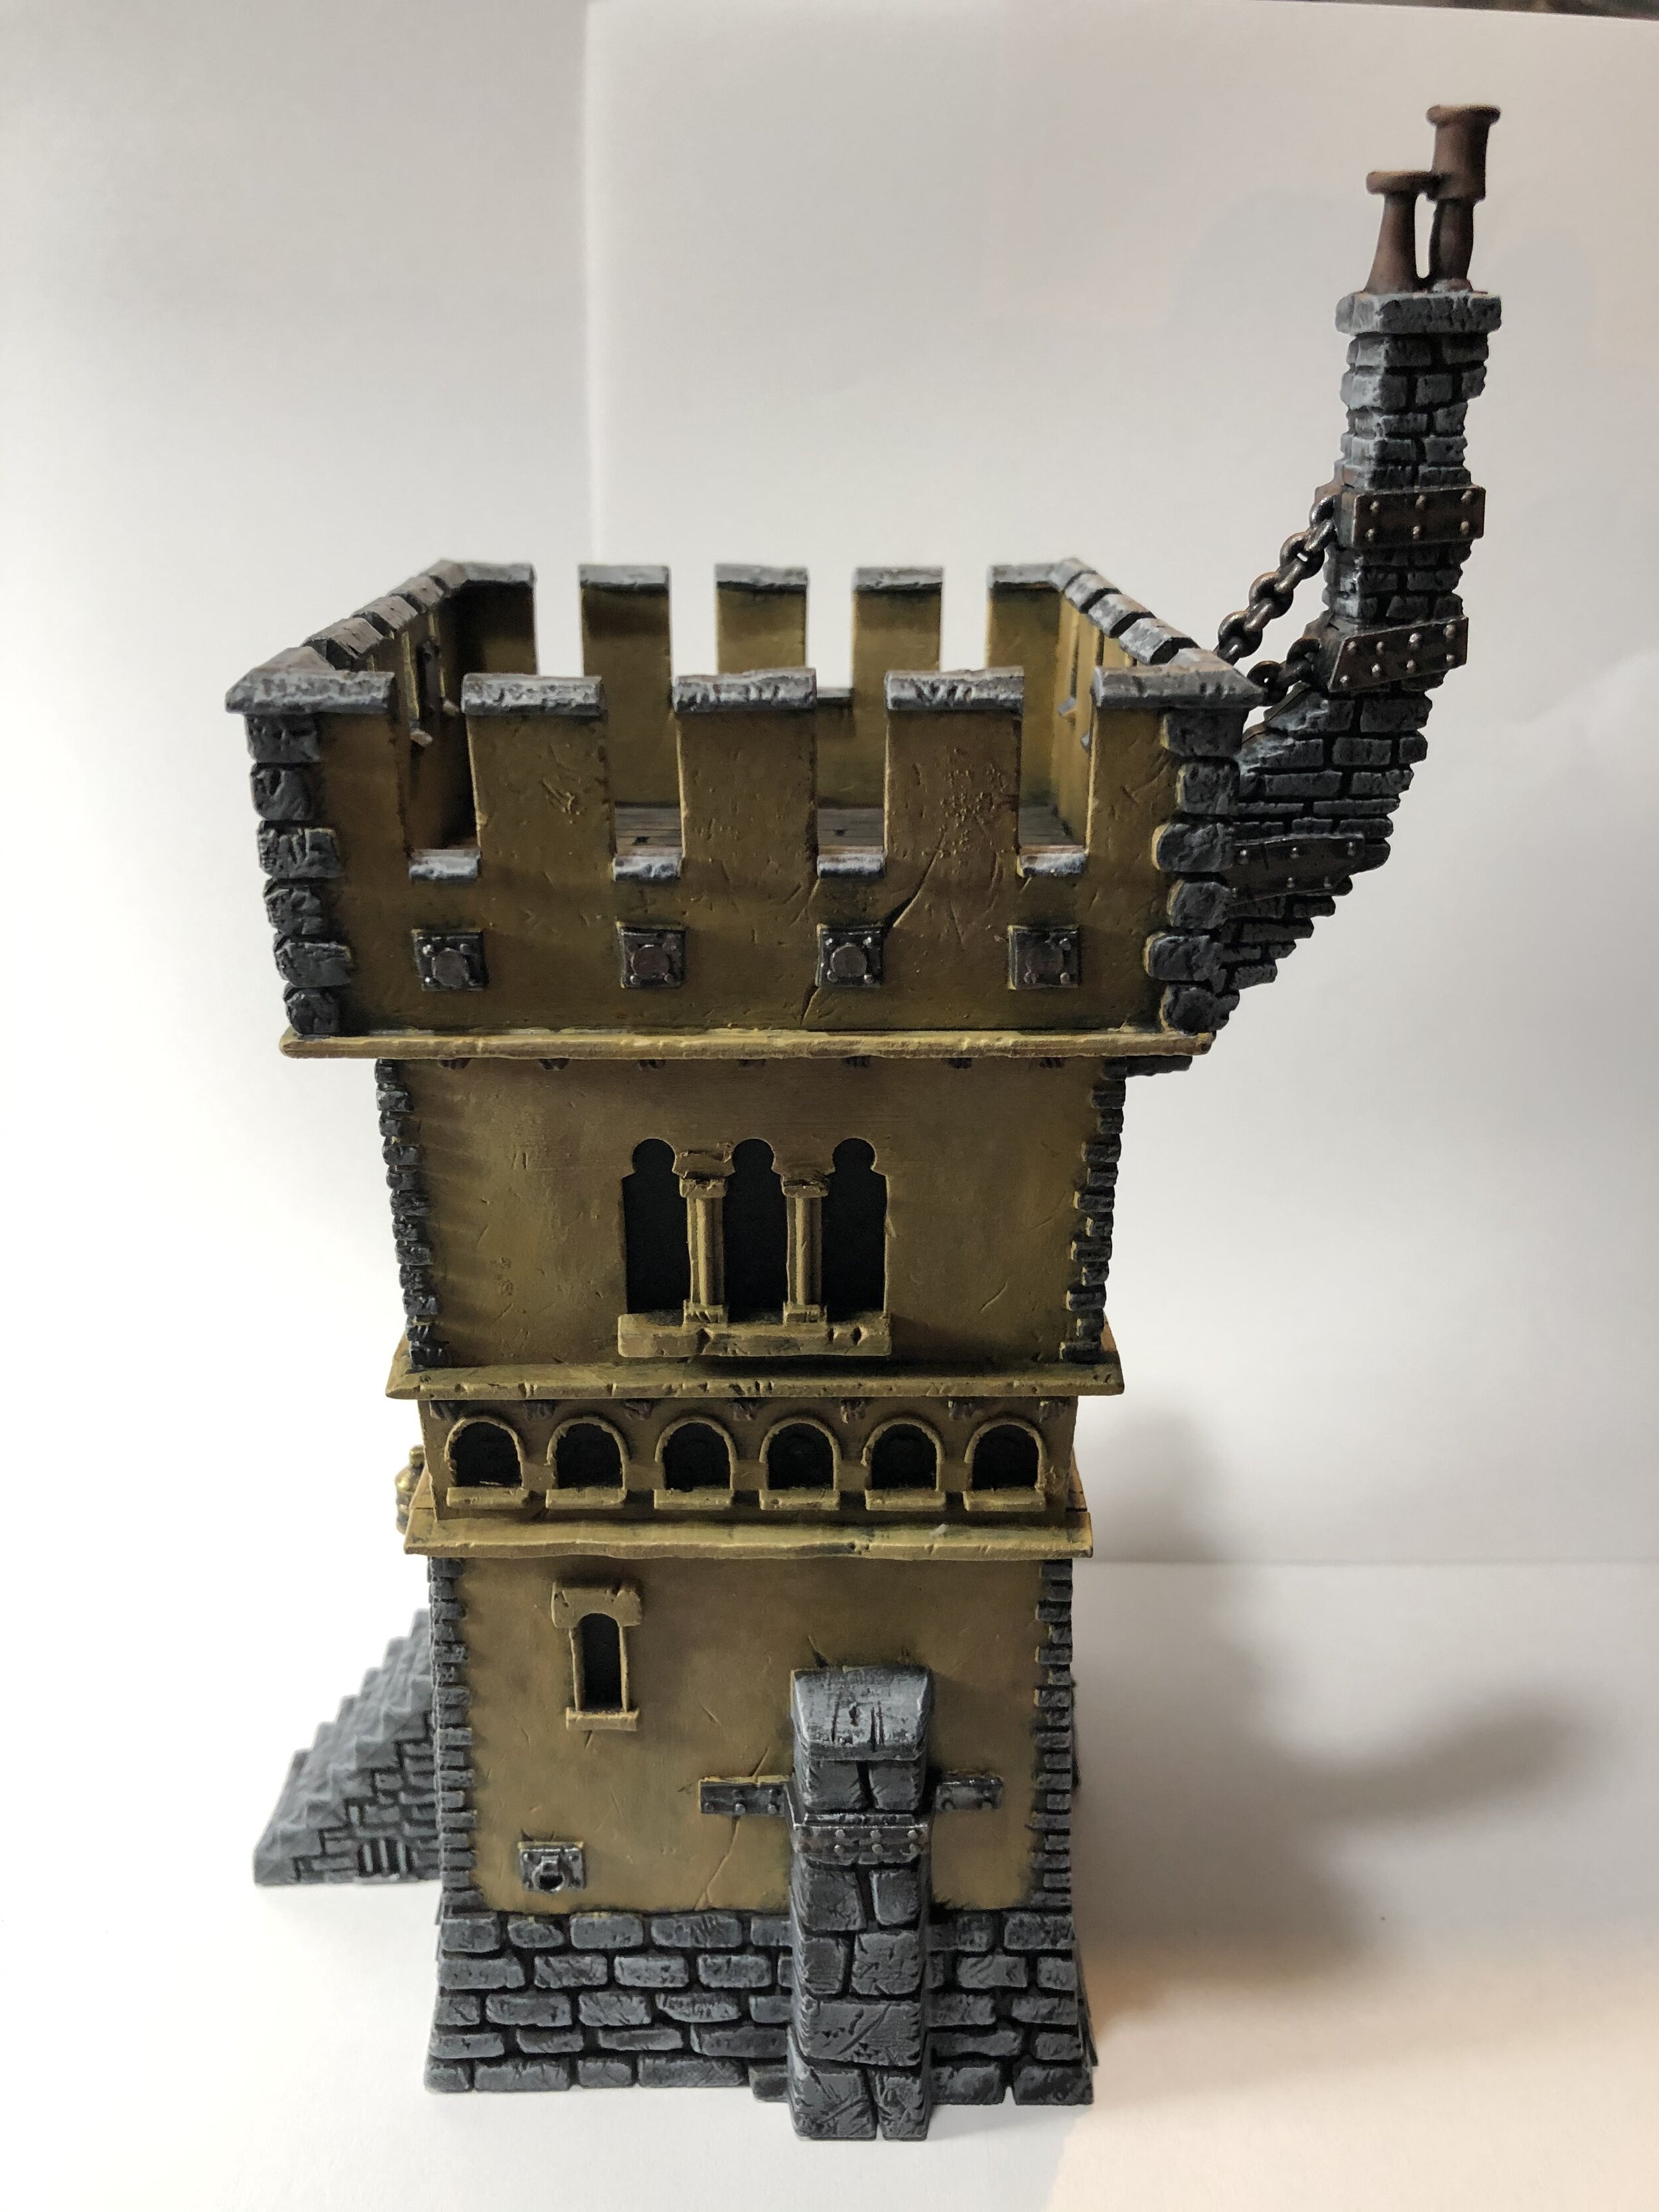
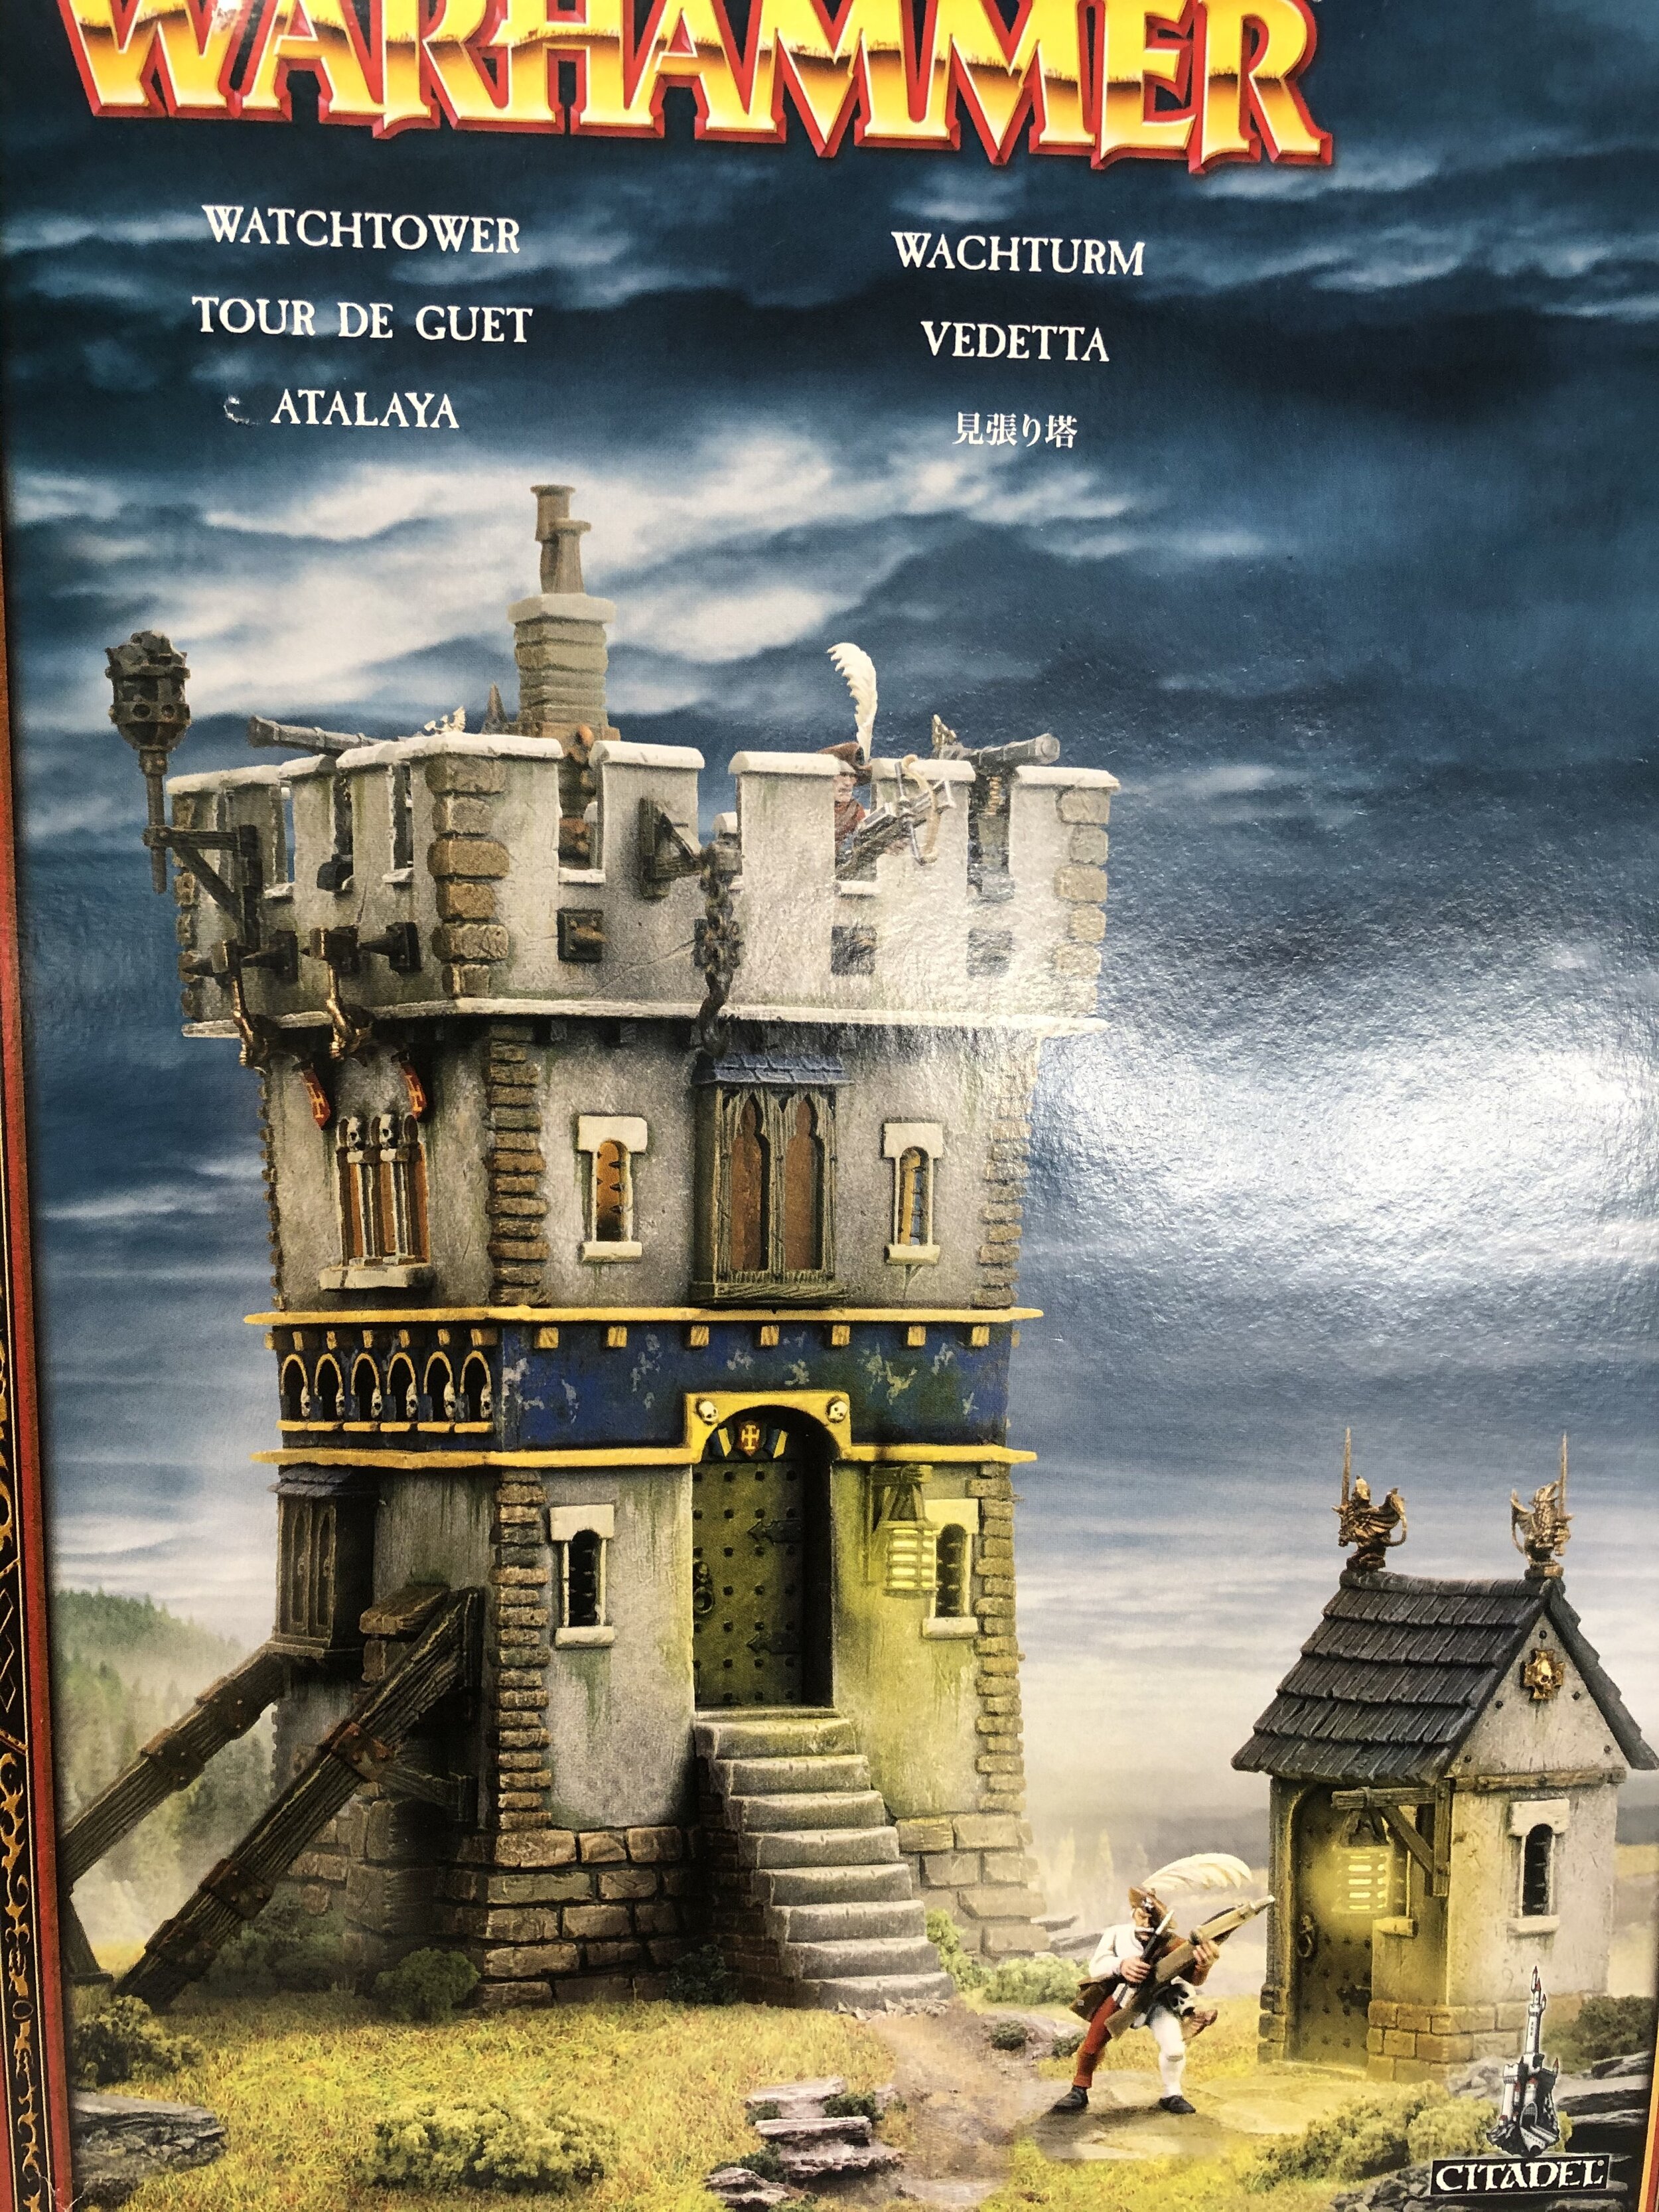
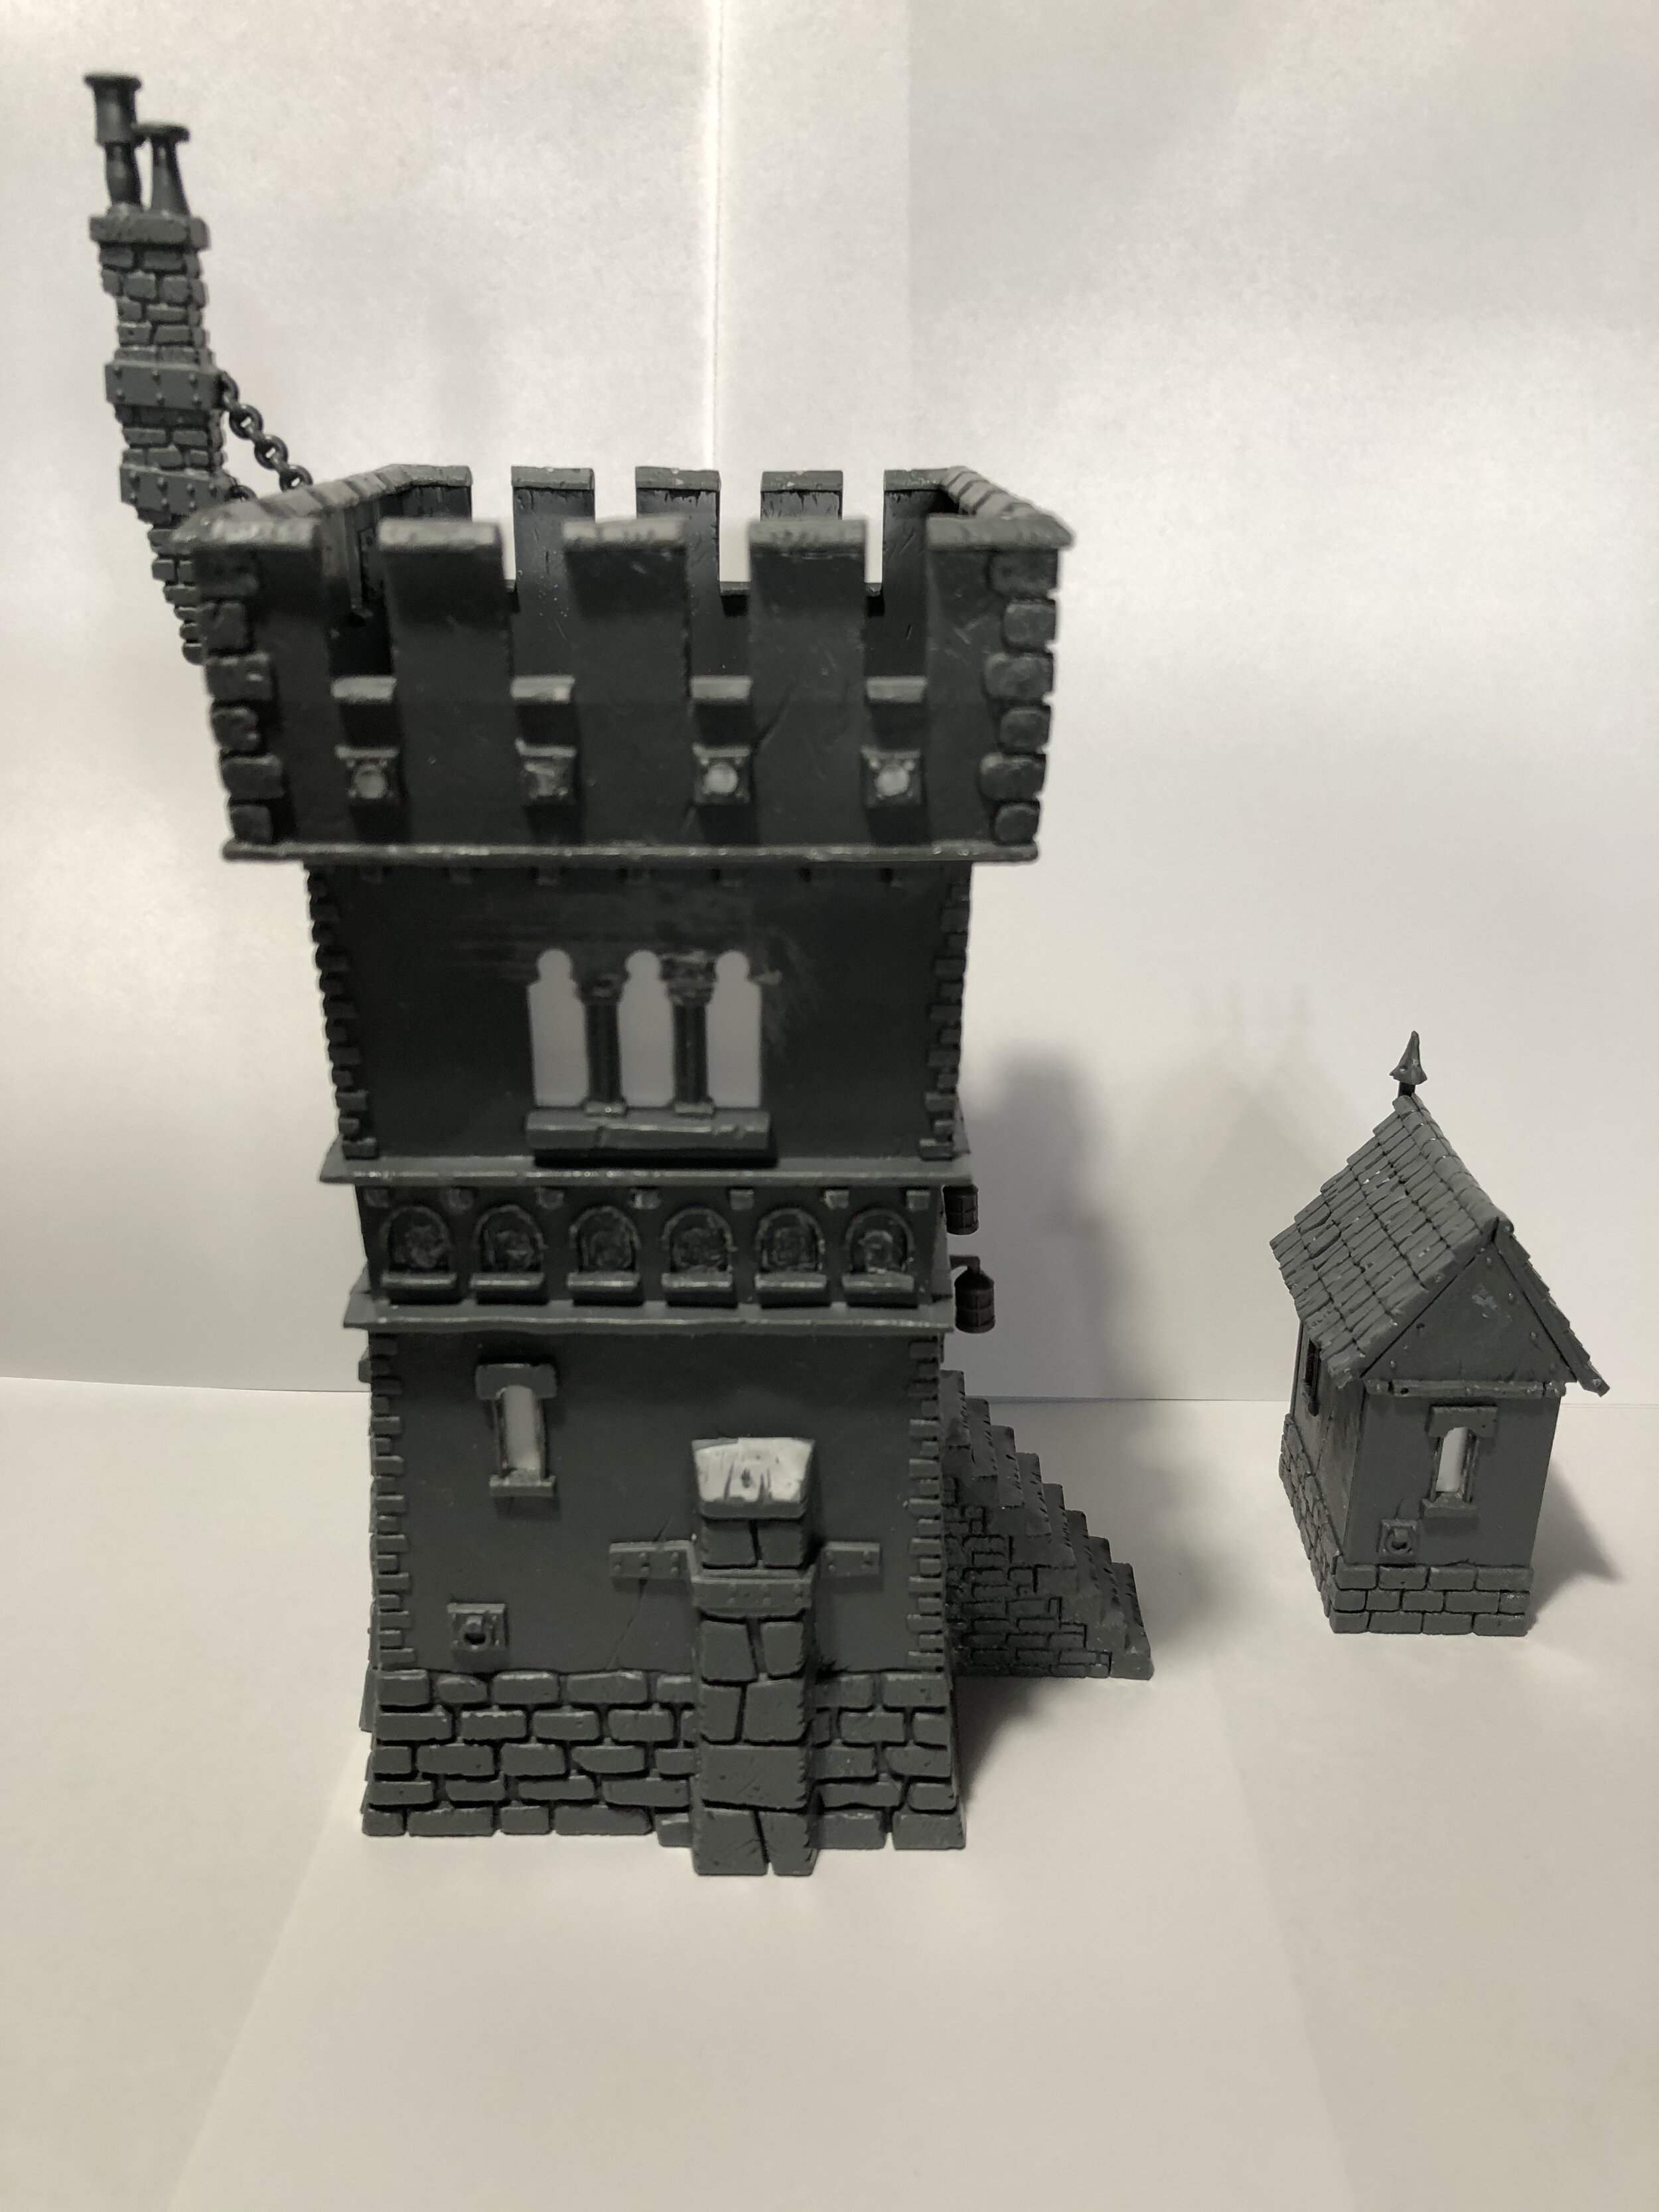
I spent time today painting my GW Watchtower. It is now one of two independent Watchtowers that I have completed and will be part of the Fortified Manor complex I will be putting together for my Loch Ness project. I am staying away from all the dramatic and interesting little details that come with the Watchtower because I want the complex to have a simple rather uniform appearance. As always, removing the GW skulls was a big part of the work in getting this together and ready for painting.
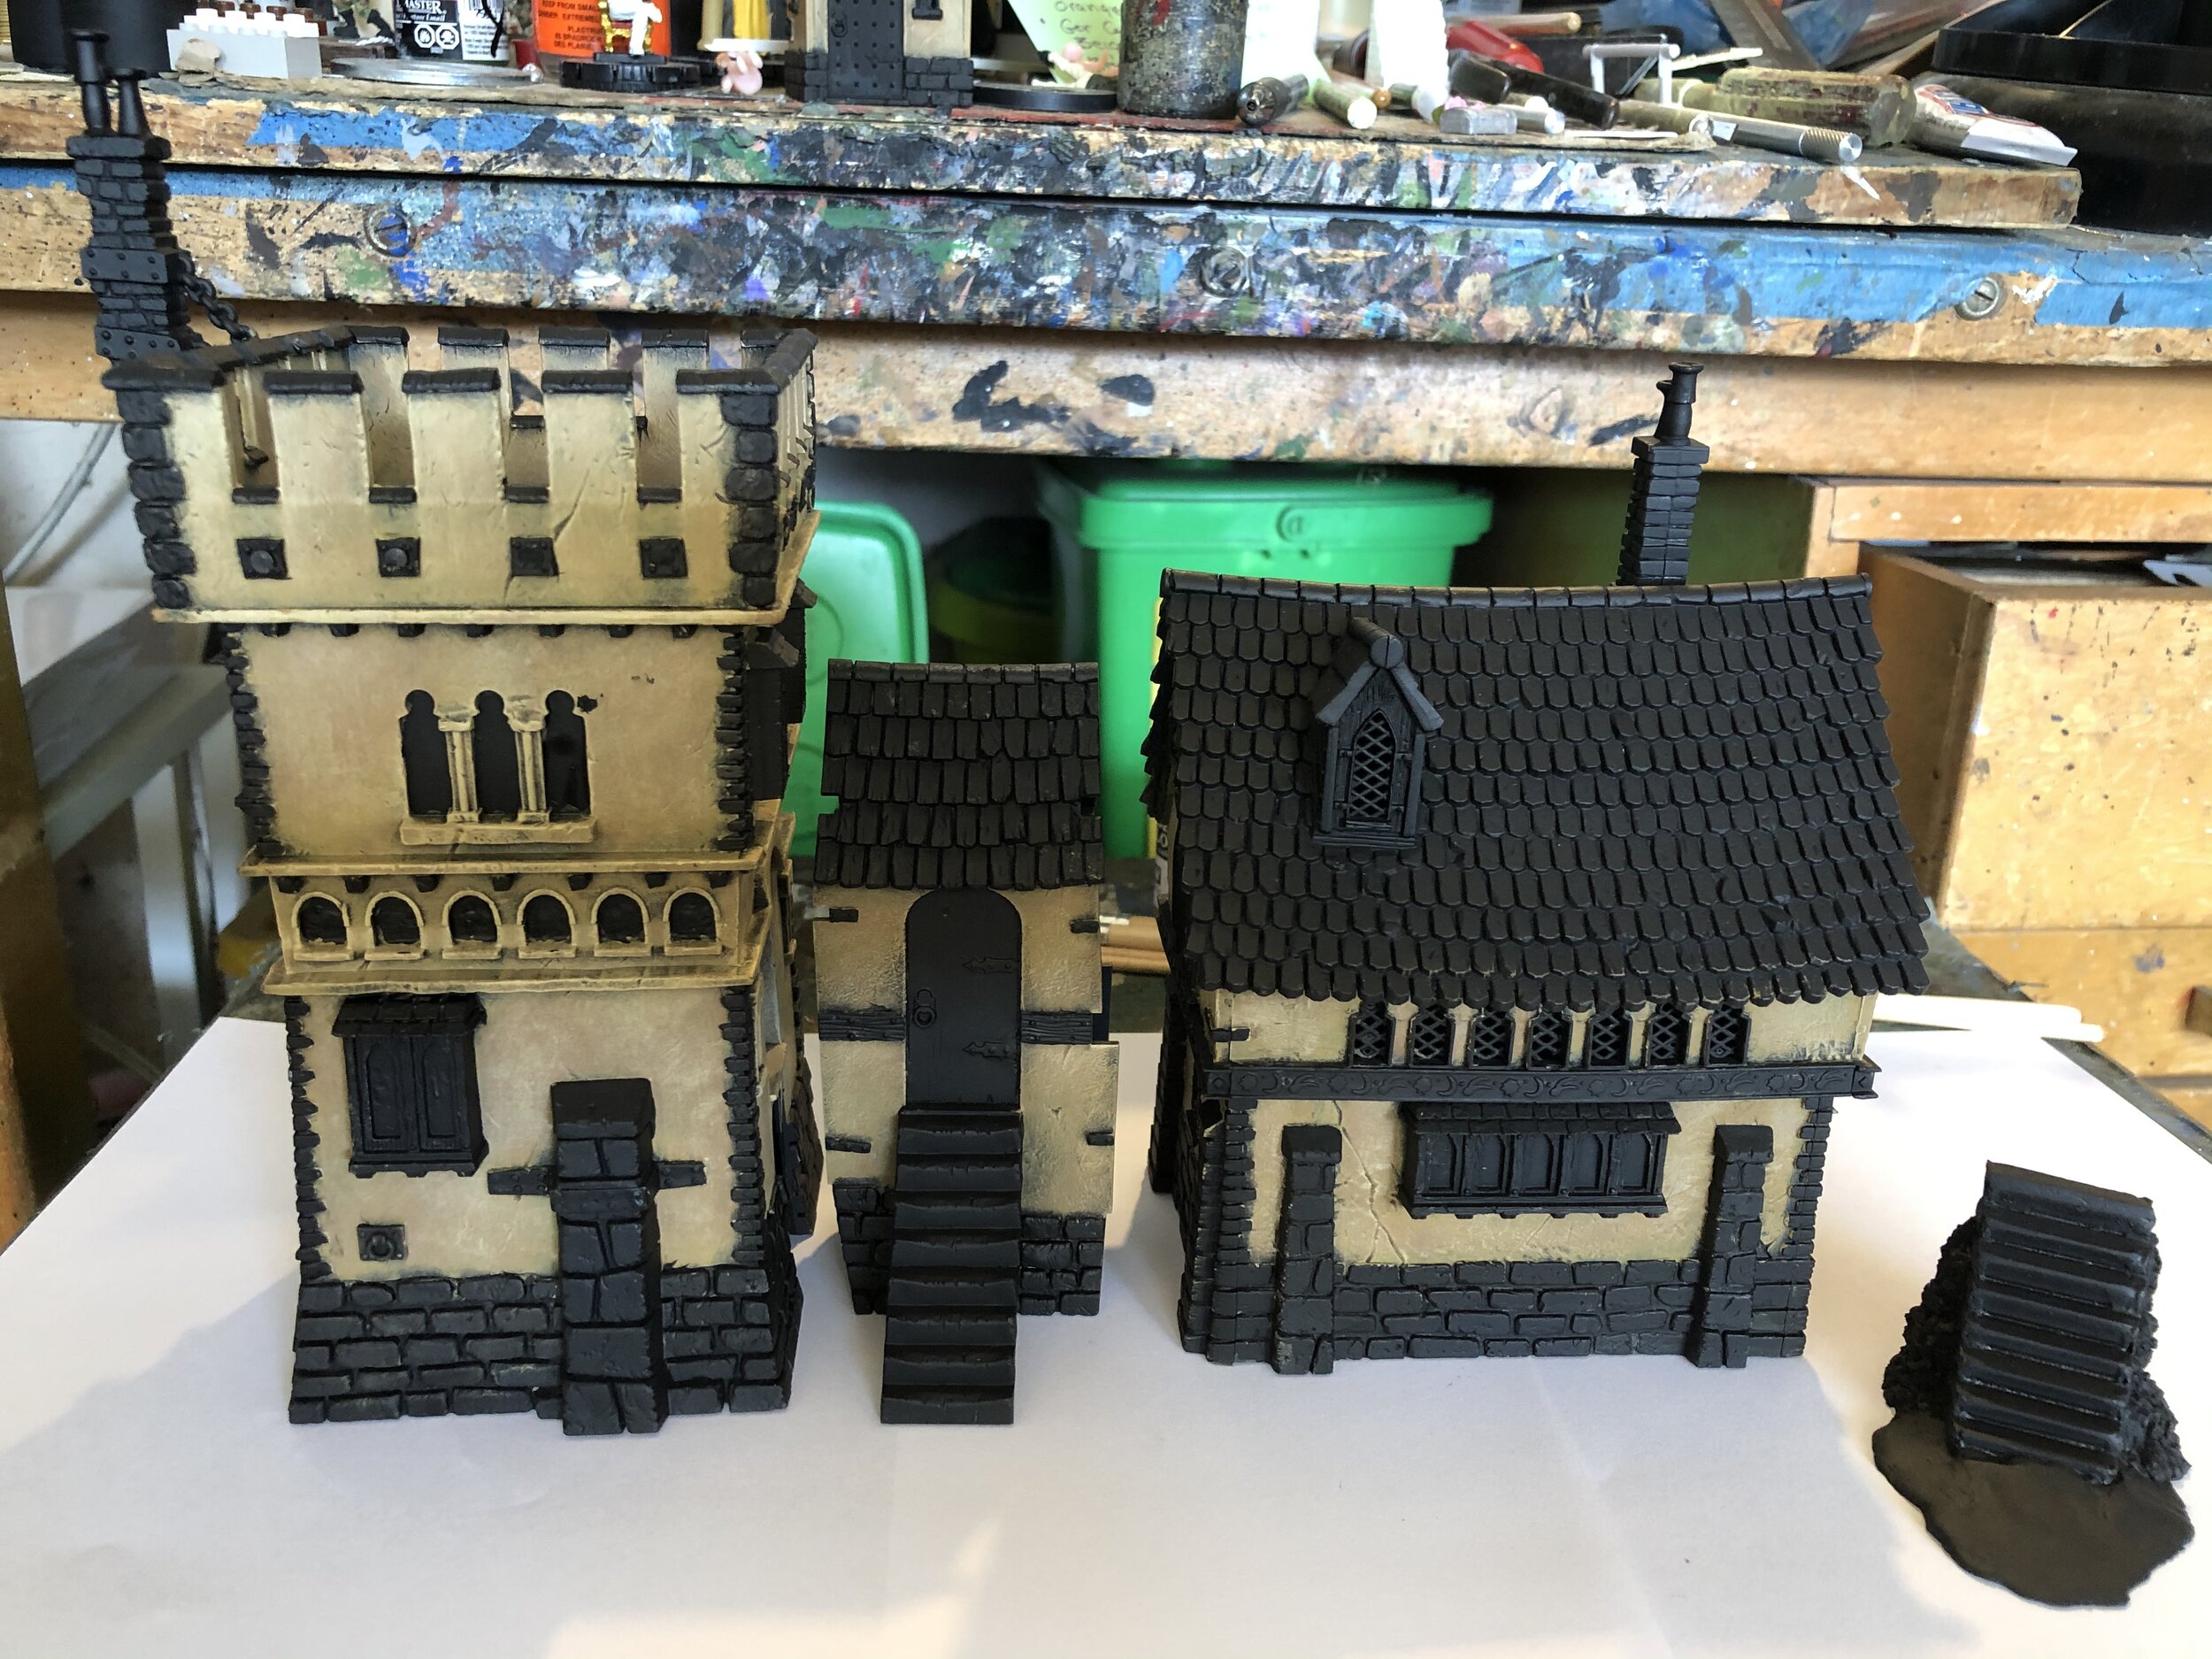
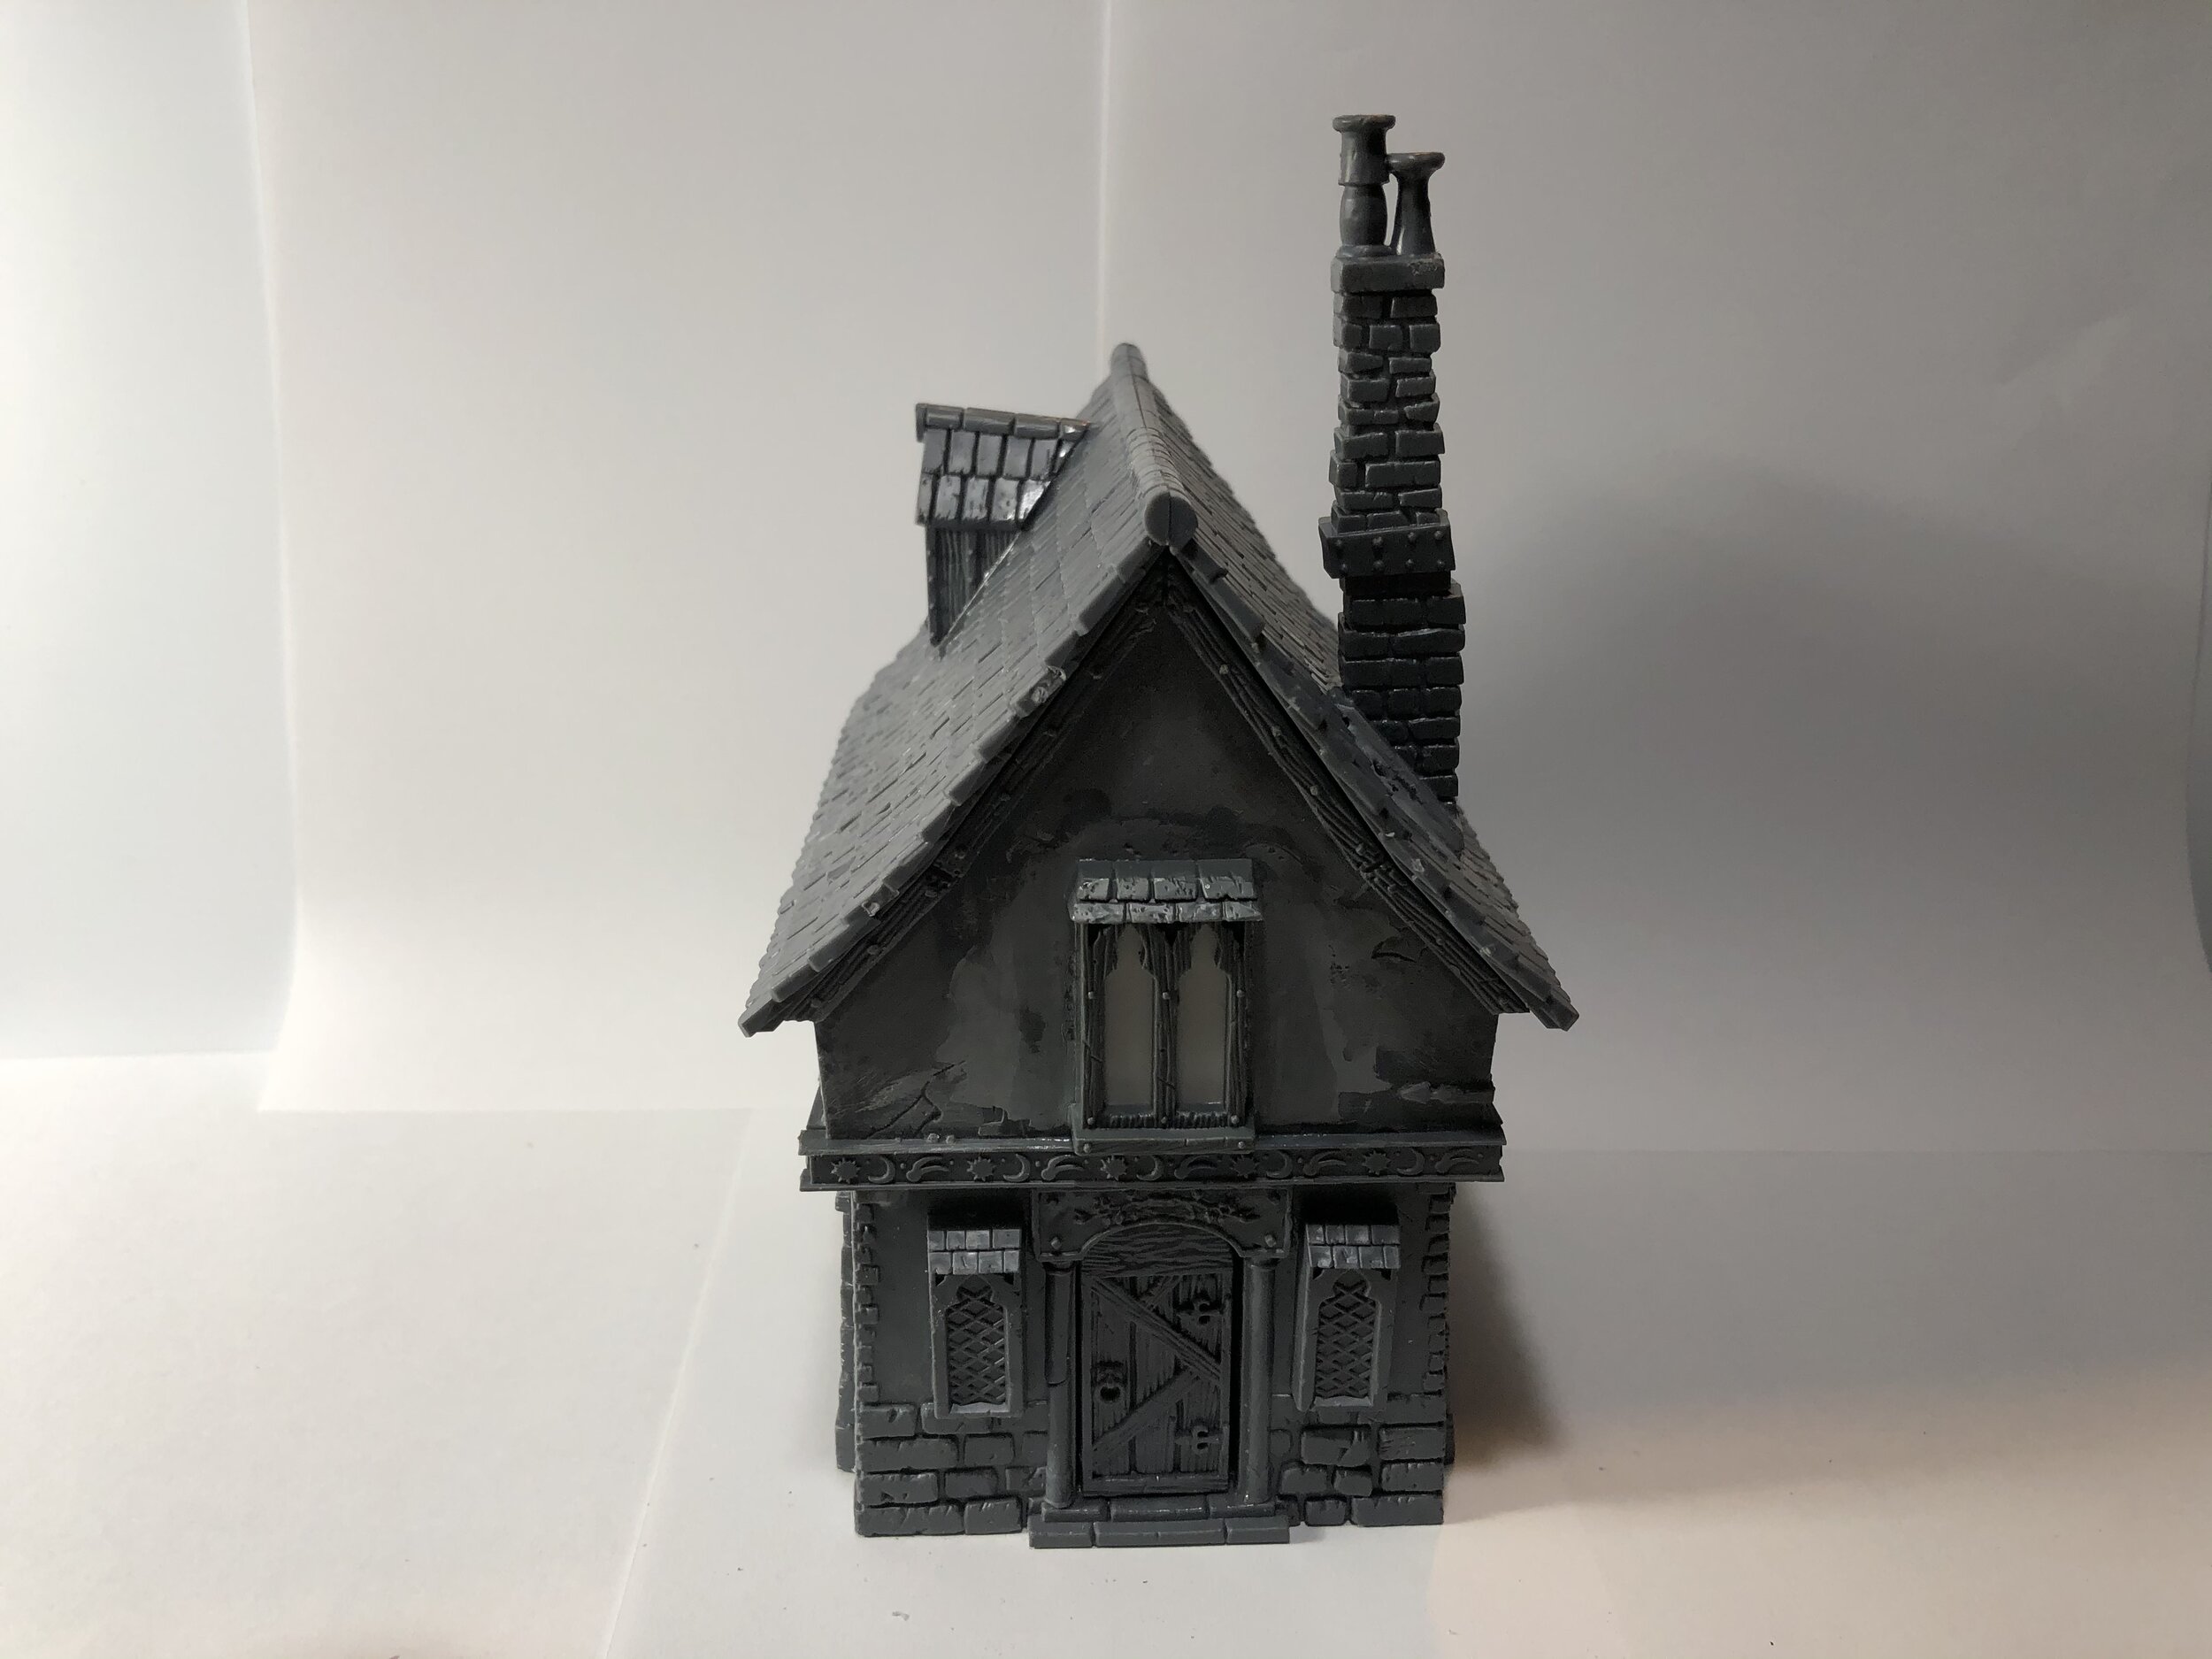
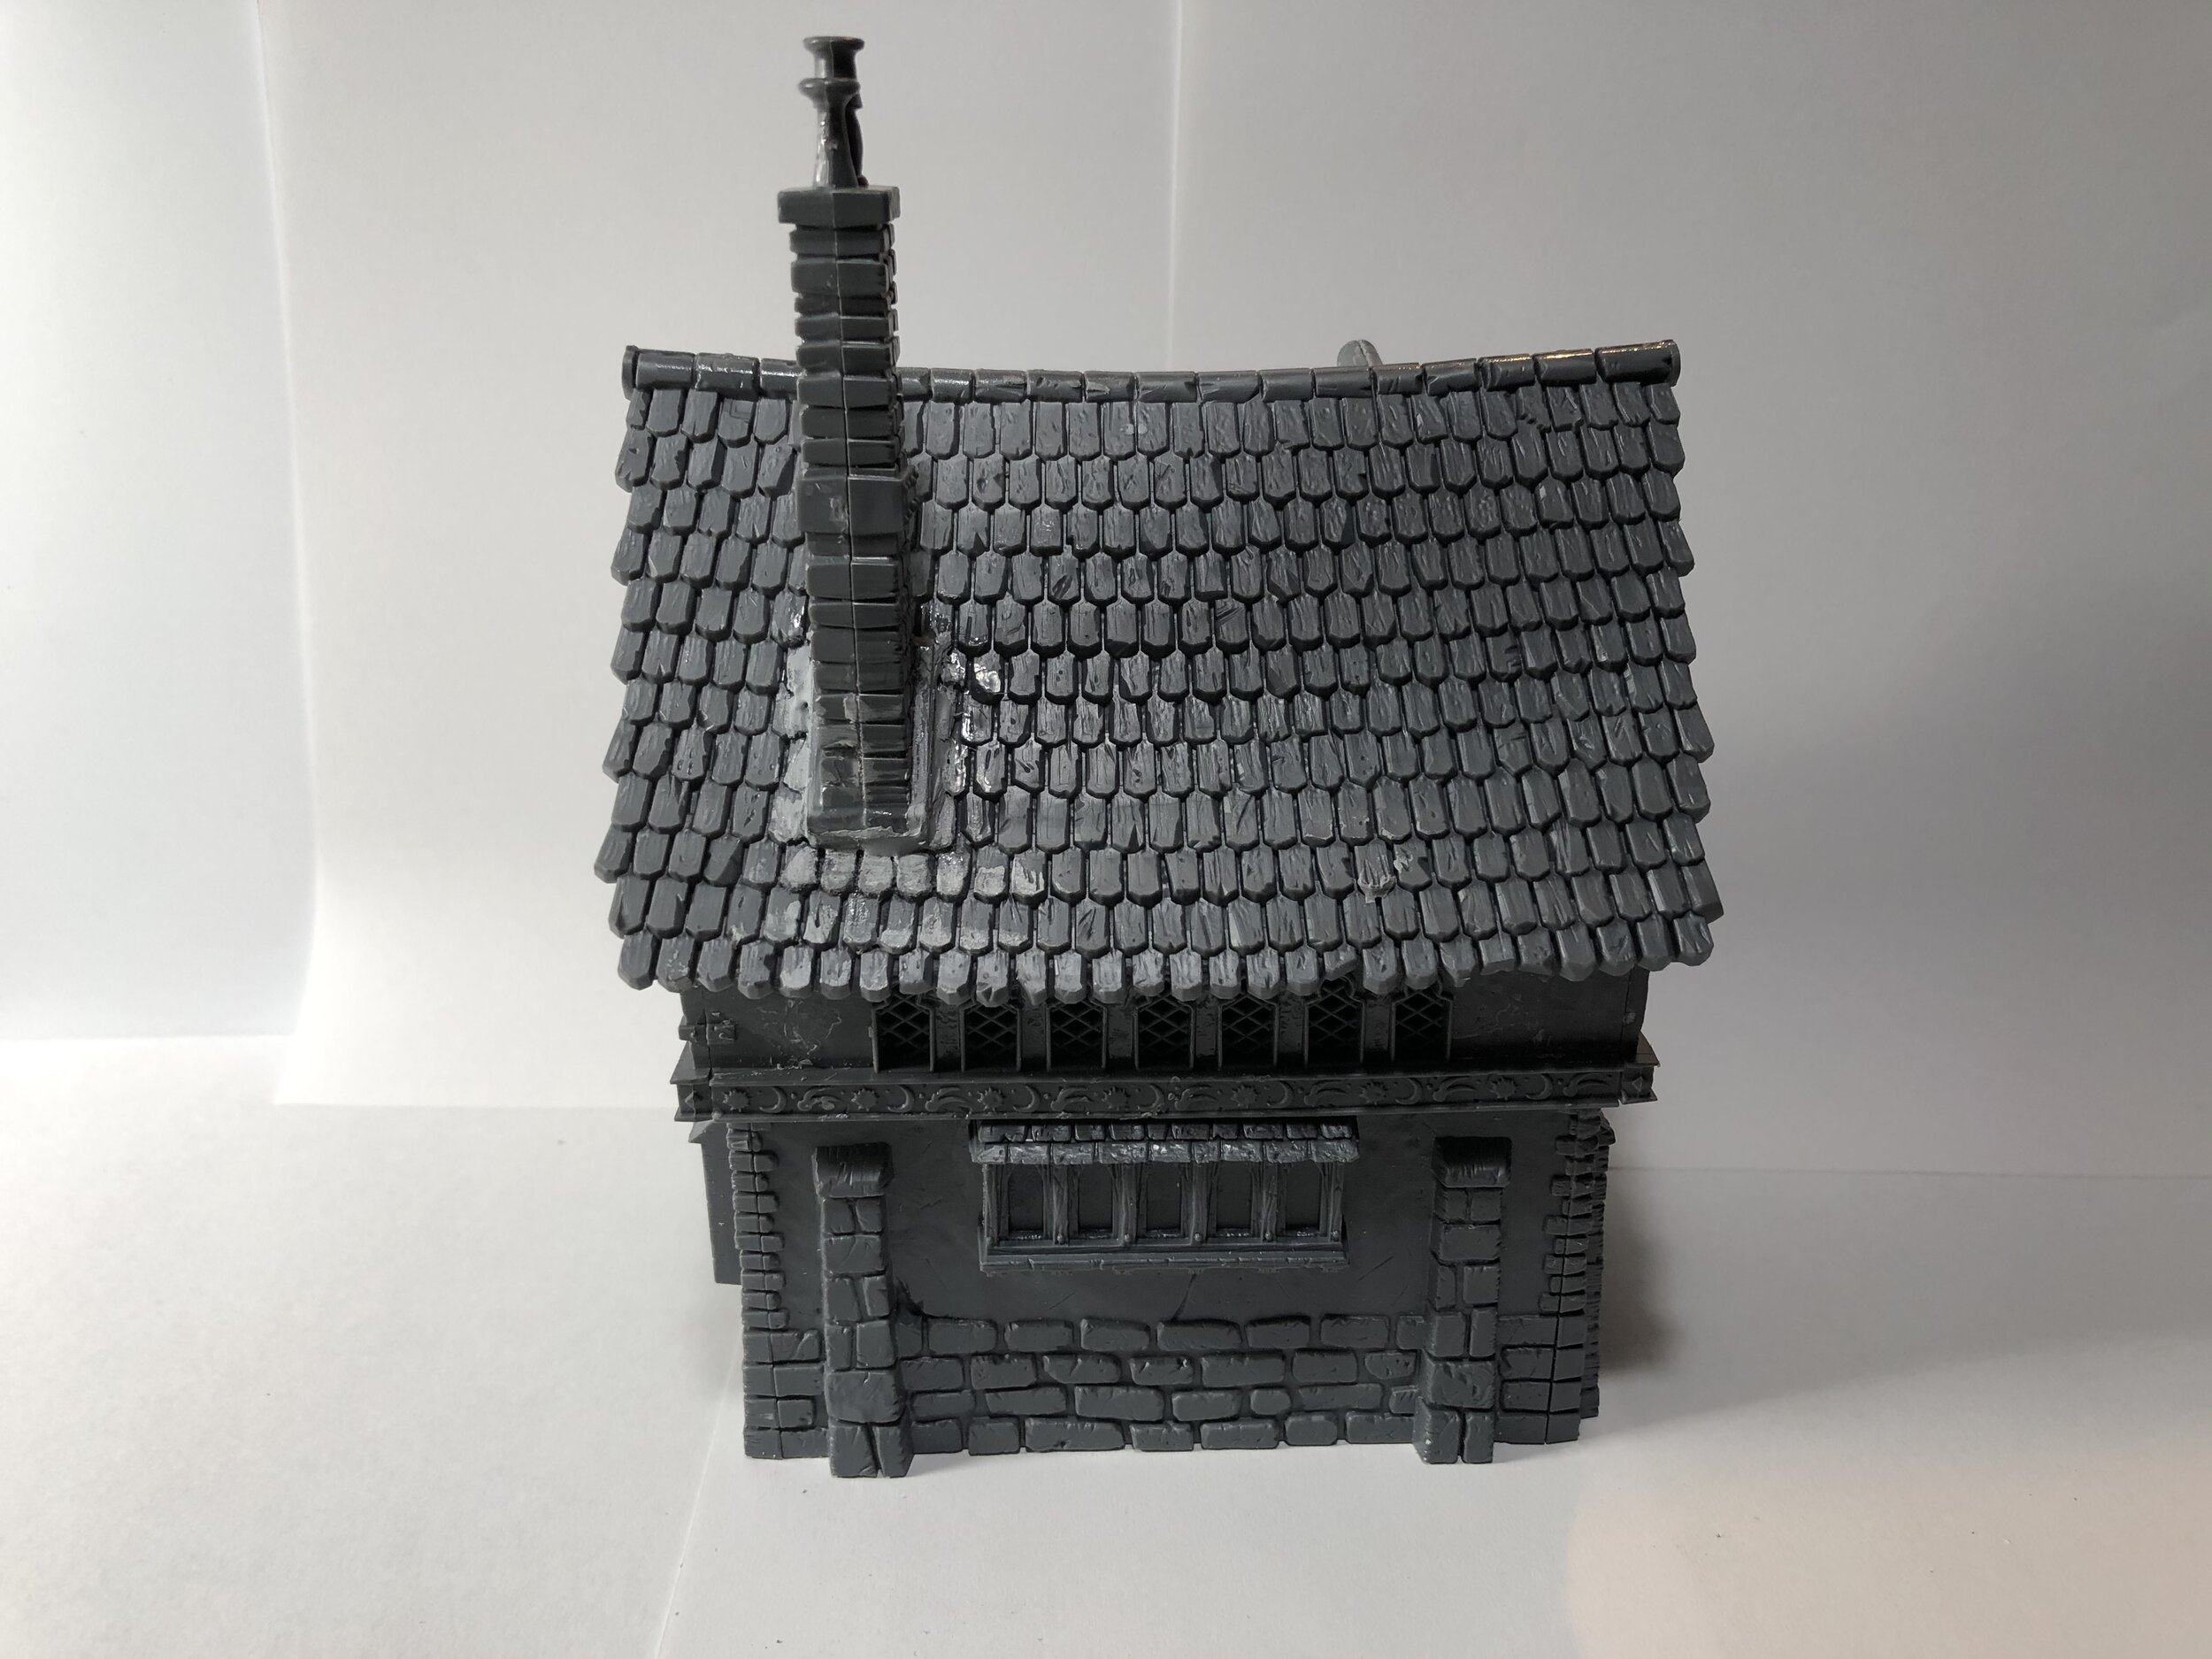
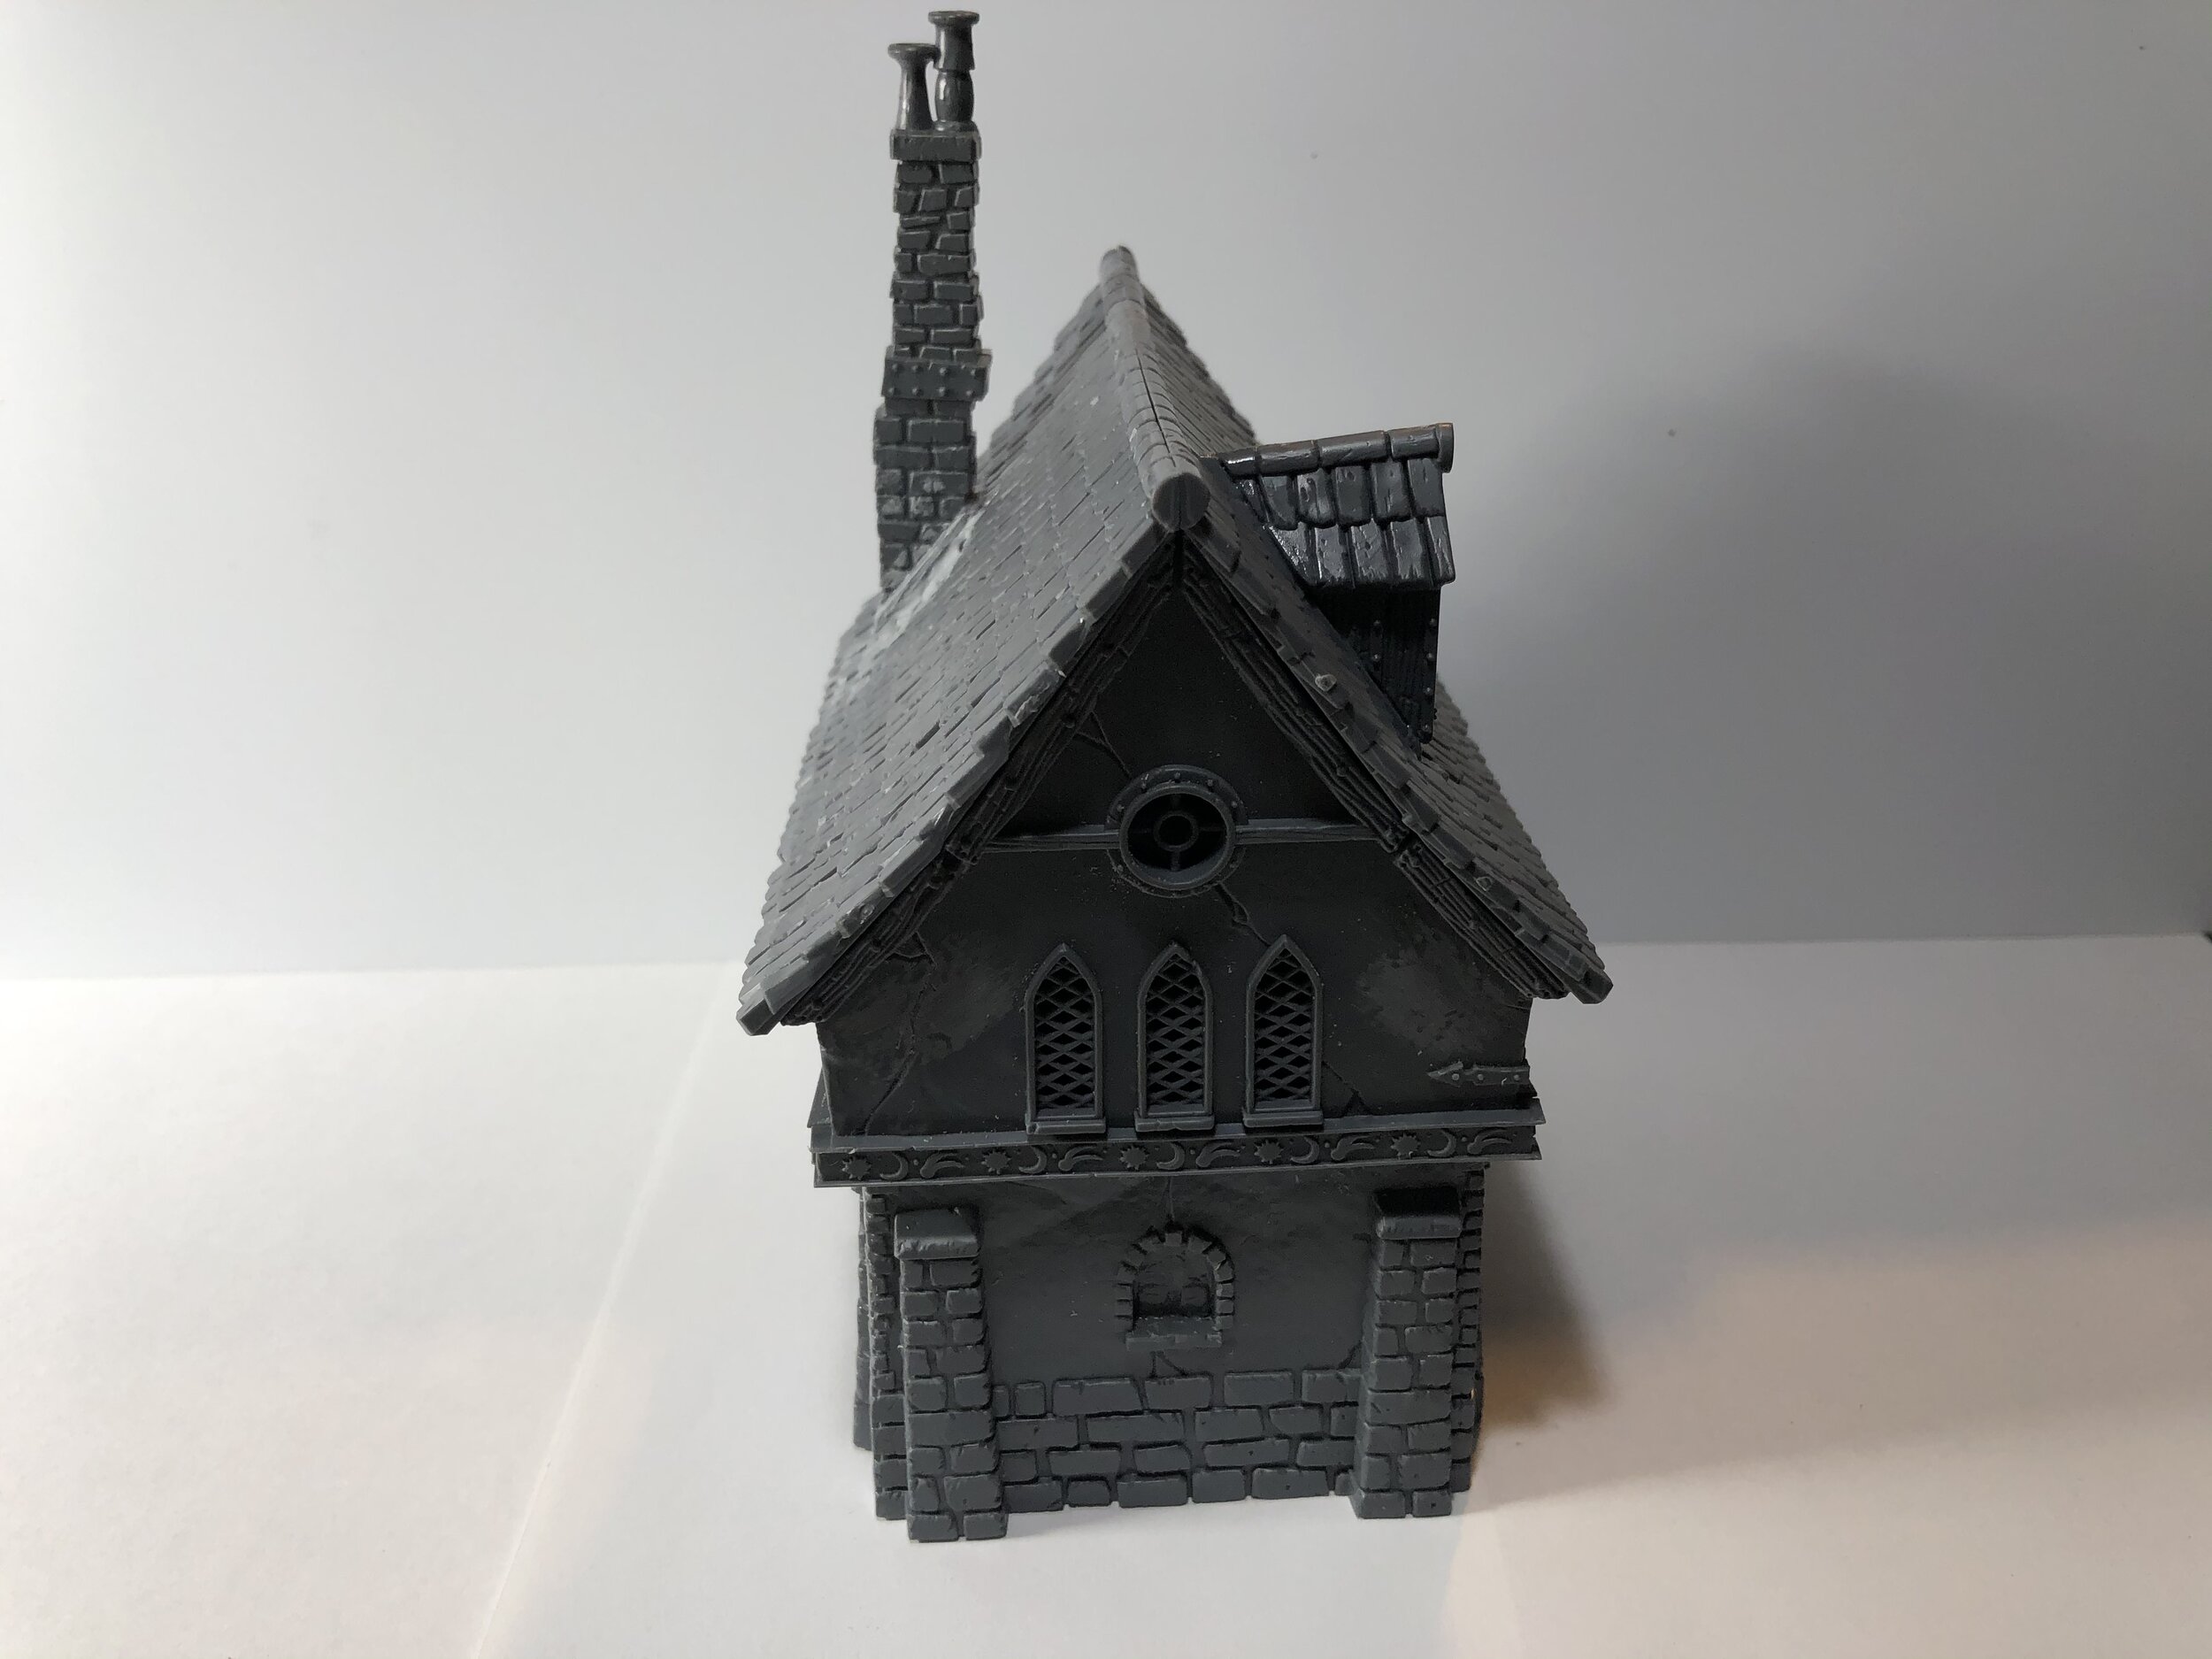
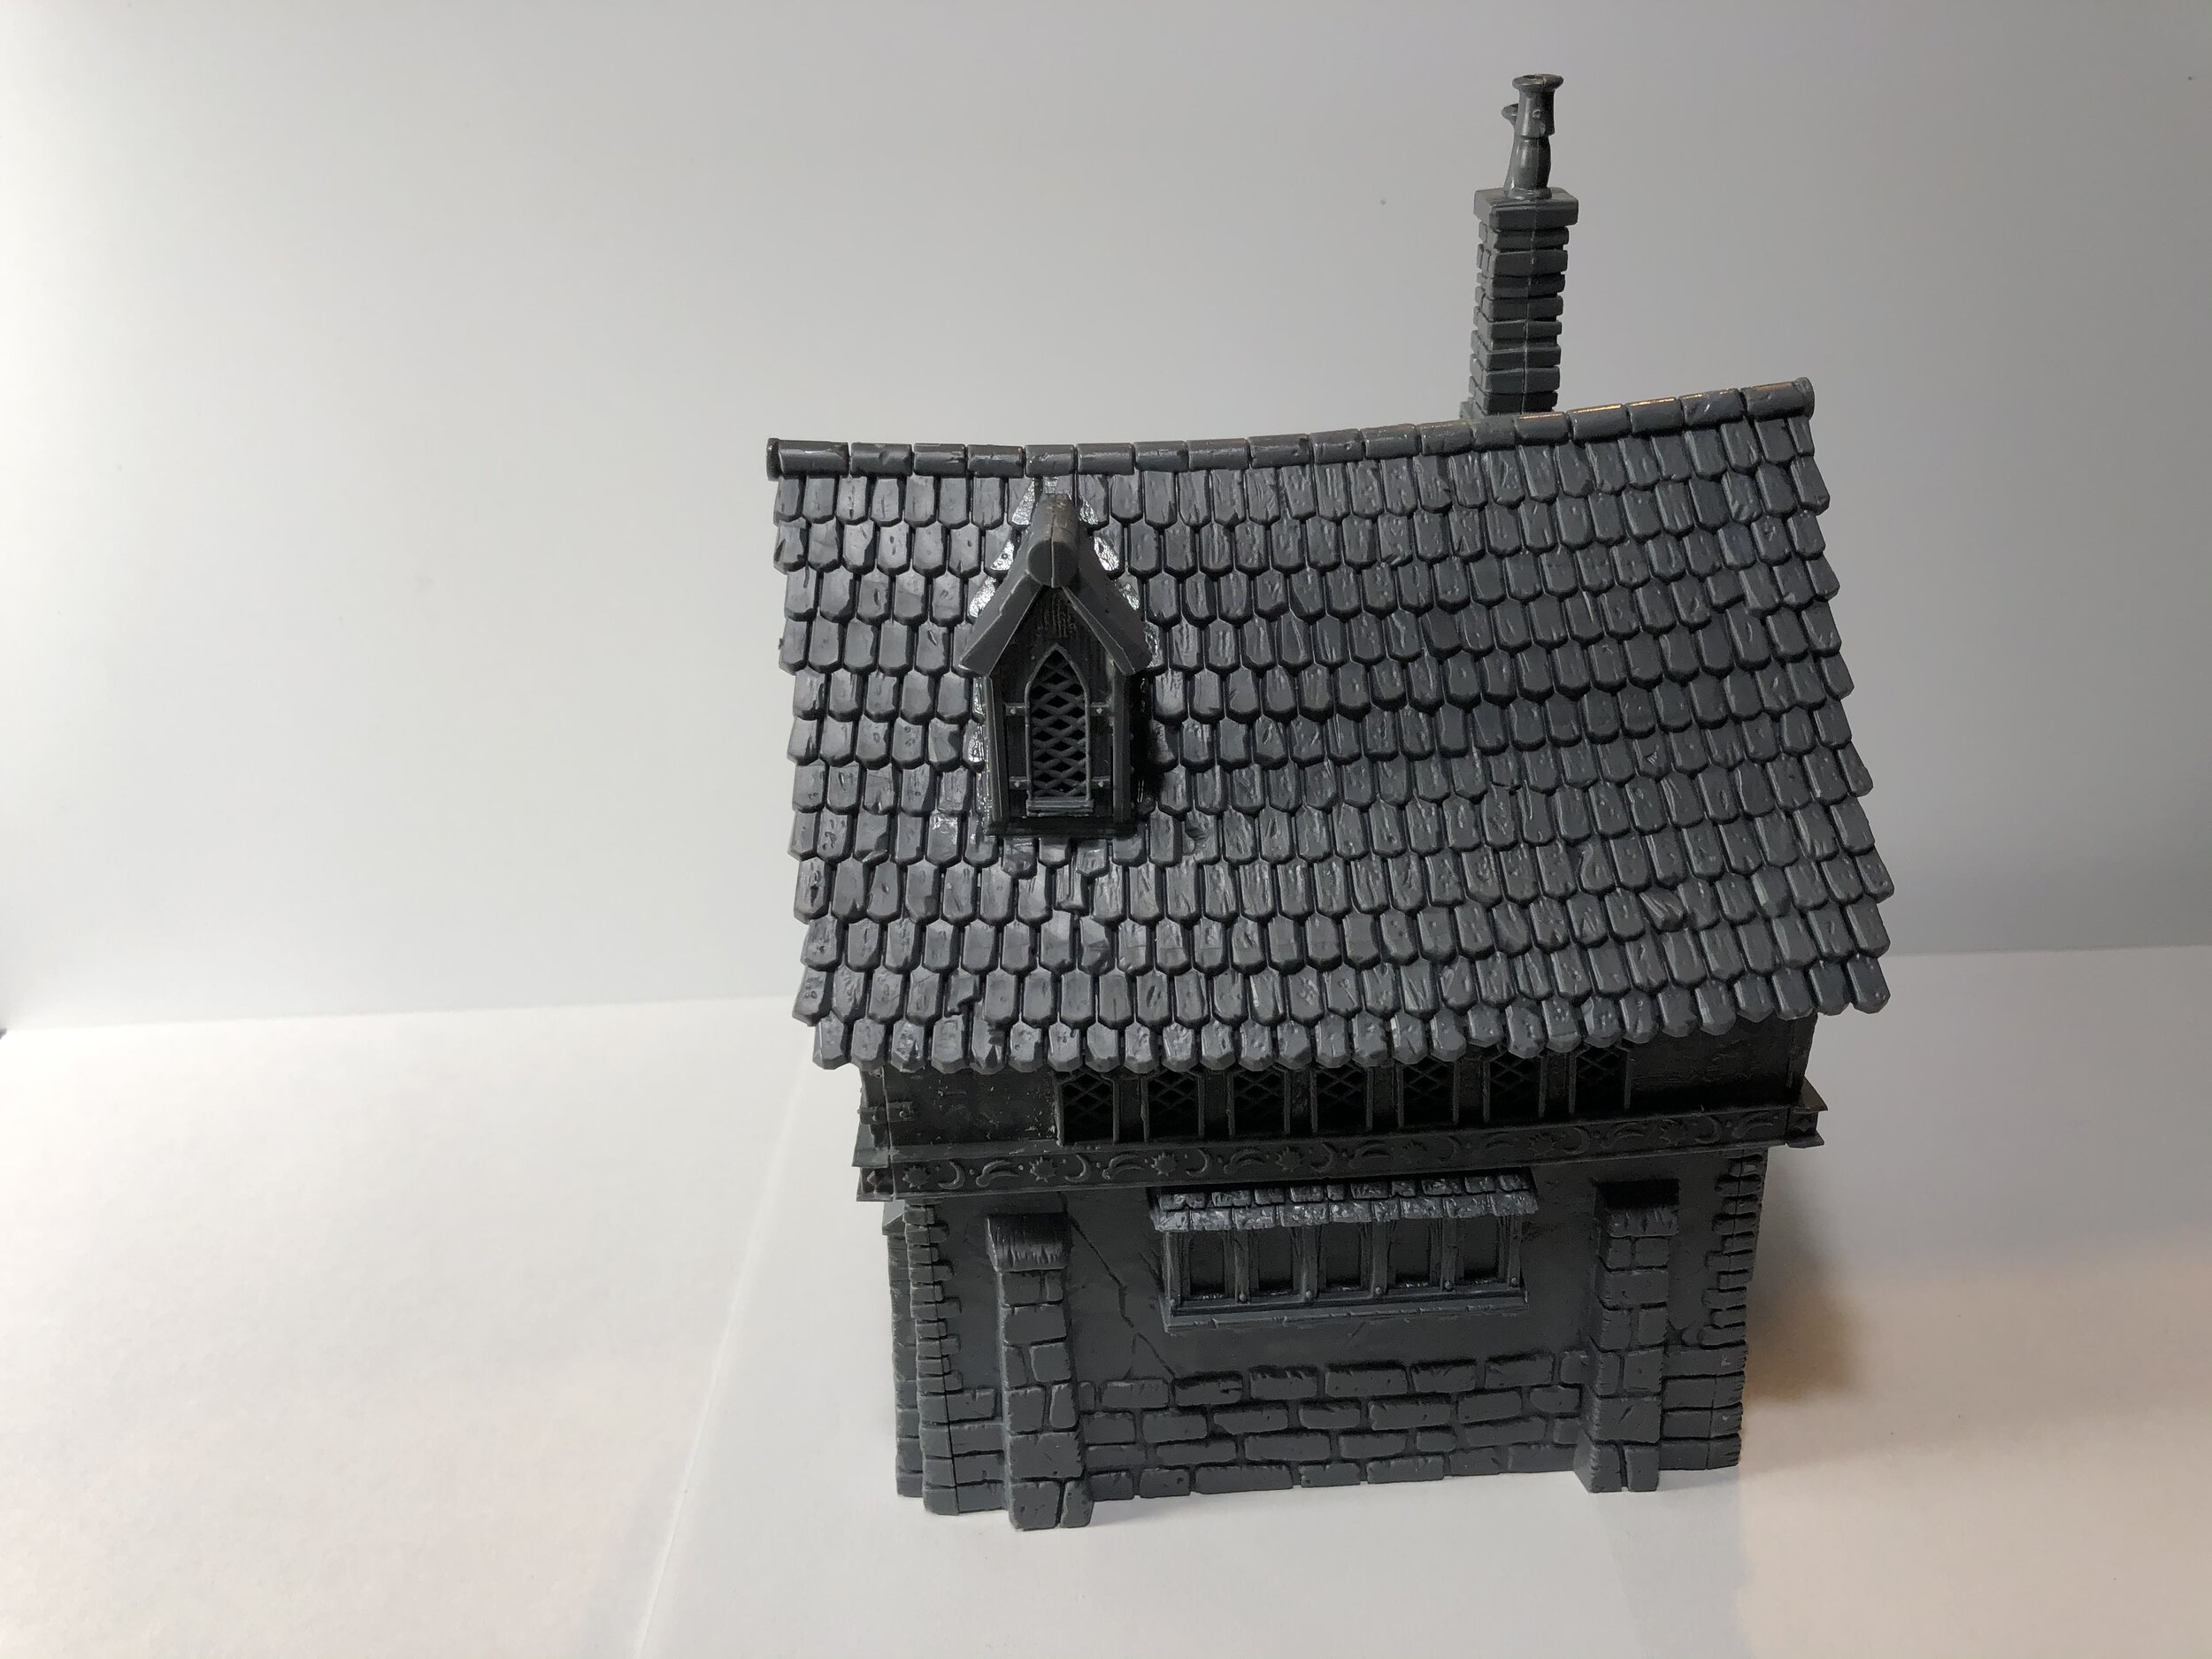
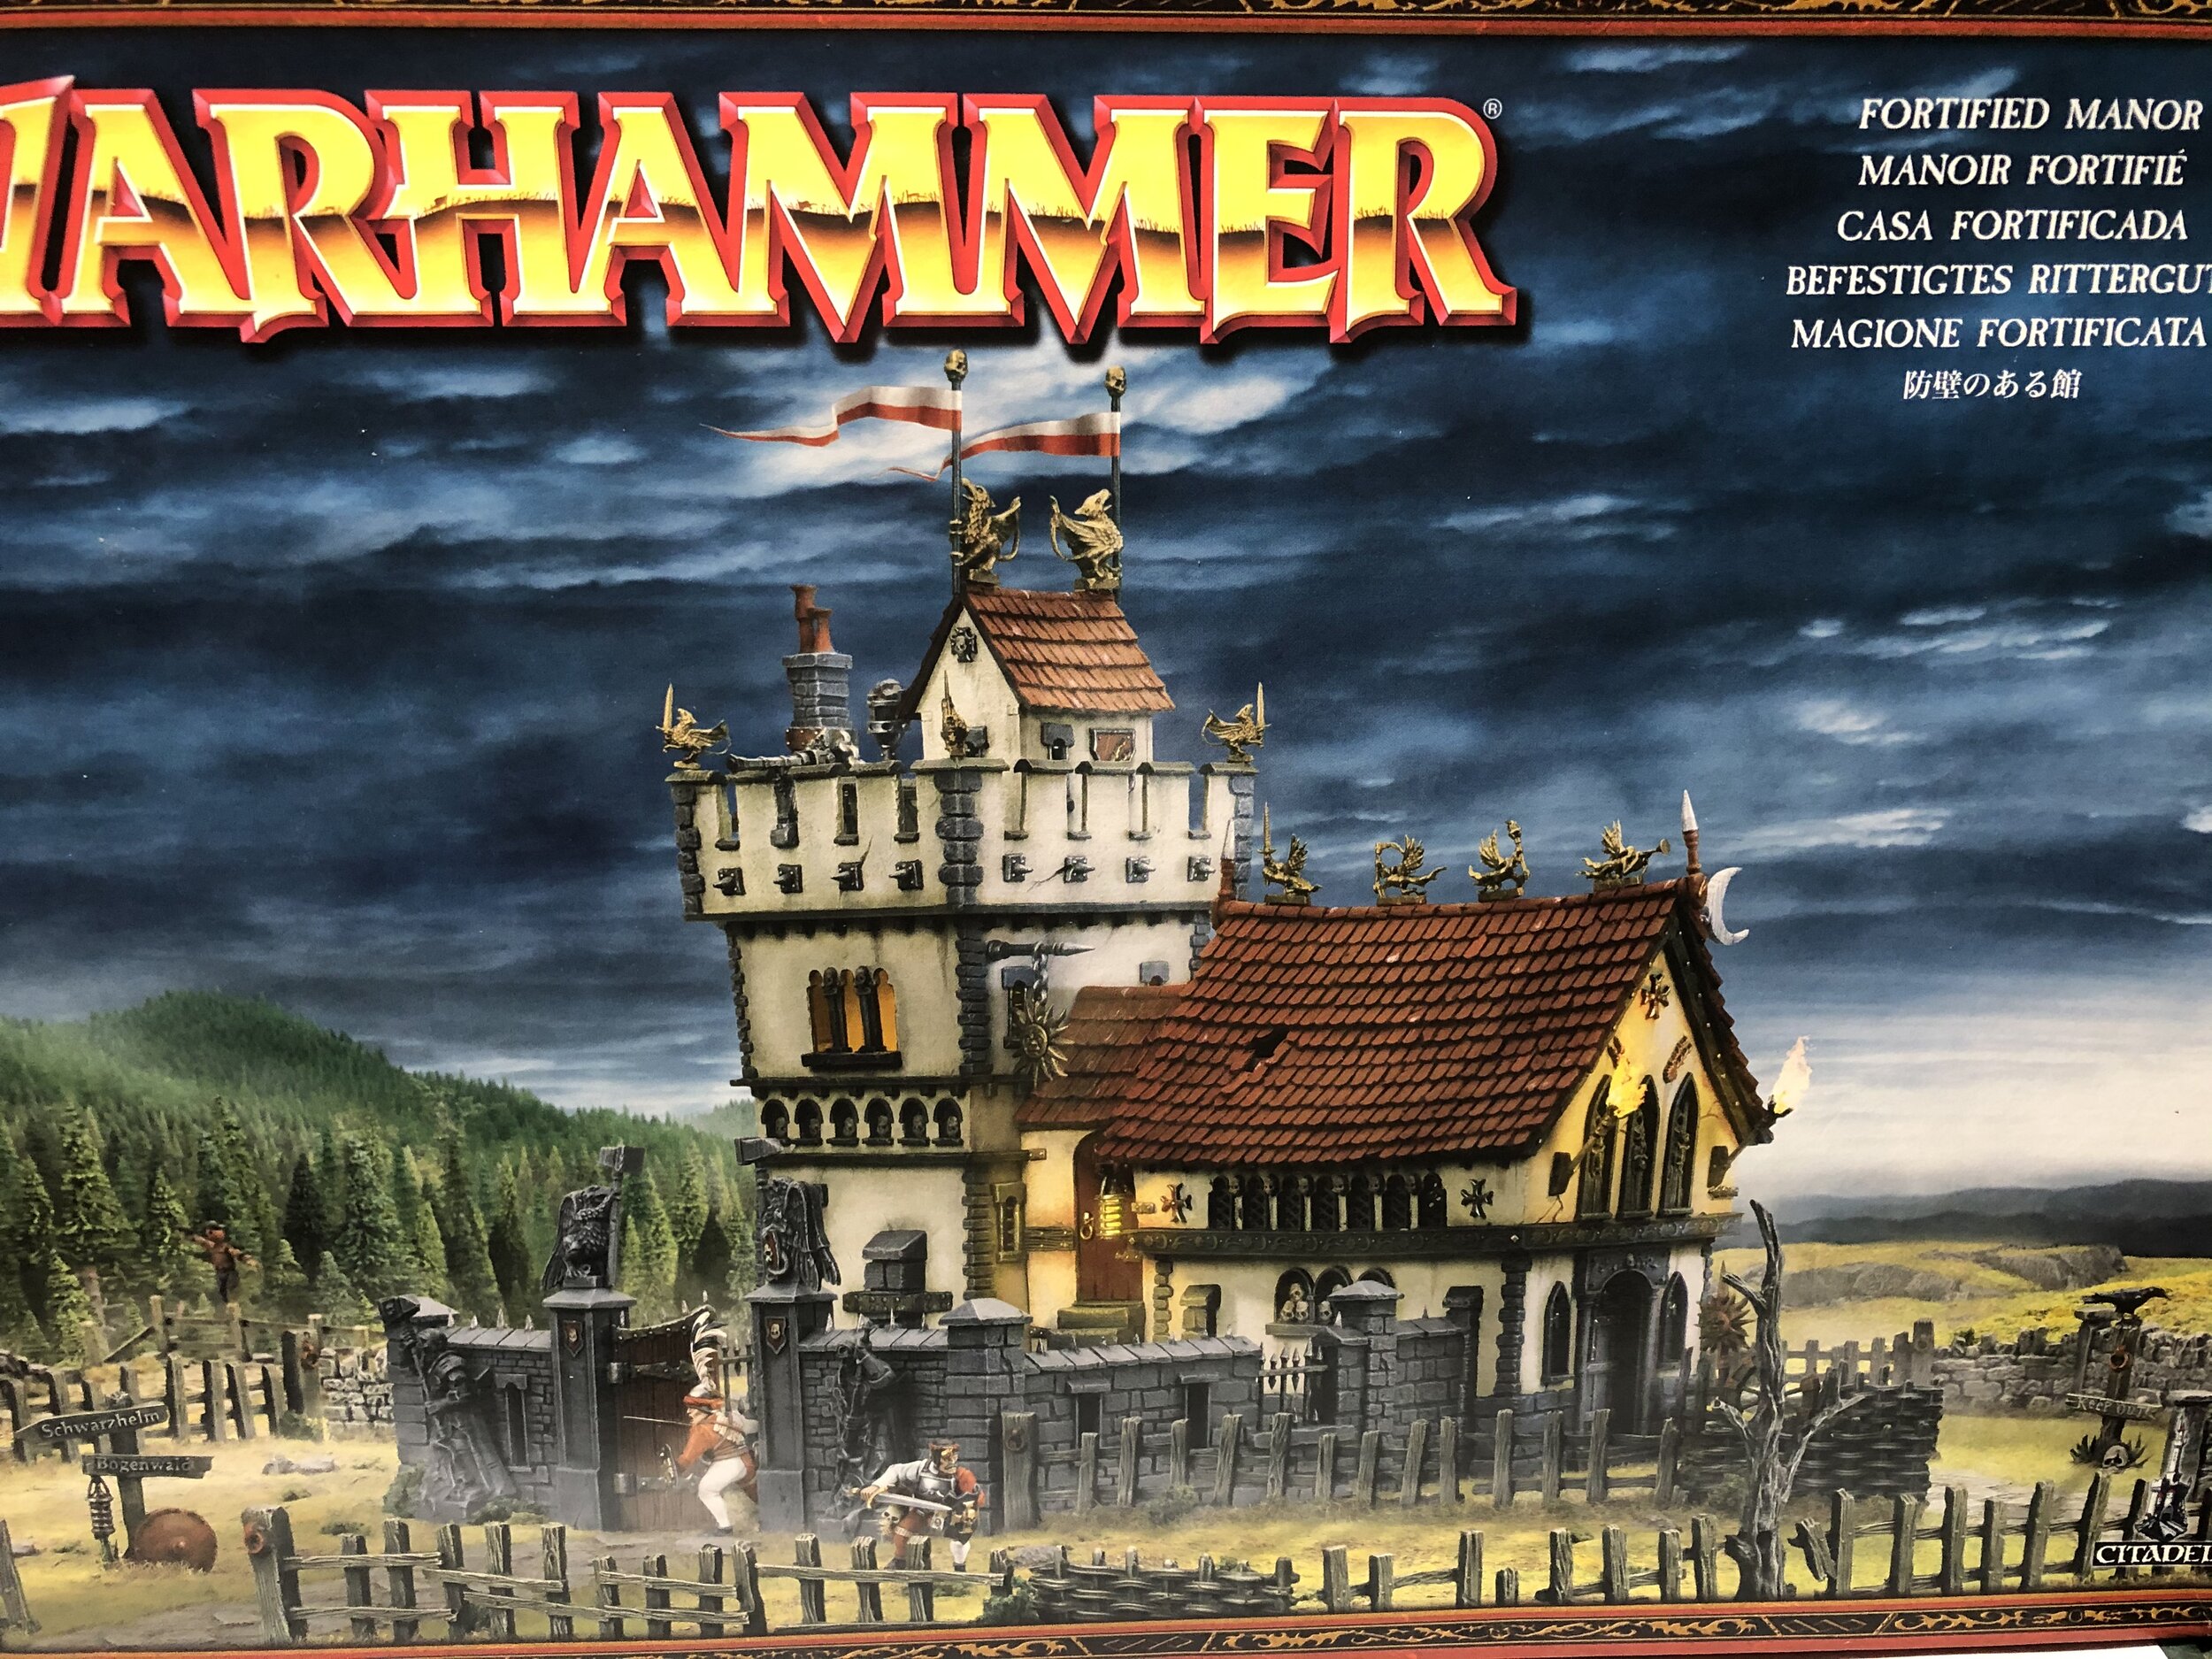
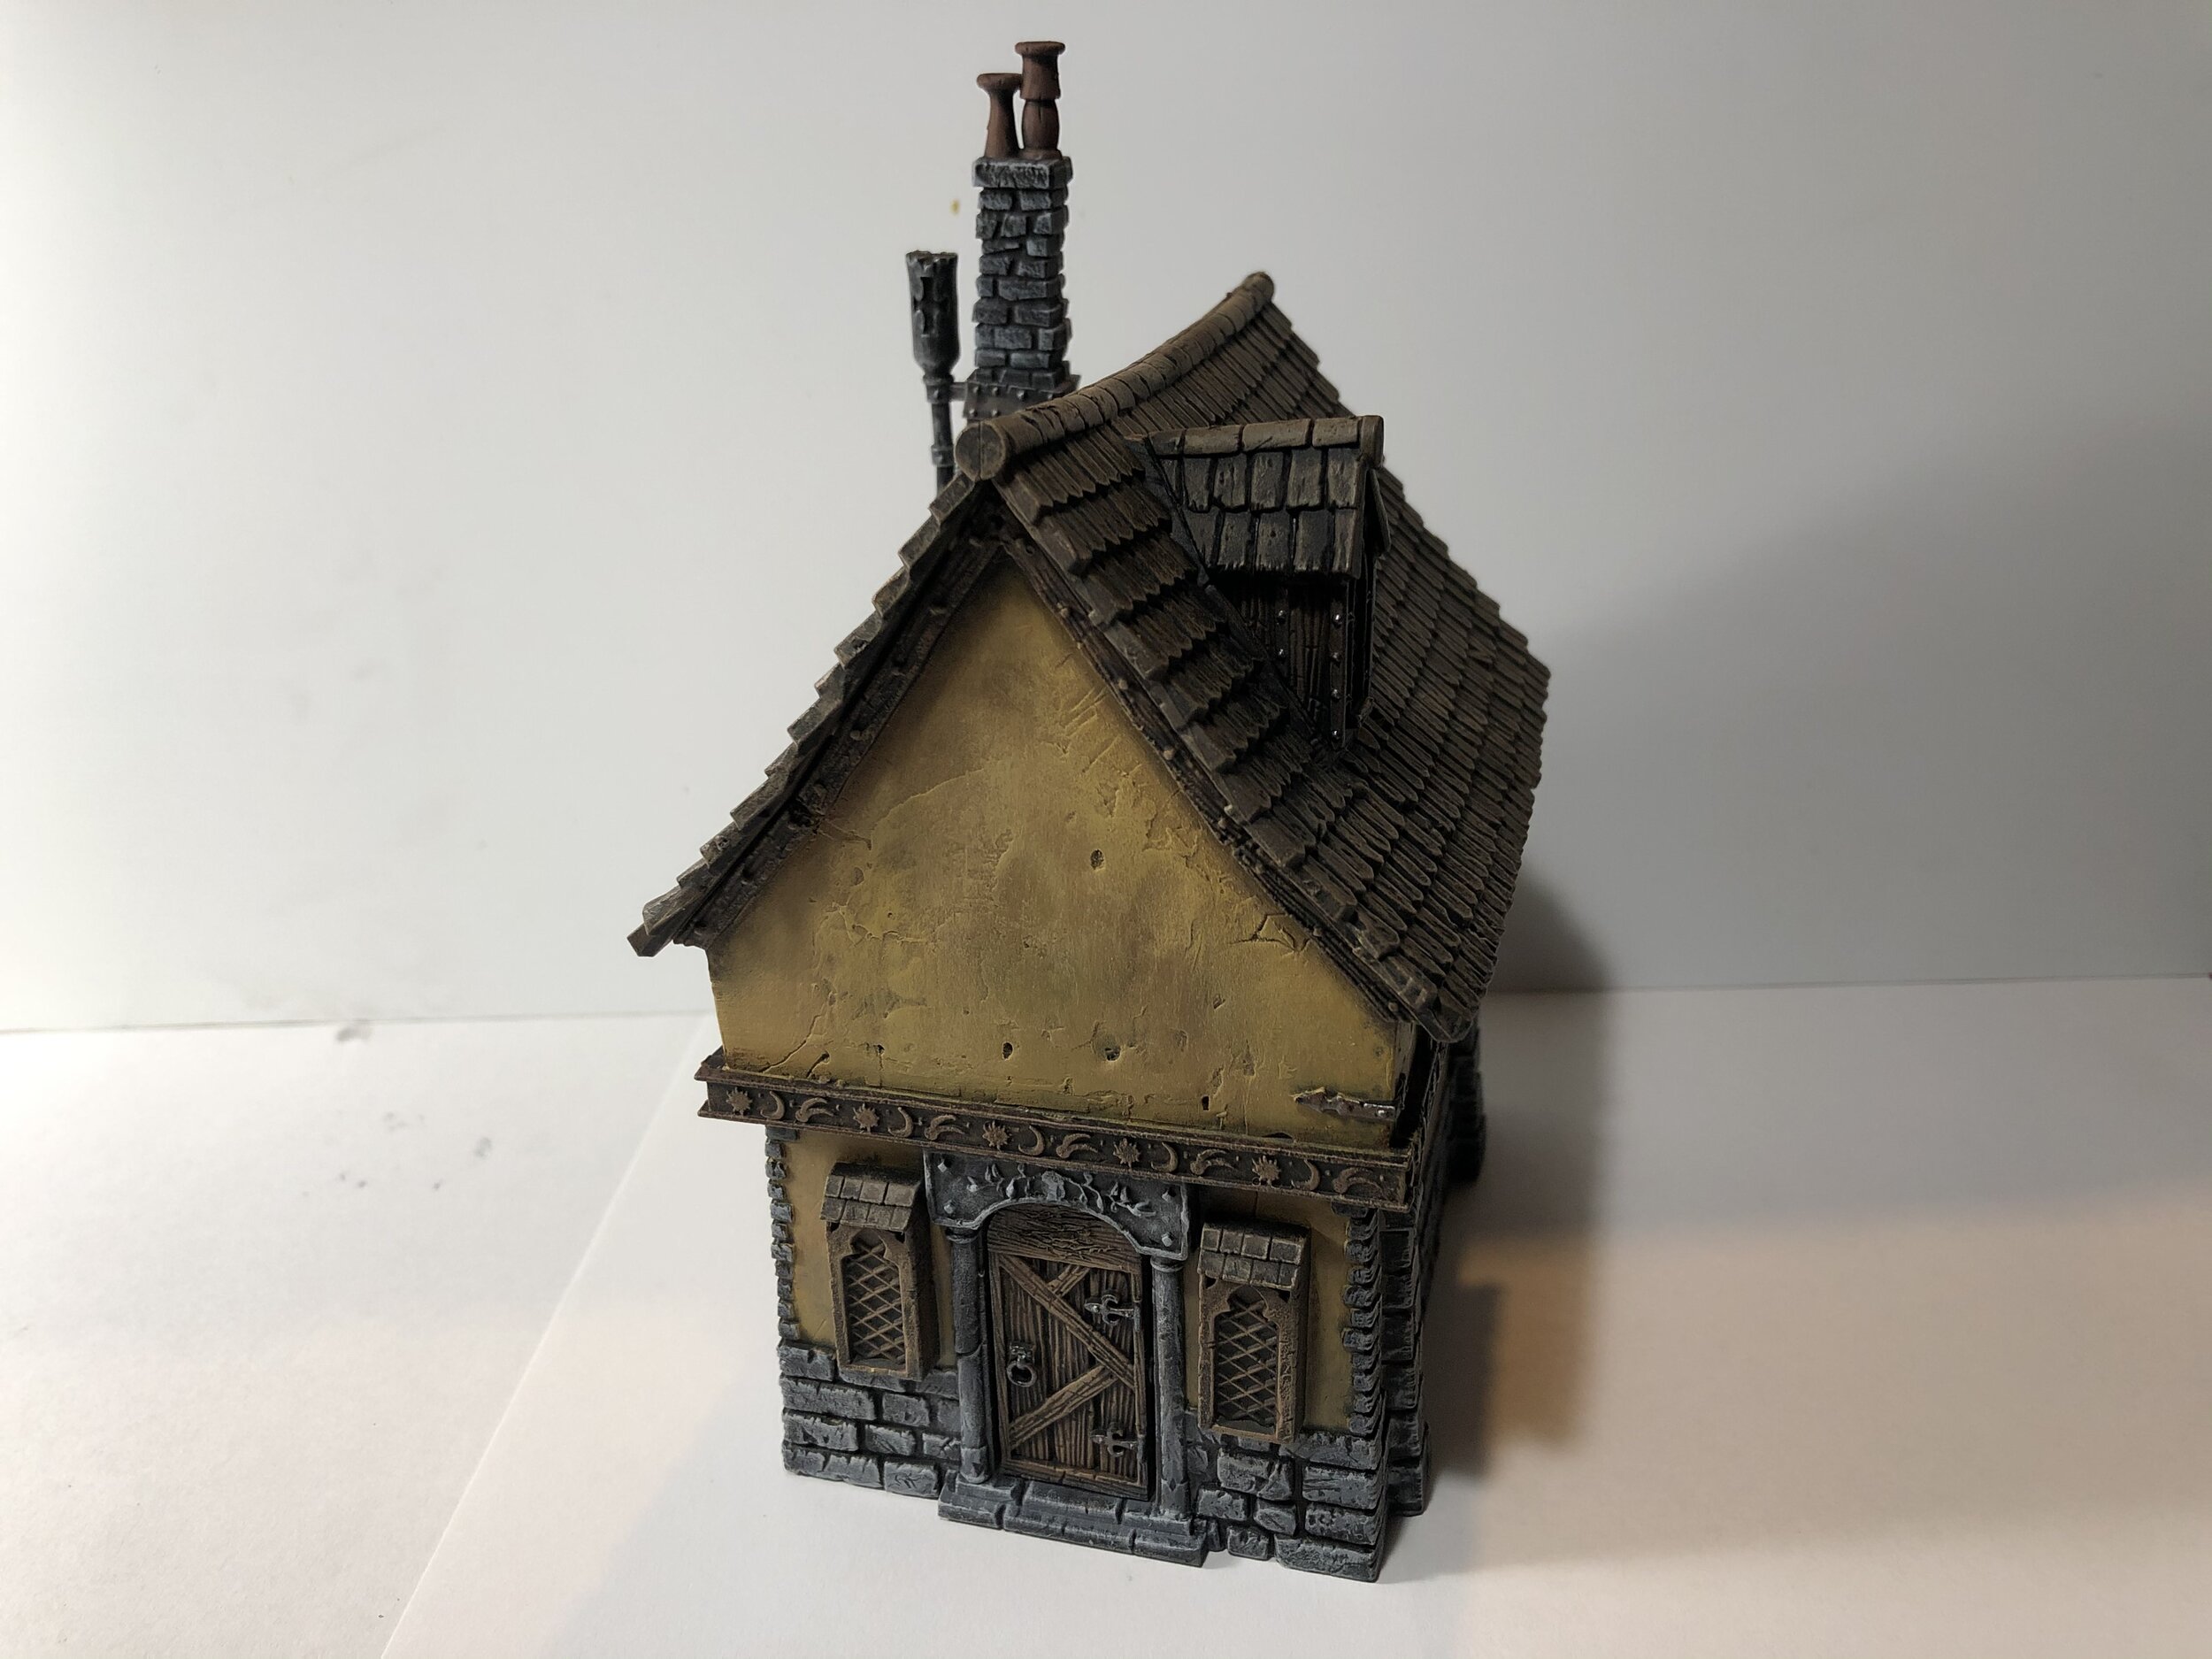
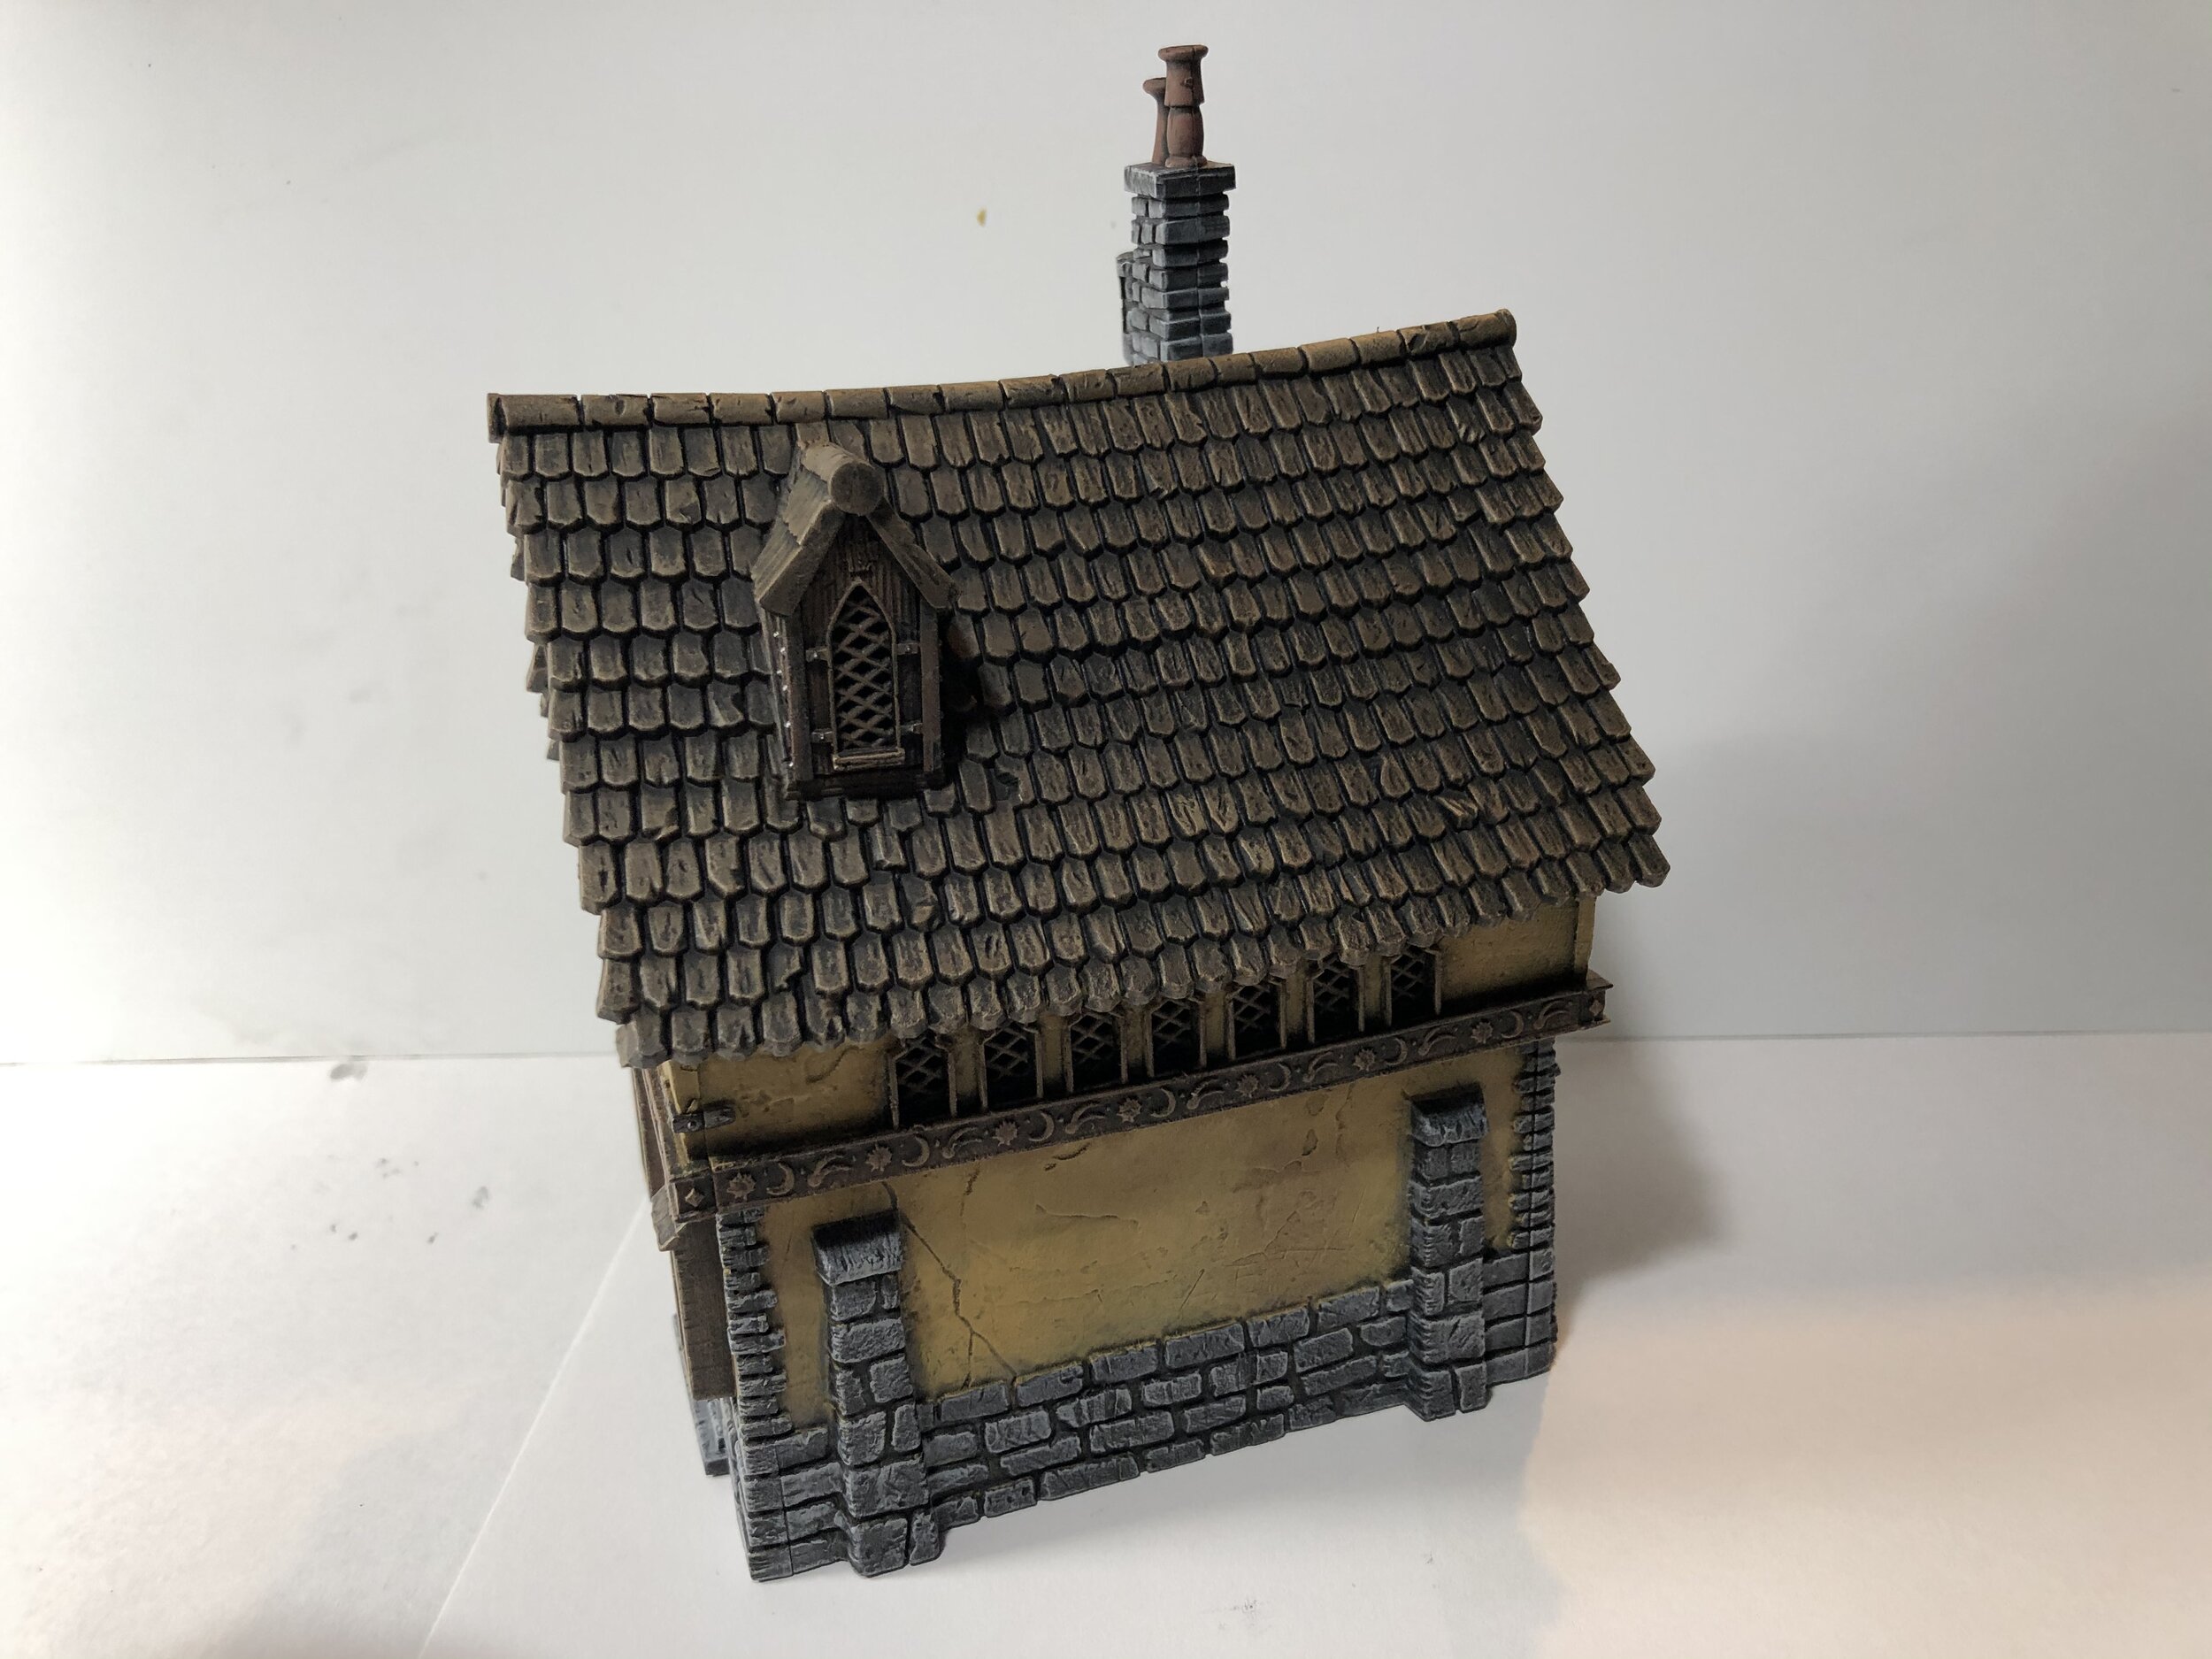
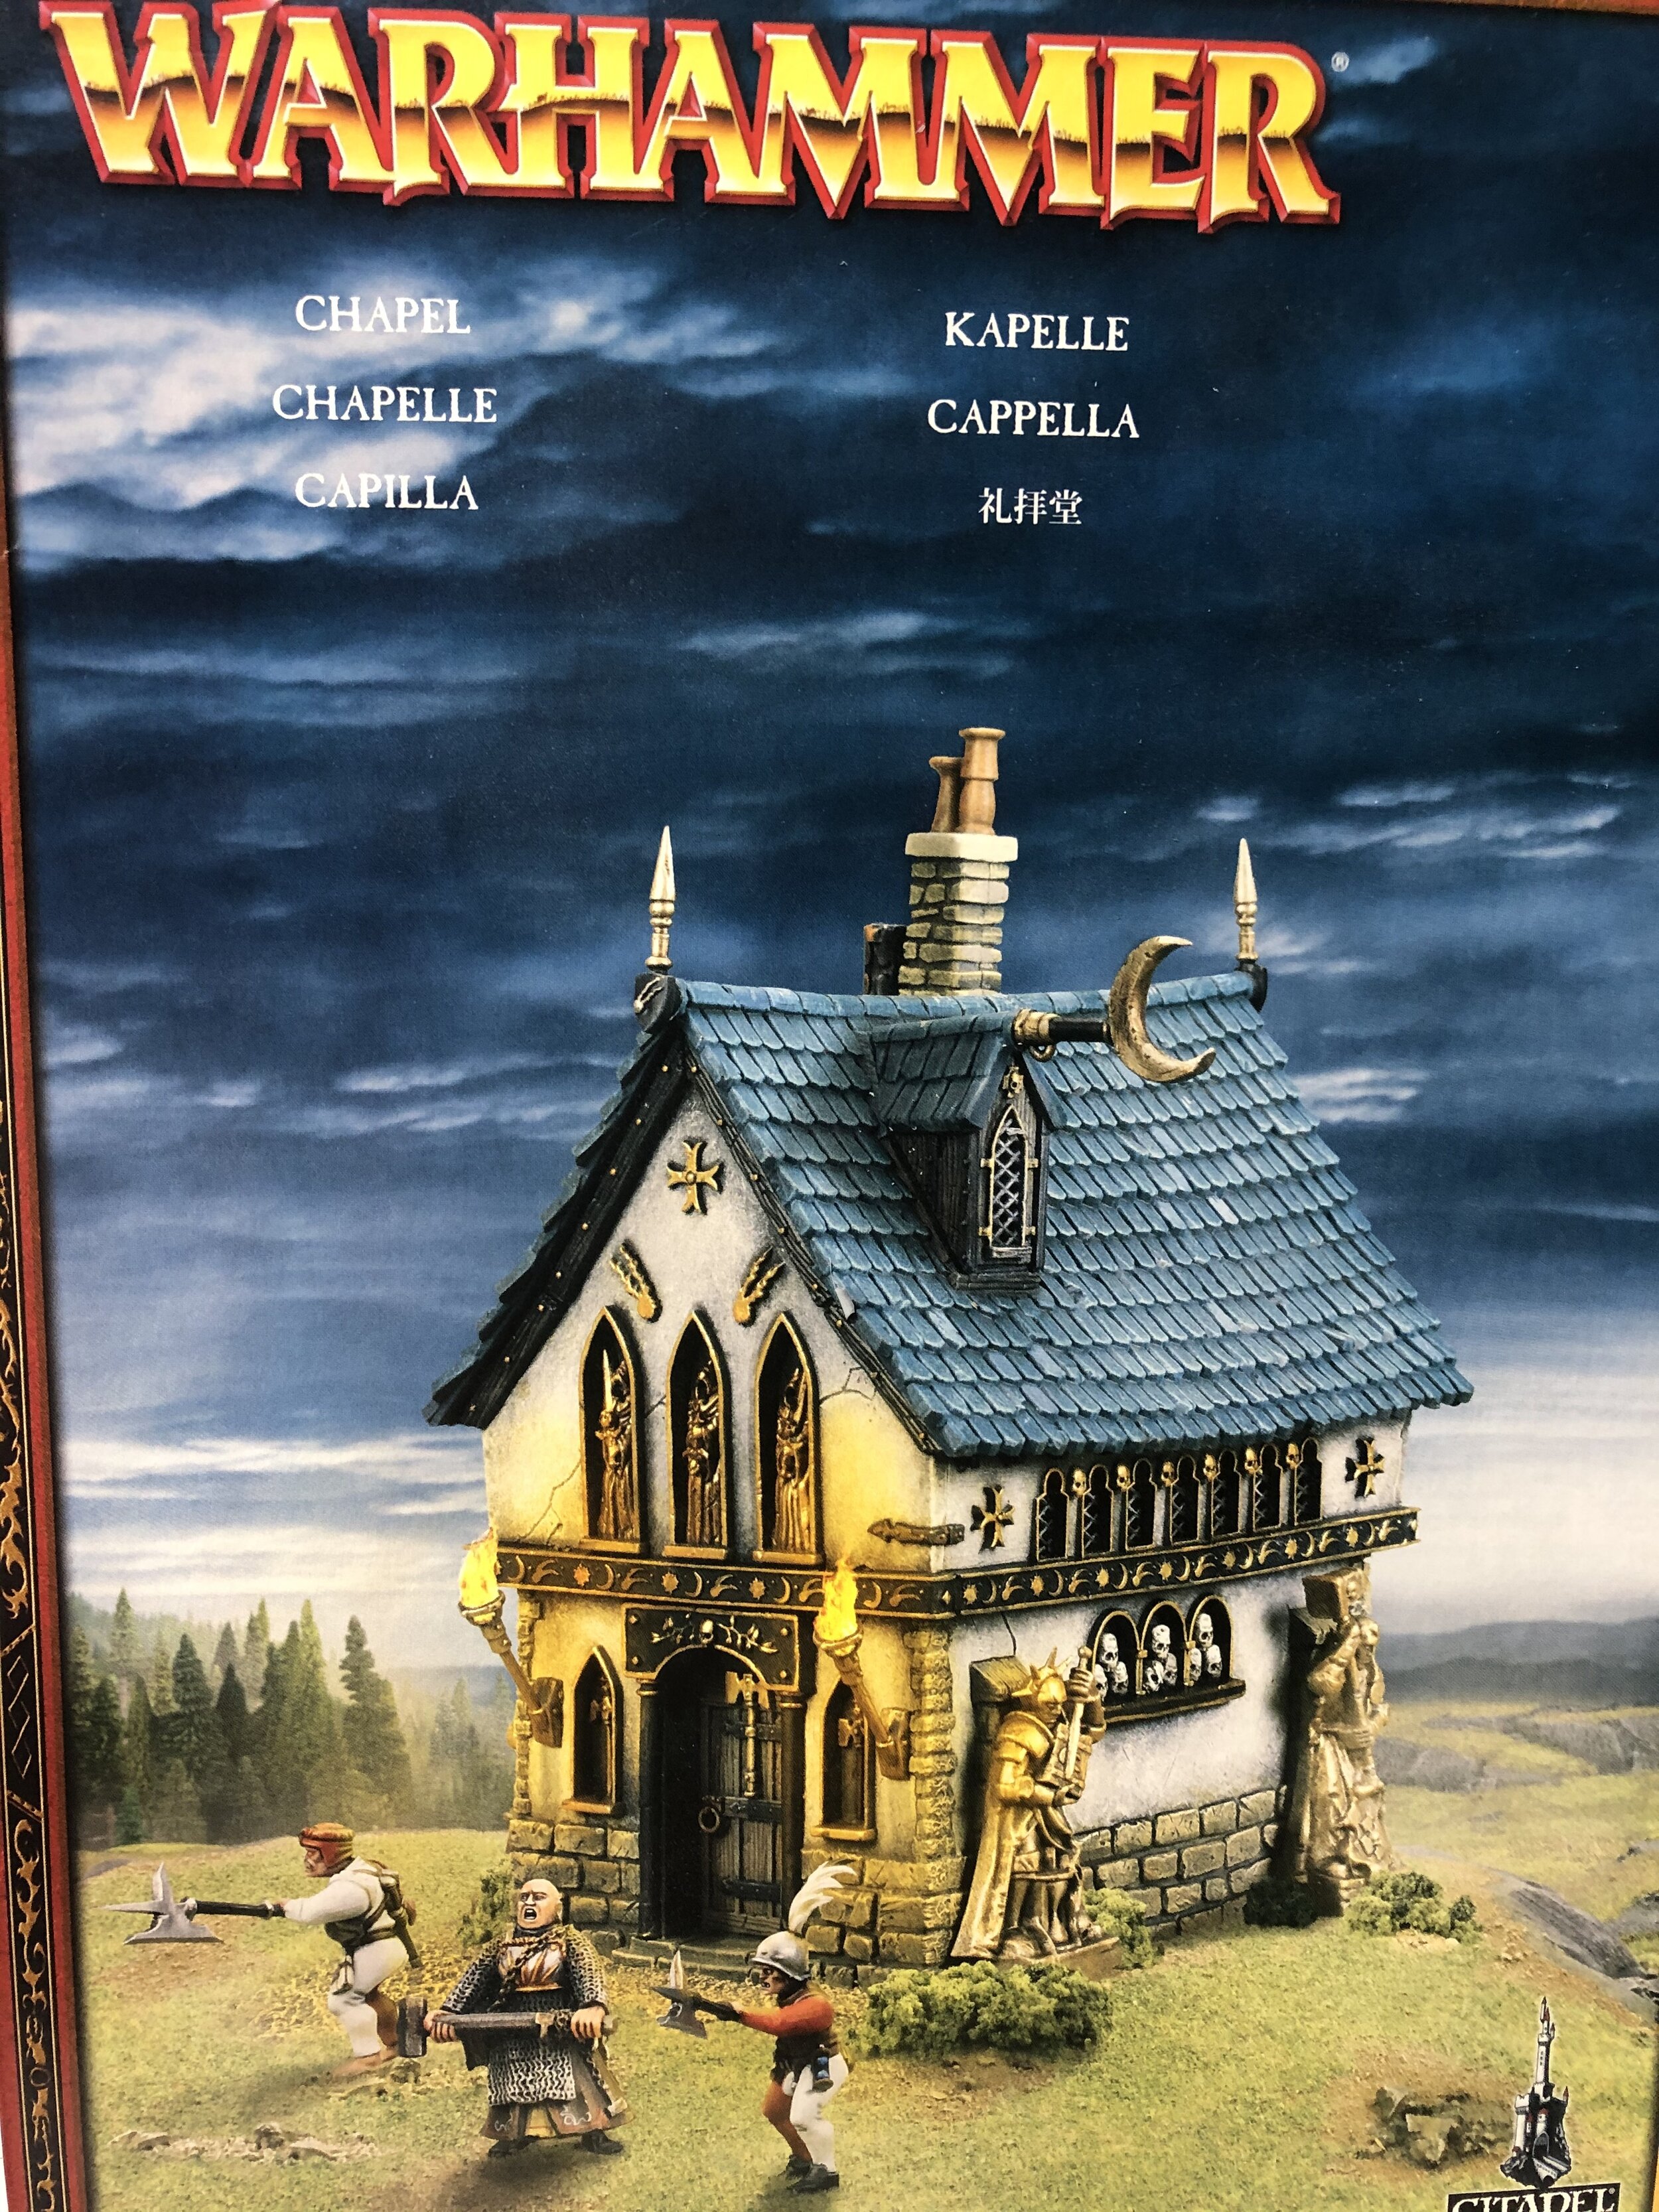
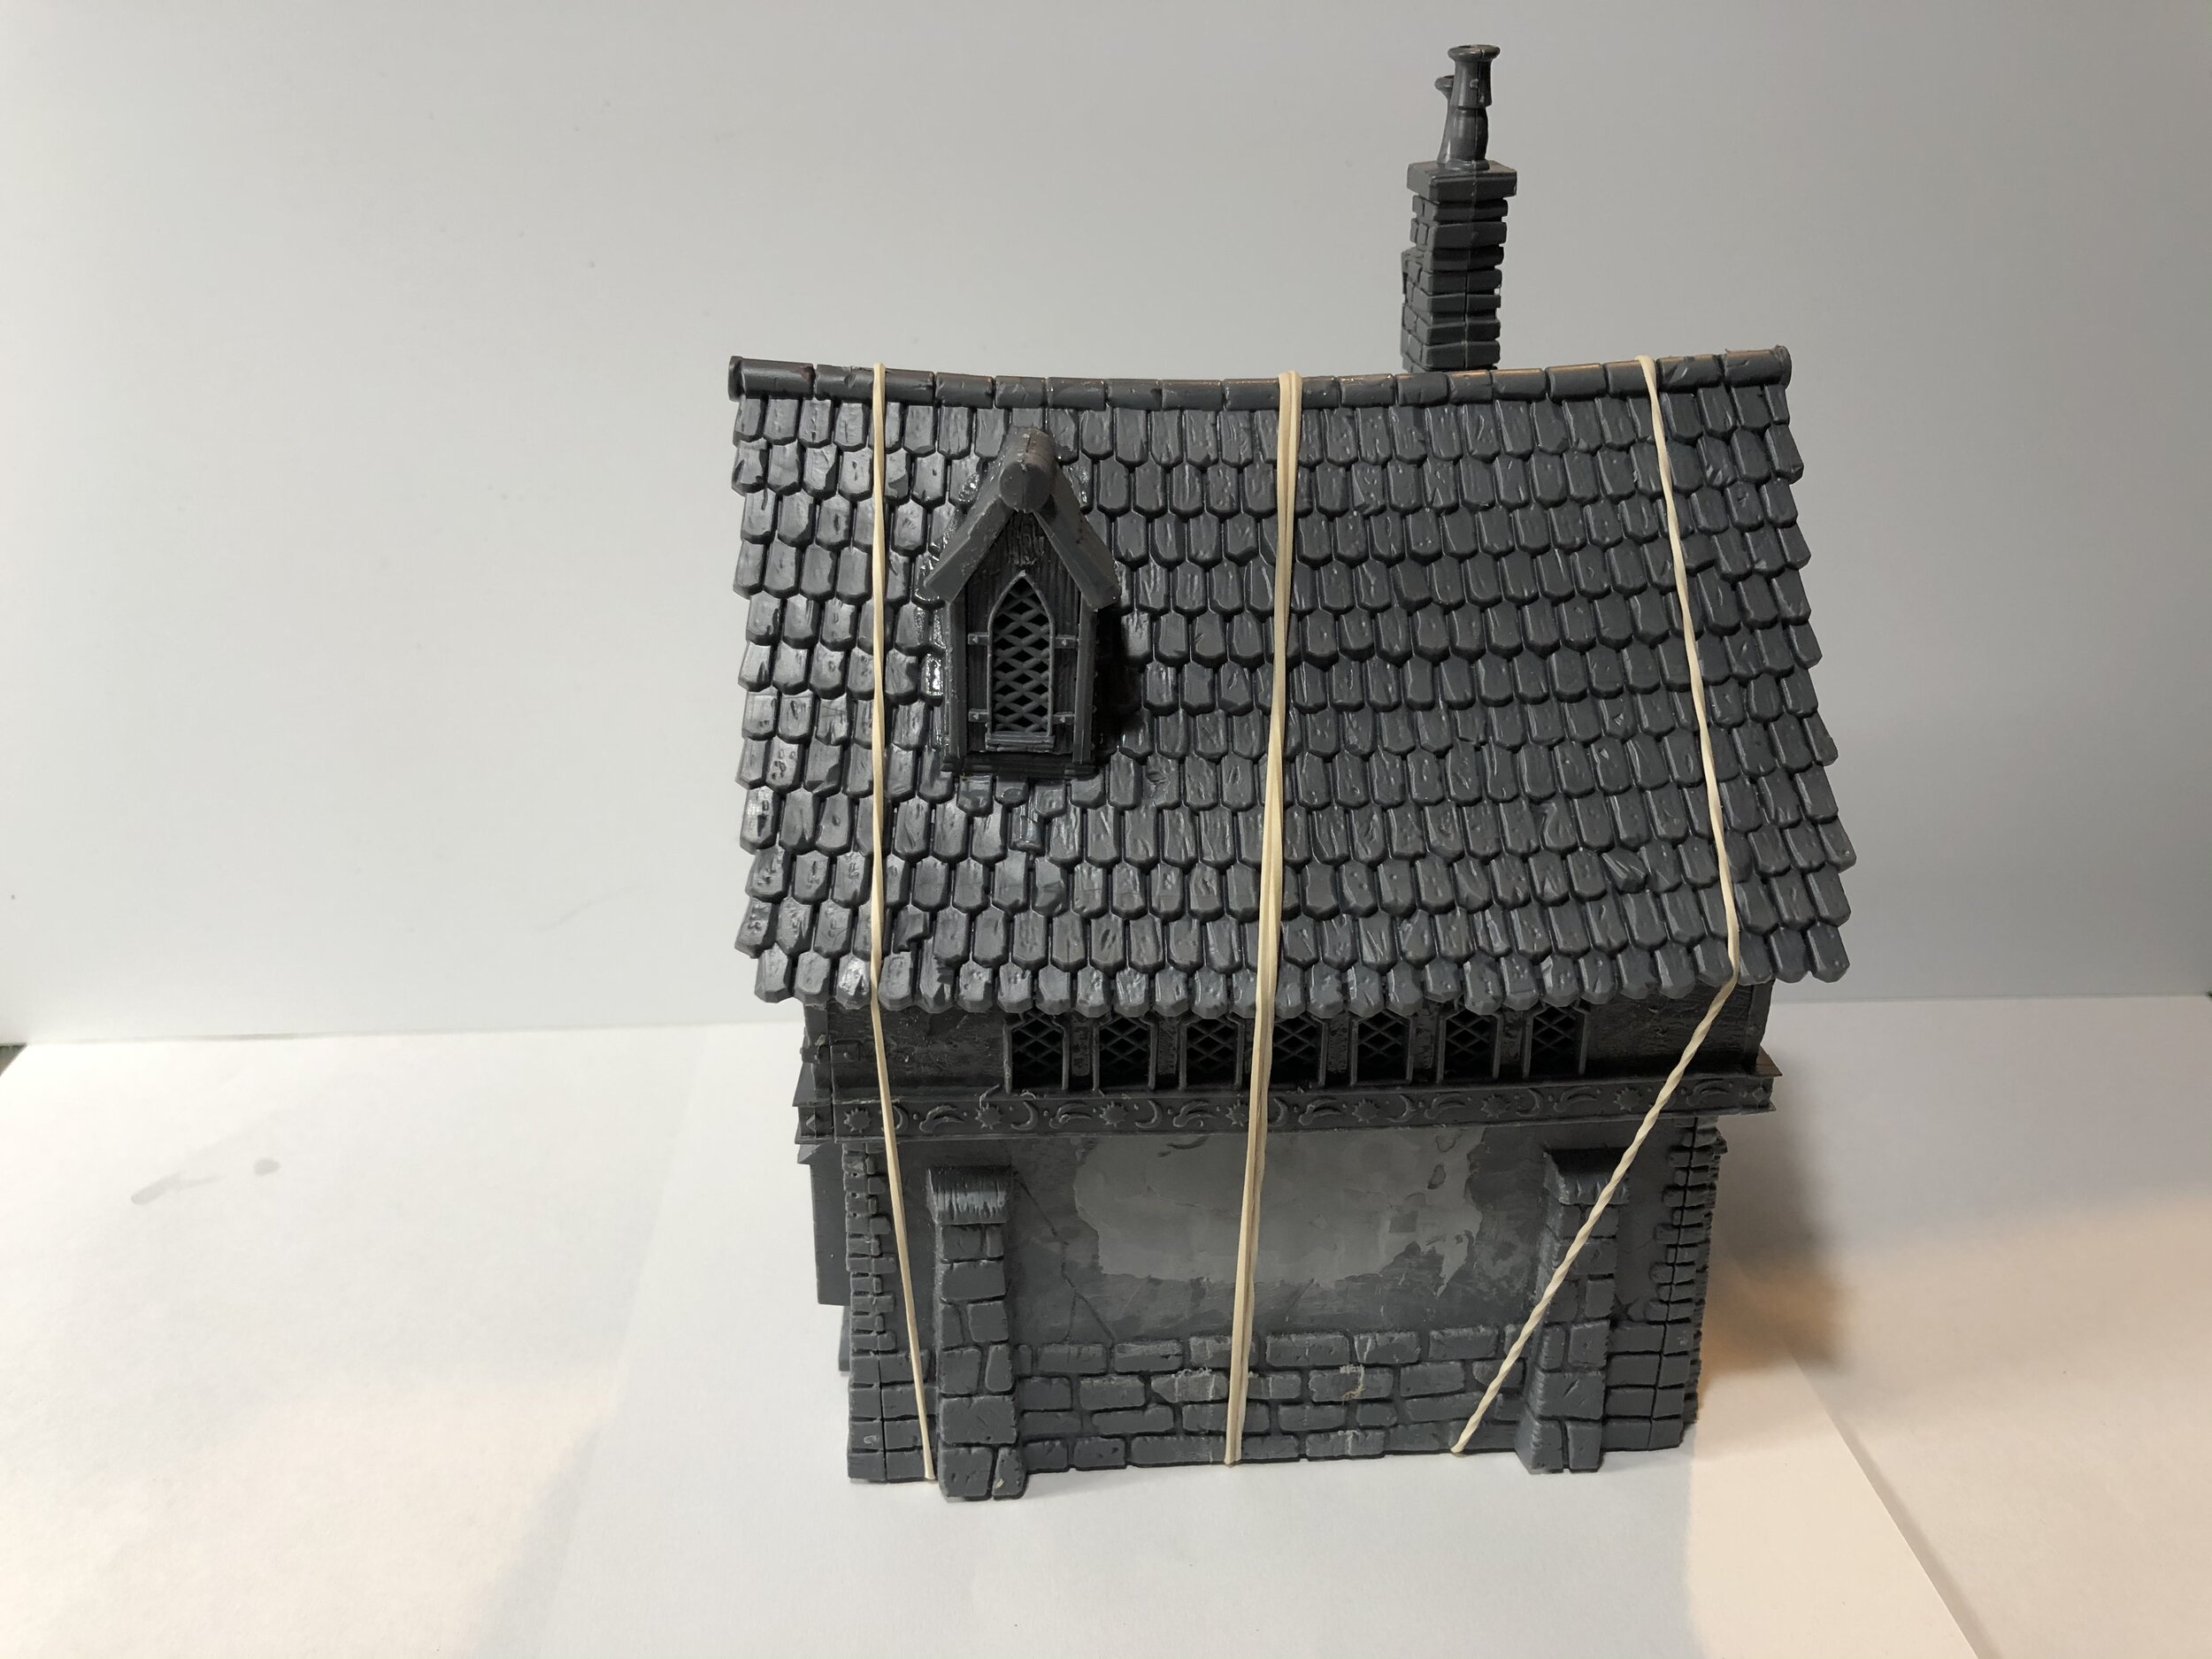
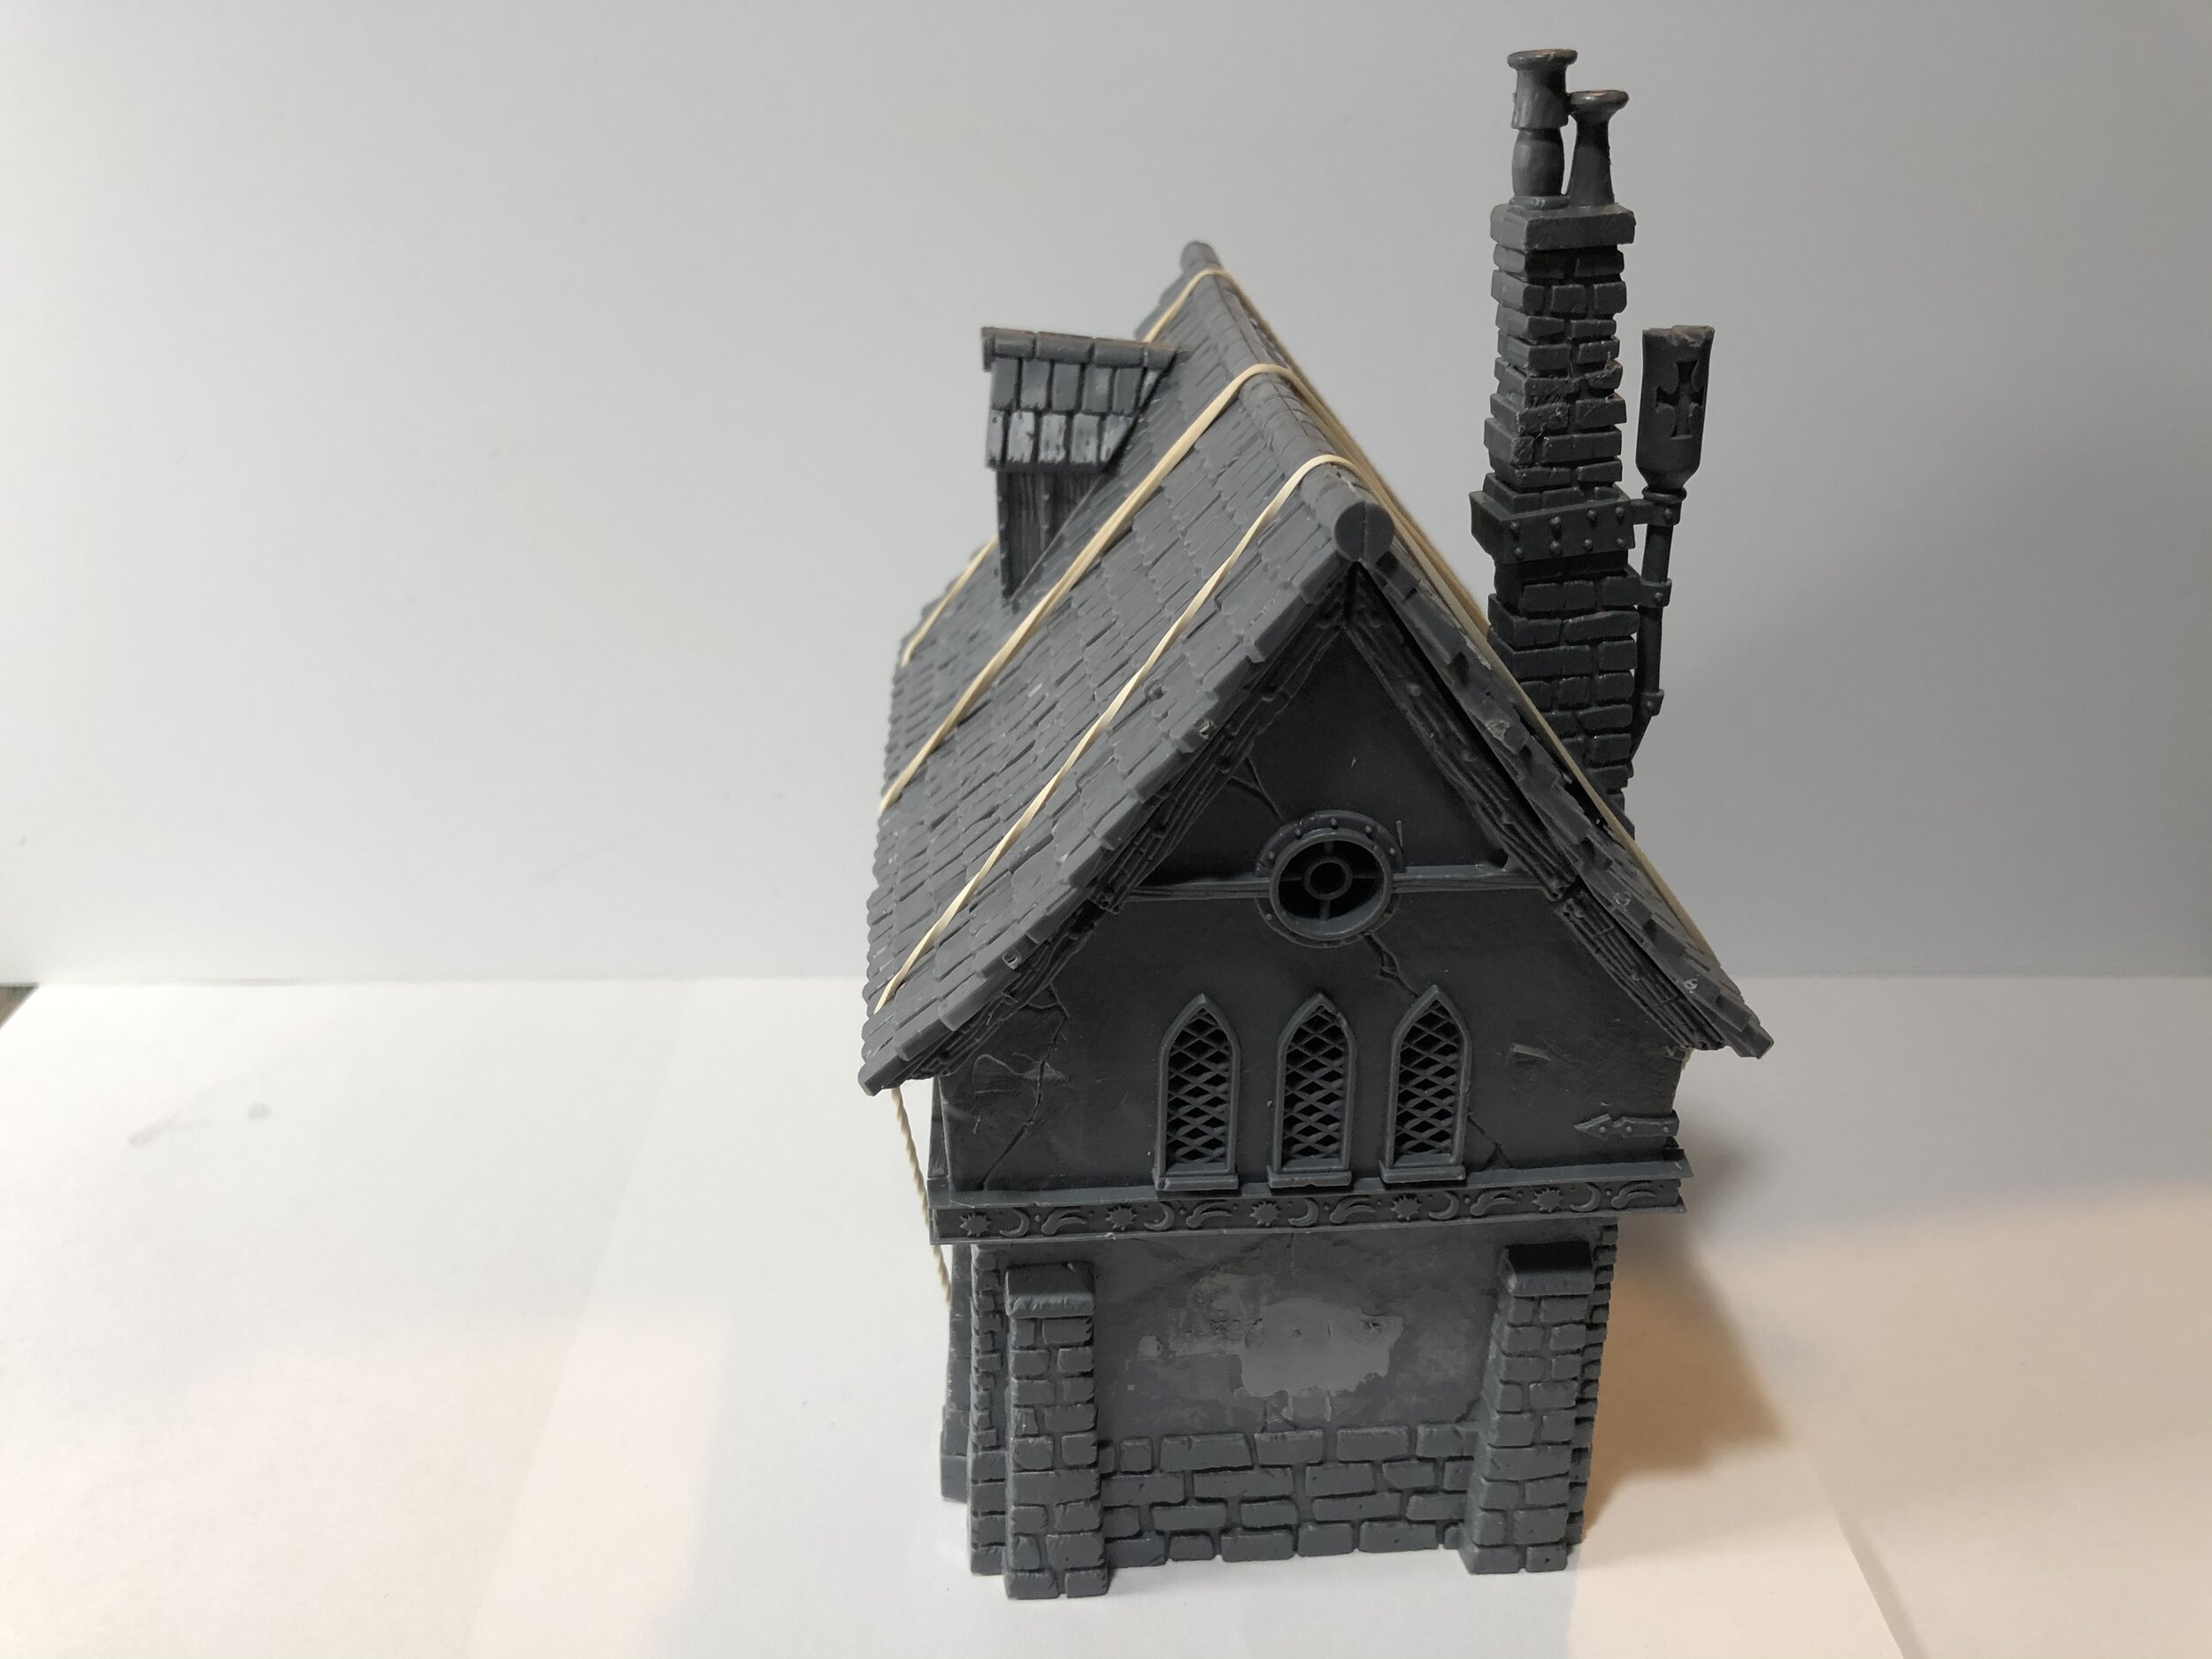
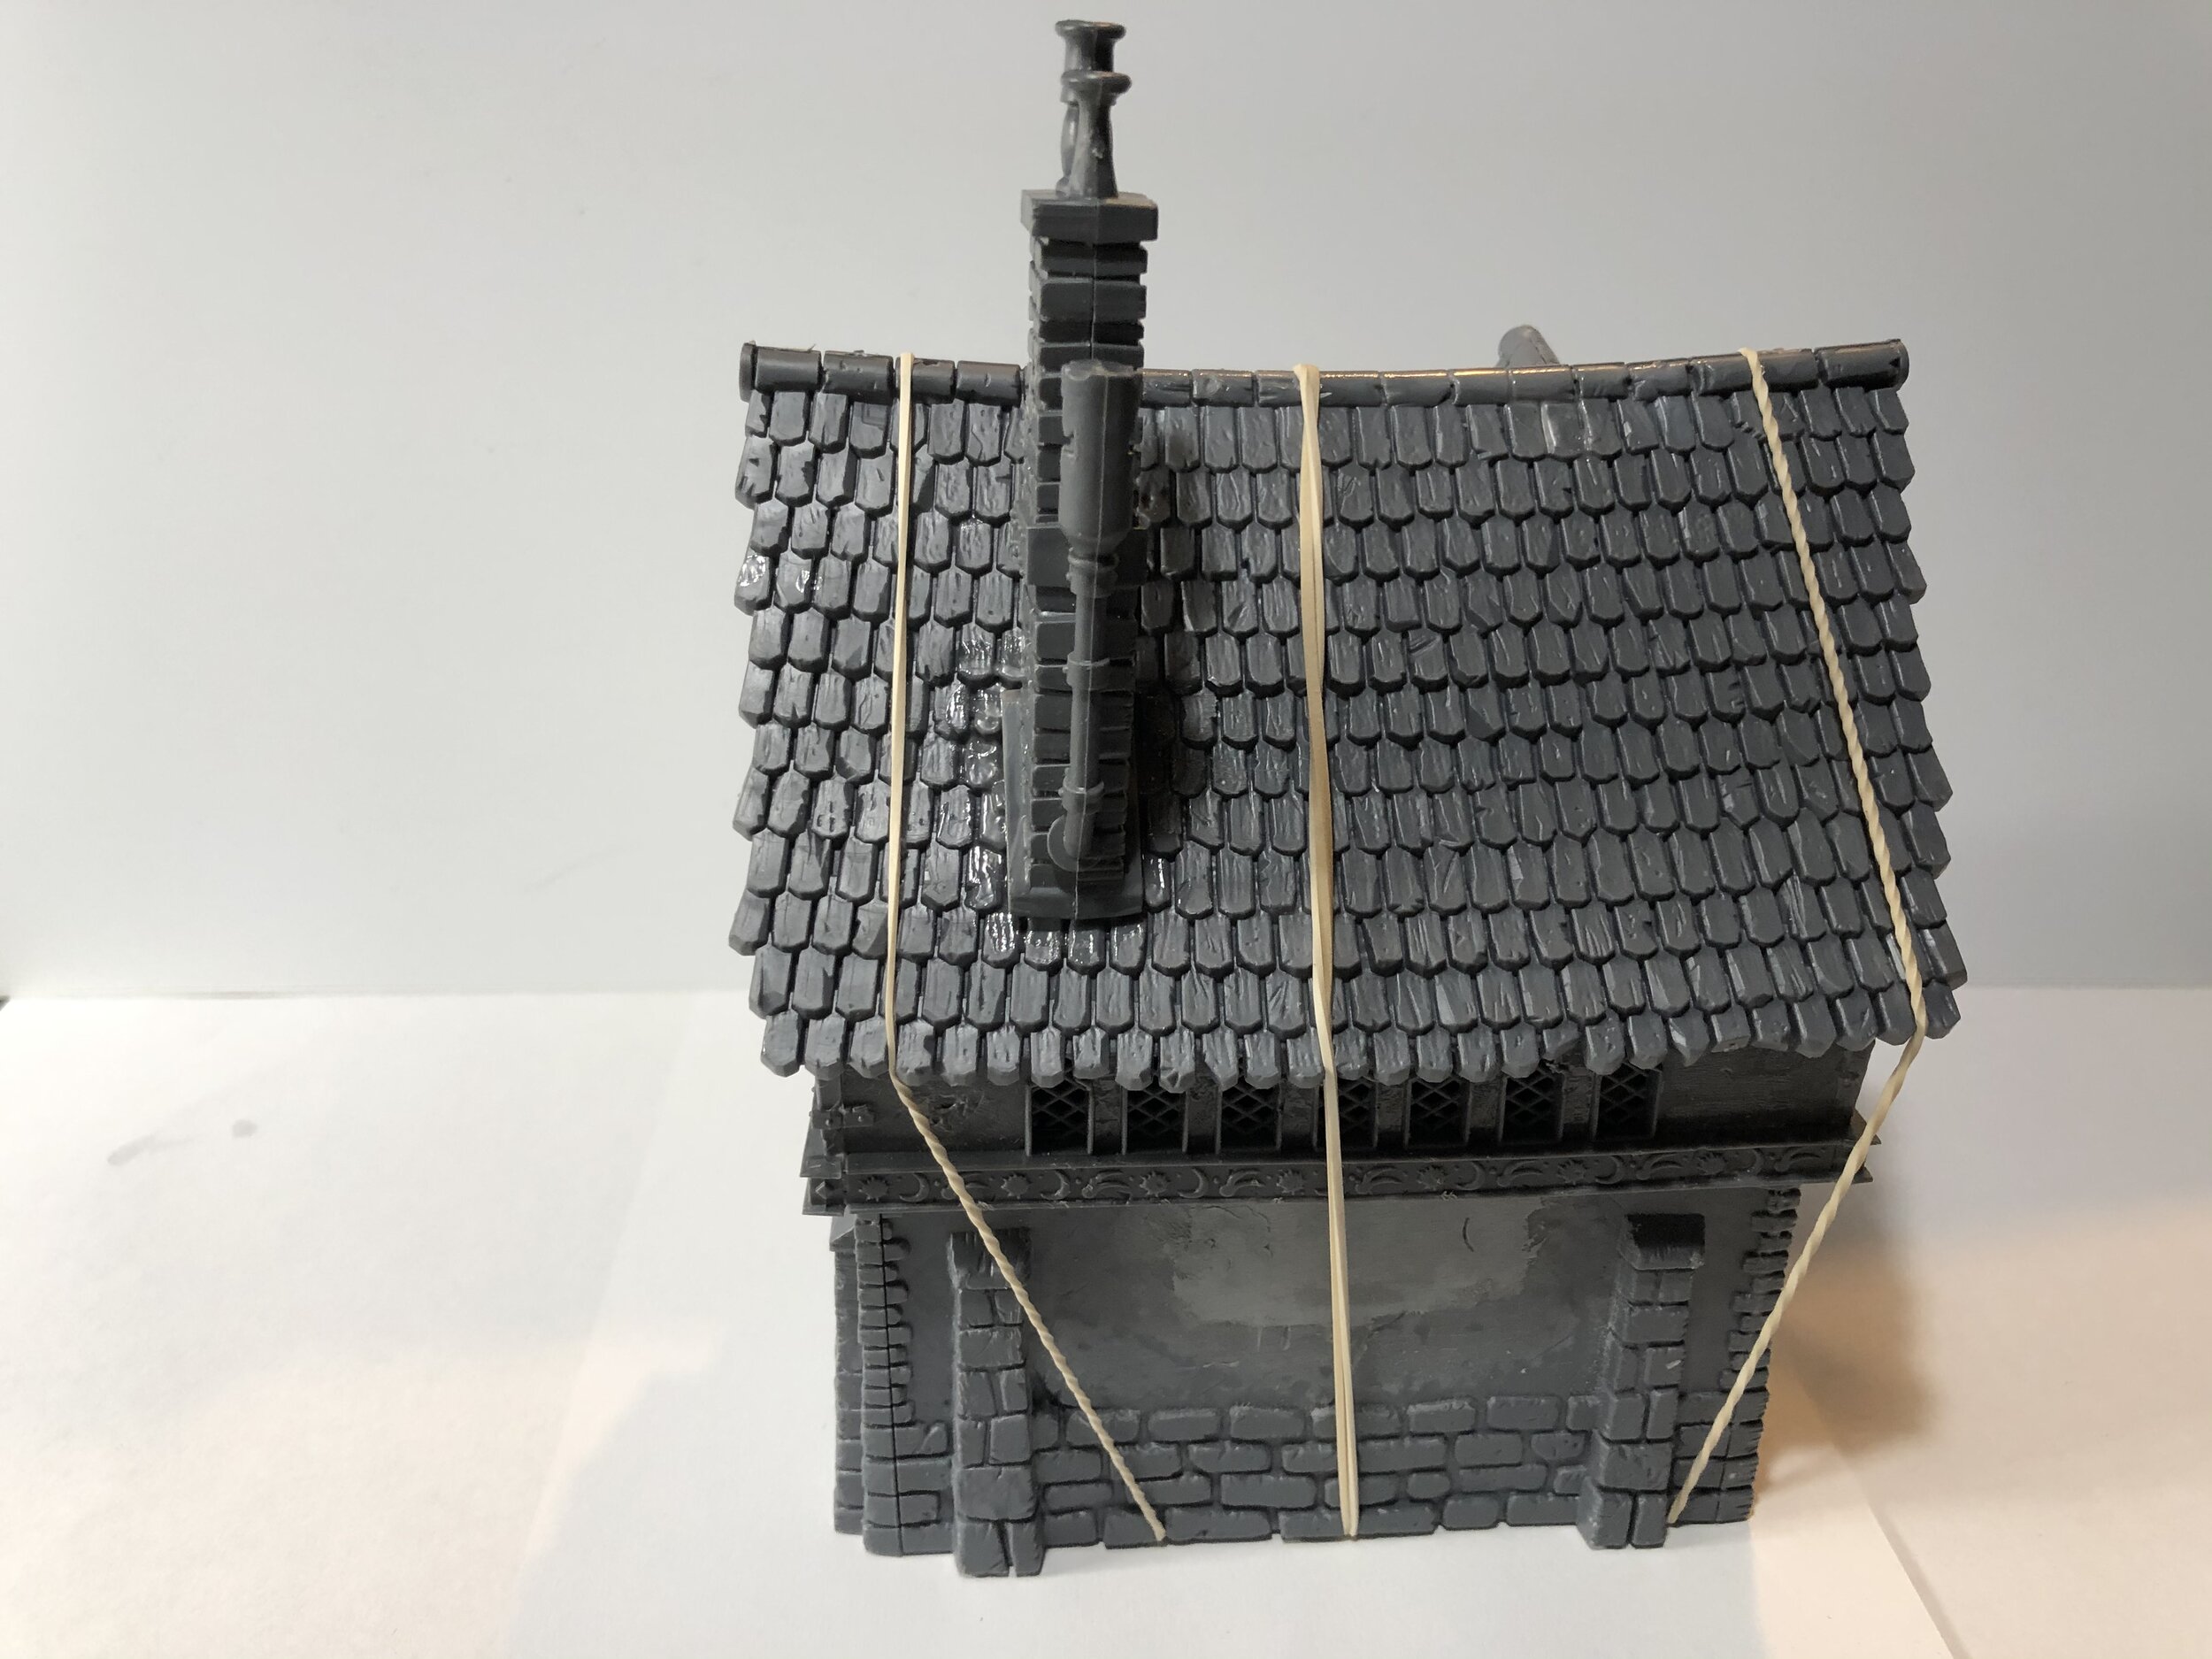
With the Watchtower painted, I turned my attention to the GW Fortified Manor set. It is made up of the Watchtower and the Chapel with a connecting piece between them as well as some walls and fences. After painting the Watchtower, I began preparing the Chapel section for construction. That preparation centered on removing GW skulls and skeletons. One of the nice things about the Fortified Manor set is that it offers some optional window coverings that allow you to hide skulls. I added those optional window coverings on both sides of the Chapel. On the front end of the Chapel I removed the skeleton figures that stood above the entrance and filled their space with putty. Once that was dry, I sanded the putty smooth and attached one of the window options above the door. To give this Chapel structure more of a different appearance from the one I did previously, I put the dormer and chimney on different sides of the roof than I had on the previous Chapel.
I finished putting together the buildings for the Games Workshop Fortified Manor. It consists of the Warhammer Chapel, the Warhammer Watchtower and a small structure (room) that connects the two. I decided that I would not glue the three pieces together to form a single unit because that would make it (them) more difficult to store, and it would mean that I could not use the Chapel and Watchtower as separate buildings if the need/desire arose. Unfortunately, the Fortified Manor set provided only one set of tall steps (the ones leading up to the door of the Watchtower) and that set of steps was needed to complete the connecting section. In order to have the Watchtower available as a separate building (if so desired) I had to make a separate, removable set of stairs for the Watchtower. I did that using Evergreen and JTT plastic and setting those scratch-built steps in a base of Milliput for added strength. I think it will work out fine providing me with a compete Fortified Manor and the ability to use the Watchtower and Chapel sections separately. They remain to be painted… that will be soon. I also have to make and paint the walls and fences for the Fortified Manor. That shouldn’t be difficult, but I will be using Milliput to create some shrubs to hide some unwanted GW detail on the fencing.
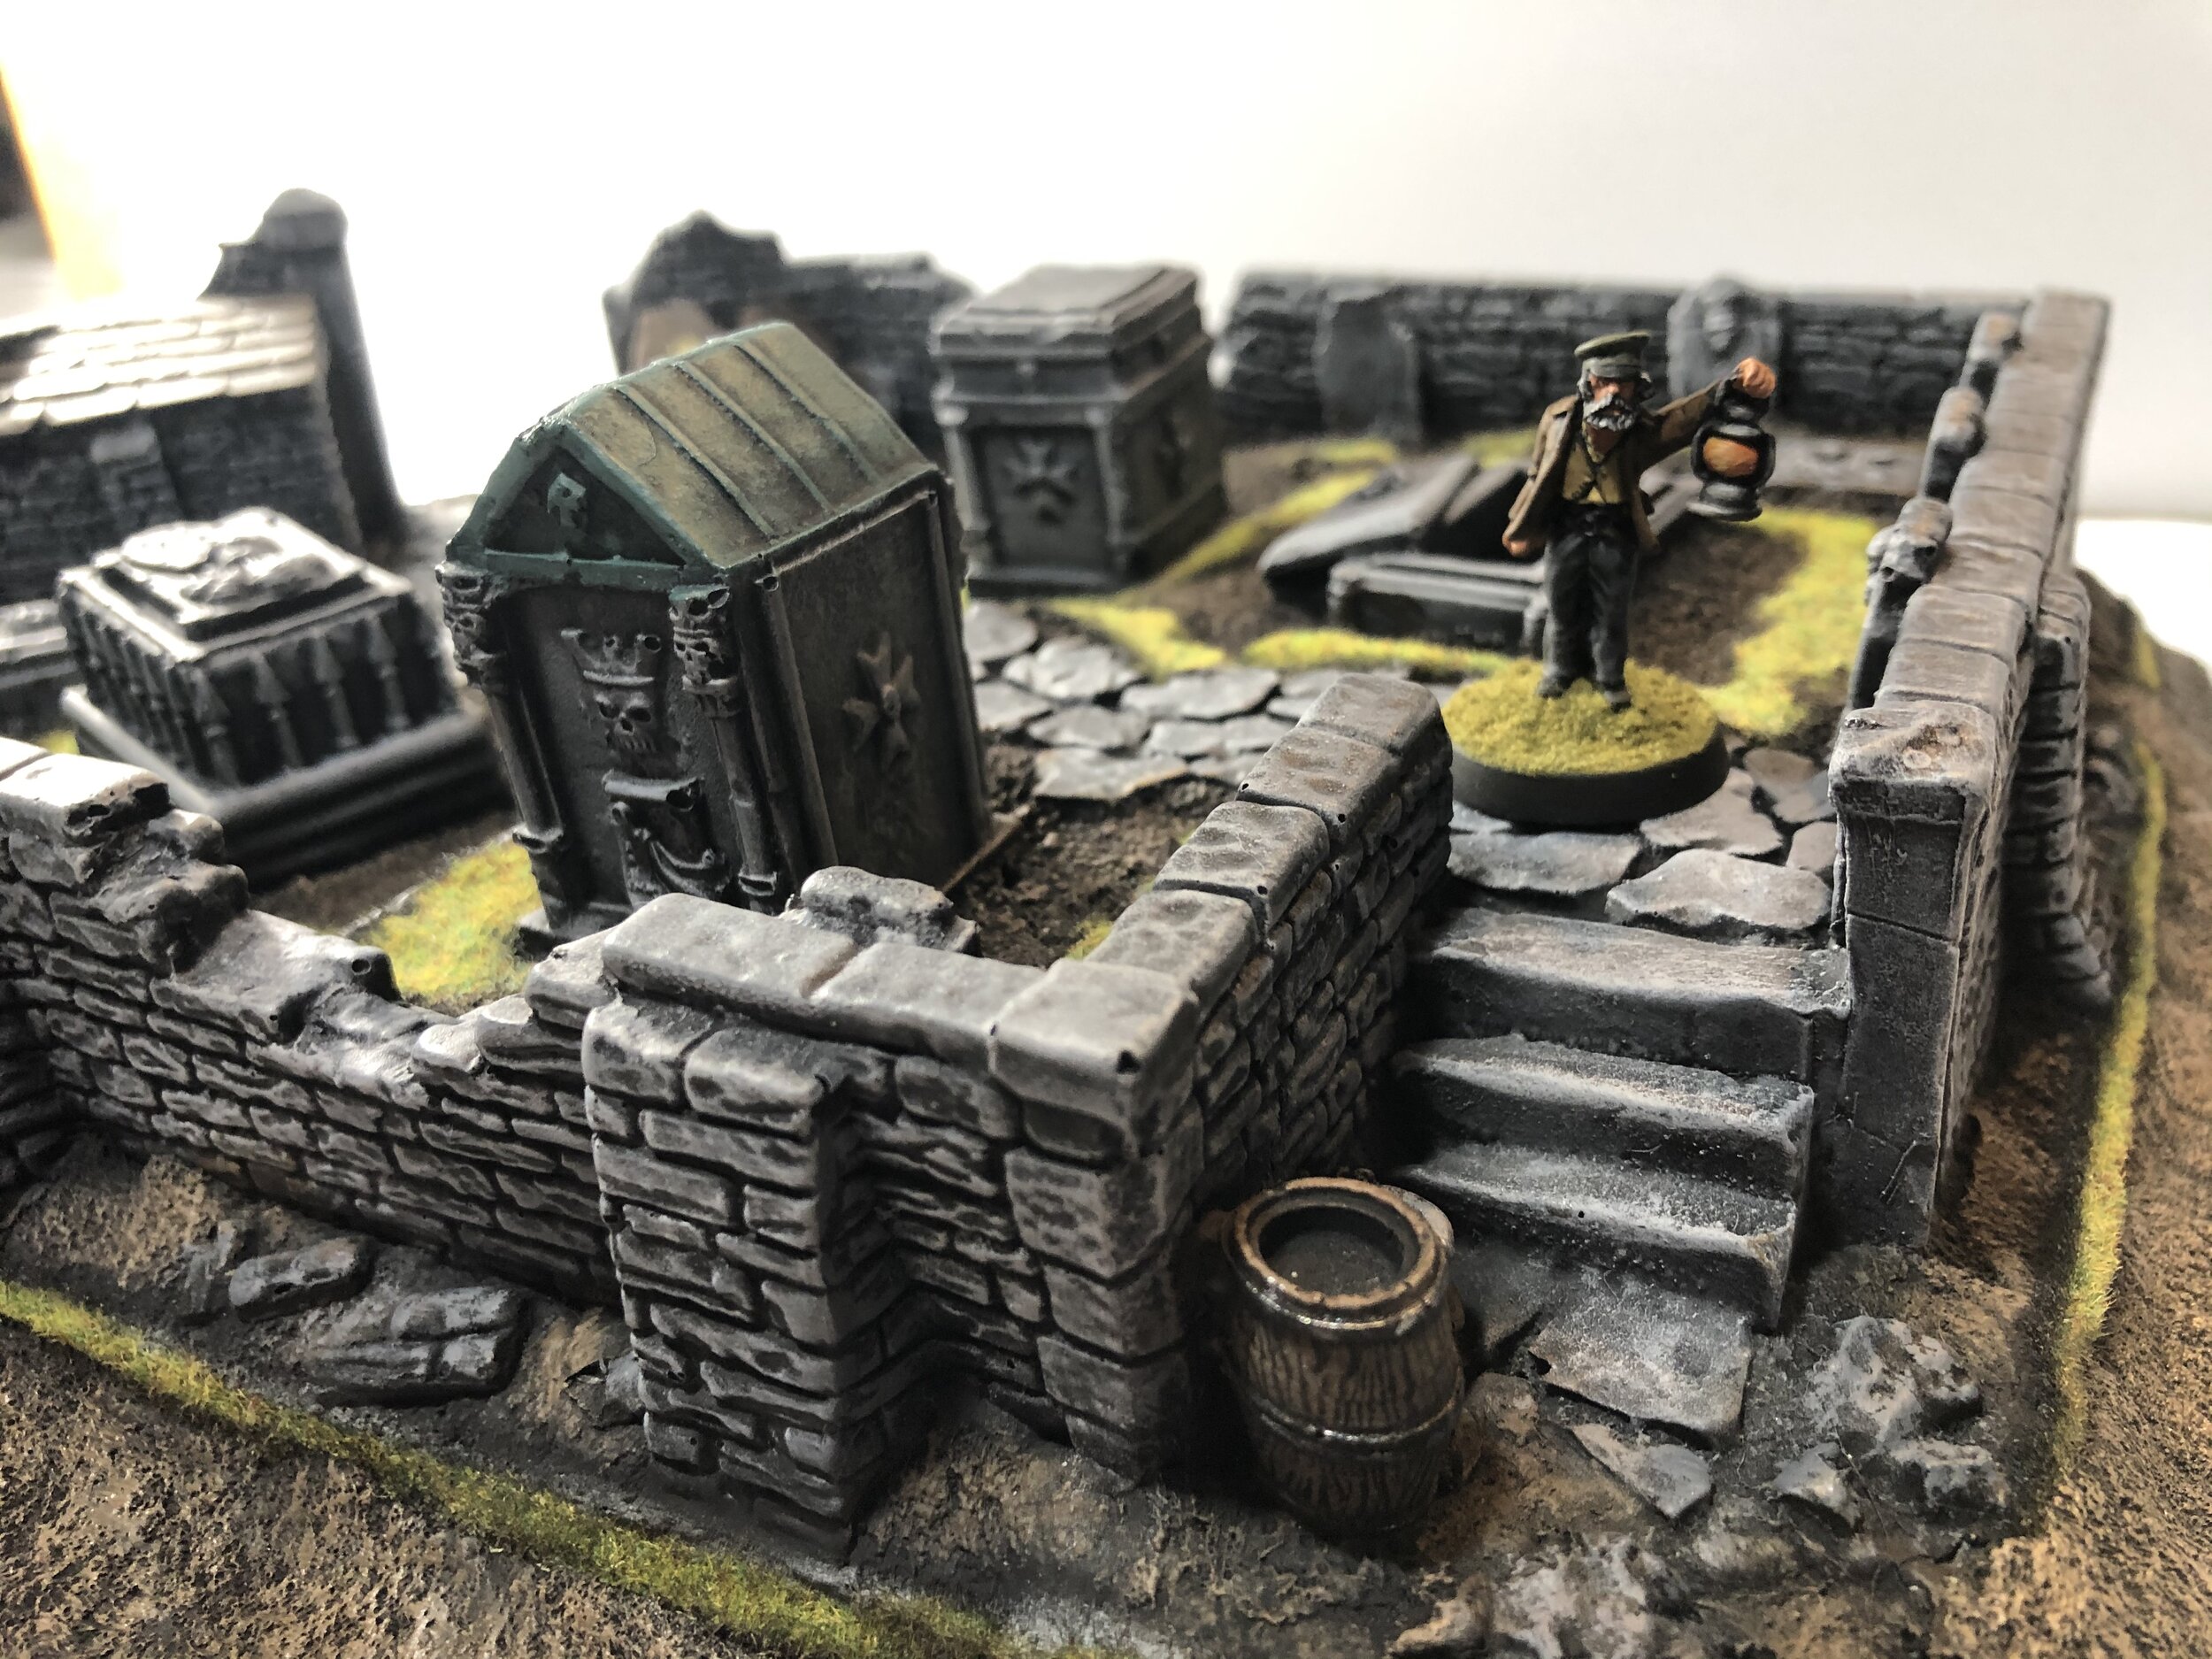
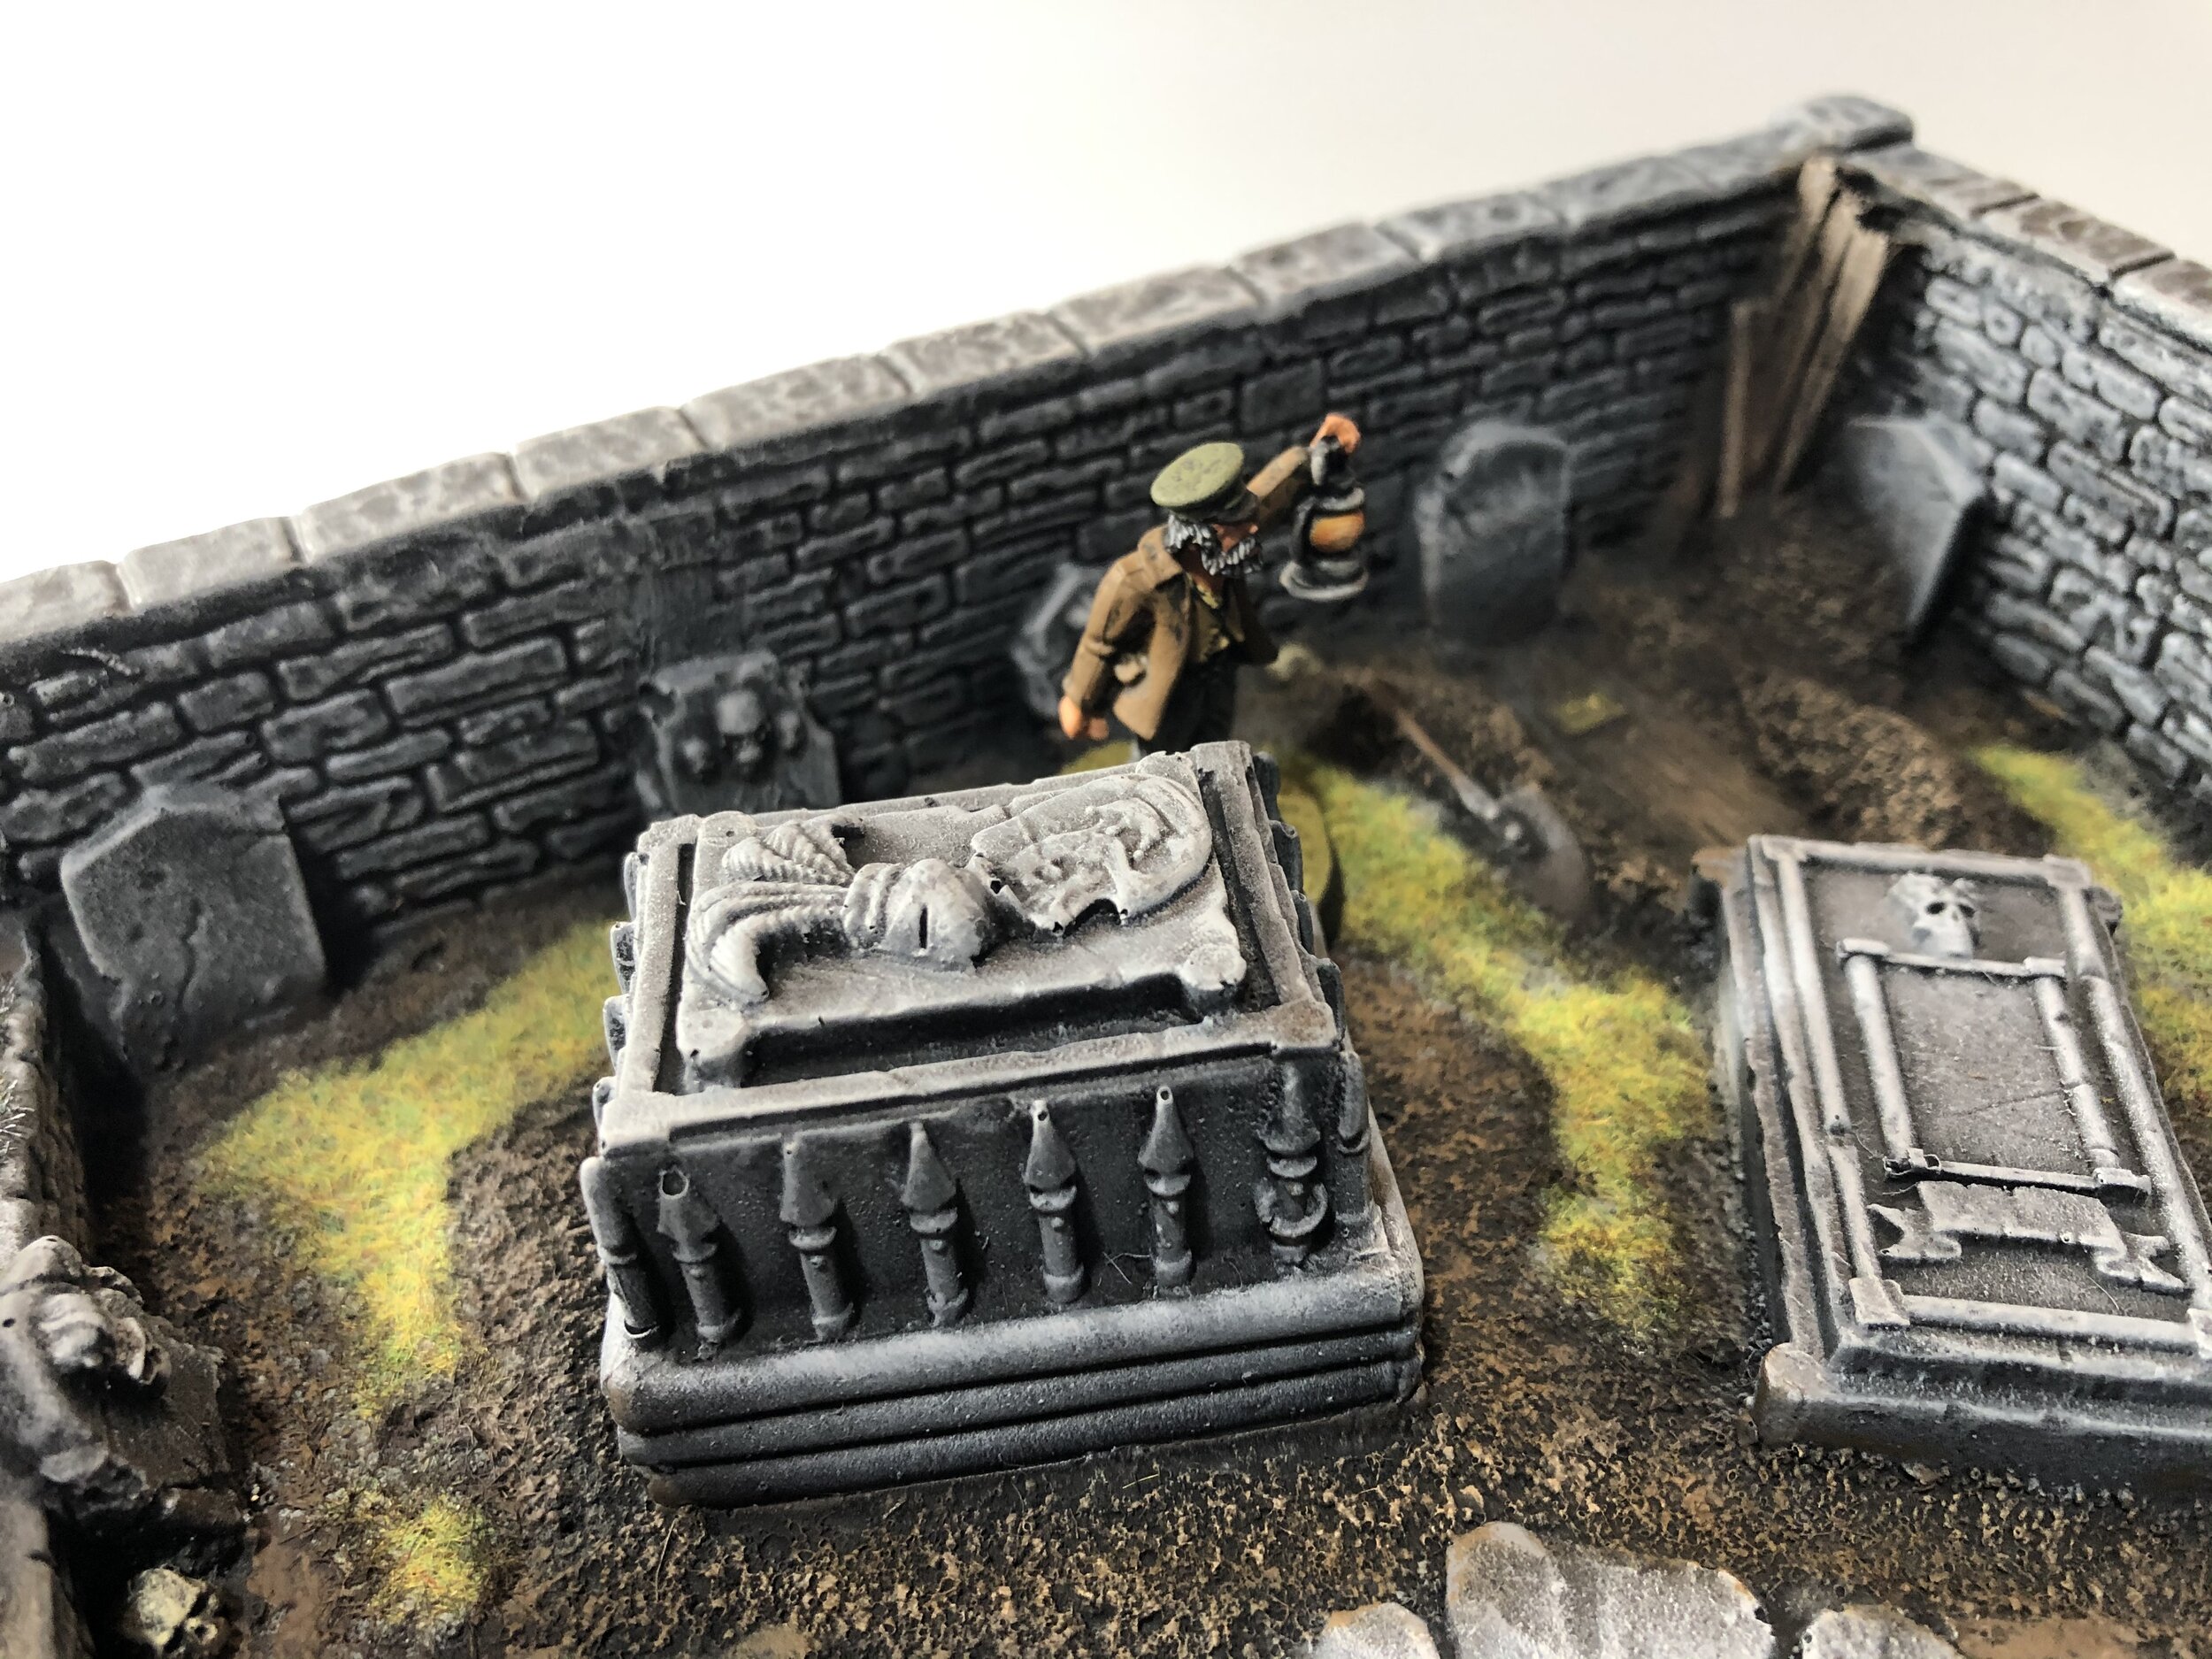
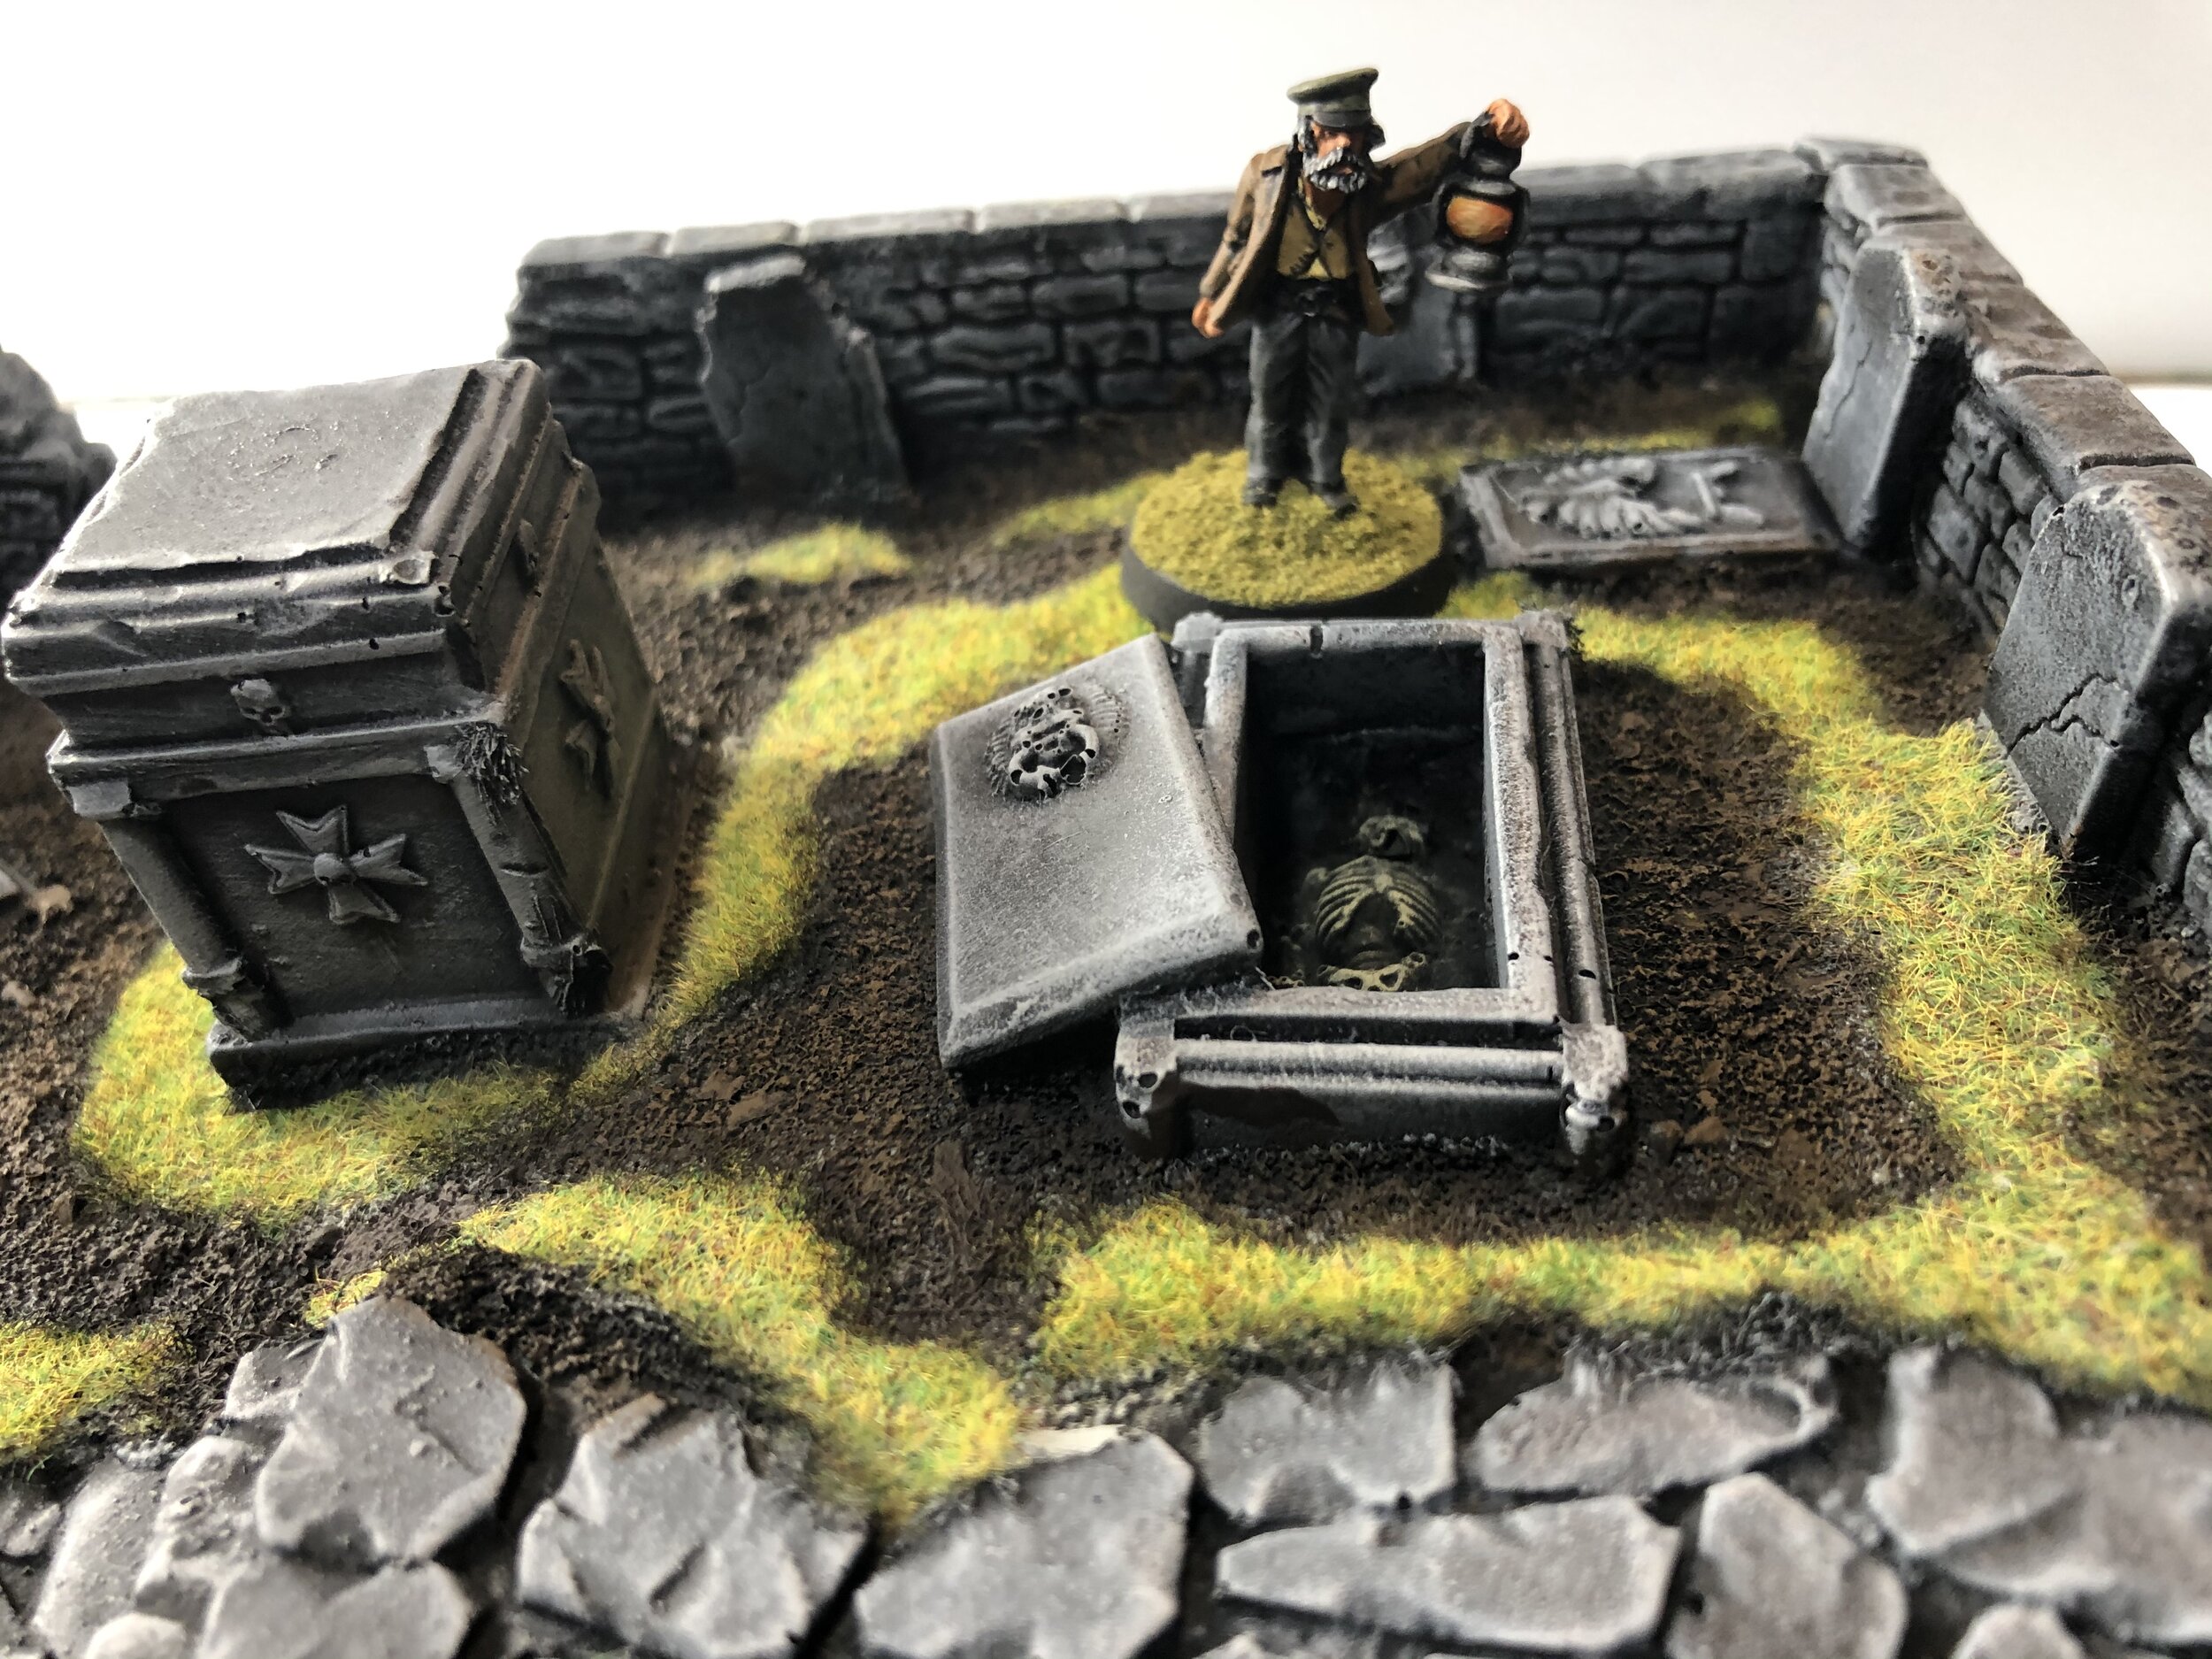
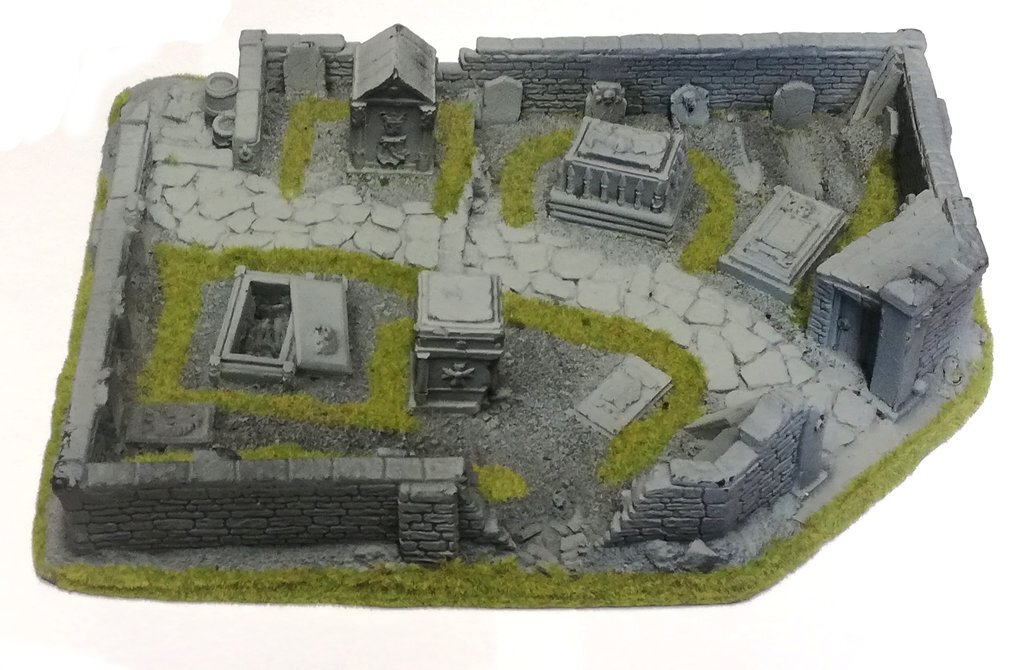
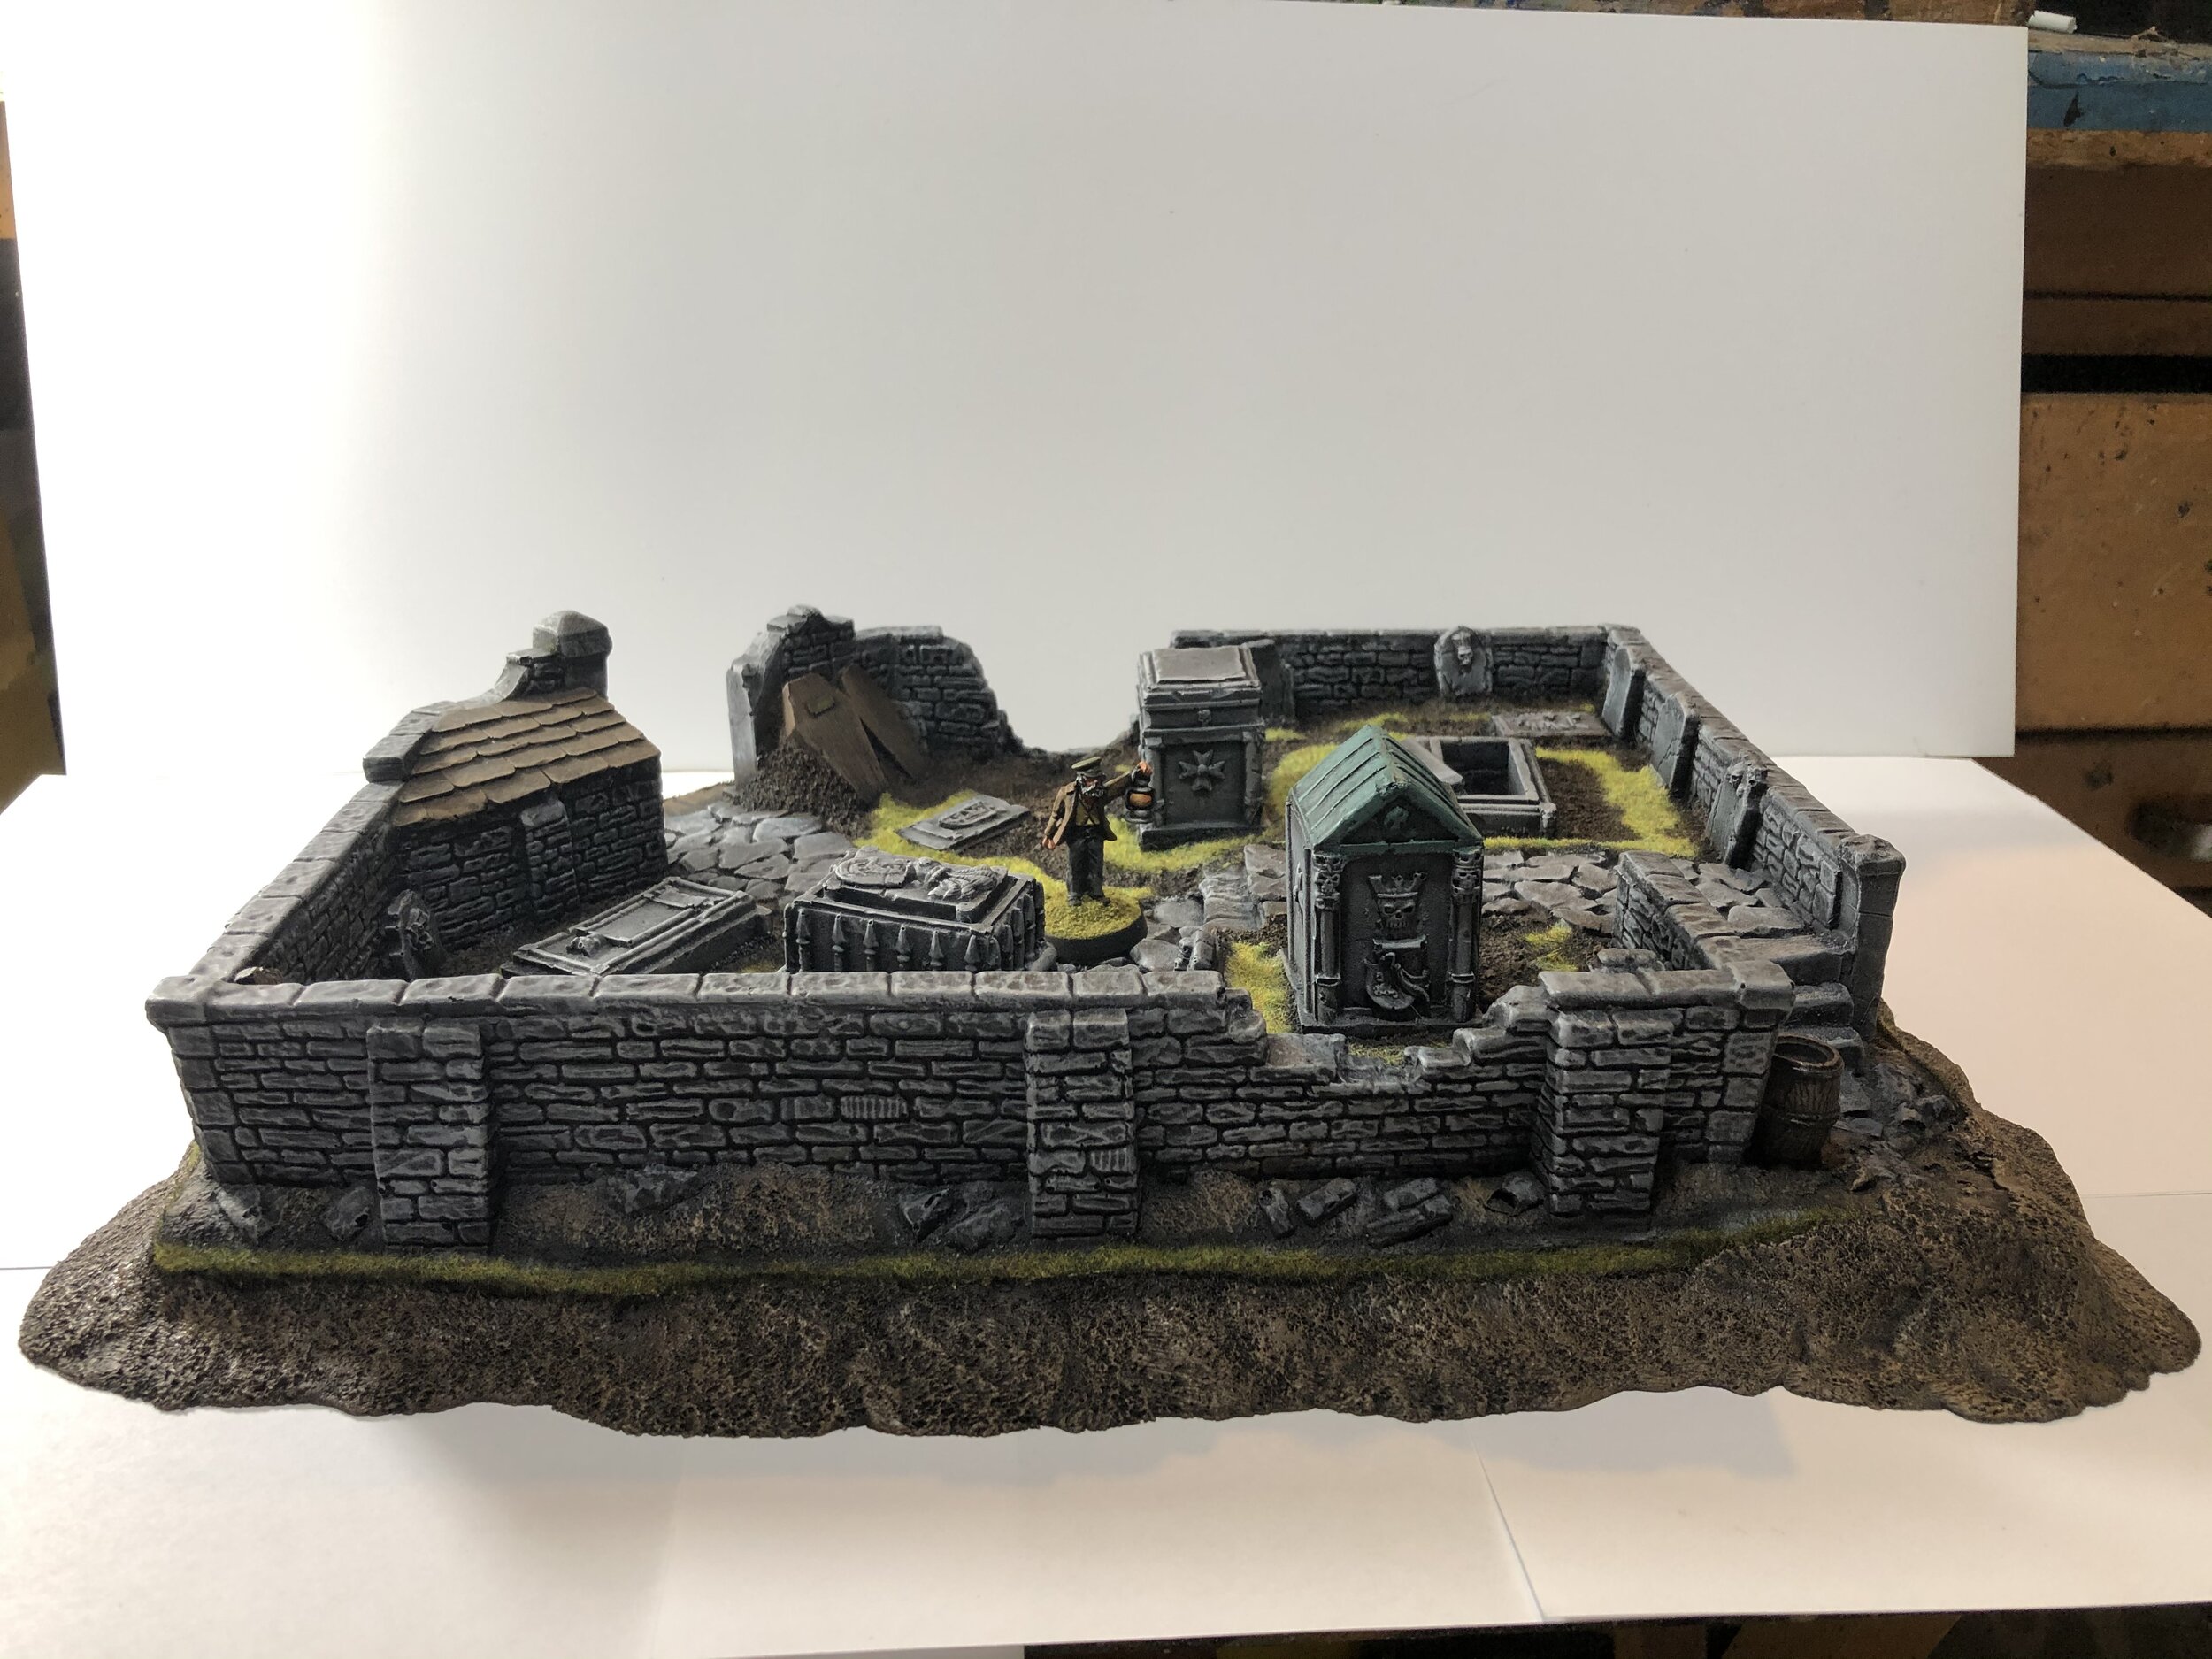
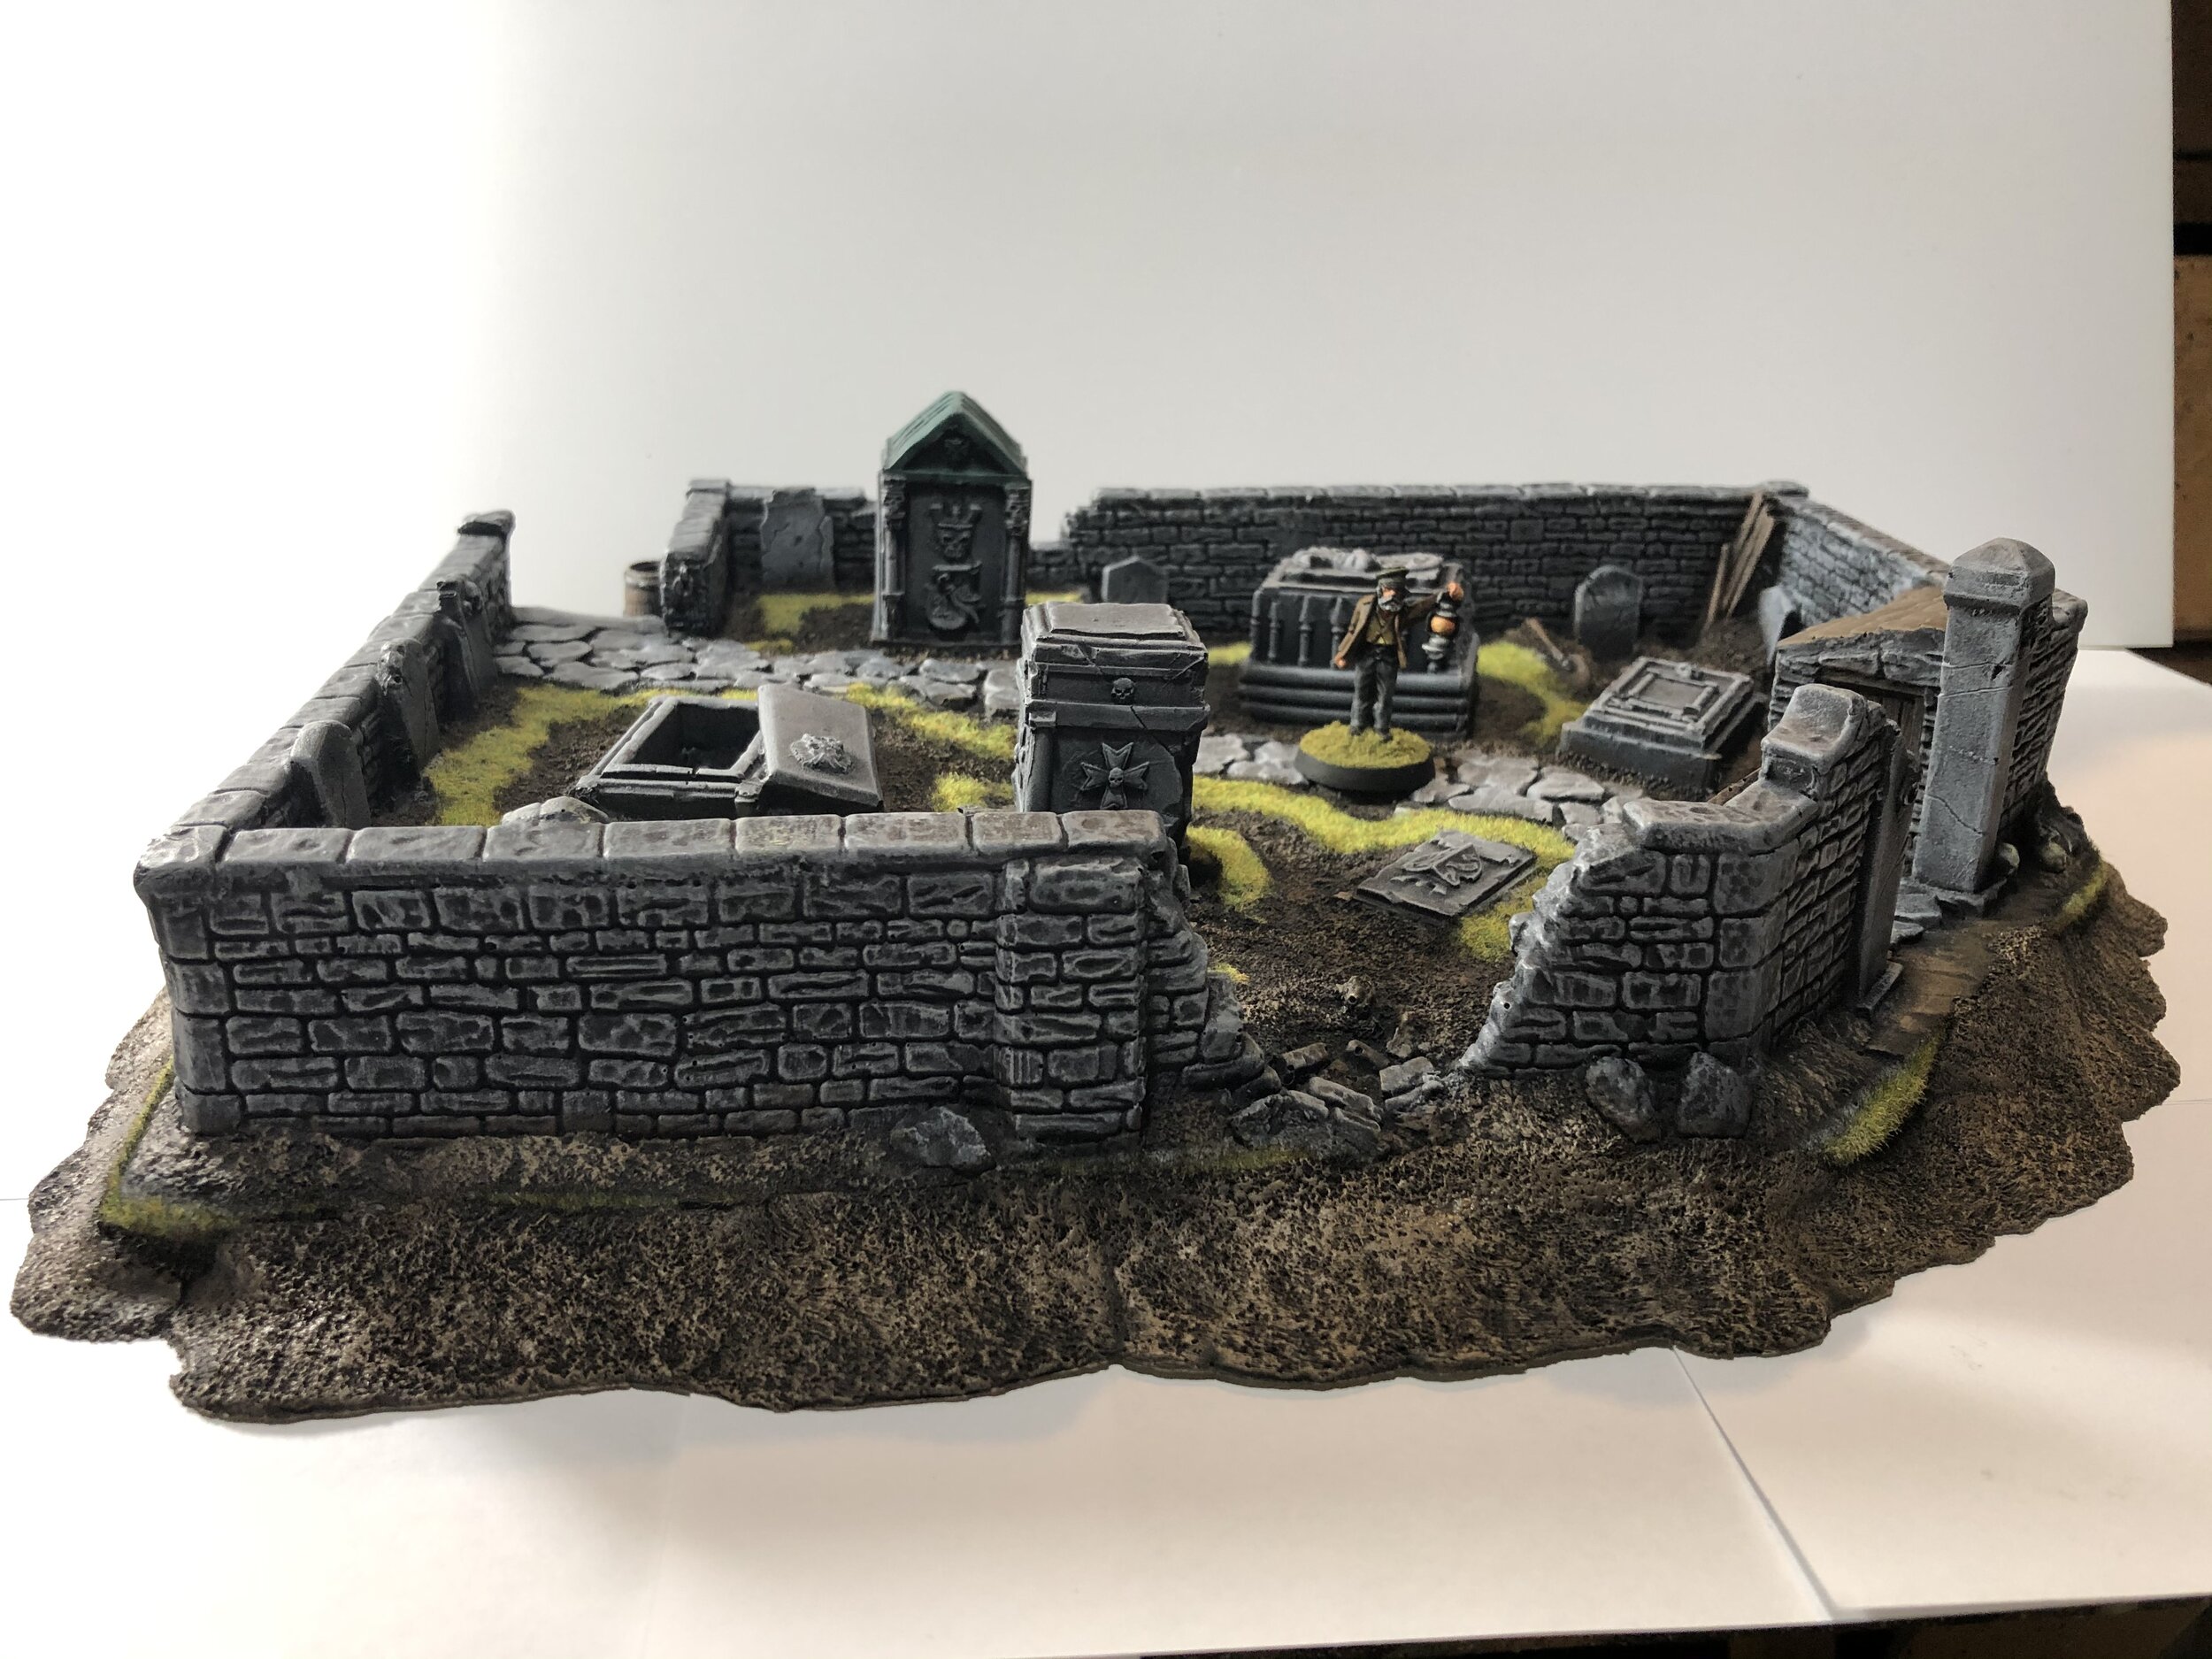
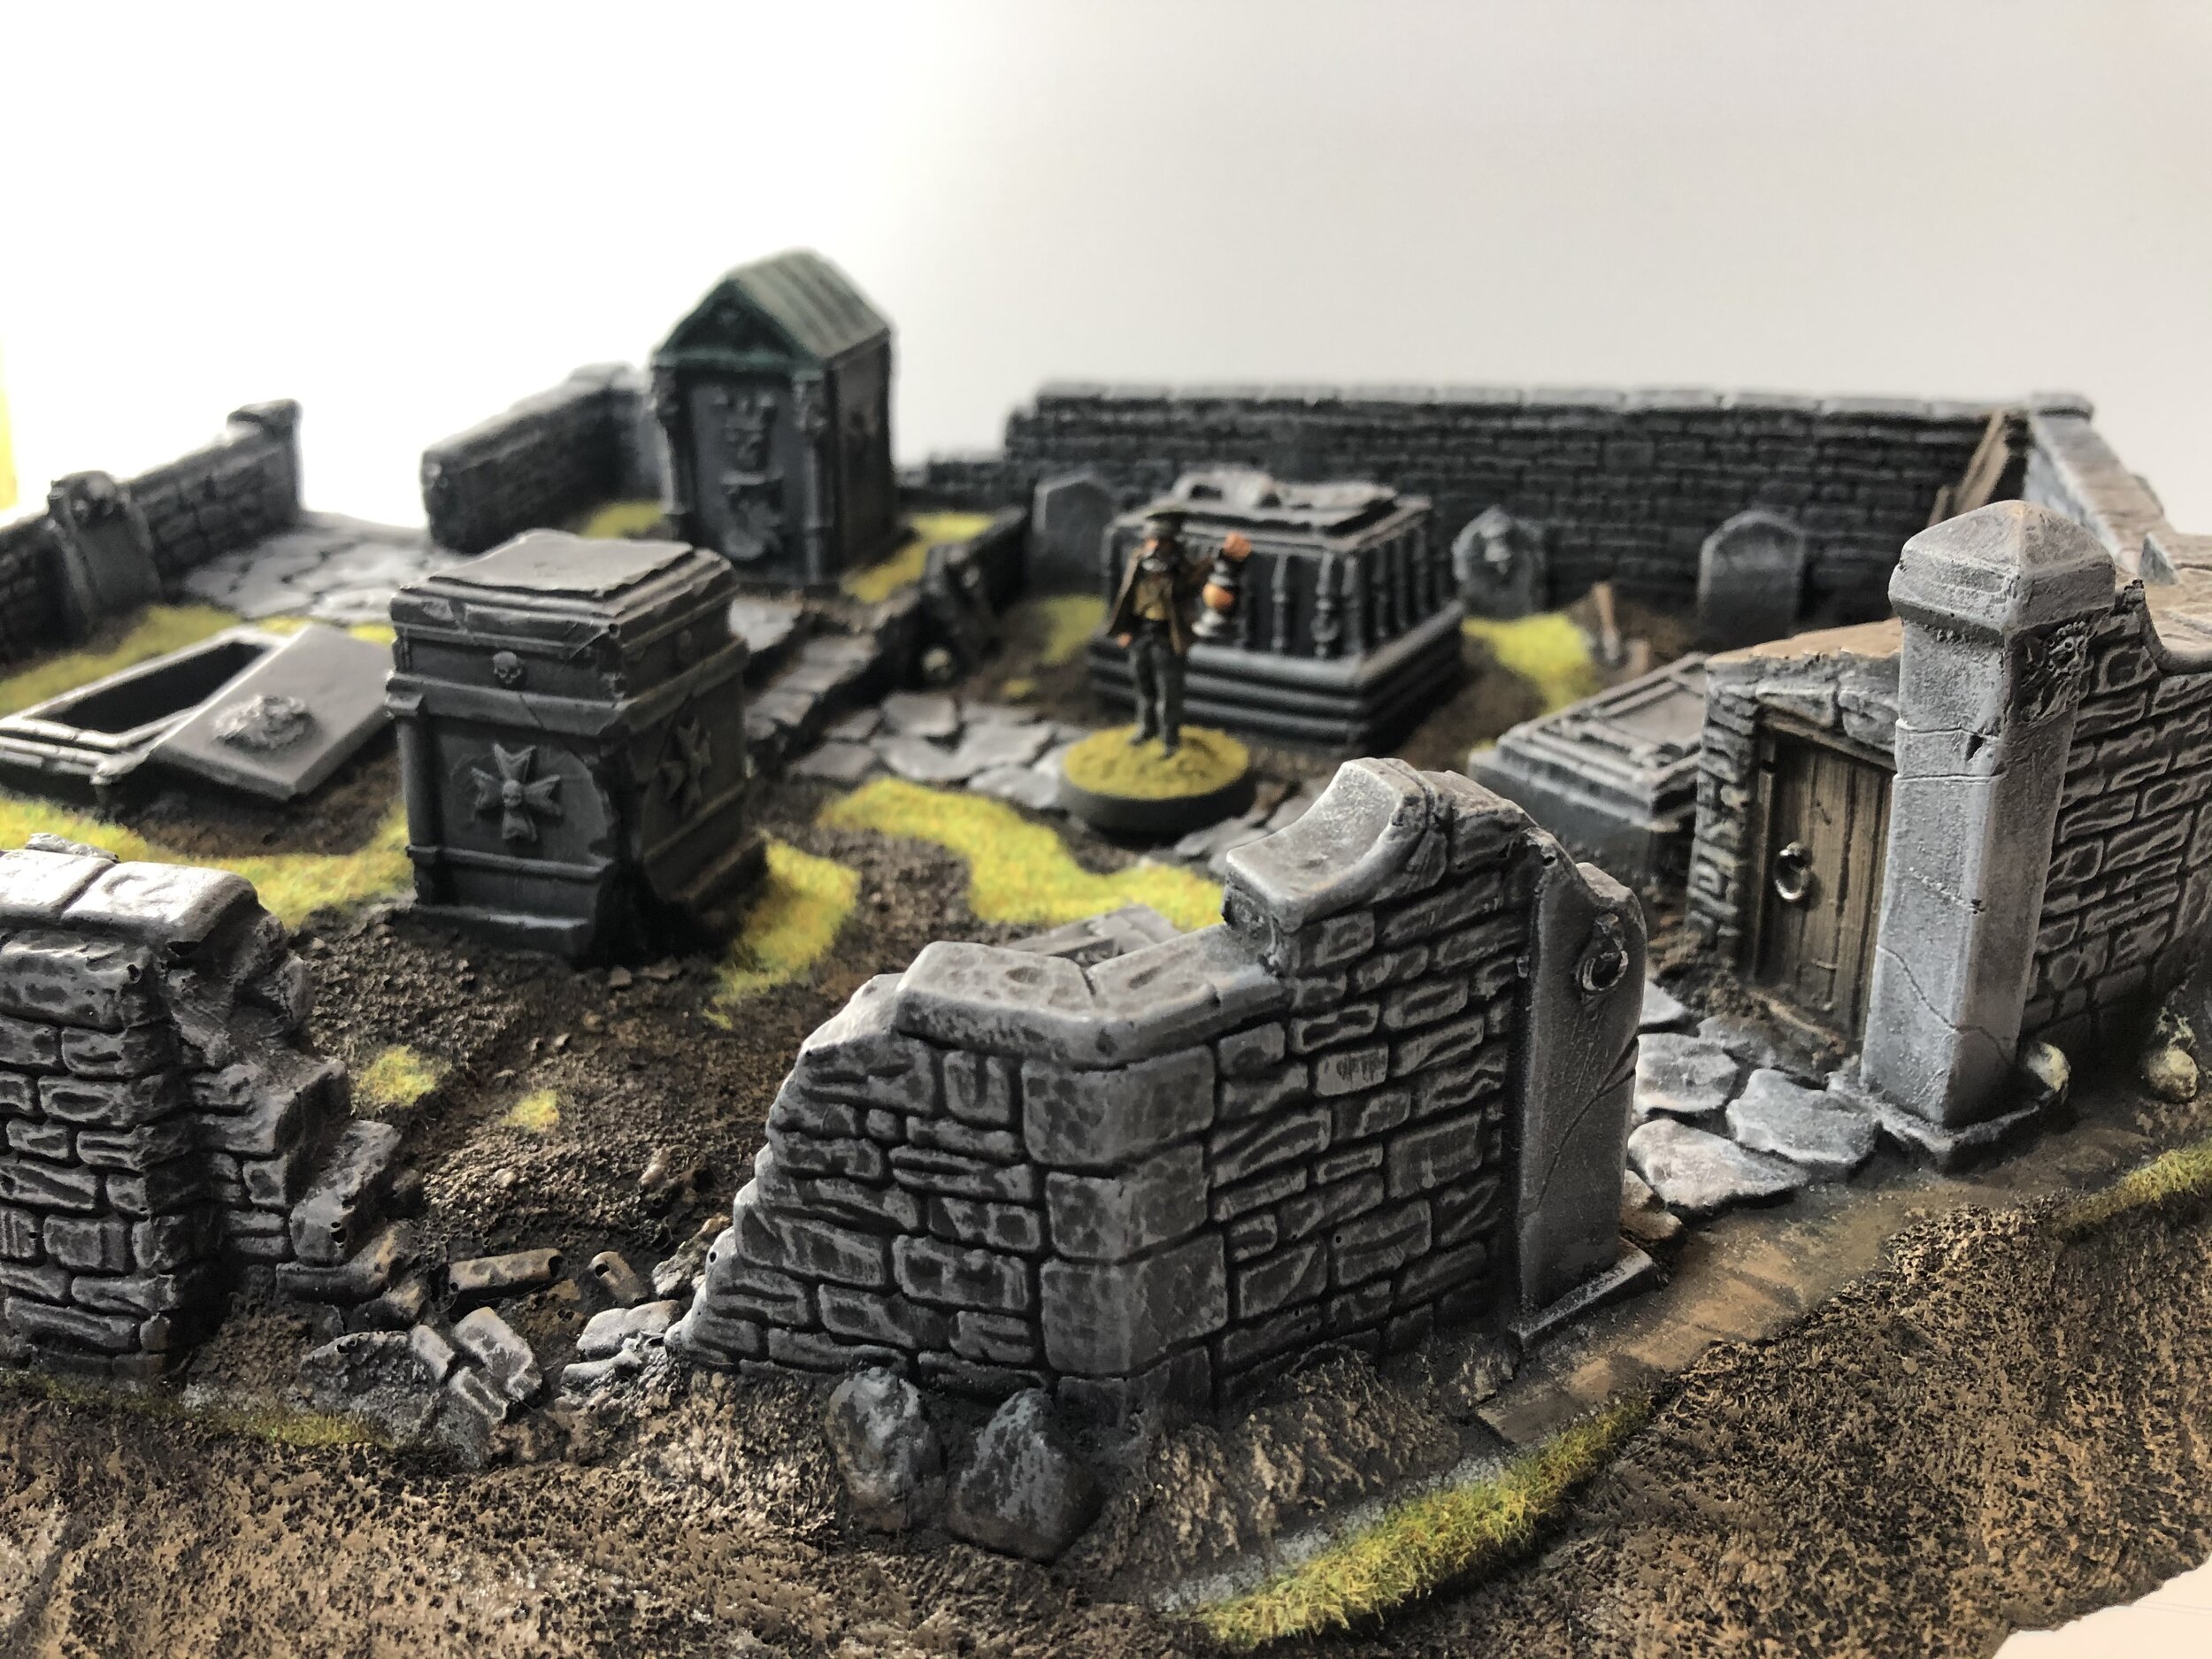
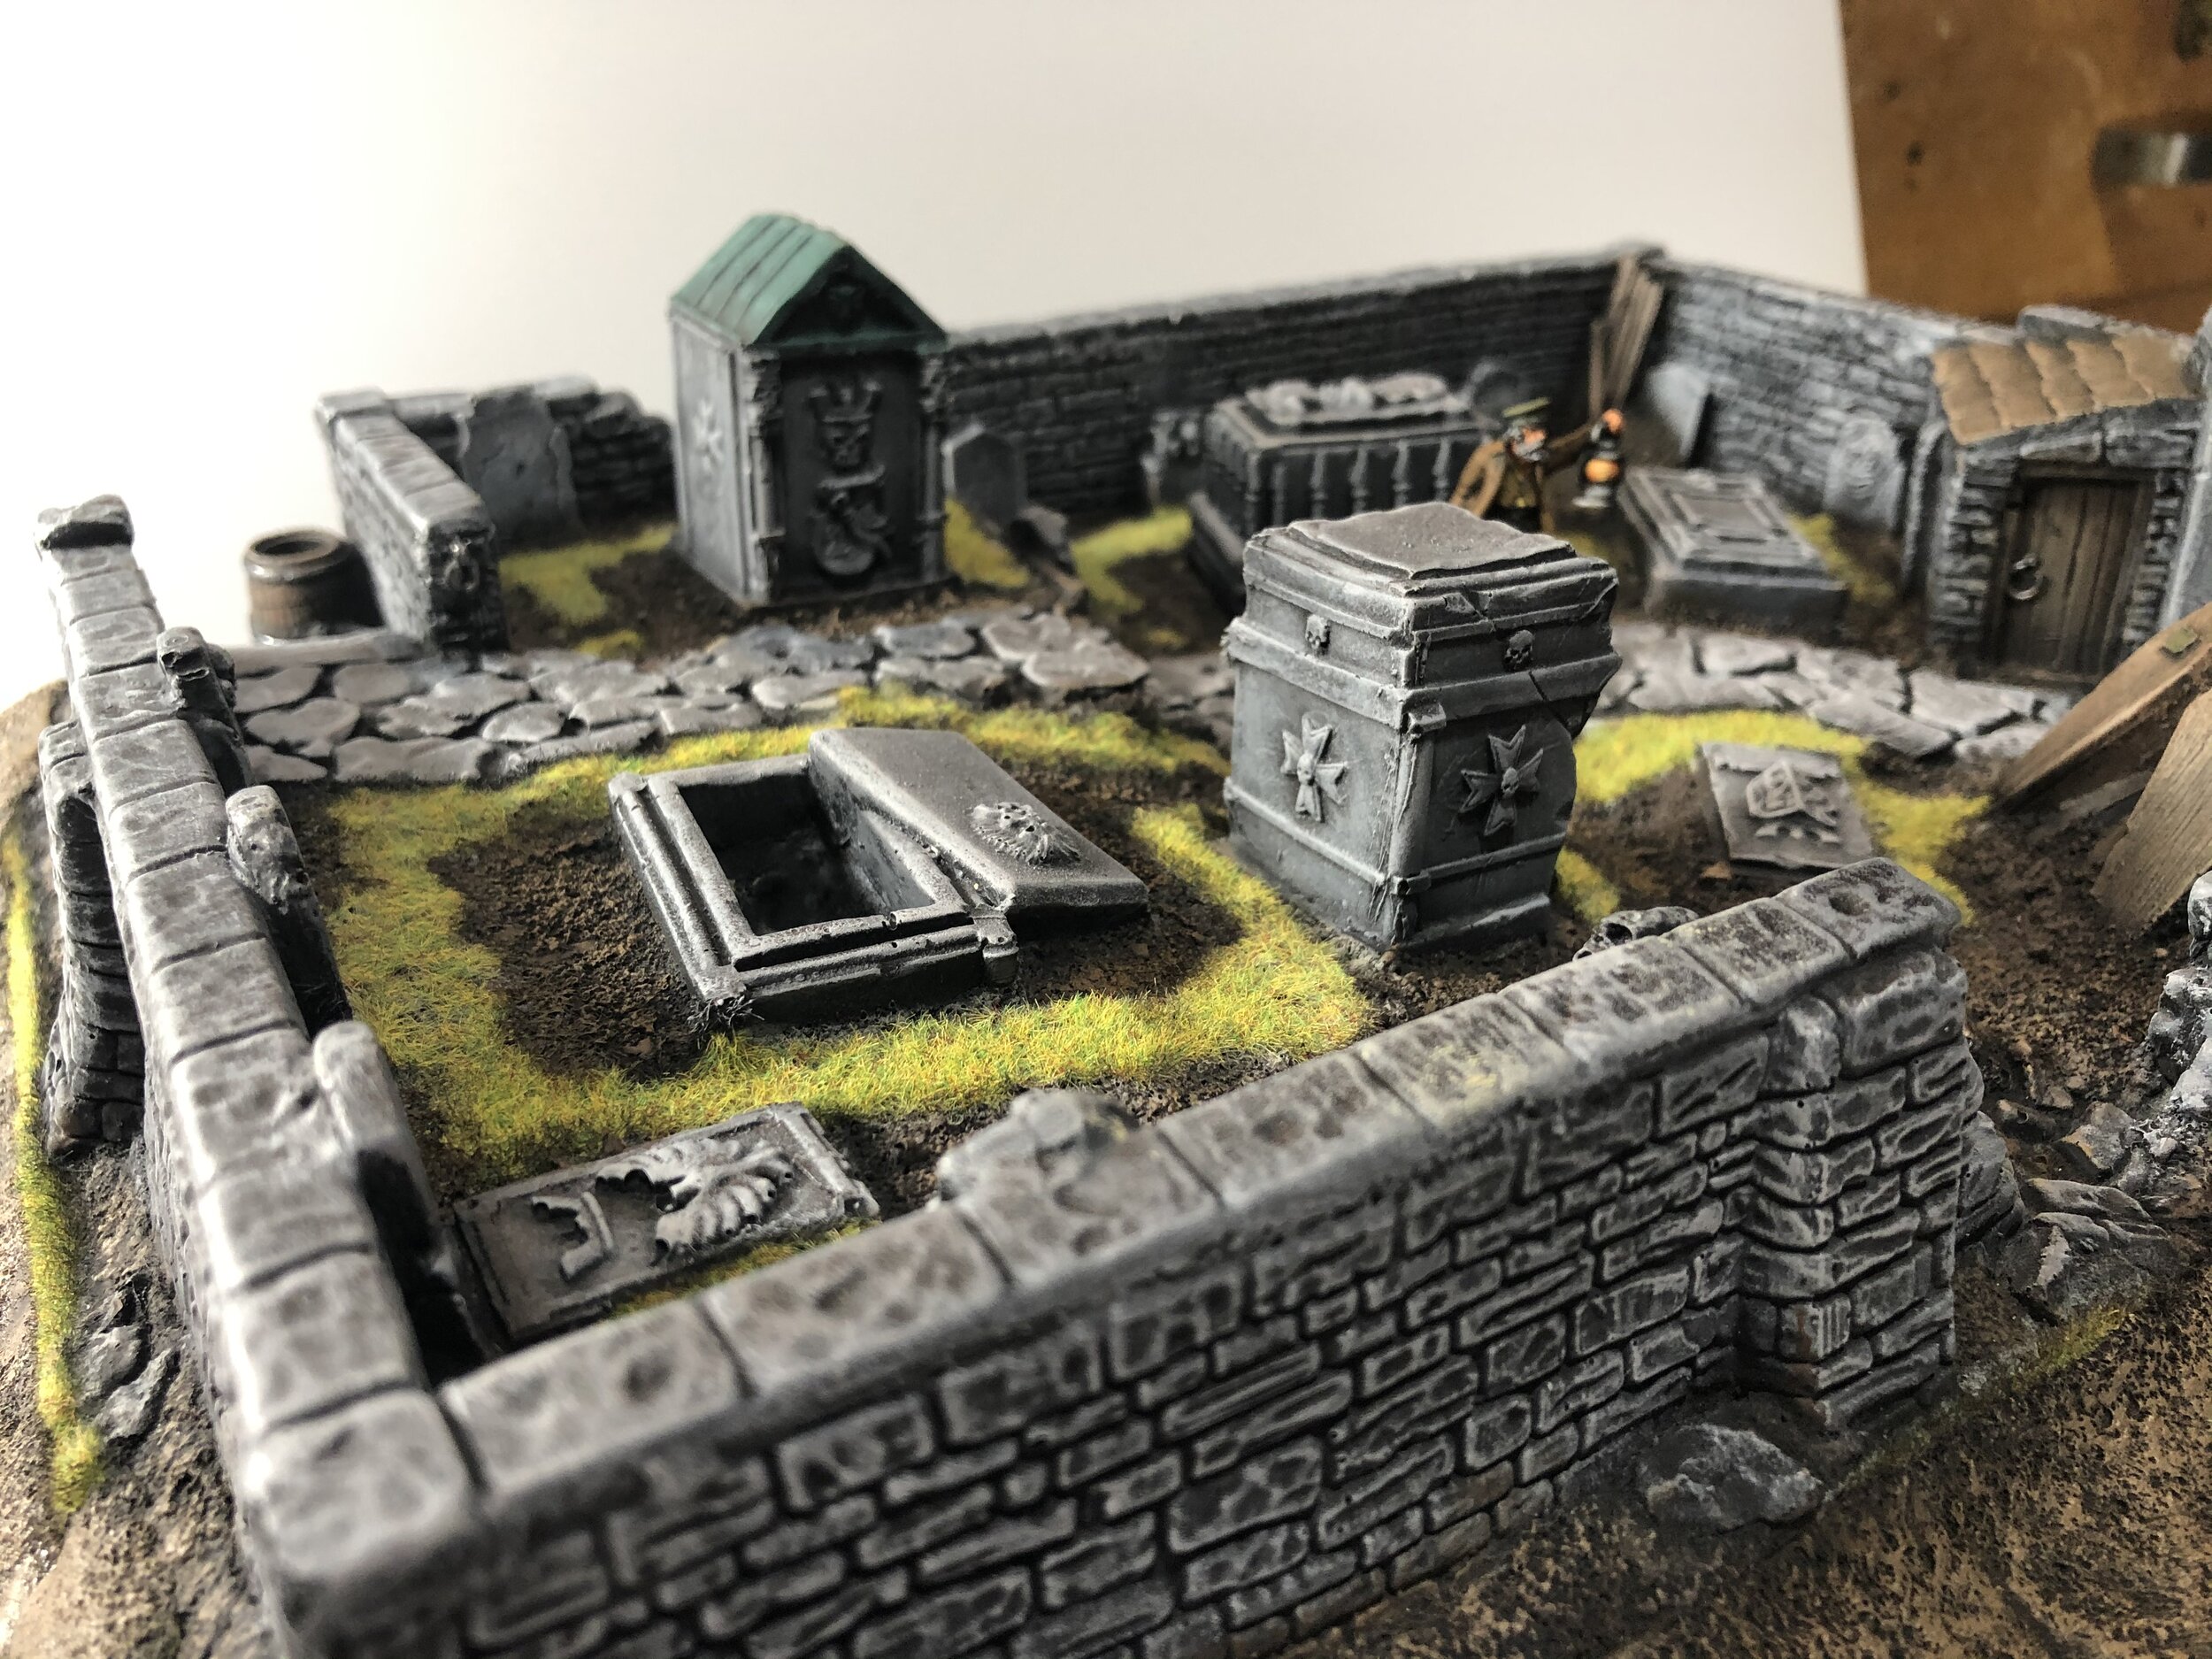
I ended the week by doing a practice layout and working on the stone entrance walls and gate to the GW Fortified Manor but, actually, I only thought I ended the week doing that practice layout. Late Saturday afternoon I was hit by a bolt of energy and inspiration. The realization that the structures for the Loch Ness project would be completely focused on Games Workshop pieces that I have had for years and never incorporated in a collection before sparked a memory… I had the Citadel Scenery Undead Graveyard. I fell in love with this piece a couple decades ago, and it was given to me by a friend who had it and wasn’t going to use it. It is a resin foam core casting. It’s undersized and had a lot of odd crypts… quite a few skulls, but not as bad as GW at its skulliest. It came pre-primed and with grass glued throughout… odd. It also came on a raised base. I decided to mask the grass and keep the skulls… it’s a classic. I sprayed the whole thing flat black. When it dried, I began dry brushing. I loved the way it came out, but the base was so clearly a raised base that I decided to soften its height by placing a more graduated rim of Milliput around the entire edge.


September 13,2020
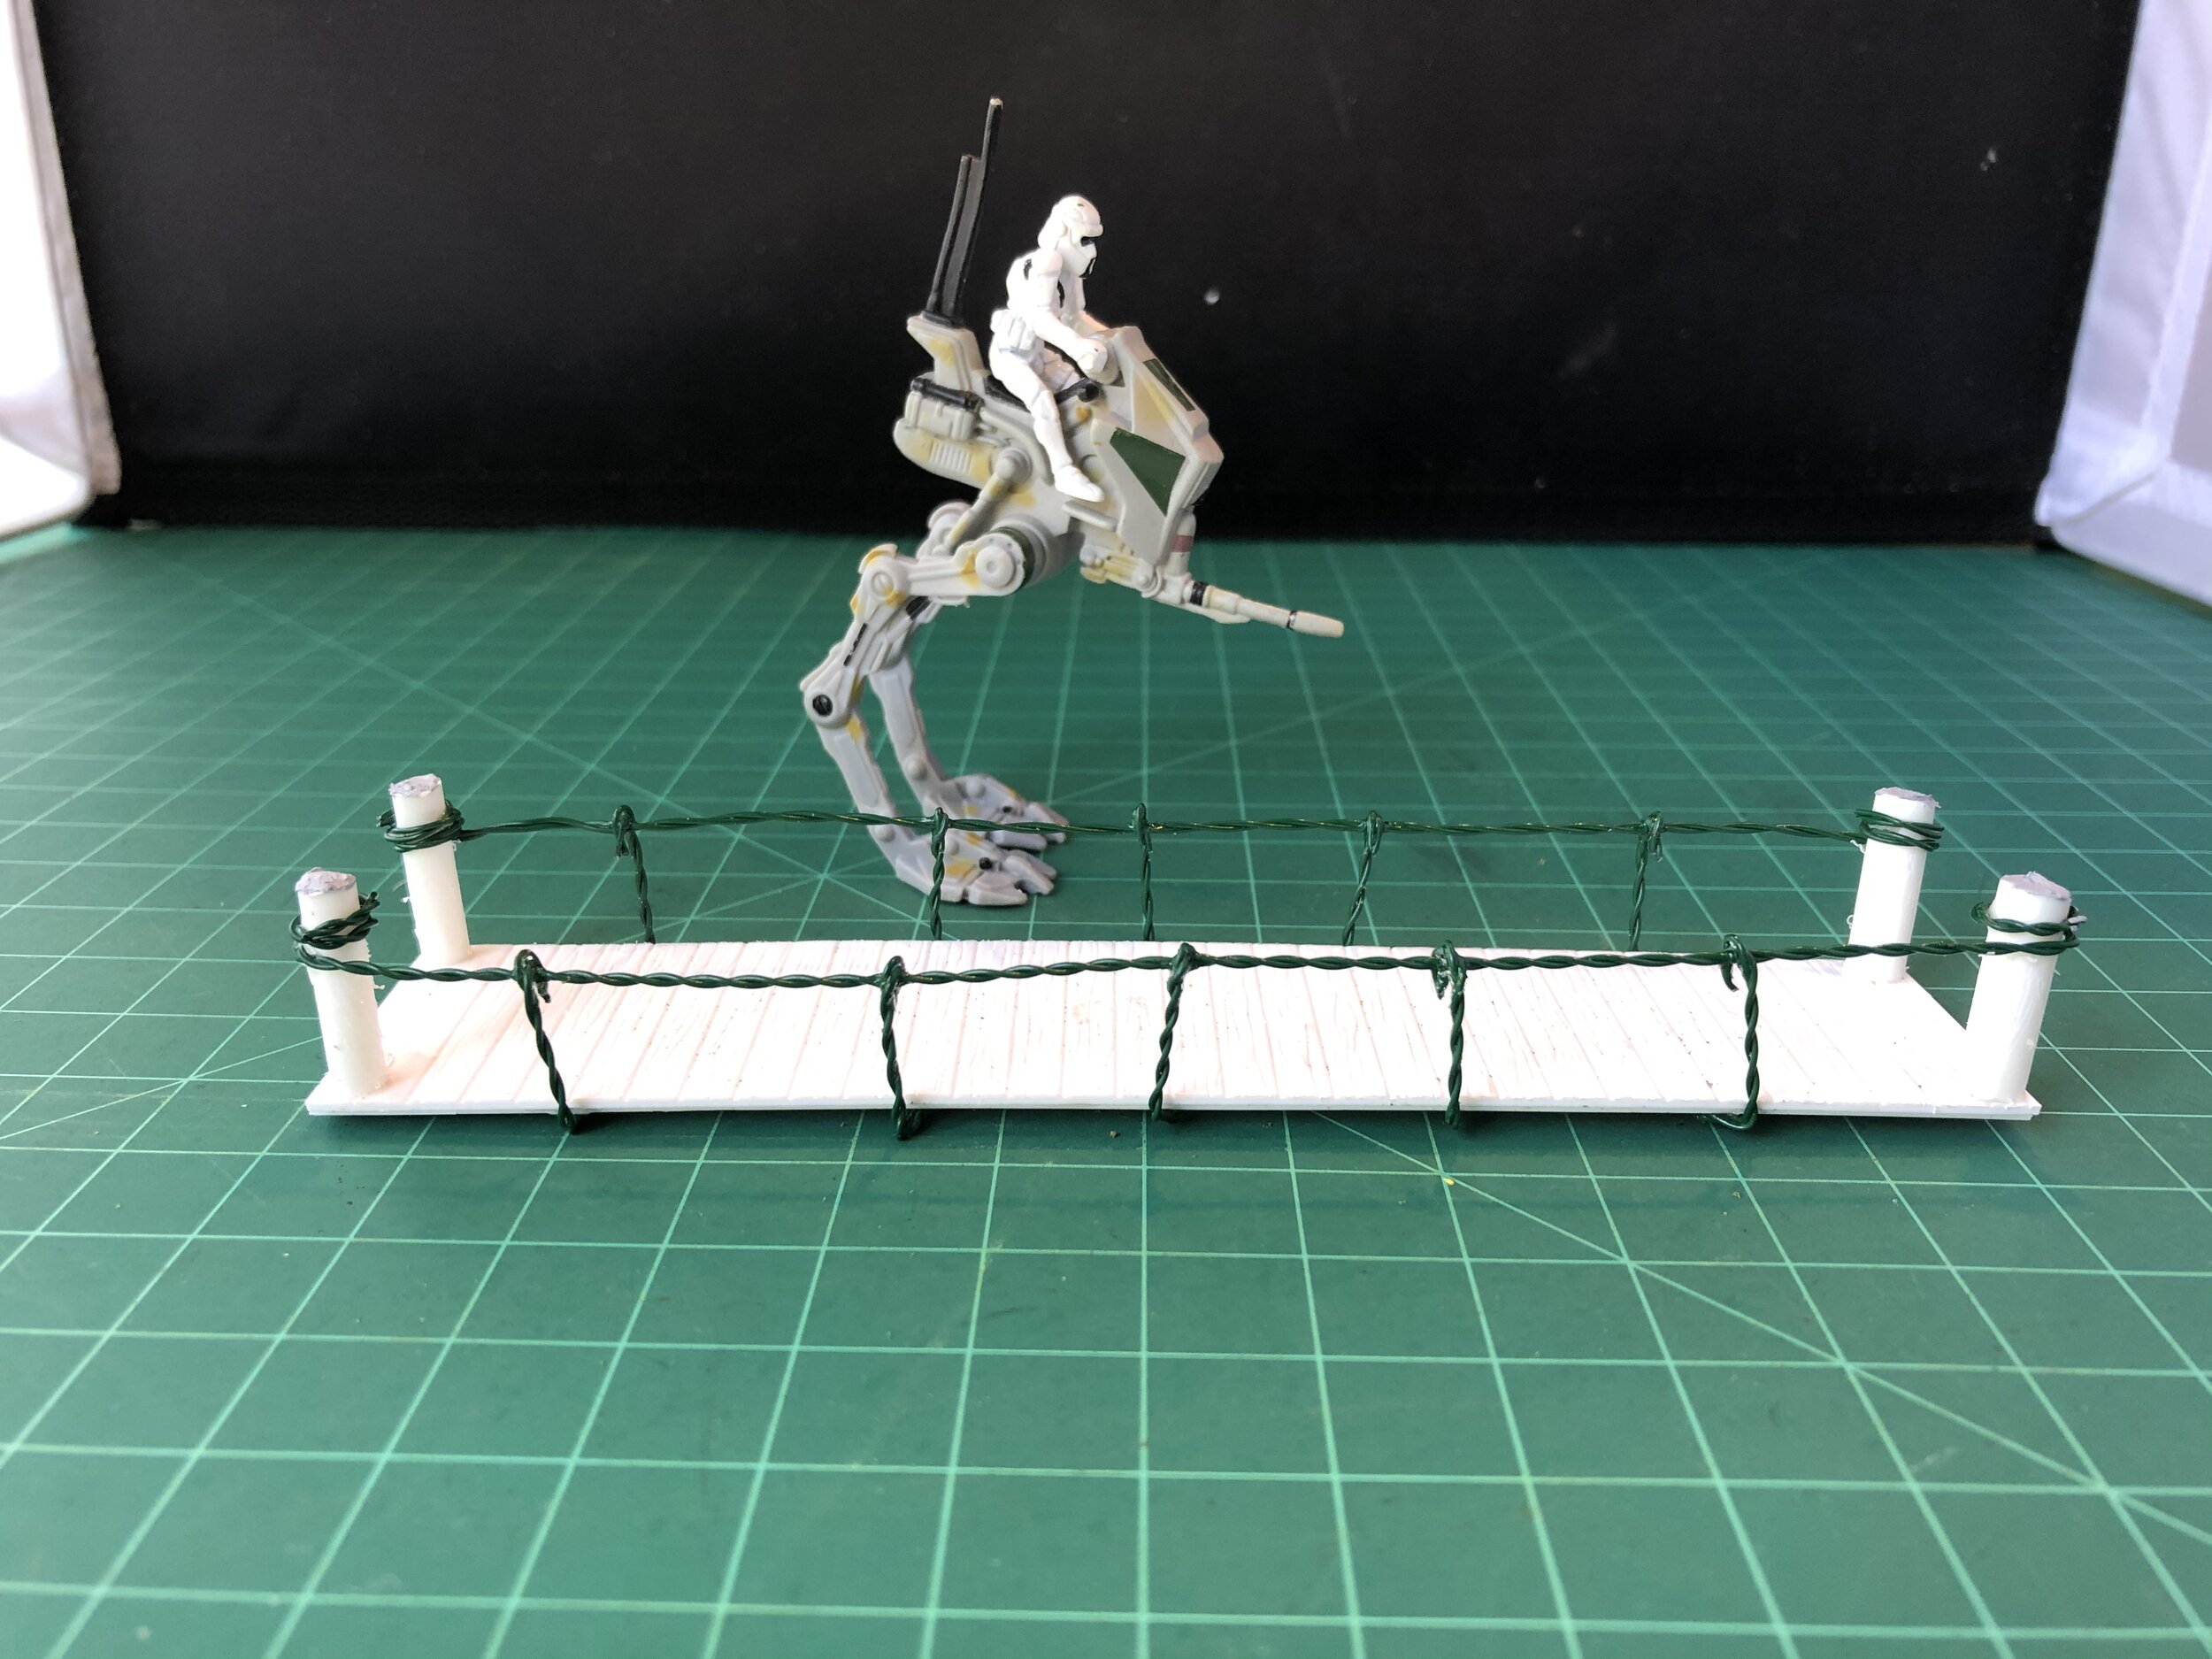
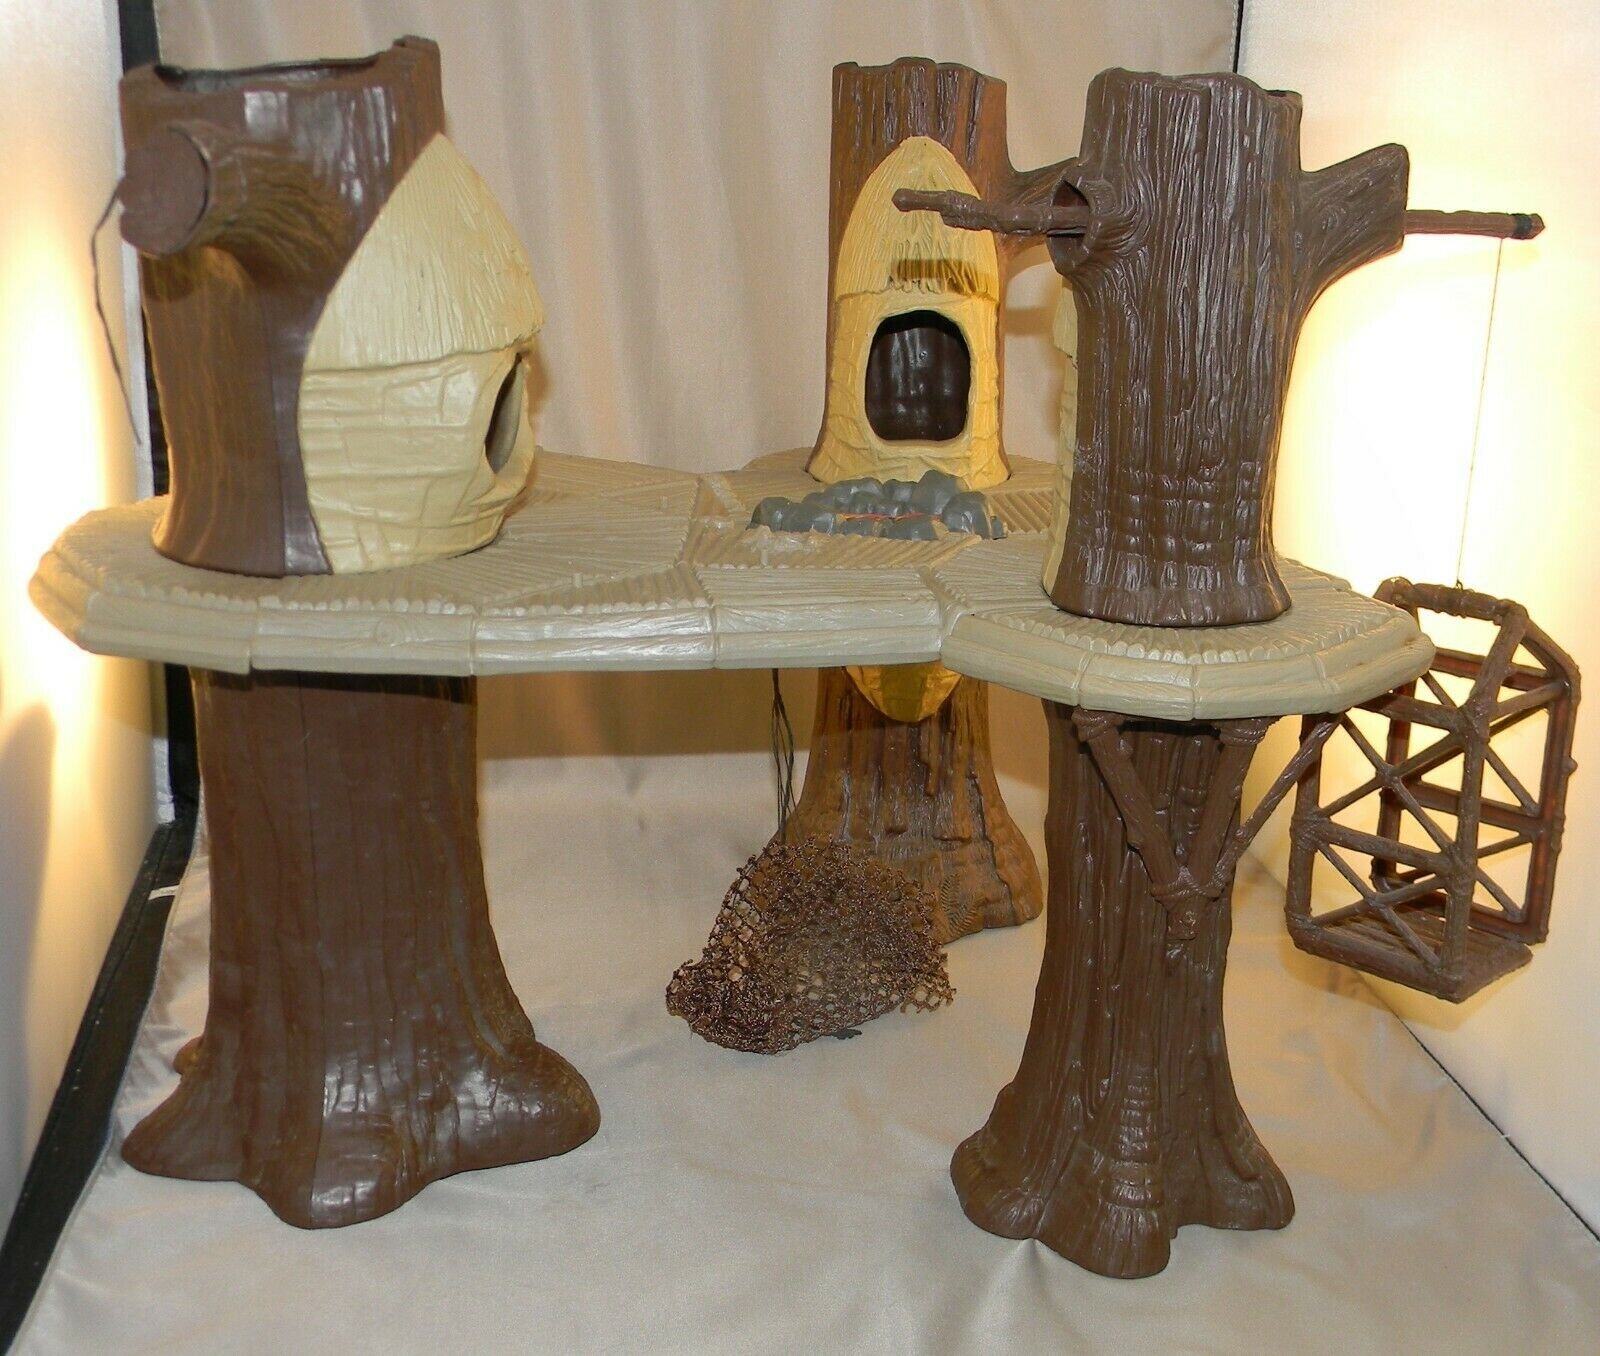
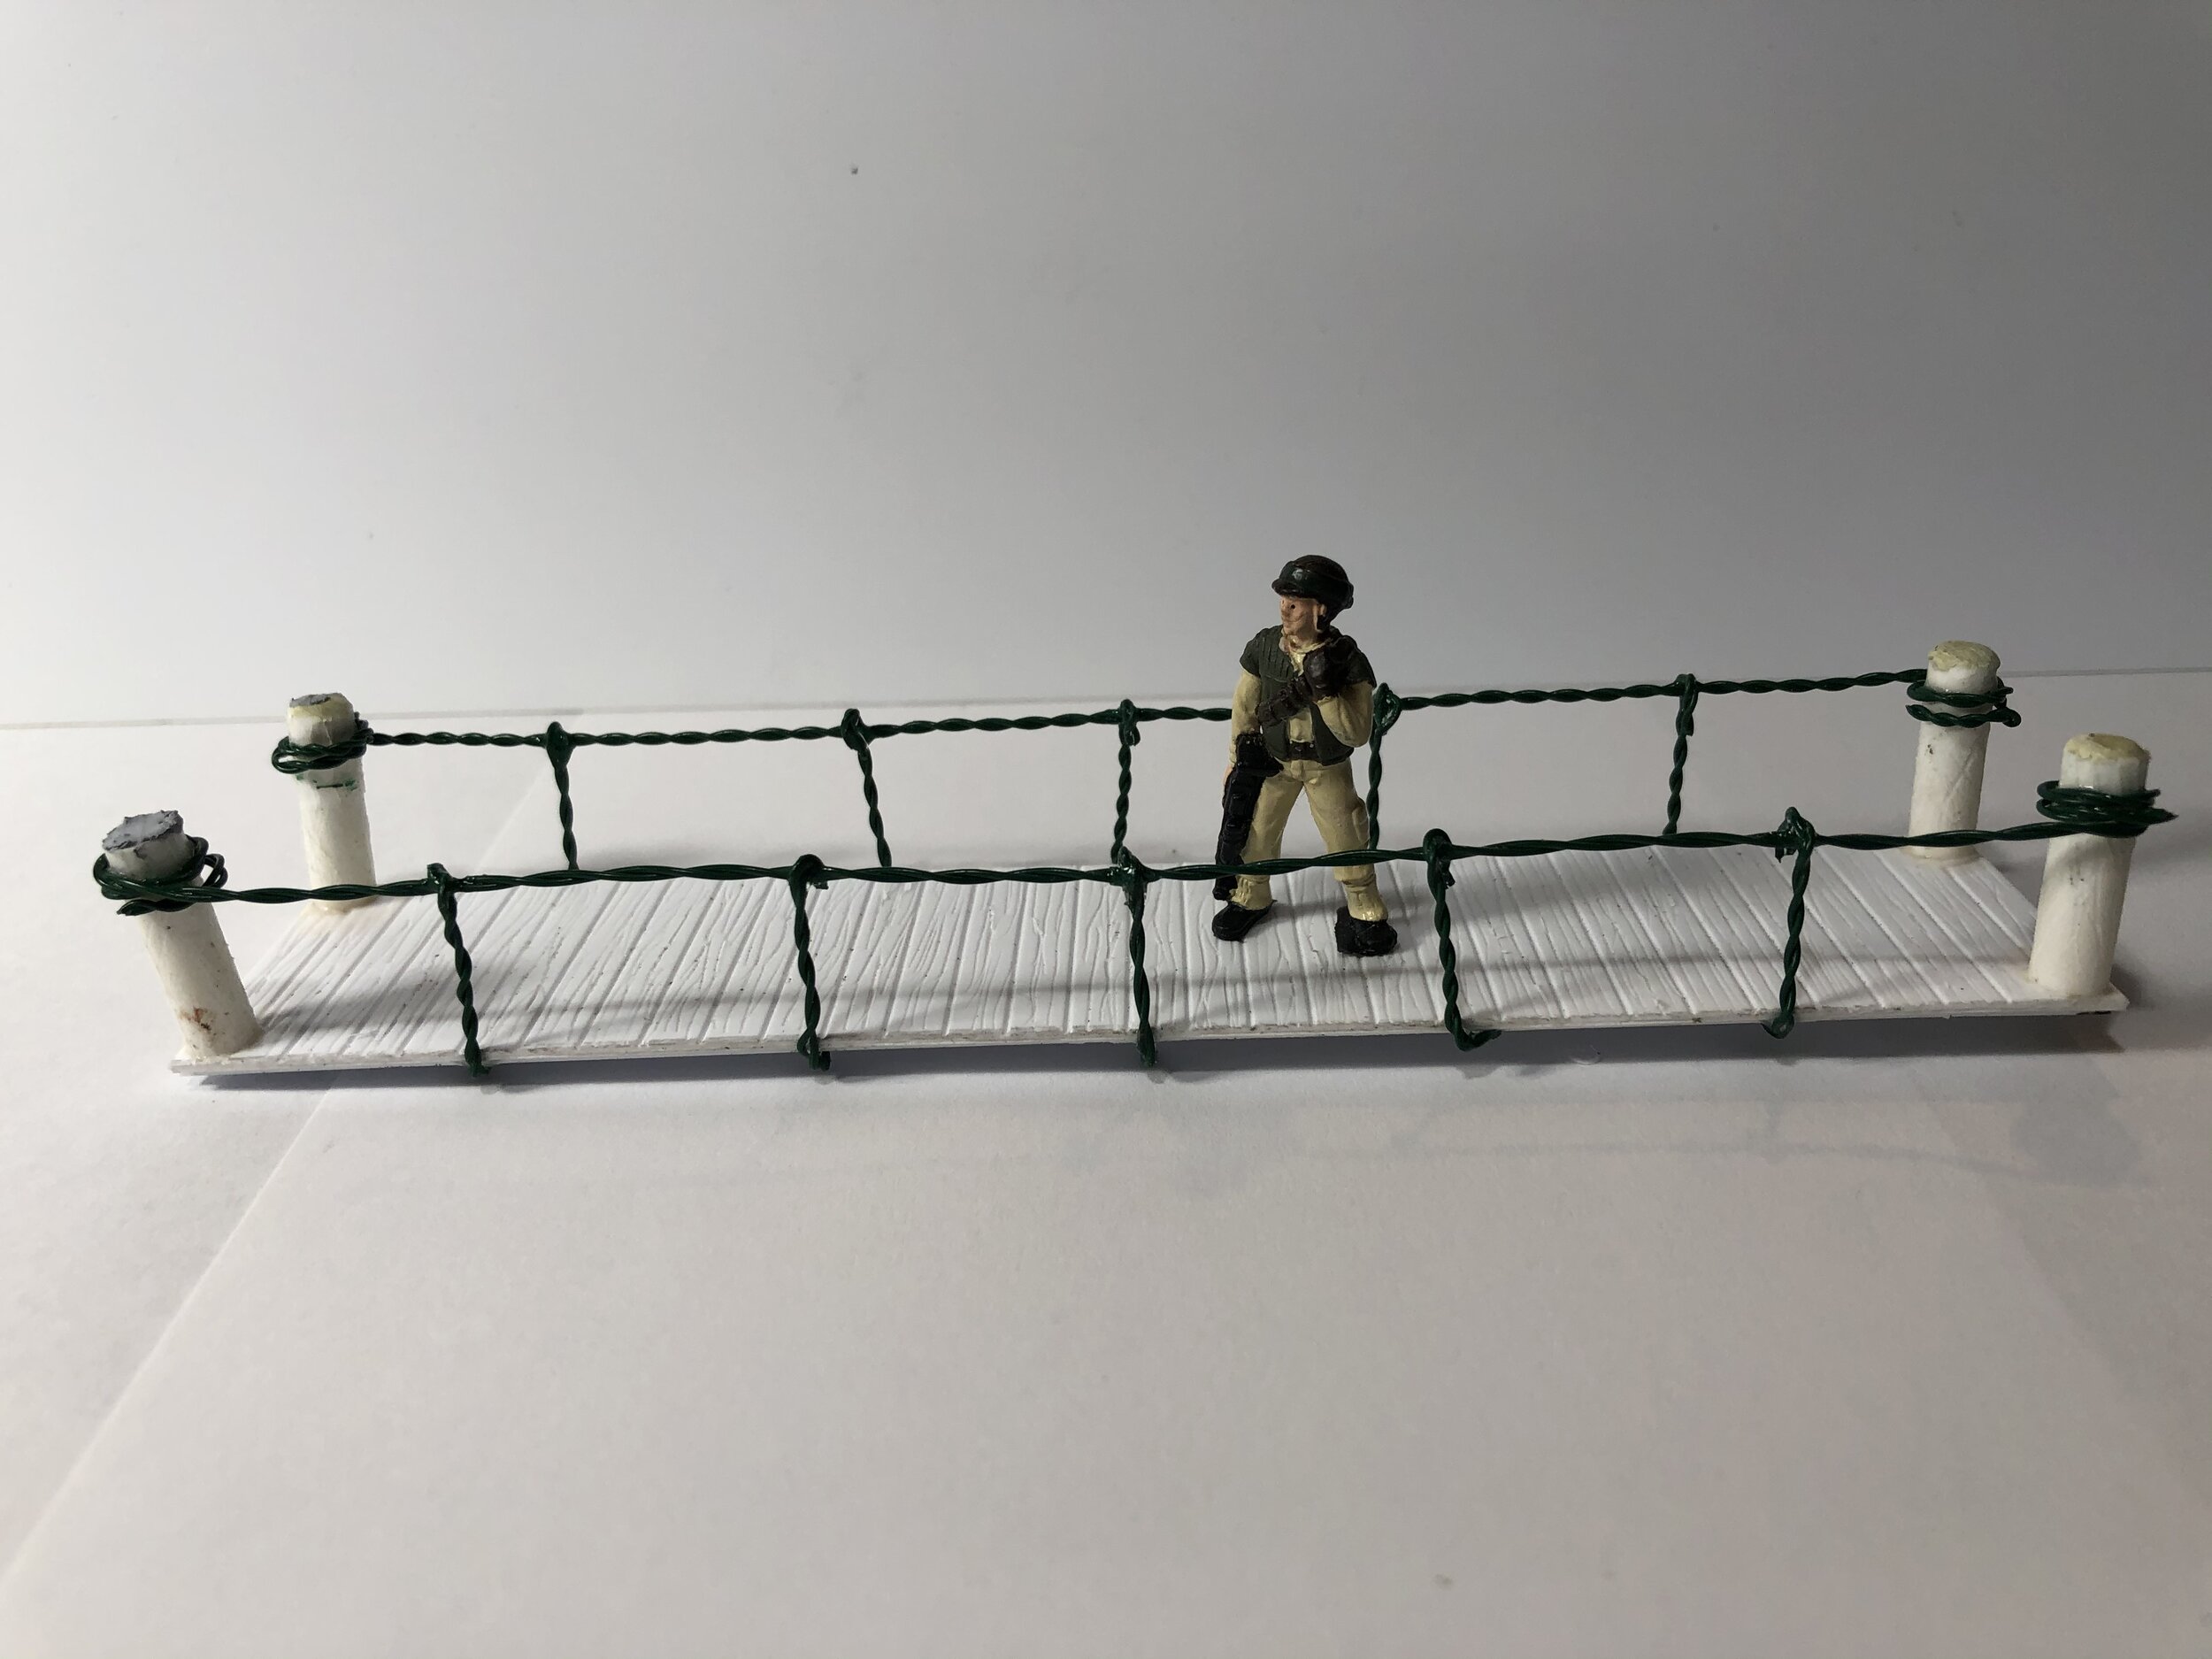
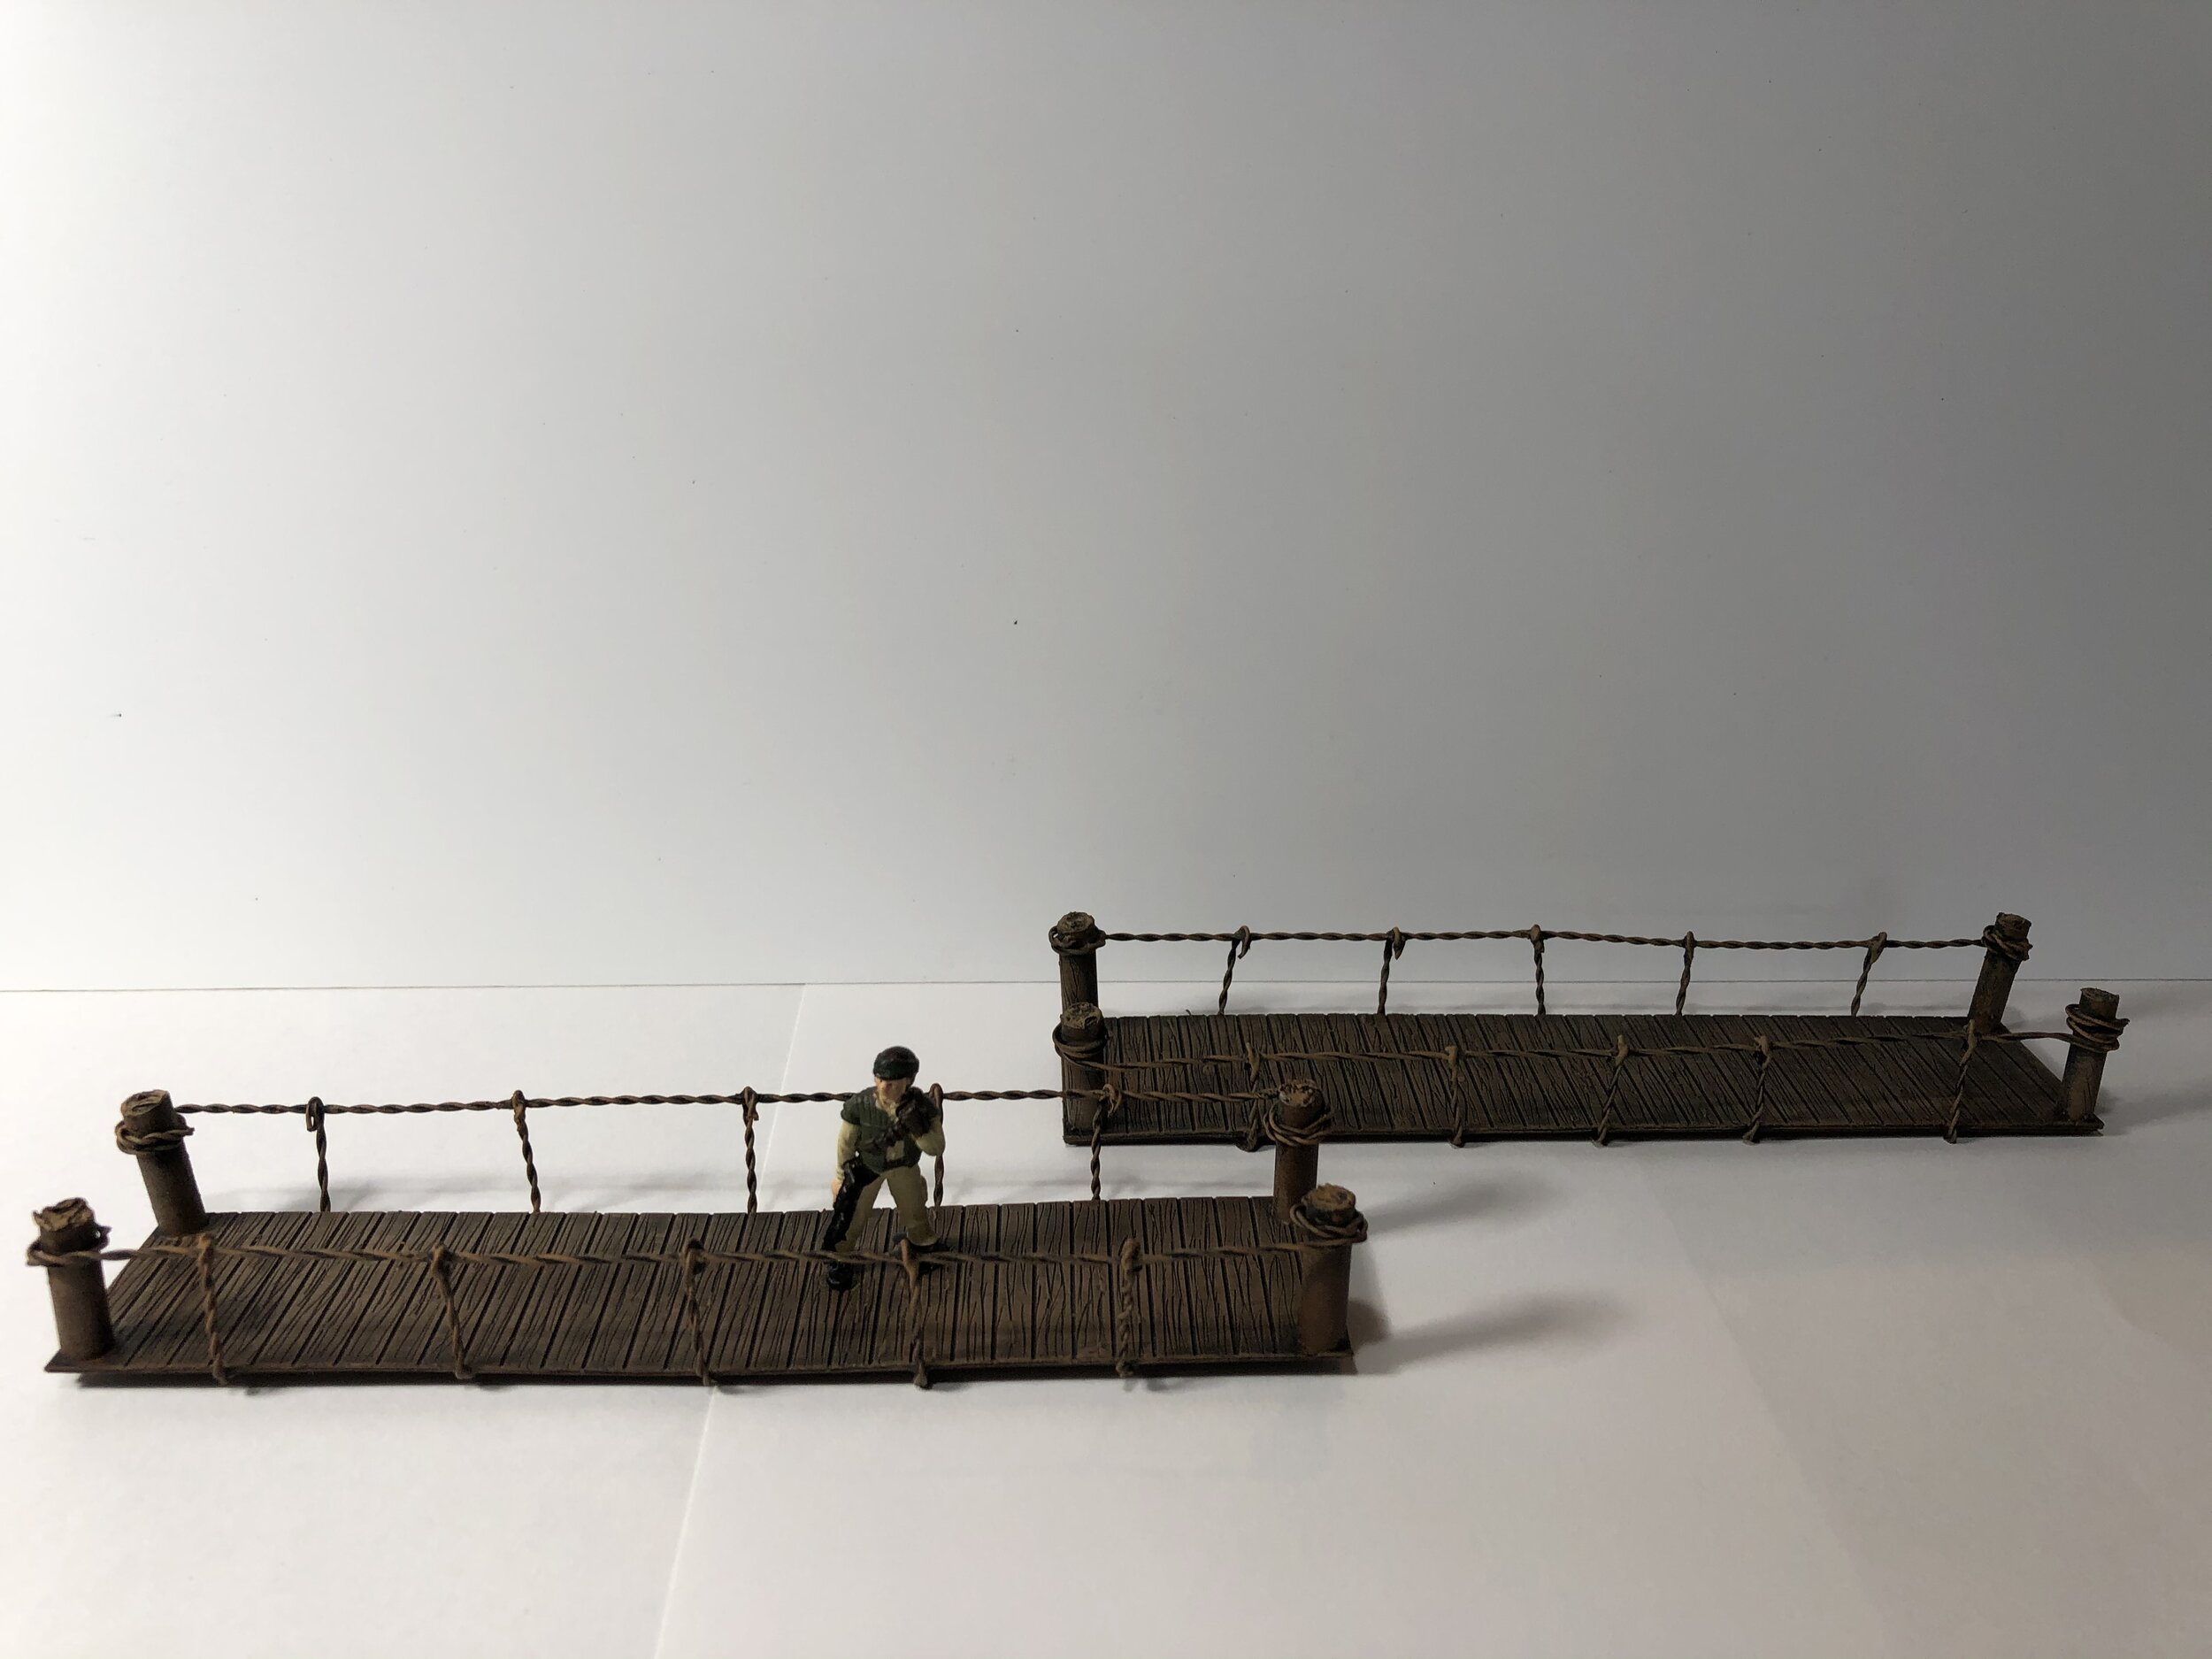
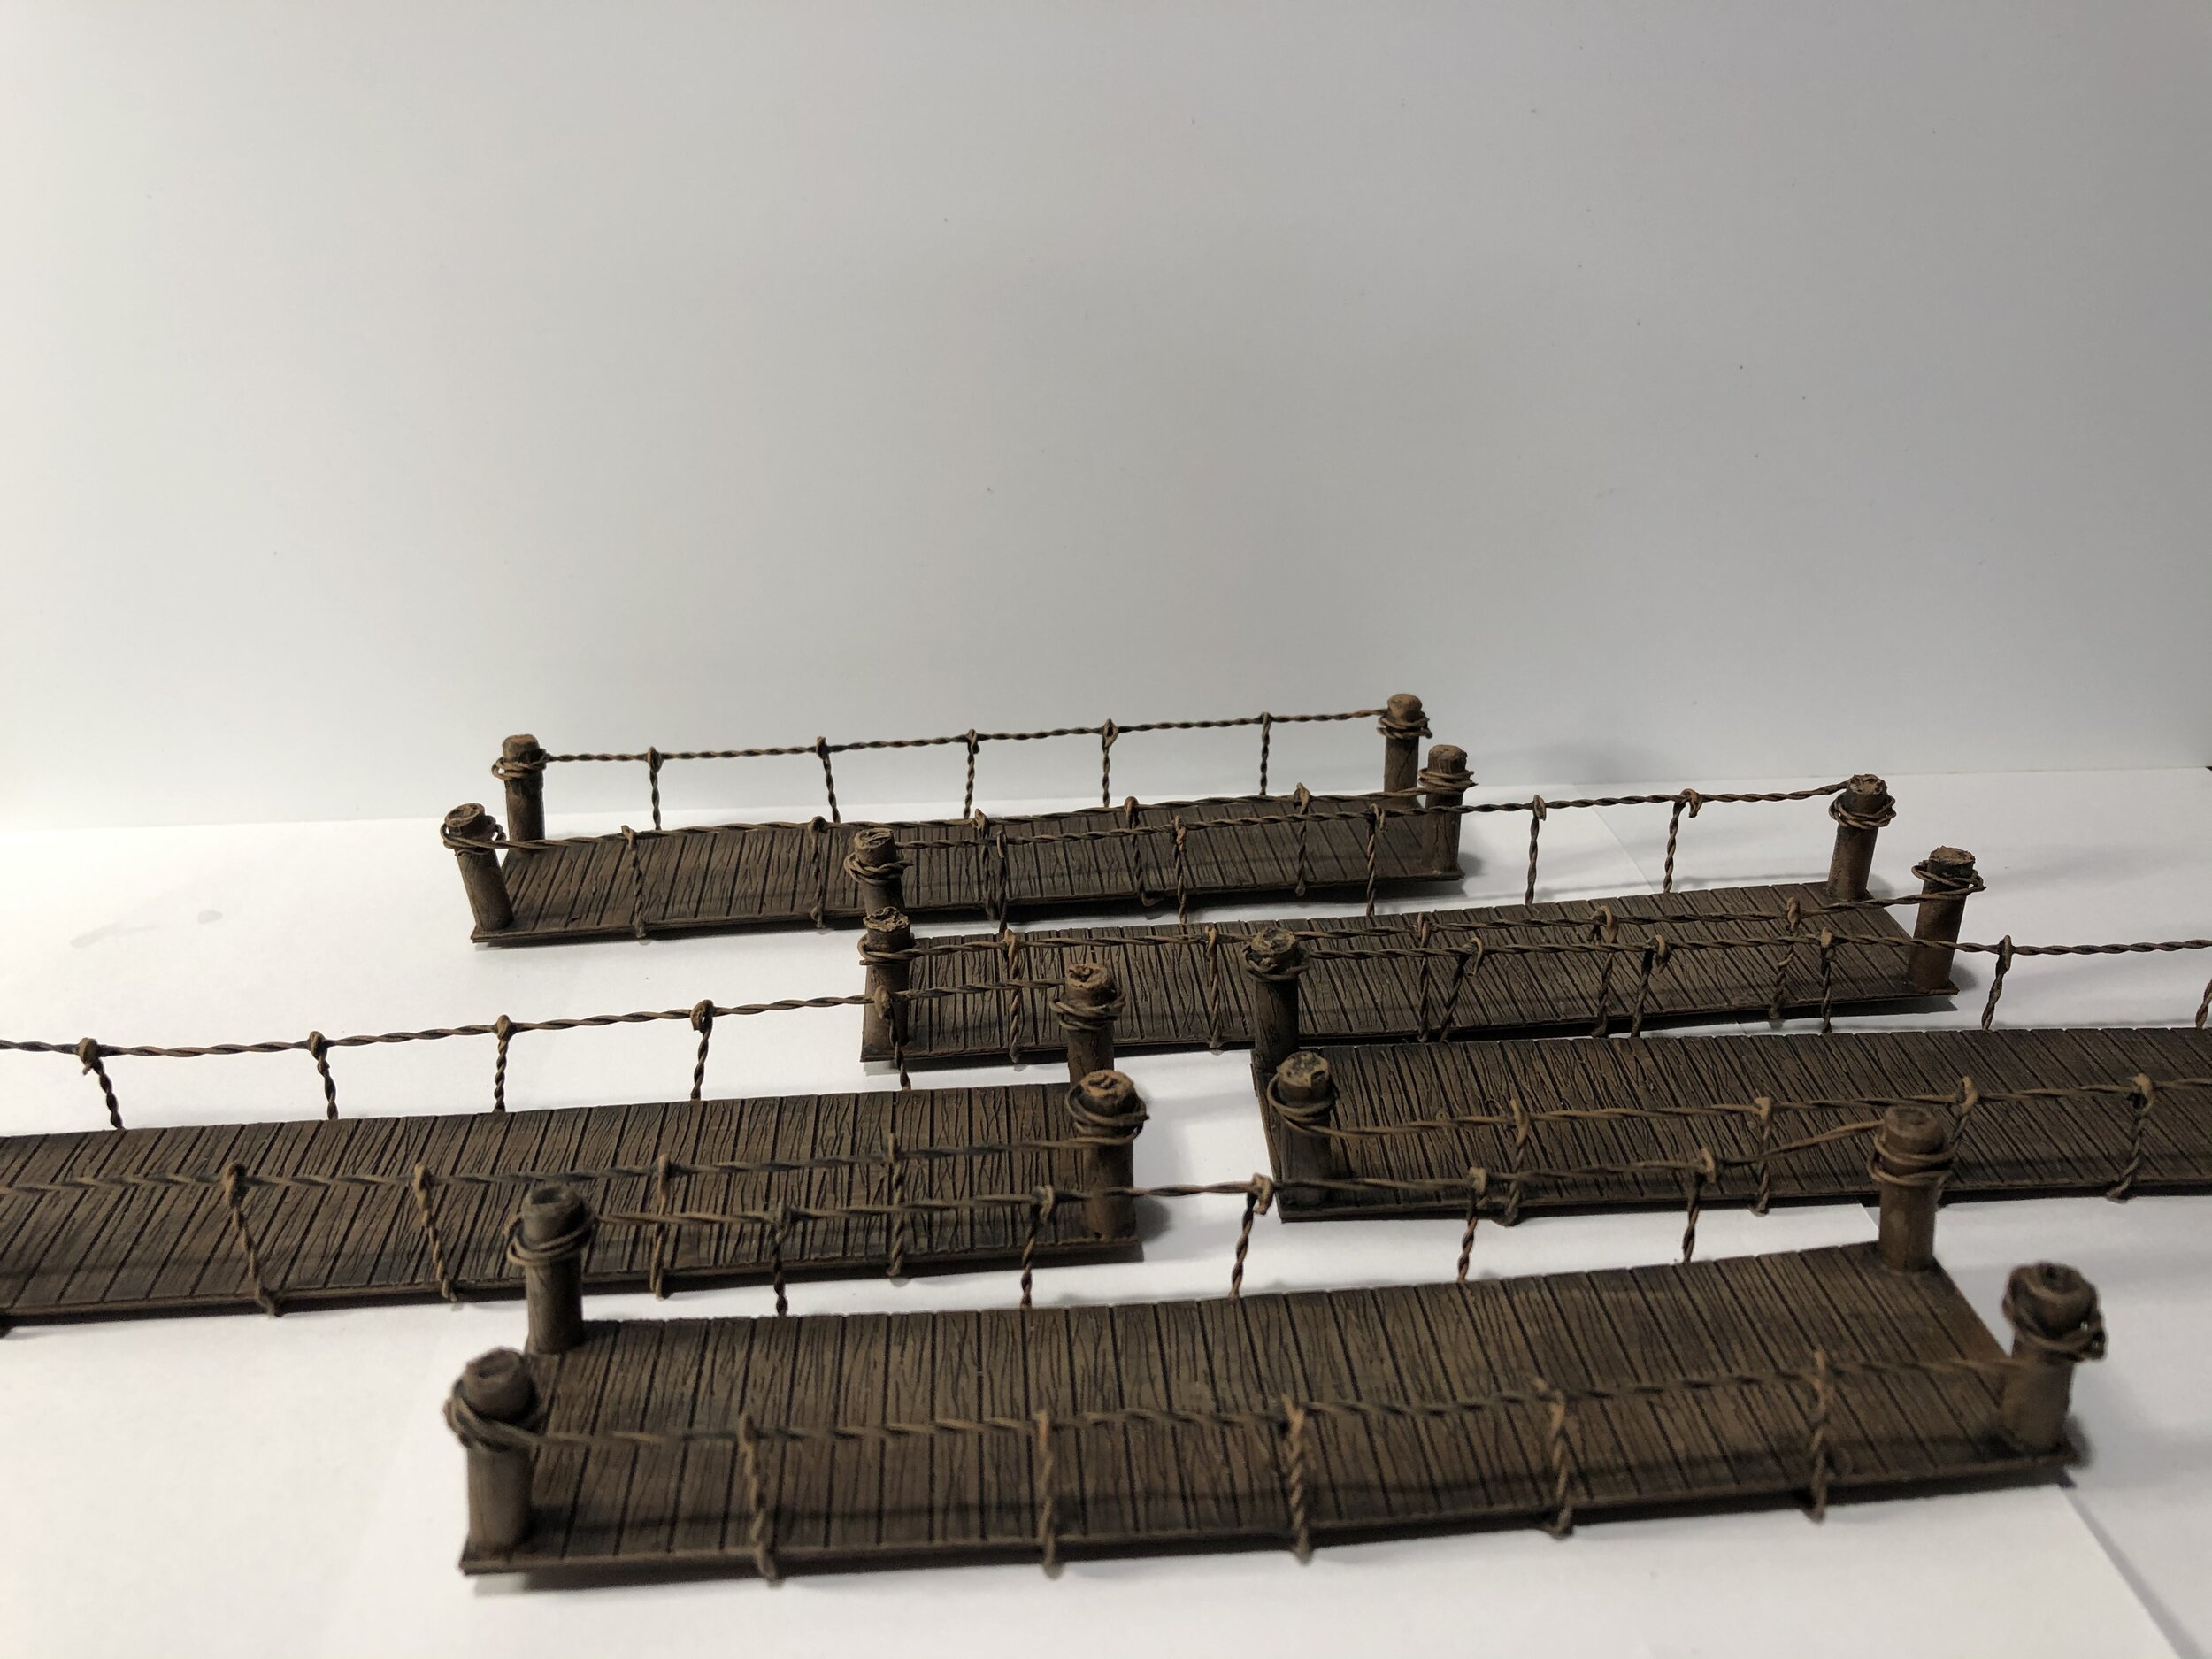
I began the week painting the second of my two caravans. With that done I began construction of some rope bridges for my Ewoks… just needed a little break from Loch Ness. I built the bridges out of Evergreen Plastic and floral wire. By week’s end I had seven done and that should satisfy my needs.
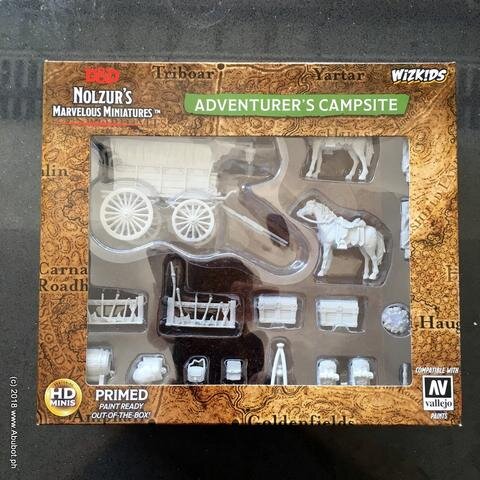
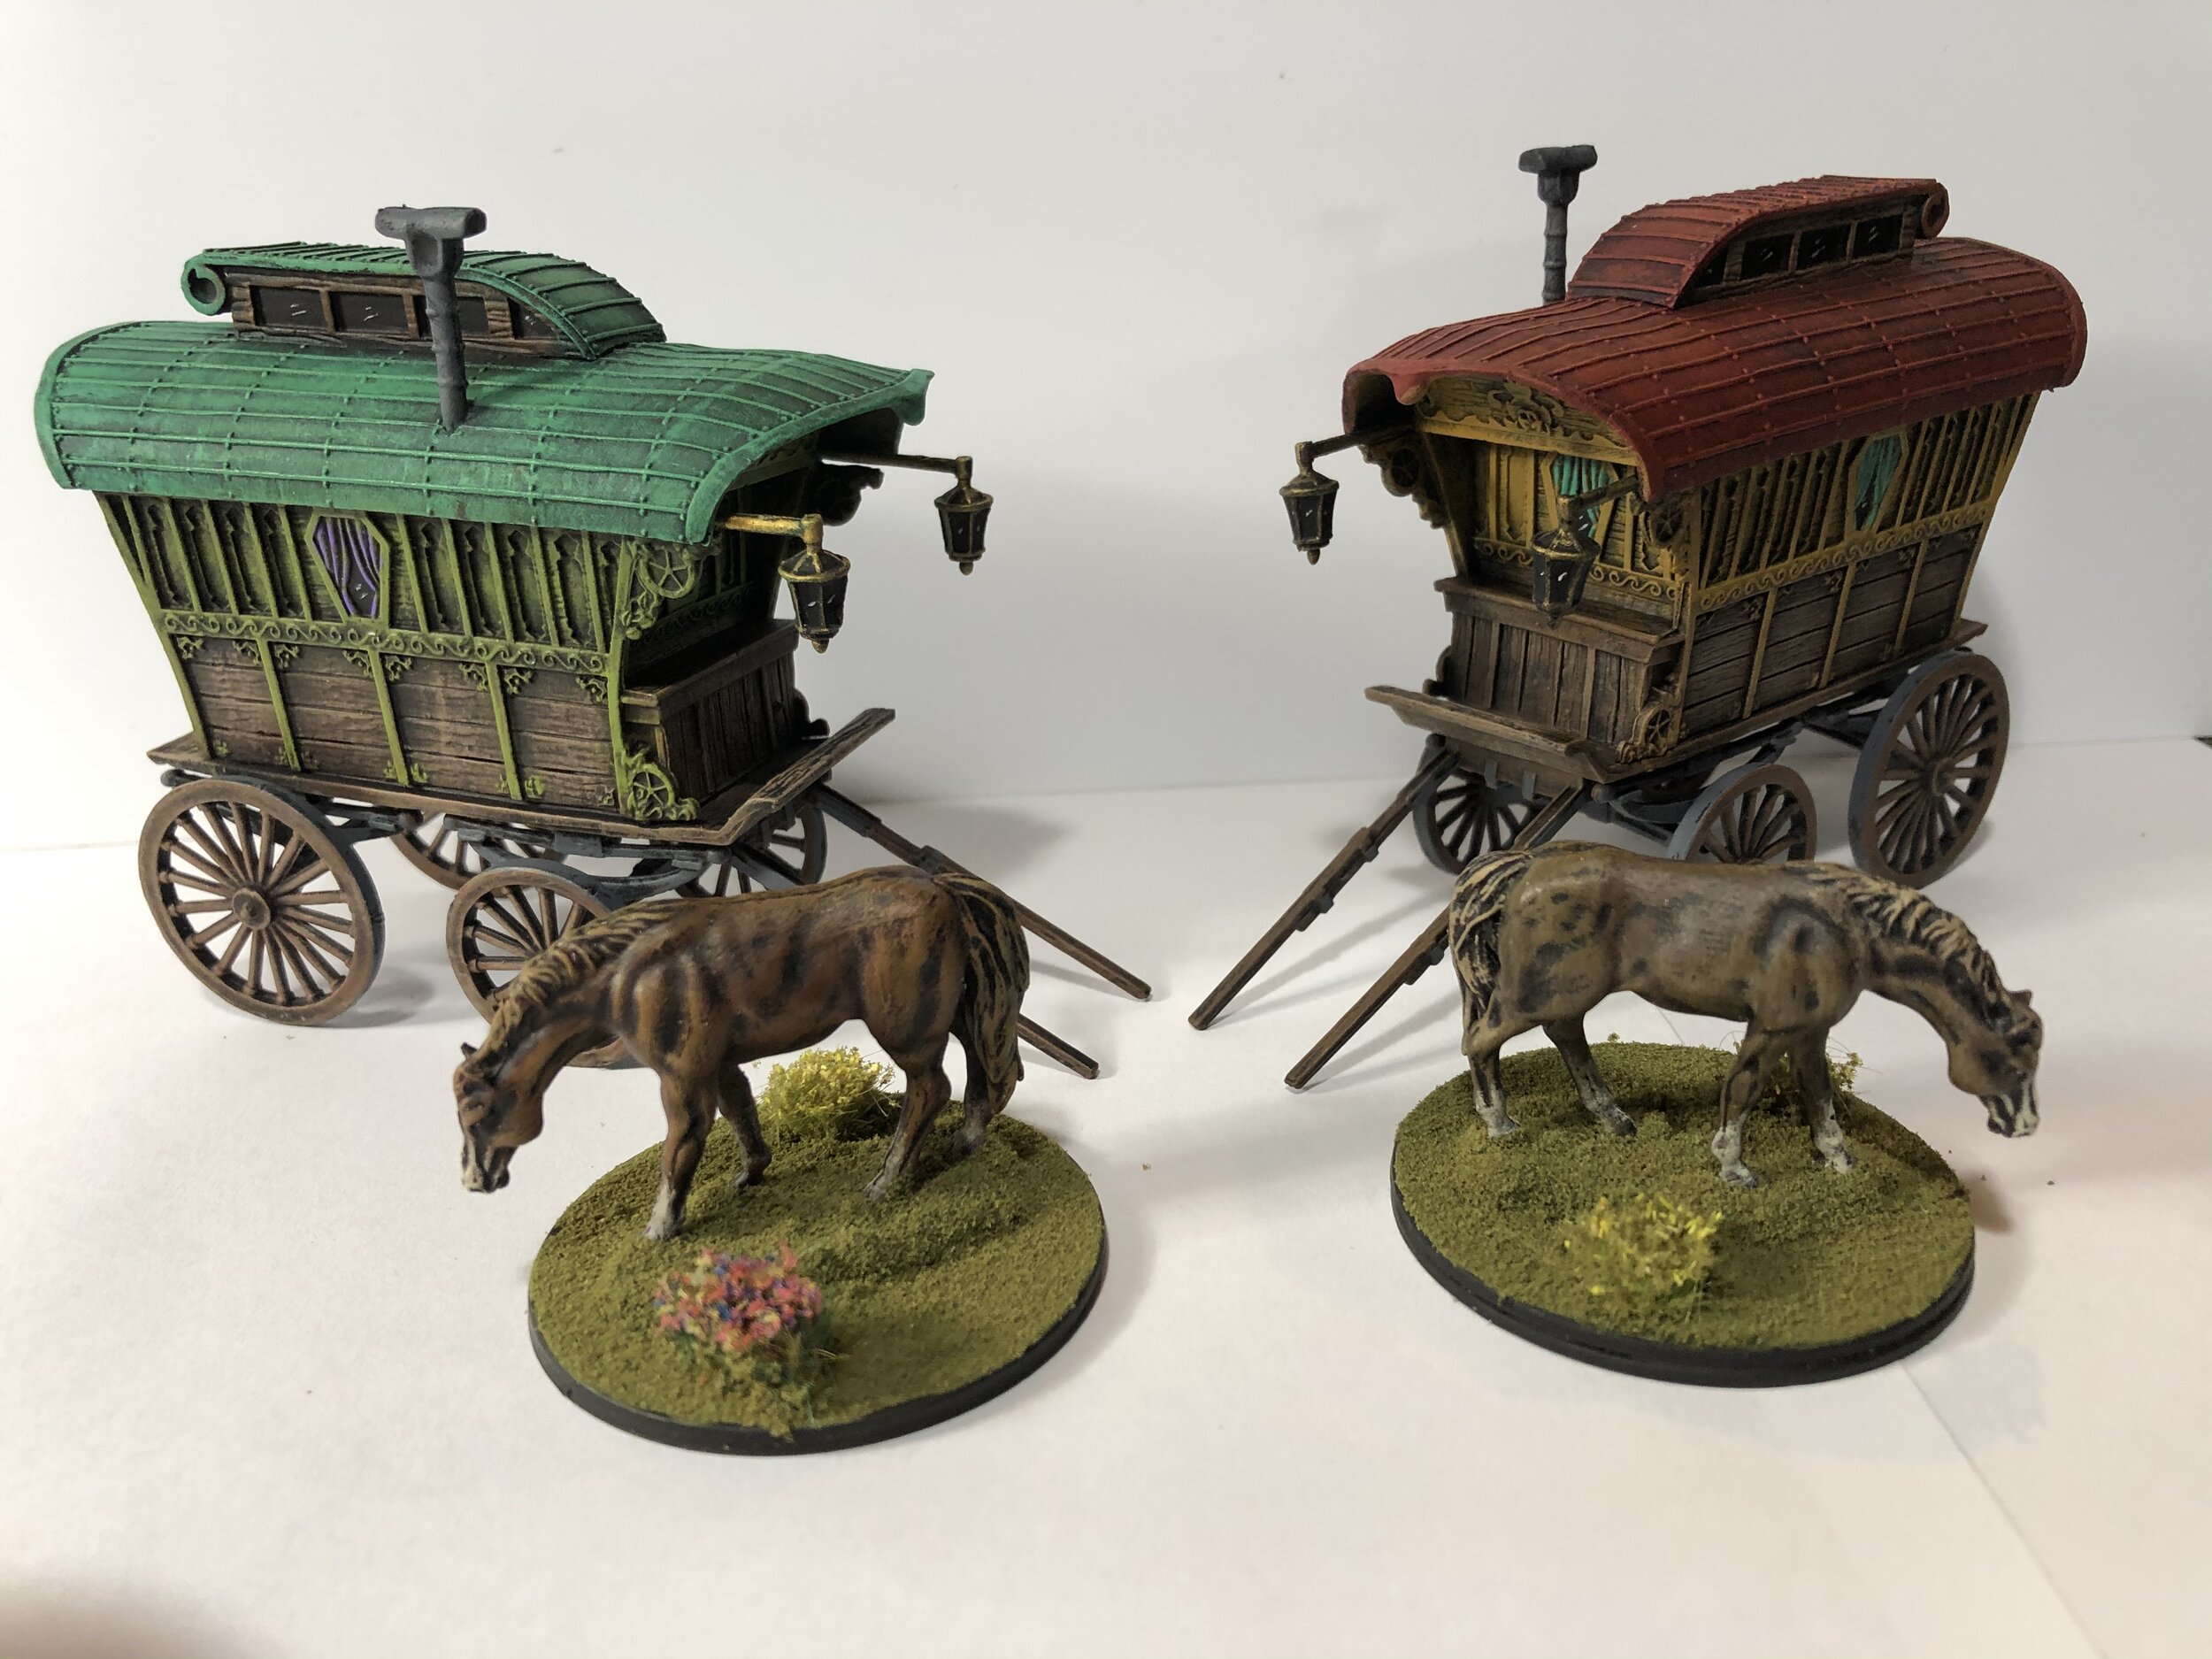
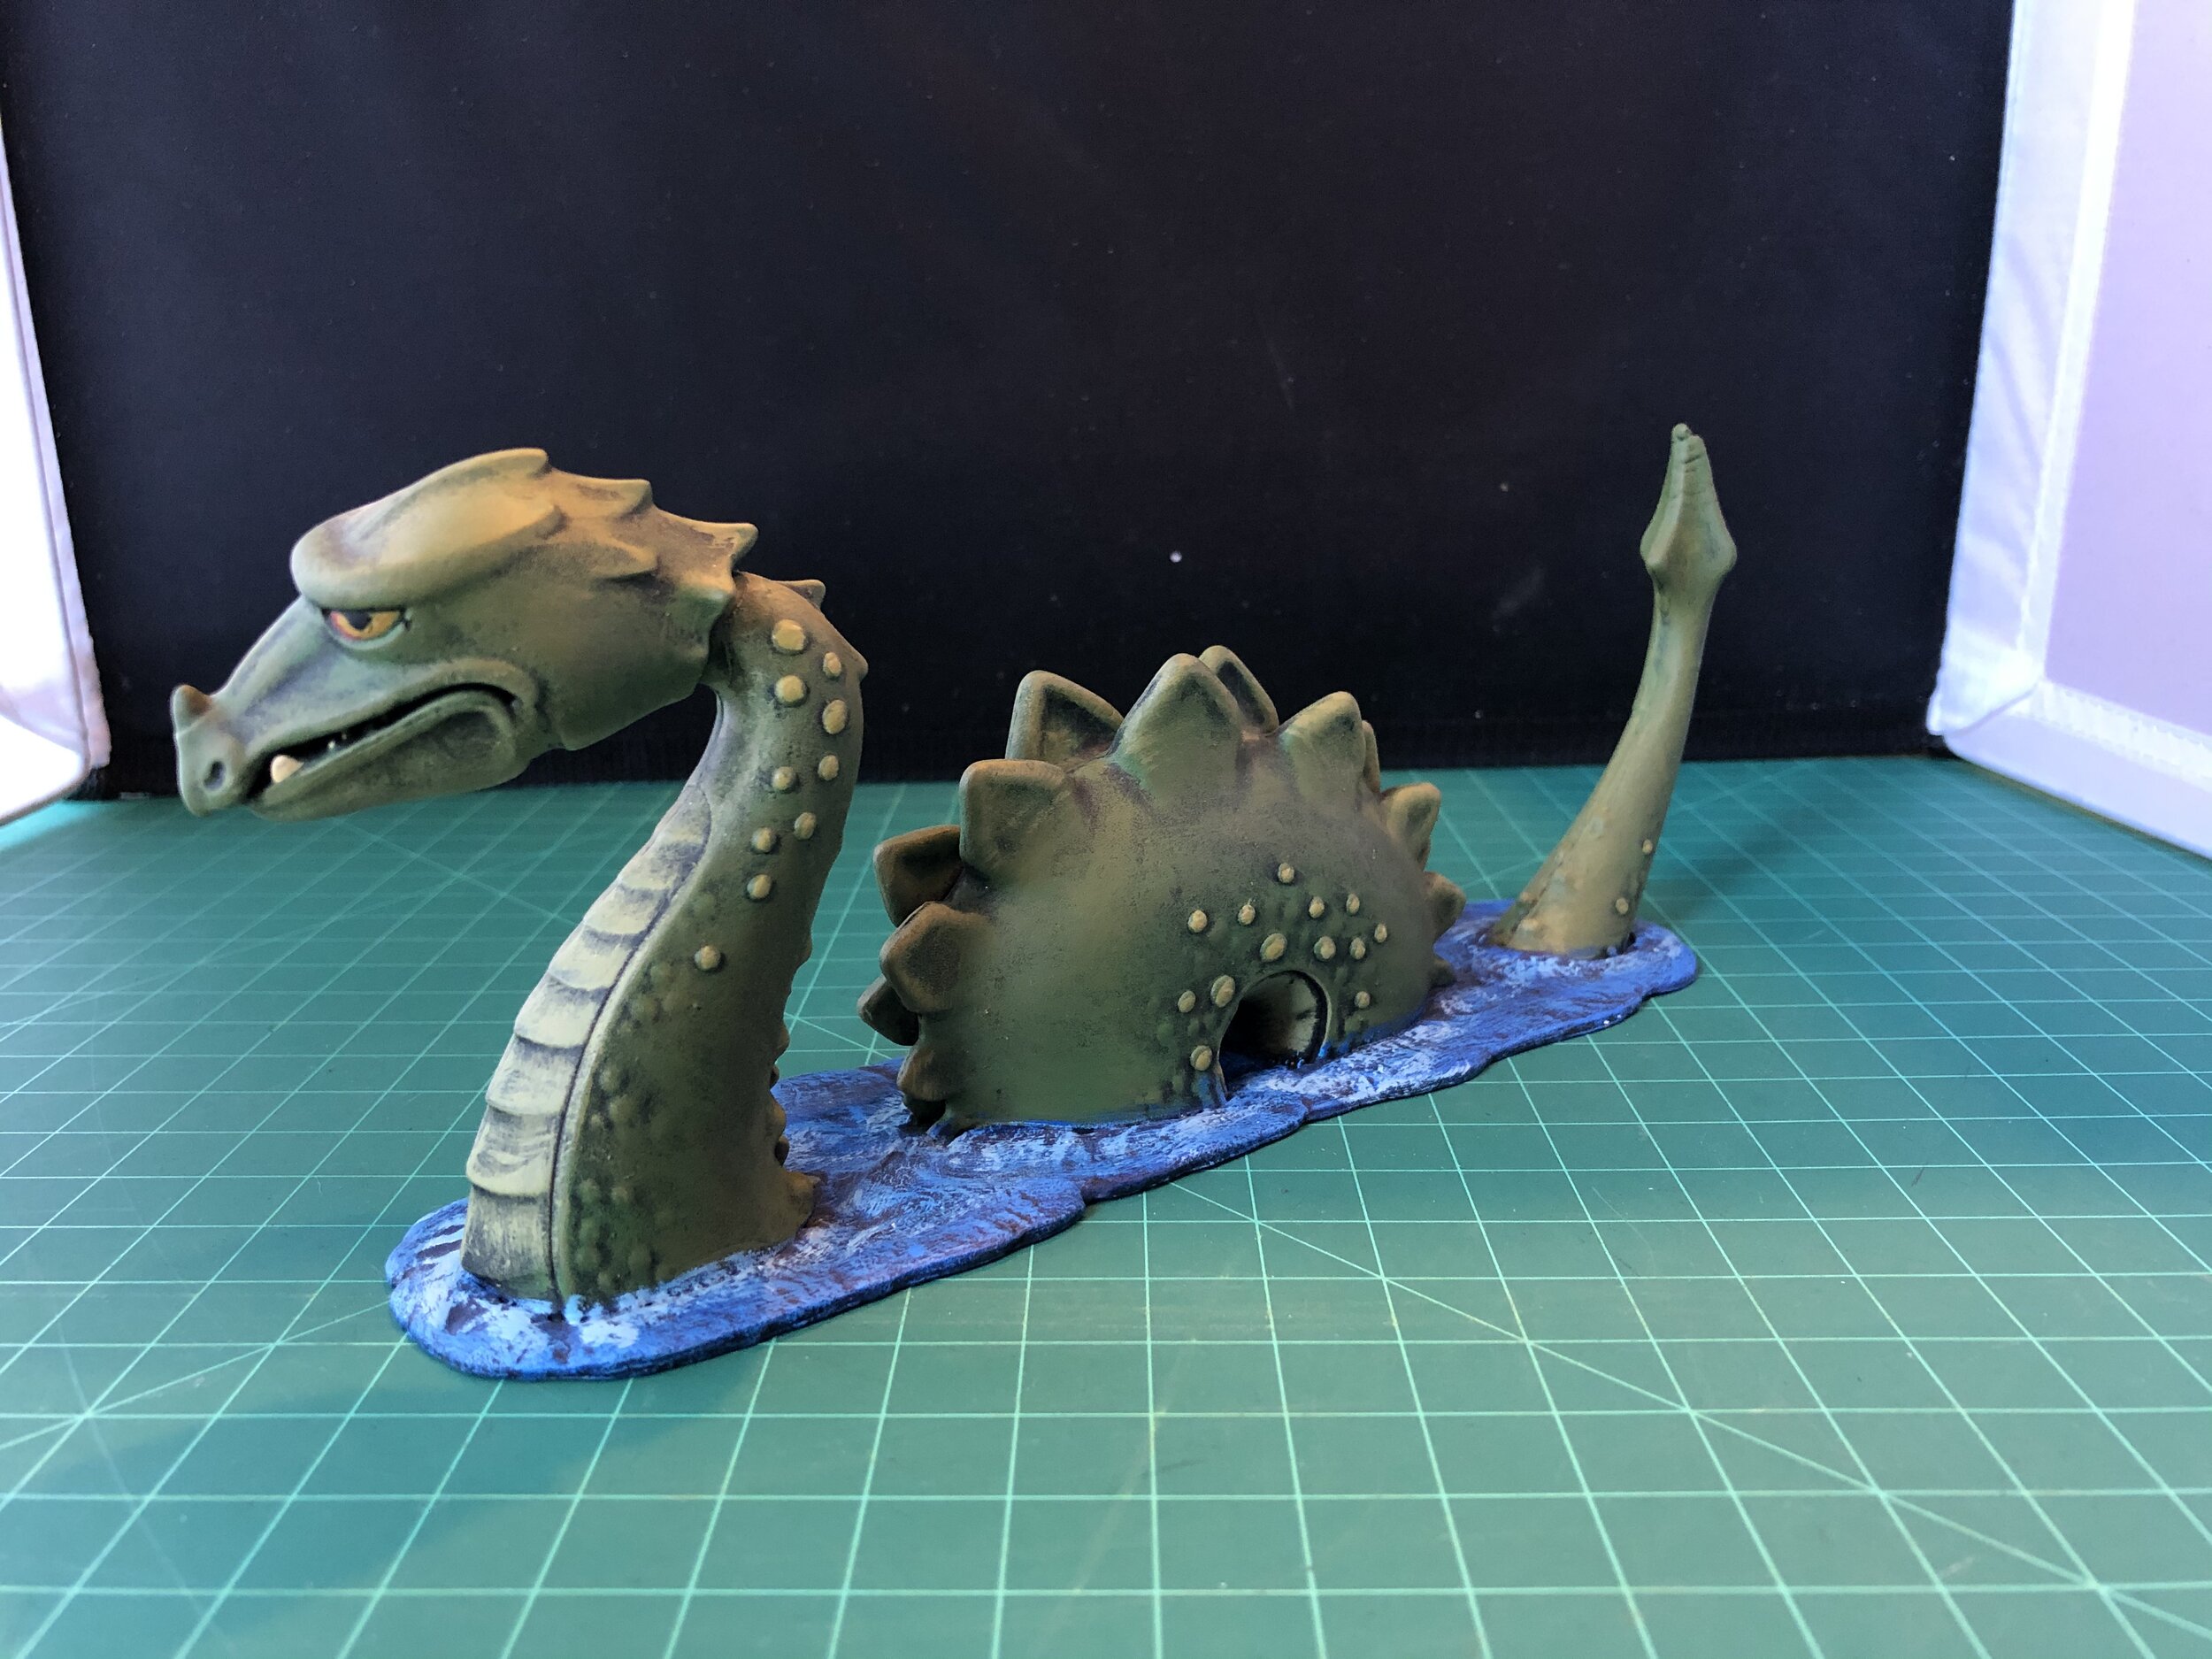
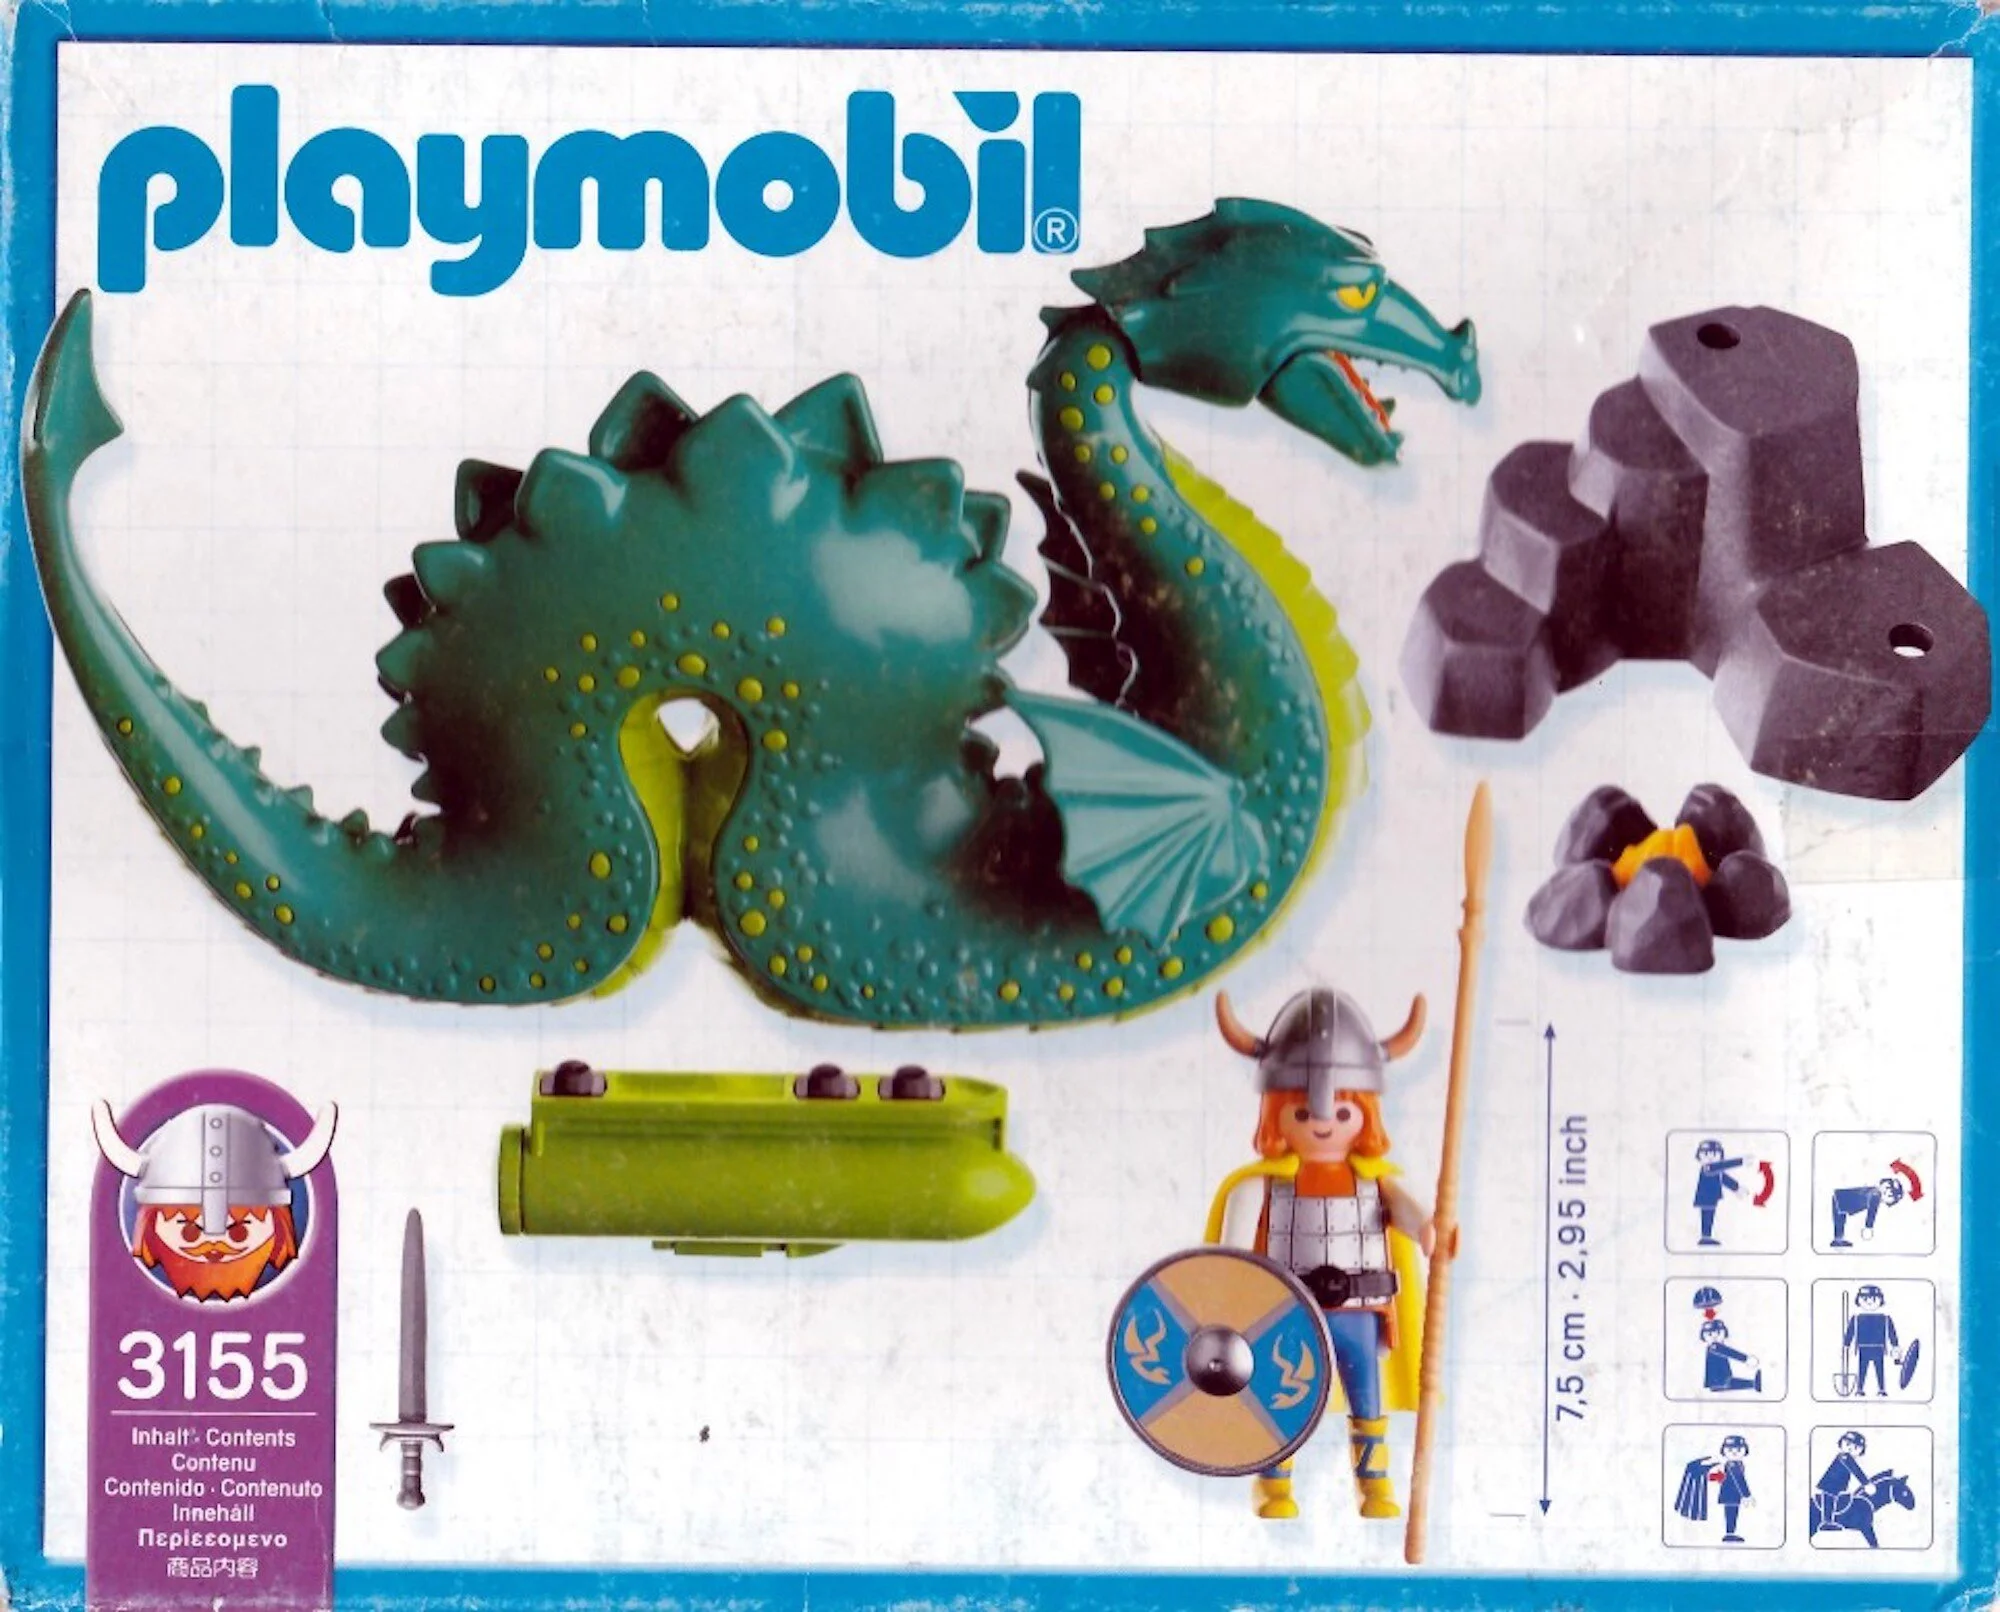
Returning to Loch Ness I painted the two caravan horses. They were also by Wizkids but not part of the Adventurers’ Campsite set. They are Deep Cut. I’m including a picture of the Playmobil toy that I repurposed to serve as Nessie. I did this several years ago and am including it here just because I wanted a record of where I got it and this seemed like a good place to store that information.
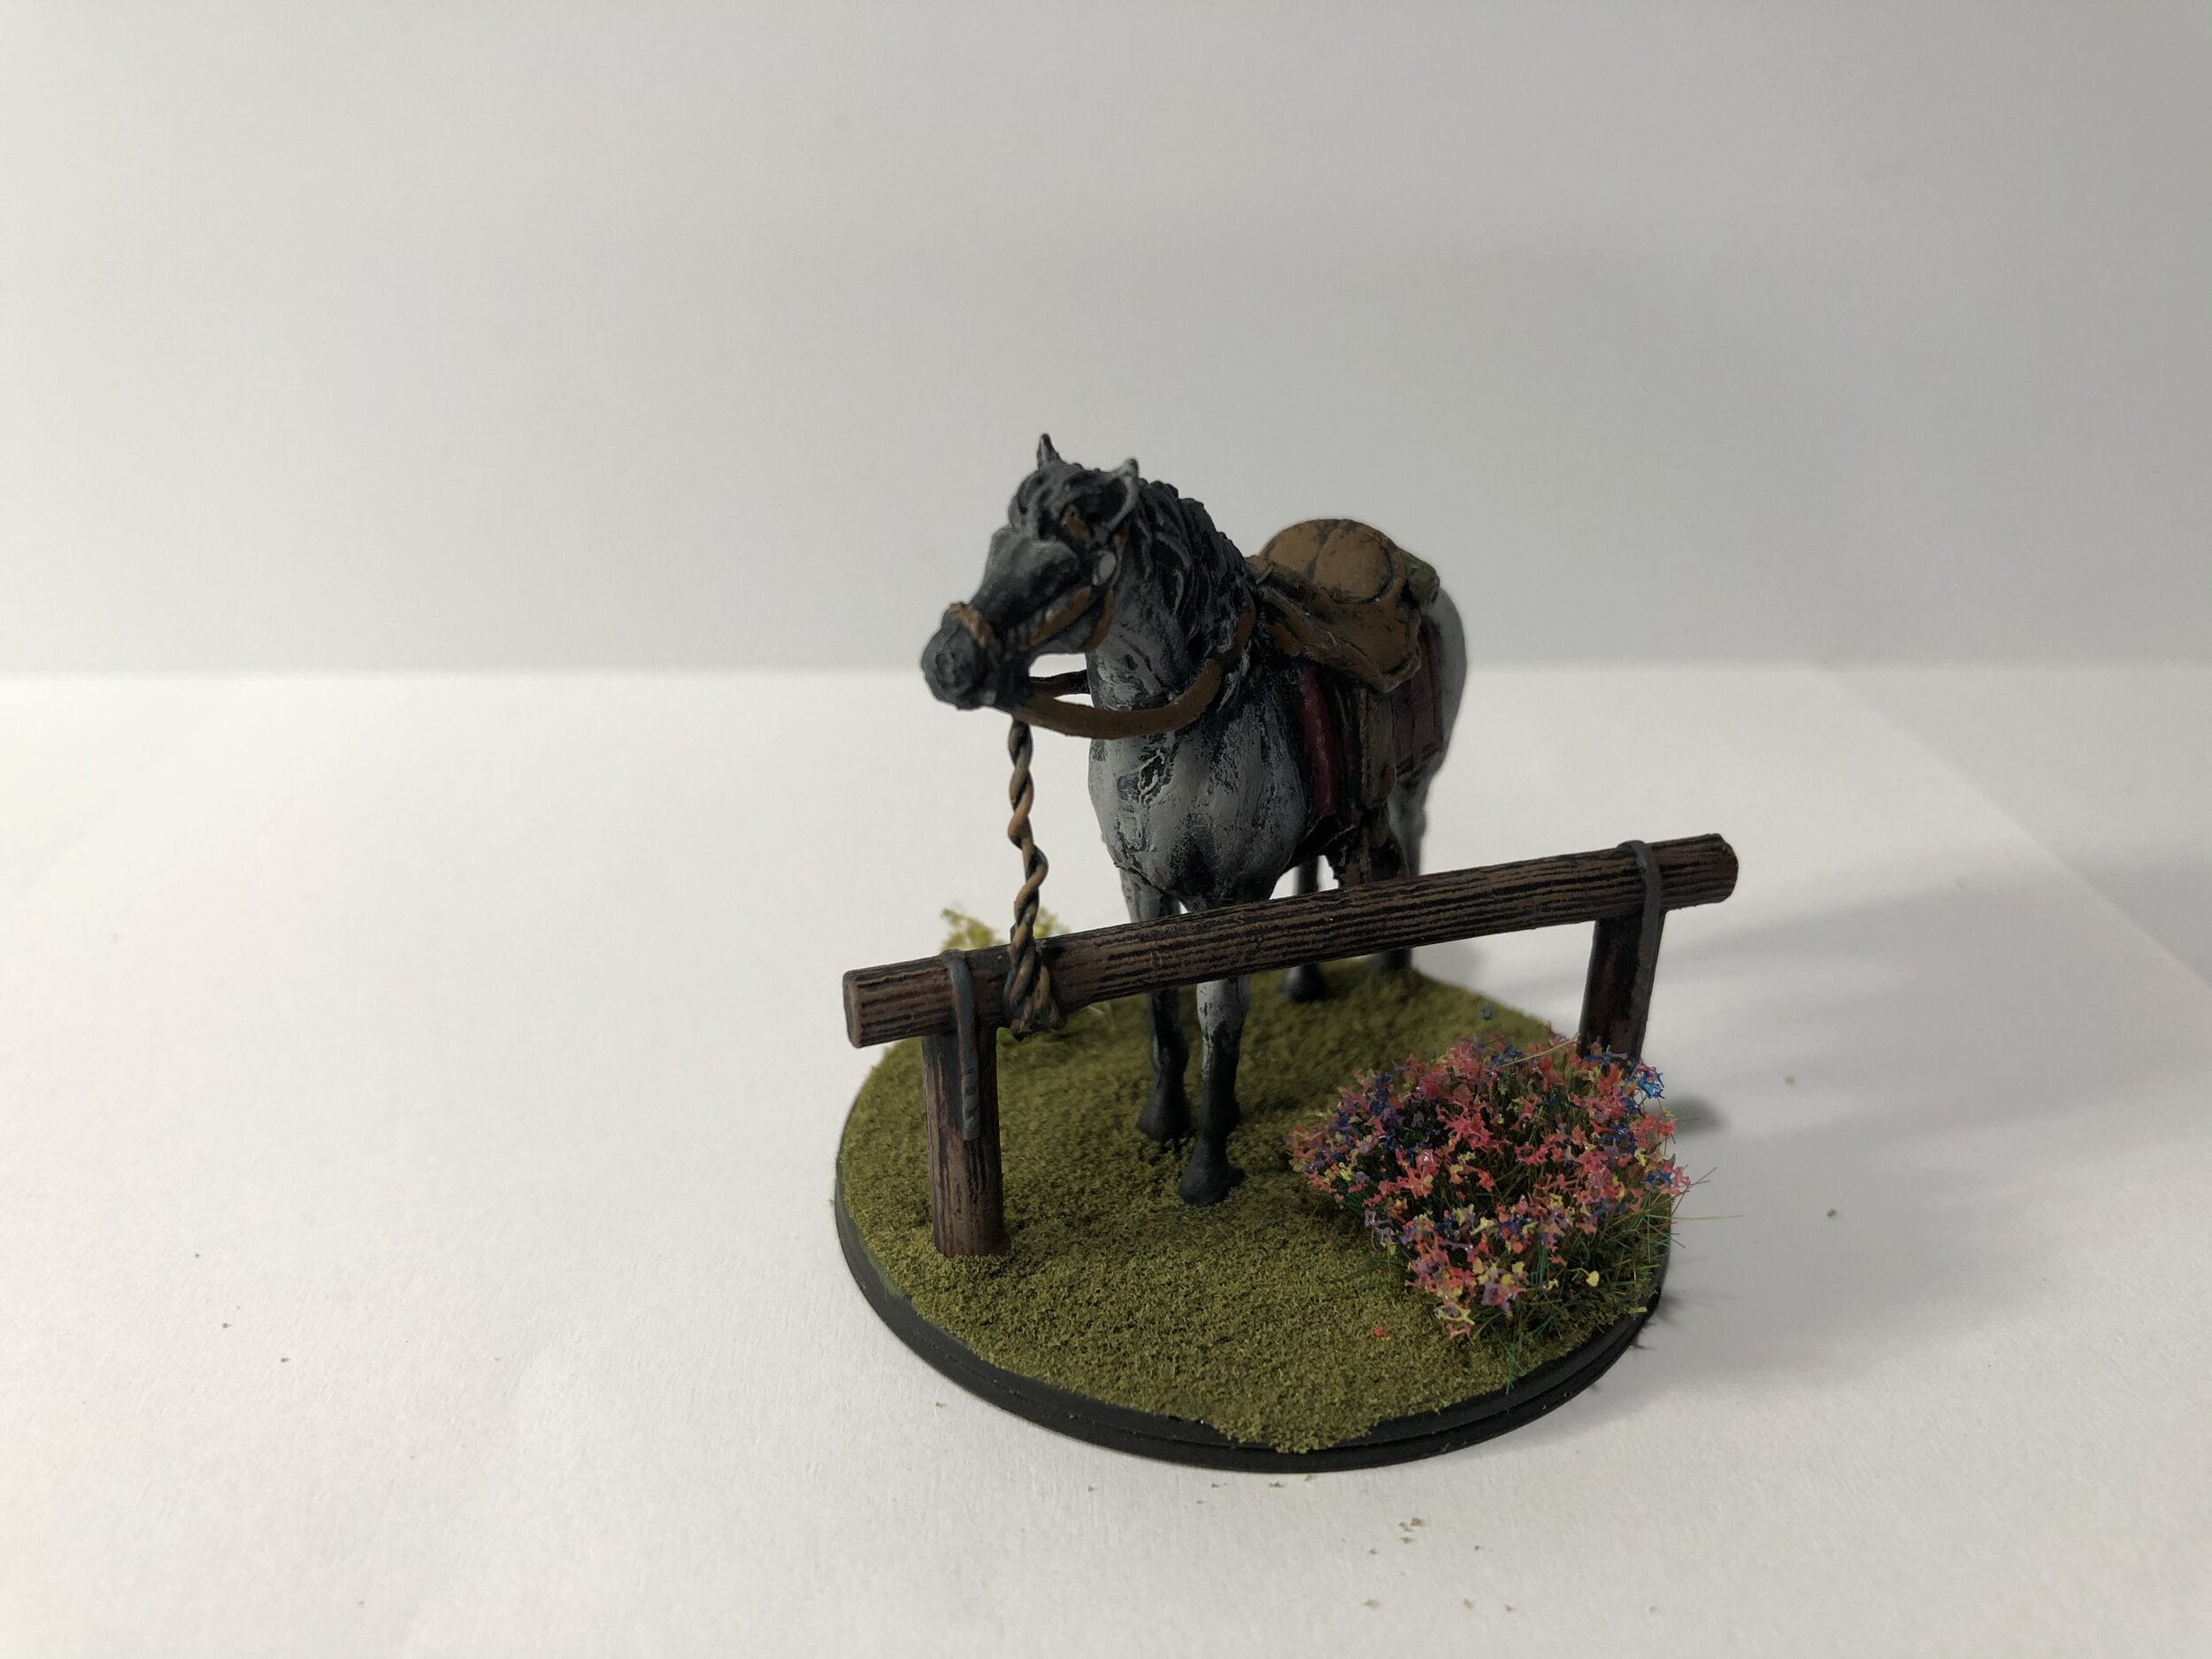
After painting the caravan horses, I decided to paint one of the horses that came with the caravan and tie it to a hitching rail that came with the Deep Cut horses I am using with the caravan… I hope I haven’t lost you with this. I used twisted floral wire to tie the horse to the hitching rail.
At this point in my work on my Gordon Institute Loch Ness collection, I have finished the building and repainting of all the vehicles, most of the boats, the planes, the pavilions, the platform-mounted work centers, the caravans, the shepherd’s wagon, and all of the figures. The main elements that remain are the buildings that will be the center of the two Gordon Institute research stations. A decade ago, I purchase several Games Workshop buildings simply because I thought that one day they would come in handy for a project and knowing Games Workshop pieces would not get cheaper once they were out of production. I purchased the Skullvane Manse observatory (which I have already completed), the Watchtower, the Chapel, and the Fortified Manor. I have a second Watchtower that I purchased at a Brookhurst Hobbies Bring-and-Buy for $3… it was a mess, but I was able to take it apart and put it back in shape, so it proved to be a wonderful purchase.
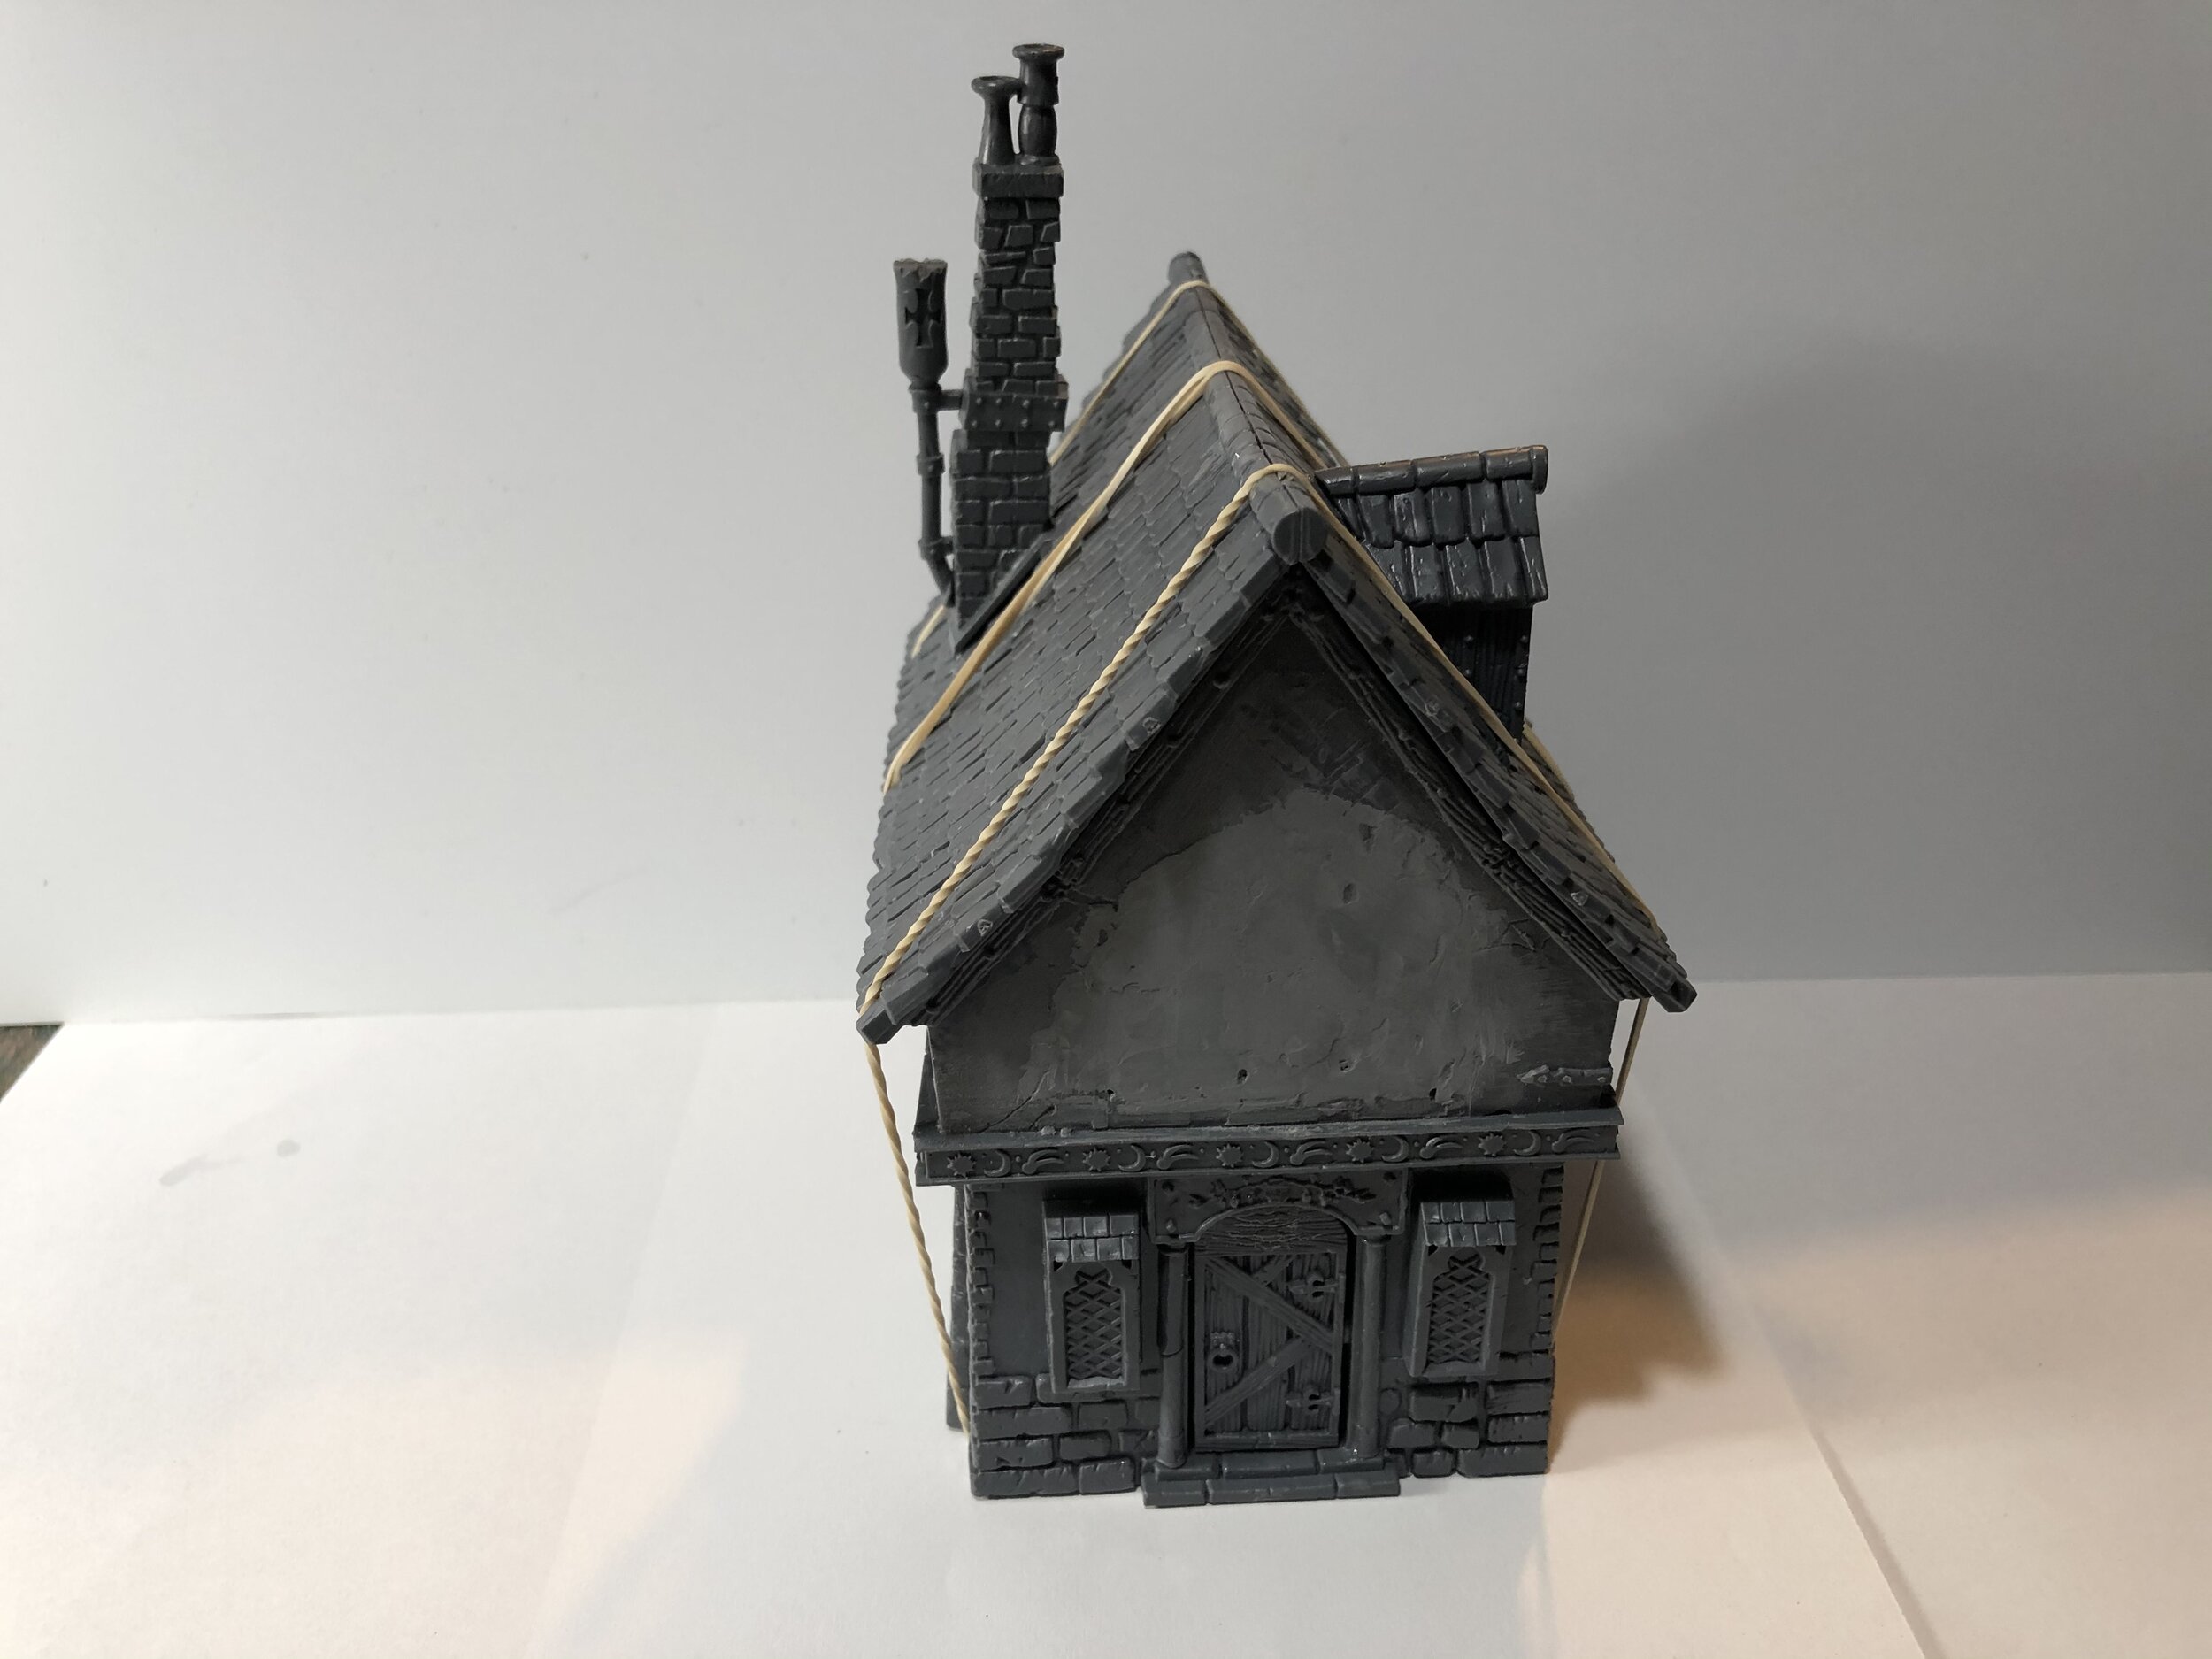
When I decided to do the Gordon Institute’s Loch Ness collection, I also decided that this was the moment to make use of the GW buildings. In addition, I purchased several of the GW Lake Town houses… also wonderful pieces. The Lake Town houses have the benefit of having no skulls. I decided to begin my work on the GW buildings with the Chapel. My goal is to keep the buildings as simple in appearance as possible and remove the skulls. I’ve attached some pictures that show the newly constructed Chapel with skulls removed. The skull removal involved the use of several different hobby blades, putty and sanding sticks. The pictures were taken while the plastic weld glue was still curing so the rubber bands are still attached. Painting will follow.

September 6, 2020
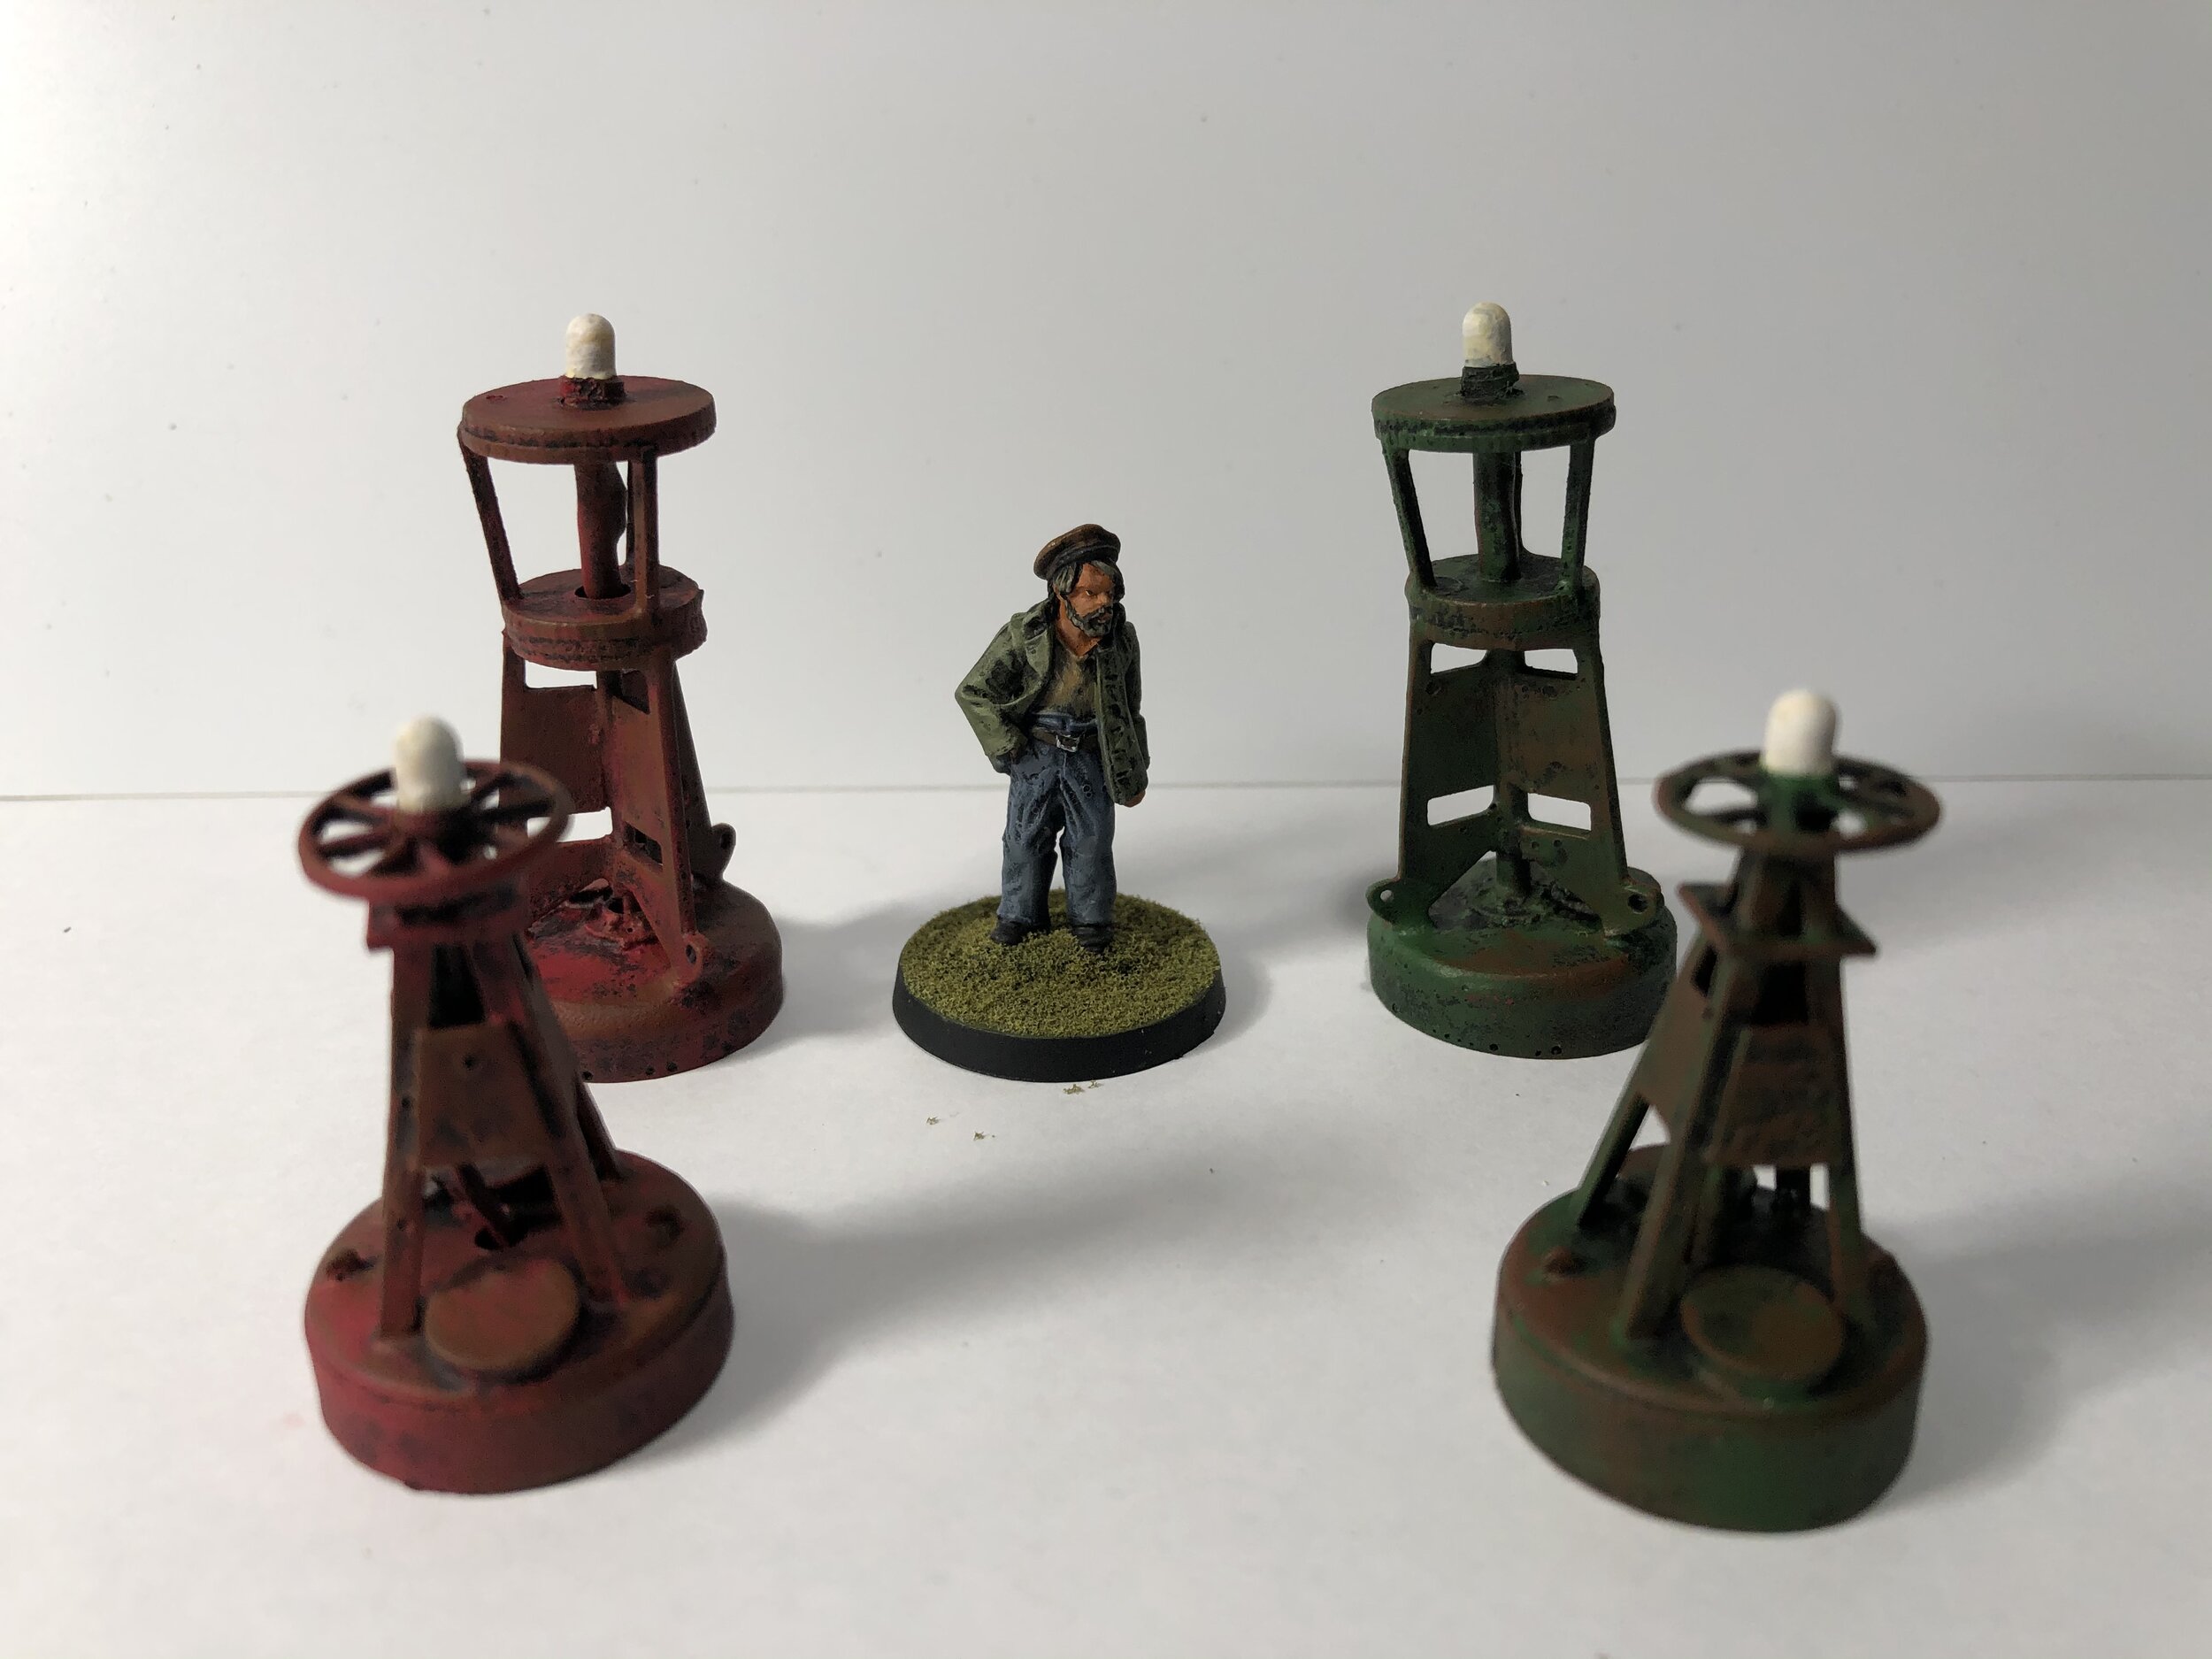
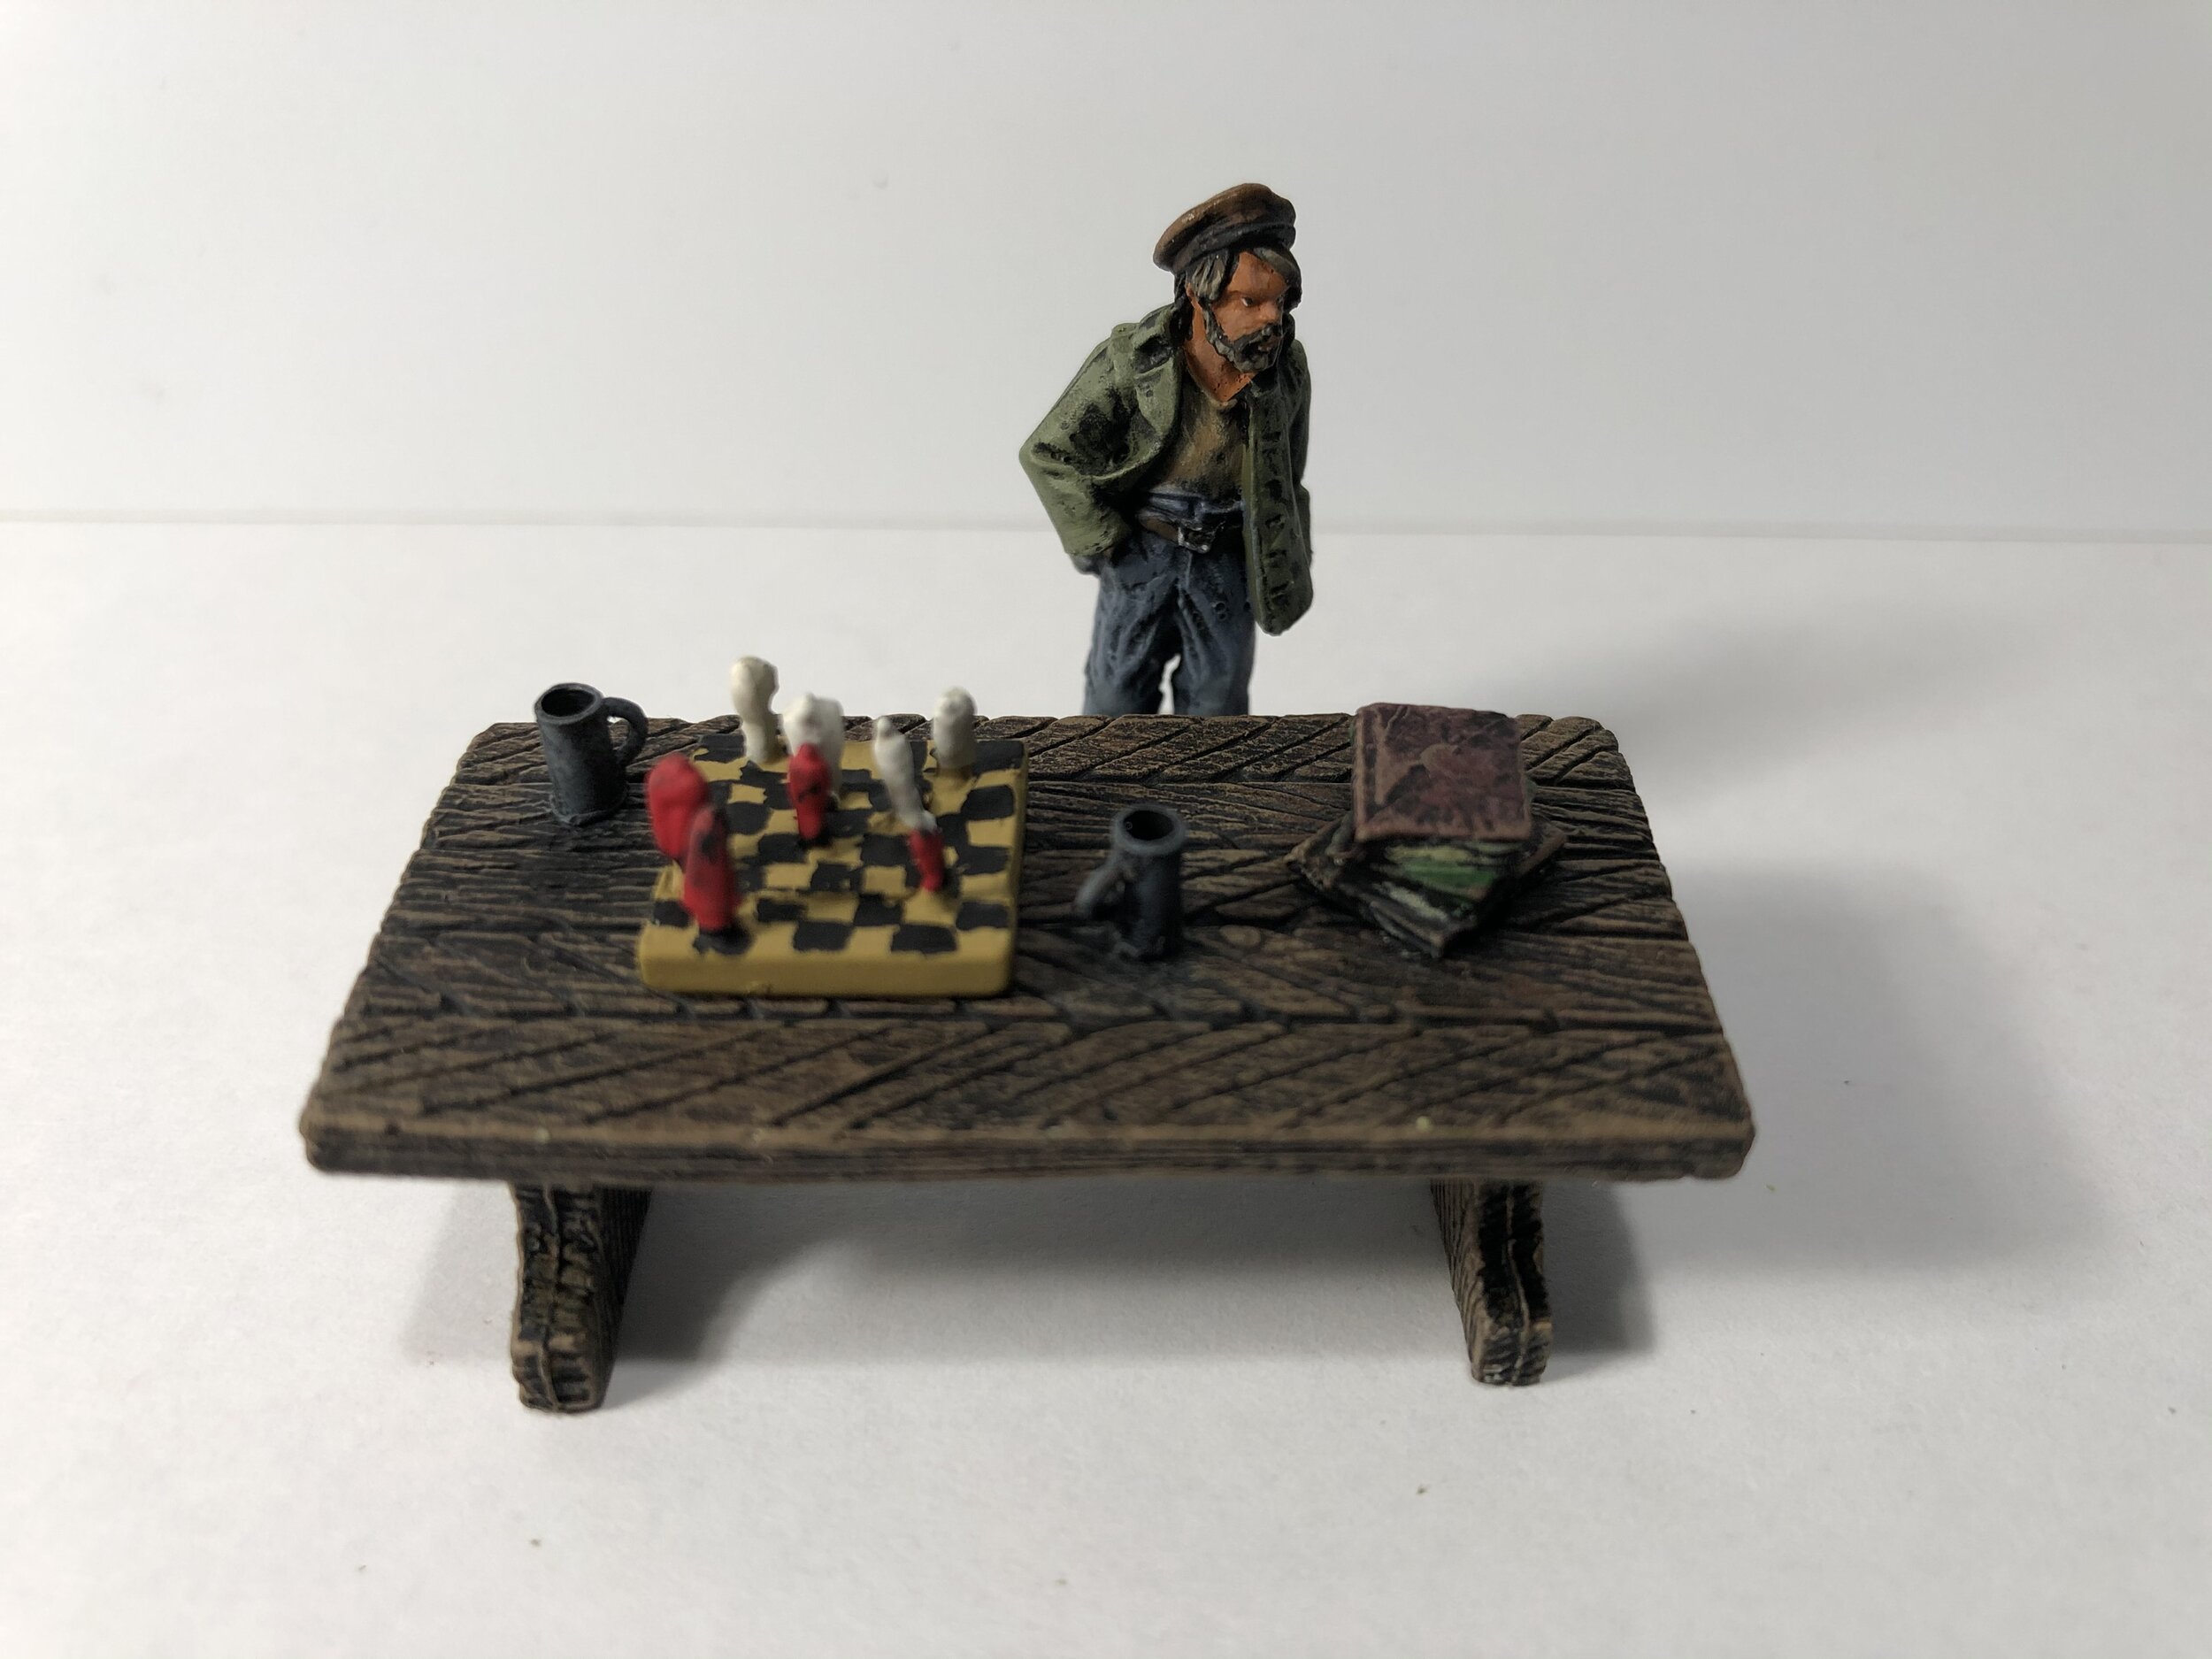
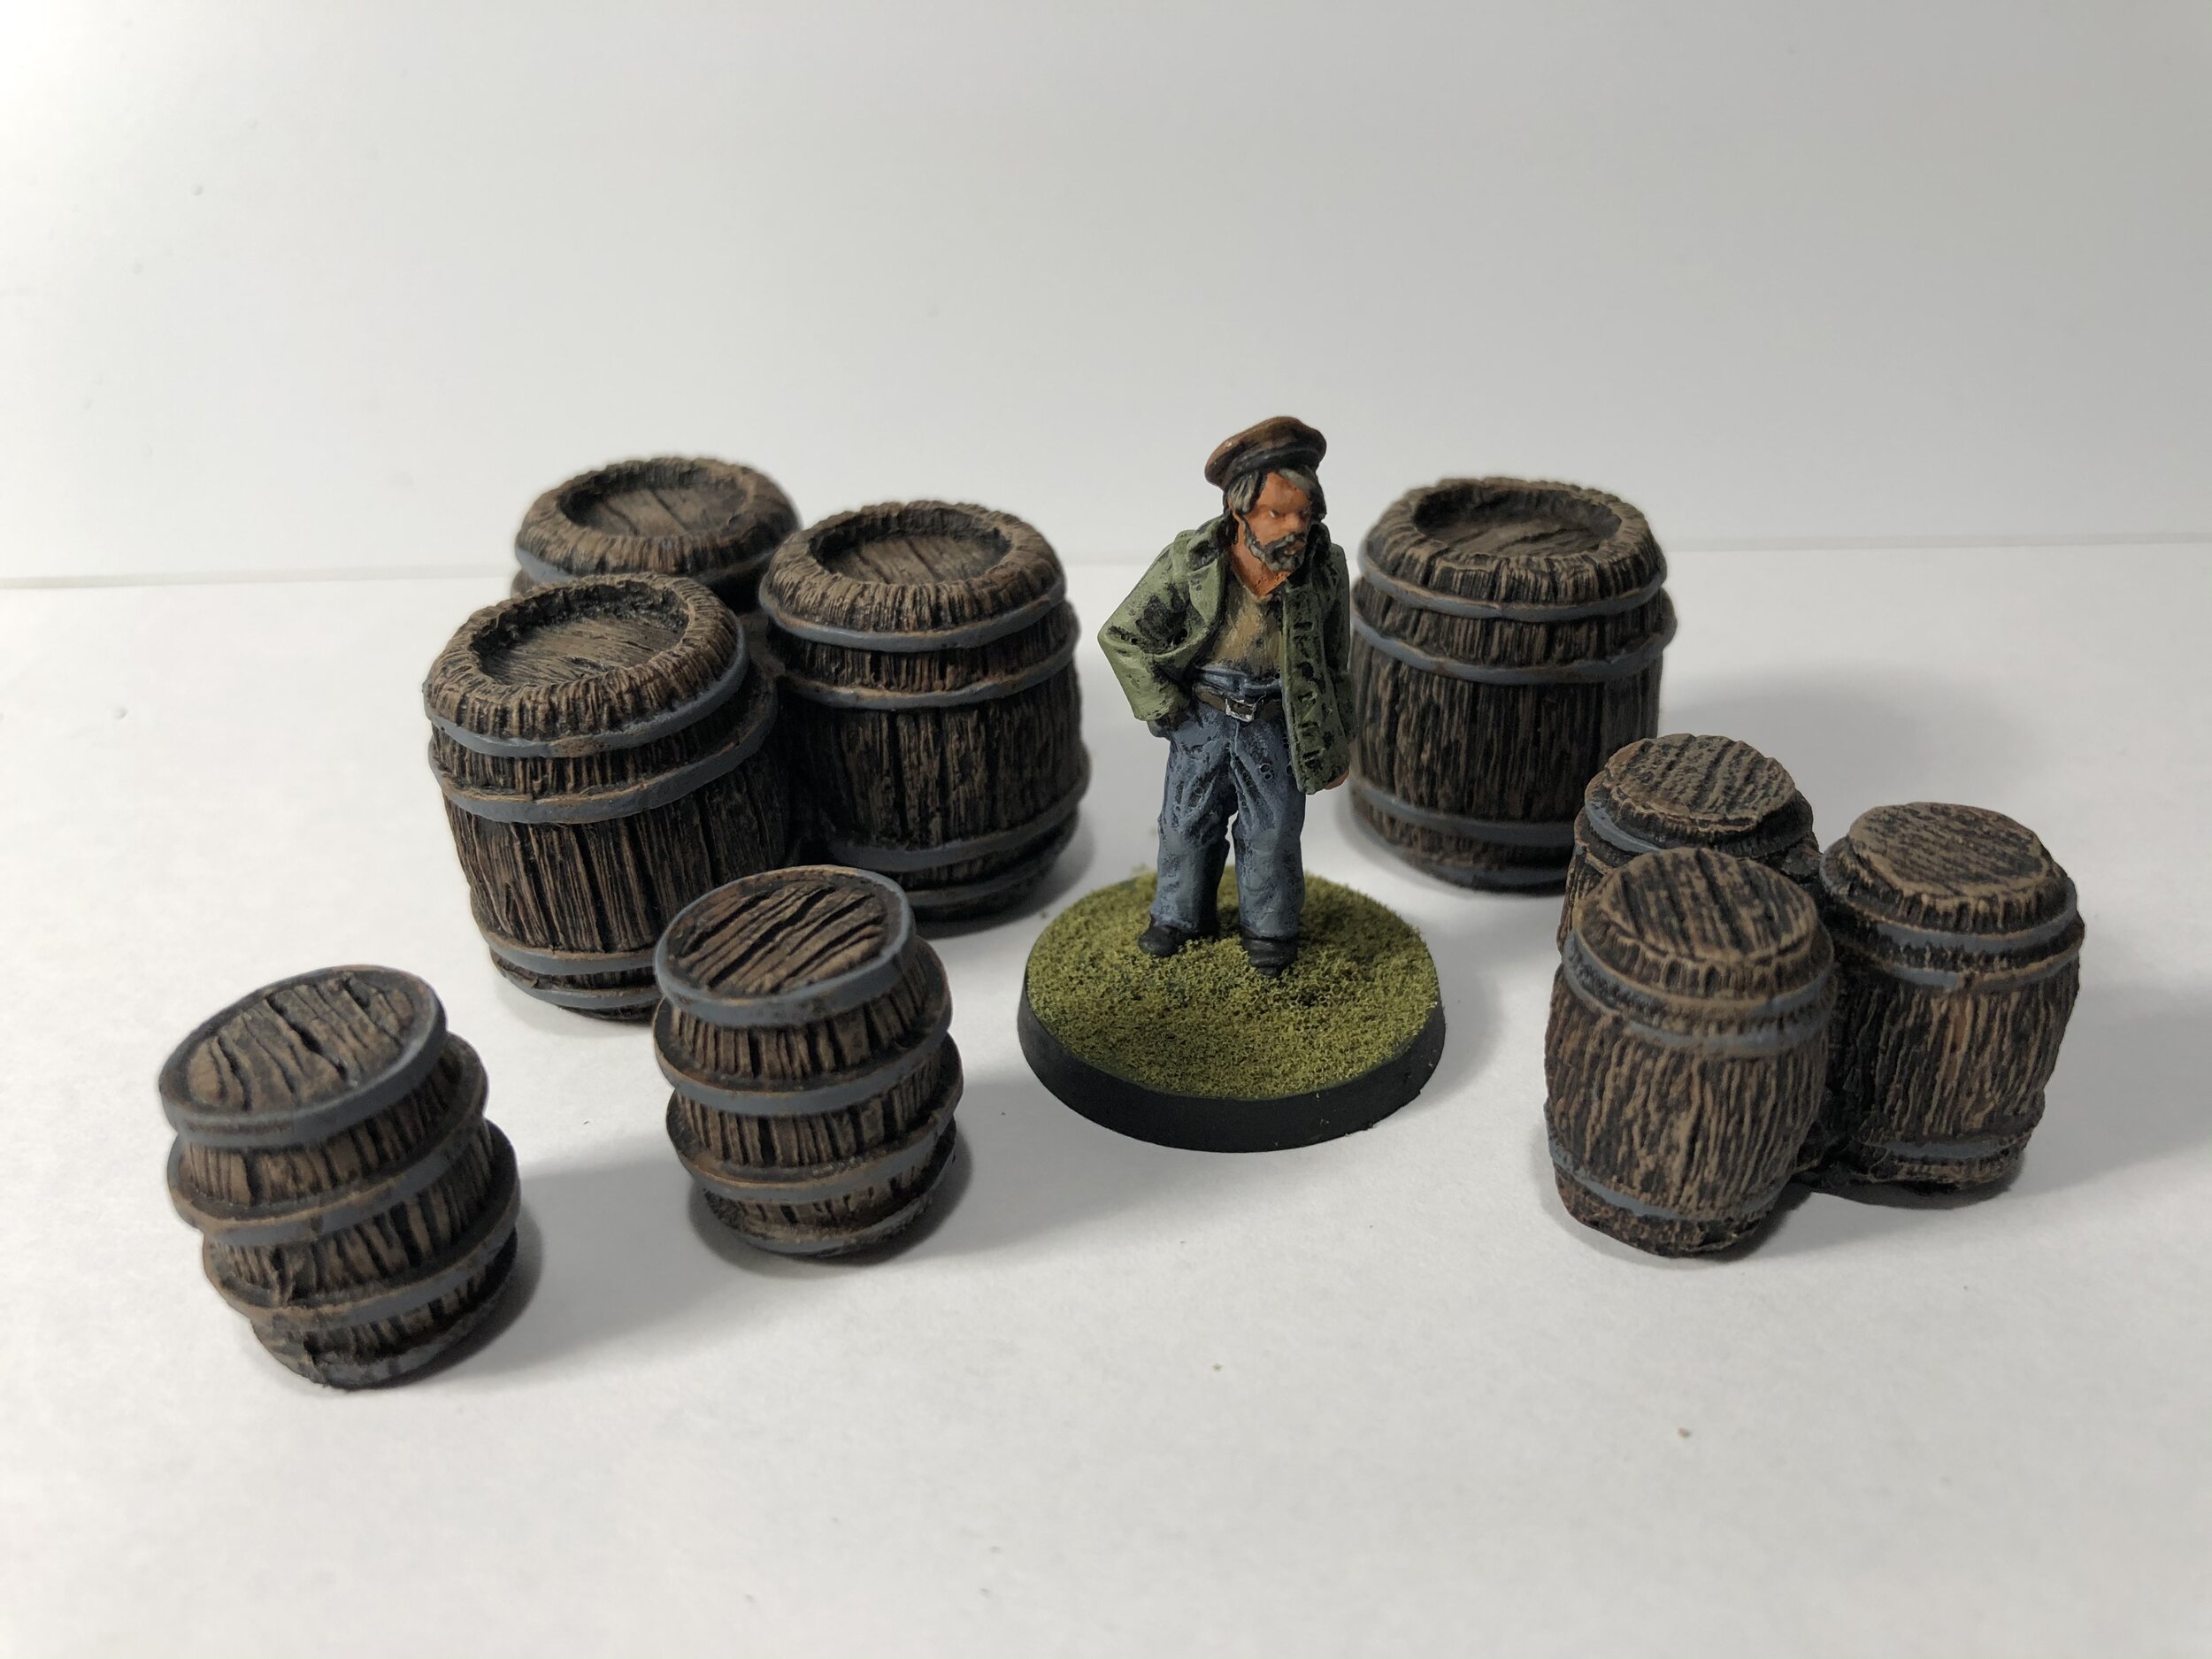
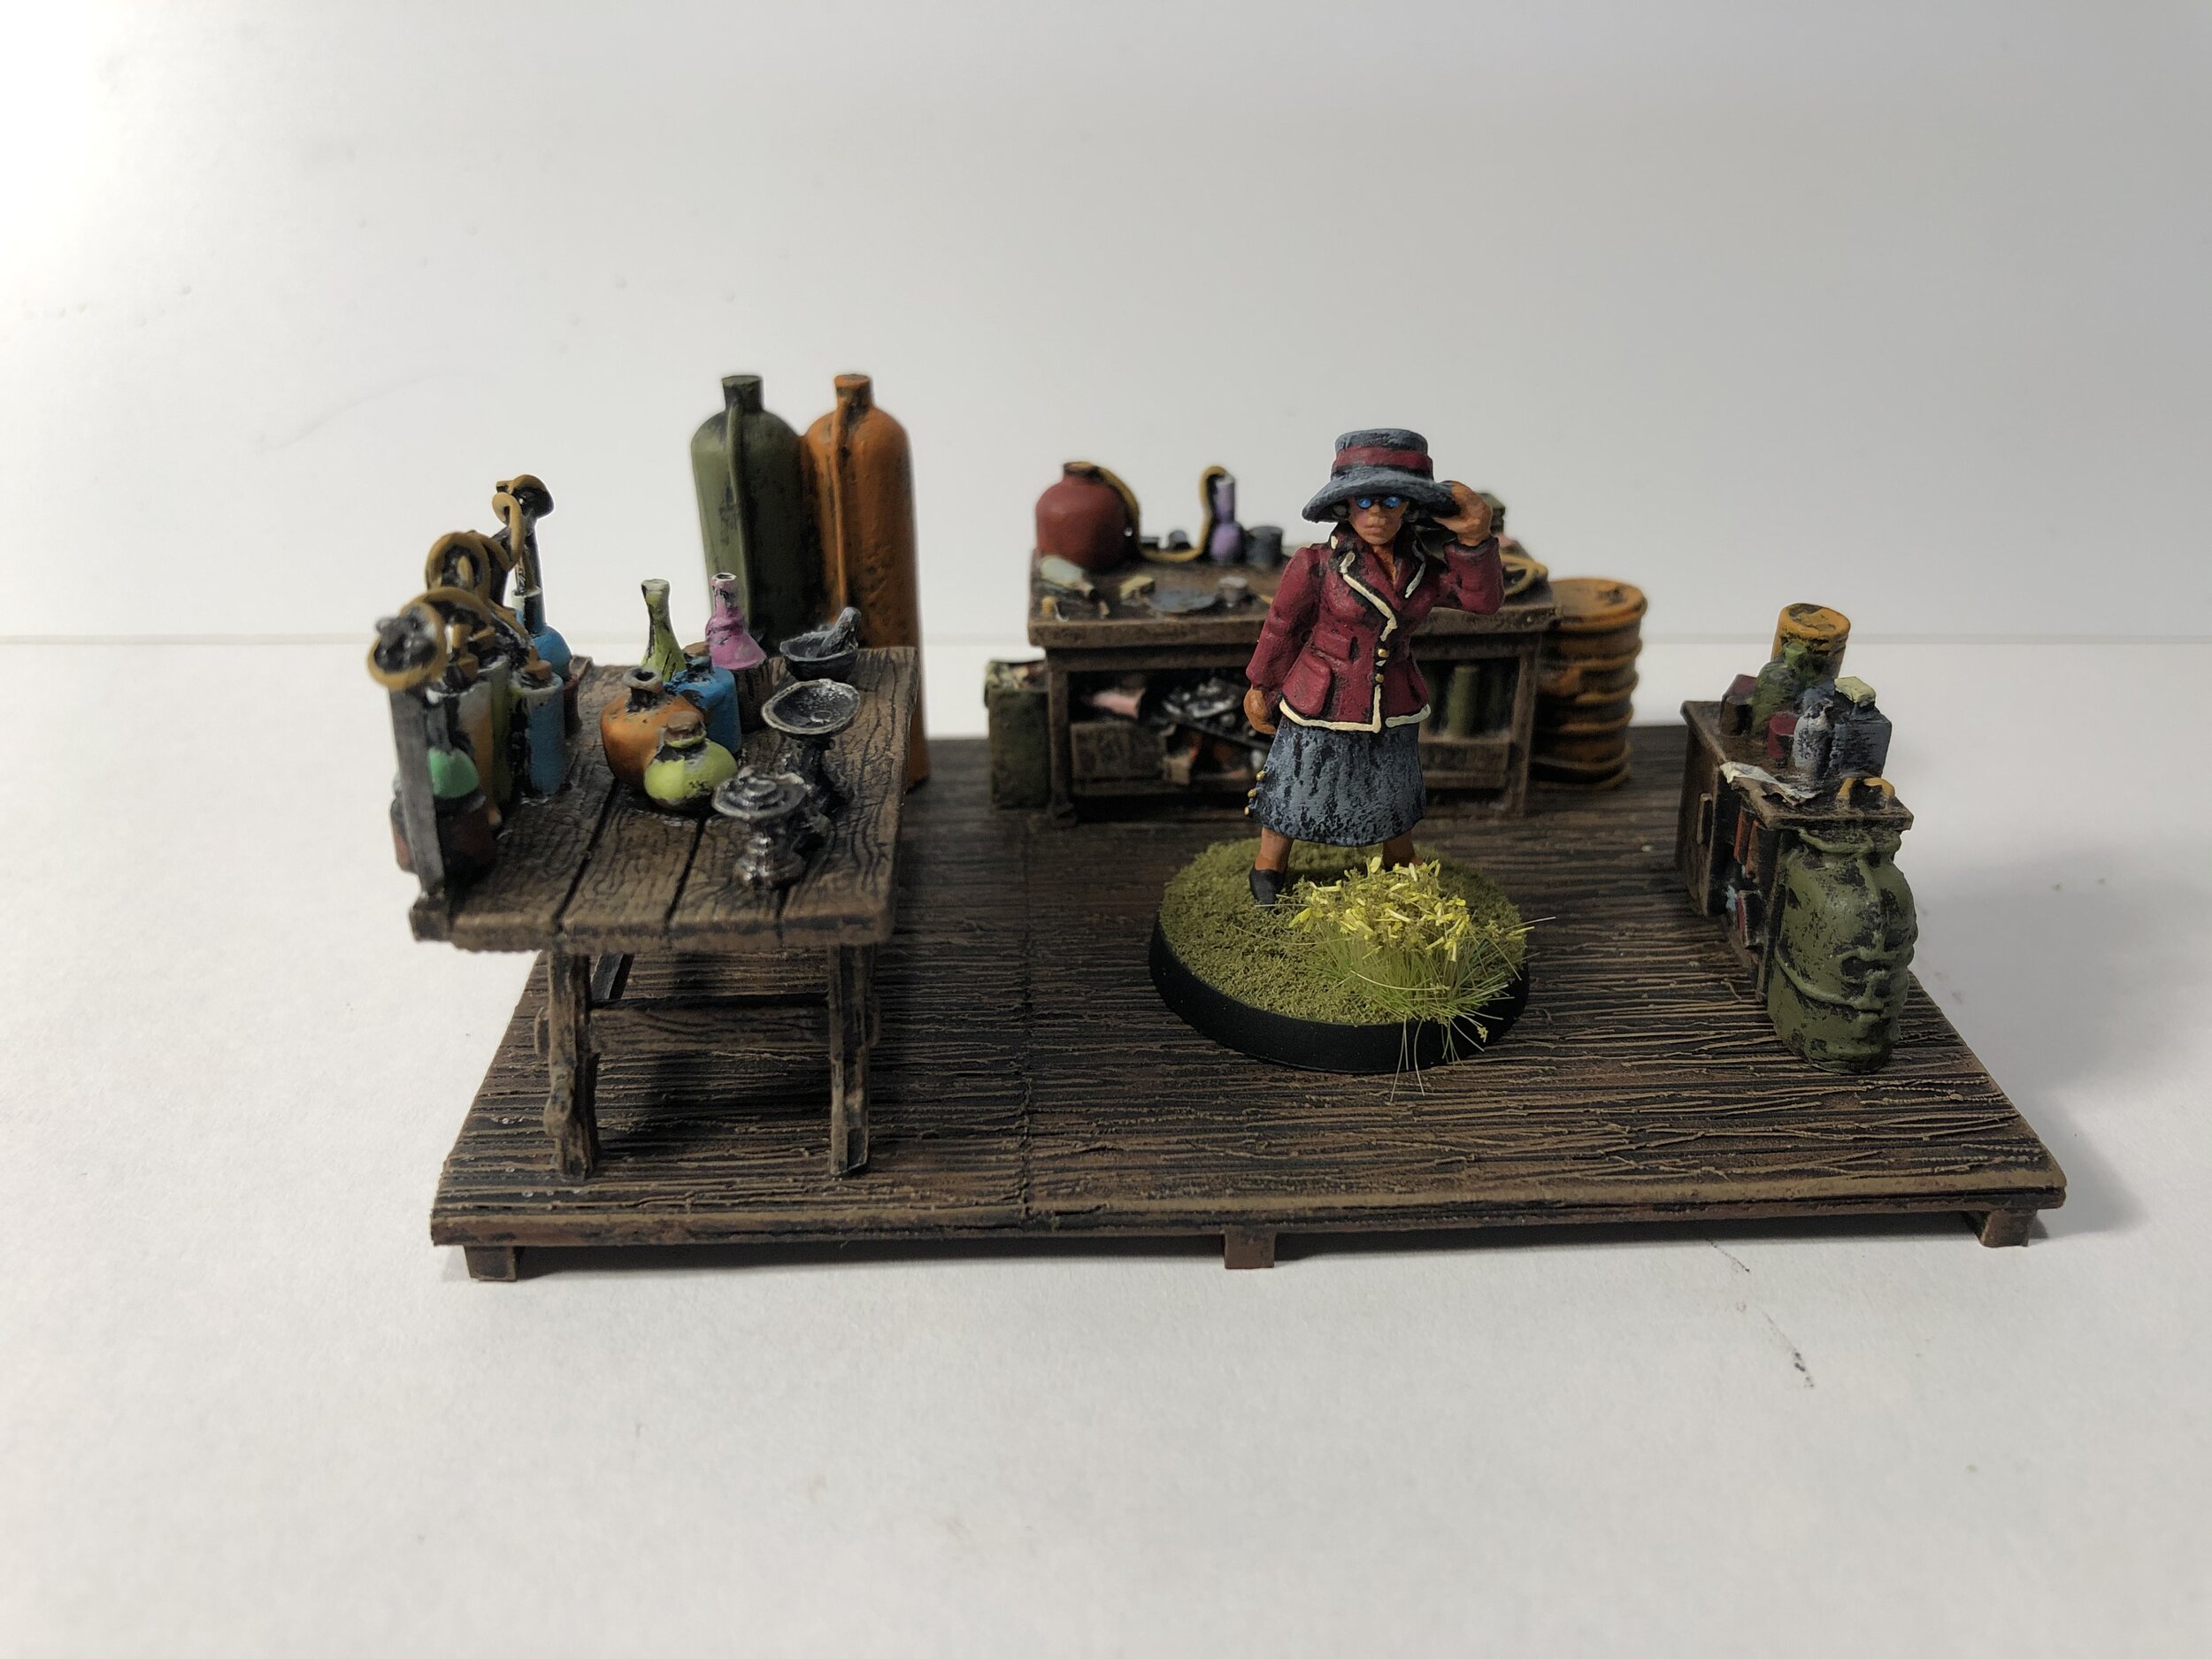
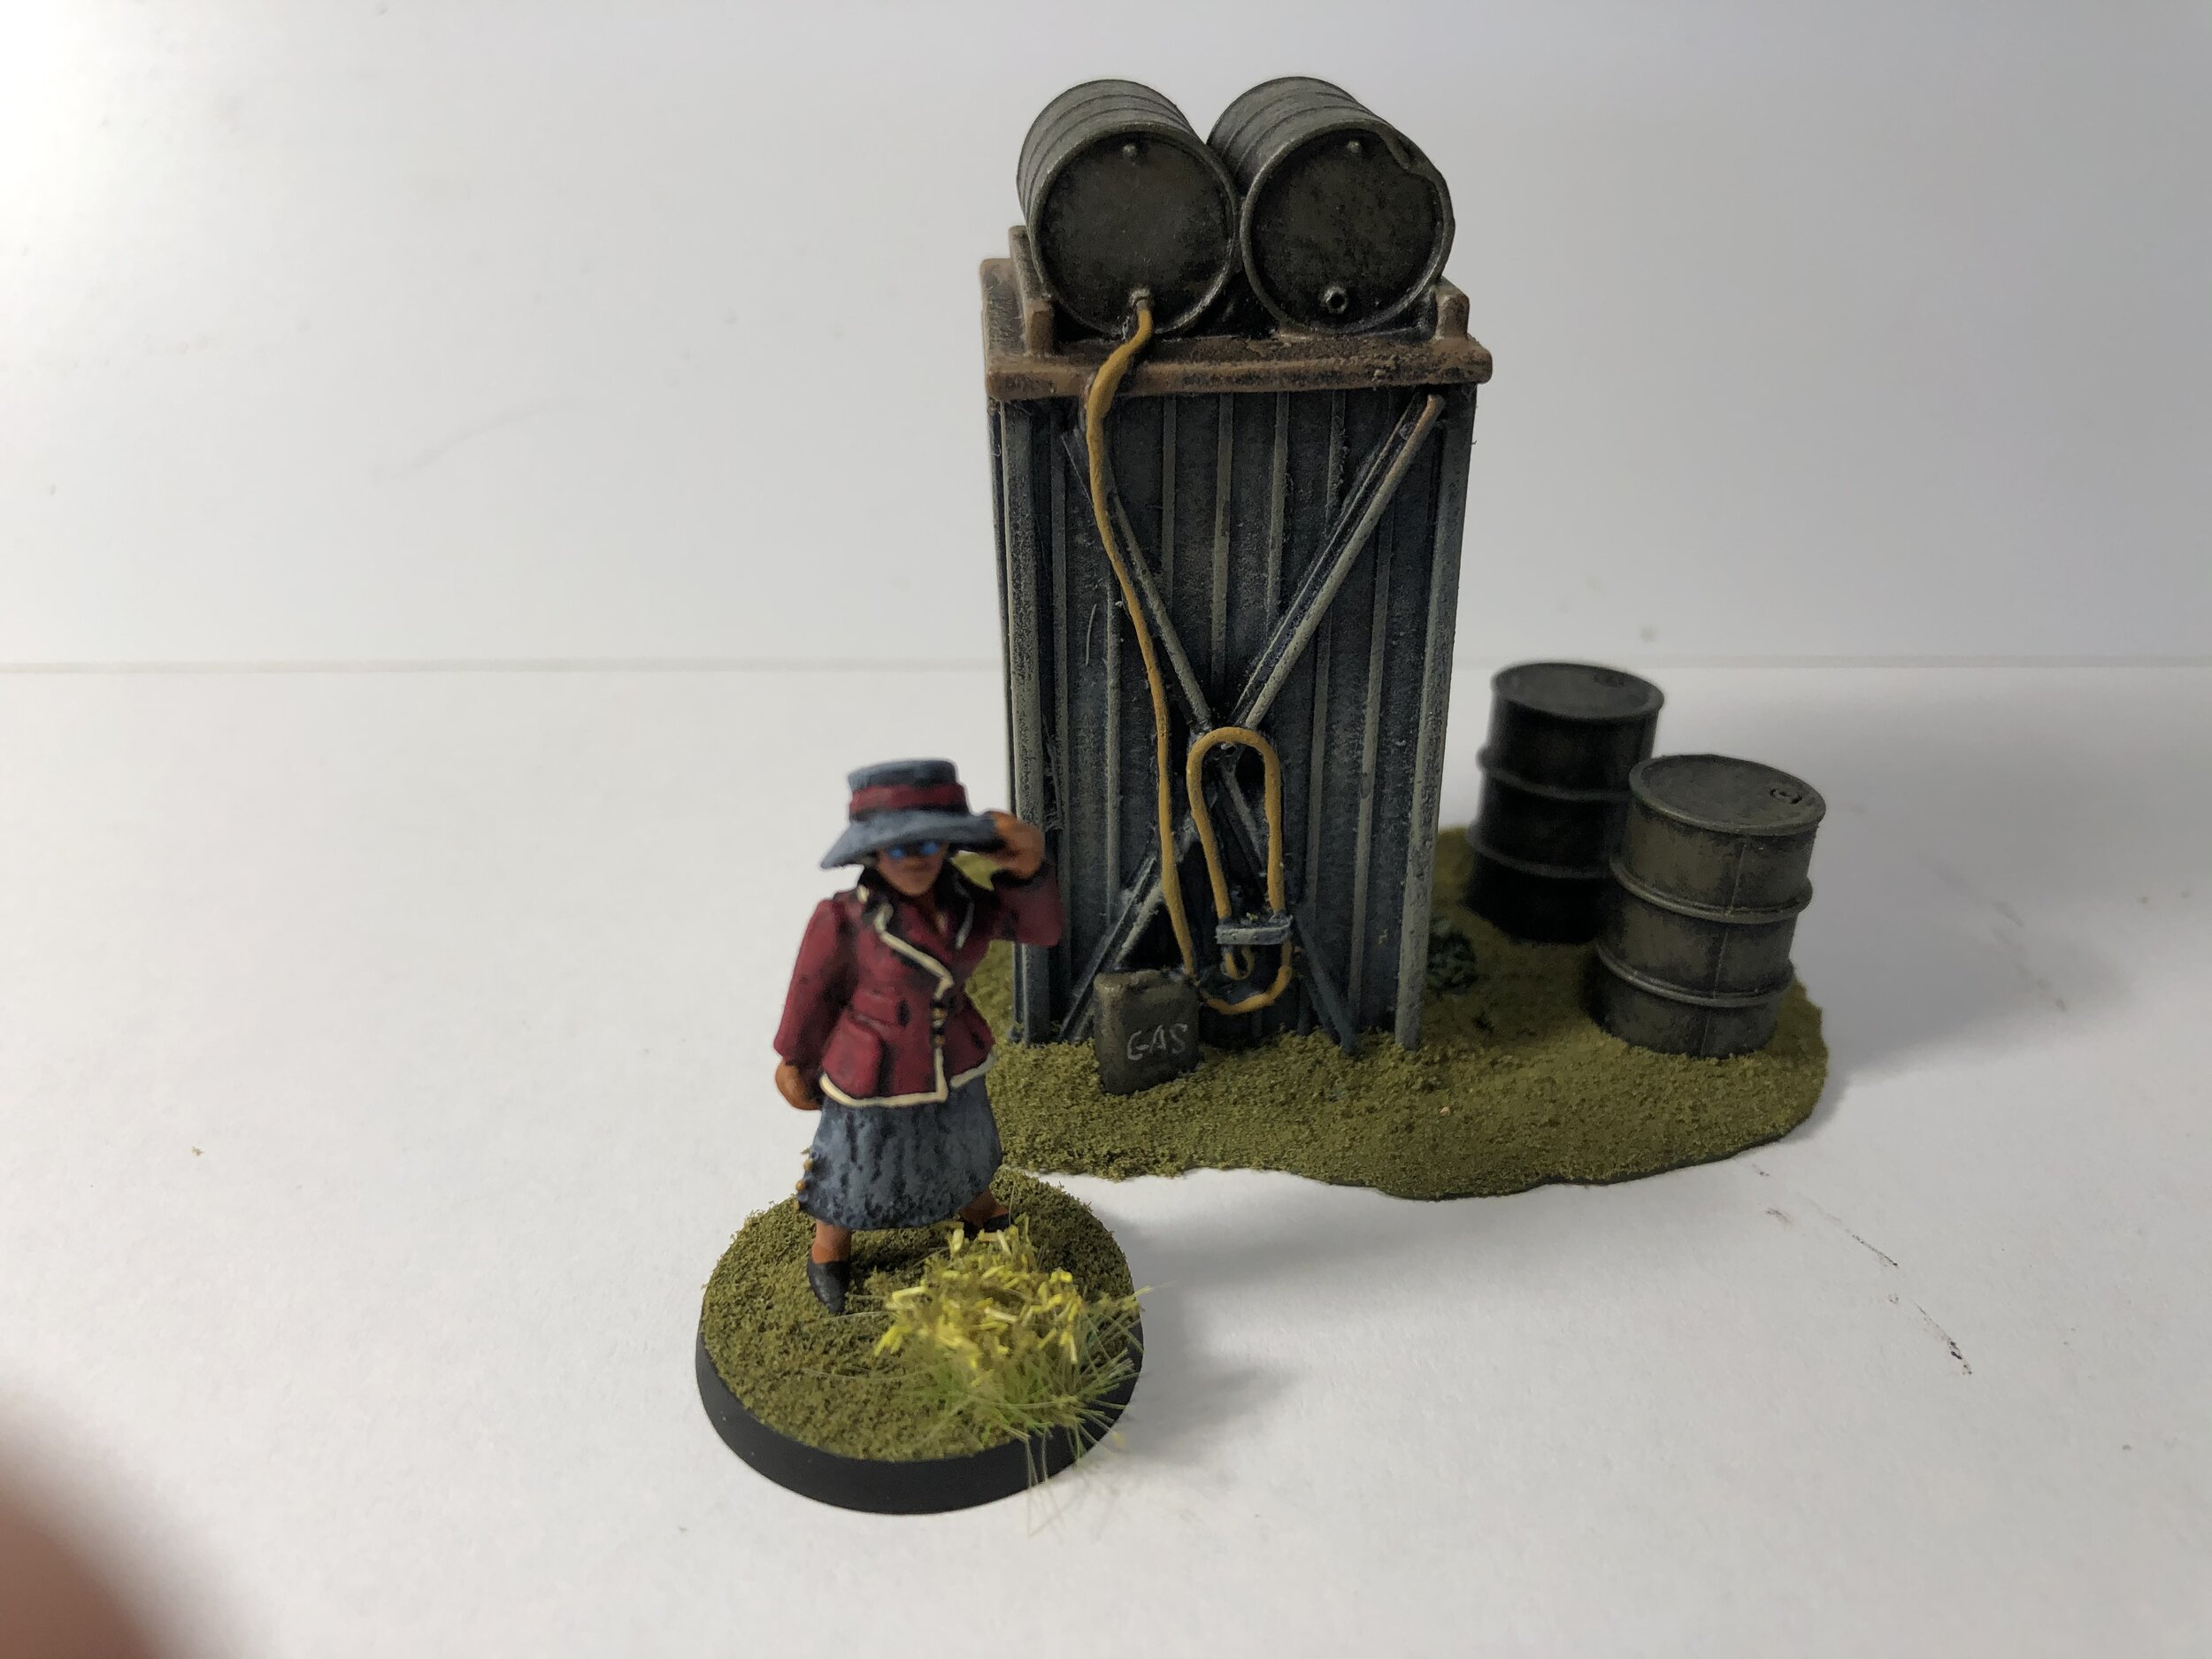
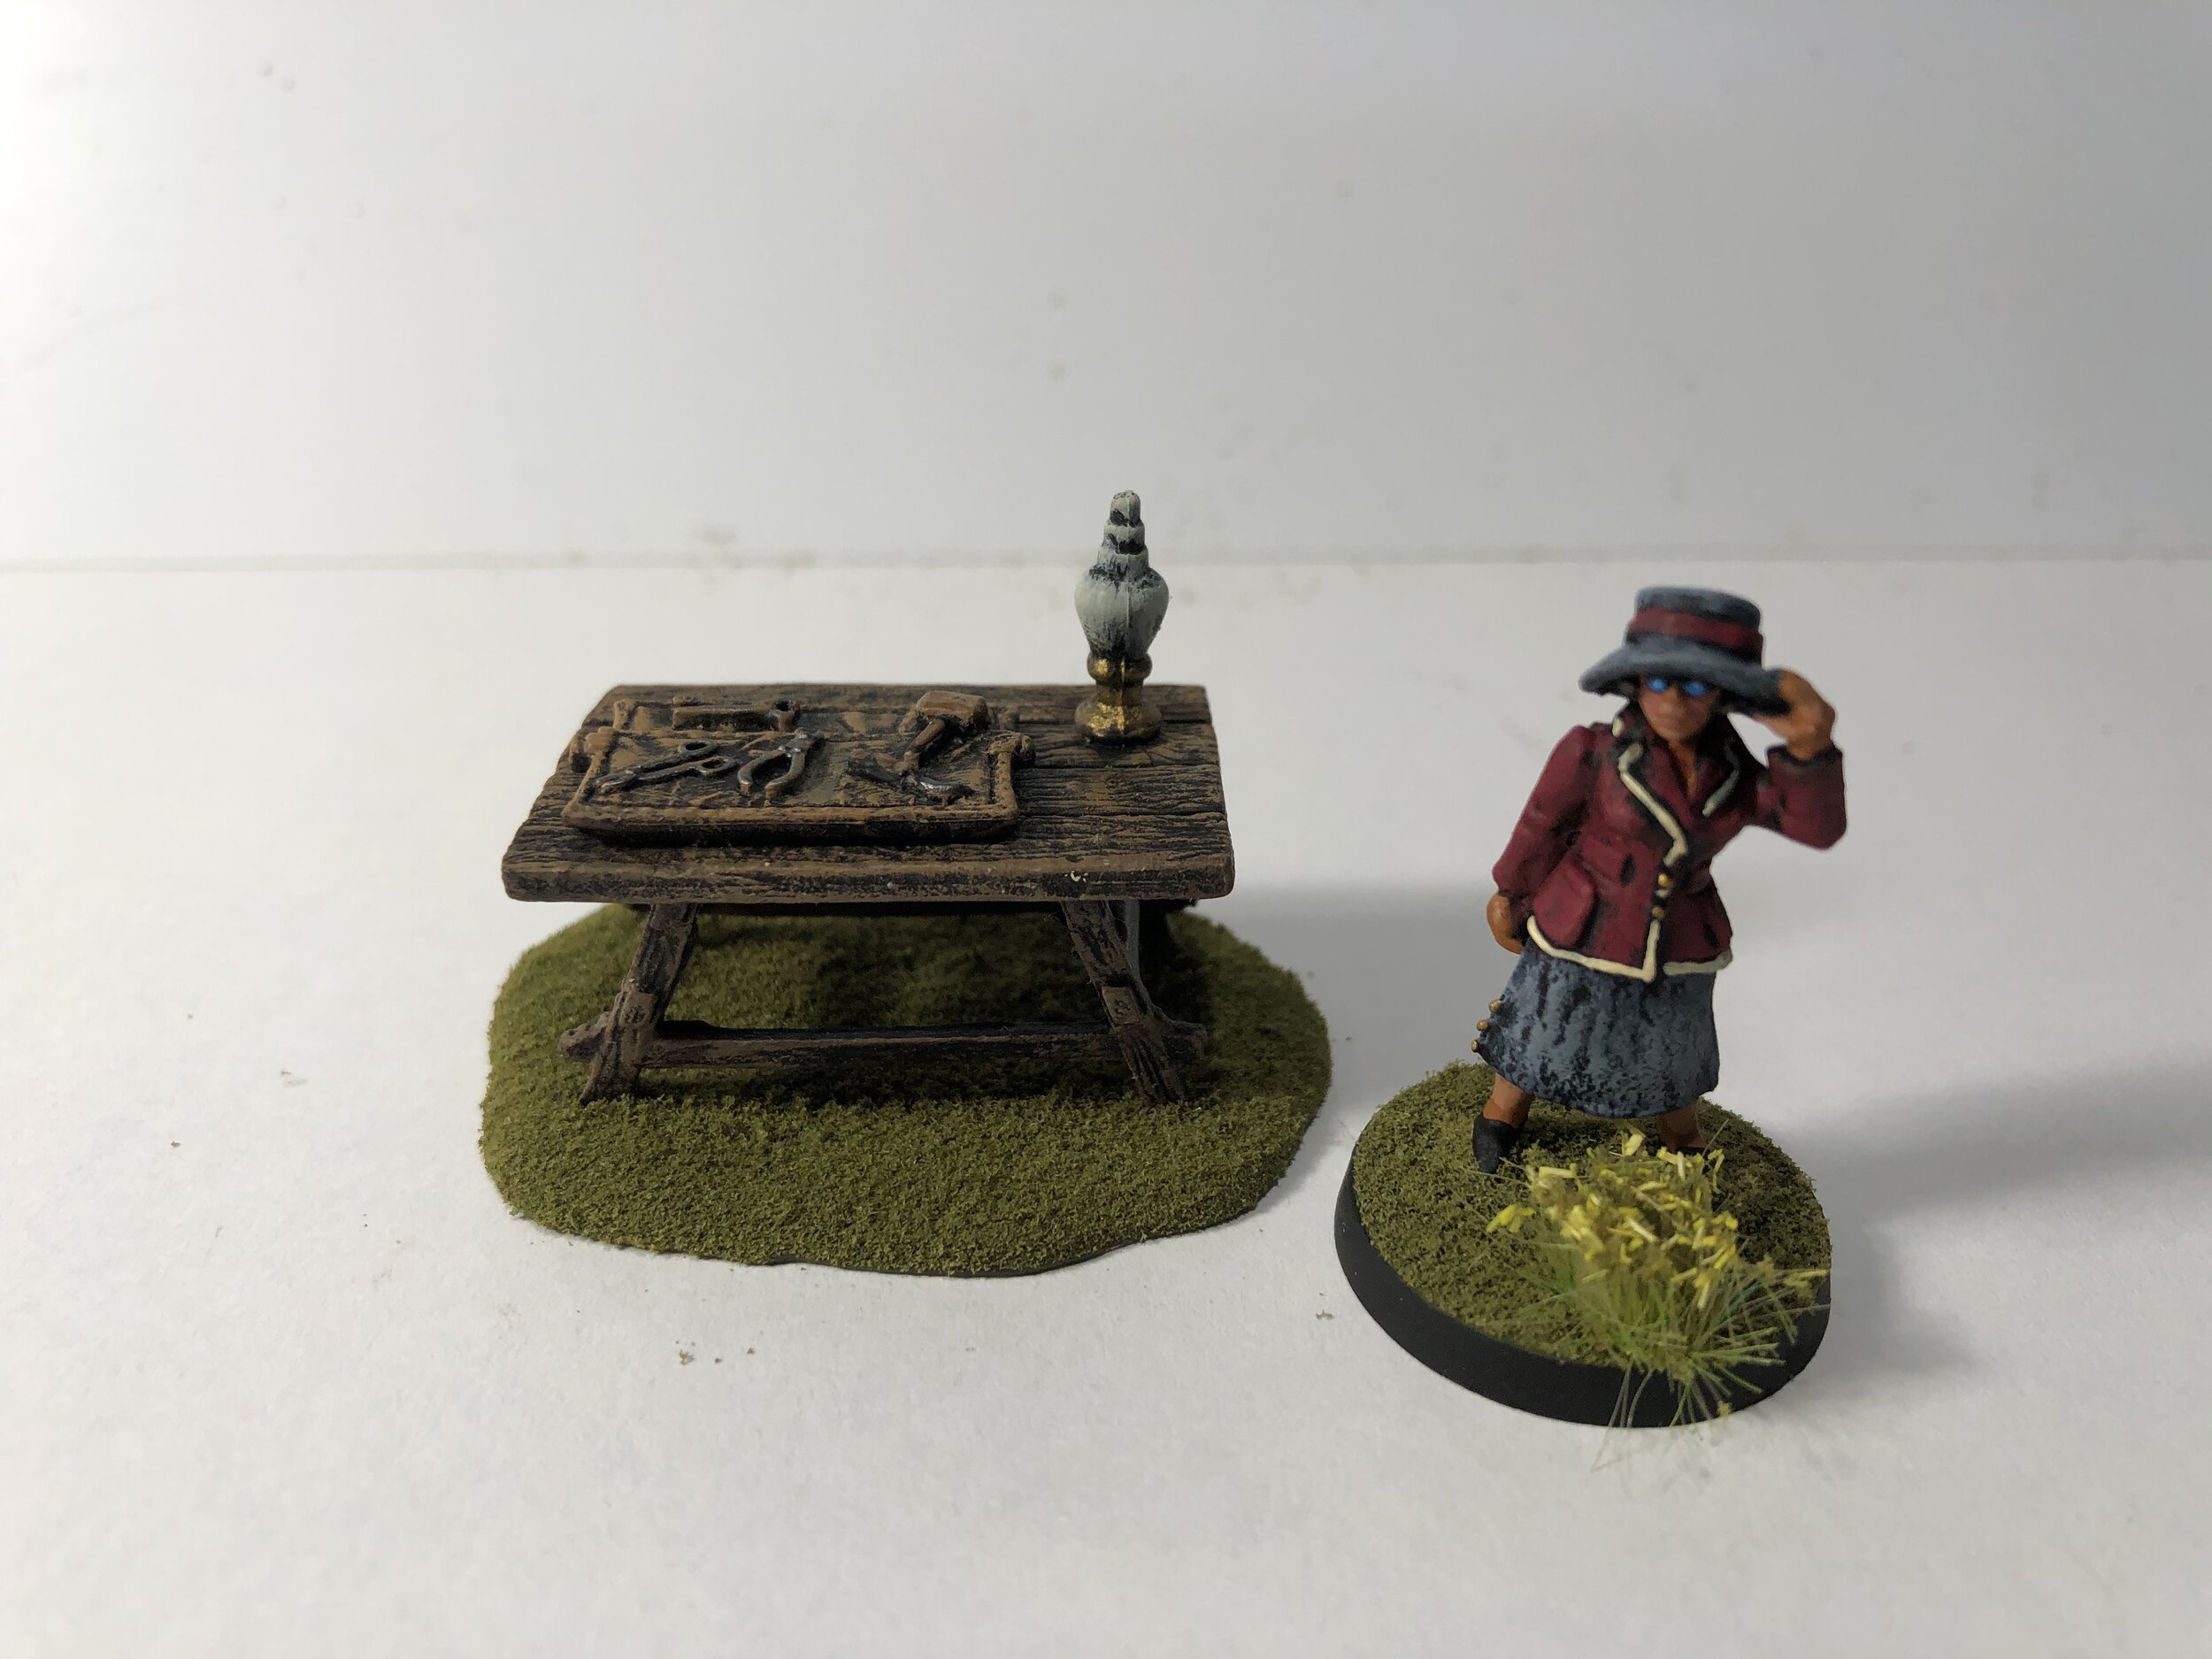
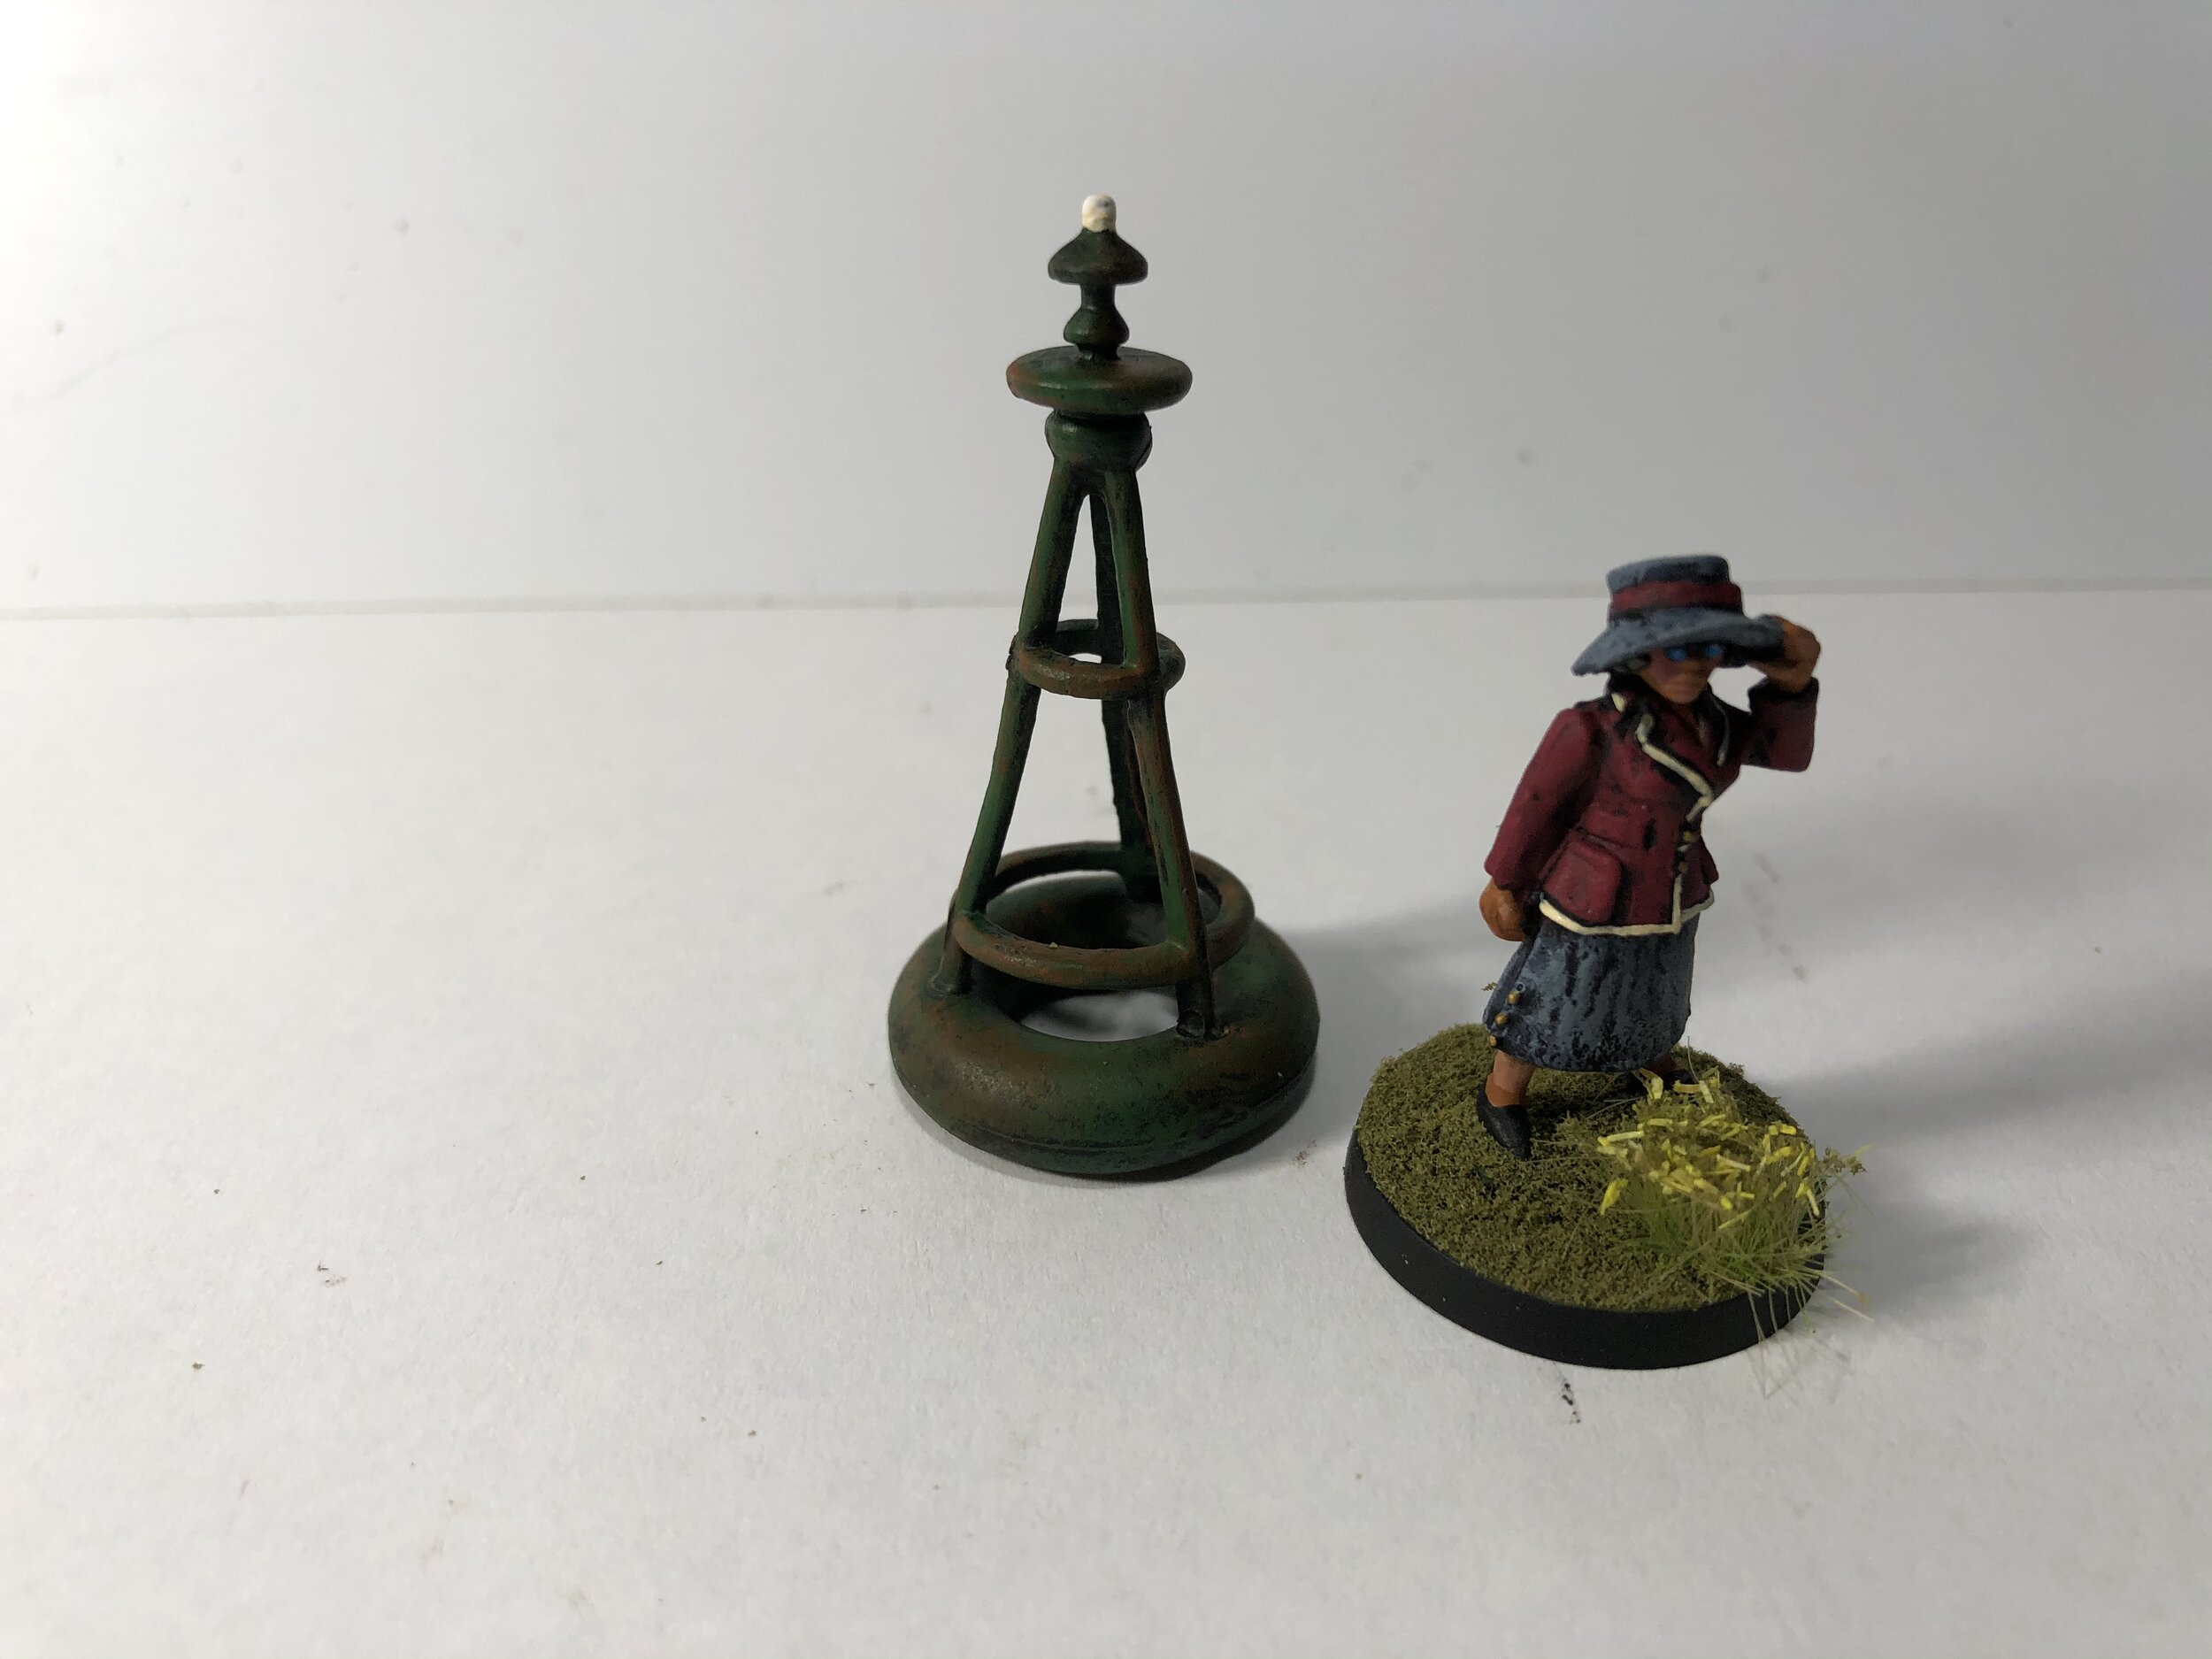
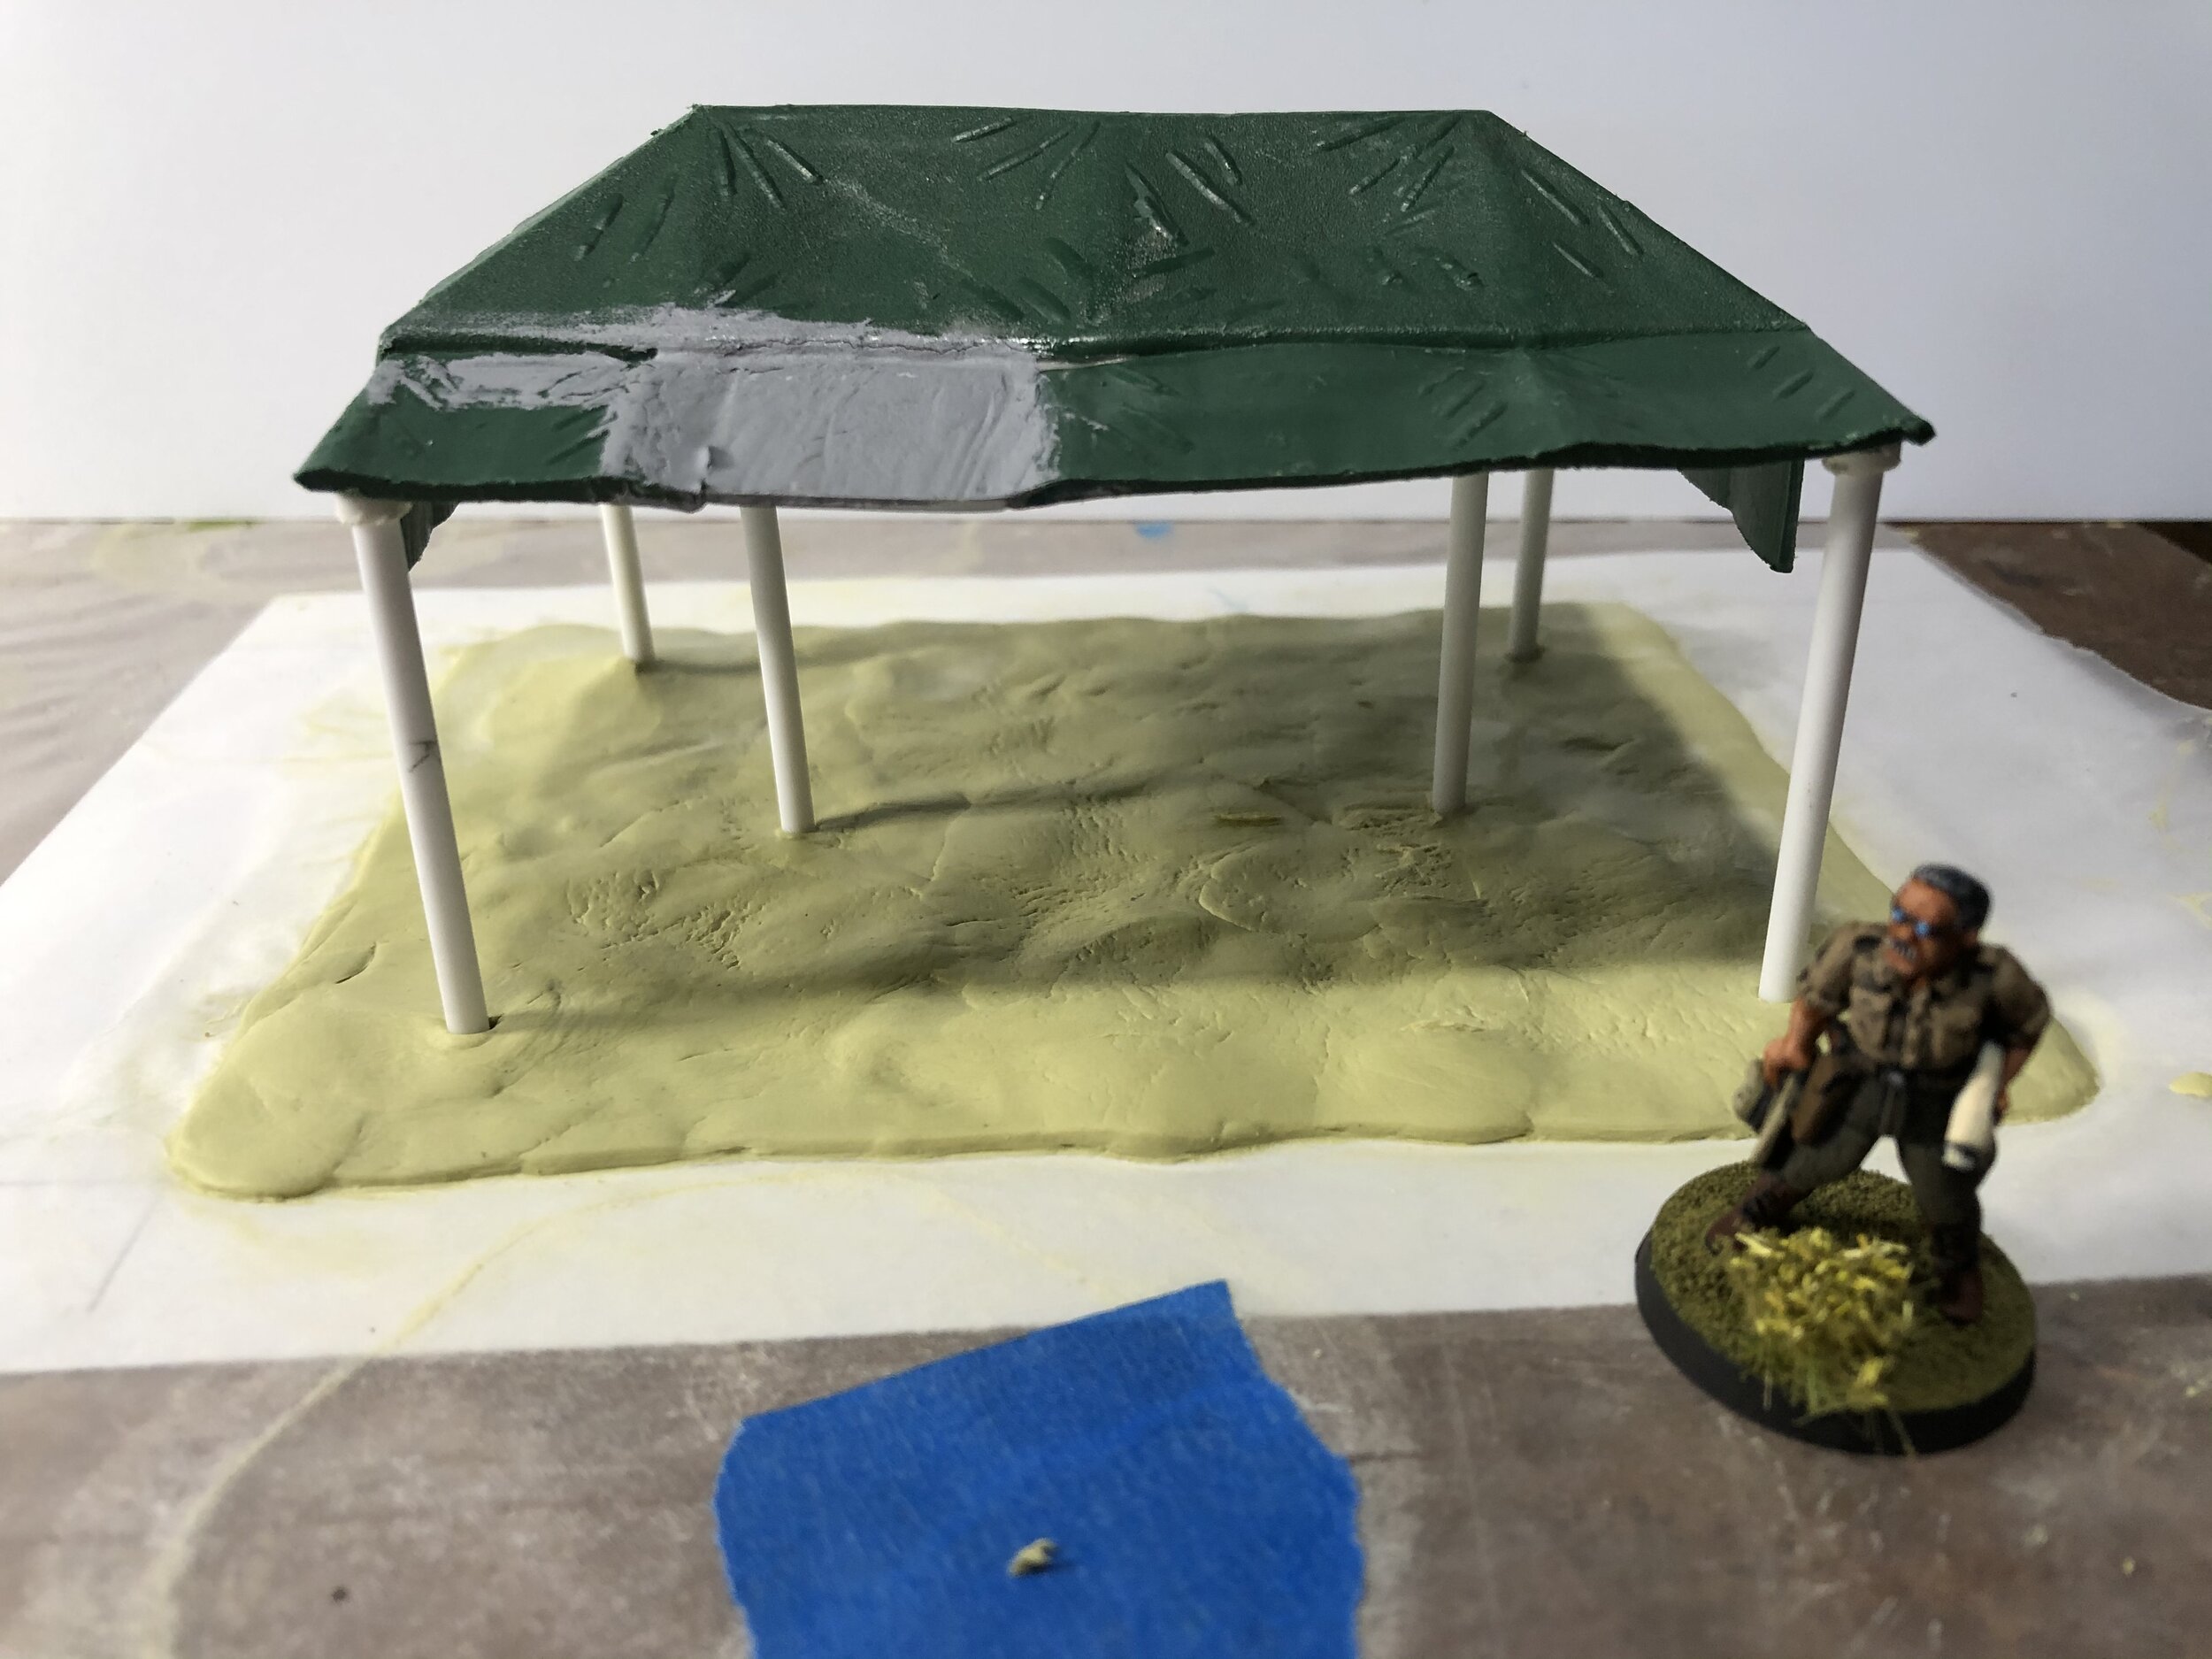
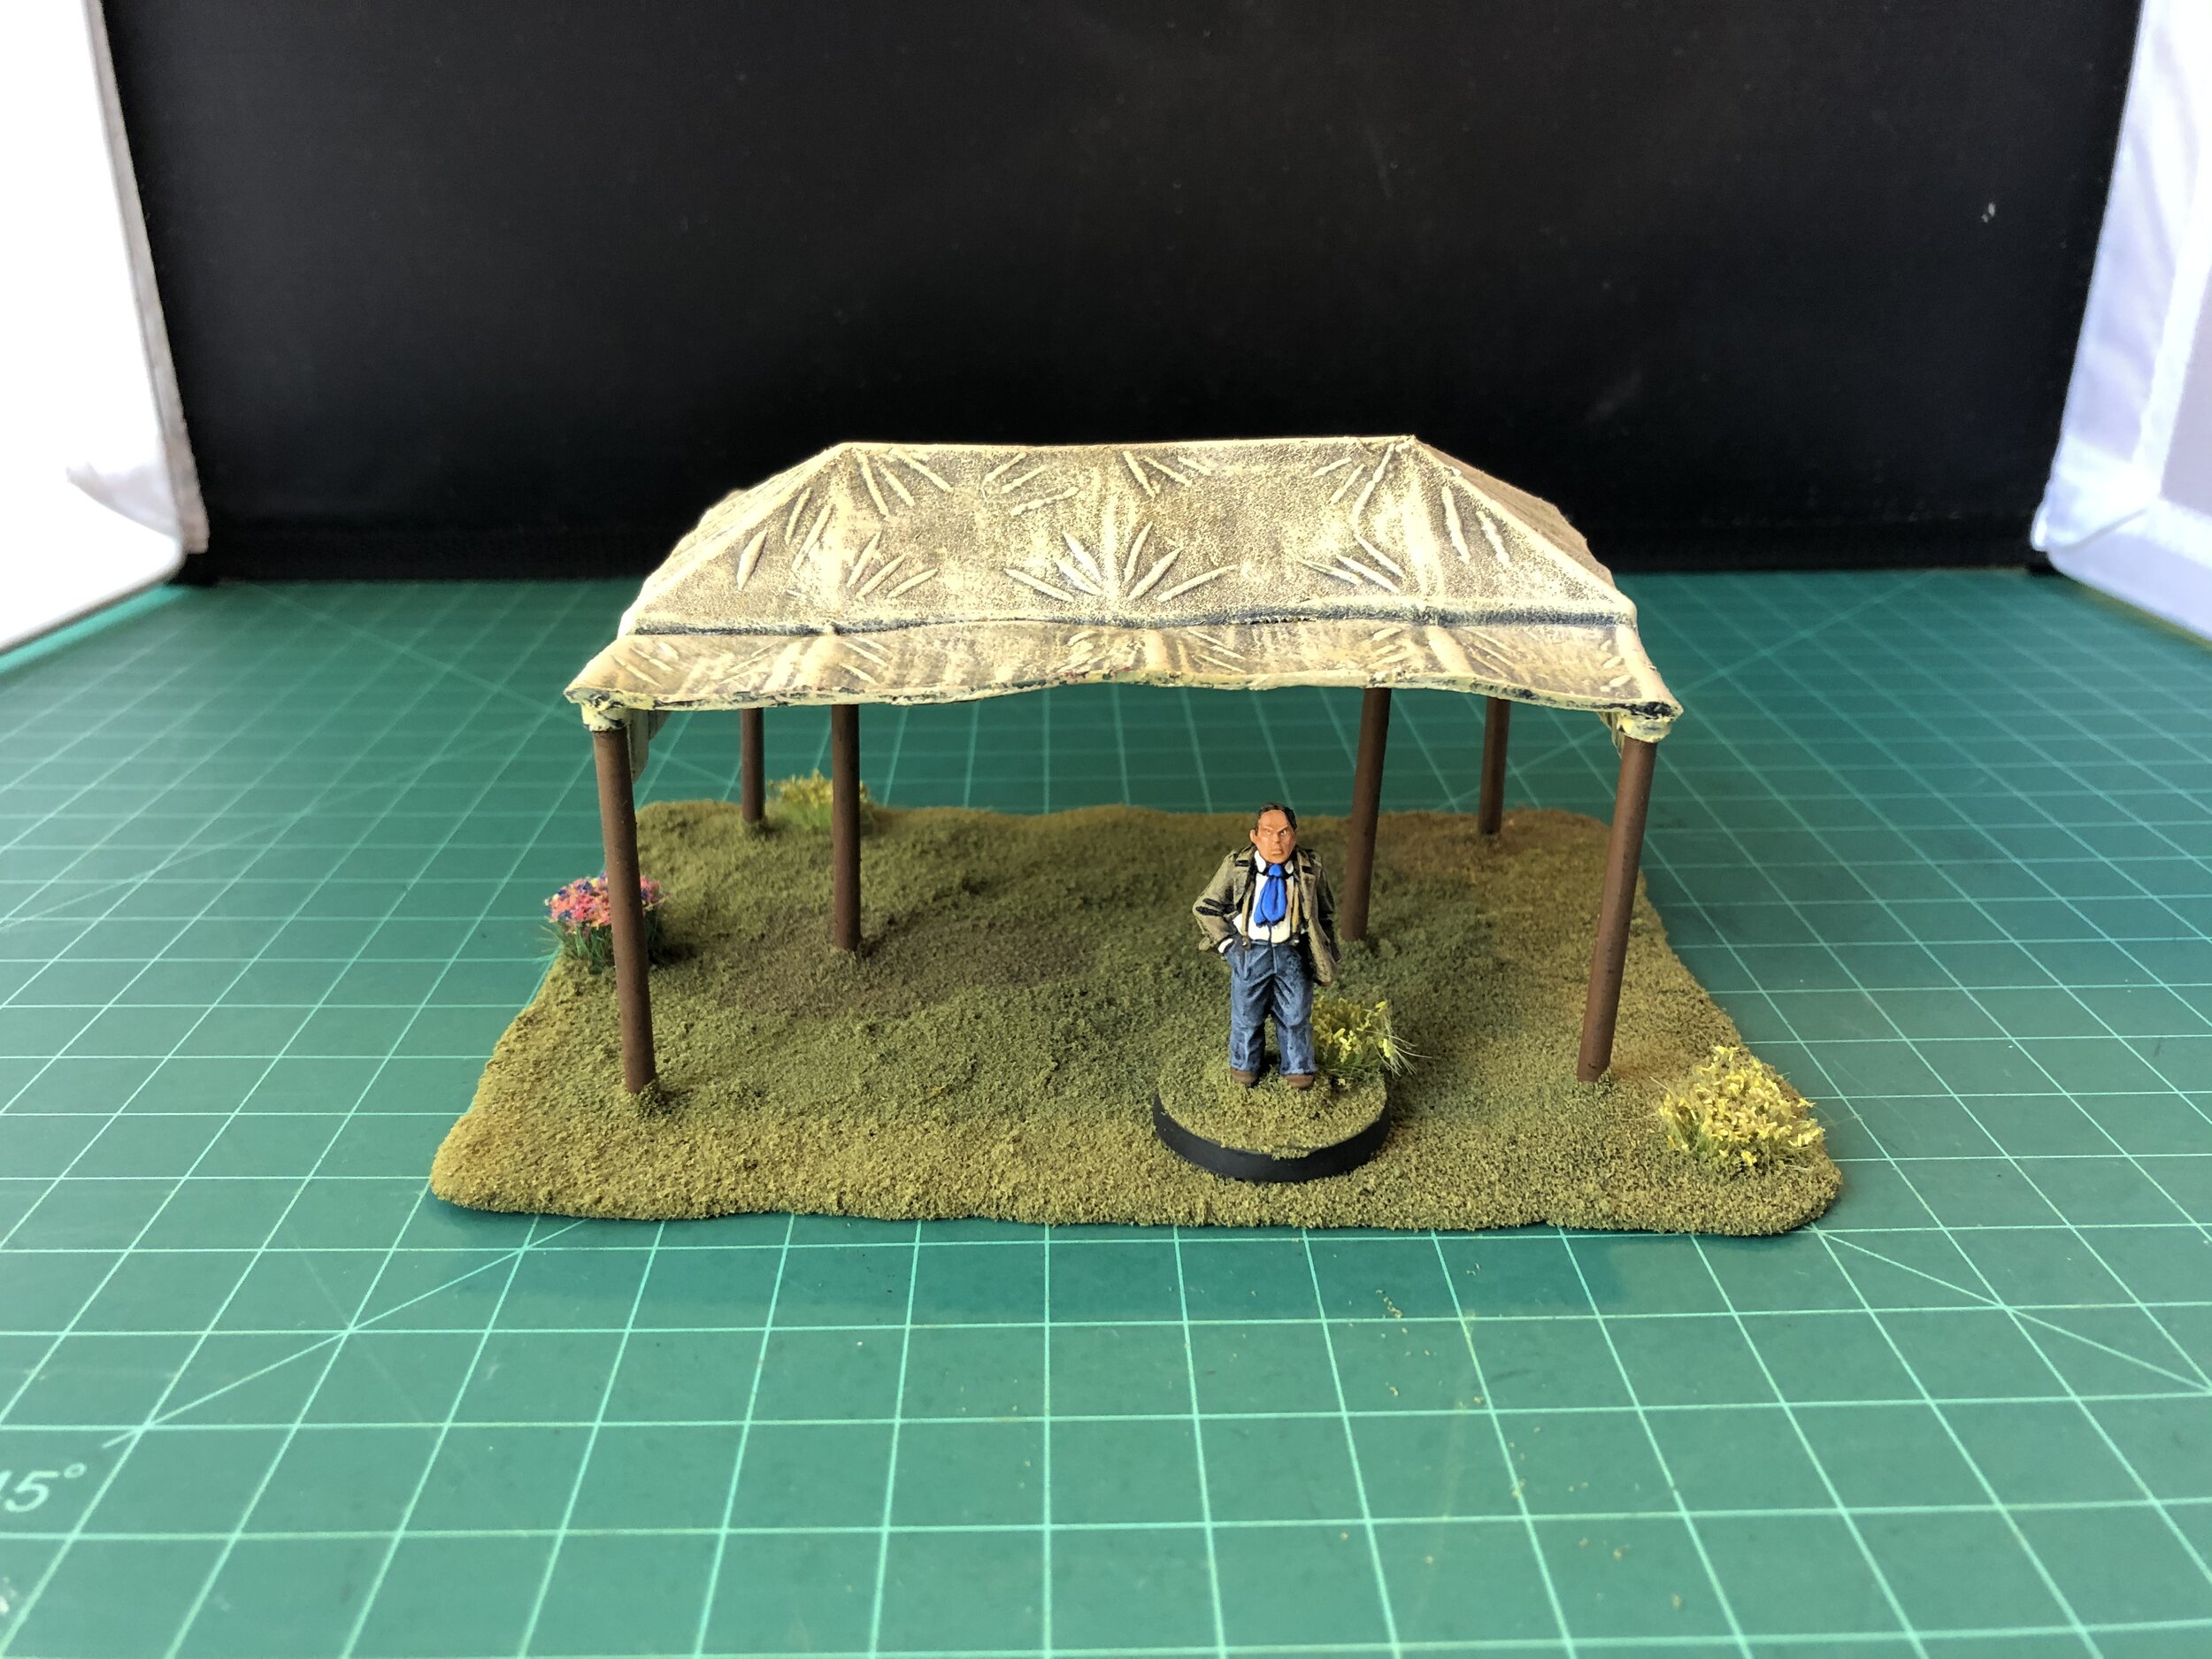
The workbench had a lot of variety to it this week. I did several pieces for the Loch Ness project… a game board, some channel buoys, some barrels, another fuel station, another chem lab, a workbench, and some fuel drums. The really important Loch Ness project was the repurposing of a 1/87 scale plastic military tent to serve as a 28mm pavilion canopy.
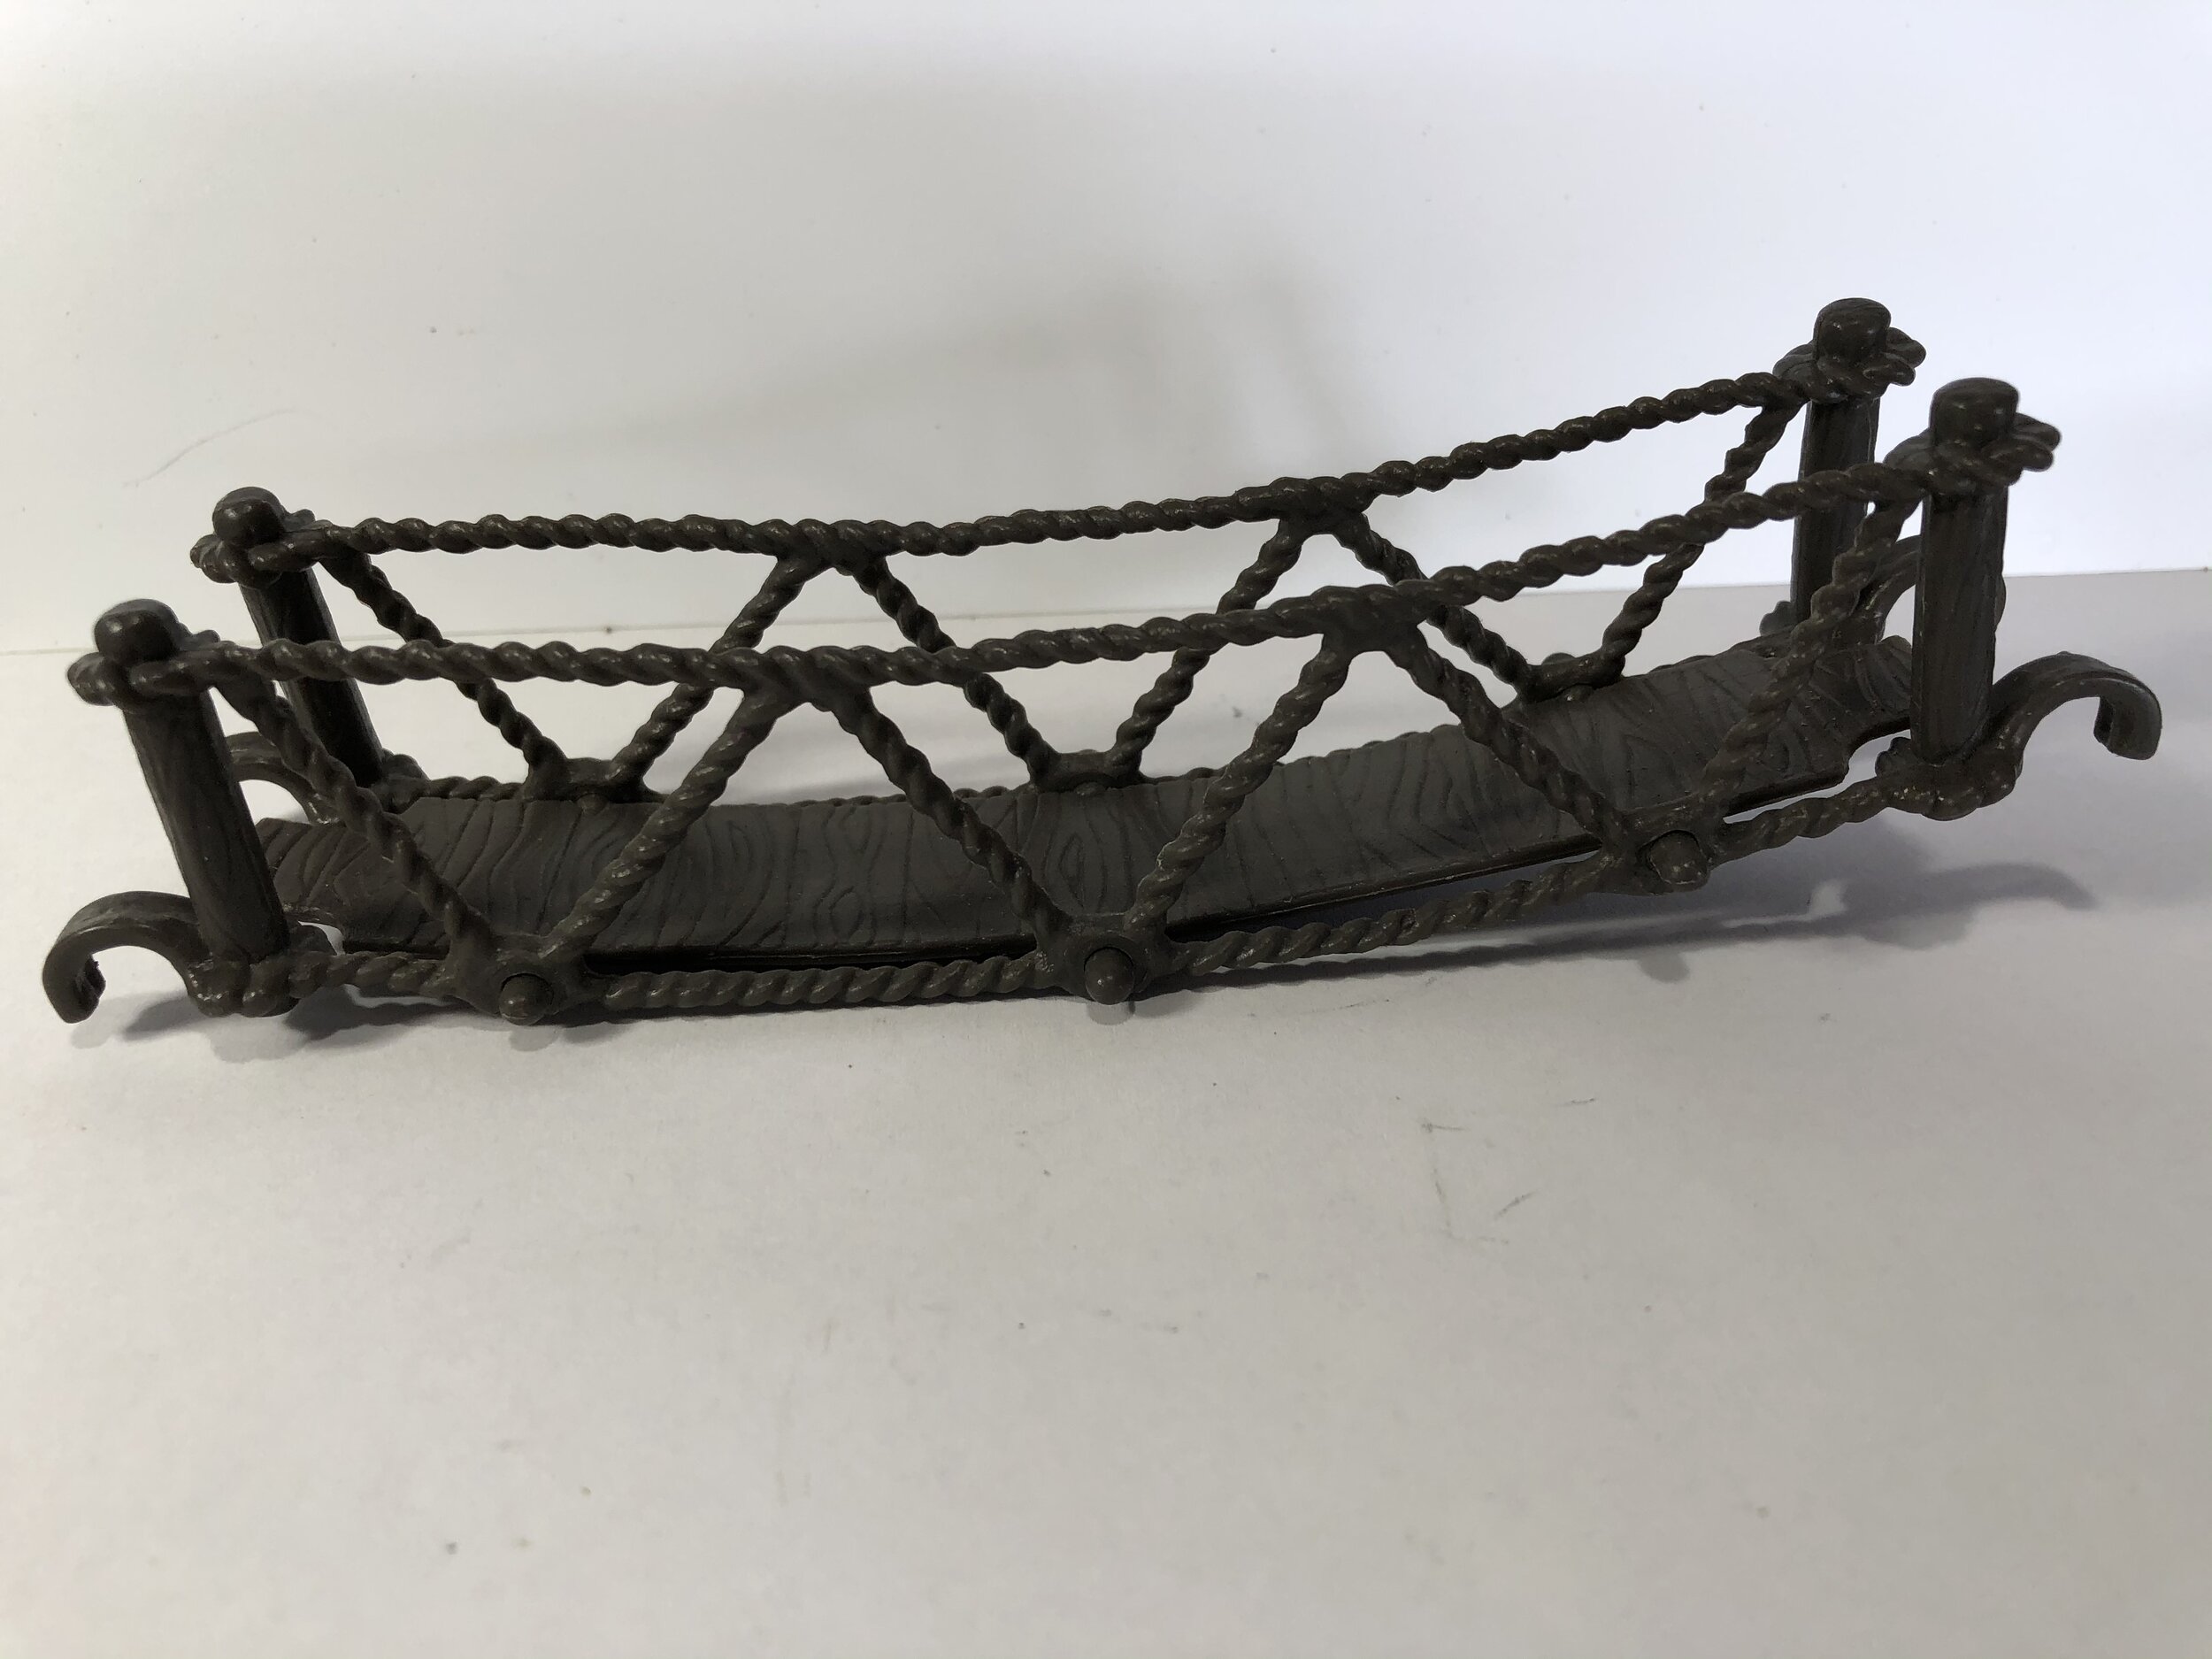
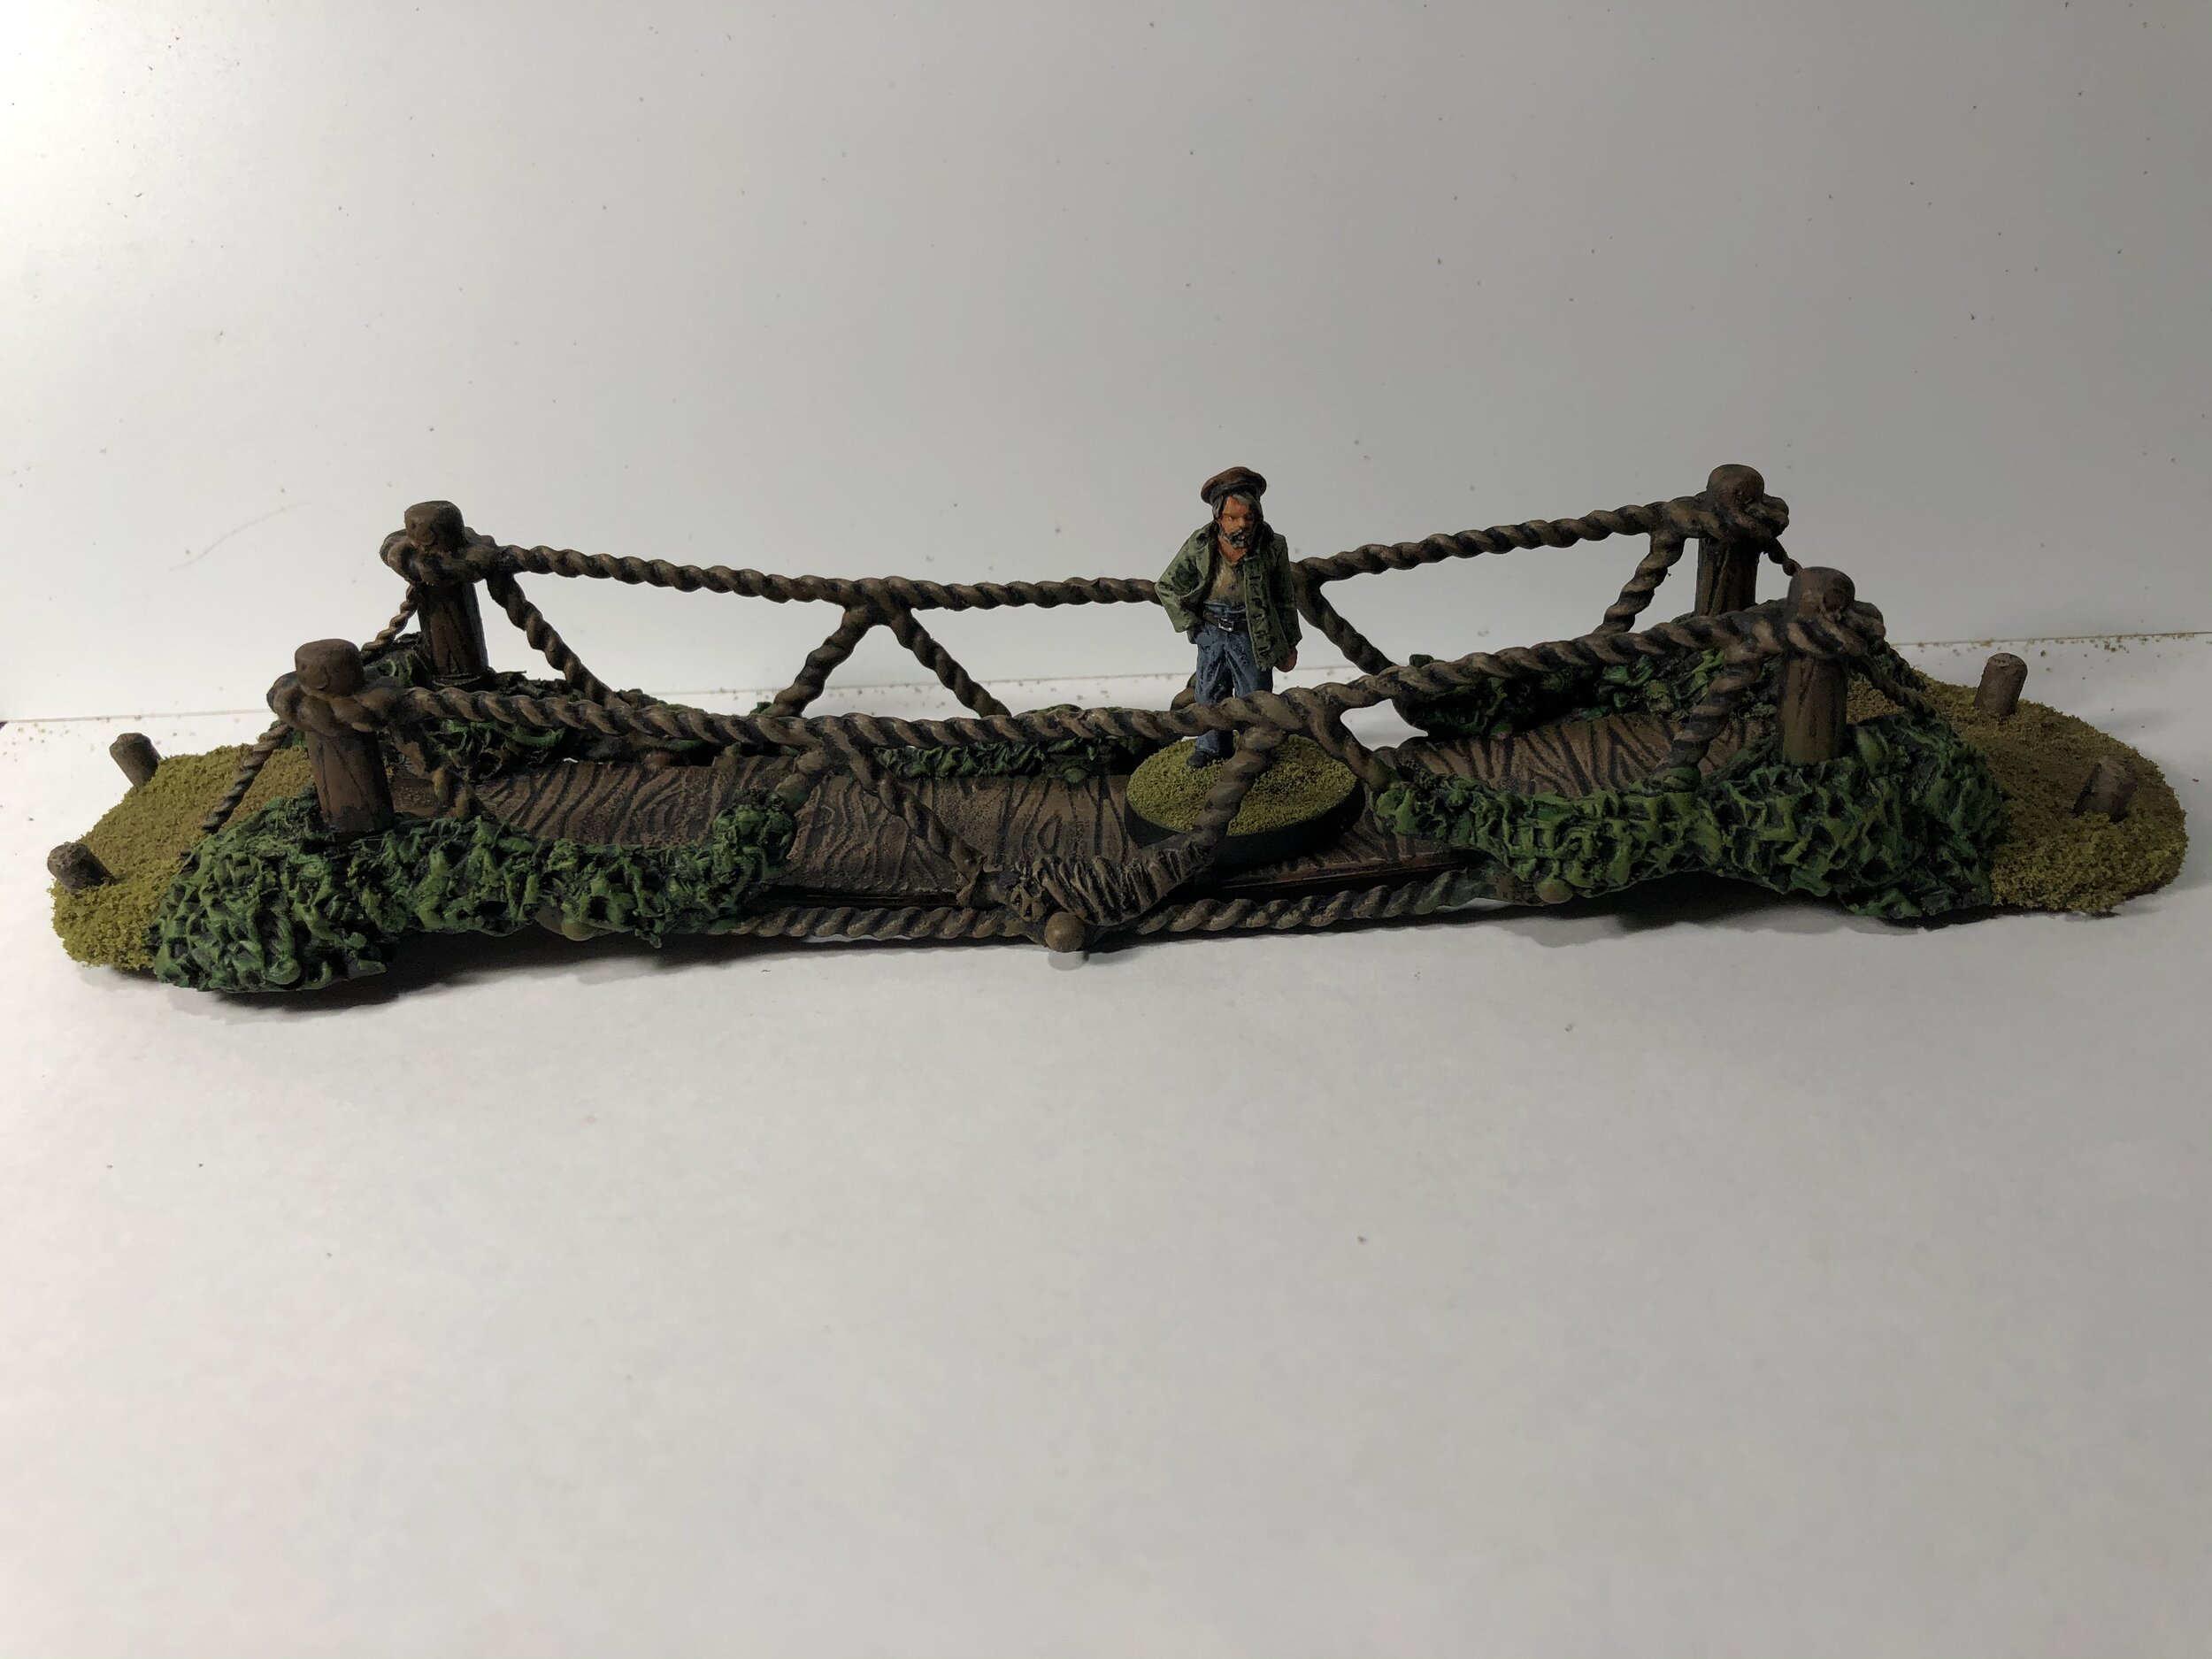
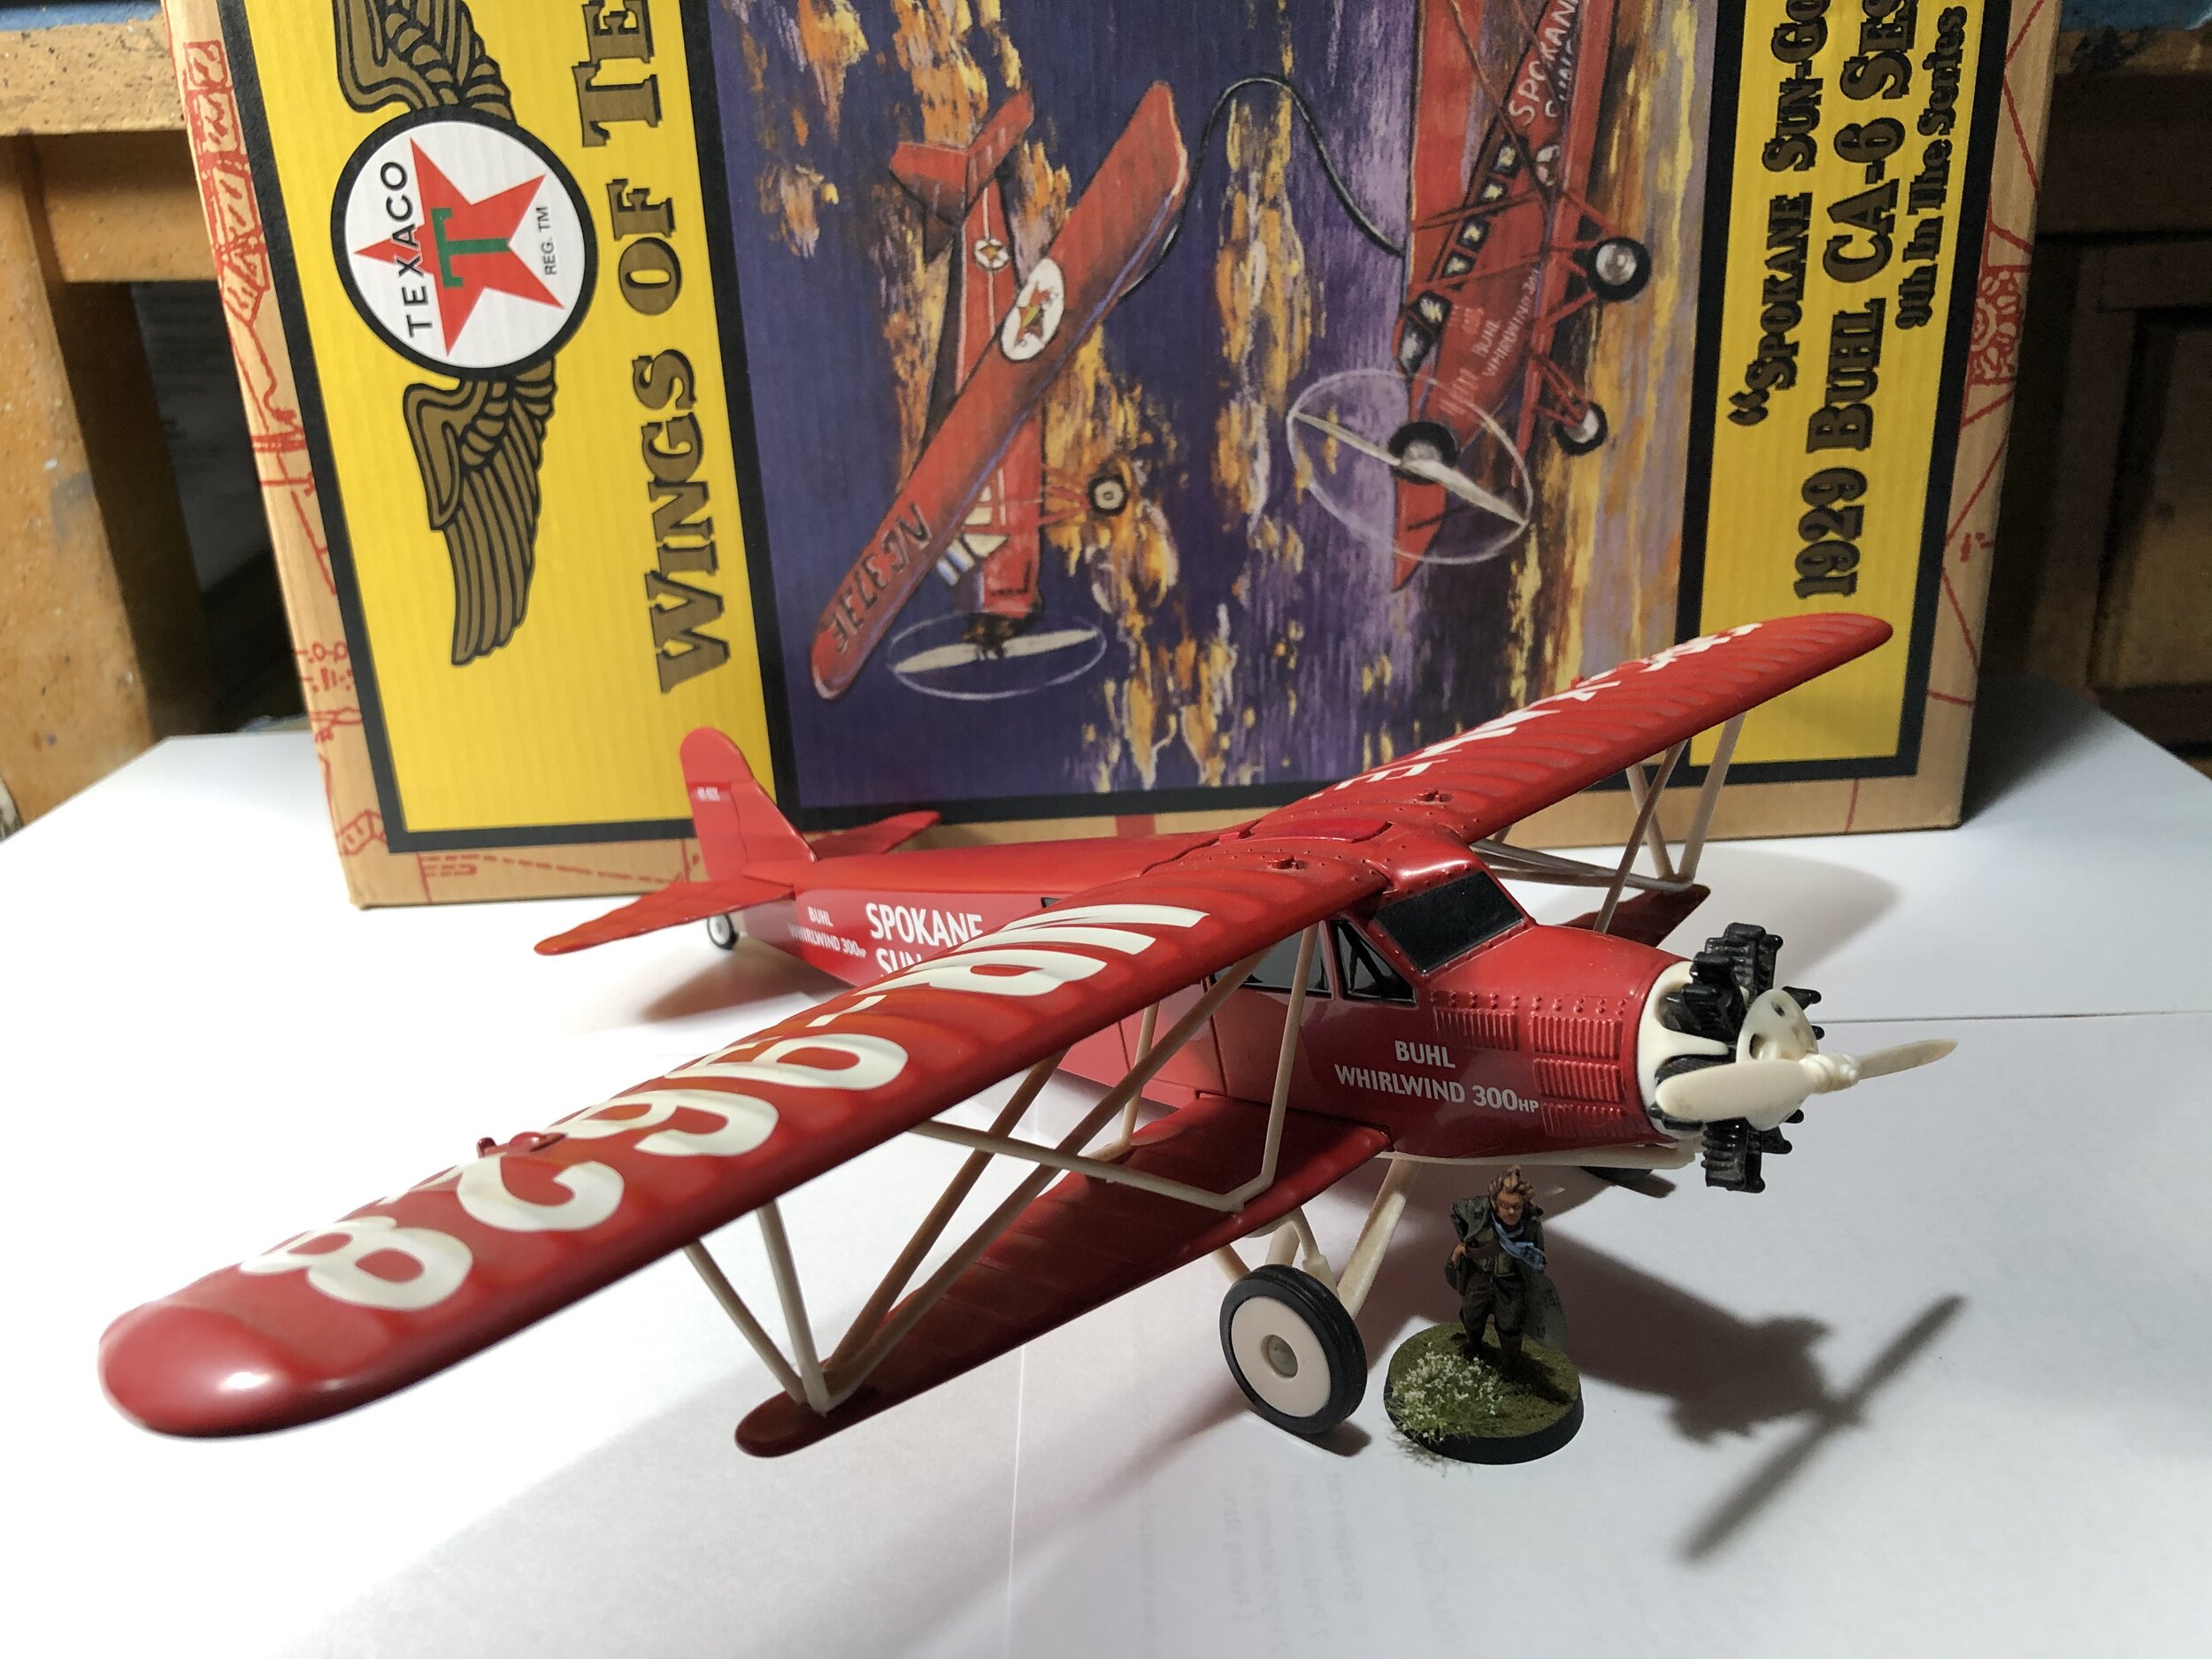
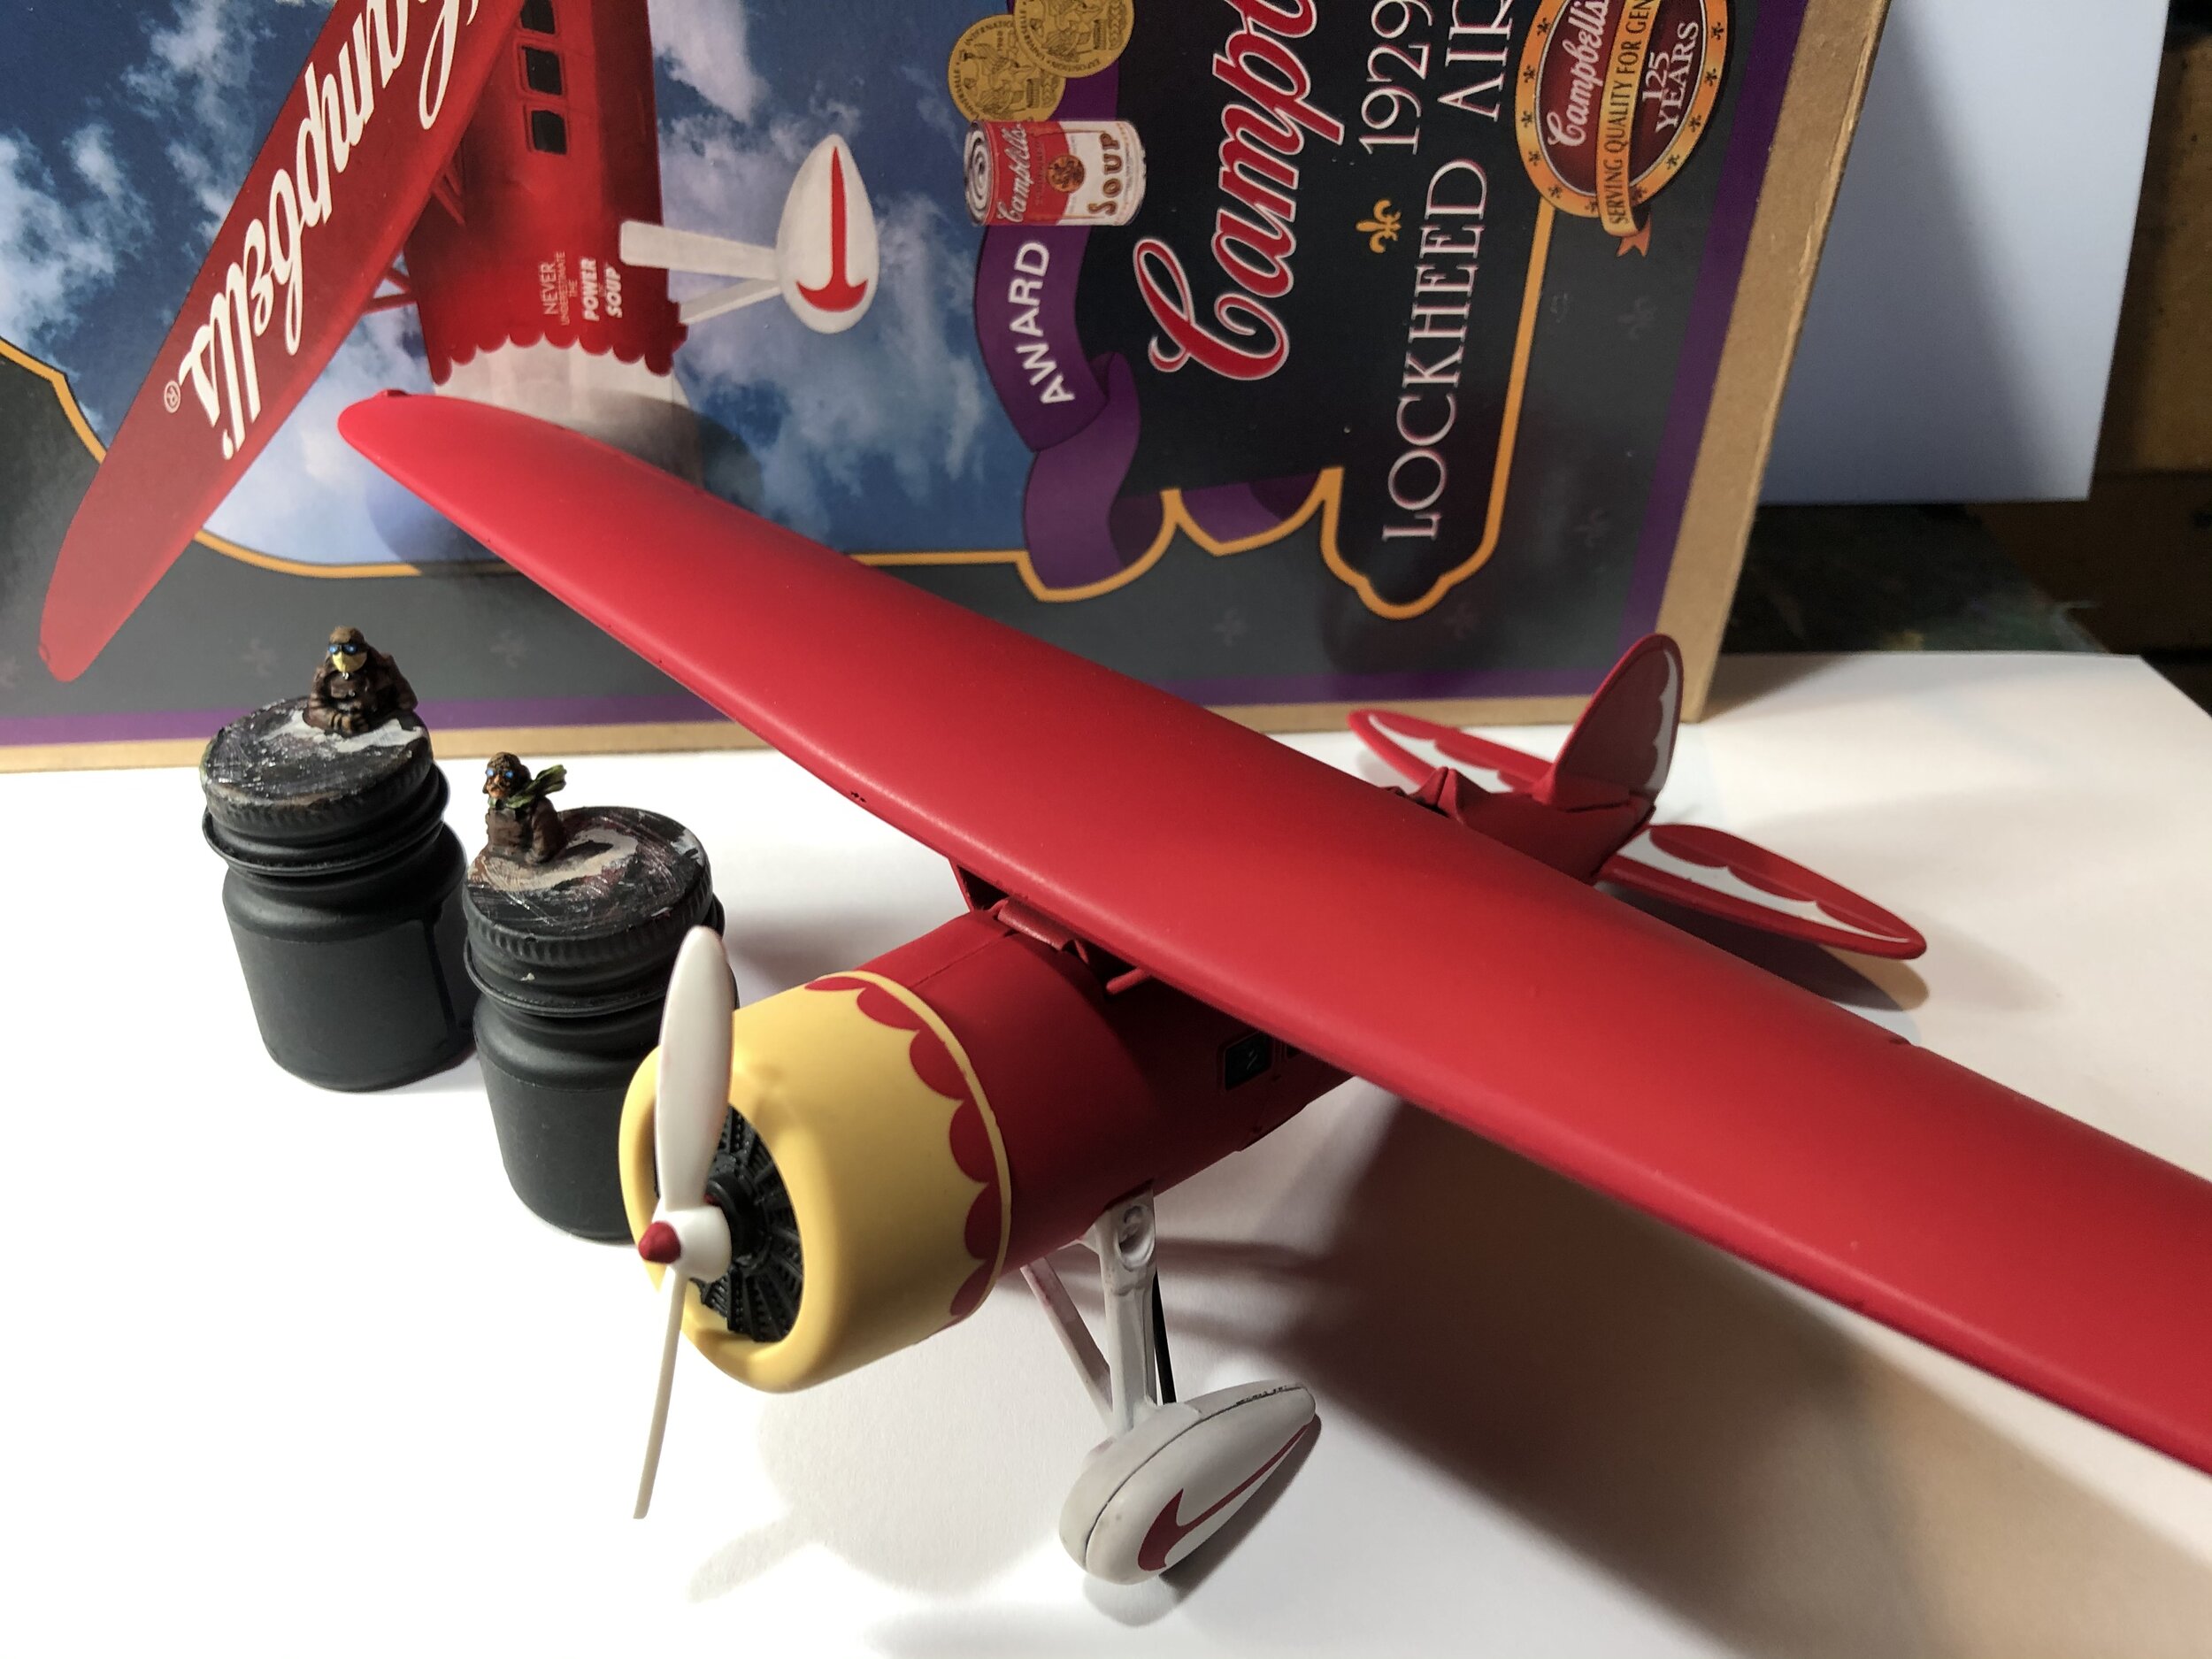
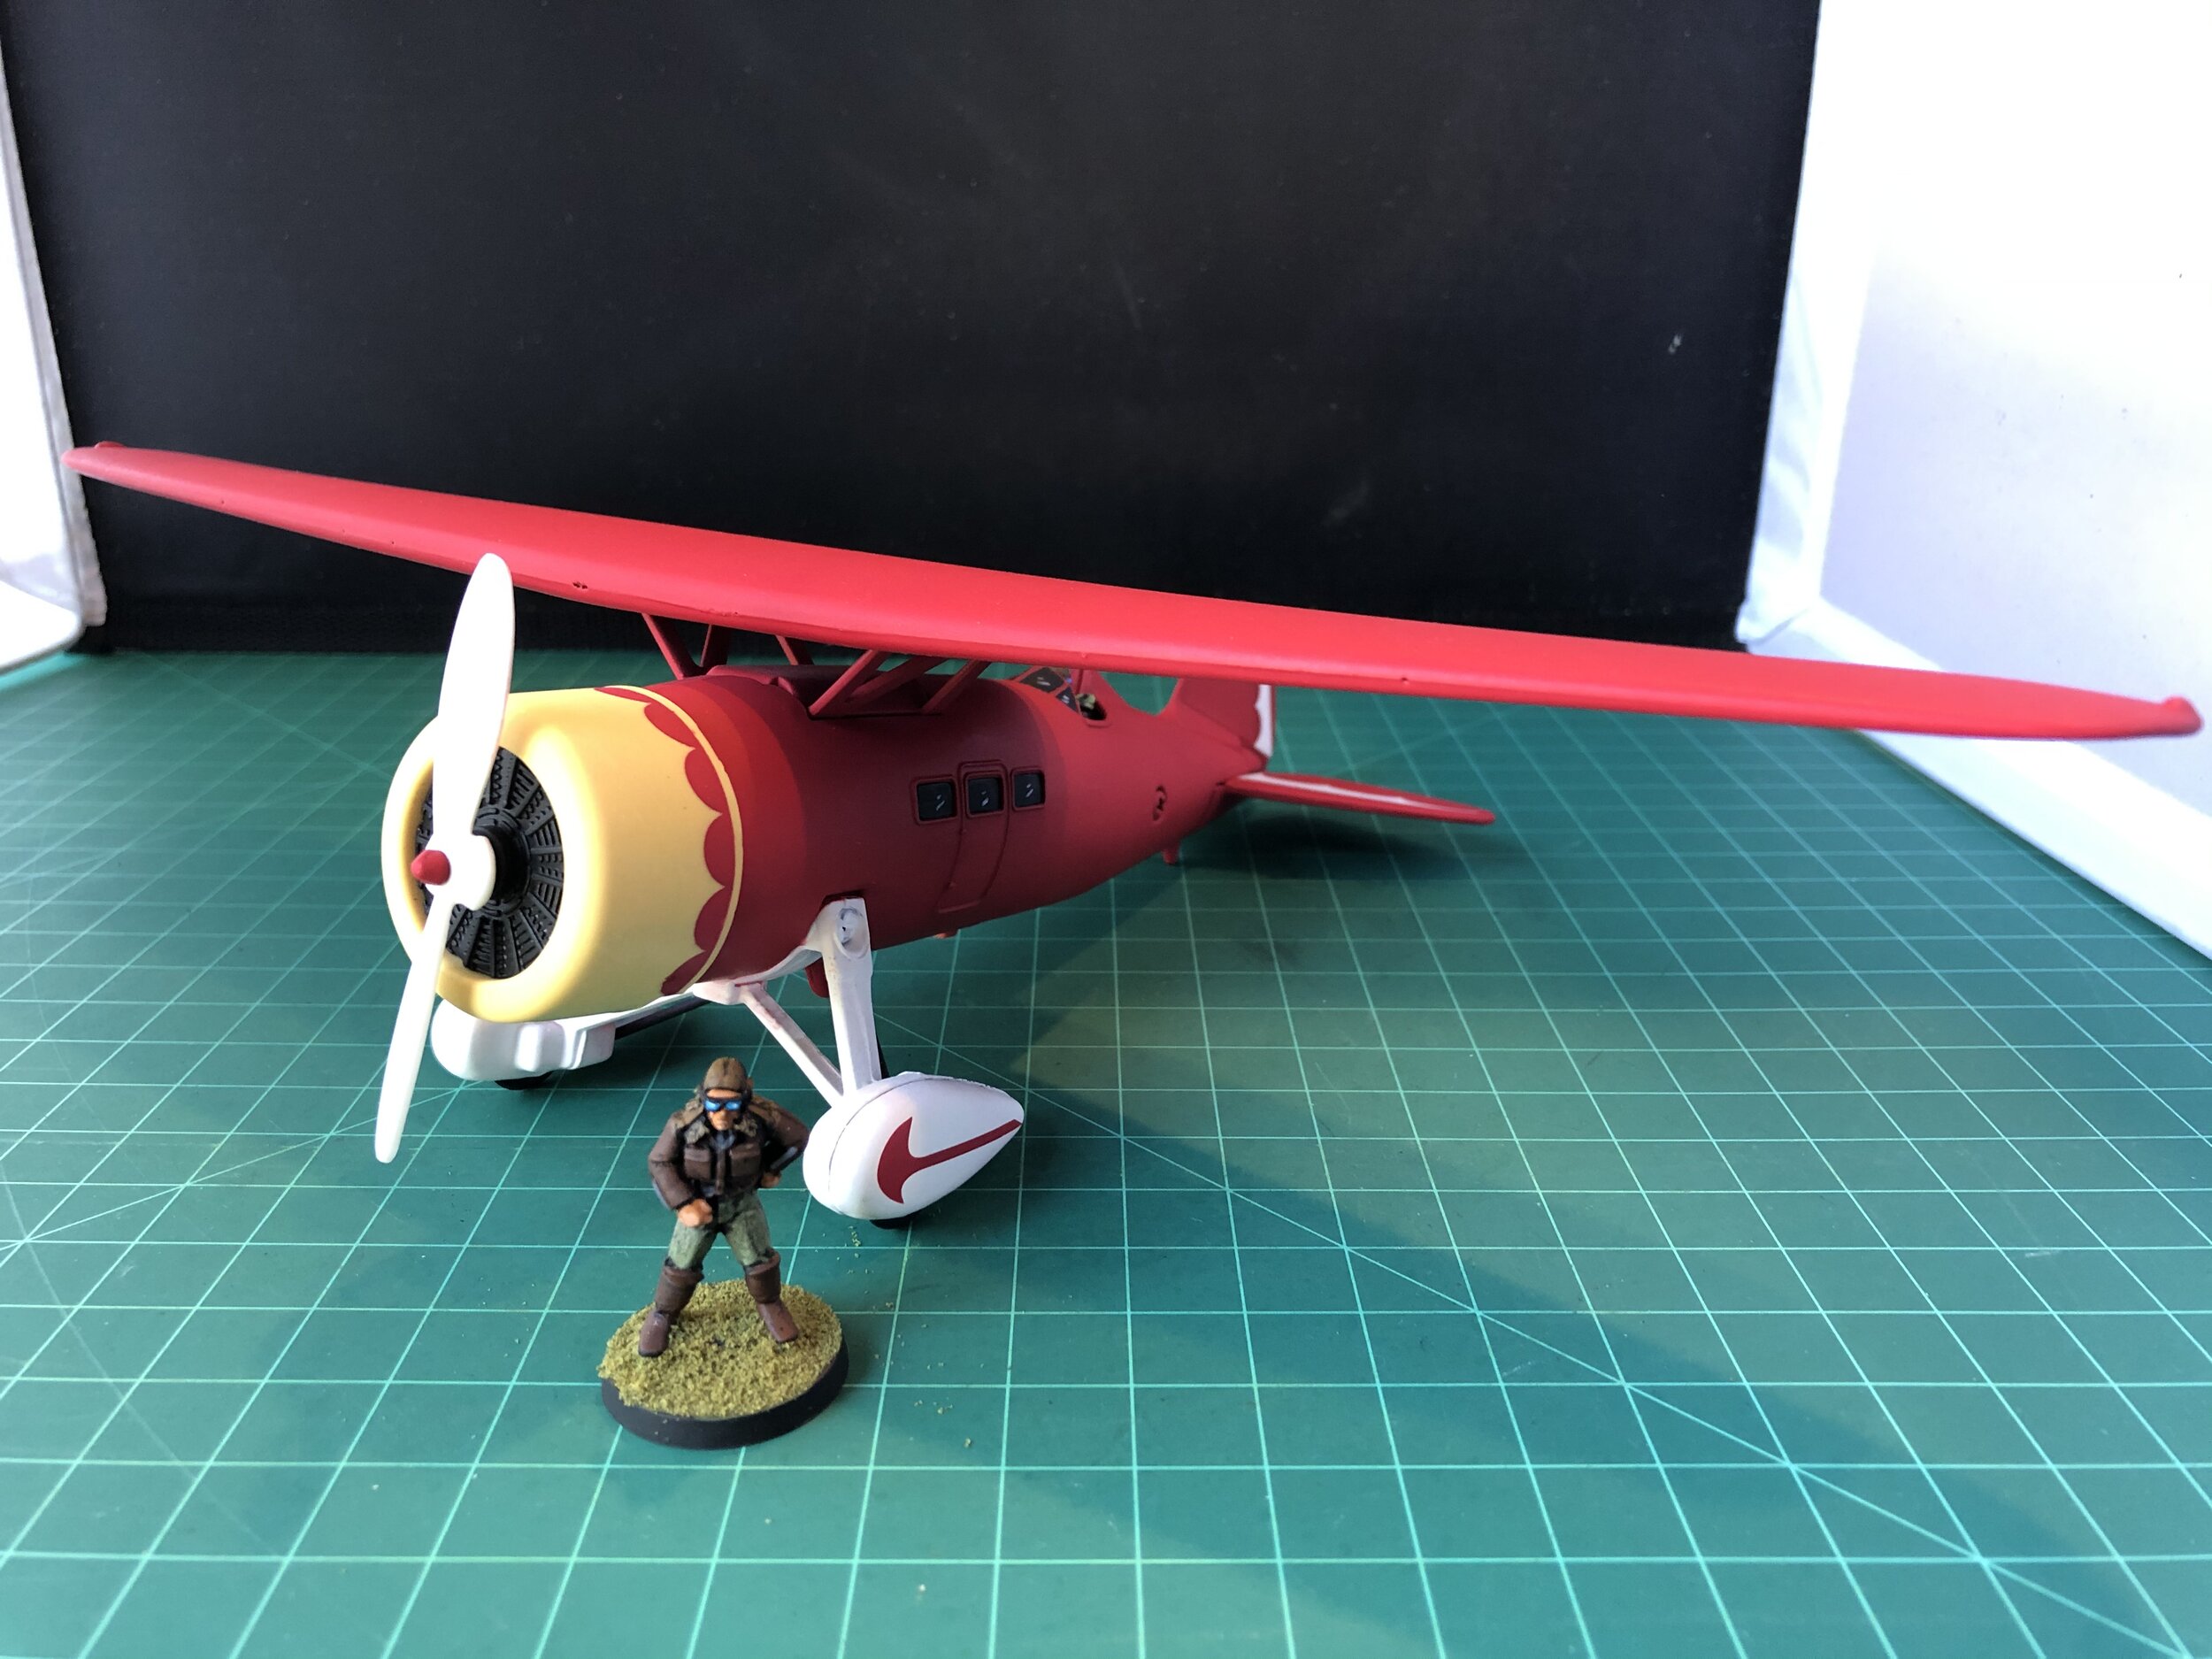
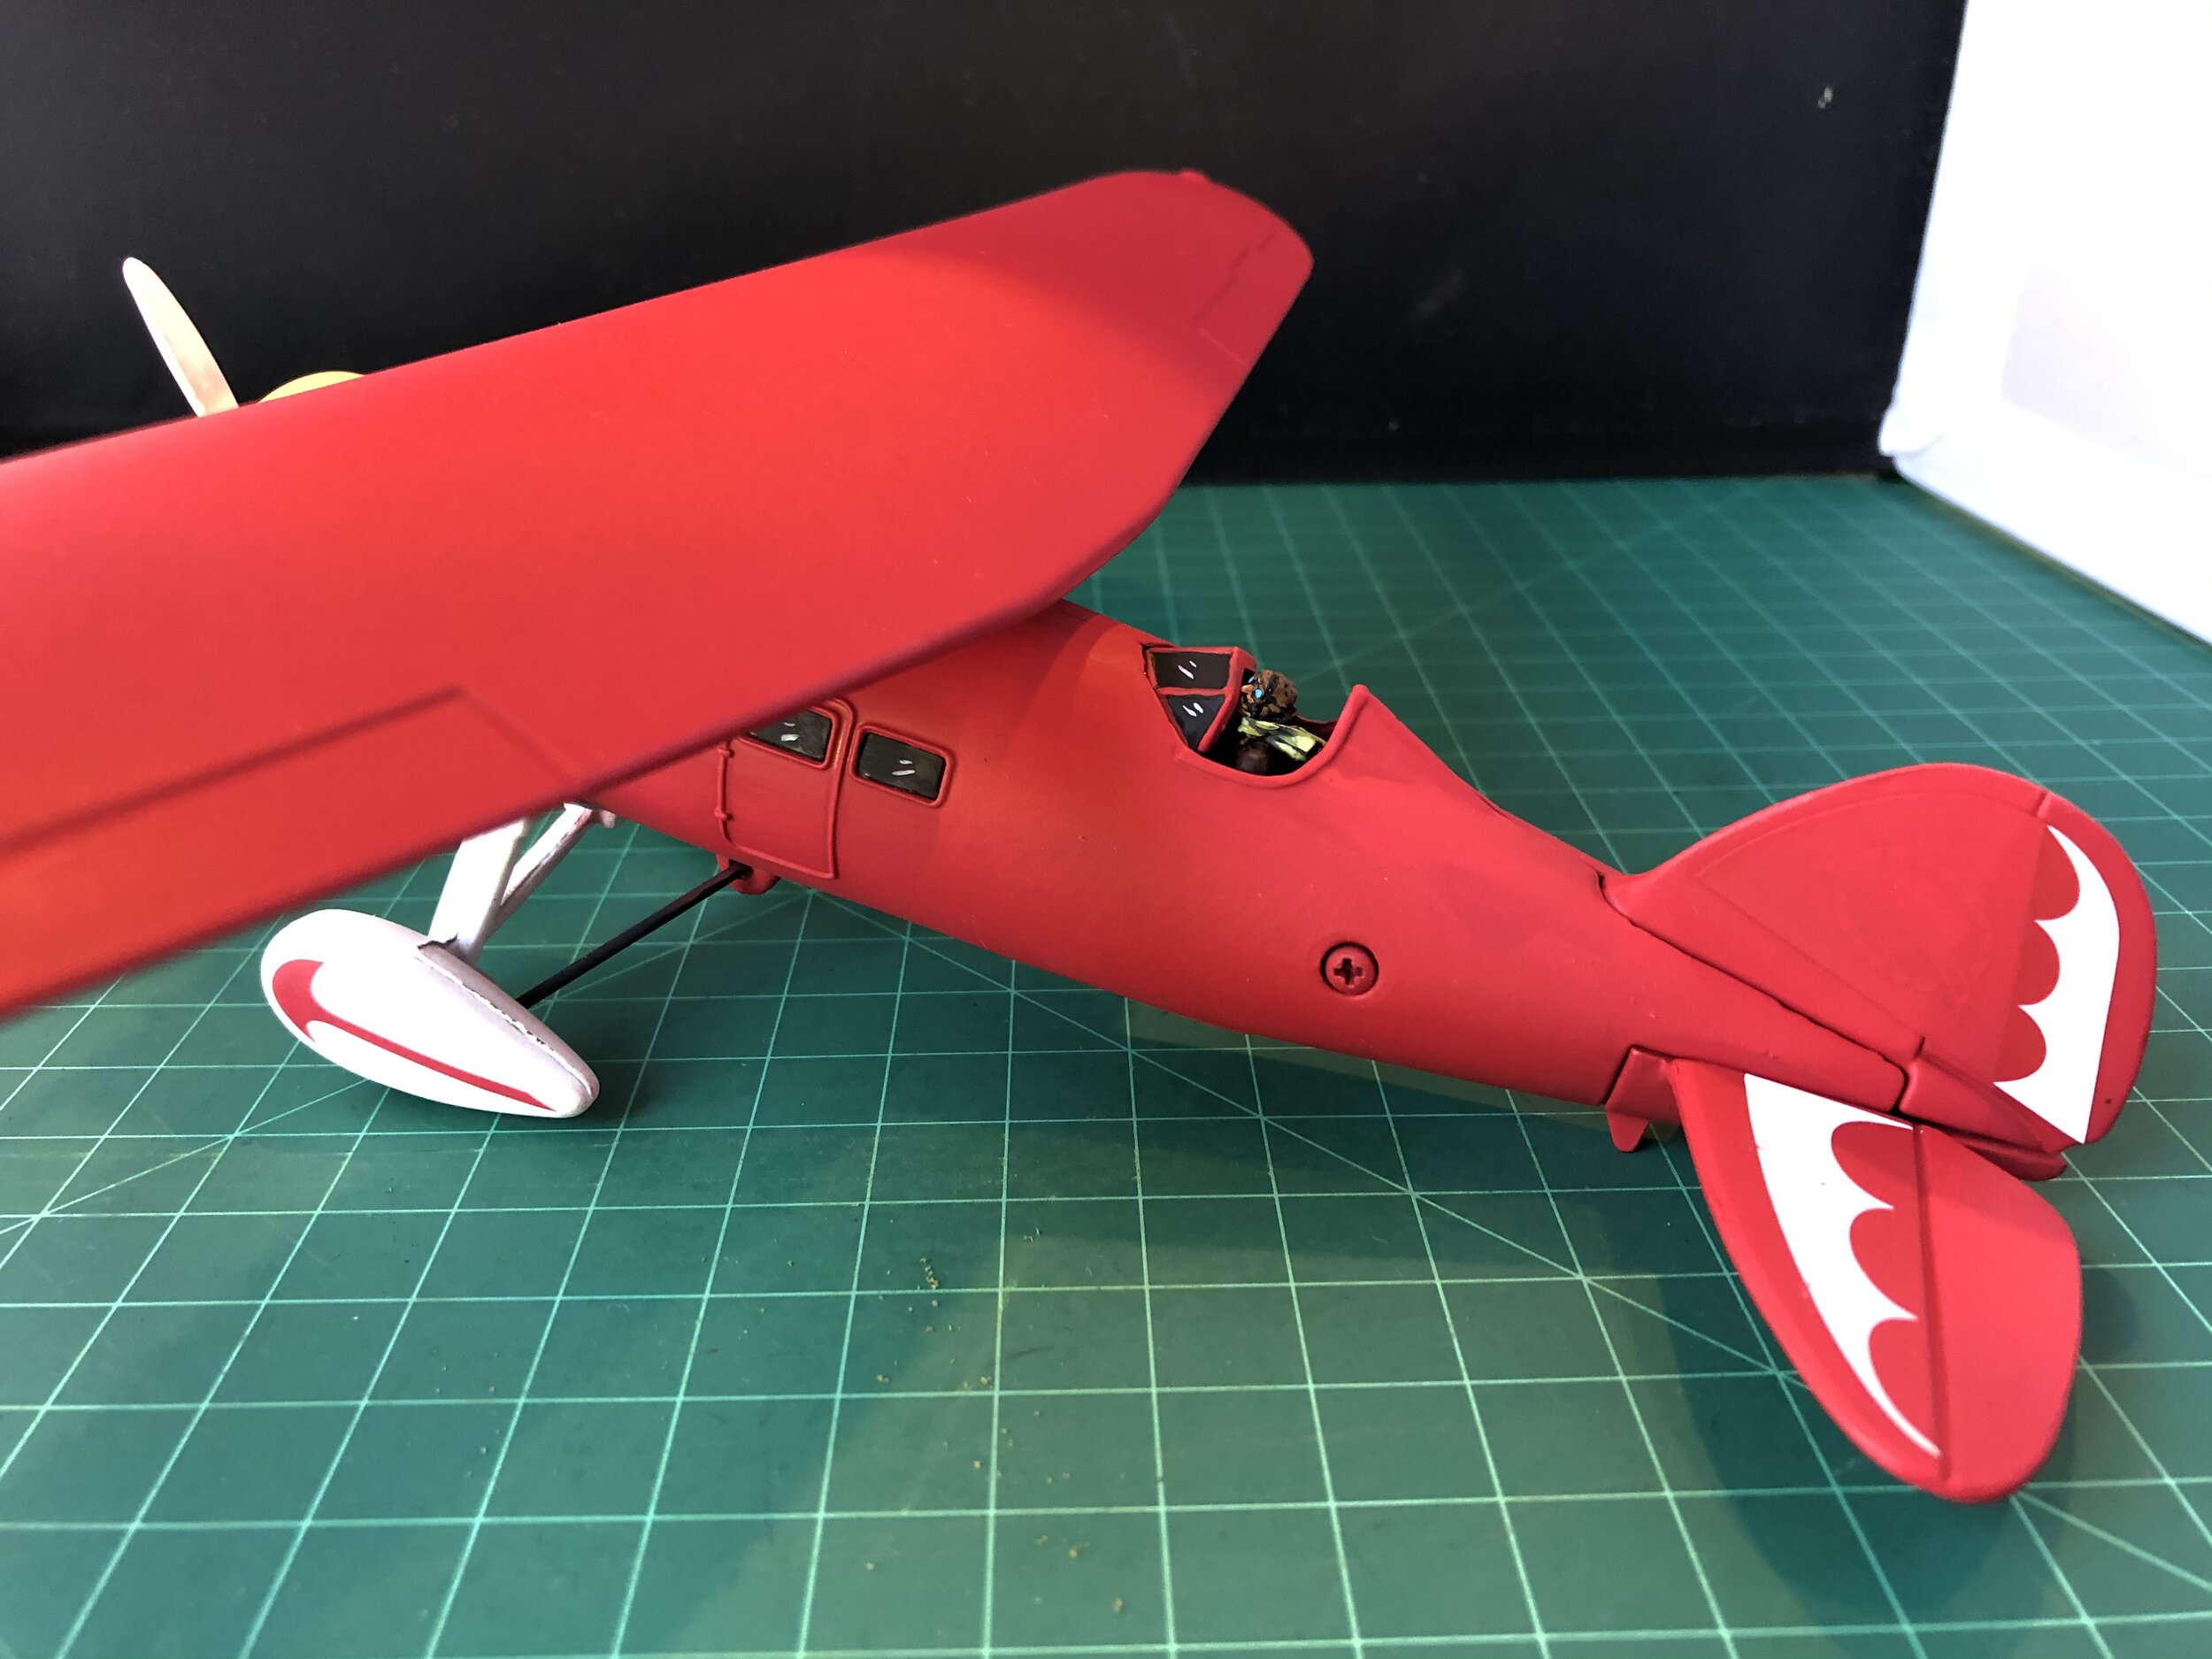
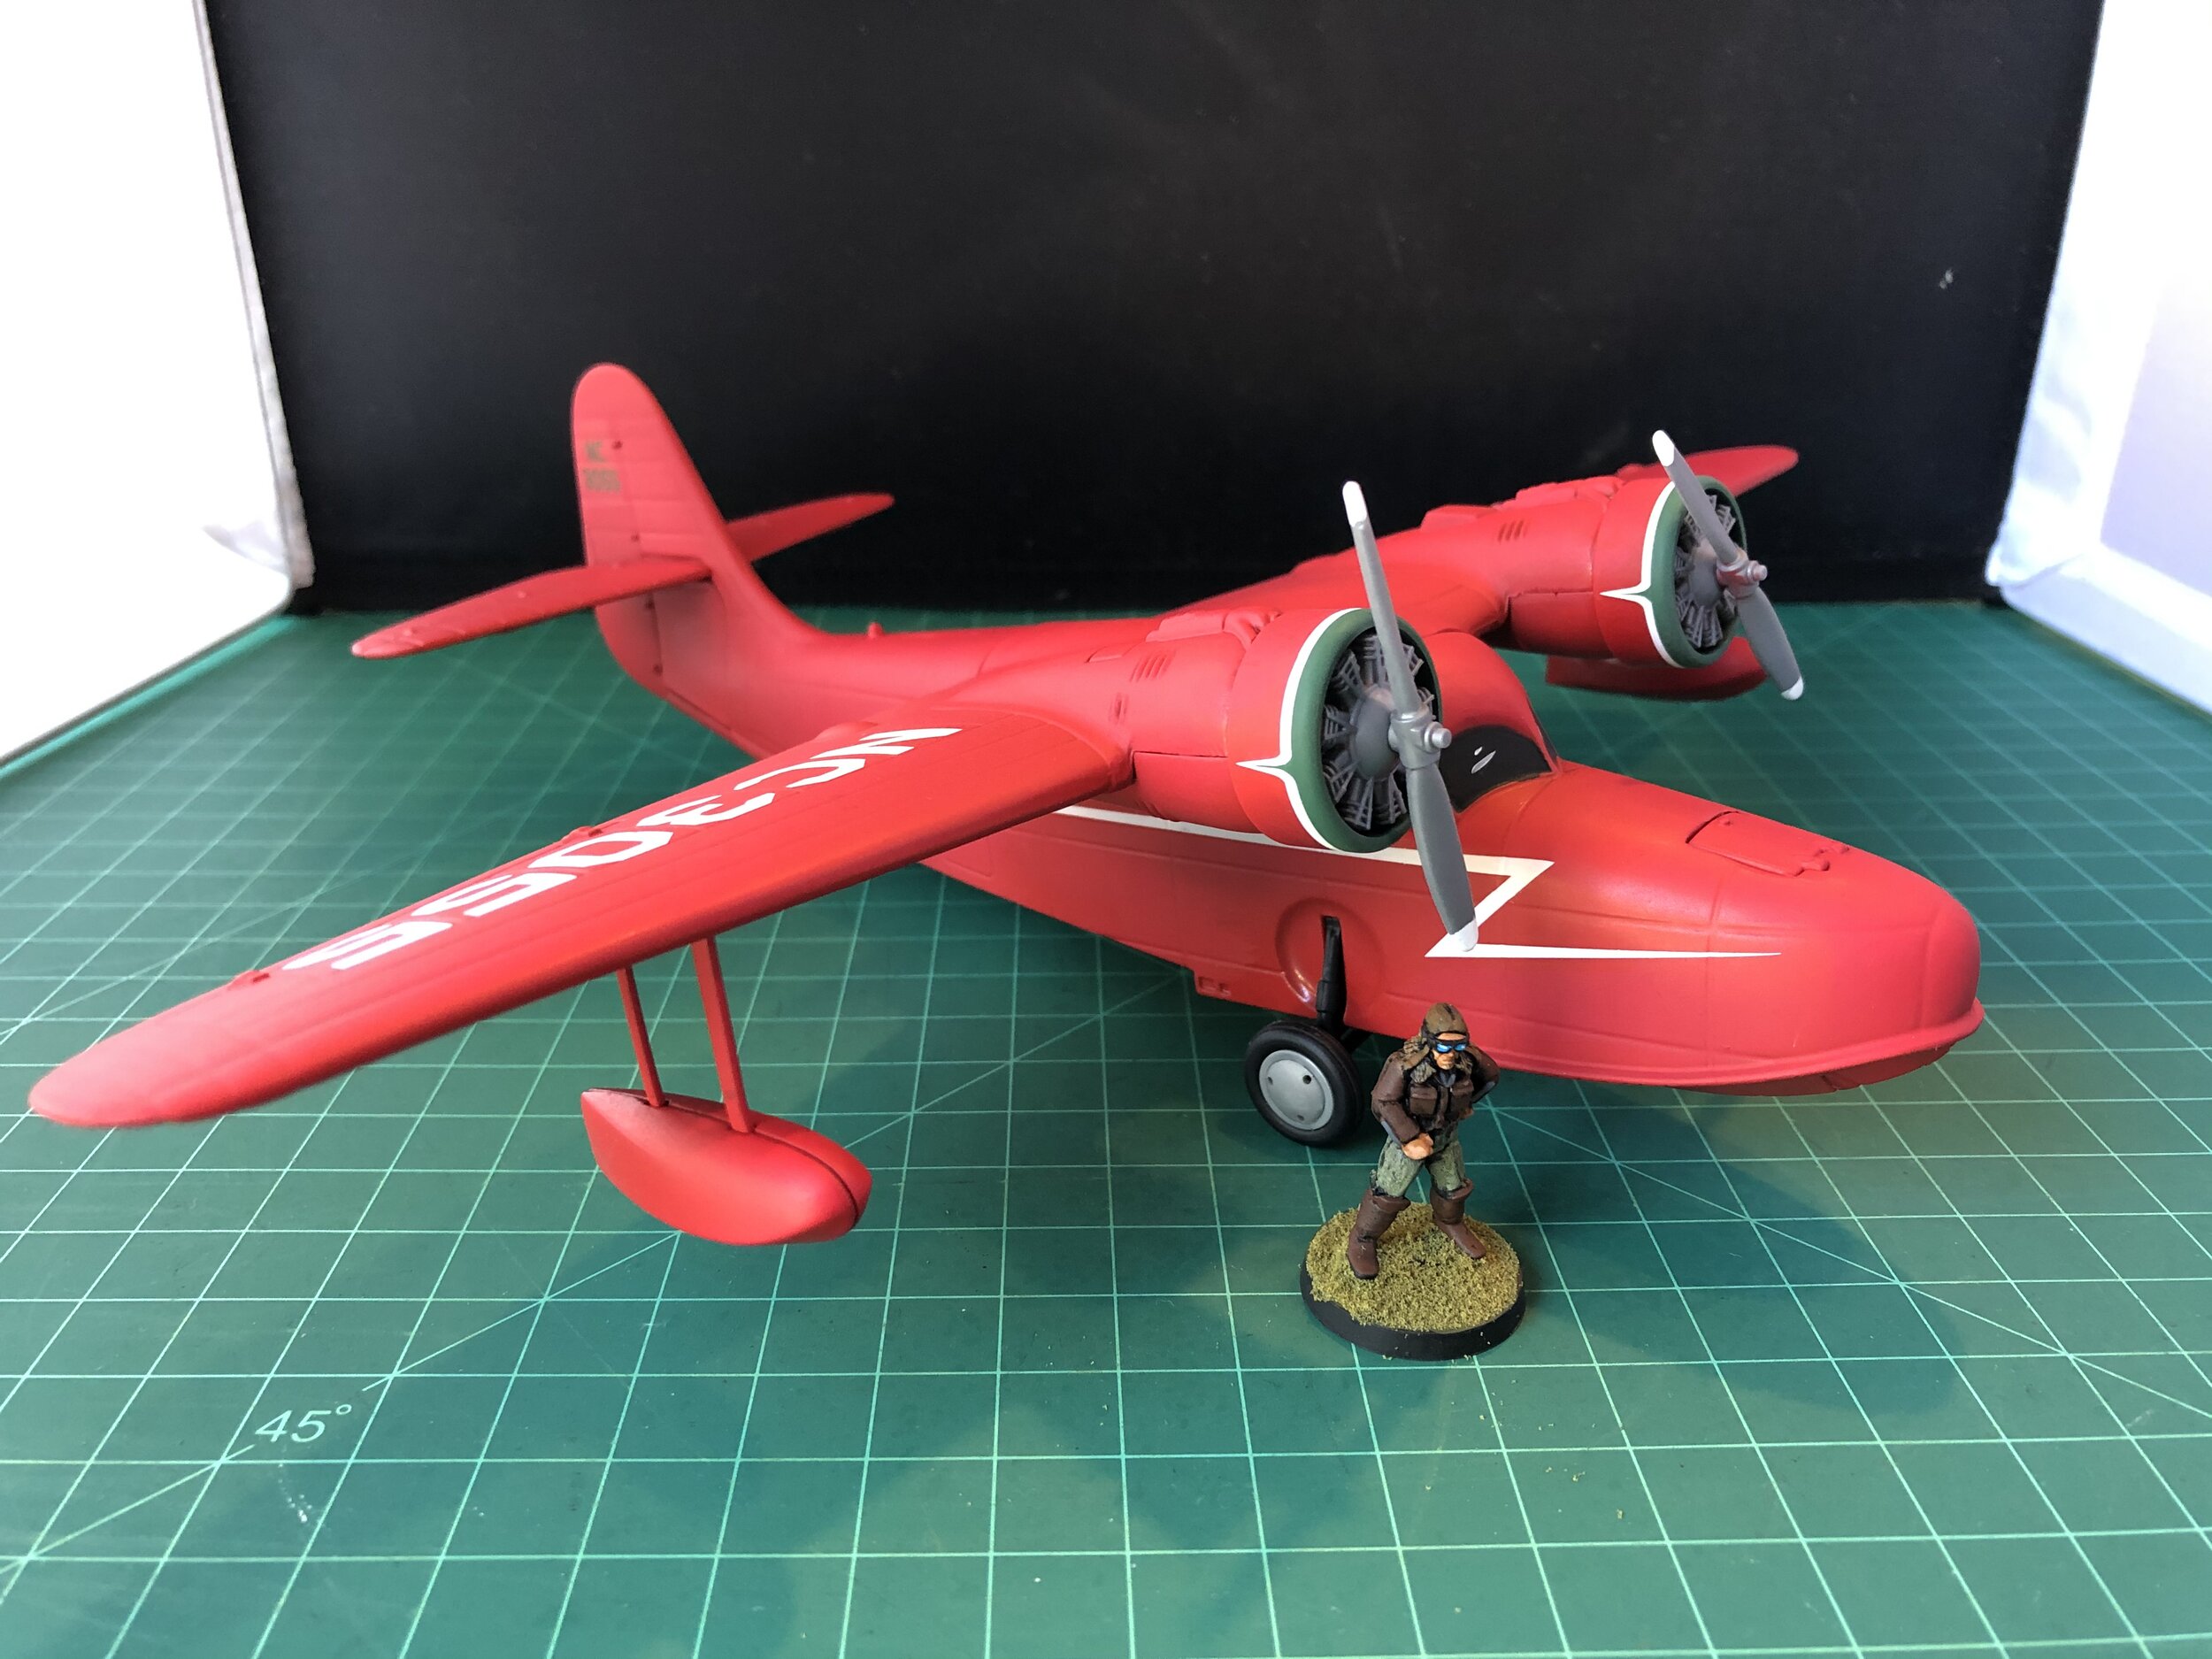
I then turned my attention away from Loch Ness and did some unrelated projects. I repurposed a rope bridge that I found at the swap meet a couple years ago. It was made for a True Heroes Military Playset with big plastic soldiers. My task was to modify it for use with 28mm figures. It’s not my most beautiful piece of work, but it’s okay. I then returned to practicing with my airbrush and using that to hide some logos (Texaco and Campbell’s Soup) on two diecast planes… a 1929 Lockheed Air Express (Campbell’s Soup) and a Grumman Goose (Texaco).
On the last day of the week I constructed the first of the rope bridges I will be using when I get around to building my Ewok village. This rope bridge is made from Evergreen v-groove, Evergreen tube and a lot of floral wire twisted to serve as the rope. I’ll probably have to make about 9 of these.
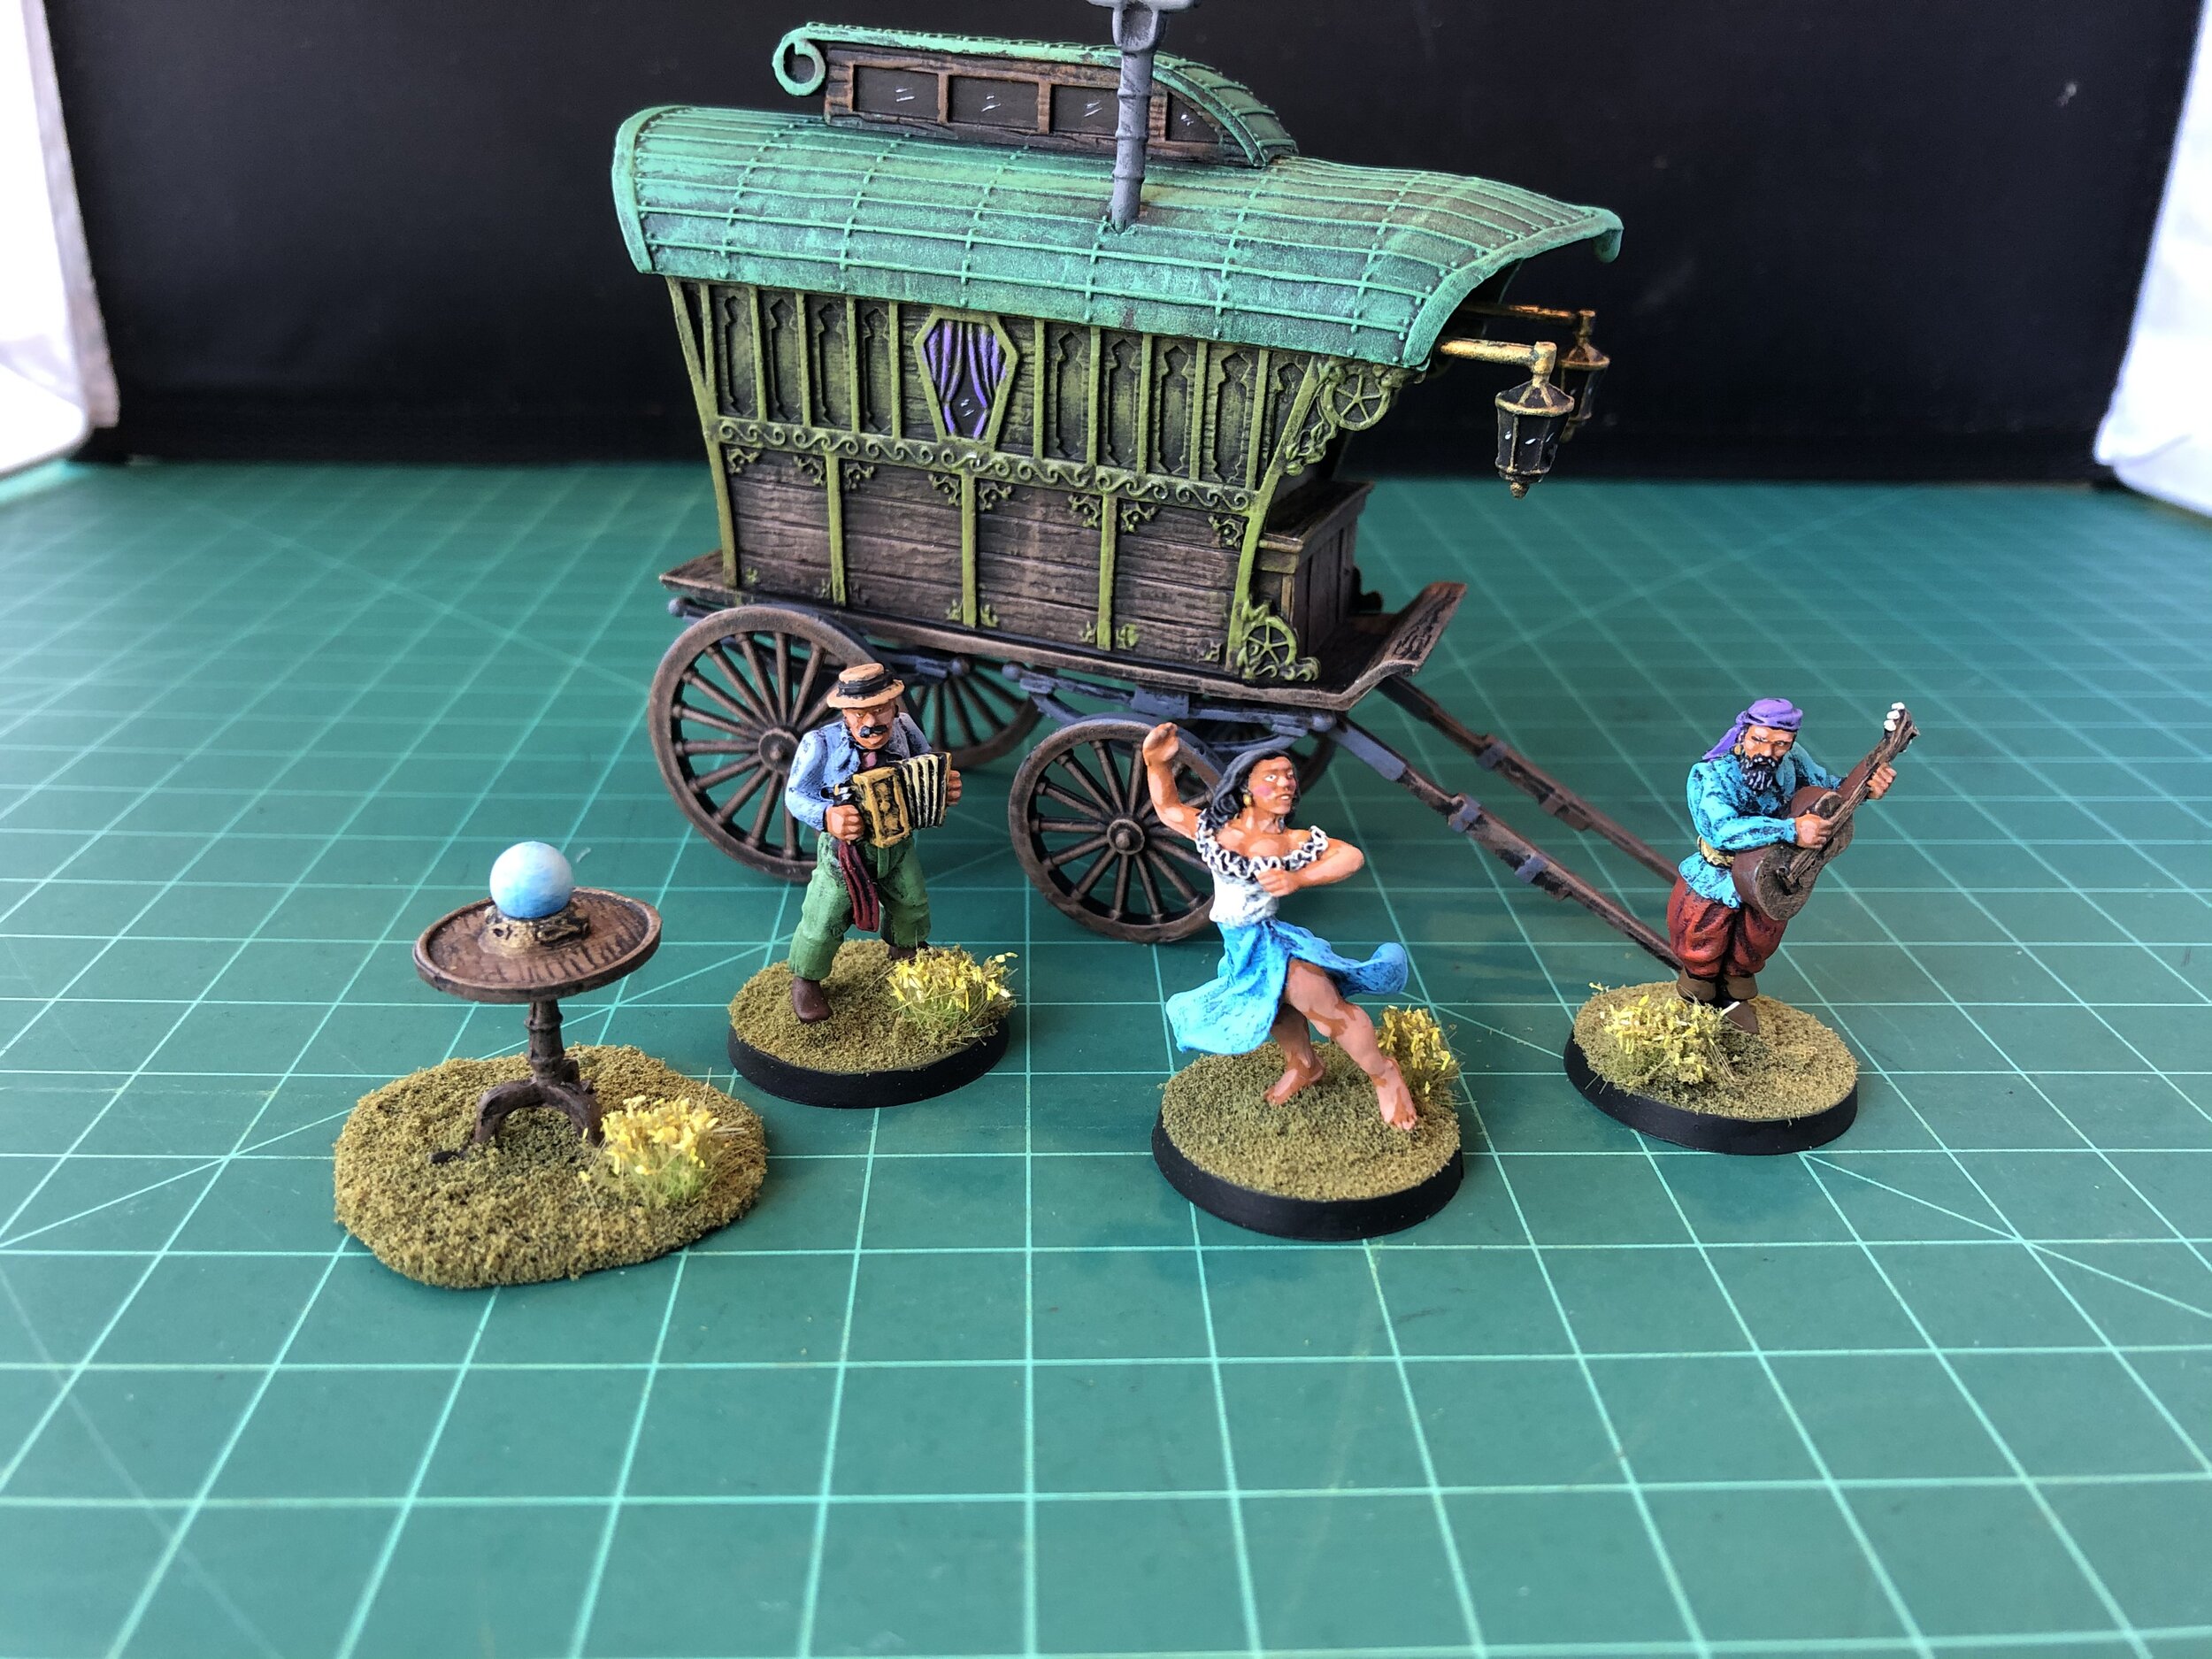
My last project of the week was a return to Loch Ness and the painting of the caravan from the WizKids Adventurer’s Campsite set. It is really a beautiful piece and will serve as a gypsy caravan with my Loch Ness collection.